Rear Bumper Build (Pic Heavy)
#1
Registered User
Thread Starter
Rear Bumper Build (Pic Heavy)
Fabbed this much of it up last night.
I have a 2" body lift so that made this easier to mount. I used 2x4 1/8th wall or in other words, .120 wall rec tube. $3.46/ft
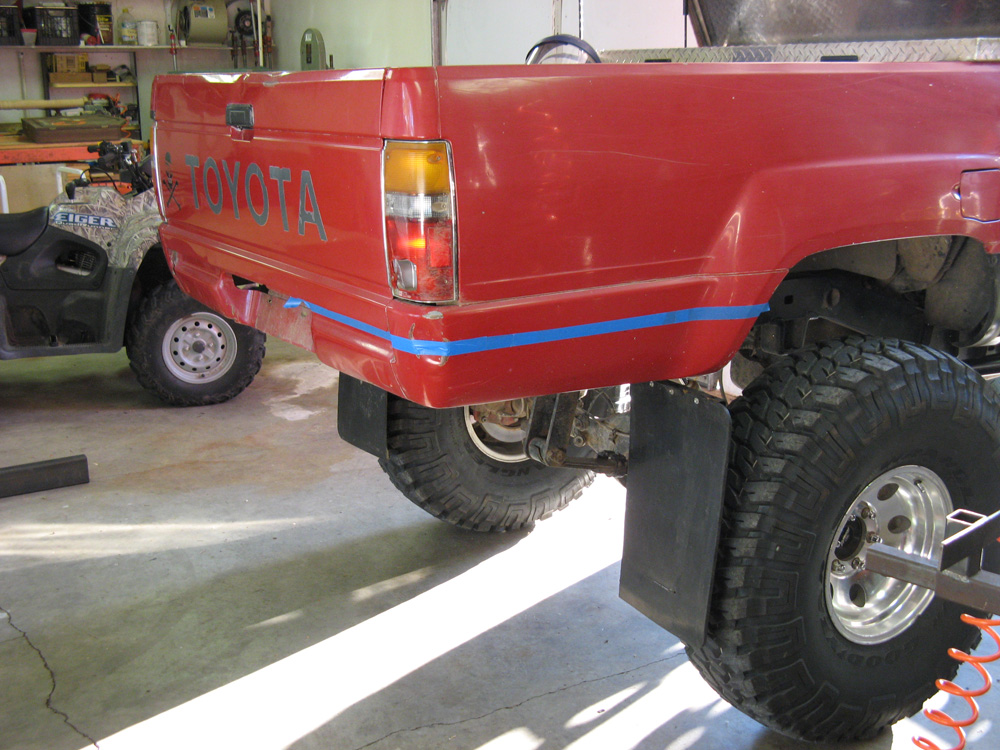
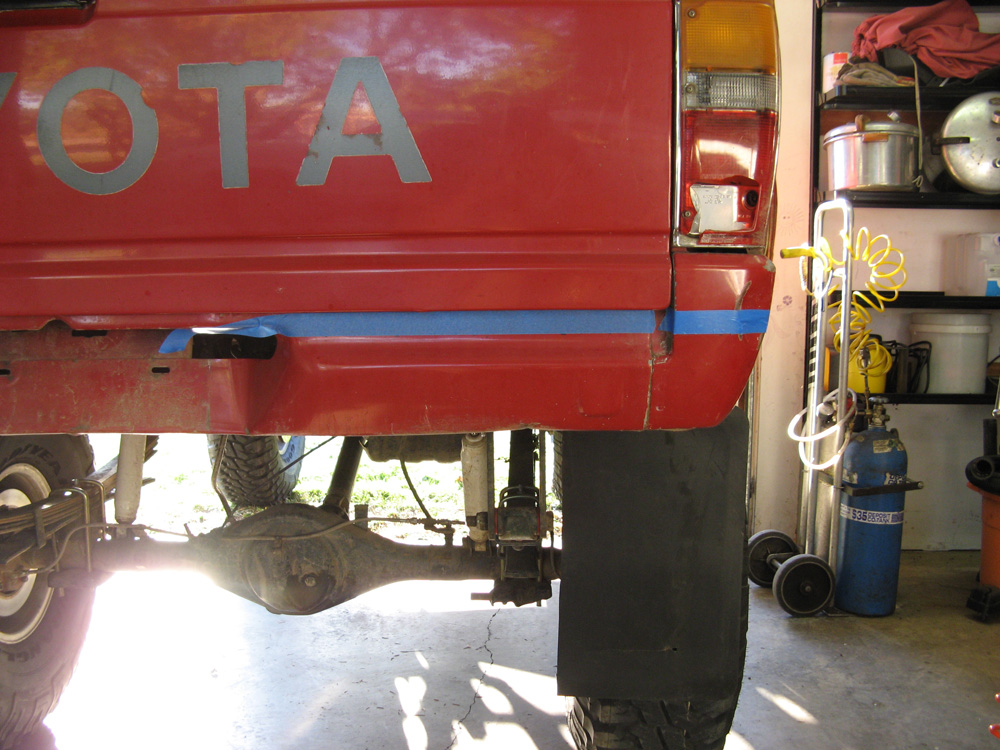


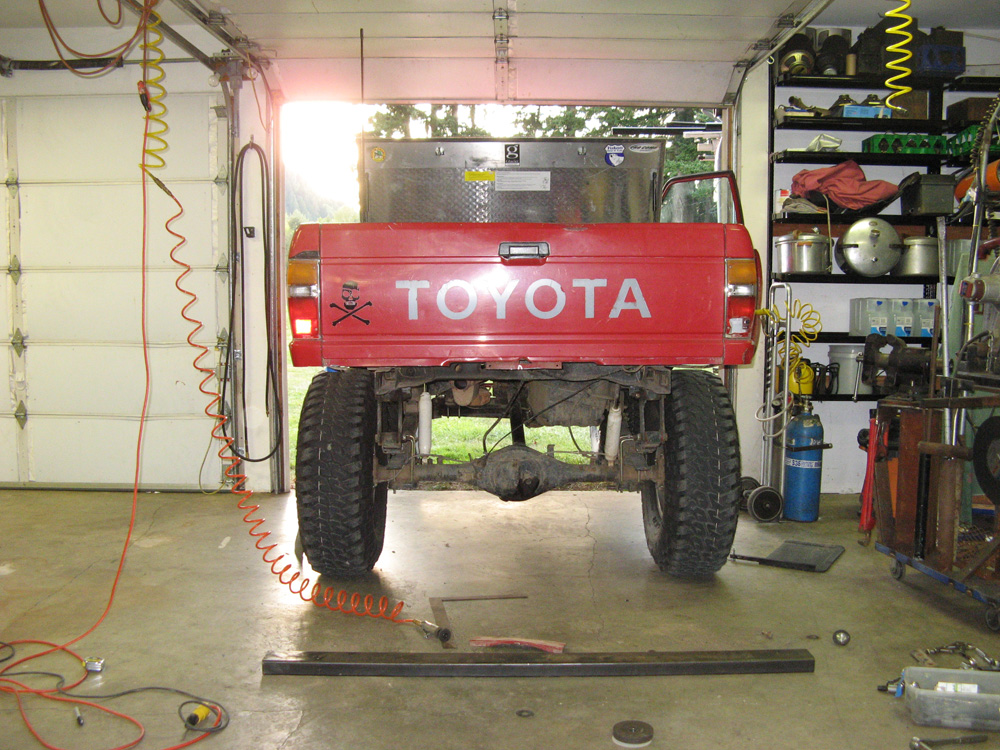

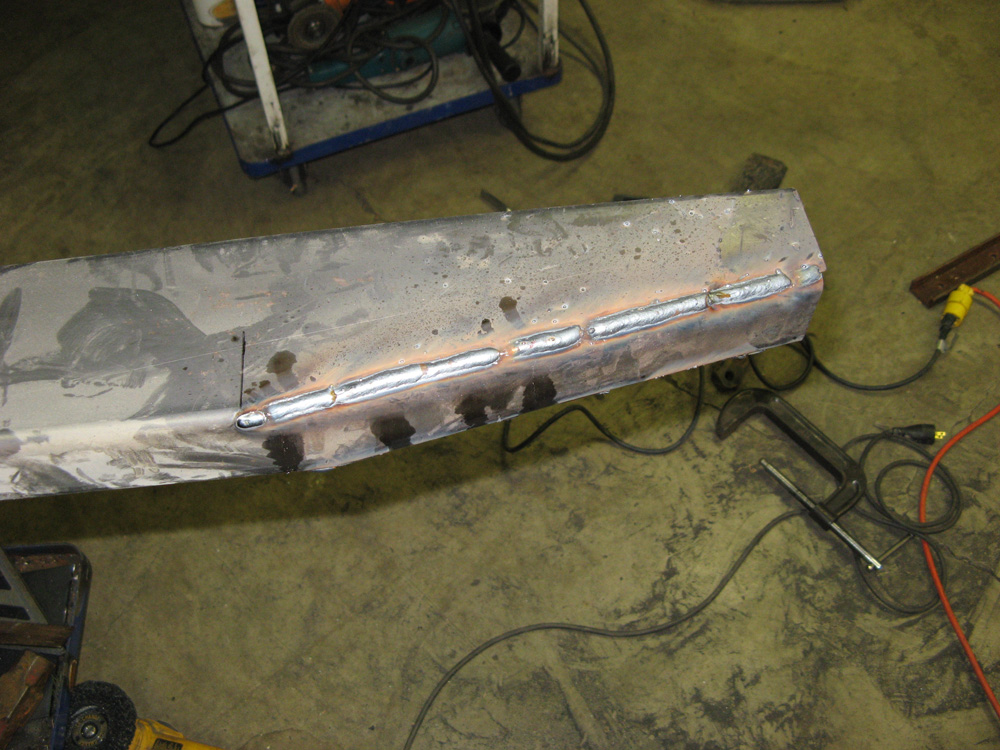
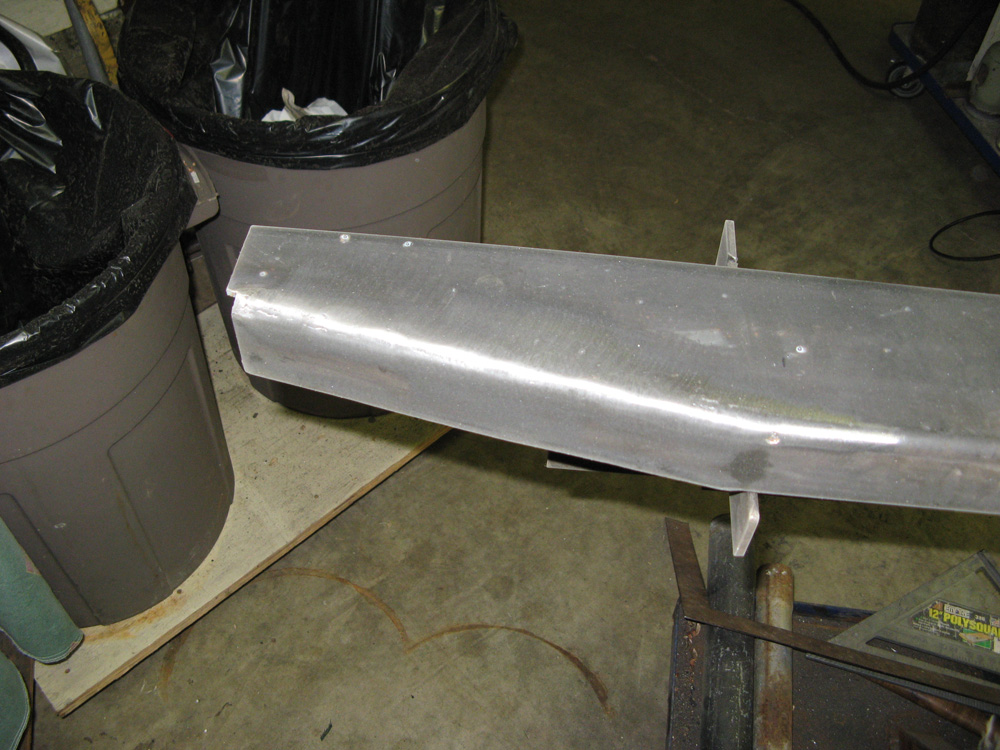
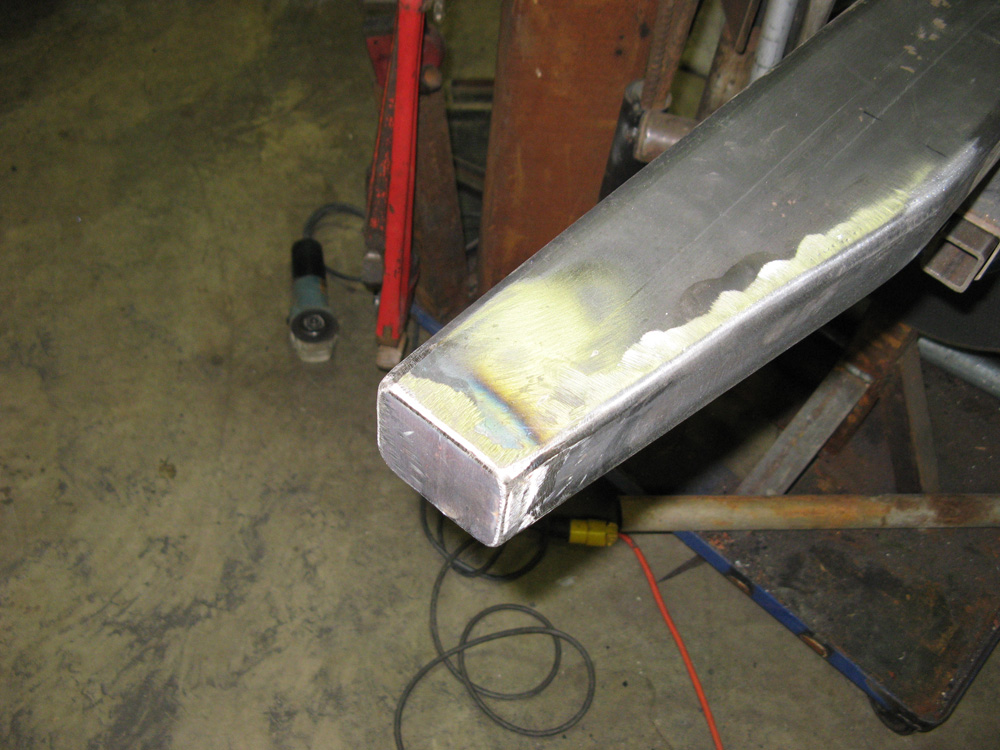


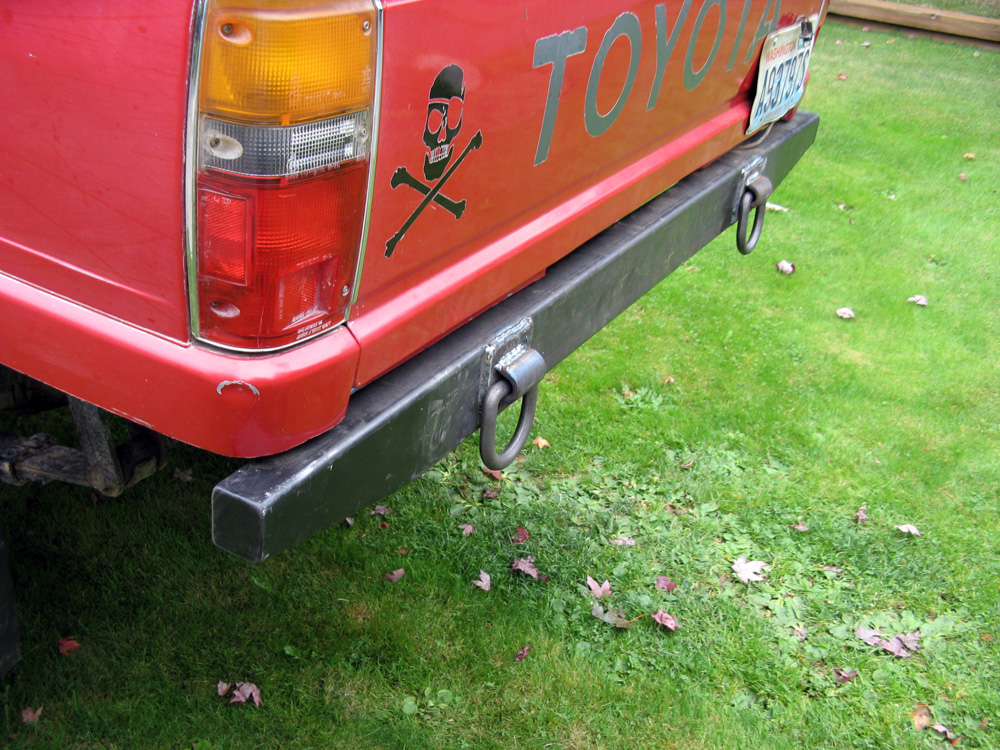
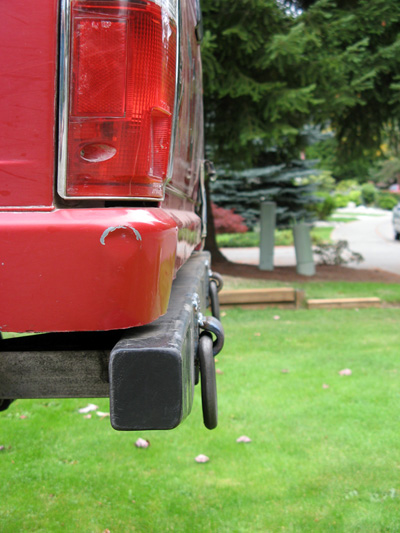
It's not finished, either tonight (probably tomorrow) I'll be adding 1 -3/4 tube along the side of the bed where I cut, thats why the bumper slightly extends out past the body on the ends.
I'll post some final pictures once its all done and painted =)

I have a 2" body lift so that made this easier to mount. I used 2x4 1/8th wall or in other words, .120 wall rec tube. $3.46/ft


It's not finished, either tonight (probably tomorrow) I'll be adding 1 -3/4 tube along the side of the bed where I cut, thats why the bumper slightly extends out past the body on the ends.
I'll post some final pictures once its all done and painted =)

Last edited by drew303; 05-04-2011 at 03:01 PM.
#7
Registered User
Thread Starter
Wow thanks guys =) This is my FIRST fab job EVER ! heh .. well besides the SAS but that was a kit, this I just thought up and decided to do it.
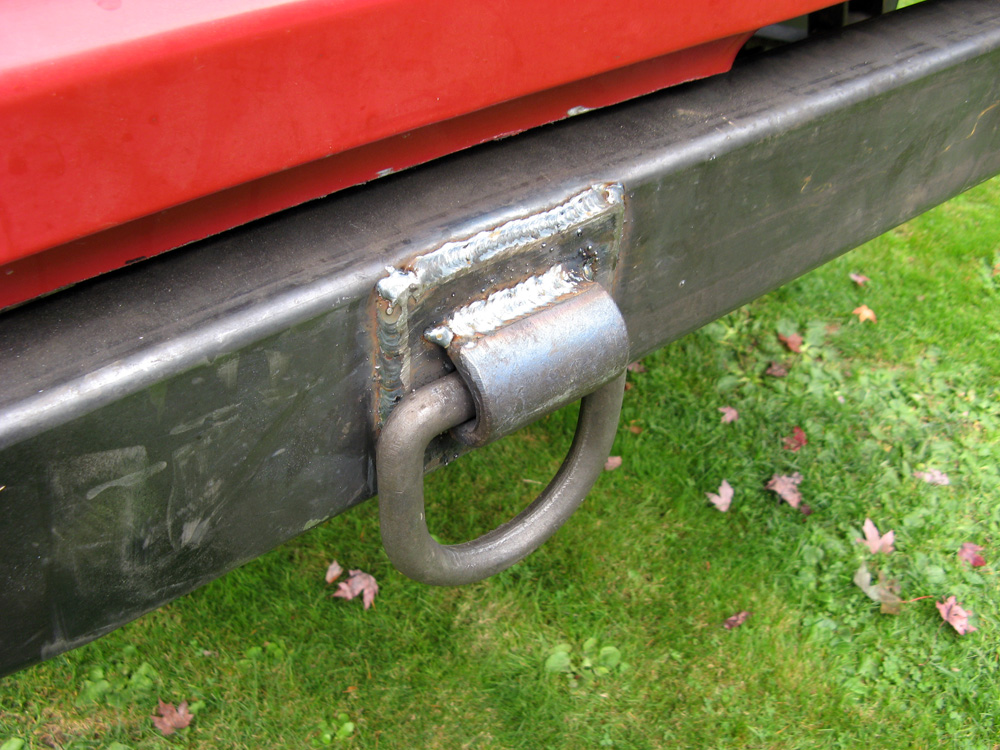
The bumper is 1/8th wall, I happened to have some 3/16" flat scrap just enough to cut two squares for the scab plates... for the D-rings. You cant see it but I cut two holes in the middle of the plates (rosettes) along with welded all around. And IIRC those are 12 thousand lb D-rings. Heh, shouldnt have any issues with those!
The bolts are ugly. ha, I had two OEM ones (from the original bumper) then found two more laying around the shop. The Bumper will be welded to the frame sorta.
I dont have a picture but where the mouts slide into the frame rails.. on the outside of the truck, I'm going to run one bead where they meet up. This way I can cut the weld with a grinder to remove the bumper down the road (plans for a flat bed) at which time I'll shorten the bed.
There will also be tube along the side of the bed, which will be supported by a tube that will go inward and weld to the frame there.
Should have it all done w/ pics tomorrow. I'm taking the night off and gonna R E L A X
=)
Trending Topics
#10
Registered User
Thread Starter
sawzall? no
i used a 2" die grinder (air) and the 4.5" grinder, cut off wheels.
yea running 1.75 tube along the sides. Be on tomorrow, already got em bent. =)
i used a 2" die grinder (air) and the 4.5" grinder, cut off wheels.
yea running 1.75 tube along the sides. Be on tomorrow, already got em bent. =)
#14
Registered User
Join Date: Feb 2007
Location: Sierra Nevada's or the Deserts of Las Vegas
Posts: 2,203
Likes: 0
Received 0 Likes
on
0 Posts
Looks good! You should run a bead from the mounting tube to the frame to keep it from moving around in addition to the bolts. Before I did that on my MC bumper it would move all over if I hit anything on it...
#15
Registered User
Thread Starter

I dont have a picture but where the mouts slide into the frame rails.. on the outside of the truck, I'm going to run one bead where they meet up. This way I can cut the weld with a grinder to remove the bumper down the road (plans for a flat bed) at which time I'll shorten the bed.
=)
Last edited by drew303; 10-11-2009 at 11:11 AM.
#17
Registered User
Thread Starter
Bobbing the bed just isn't my thang. lol This is enough bob action for me =) Besides the butt is so high now it'll be interesting to see what I hit, if anything at all. I didn't hit much before... or drag to often =P


 nice work btw
 You got skills then


