New Exhaust install - Pics and Video!!!
 02-13-2009, 05:16 PM
#1
Contributing Member
Thread Starter
New Exhaust install - Pics and Video!!!
Well, I came home to a lovely sight today; two larges boxes on my doorstep with a Summit cataloge taped to one 
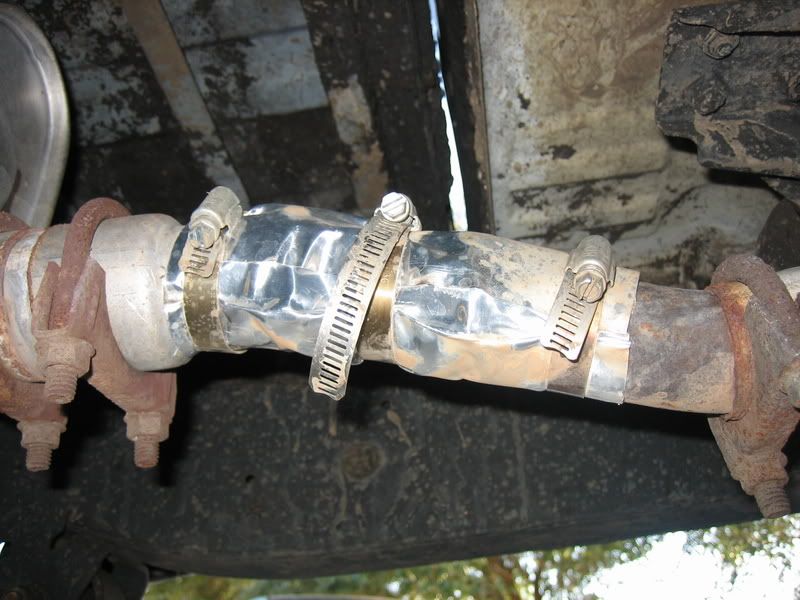
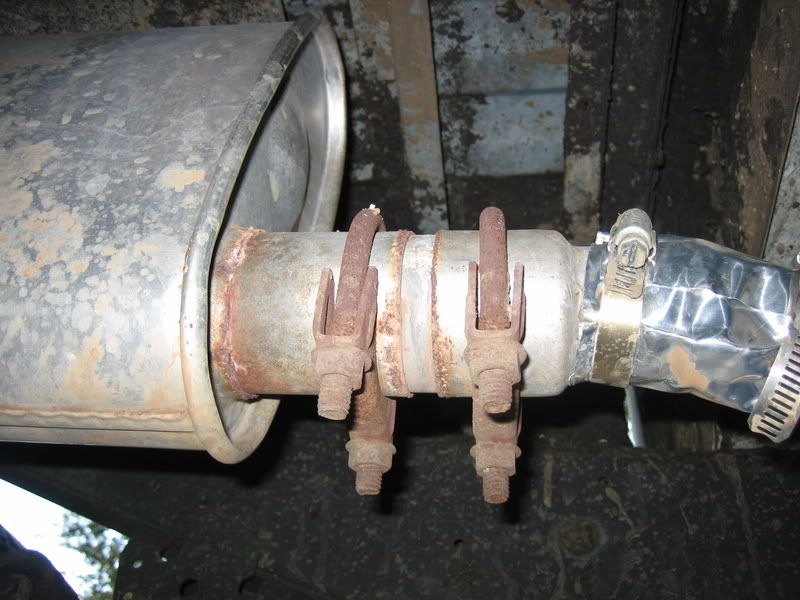
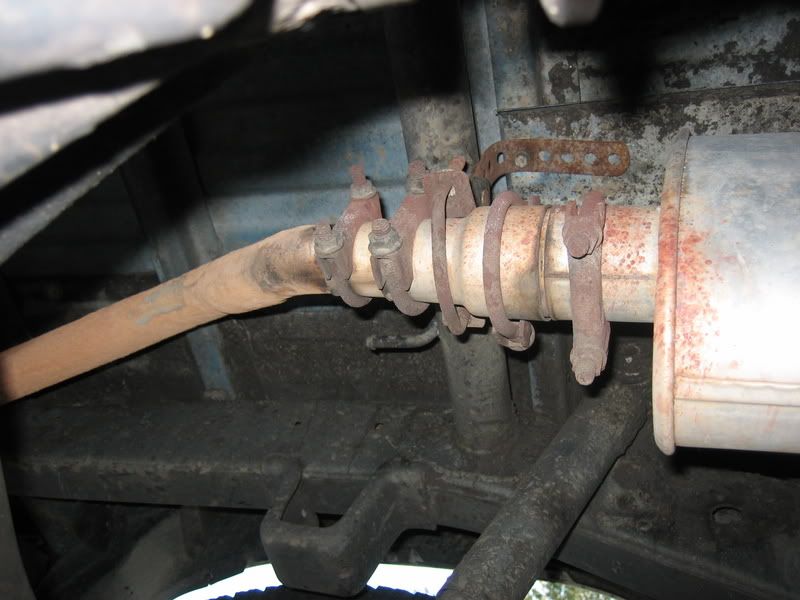
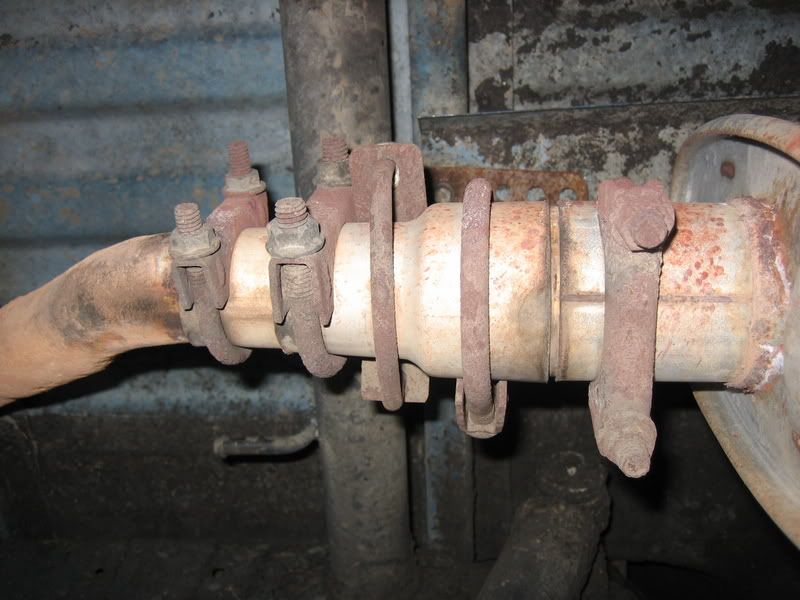
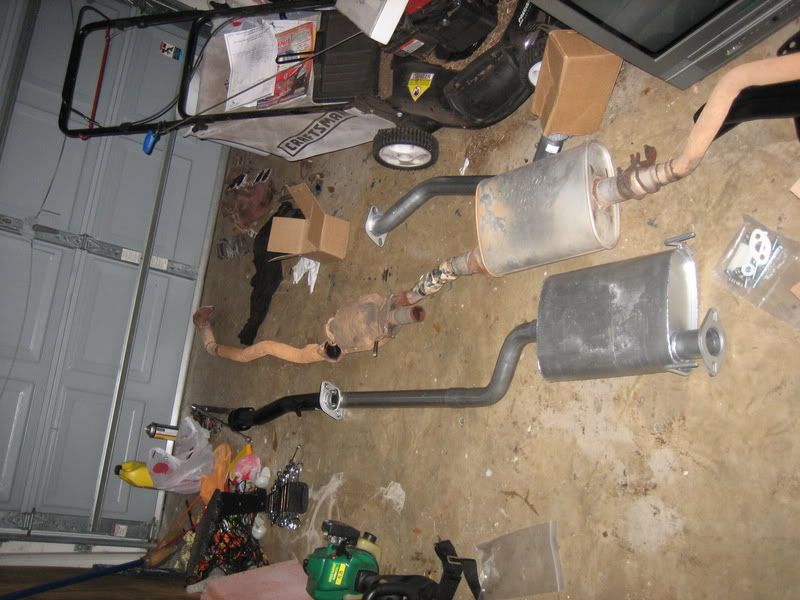
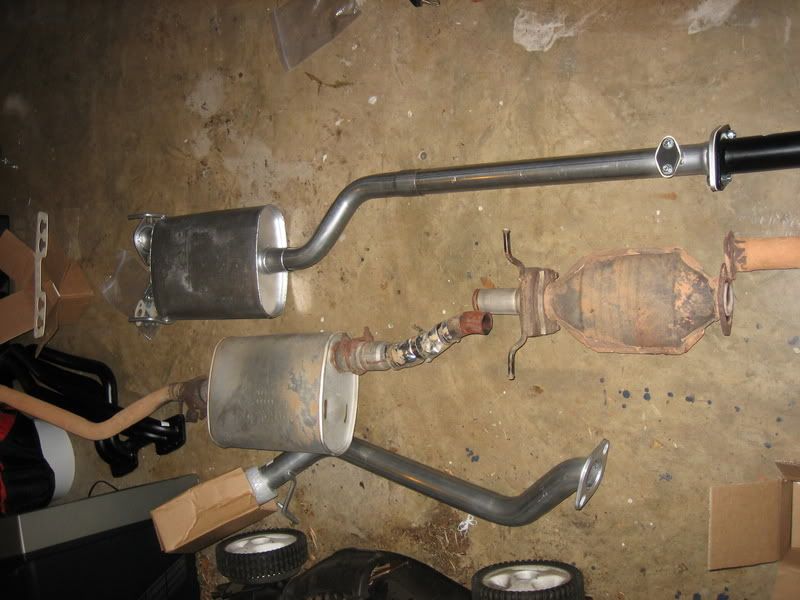
So here's what was on here to begin with... plenty to laugh at in these pics
[YOUTUBE]http://www.youtube.com/watch?v=8kjCE0loAeQ[/YOUTUBE]
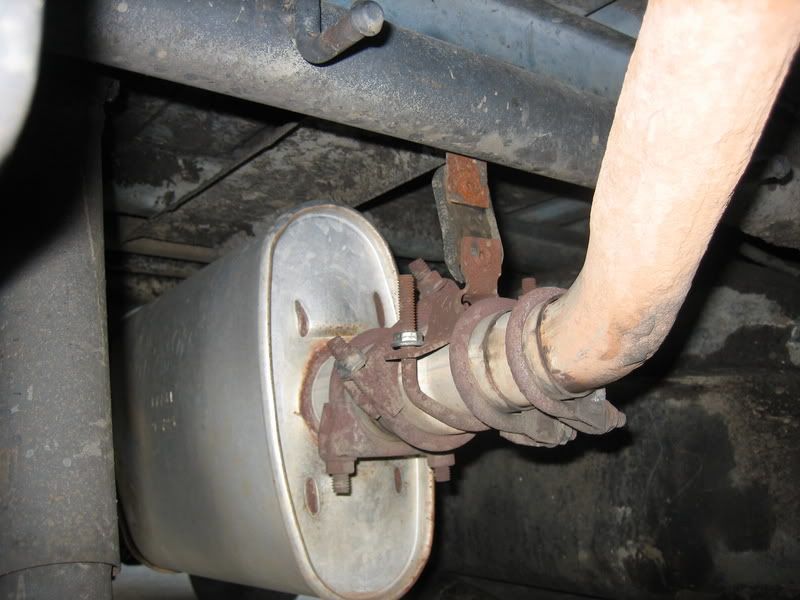
fix from a previous breakage
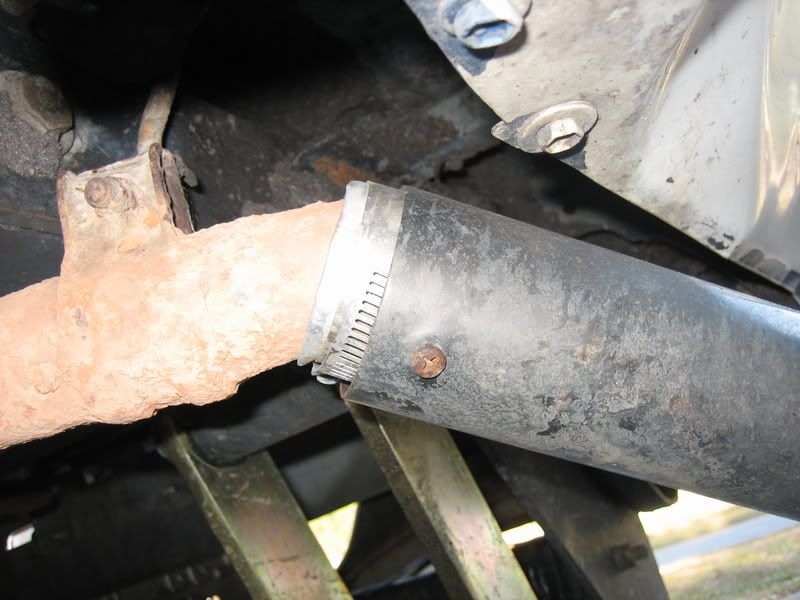
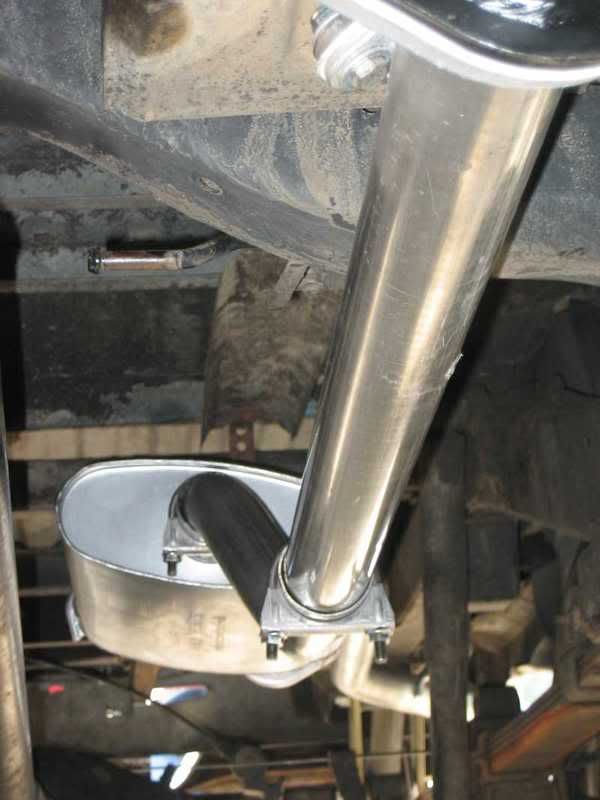
so here's between the cat and the muffler, LOL
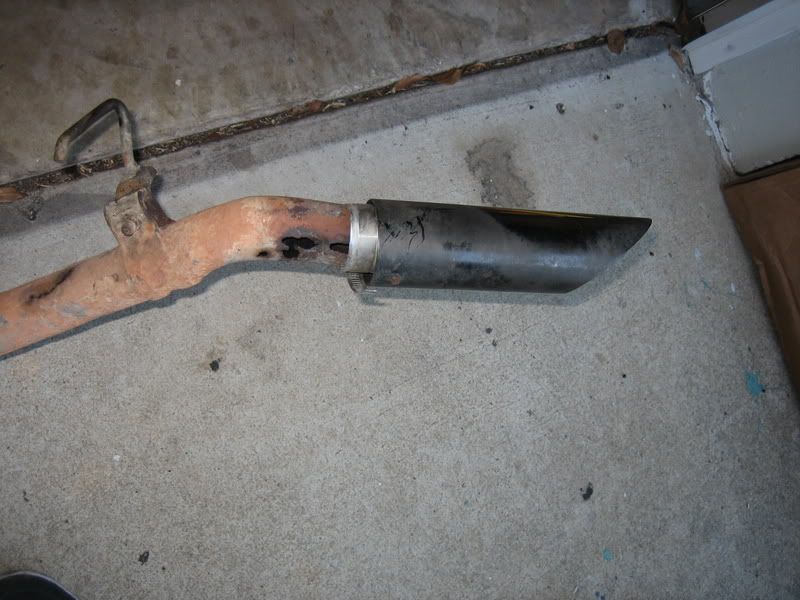
and the connection of the back of the muffler to the tail pipe, again LOL
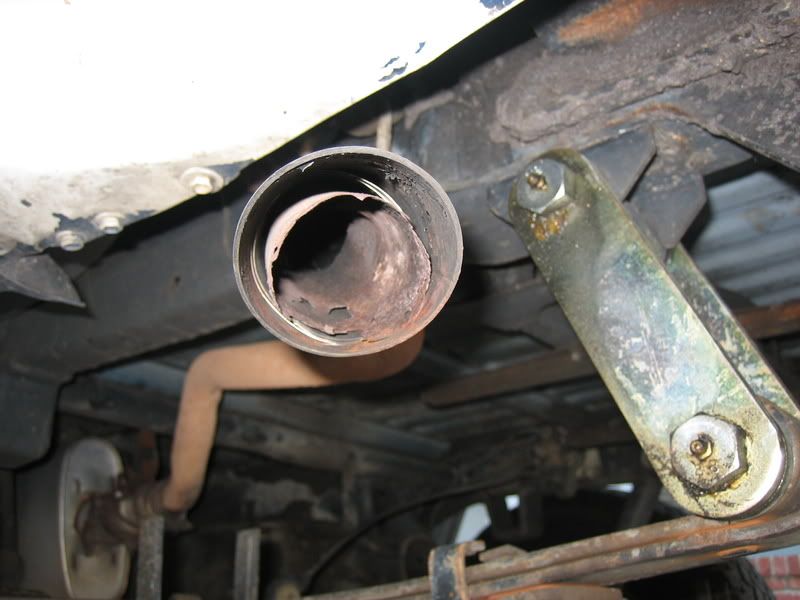
and the tip... one more time... LOL
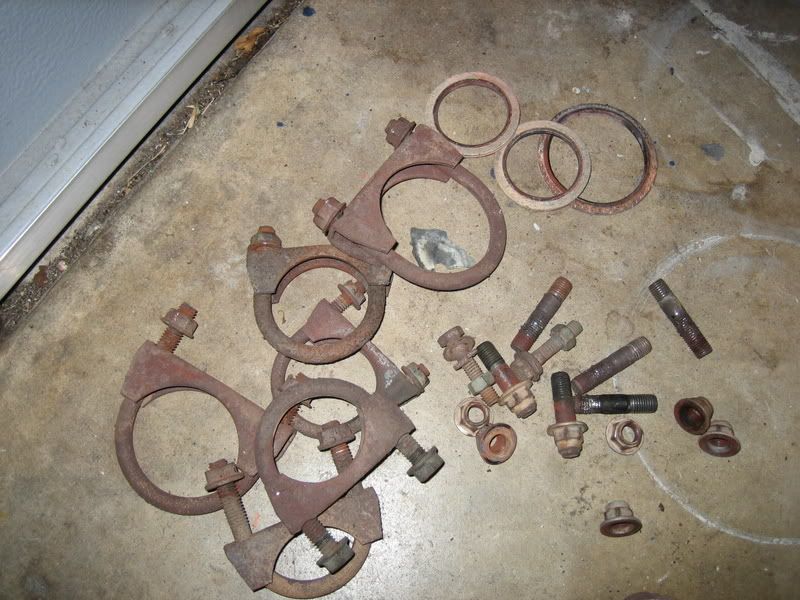
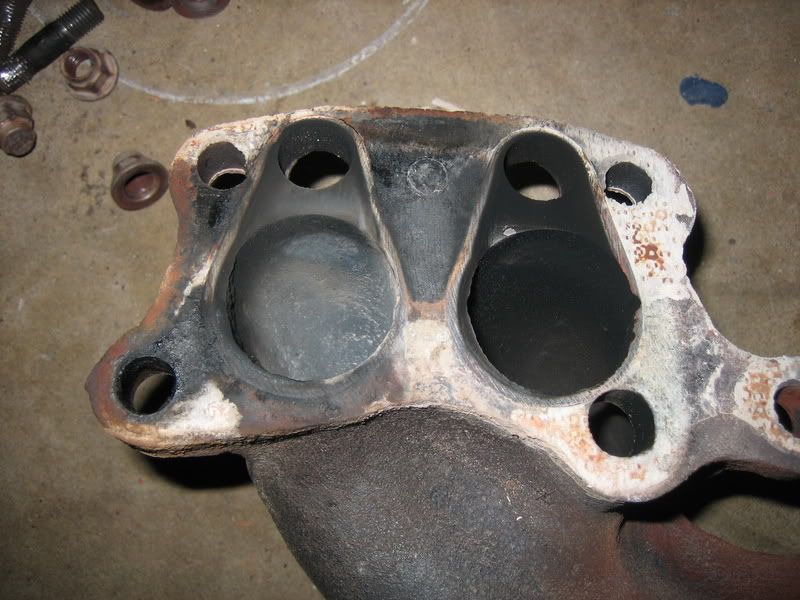
so then, I gutted everything
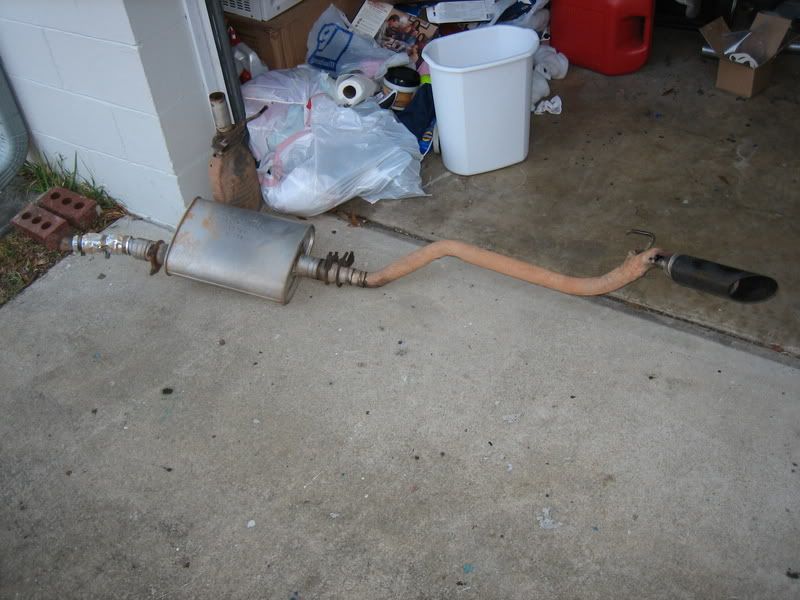
and ended up with a pile of junk
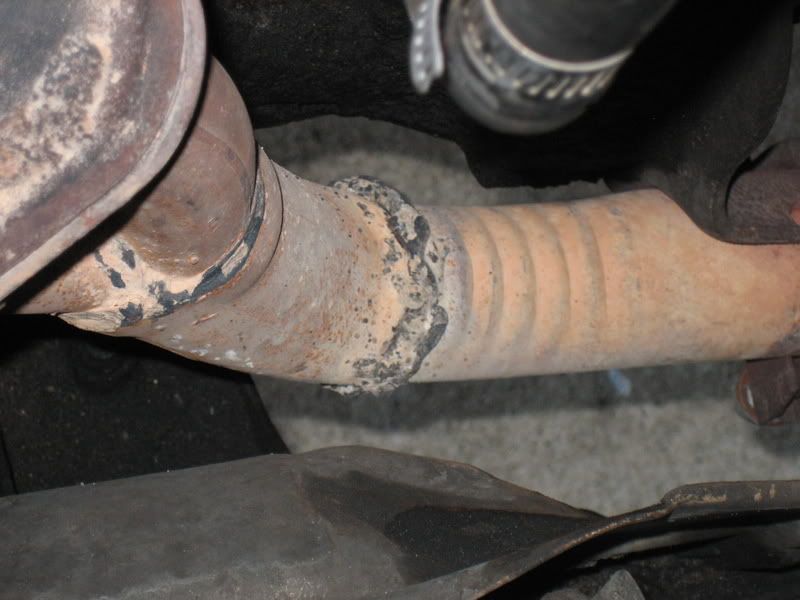
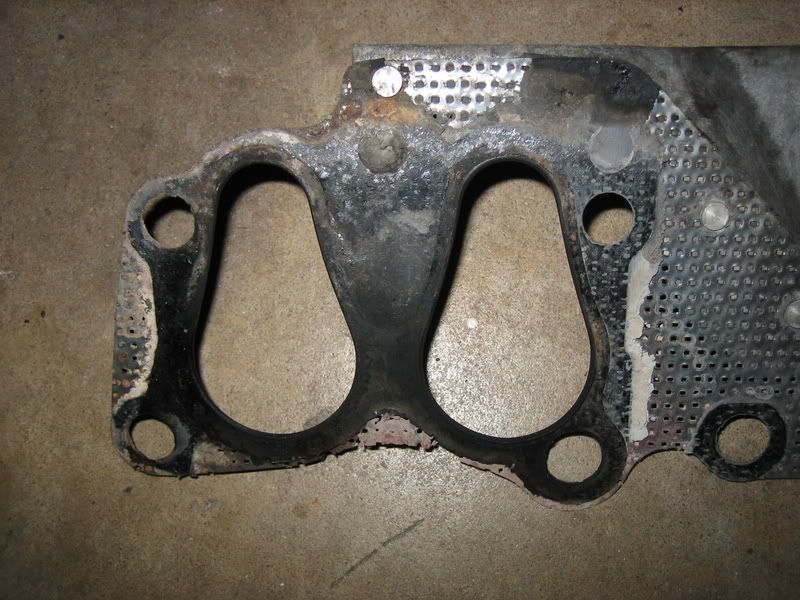
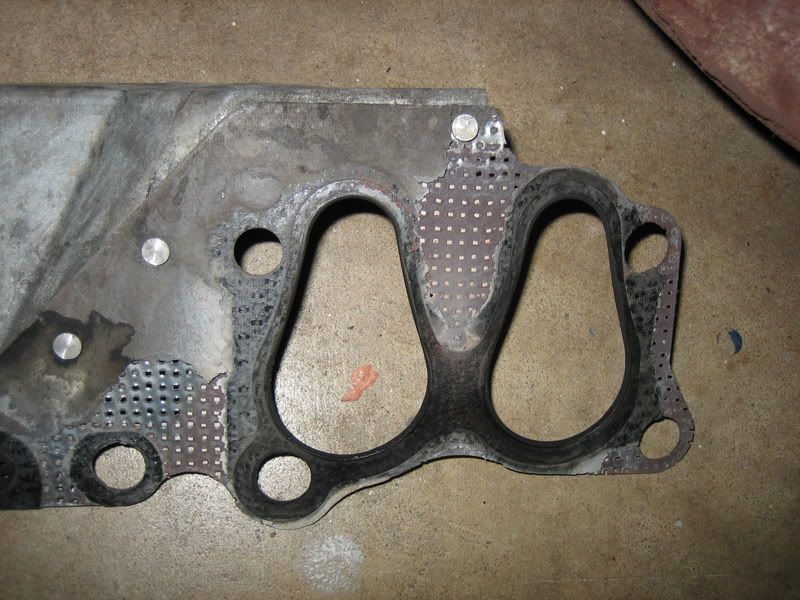
I think I found one or two obvious leaks...
so as she sits now...
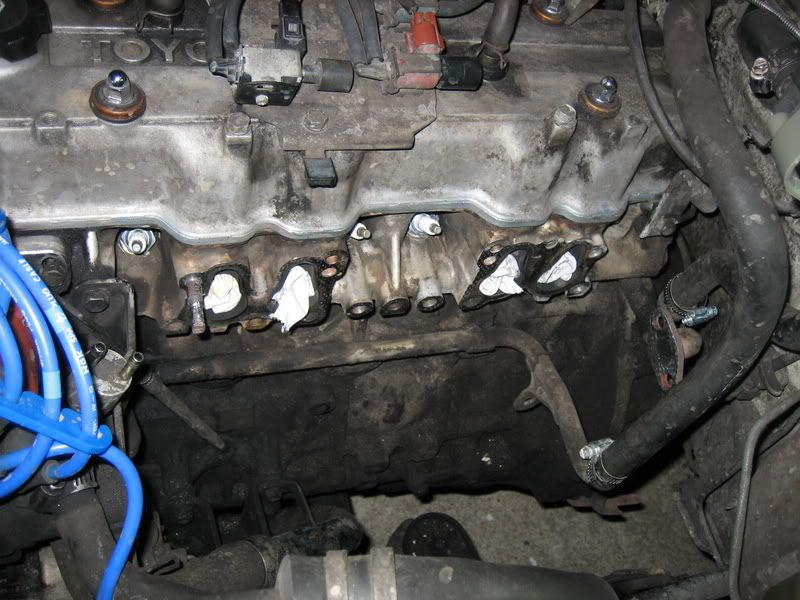
got dark out, so I called it a night
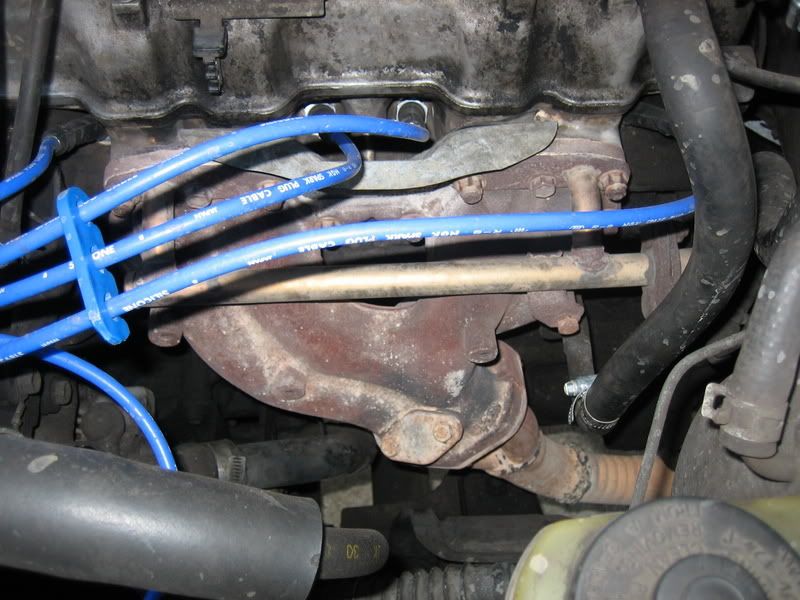
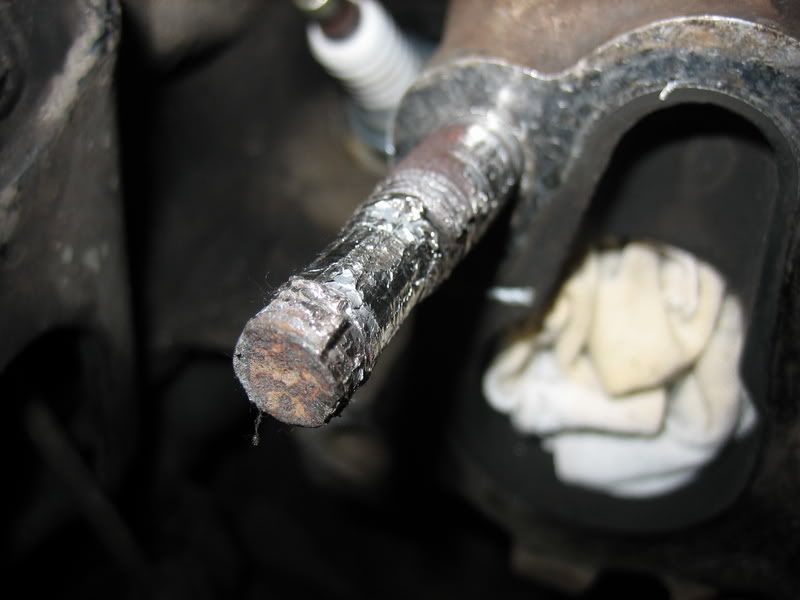
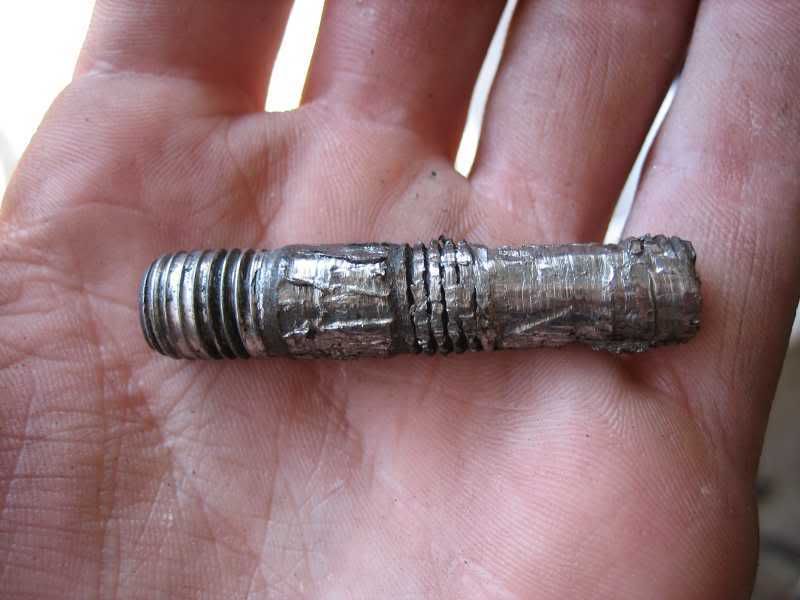
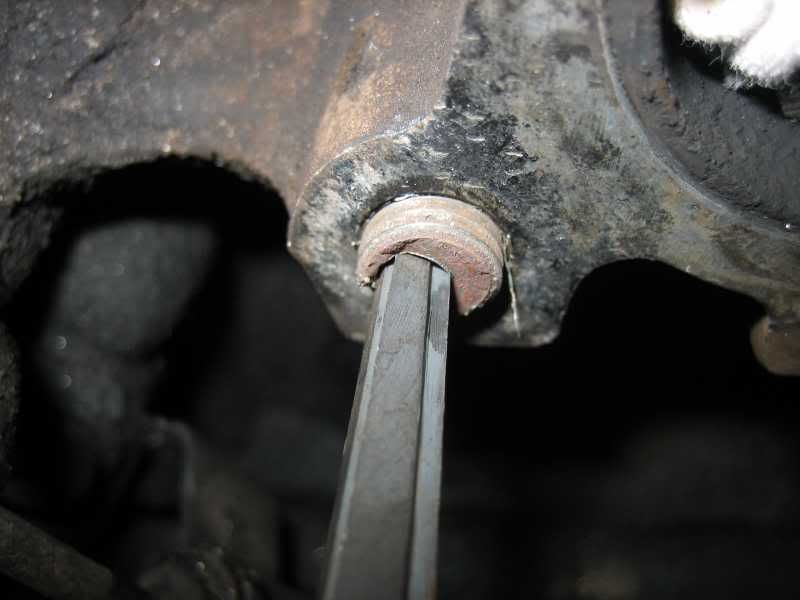
I have two major obsticles to overcome in the morning. The first will be getting this stubborn stud out:
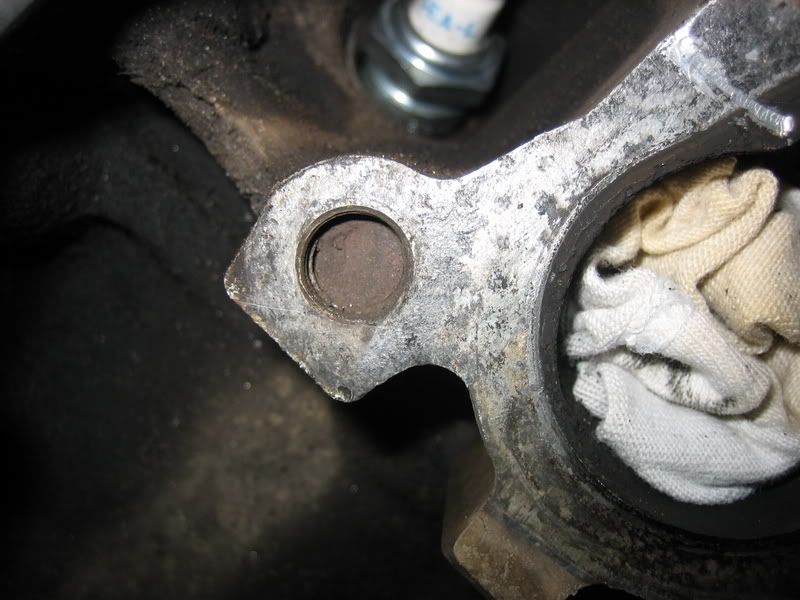
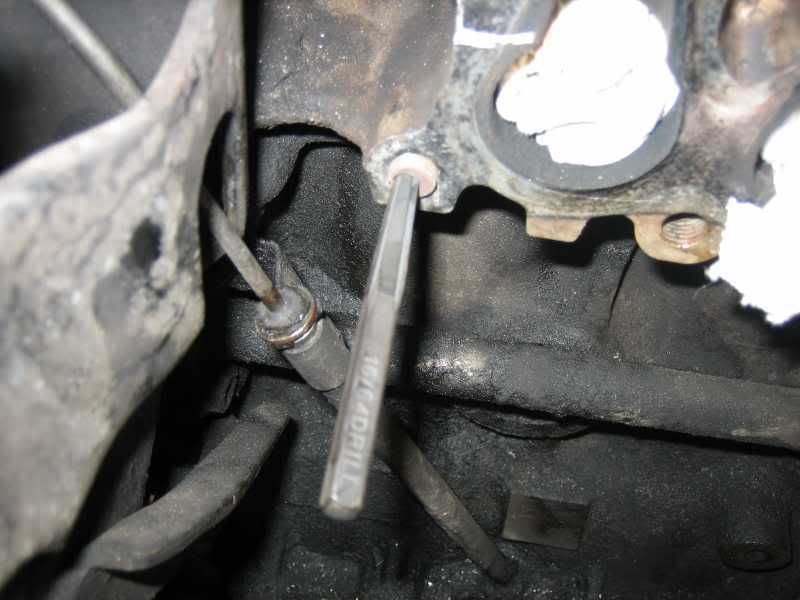
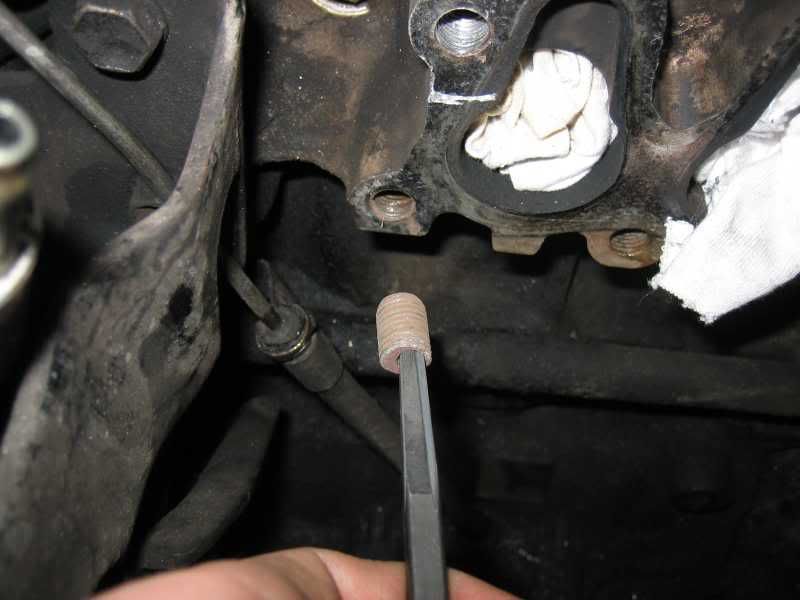
and the second will be getting this already broken stud out
One thing I found kinda intersting is that Pacesetter designed this cat-back kit to fit all wheel base sizes. This means the intermediate pipe between the cat and the curve up to the muffler is longer and cut to fit. BUT, I have the short wheel base, so the extra length makes up for the length of the cat, so I'm removing the cat from the system! No emmision tests here in Fl, plus the O-zone is over-rated anyway
So here's what was on here to begin with... plenty to laugh at in these pics
[YOUTUBE]http://www.youtube.com/watch?v=8kjCE0loAeQ[/YOUTUBE]
fix from a previous breakage
so here's between the cat and the muffler, LOL
and the connection of the back of the muffler to the tail pipe, again LOL
and the tip... one more time... LOL
so then, I gutted everything
and ended up with a pile of junk
I think I found one or two obvious leaks...
so as she sits now...
got dark out, so I called it a night
I have two major obsticles to overcome in the morning. The first will be getting this stubborn stud out:
and the second will be getting this already broken stud out
One thing I found kinda intersting is that Pacesetter designed this cat-back kit to fit all wheel base sizes. This means the intermediate pipe between the cat and the curve up to the muffler is longer and cut to fit. BUT, I have the short wheel base, so the extra length makes up for the length of the cat, so I'm removing the cat from the system! No emmision tests here in Fl, plus the O-zone is over-rated anyway
Last edited by iamsuperbleeder; 02-13-2009 at 05:19 PM.
 02-13-2009, 05:22 PM
#5
Registered User
Join Date: Feb 2008
Location: Salem, OR
Posts: 2,805
Likes: 0
Received 0 Likes
on
0 Posts
02-13-2009, 05:24 PM
#6
Registered User
Join Date: Feb 2007
Location: Sierra Nevada's or the Deserts of Las Vegas
Posts: 2,203
Likes: 0
Received 0 Likes
on
0 Posts
You live in FL and don't know what a boat sounds like?  lol jk gurgly and yeah I guess tractor would describe it a little better. You do know what a tractor sounds like right?
  haha
haha
lol jk gurgly and yeah I guess tractor would describe it a little better. You do know what a tractor sounds like right? haha
02-13-2009, 05:27 PM
#7
Contributing Member
Thread Starter
oh no, it sounded like a tractor when I ran no muffler and just the cat, only it was LOUD!

I think it would sound a lil different with a muffler on it... but if I don't like it, then I'll cut the pipe down and bolt on the cat
I think it would sound a lil different with a muffler on it... but if I don't like it, then I'll cut the pipe down and bolt on the cat
Last edited by iamsuperbleeder; 02-13-2009 at 05:28 PM.
Trending Topics
02-13-2009, 05:29 PM
#8
Contributing Member
Thread Starter
 02-13-2009, 06:45 PM
#14
Contributing Member
Thread Starter
lmao, only the best in the ghetto! 
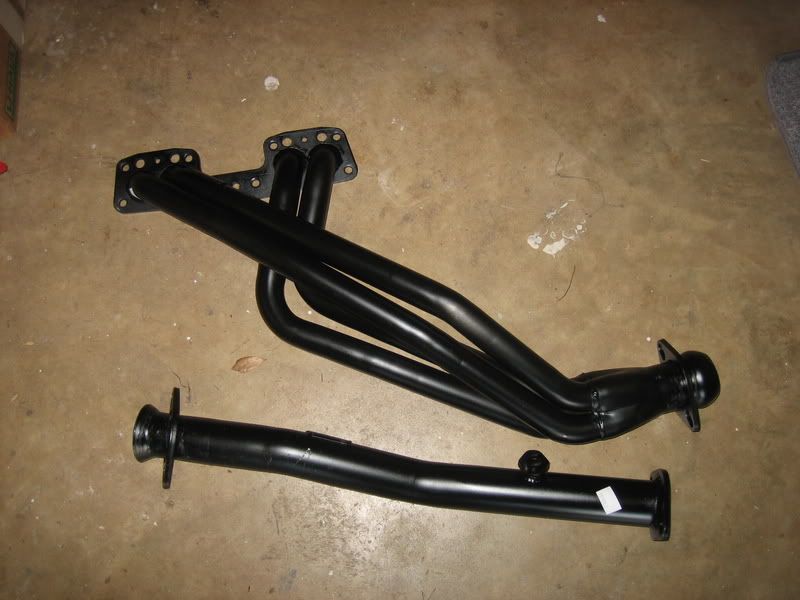
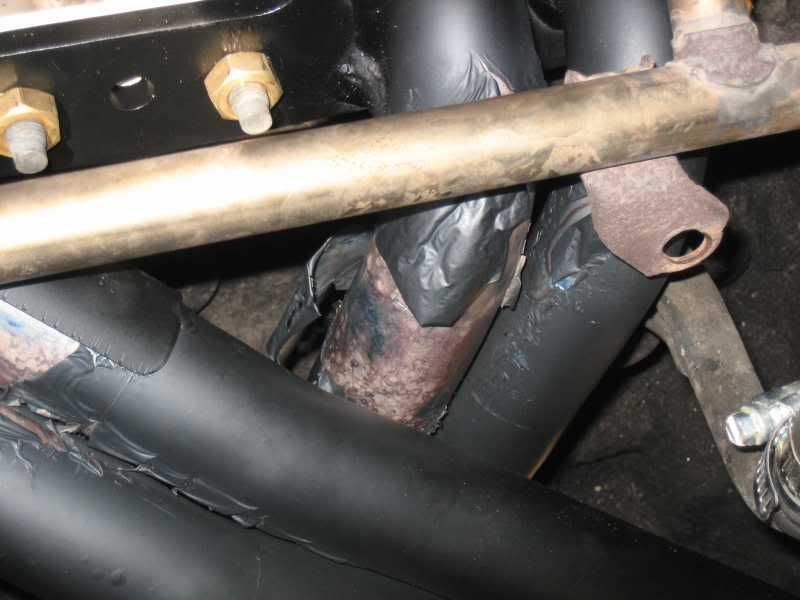
there are holes in the mounting flange of the header to accomidate it. The header even came with new bolts to bolt the tube on
there's a built in spot on the header and the cat-back kit. I blocked off the one on the cat-back kit and am going to use the spot built into the header, as it'll put it in almost the exact spot is was in on the stock kit
 02-14-2009, 05:40 AM
#17
Contributing Member
Thread Starter
don't mind at all
$461.03, $45 of which are 2nd day delivery charges as I wanted to get it Friday so I could install it this weekend. Not too bad, considering I could have paid that much for just a realy good header alone
well it's almost 10am, so I'm gunna go get back on it. Wish me luck on those two studs!
$461.03, $45 of which are 2nd day delivery charges as I wanted to get it Friday so I could install it this weekend. Not too bad, considering I could have paid that much for just a realy good header alone
well it's almost 10am, so I'm gunna go get back on it. Wish me luck on those two studs!
02-14-2009, 12:12 PM
#18
Contributing Member
Thread Starter
Well ladies and gents, the install's done!
So I started off today with just getting that PITA stud out... not big problem, just locked some vise-grips to it, and after about 50 tries I got a good enough bite on it to turn it loose... freek'n thing put up a fight though... I don't get it either, the threads looked fine
Then I tackled what I thought was going to be the hardest part; getting that broken stud out. BUT, to my surprise, it was EASY! As I was drilling the pilot hole for the easy-out, the stud broke loose and actually turned in a little bit, lol. So I took the easy-out to it, tapped on it a couple times with the ol hammer, and viola!

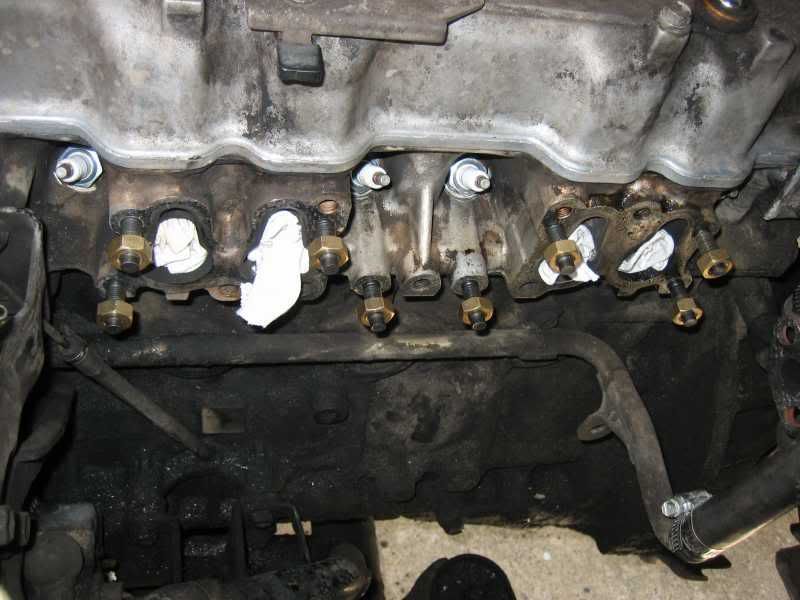
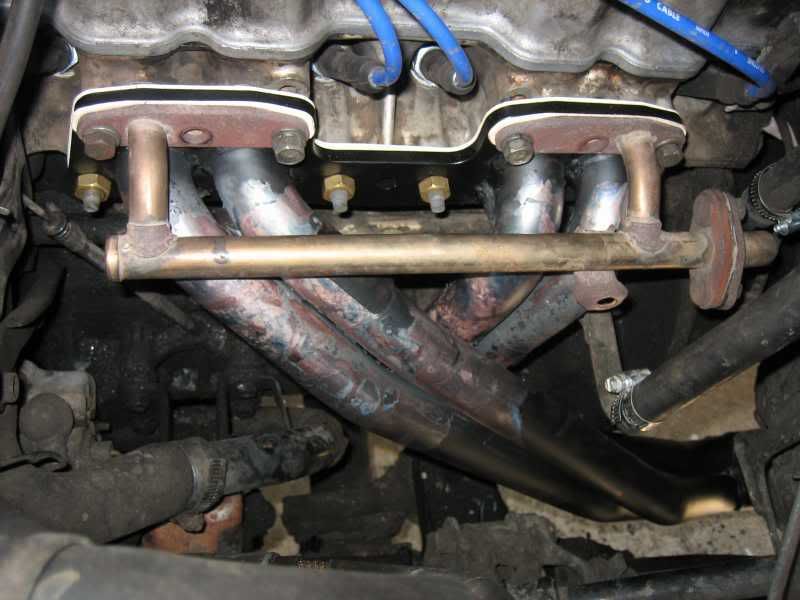
Next step was to put in all the new studs. Of course after doing this I realised that these studs weren't long enough on the top to fit the emmision tube thingamajig Lucky me, I just so happen to have 4 equal length bolts that were the correct thread just lying around that were the perfect fit!
So I then dropped in the header, and man was it a tight fit, but she went in after removing the stock clamp-hanger thingy on the bellhousing and the heat sheild.
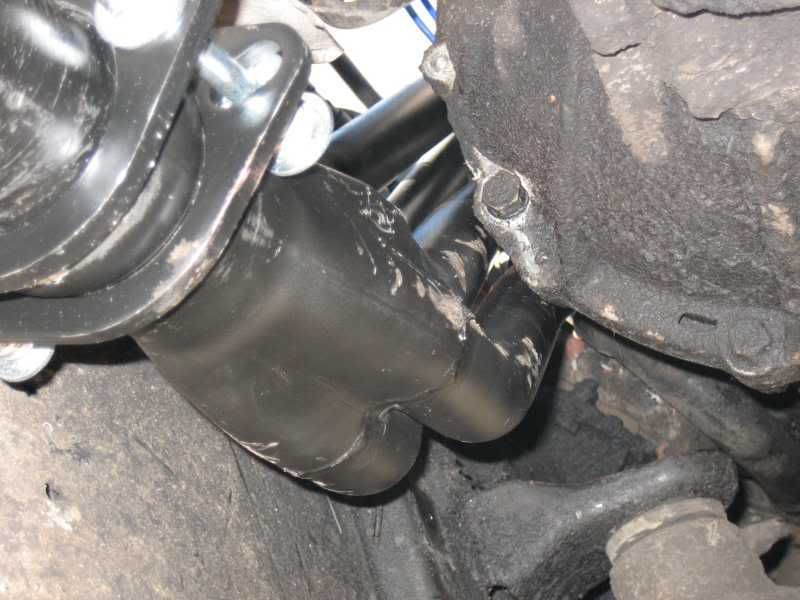
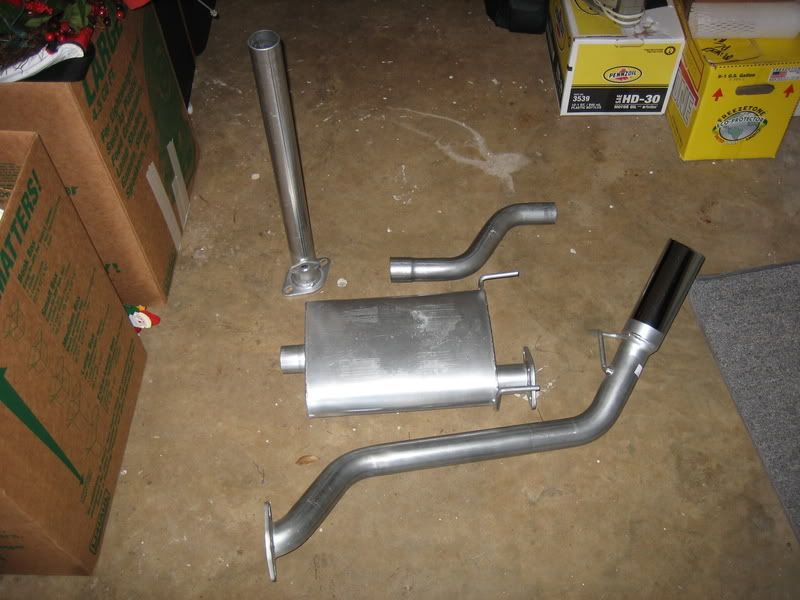
Then piped the rest of the exhaust!
And the nice look'n tip makes my dent look not so bad

For a bolt-on kit, the thing was a major PITA to get it to fit up, and still the muffler is only hanging with one of the rubber hangers cause of the fit...
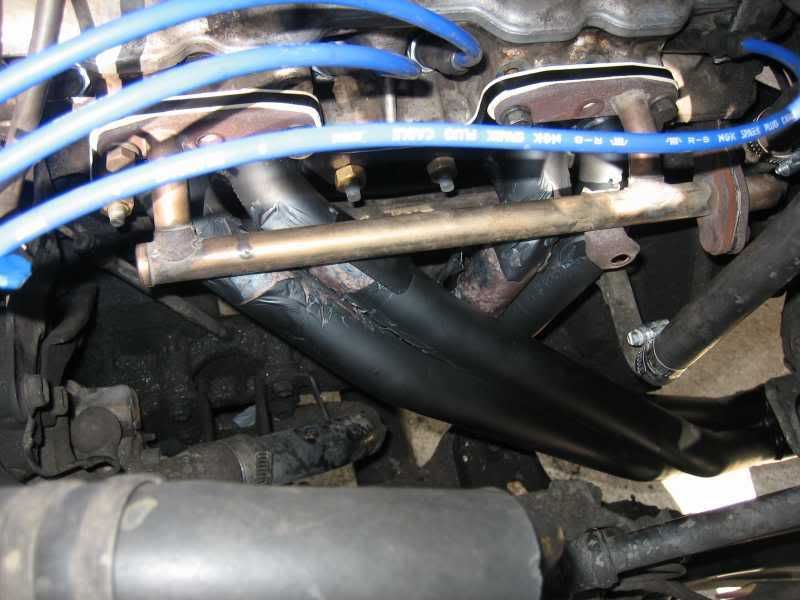
So I fired if up, and like most have said about the Pacesetter header, the black coating lasted all about about 1 minute, or untill the header heated up but ya know, it's the cheapest header you can get, and you get what you pay for, so I kinda expected it. Besides, I'm not go'n for the looks, I'm goin for the no-leak approach. Oh and the sound's a bonus too
After the test drive, I wiped off what was loose... not sure how long it'll last before it begins to rust, but I guess when it really starts to rust I'll pull it back off and give it a good sand and paint, with REAL quality header paint... I could care less about how it looks though, just look at the rest of the underside of my hood
Ok, so I know by now yall are think'n, "So what the hell does it sound like with the kit, and no cat?"
Well, here ya go
[YOUTUBE]http://www.youtube.com/watch?v=_emsoiVzPcU[/YOUTUBE]
Not too shabby if I say so myself
That's all the video I have for now; I might try to get some drive-by's or acceleration vids later; we'll see
So I started off today with just getting that PITA stud out... not big problem, just locked some vise-grips to it, and after about 50 tries I got a good enough bite on it to turn it loose... freek'n thing put up a fight though... I don't get it either, the threads looked fine
Then I tackled what I thought was going to be the hardest part; getting that broken stud out. BUT, to my surprise, it was EASY! As I was drilling the pilot hole for the easy-out, the stud broke loose and actually turned in a little bit, lol. So I took the easy-out to it, tapped on it a couple times with the ol hammer, and viola!
Next step was to put in all the new studs. Of course after doing this I realised that these studs weren't long enough on the top to fit the emmision tube thingamajig
Lucky me, I just so happen to have 4 equal length bolts that were the correct thread just lying around that were the perfect fit!So I then dropped in the header, and man was it a tight fit, but she went in after removing the stock clamp-hanger thingy on the bellhousing and the heat sheild.
Then piped the rest of the exhaust!
And the nice look'n tip makes my dent look not so bad
For a bolt-on kit, the thing was a major PITA to get it to fit up, and still the muffler is only hanging with one of the rubber hangers cause of the fit...
So I fired if up, and like most have said about the Pacesetter header, the black coating lasted all about about 1 minute, or untill the header heated up
but ya know, it's the cheapest header you can get, and you get what you pay for, so I kinda expected it. Besides, I'm not go'n for the looks, I'm goin for the no-leak approach. Oh and the sound's a bonus too After the test drive, I wiped off what was loose... not sure how long it'll last before it begins to rust, but I guess when it really starts to rust I'll pull it back off and give it a good sand and paint, with REAL quality header paint... I could care less about how it looks though, just look at the rest of the underside of my hood
Ok, so I know by now yall are think'n, "So what the hell does it sound like with the kit, and no cat?"
Well, here ya go
[YOUTUBE]http://www.youtube.com/watch?v=_emsoiVzPcU[/YOUTUBE]
Not too shabby if I say so myself
That's all the video I have for now; I might try to get some drive-by's or acceleration vids later; we'll see
Last edited by iamsuperbleeder; 02-14-2009 at 12:14 PM.


