LOts of pics 3vze rebuild
 02-17-2009, 07:02 PM
#1
Contributing Member
Thread Starter
LOts of pics 3vze rebuild
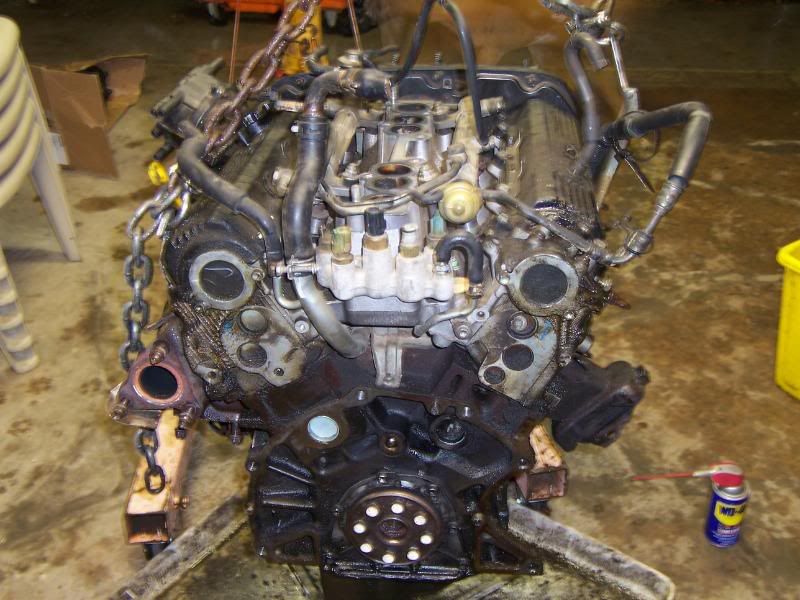
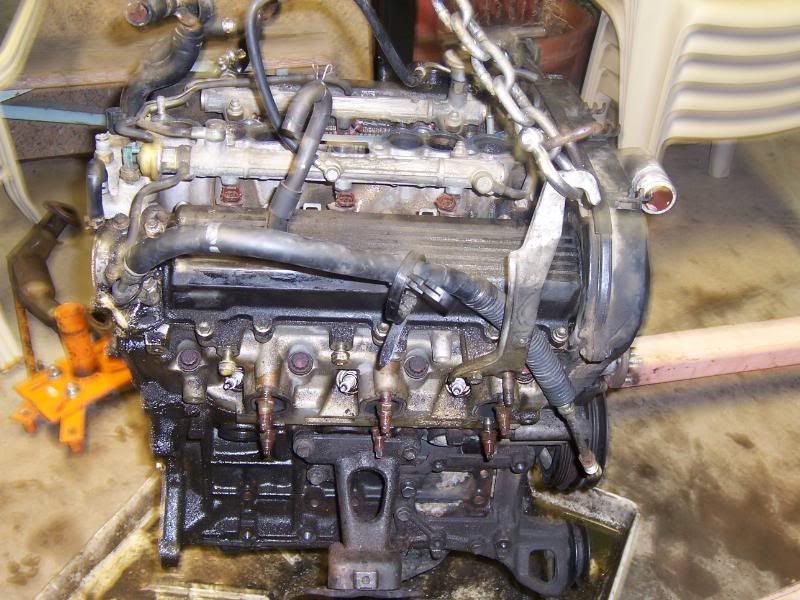
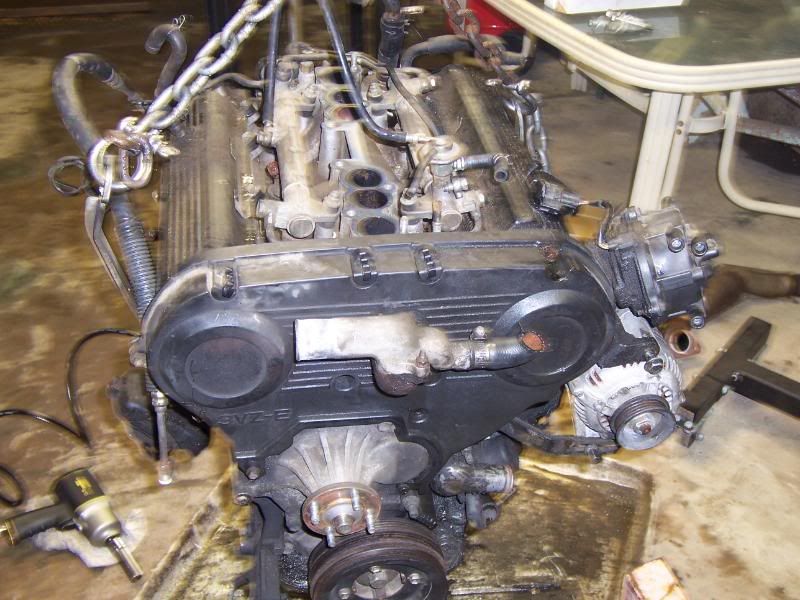
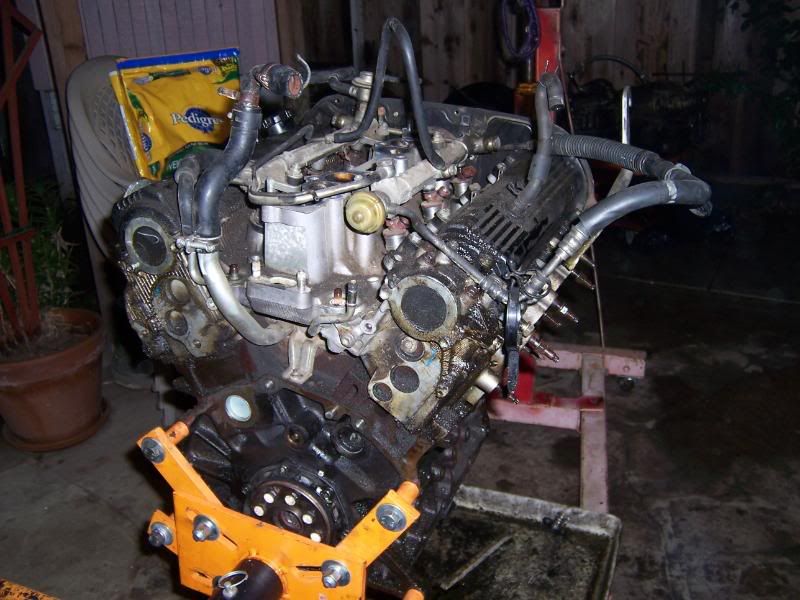
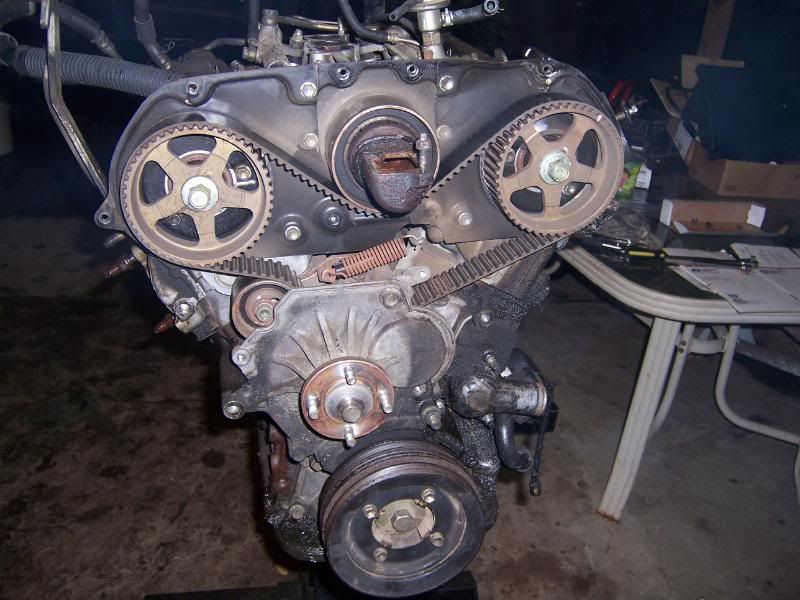
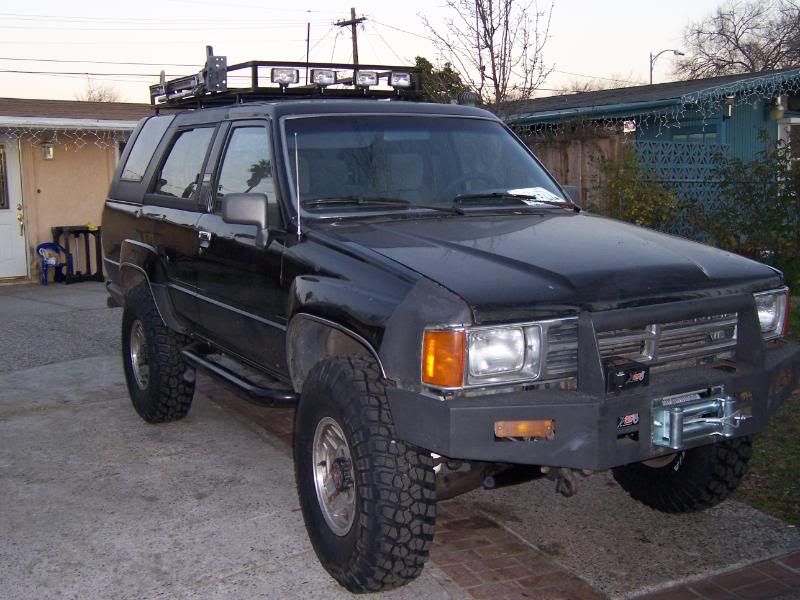
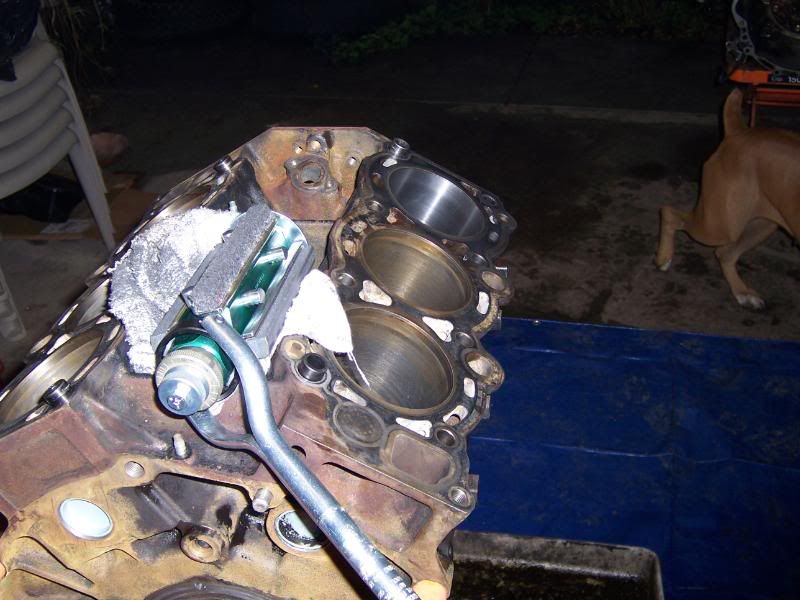
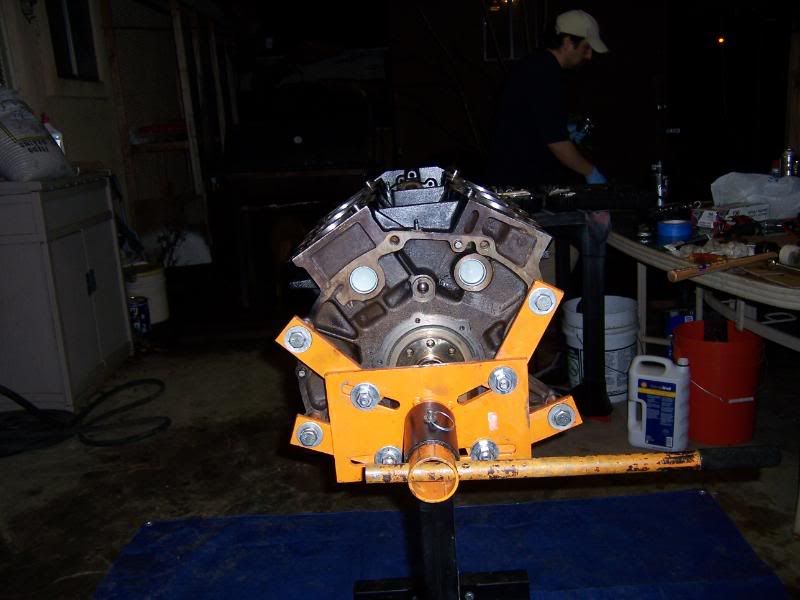
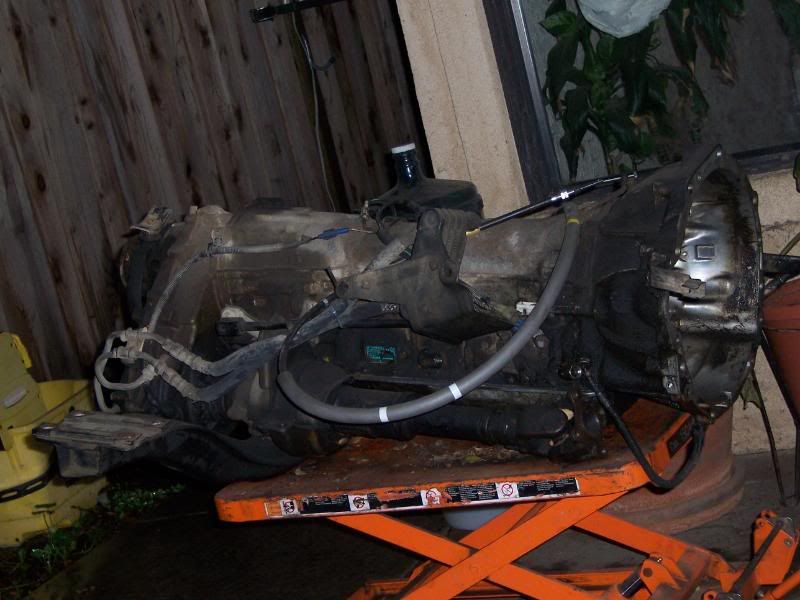
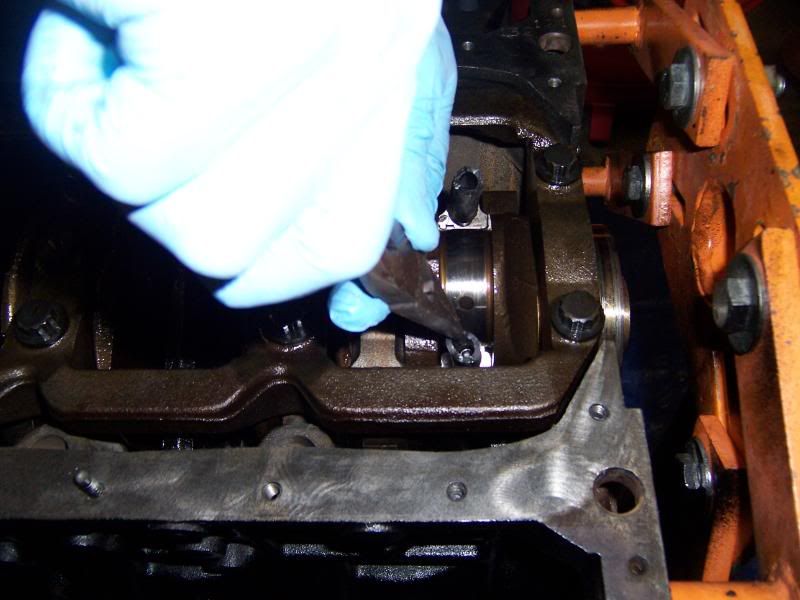
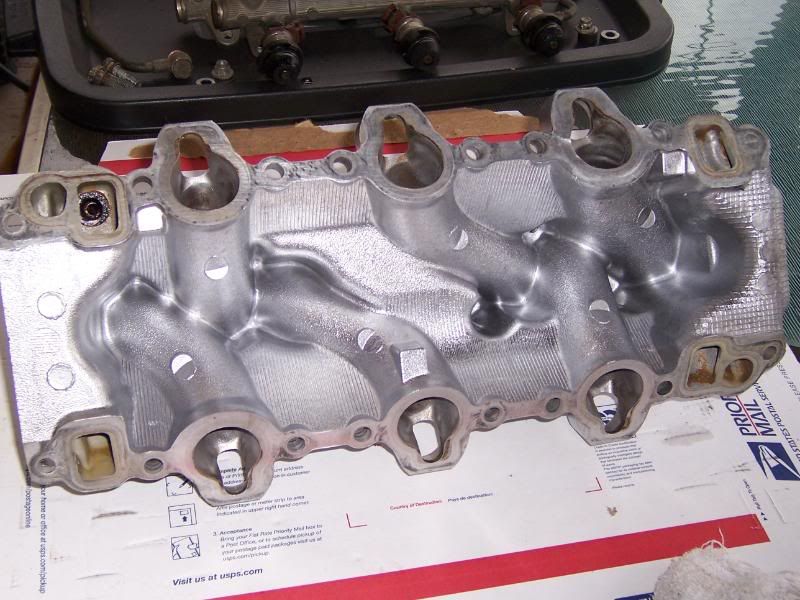
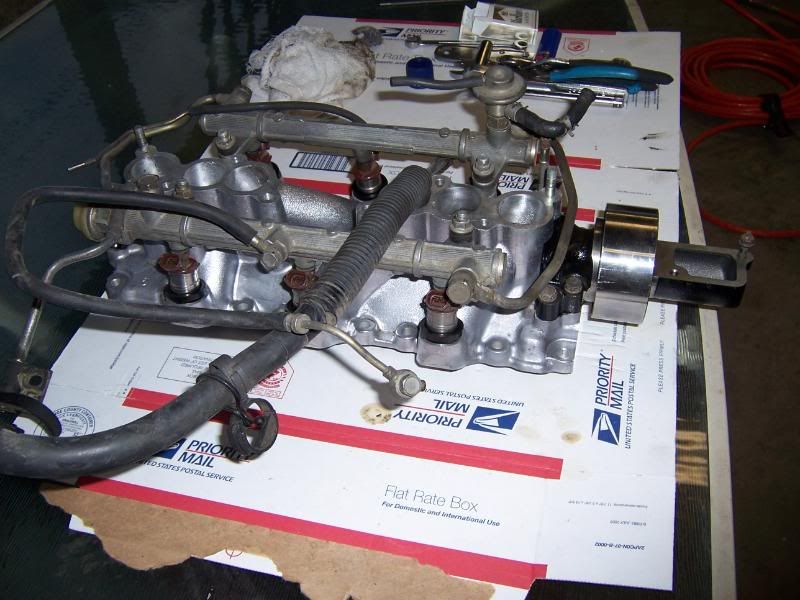
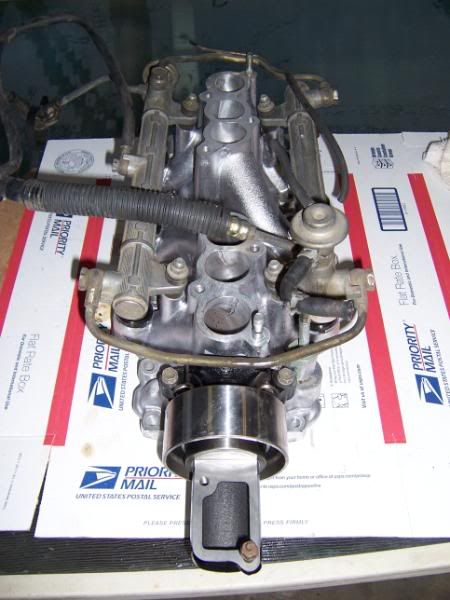
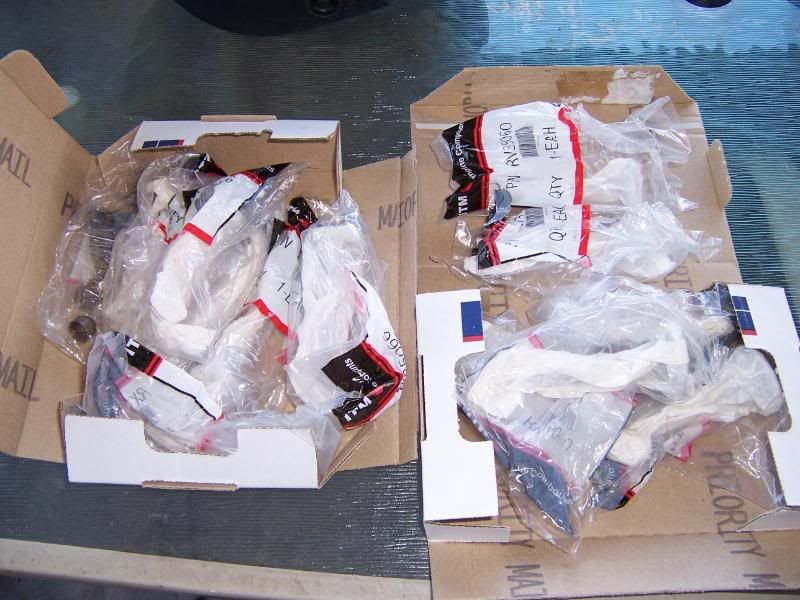
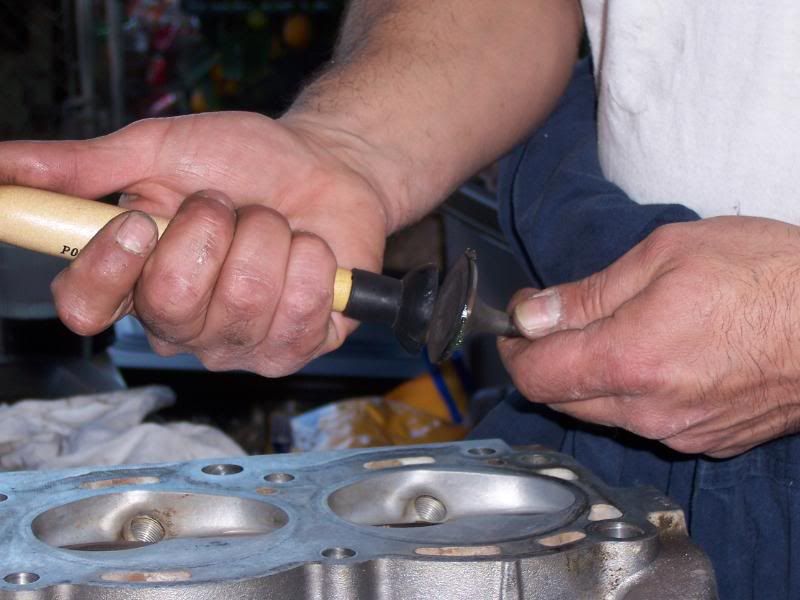
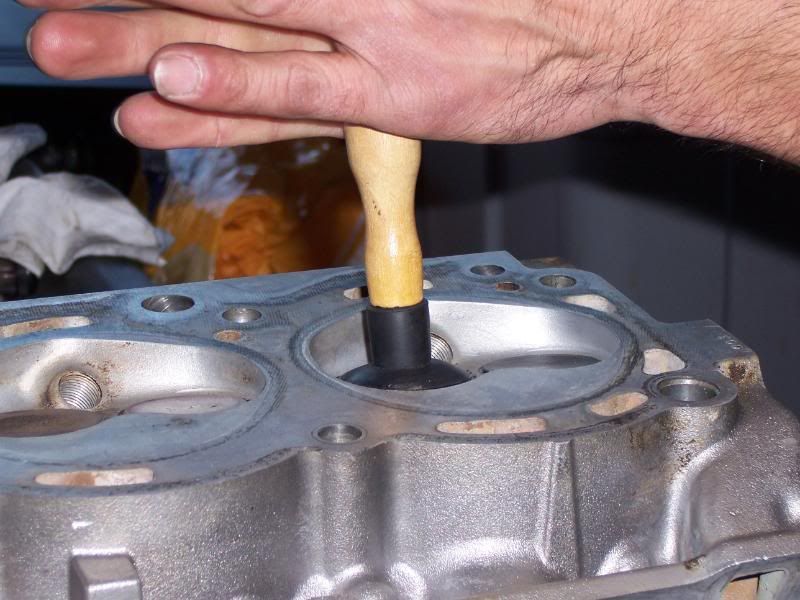
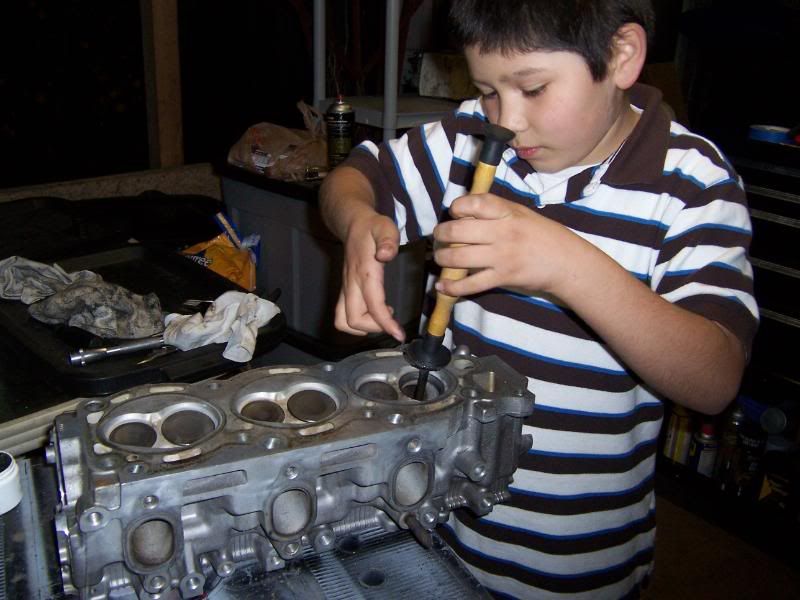
Thought Id share my first rebuild 3vze V6. I had a motor with 116,000 miles left over from the last 4runner i parted out . Bad gasket , otherwise it was ok.This is not the best rebuild ever just My rebuild.I went ahead and bought the kits needed from ebay and spent $442.94. KIts included pretty much everything needed.
Full gasket set
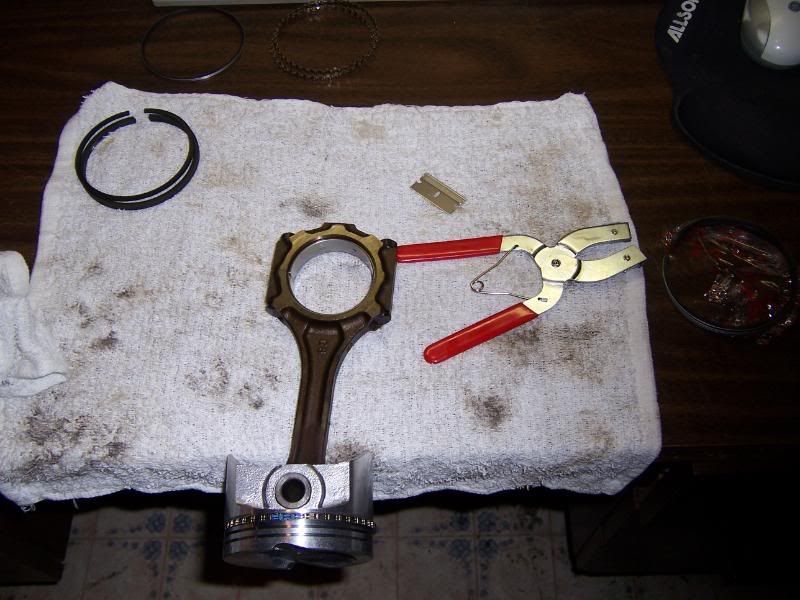
Pistons and rings
Bearings
Thrust washers
timing belt both idlers
water pumpk, oil pump
headbolts,freeze plugs.
I did this just because I wanted to give it a shot. I do not need this motor right now but it will be ready when I do need it .
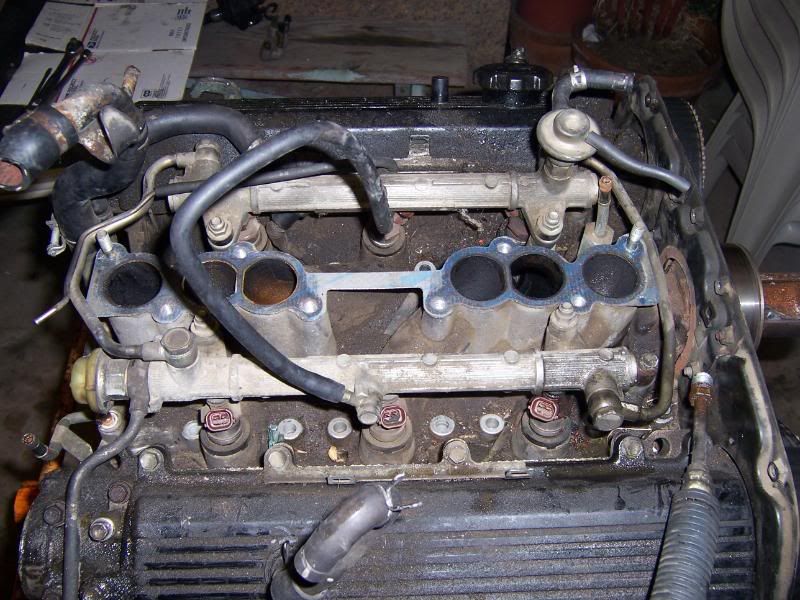
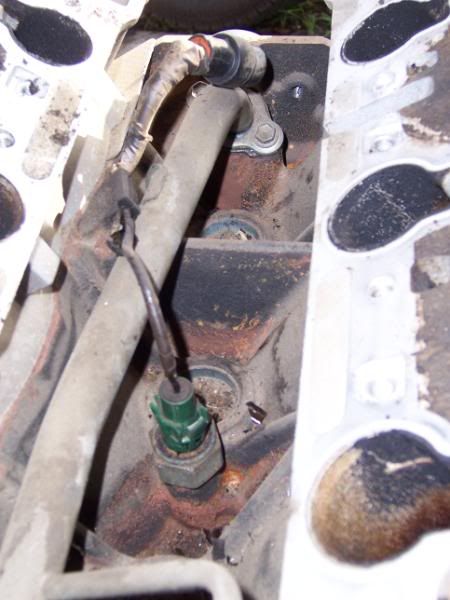
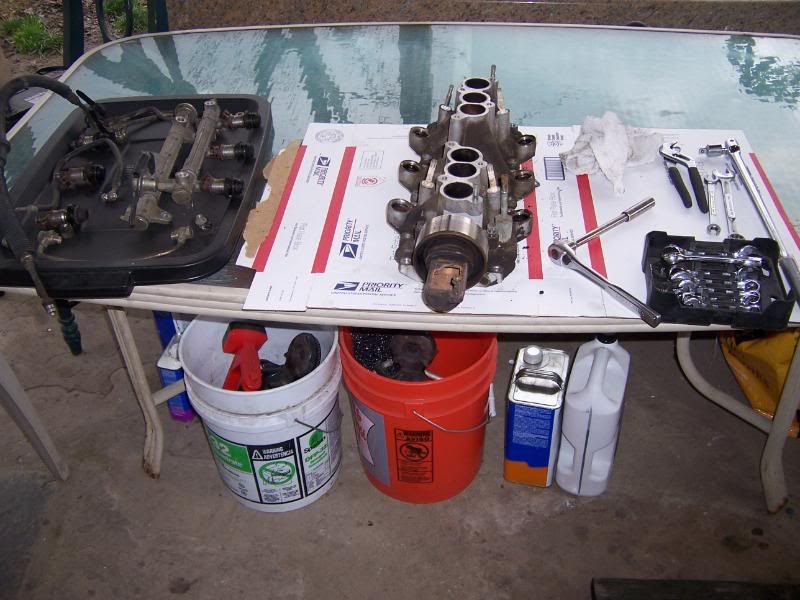
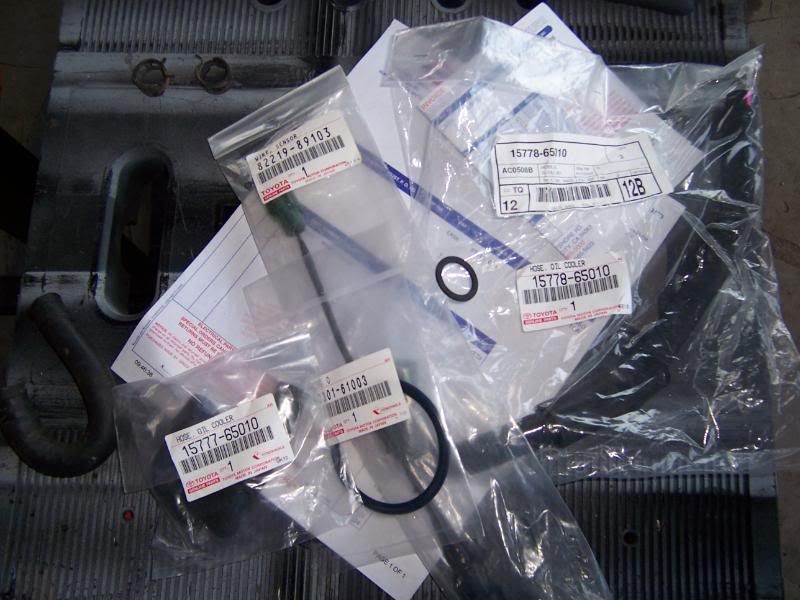
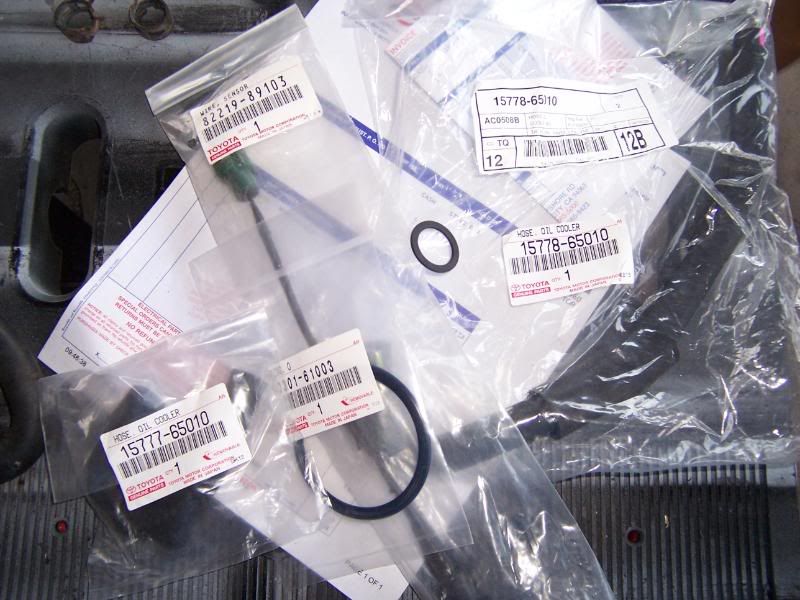
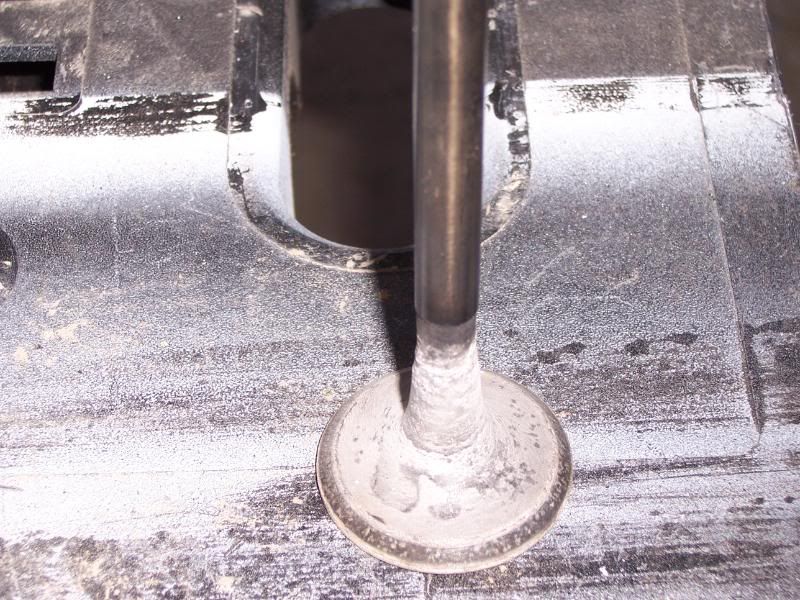
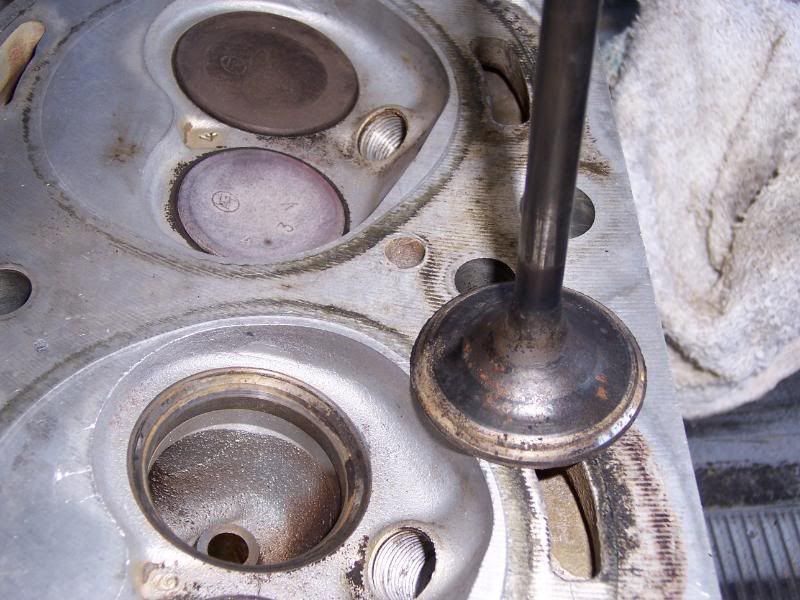
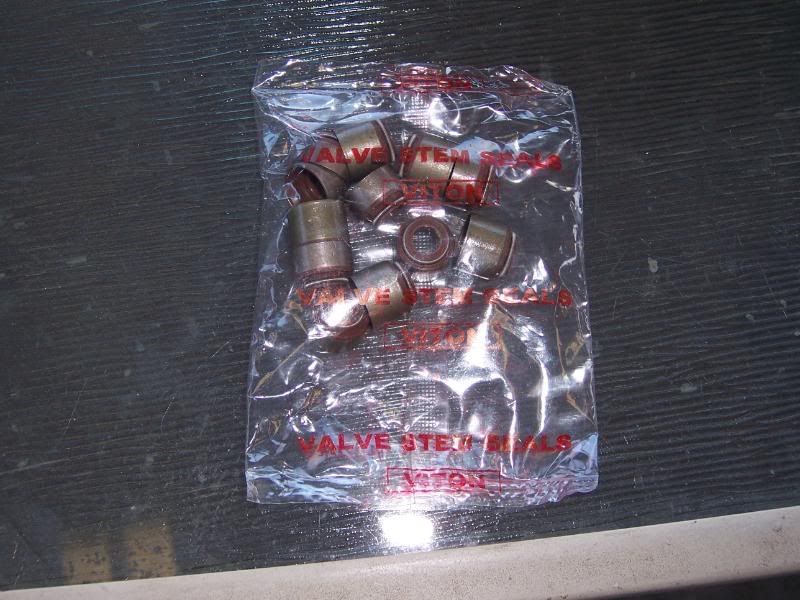
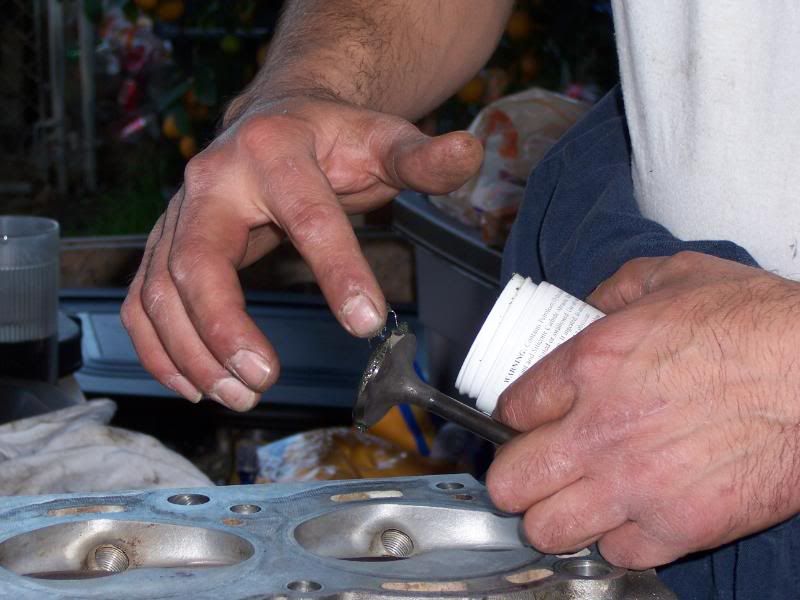
I bought the valves from parts dinausour awhile back , I also bought a few parts from the dealer , oil cooler gaskets and hoses and the knock sensor wire from the dealer also. Not finished but here are some pics.


Full gasket set
Pistons and rings
Bearings
Thrust washers
timing belt both idlers
water pumpk, oil pump
headbolts,freeze plugs.
I did this just because I wanted to give it a shot. I do not need this motor right now but it will be ready when I do need it .
I bought the valves from parts dinausour awhile back , I also bought a few parts from the dealer , oil cooler gaskets and hoses and the knock sensor wire from the dealer also. Not finished but here are some pics.


 02-17-2009, 07:34 PM
#4
Contributing Member
Thread Starter
TubbyFatty , Thanks !!
XZYRagon , Looks like it , but I had been planning this for a while , getting tools and downloading manuals.
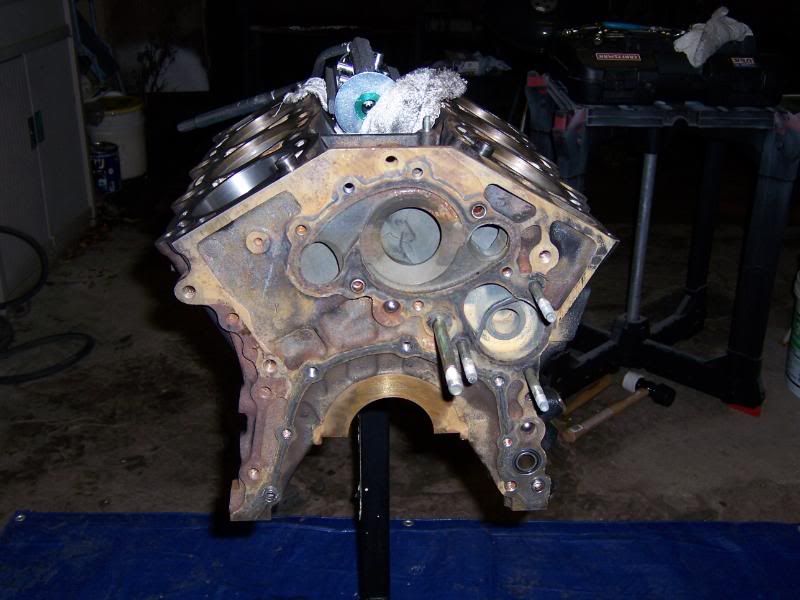
I was going step by step in the FSM manual I downloaded. Also The heads and blocks in my signature were done by a machine shop. I thought if I had trouble I could always take it to the same shop so they could fix it.
XZYRagon , Looks like it , but I had been planning this for a while , getting tools and downloading manuals.
I was going step by step in the FSM manual I downloaded. Also The heads and blocks in my signature were done by a machine shop. I thought if I had trouble I could always take it to the same shop so they could fix it.
Last edited by RMA; 02-17-2009 at 07:36 PM.
02-17-2009, 08:45 PM
#7
Contributing Member
Thread Starter
http://stores.shop.ebay.com/Mizumo-A...__W0QQ_armrsZ1
I bought the kits from this seller.
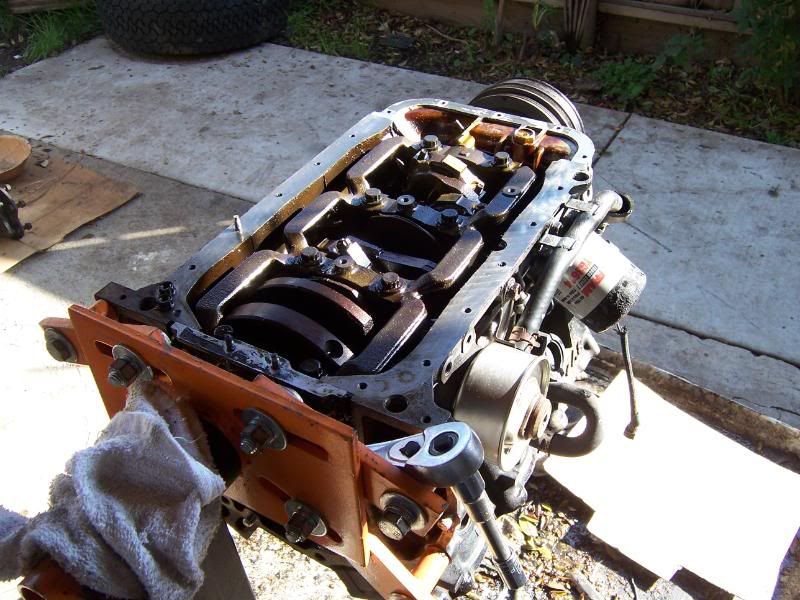
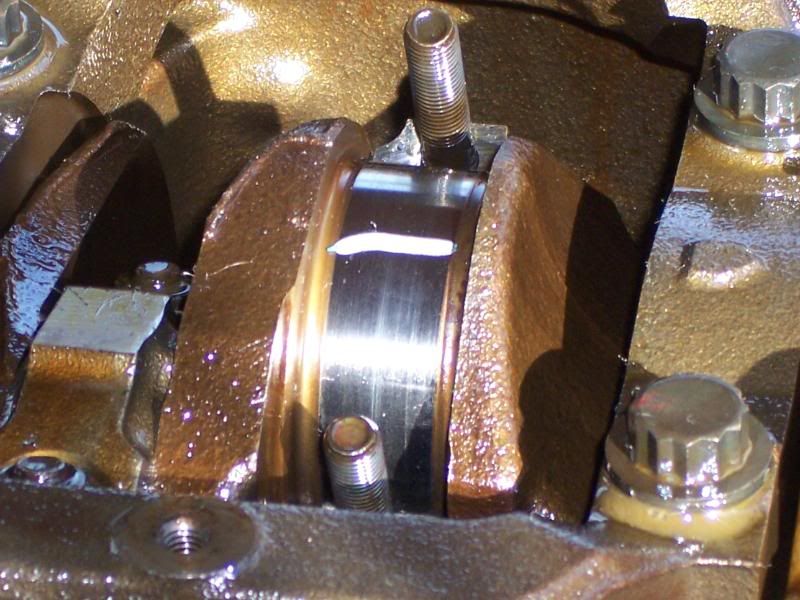
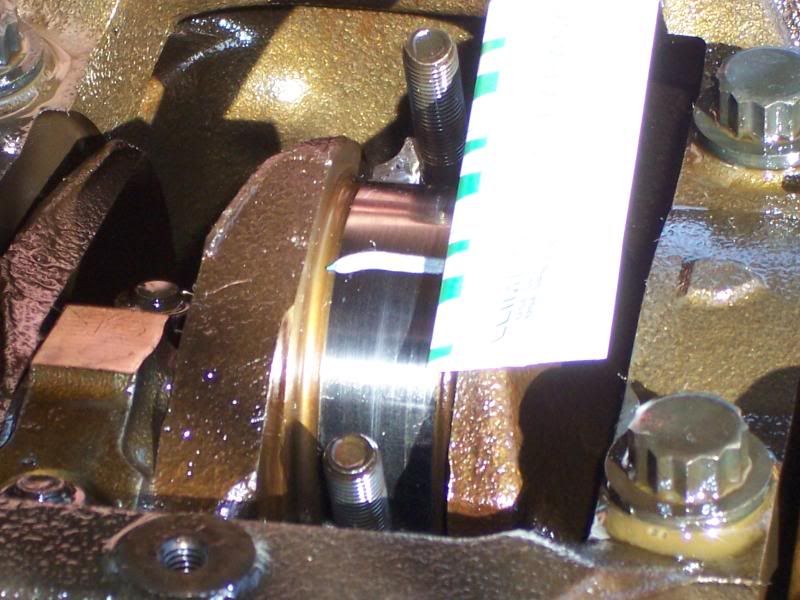
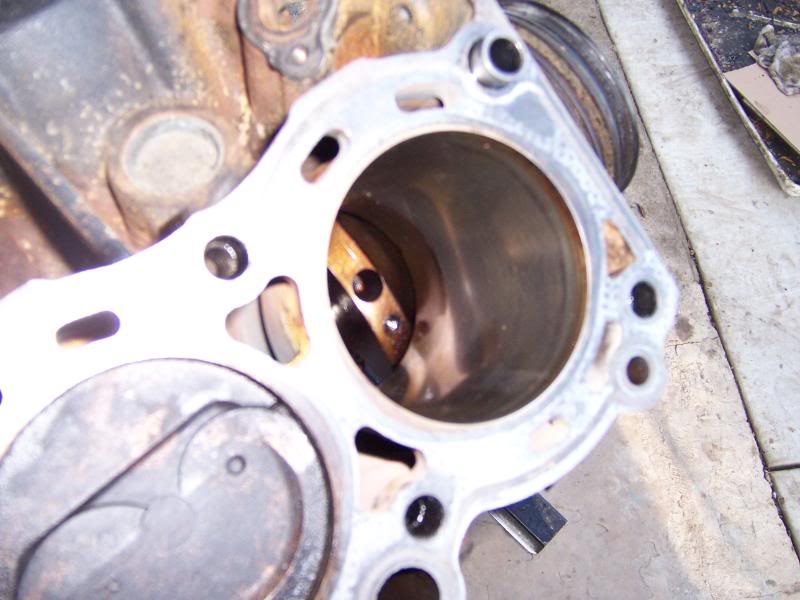
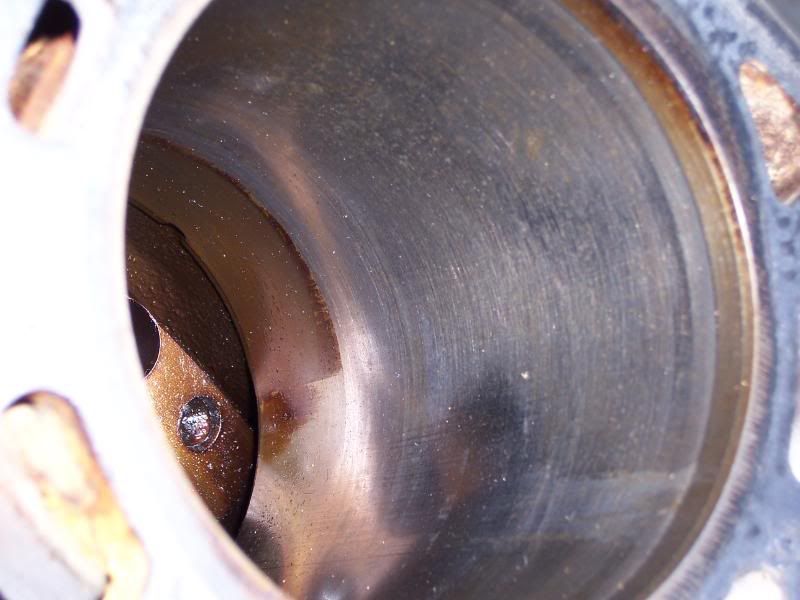
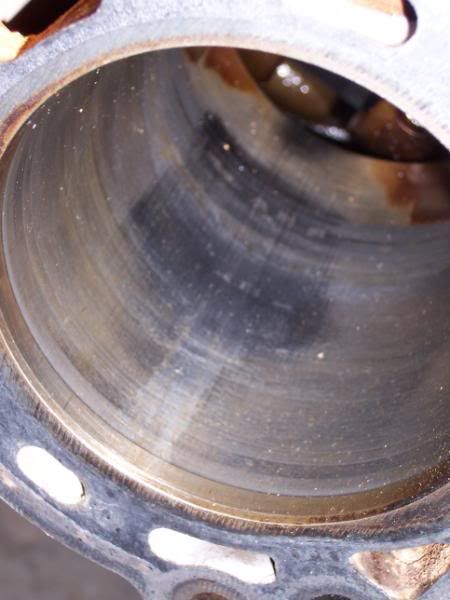
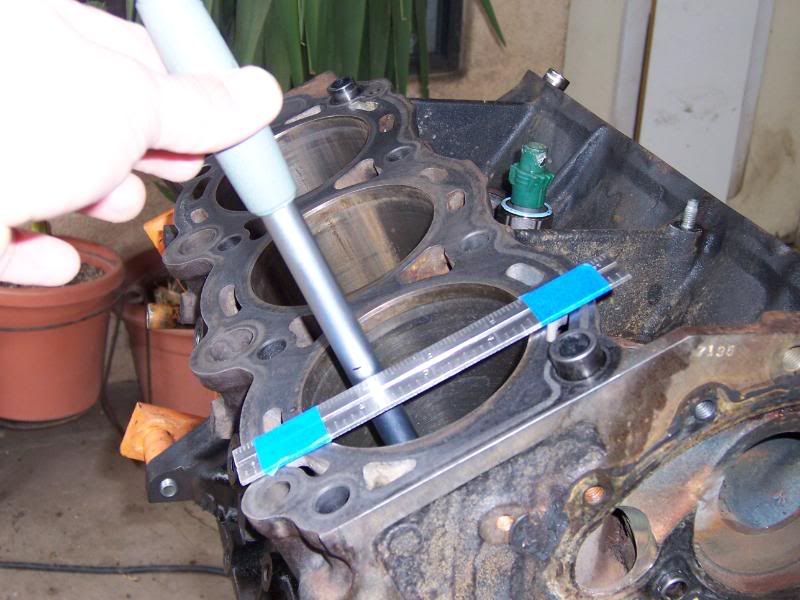
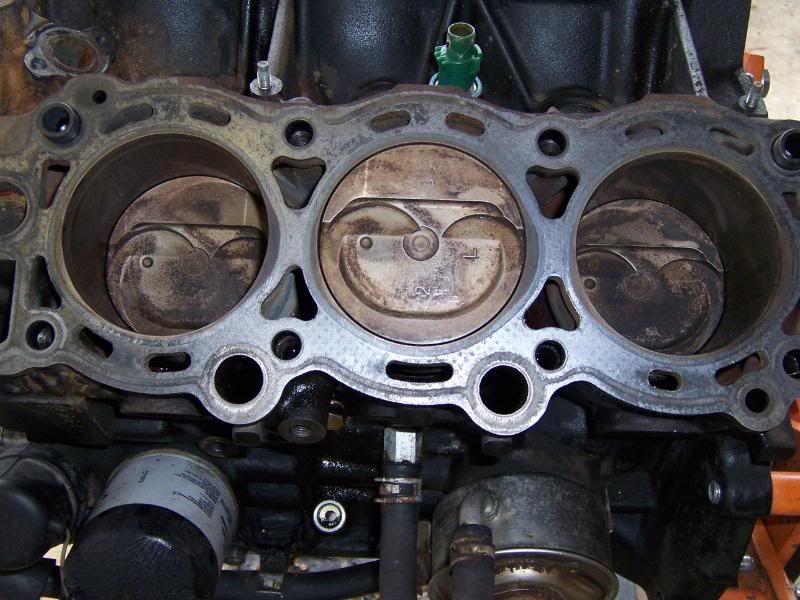
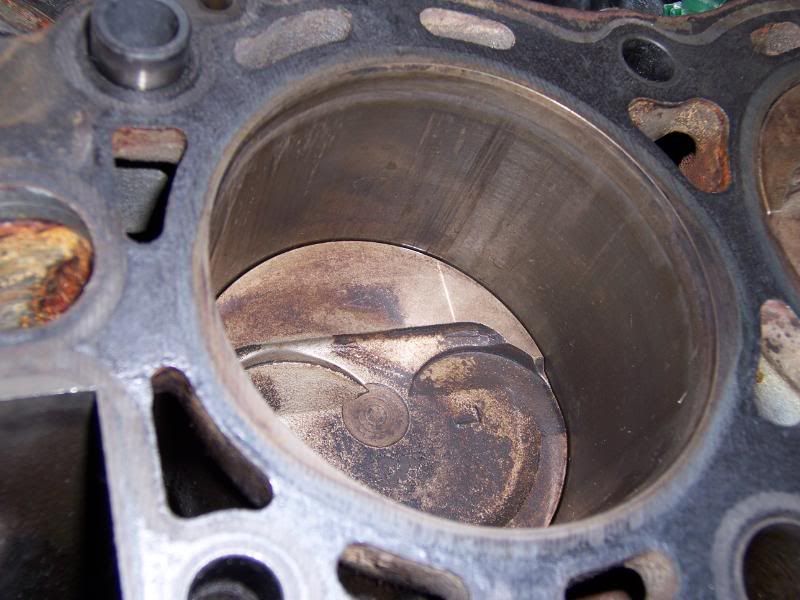
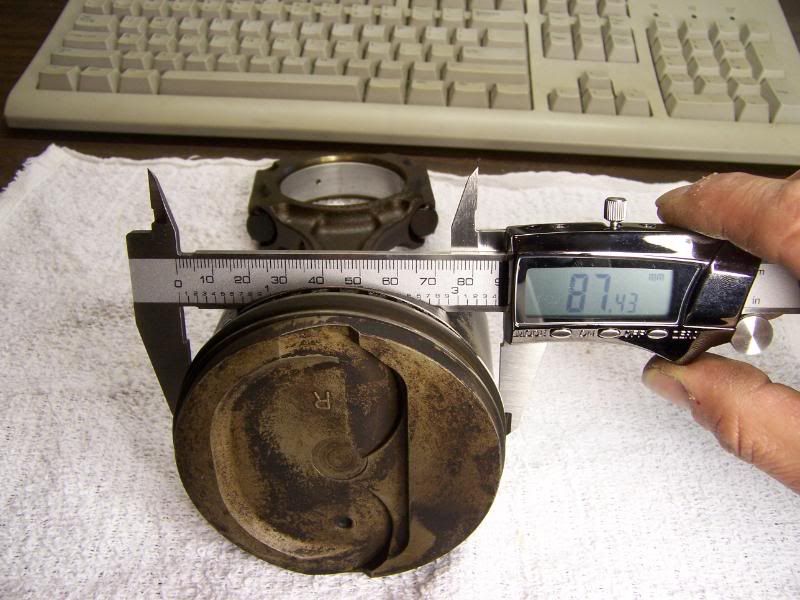
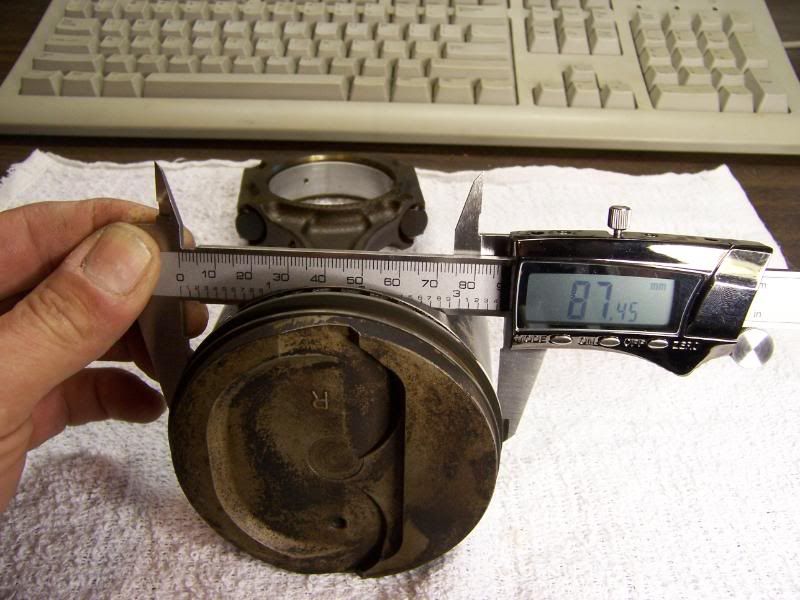
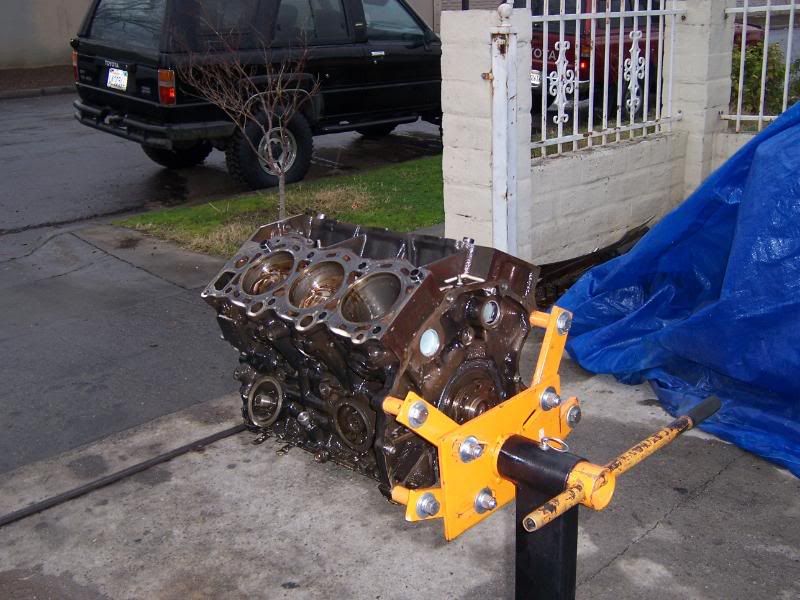
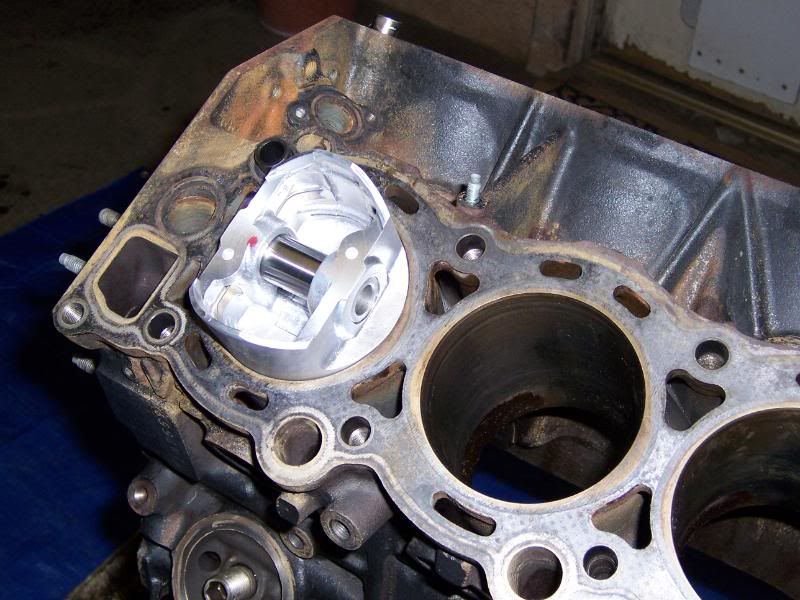
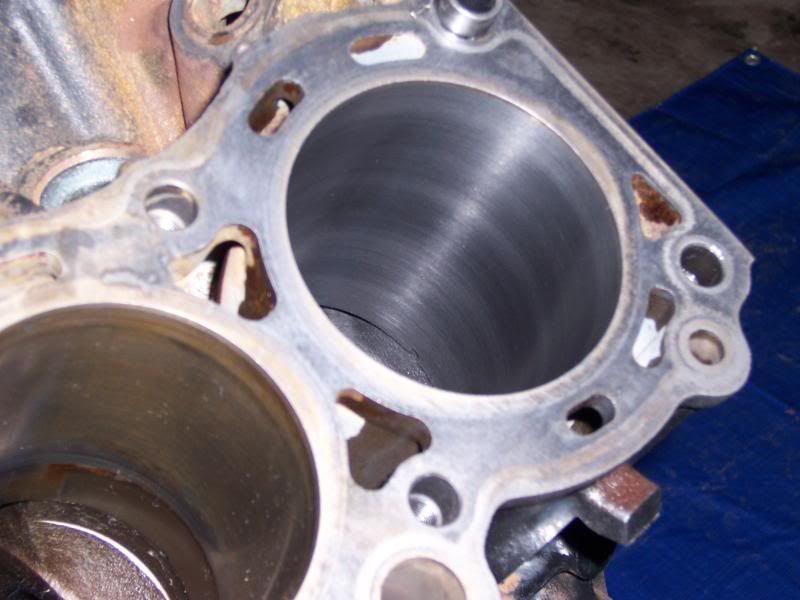
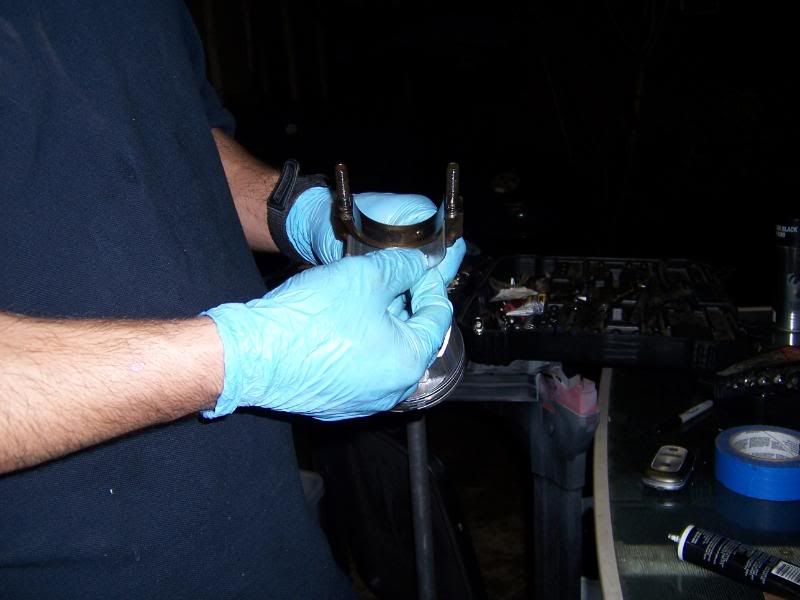
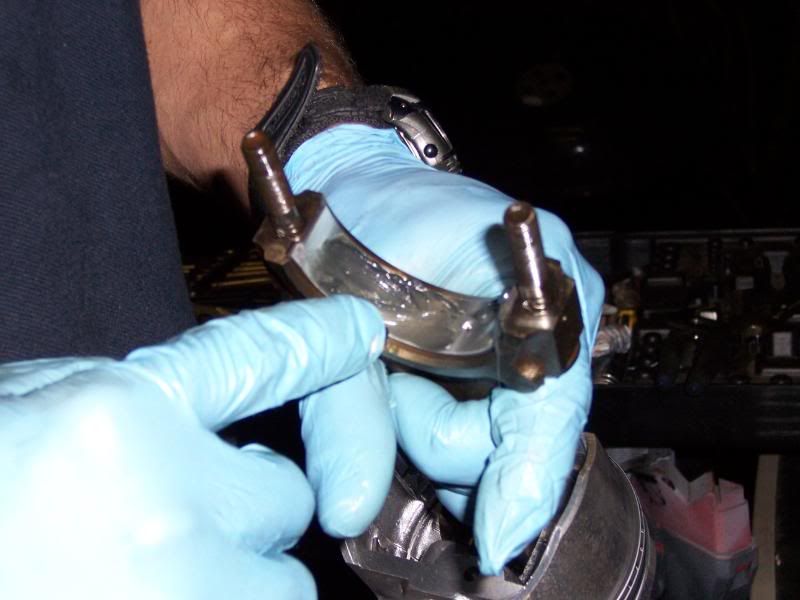
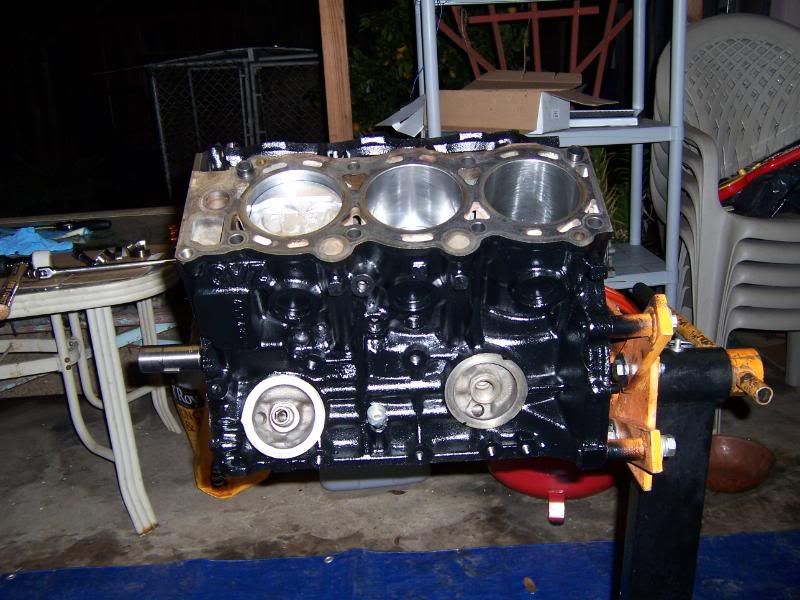
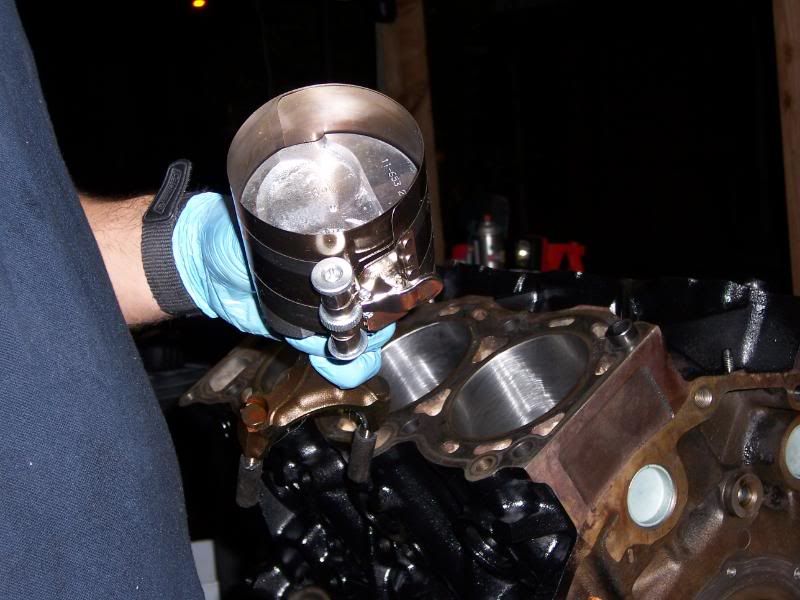
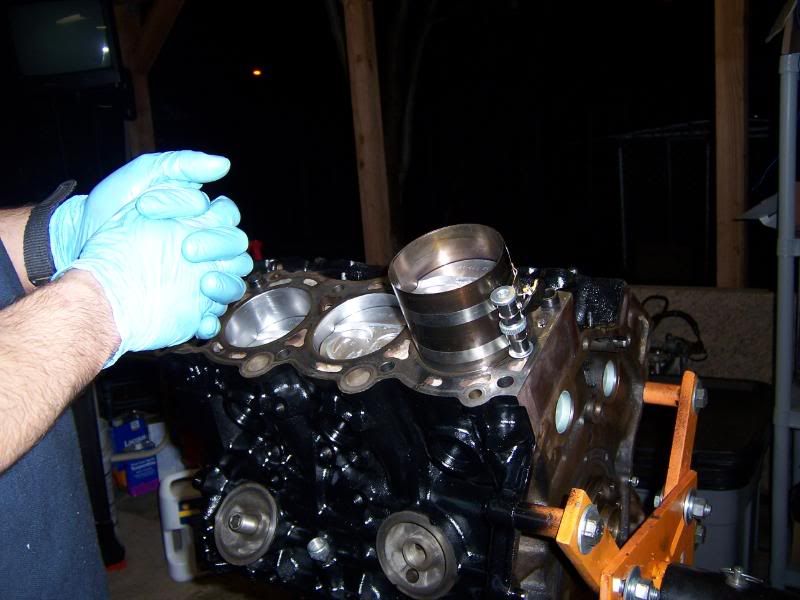
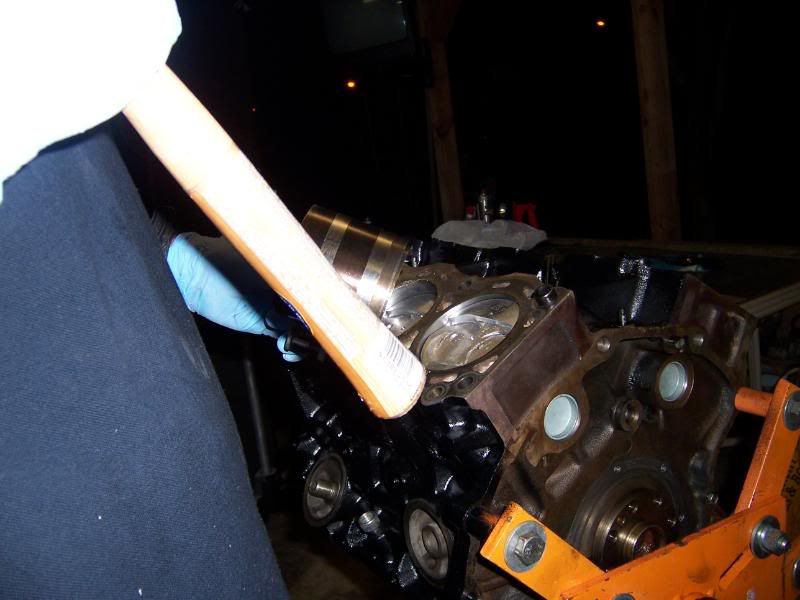
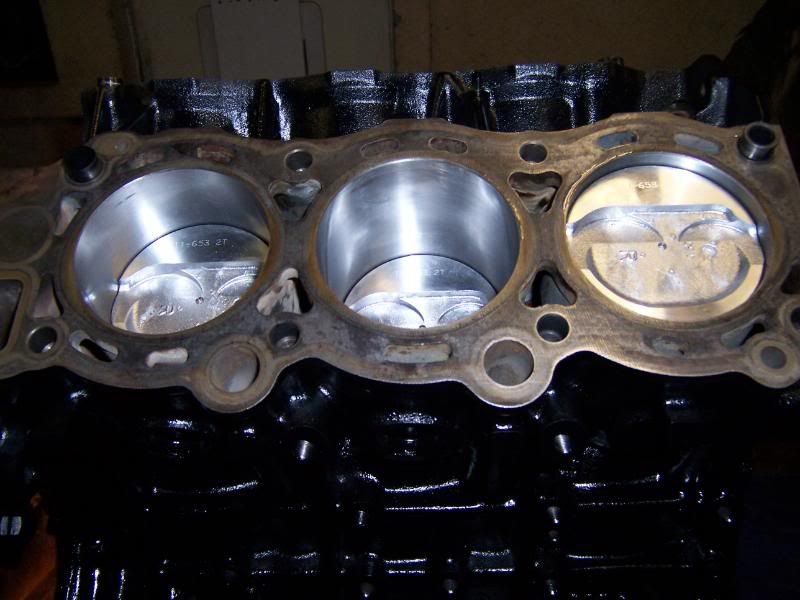
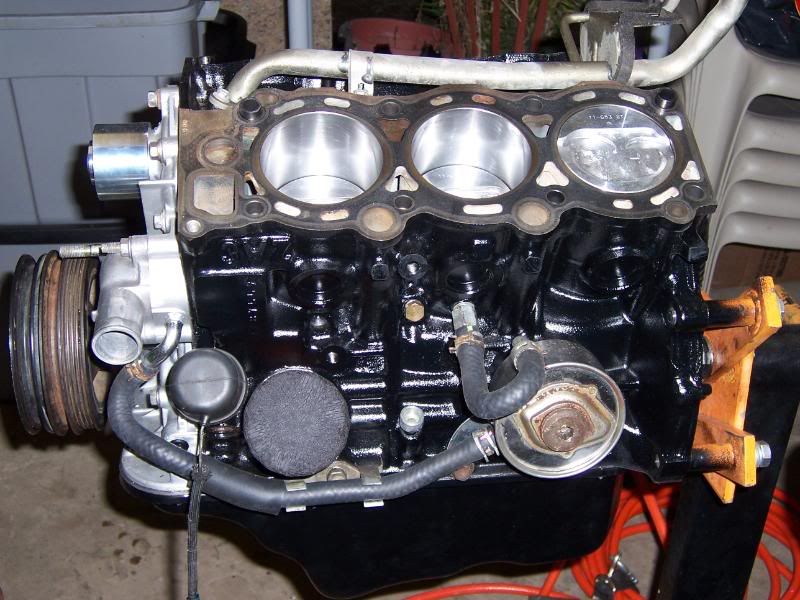
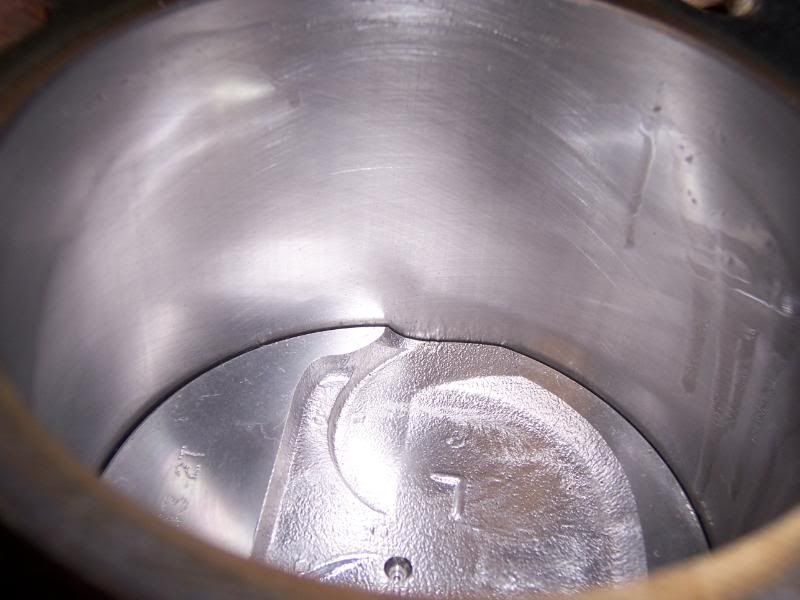
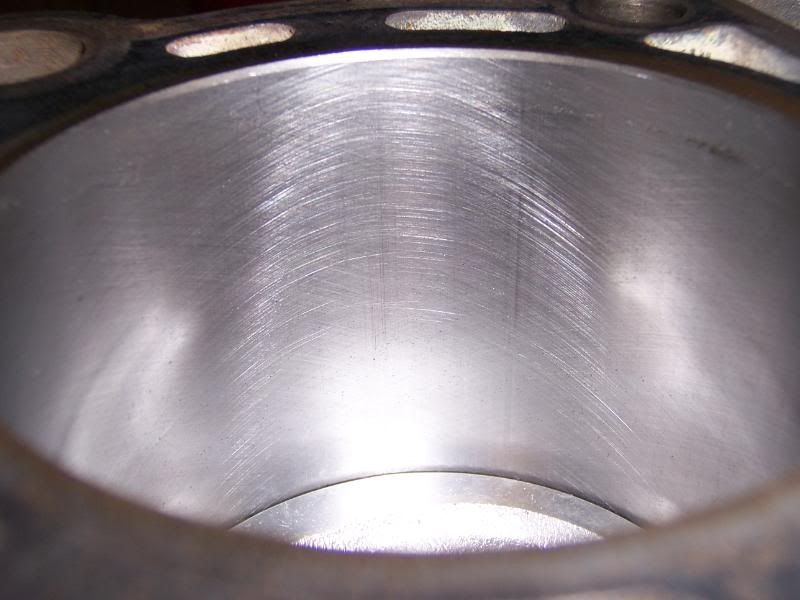
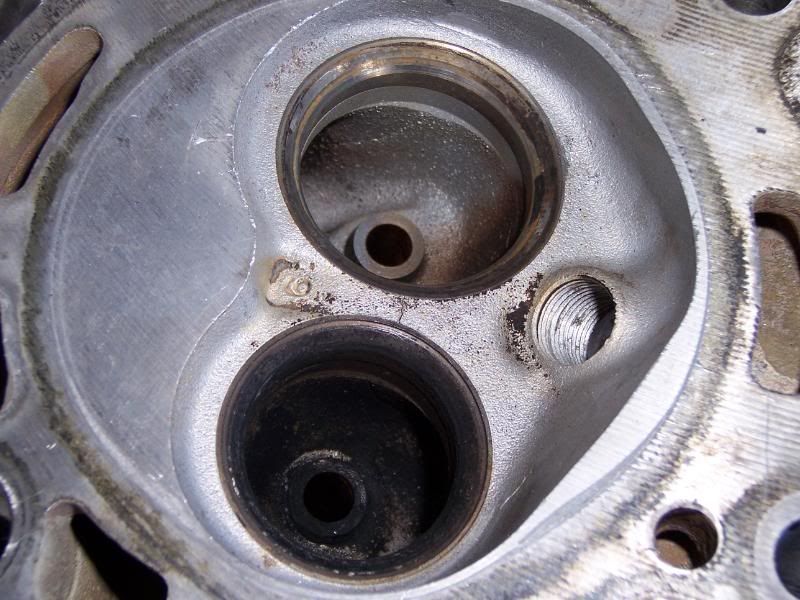
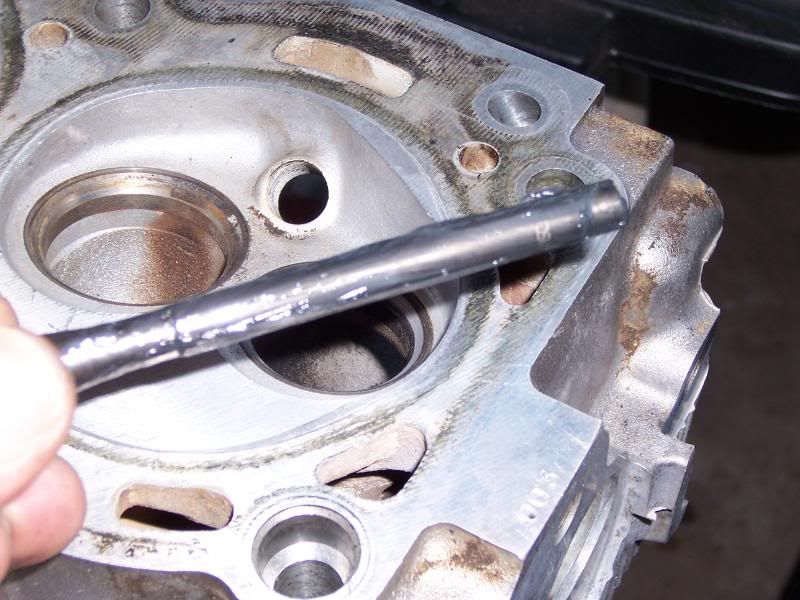
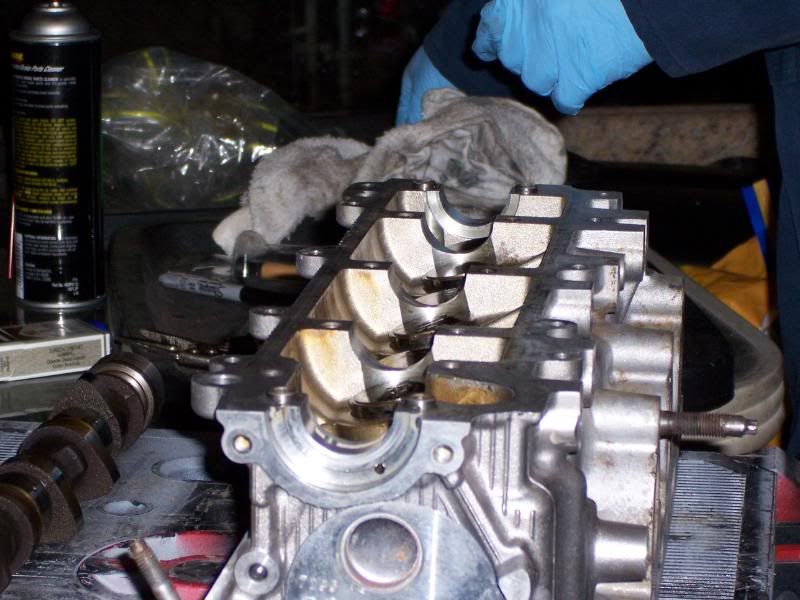
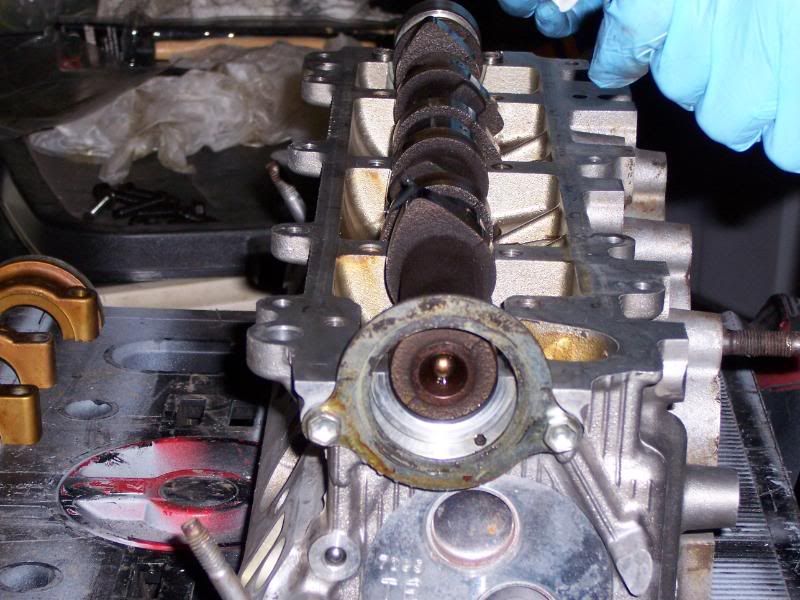
When I got the kits I took them to the guy at the machine shop and had him look at them he said the pistons rings bearings were good quality ones , but said the gaskets were just ok. The piston and rings are oversize and the bearings were standard I honed the cylinders to 88 mm using 80 ,280 grit stones and 320 grit ball hone.
the bearings were king brand and the rings were NPR .
I bought the kits from this seller.
When I got the kits I took them to the guy at the machine shop and had him look at them he said the pistons rings bearings were good quality ones , but said the gaskets were just ok. The piston and rings are oversize and the bearings were standard I honed the cylinders to 88 mm using 80 ,280 grit stones and 320 grit ball hone.
the bearings were king brand and the rings were NPR .
Last edited by RMA; 02-17-2009 at 08:49 PM.
Trending Topics
02-18-2009, 05:12 PM
#11
Contributing Member
Thread Starter
03-08-2009, 12:44 PM
#13
Contributing Member
Join Date: Jun 2007
Location: Where it always works if you work it, in Sunny Selinsgrove, PA
Posts: 2,336
Likes: 0
Received 2 Likes
on
2 Posts
Originally Posted by RMA
great job on the rebuild too!
 03-08-2009, 10:23 PM
#15
Contributing Member
Thread Starter
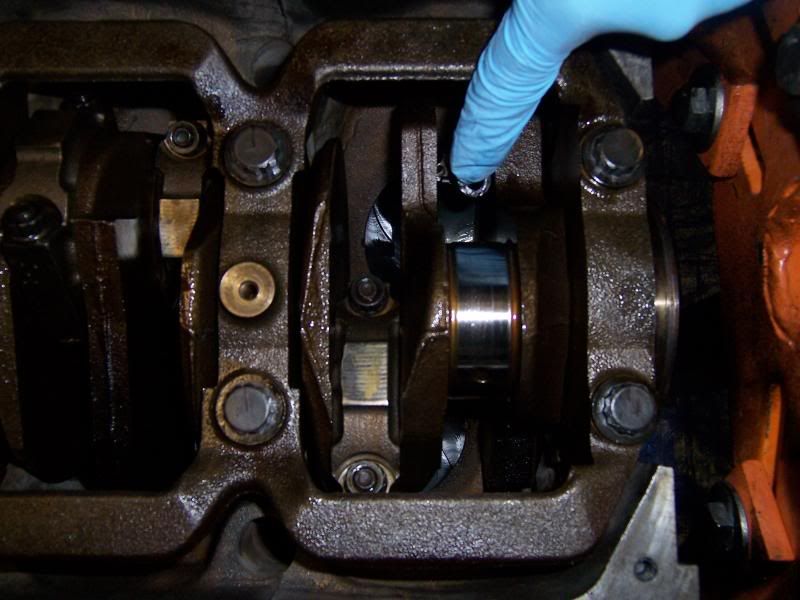
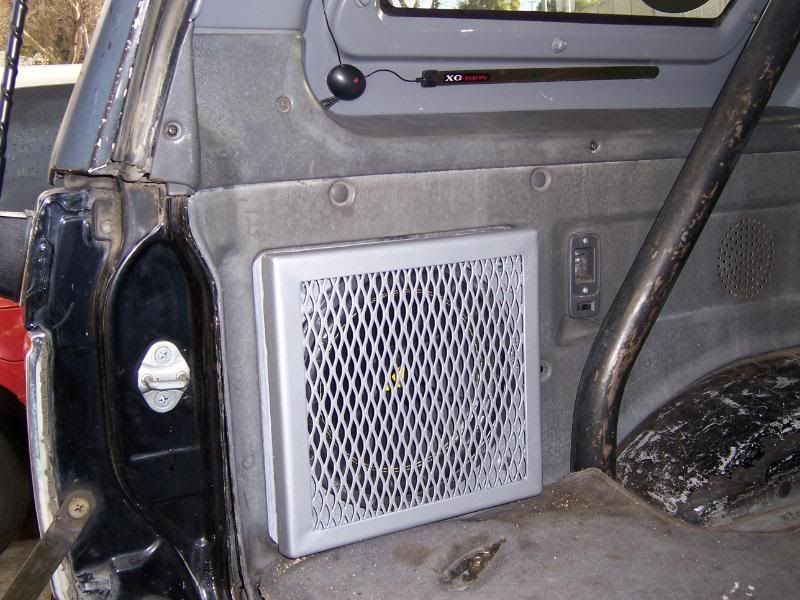
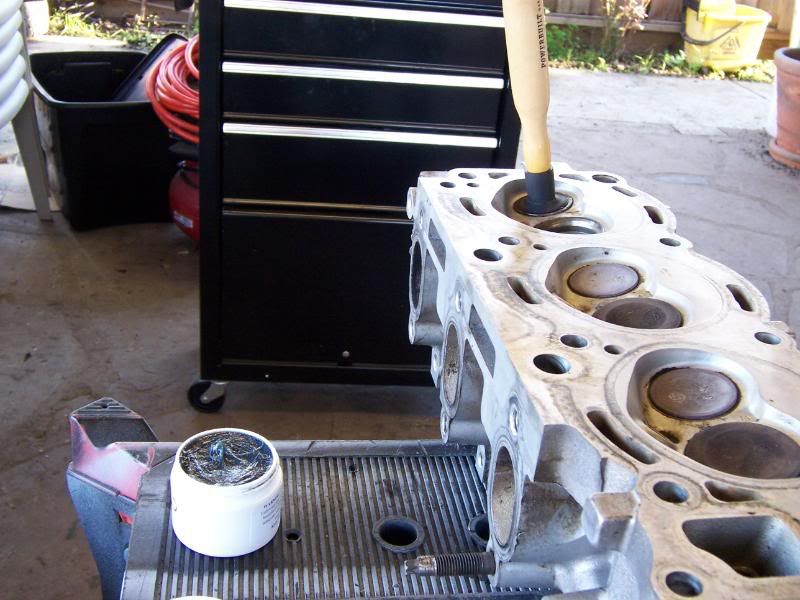
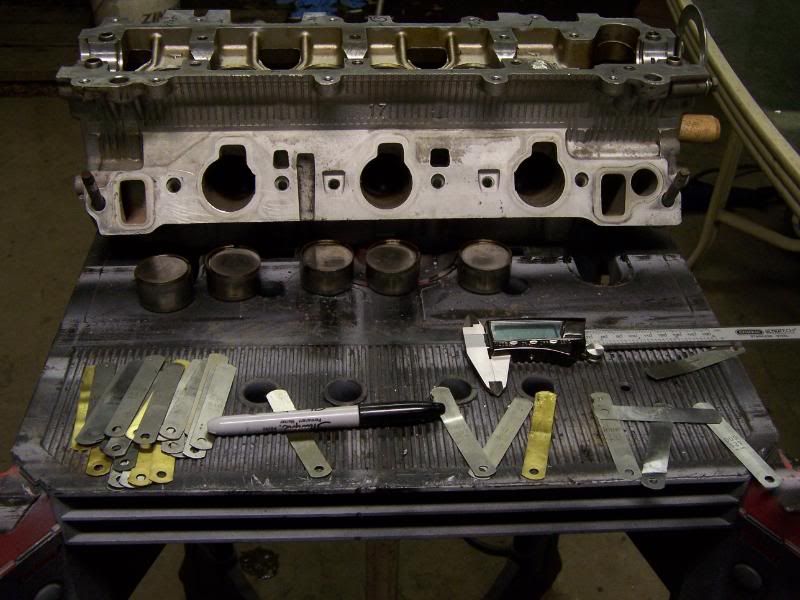
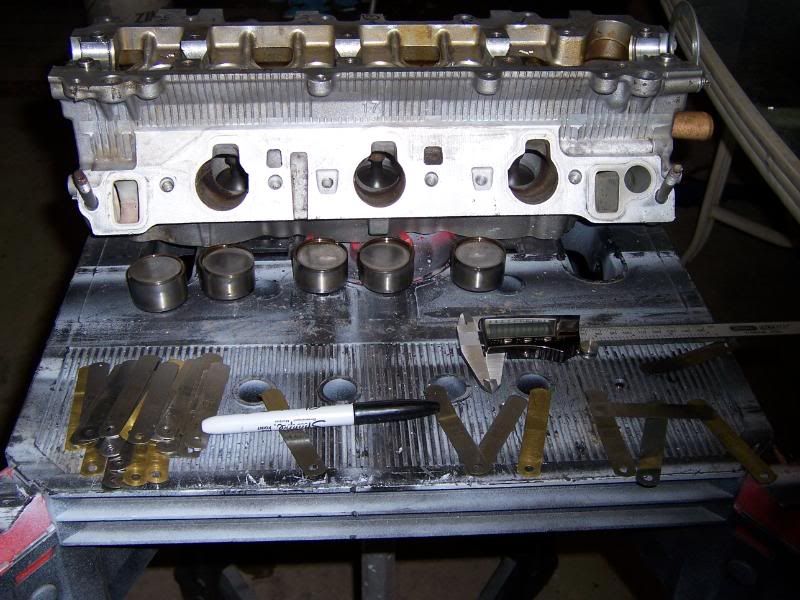
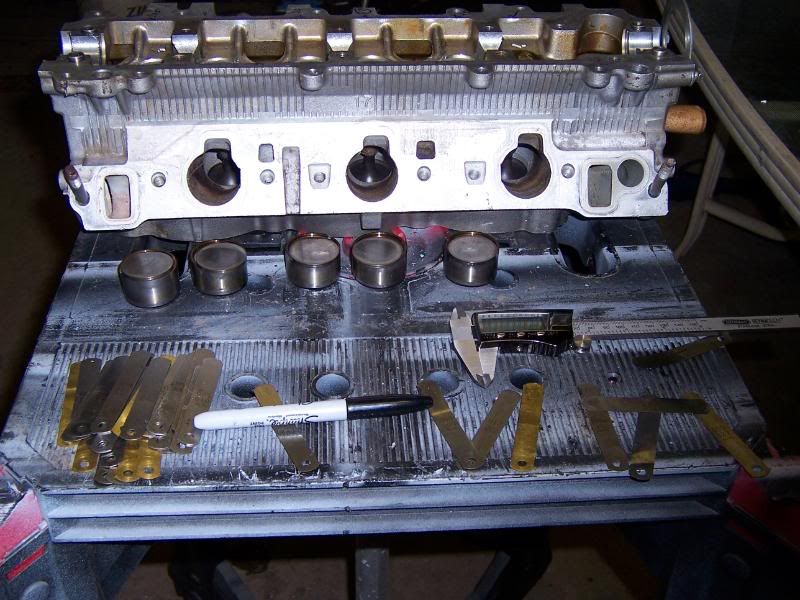
Hey Dwayne , I havnet finished the motor yet. The block is pretty much done but the heads are not I need some shims for the new valves . I have also been pretty busy doing other things like fishing and doing some other work on the truck I installed an alarm new body bushings a 1" body lift new BJ spacers and I am working on a dual battery set up.I do need to finish that motor up , just need to pull the motor out of the 4runner I am parting to see if I can use any of the shims on those heads .Maybe next weekend.Oh and thanks !!
03-08-2009, 10:26 PM
#16
Contributing Member
Thread Starter
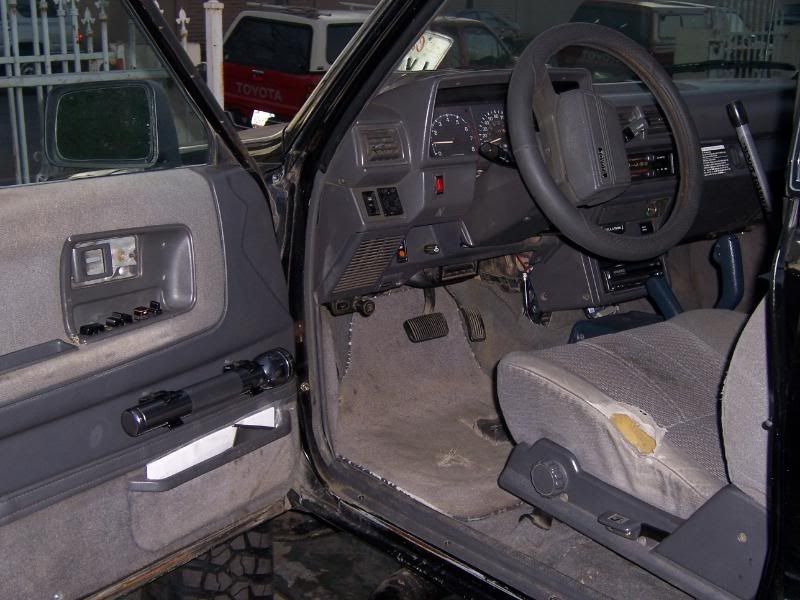
Bigtrucknwheels I bought those holders for the flashlights here local at a hardware store called Orchard Hardware supply.I have one of those mag lights on both doors , They are great.
03-08-2009, 10:31 PM
#17
Contributing Member
Thread Starter
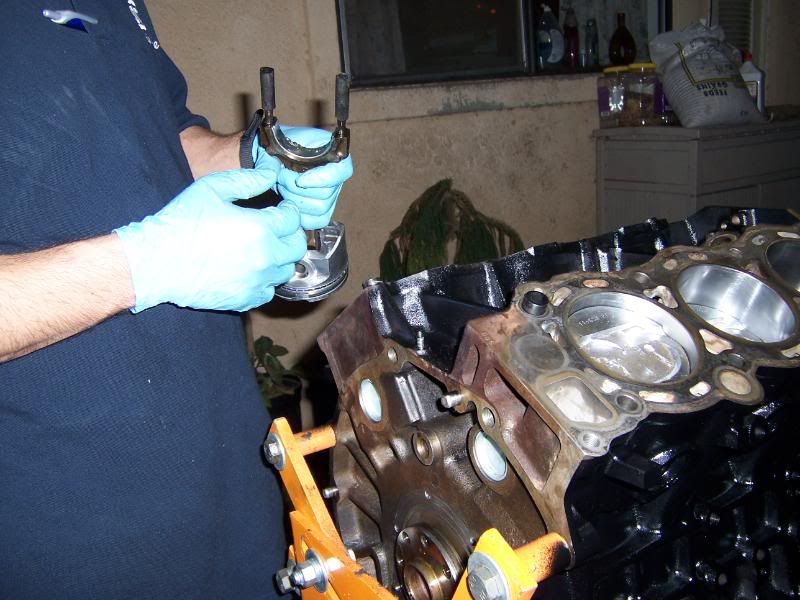
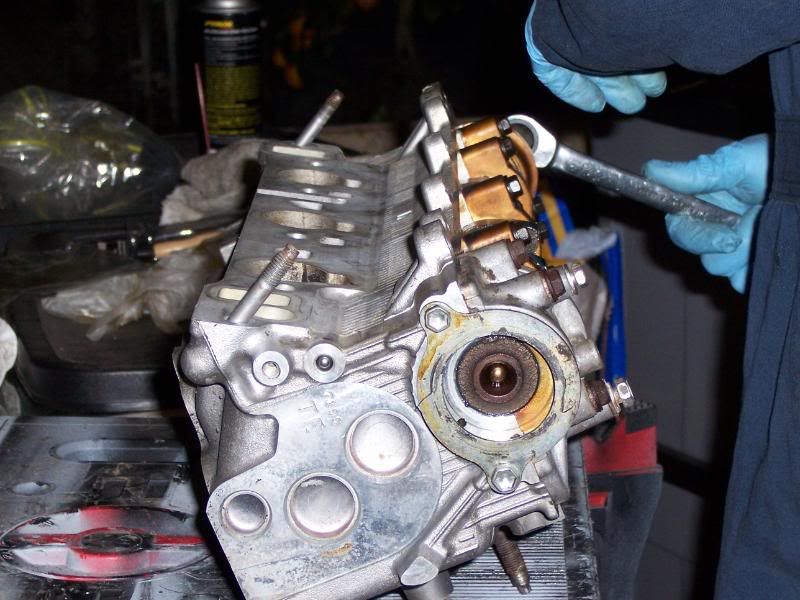
I am pretty sure you could do this, so far it hasnet been very hard, just went through the procedure in the fsm a couple times ,bought the tools I needed then went step by step the fsm shows.Now I just hope it works when I finish it and install it.
05-25-2009, 04:38 PM
#18
Registered User

For such a young looking guy you really seem to have good skills

But really, I'm just starting to tear down the blown 3.0 motor in my '93, so I'll be doing the same thing soon. I'm going to have a good machine shop bore the cylinders, clean up the deck and grind the valves though. Thanks for the good pics. Very inspiring for me. -- Matt
Last edited by wrenchtech; 05-25-2009 at 04:40 PM.
 05-31-2009, 01:27 PM
#20
Registered User
Join Date: Nov 2008
Location: North NJ
Posts: 56
Likes: 0
Received 0 Likes
on
0 Posts
Can you explain what was done at the machine shop please because I don't see it in your sig?
TubbyFatty , Thanks !!
XZYRagon , Looks like it , but I had been planning this for a while , getting tools and downloading manuals.
I was going step by step in the FSM manual I downloaded. Also The heads and blocks in my signature were done by a machine shop. I thought if I had trouble I could always take it to the same shop so they could fix it.


