When you click on links to various merchants on this site and make a purchase, this can result in this site earning a commission. Affiliate programs and affiliations include, but are not limited to, the eBay Partner Network.
..
Not sure I would do a gasket unless it was one piece. Shame you can't get them anywhere, I would rope it in myself. Oh well, urethane is supposed to be better in theory.
...
I will get photos of mine tomorrow, been saying I'd get photos for a long time. now im committed, Tomorrow.
It's has the DOT rated glue, so you don't get ejected thru the window or whatever. With a trim/gasket, so it doesn't look like crap.
Window guy will know what to do just make sure he gets the corners of the rubber trim glued in good
...Not sure I would do a gasket ...
... Pondering how to do it without getting stuff all over the interior of the truck. How did you do it Ray?...
The gasket is really for cosmetics on our trucks, unlike the older ones like the Volkswagen Beetle. Urethane is really what keeps it together.
I just laid tarp over my dash, steering column and seats. Then applied degreaser and metal prep with small brush. For rinsing, instead of pouring water, I rubbed hard with microfiber rag moistened with water and did several runs.
Brushed POR15 , too. 3 coats waiting for ine coat to get tacky before applying next one. POR instructs to apply primer while tacky or IF already cured, to lightly sand then prime. My POR15 is exposed to the sun now because I opted for no trim. I will prime and paint when we get sunny weather again.
Microfiber rag makes sense, good thinking, thanks
And they did make gaskets for these like the bugs, just not in America
When you get around to putting that windshield in can you post some pics of the window molding clips and all of that. Looking to see the placement of them and how they clip on to the original window molding trim.
Thanks for the pics. Not sure I would be happy with the way that flap buckles in the corner if I was you.
Originally Posted by Gonzadanny888
Looking good.
When you get around to putting that windshield in can you post some pics of the window molding clips and all of that. Looking to see the placement of them and how they clip on to the original window molding trim.
Thanks.
Not planning on putting molding or trim back on.
Clips because, if you look at the pics, the places rust forms are the places the old clips were, causing gaps in the sealant and rubbing the metal.
Trim because, see Rad4runners manifesto here - https://www.yotatech.com/forums/f199...l#post52169488
Yesterday, I got the degreaser and metal prep steps done, these pics are after the metal prep. Notice, the grey pitted metal turned brown, (grey pitted = different forms of iron oxide that chemically predominate in low oxygen/high pressure areas, like deep in the steel) and the clean steel turned white. That's the metal prep creating a nice layer for the POR to chemically bond to.
Also taking care of inside the doors. A lot of you probably have rust here too, when the sealant in the a pillar gutter goes out, the water soaks into that seam. This is the back side of that seam. Once I brushed off the old sealant, liquid flowed freely through the seam and came out all along the underside here.
Also started poking at the gas cap area, thinking I would POR the rust there. Turns out that's all bondo. Great. Probably going to need to pack that with allmetal or fiberglass. Anyway, that's outside the scope of this thread.
Got 3 coats of POR on today. The windshield and the gutters. Forgot to take pictures, nothing special, will take some next time. Used the entire 4oz can, guess I put it on pretty thick.
Regarding the gutters, the POR actually is pretty thin and runs pretty well, it wicked into the seams of the gutters pretty well, I could see it come out the other side in a few places.
Weld in a patch. Glass is not permanent especially when you can't treat the backside. Look into Adtech, it a machinable plastic that cures rock hard and is impermeable. Great for a filler
Weld in a patch. Glass is not permanent especially when you can't treat the backside. Look into Adtech, it a machinable plastic that cures rock hard and is impermeable. Great for a filler
For the gas cap?
Definitely will, would prefer to remove and replace the entire panel, but I can't really afford to shell out for http://www.toyotafiberglass.com/4Runner.htm rear quarters. Packing with allmetal would be a temporary stopgap
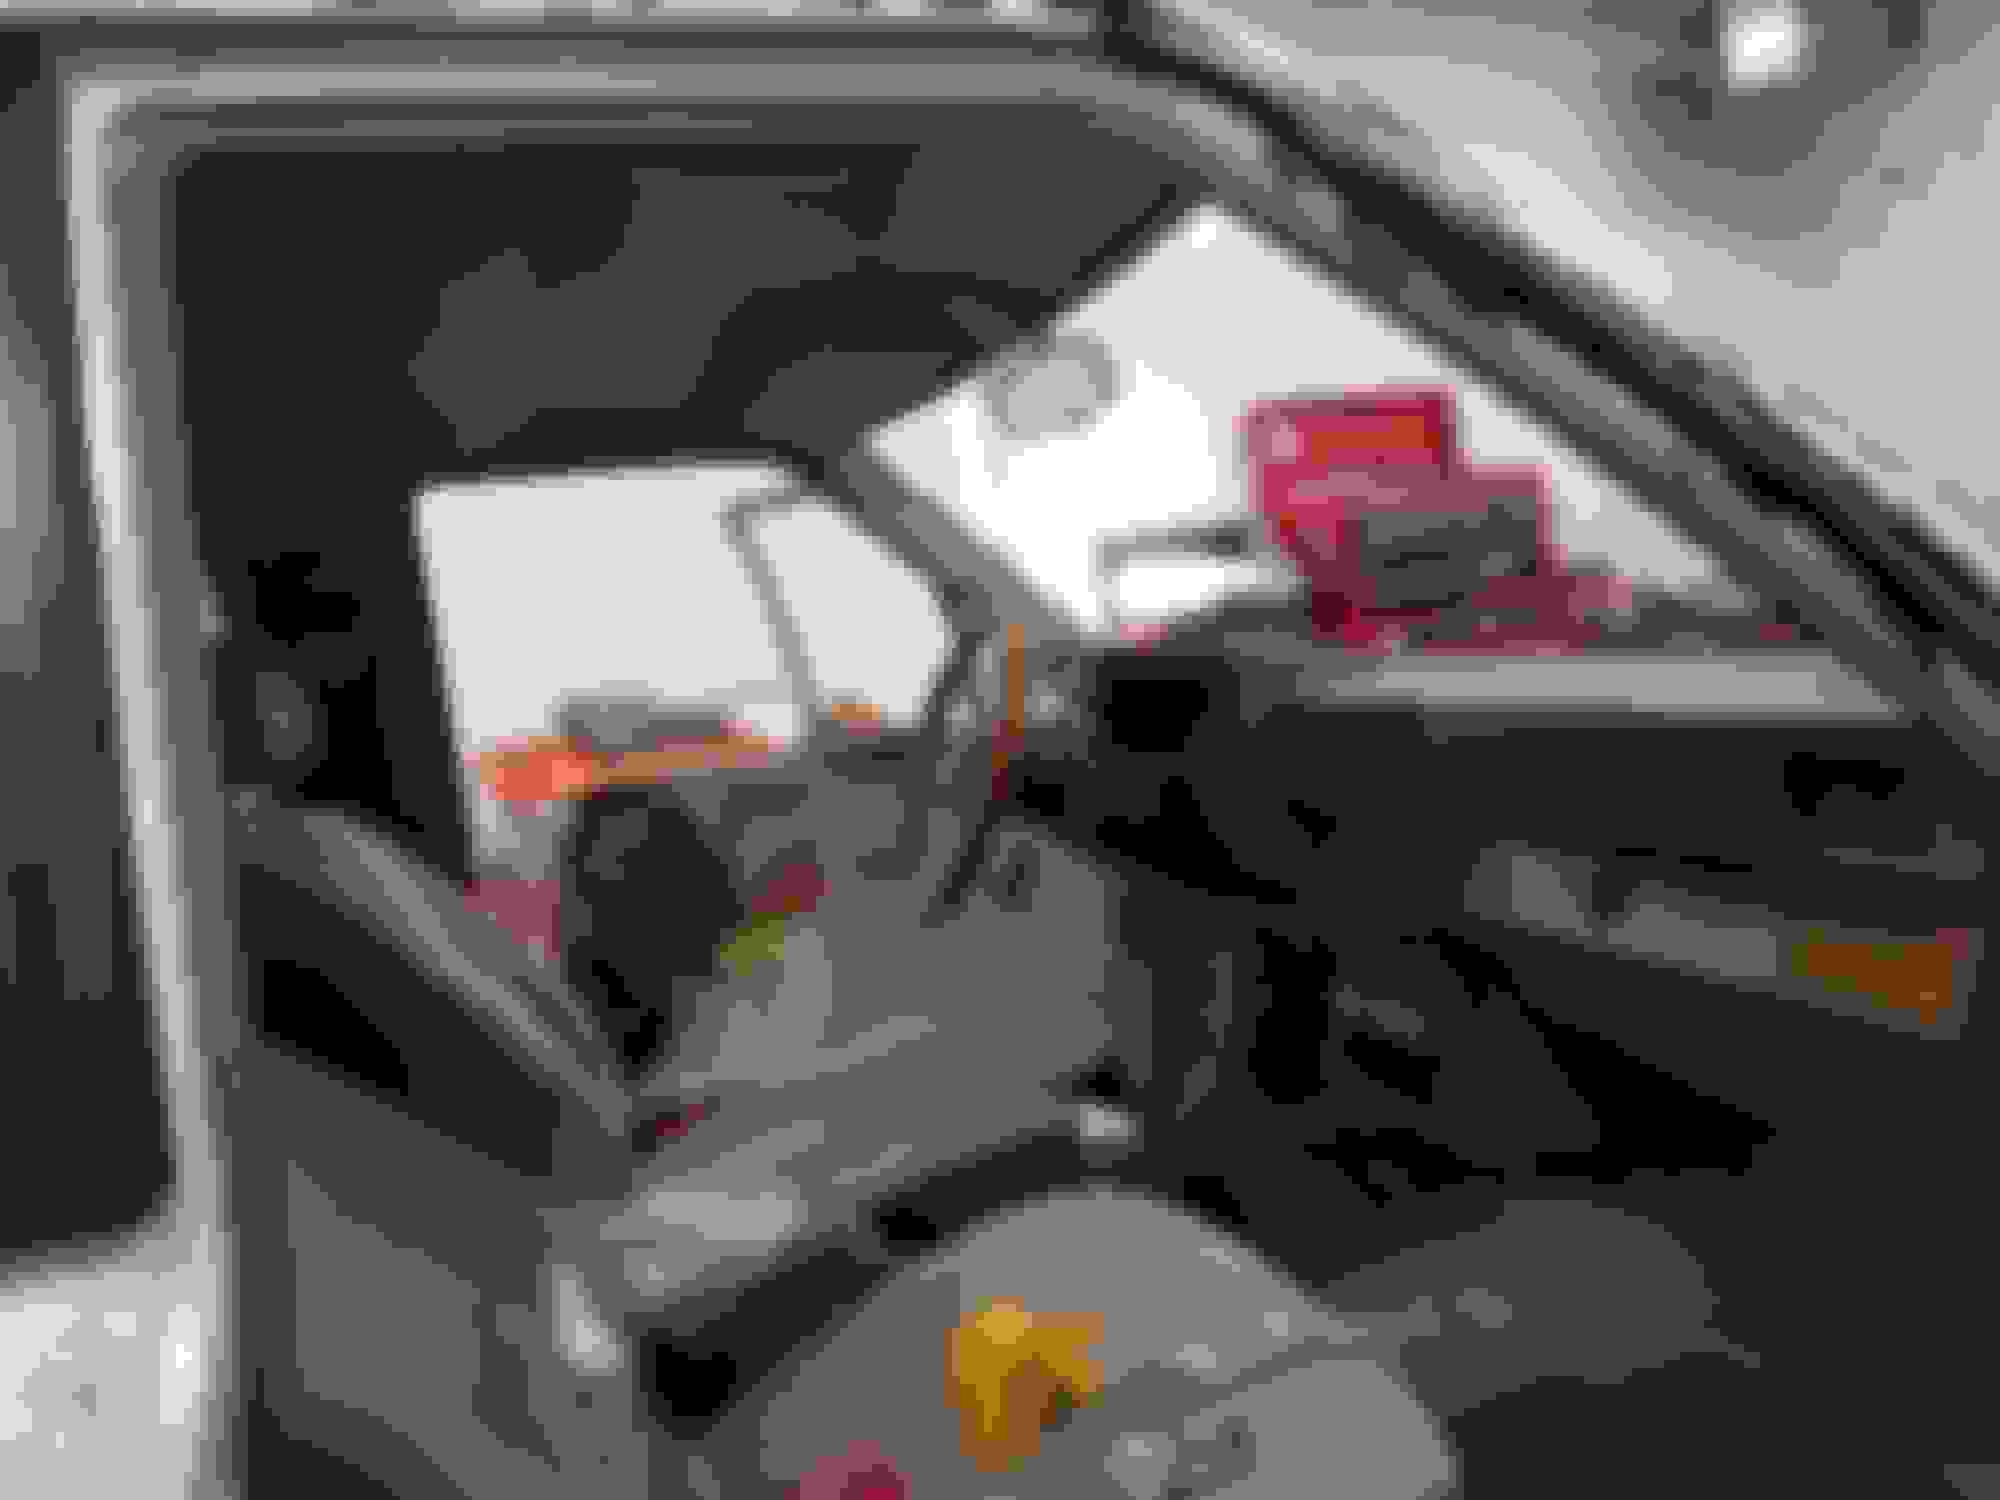
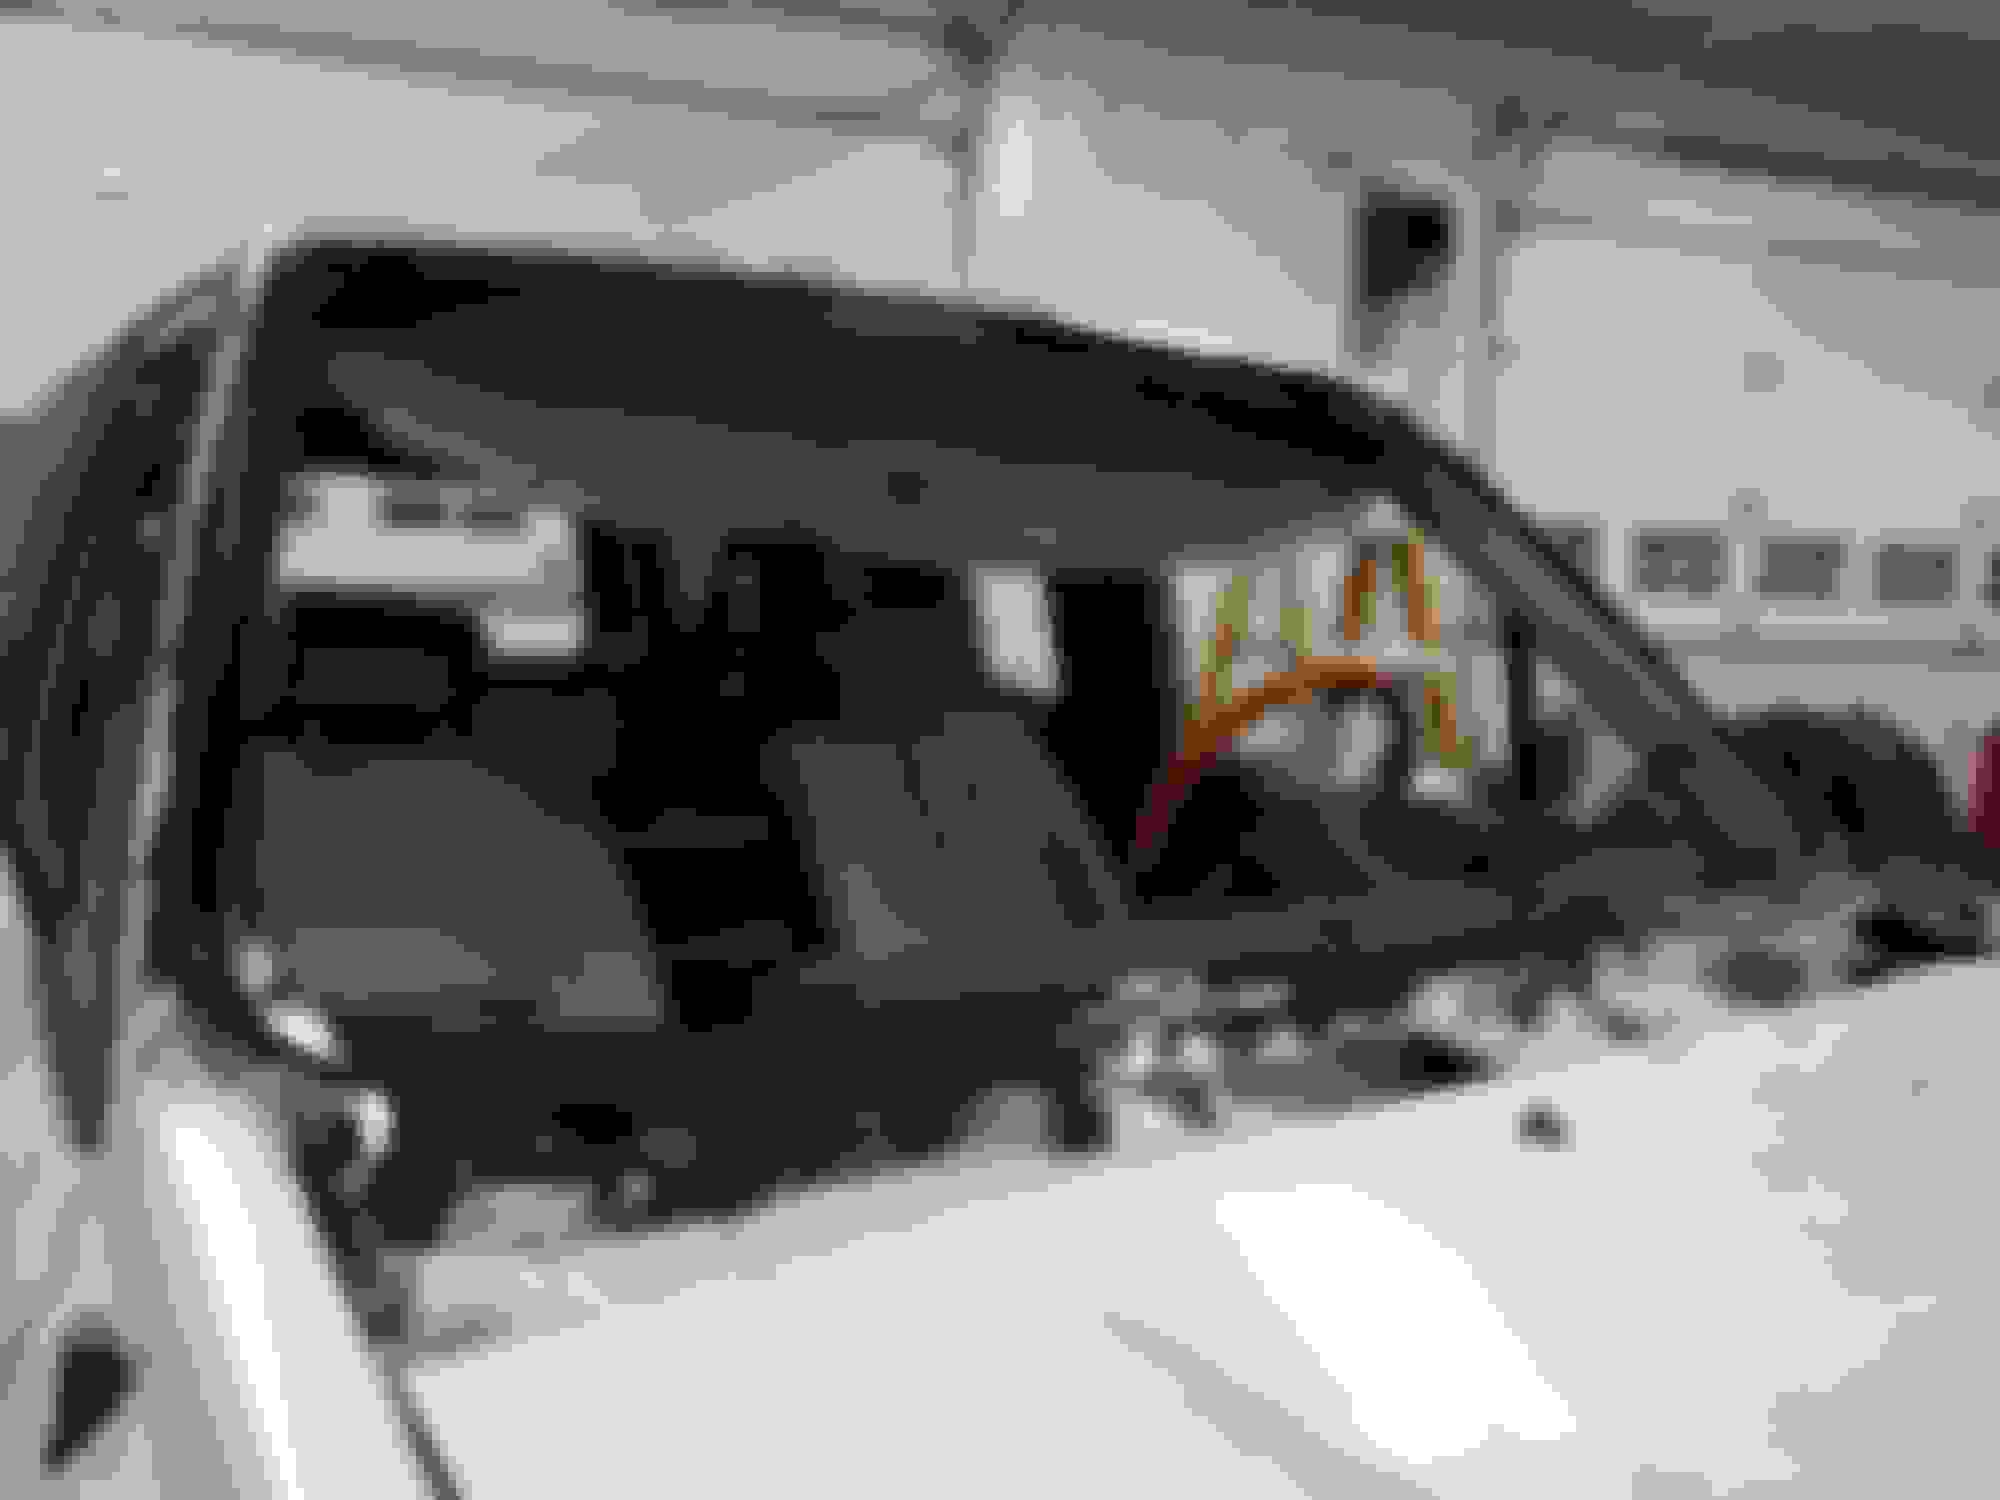
Finally sitting down at the computer, here are some pics of the POR'd channel. Safelite appt. for Thursday!
Got everything back together pretty smoothly. FSM is your friend for the dash pad. All the air system controls work like a charm! Then fired it up and realized I forgot to plug in the clock
Also came up with a solution for the defrost vent tabs that are broken on everybodys truck ever., I'll post em up in a different thread
Finally sitting down at the computer, here are some pics of the POR'd channel. Safelite appt. for Thursday!
Got everything back together pretty smoothly.
Nice! May I suggest you sand the POR -15 ahead of time? I'm not sure the glass tech will do a good job of scuffing it because POR15 is harder than the usual paint.
Nice! May I suggest you sand the POR -15 ahead of time? I'm not sure the glass tech will do a good job of scuffing it because POR15 is harder than the usual paint.
Thanks for the tip, will do.
What grit did you use?
Also, forgot to mention, I haven't used the dynatron yet, and with as good of a job as POR did wicking into the seam and since I'm never putting a roof rack on those flimsy little rails anyway, I might just leave it.
Thanks for the tip, will do.
What grit did you use?
Also, forgot to mention, I haven't used the dynatron yet, and with as good of a job as POR did wicking into the seam and since I'm never putting a roof rack on those flimsy little rails anyway, I might just leave it.
I just happen to have 600 Grit, I think that's good to use between layers of paint/primer. The glass tech used what looked like Scotch Brite, so I think all those help.
Agree with not using the gutter for load. I had been successful with drilling through-holes into my Fiberglas cap and installing roof rack with a good seal. That's more secure than gutter mount.
Will finish up in Spring/summer. So far, the electrical tape I applied there has held up though the past couple of California storms - LOL!
Last edited by RAD4Runner; 02-12-2017 at 11:47 AM.
I think that with the 3 coats of POR, there isn't really a sharp corner like that, it already looks more runoffish like the red line. I'll snap some pics when I get the windshield in tomorrow/
For your consideration here is someone's experience with using POR15 on clean metal. If you read his build thread that guy knows his stuff and did some impressive work on his truck. It actually wound up not holding up so well on my buddy's truck which I referenced in that exchange either. If I were doing it I'd go with traditional primer and paint, preferably 2 part. As long as it's well sealed with silicone it shouldn't matter here though.
I'm actually happy with the way that trim looks, except for the corners (feel bad for eating up the techs entire afternoon, and his manager, super helpful people, that's another story)
Mostly because of the corners, I plan to trim it the same as rad4runners. I was told that if I try trimming it they will still work with me under warranty (they're really proud of that warranty). Or I can pull it and go straight glass
When you get to those puckering corners would you link the post/page from the rad4runner thread you are referencing please. I haven't seen that one and his thread is a bit more epic than this one was, a daunting task to look for it.. lol
When you get to those puckering corners would you link the post/page from the rad4runner thread you are referencing please. I haven't seen that one and his thread is a bit more epic than this one was, a daunting task to look for it.. lol
 01-26-2017, 09:18 PM