Notices
86-95 Trucks & 4Runners 2nd/3rd gen pickups, and 1st/2nd gen 4Runners with IFS
Sponsored by:
Sponsored by: DashLynx

gave my motor an checkup

Thread Tools
 
Search this Thread
 
Old 06-17-2009, 05:19 PM
  #1  
Registered User
Thread Starter
 
Ezrider_92356's Avatar
 
Join Date: Mar 2008
Location: bismarck nd
Posts: 617
Likes: 0
Received 6 Likes on 5 Posts
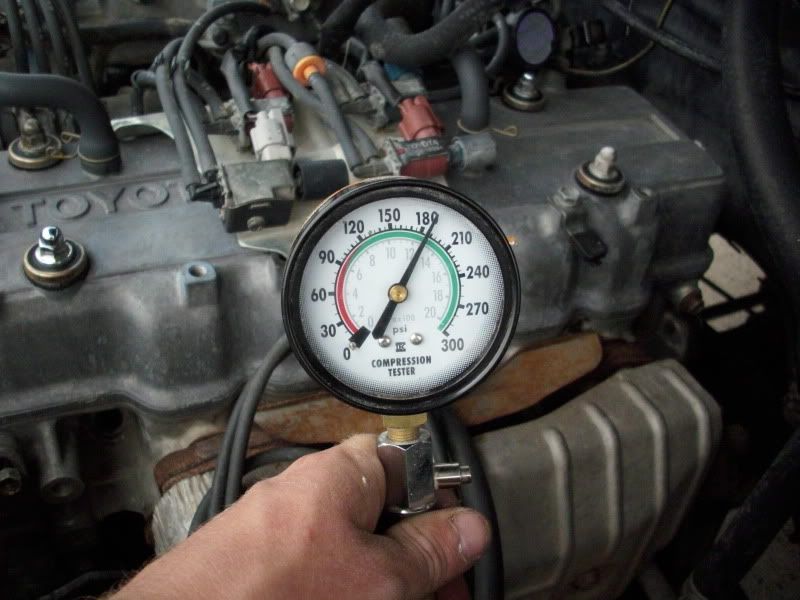
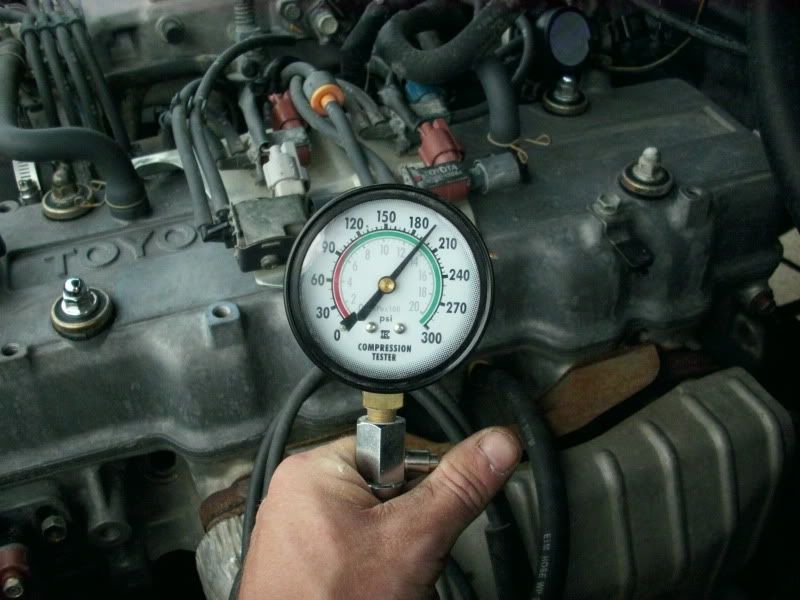
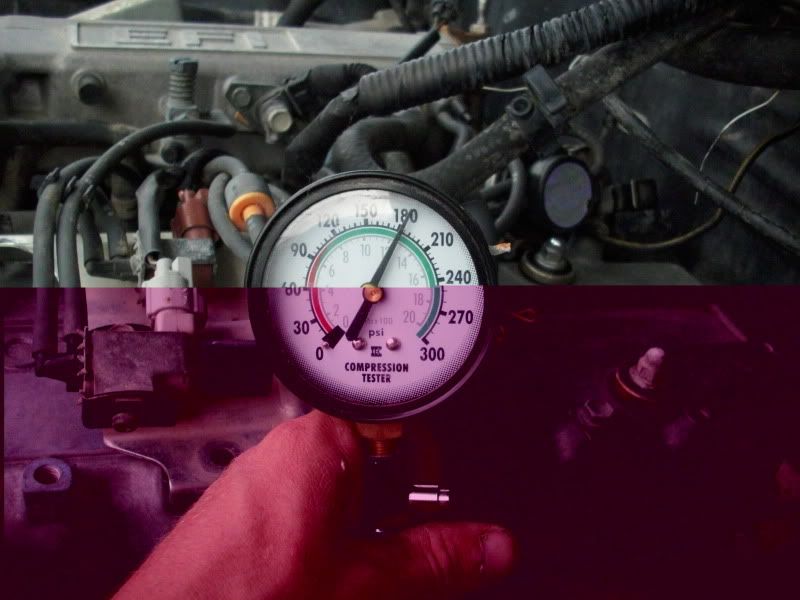
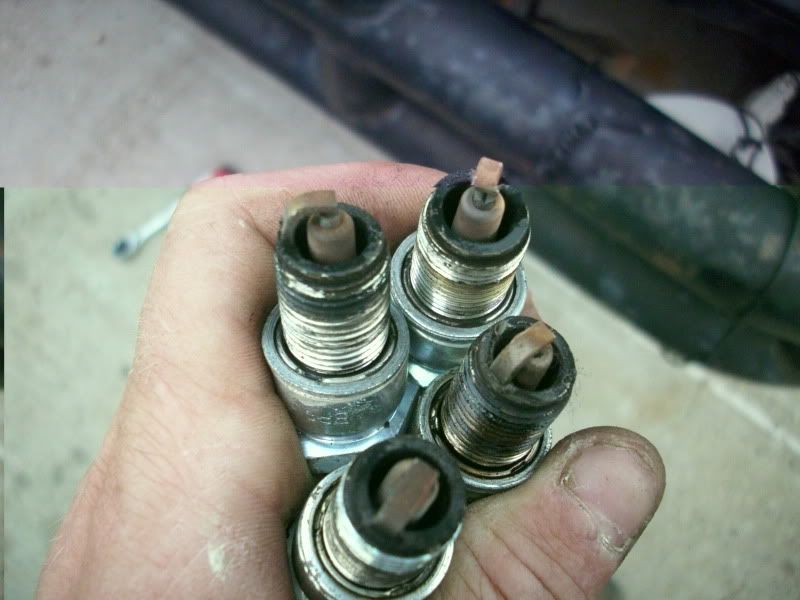
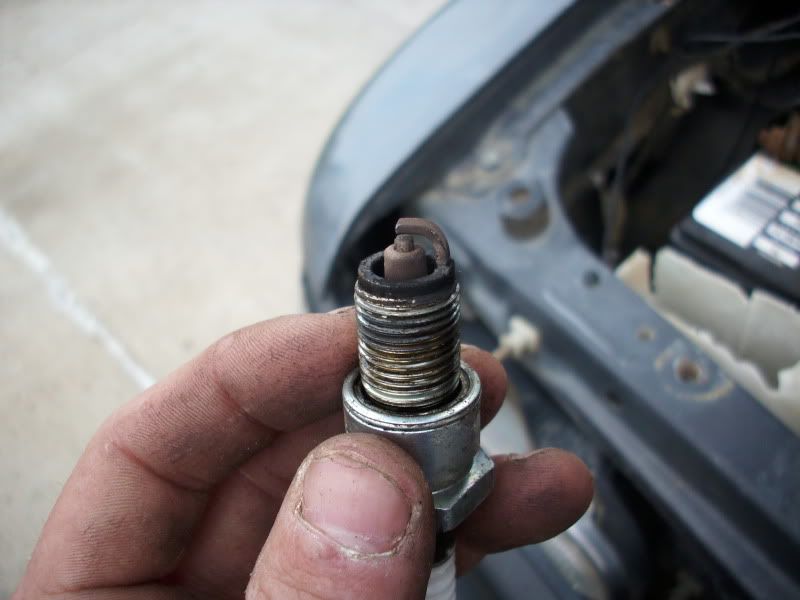
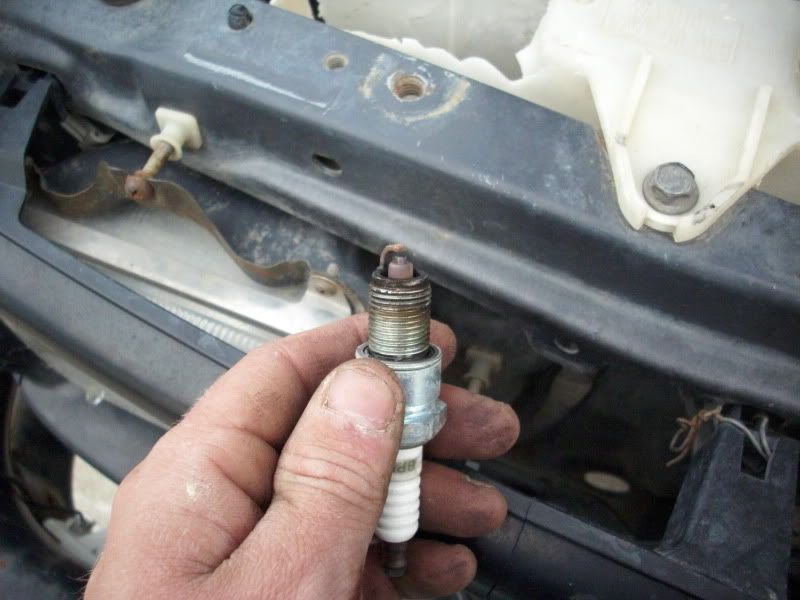
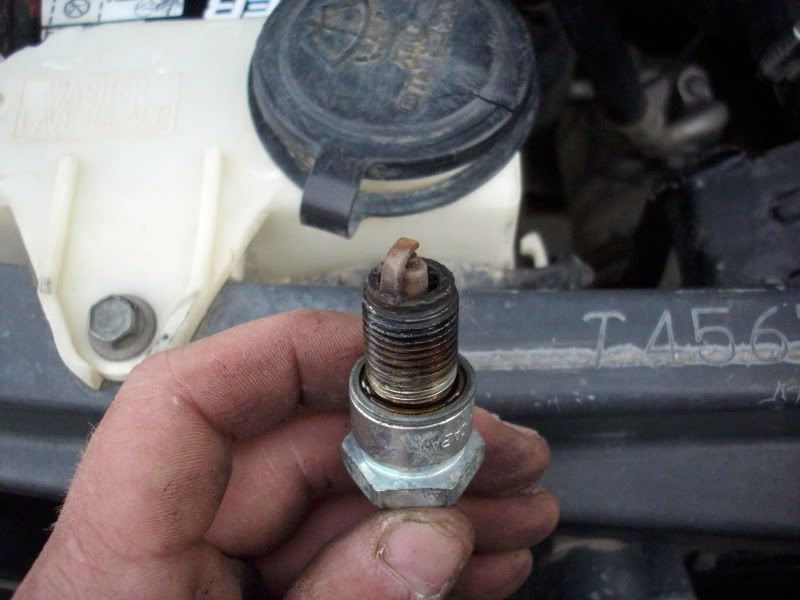
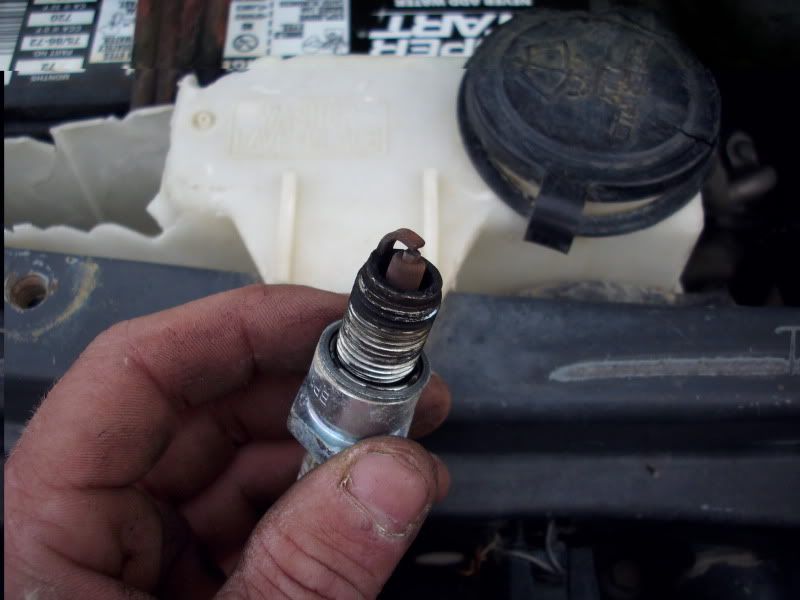
gave my motor an checkup

now that iv got a few thousand miles on my rebiuld i decided to give it an checkup,
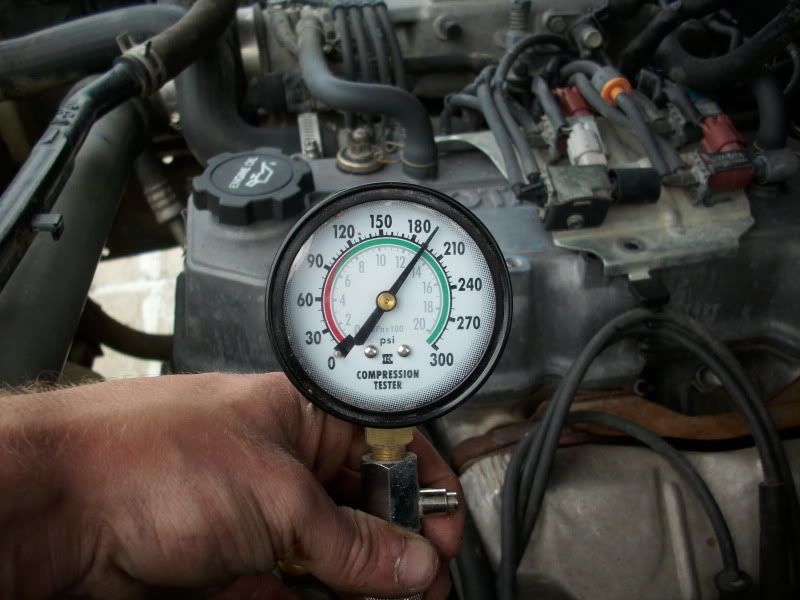


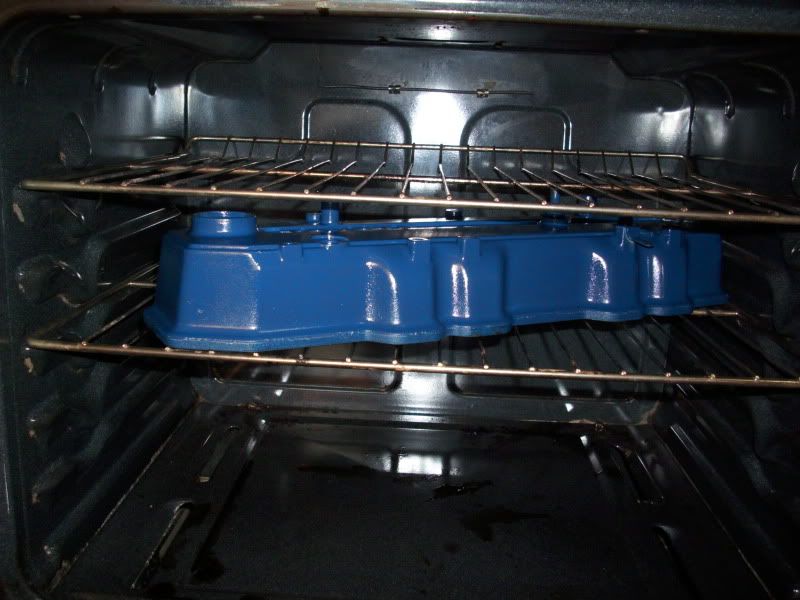
after i did this i pulled the valve covers and did an valve adjustment the two lowest cyl on the compression check had the valves most out of spec. i supose i should have adjusted the vavles then ran the compresion check but all in all im pretty happy with what i see, im also painting my valve cover and an industrial degreaser i used to clean up some parts kinda made some of my alumanum parts look like . ill post pics of that in a little bit, i have my valve cover in the oven right now (shhh don't tell the old lady)
Old 06-17-2009, 05:24 PM
  #2  
Contributing Member
 
iamsuperbleeder's Avatar
 
Join Date: Feb 2008
Location: Lake City, Fl
Posts: 12,248
Received 29 Likes on 24 Posts
oooooh, what color?
Old 06-17-2009, 05:26 PM
  #3  
Registered User
Thread Starter
 
Ezrider_92356's Avatar
 
Join Date: Mar 2008
Location: bismarck nd
Posts: 617
Likes: 0
Received 6 Likes on 5 Posts
blue, its what i had laying around
Old 06-17-2009, 05:27 PM
  #4  
Contributing Member
 
iamsuperbleeder's Avatar
 
Join Date: Feb 2008
Location: Lake City, Fl
Posts: 12,248
Received 29 Likes on 24 Posts
Originally Posted by Ezrider_92356
blue, its what i had laying around
cooooool


the masses love pics
Old 06-17-2009, 05:31 PM
  #5  
Registered User
Thread Starter
 
Ezrider_92356's Avatar
 
Join Date: Mar 2008
Location: bismarck nd
Posts: 617
Likes: 0
Received 6 Likes on 5 Posts

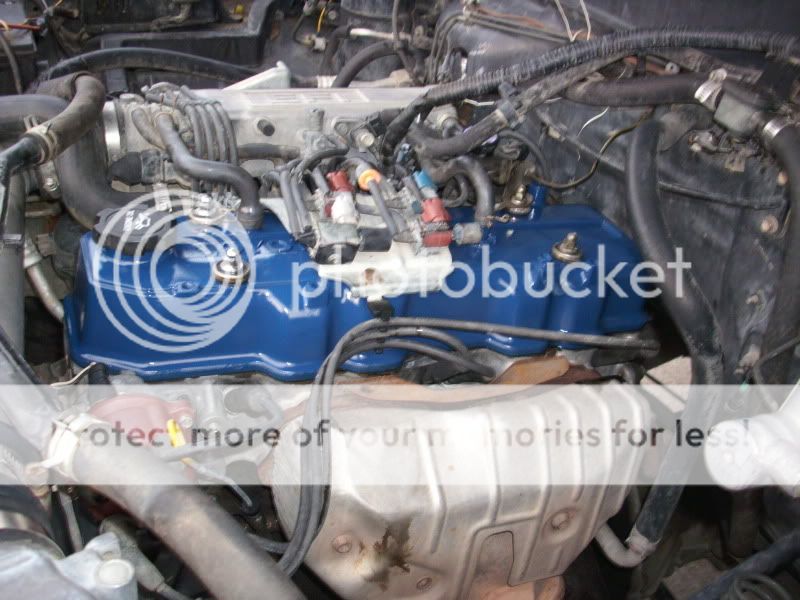
just an teaser pic more to come
Old 06-17-2009, 05:44 PM
  #6  
Registered User
 
xjdubber's Avatar
 
Join Date: Jan 2009
Posts: 97
Likes: 0
Received 0 Likes on 0 Posts
nice. my 3slow gets higher numbers!
Old 06-17-2009, 05:48 PM
  #7  
Contributing Member
 
iamsuperbleeder's Avatar
 
Join Date: Feb 2008
Location: Lake City, Fl
Posts: 12,248
Received 29 Likes on 24 Posts
hahaha

"DING"

"OH BOY OH BOY OH BOY, MY VALVE COVER'S DONE!"

lol
Old 06-17-2009, 05:51 PM
  #8  
Registered User
 
a4runnerfreak's Avatar
 
Join Date: Jul 2008
Location: Grew up in S.C.V, So Cal.....now in Hampstead, NC
Posts: 4,592
Likes: 0
Received 0 Likes on 0 Posts
Yeah, it's NOT DiGorgino!!!!!!
Old 06-17-2009, 06:06 PM
  #9  
Registered User
Thread Starter
 
Ezrider_92356's Avatar
 
Join Date: Mar 2008
Location: bismarck nd
Posts: 617
Likes: 0
Received 6 Likes on 5 Posts


Last edited by Ezrider_92356; 06-17-2009 at 06:07 PM.
Old 06-17-2009, 06:19 PM
  #10  
Registered User
 
abecedarian's Avatar
 
Join Date: Mar 2008
Location: Temecula Valley, CA
Posts: 12,723
Likes: 0
Received 4 Likes on 4 Posts
Now you've got to do the intake to match....
Old 06-17-2009, 06:58 PM
  #11  
Registered User
Thread Starter
 
Ezrider_92356's Avatar
 
Join Date: Mar 2008
Location: bismarck nd
Posts: 617
Likes: 0
Received 6 Likes on 5 Posts
well if i would have thought about painting anything when i was putting the motor together in the first place i don't think it would be realy worth it to pull the intake back off to paint it.
Old 06-17-2009, 08:30 PM
  #12  
Contributing Member
 
iamsuperbleeder's Avatar
 
Join Date: Feb 2008
Location: Lake City, Fl
Posts: 12,248
Received 29 Likes on 24 Posts
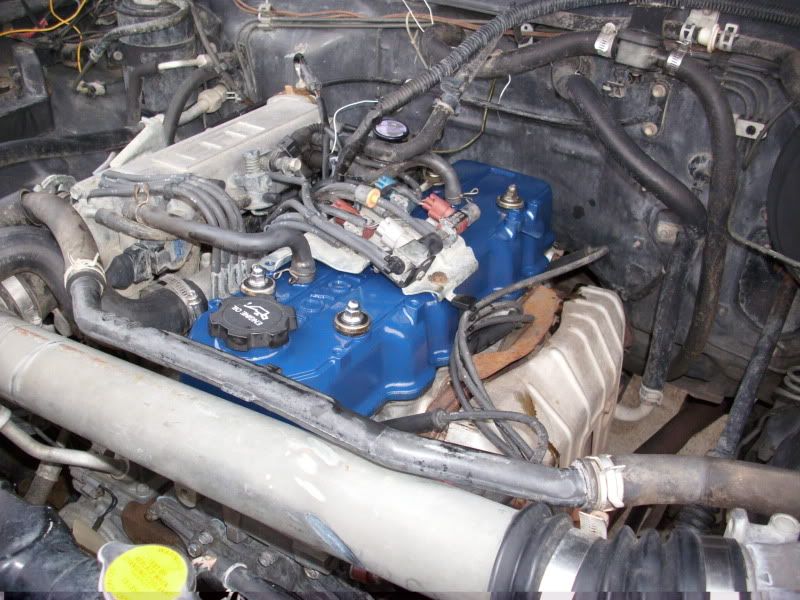
sheeze, a body lift makes it look like there's so much room under there, lol

looks good man!
Old 06-17-2009, 09:35 PM
  #13  
Registered User
Thread Starter
 
Ezrider_92356's Avatar
 
Join Date: Mar 2008
Location: bismarck nd
Posts: 617
Likes: 0
Received 6 Likes on 5 Posts
the body lift is nice for working on it makes it a lot easier to get to things, although i would like to take an inch or so out of it.
Old 06-17-2009, 09:46 PM
  #14  
Contributing Member
 
iamsuperbleeder's Avatar
 
Join Date: Feb 2008
Location: Lake City, Fl
Posts: 12,248
Received 29 Likes on 24 Posts
did you paint AND bake the PVC valve and grommet?
Old 06-17-2009, 09:50 PM
  #15  
Registered User
Thread Starter
 
Ezrider_92356's Avatar
 
Join Date: Mar 2008
Location: bismarck nd
Posts: 617
Likes: 0
Received 6 Likes on 5 Posts
yes i did...lol a touch of lazyness but not an big deal, if i ever have to replace it then it wont have paint on it anymore...lol
Old 06-17-2009, 09:51 PM
  #16  
Contributing Member
 
iamsuperbleeder's Avatar
 
Join Date: Feb 2008
Location: Lake City, Fl
Posts: 12,248
Received 29 Likes on 24 Posts
lol, I thought it looked like that

I noticed the broken original plug-wire holder was left on and painted, then looked over tha was like "wtf?" lol
Old 06-17-2009, 10:06 PM
  #17  
Registered User
Thread Starter
 
Ezrider_92356's Avatar
 
Join Date: Mar 2008
Location: bismarck nd
Posts: 617
Likes: 0
Received 6 Likes on 5 Posts
yeah i just stuck an little peice of tape over the top of the pcv valve sprayed the valve cover with some class cleaner wiped it with an paper towel, then sat it down in the gravel part of my driveway and spray painted it, let it dry to the touch and then stuck it in the oven on 200 for 30 mins so i it wouldn't scratch as easily if i bumped something putting it back on. total time including adjusting the valves was maybe an hour to hour and an half. i came up with an idea for the intake too, if i mask it off i could paint just the raised lettering on top to make it match, without having to remove much of anything. would look pretty slick, that will be an project for another day.
Old 06-18-2009, 08:09 AM
  #18  
Contributing Member
 
iamsuperbleeder's Avatar
 
Join Date: Feb 2008
Location: Lake City, Fl
Posts: 12,248
Received 29 Likes on 24 Posts
Originally Posted by Ezrider_92356
yeah i just stuck an little peice of tape over the top of the pcv valve sprayed the valve cover with some class cleaner wiped it with an paper towel, then sat it down in the gravel part of my driveway and spray painted it, let it dry to the touch and then stuck it in the oven on 200 for 30 mins so i it wouldn't scratch as easily if i bumped something putting it back on. total time including adjusting the valves was maybe an hour to hour and an half. i came up with an idea for the intake too, if i mask it off i could paint just the raised lettering on top to make it match, without having to remove much of anything. would look pretty slick, that will be an project for another day.
check out my 22re rebuild thread (I'd link to it, but I'm using my phone to post this, and it's limited to posting abilies, lol) that's exactly what I did I did the same when I painter my valve cover, which you can get a peak at in my avatar

I ended up painting the upper and lower intake manifold sections
Old 06-18-2009, 12:40 PM
  #19  
Registered User
Thread Starter
 
Ezrider_92356's Avatar
 
Join Date: Mar 2008
Location: bismarck nd
Posts: 617
Likes: 0
Received 6 Likes on 5 Posts
yeah i saw your thread a couple days ago, its looking great its actually what made me think of painting it while i had my cover off i wish i would have taken the time to paint everything while i had the motor torn down, your motor looks great
Related Topics
Thread
Thread Starter
Forum
Replies
Last Post
cars-guy
Pre 84 Trucks
7
08-16-2020 06:59 AM
okamikai
86-95 Trucks & 4Runners
6
04-30-2018 10:19 PM
Flossy
86-95 Trucks & 4Runners
0
08-05-2015 05:14 PM
Sr5crawler
86-95 Trucks & 4Runners
5
07-31-2015 12:32 PM


Quick Reply: gave my motor an checkup


All times are GMT -8. The time now is 10:44 PM.