
Finally! Painted the toyota. Step by step pics. 56K no no.
 07-07-2008, 08:06 PM
#1
Registered User
Thread Starter
Finally! Painted the toyota. Step by step pics. 56K no no.
hey all.
just thought that id pass along the pics from the adventure of painting my pickup. i have TONS of pics. and im going to post them all, but not in one sitting. i just got my wisdom teeth pulled this morning so i cant really sleep, ive been sleeping all day.
here goes nothing!
A couple of before pics...
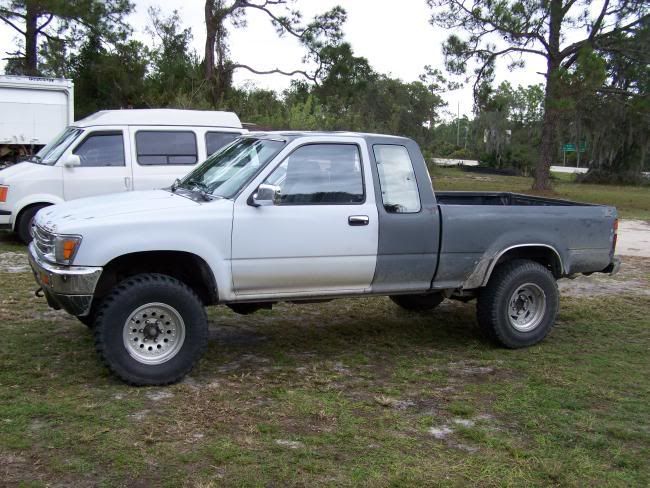
back before i bought him.


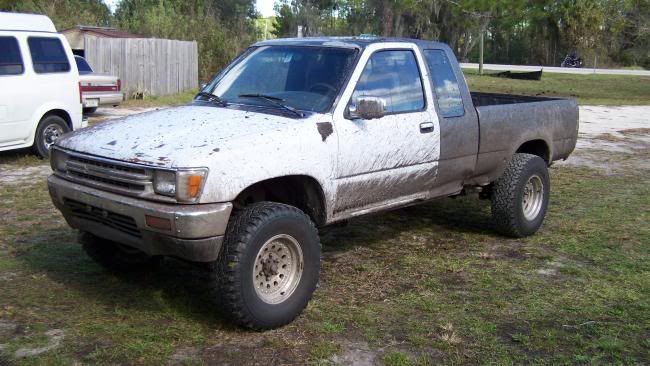
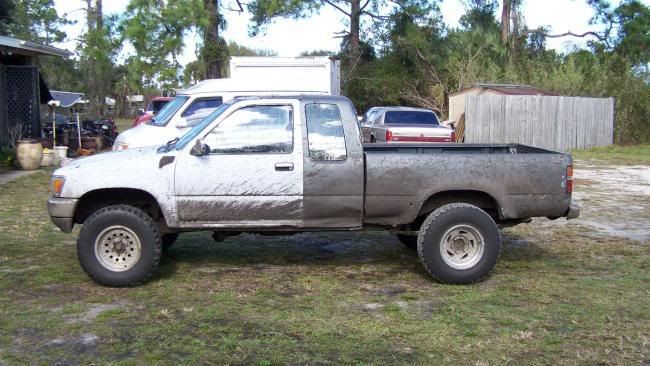
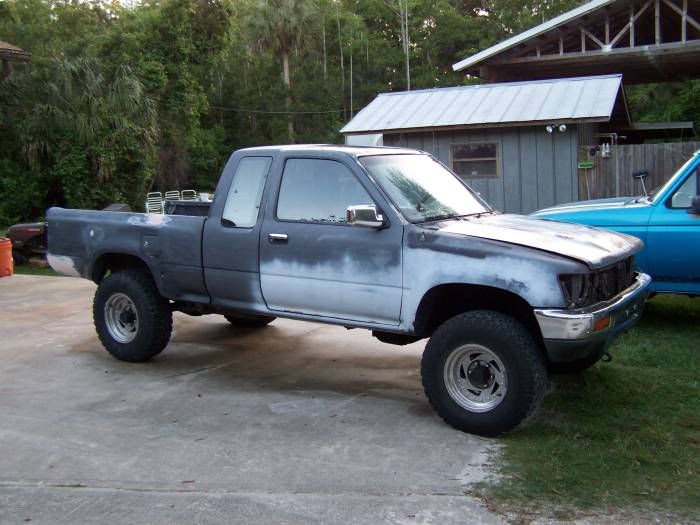
After i bought it. grand total: $1,100.00


buddy dared me to follow his jeep on 33 buckshots. found out mudding in a 4x4 was alot better than in the lil old 2wd s10.


went mudding again...

and again...

and again...

again...

and again...


did i mention that i like mudding?...

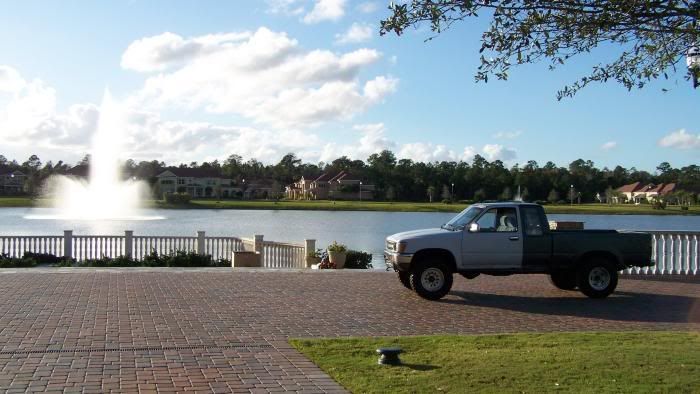
then i cleaned it.

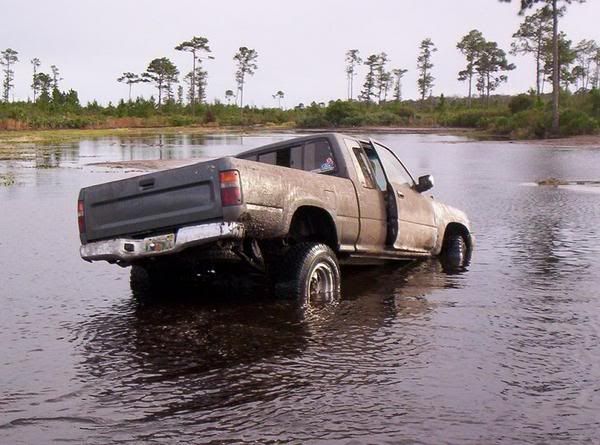
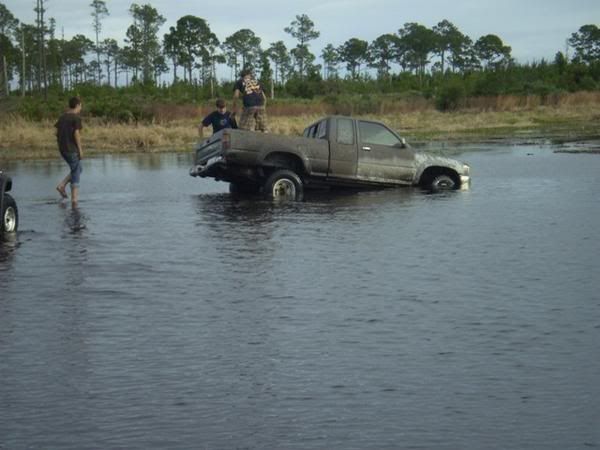
but then i went mudding again. he was stuck for about 12 hours this time tho... you cant win them all right?


rescued by a toyota land cruiser with a hefty winch on the front.

got stuck this time too. that wasent my weekend.
then i decided to put away my mudding boots. (or flip flops for that matter.)
just thought that id pass along the pics from the adventure of painting my pickup. i have TONS of pics. and im going to post them all, but not in one sitting. i just got my wisdom teeth pulled this morning so i cant really sleep, ive been sleeping all day.
here goes nothing!
A couple of before pics...
back before i bought him.
After i bought it. grand total: $1,100.00
buddy dared me to follow his jeep on 33 buckshots. found out mudding in a 4x4 was alot better than in the lil old 2wd s10.
went mudding again...
and again...
and again...
again...
and again...
did i mention that i like mudding?...
then i cleaned it.
but then i went mudding again. he was stuck for about 12 hours this time tho... you cant win them all right?
rescued by a toyota land cruiser with a hefty winch on the front.
got stuck this time too. that wasent my weekend.
then i decided to put away my mudding boots. (or flip flops for that matter.)


 07-07-2008, 09:20 PM
#5
Registered User
Thread Starter
hold on, rewind. i forgot to mention the horrible new years 2008 night.
couple days before d day.
(terror music starts playing in background.)
so a group of us go mudding the night of new years eve. a kid that i know from school was stuck in like this marsh thing and a buddy in a zr2 on 32's and i were trying to help him out. on my way to change pulling angles i was bogging through the marsh like area i got myself hung up on a stump. i was pissed to say the least.


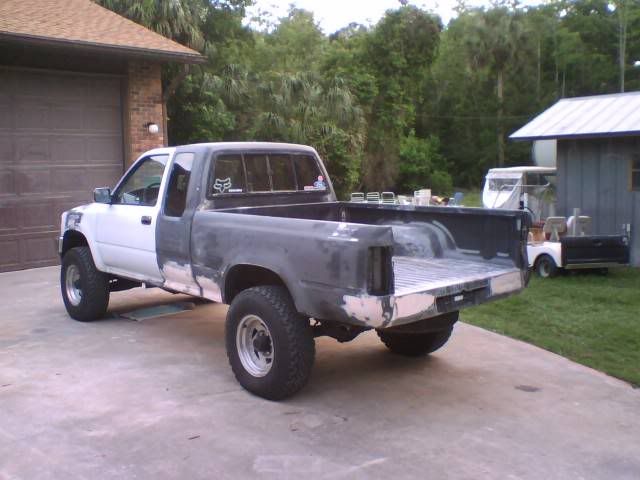
couple more glamour shots before the work.
it was love at first sight...


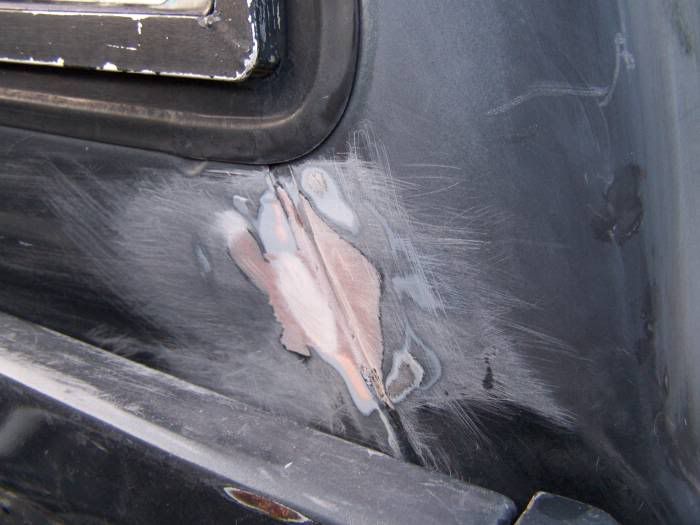
so i must admit, i started getting tired of looking at that crater and the two tone just wasent cutting it anymore.
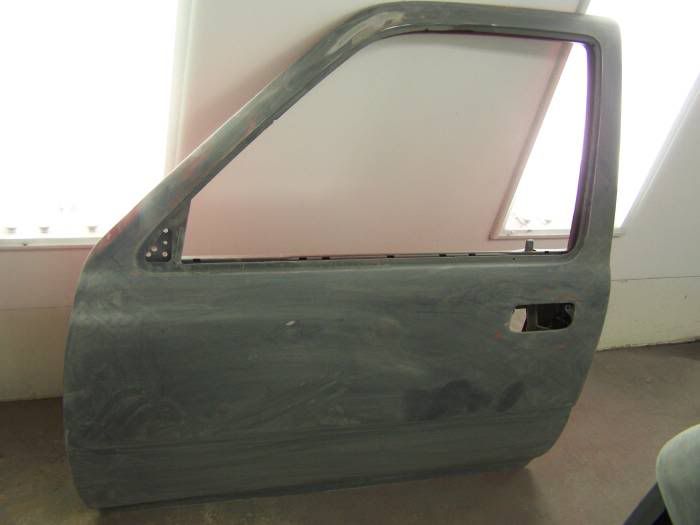
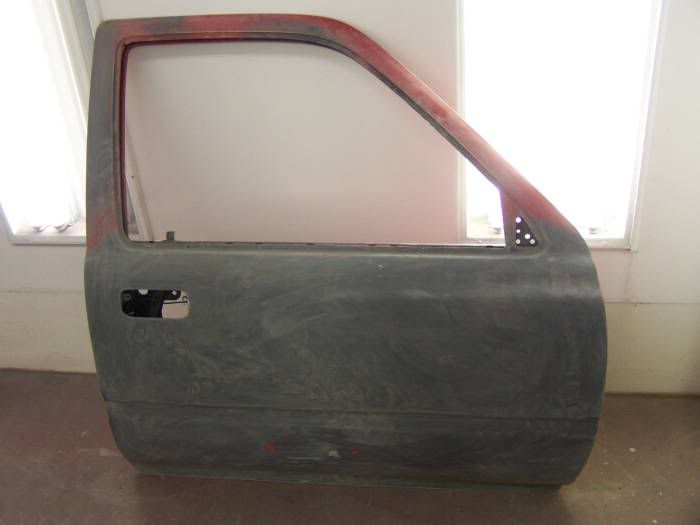
found some donor doors...
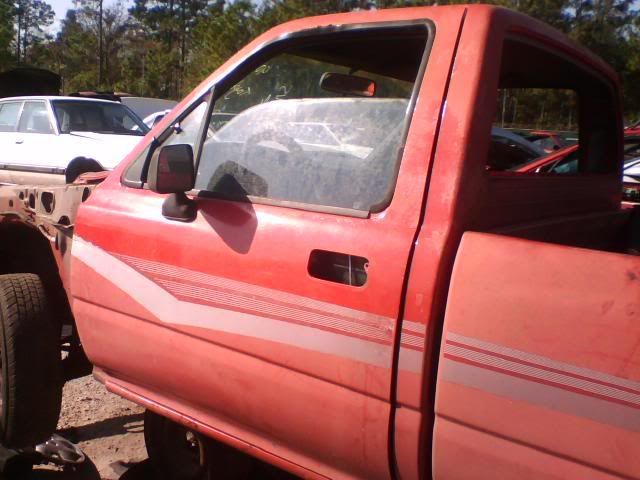
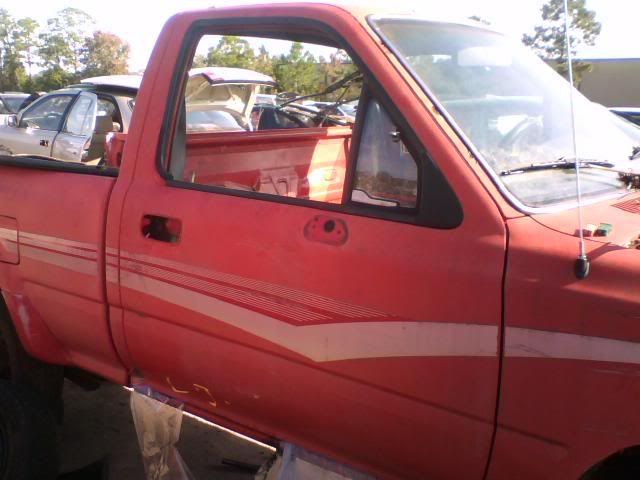
and body work had begun.
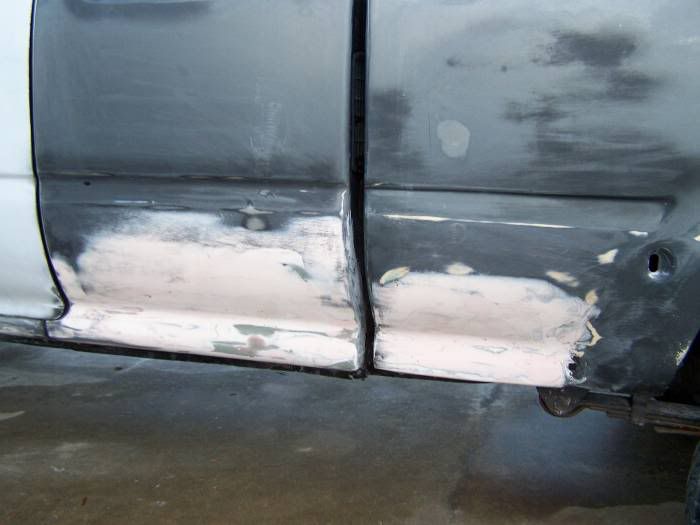
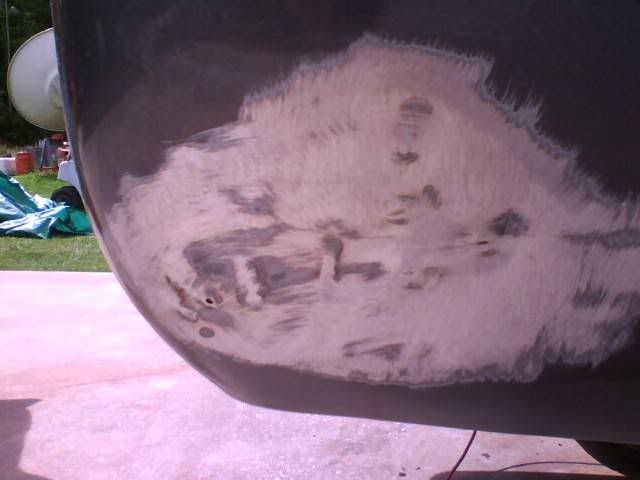
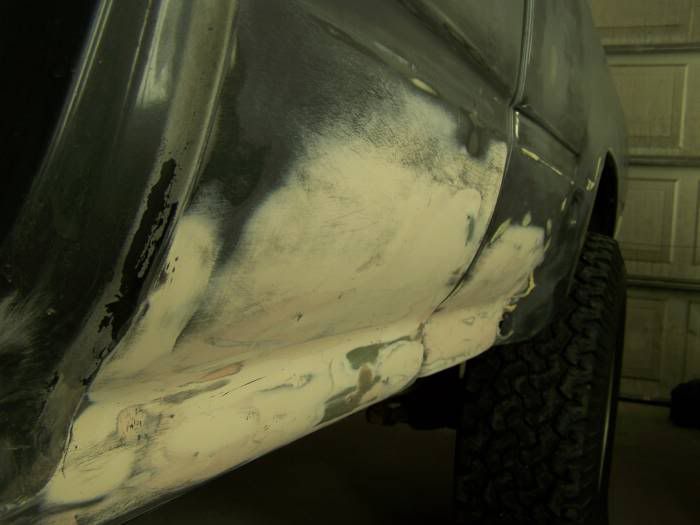
crater before.
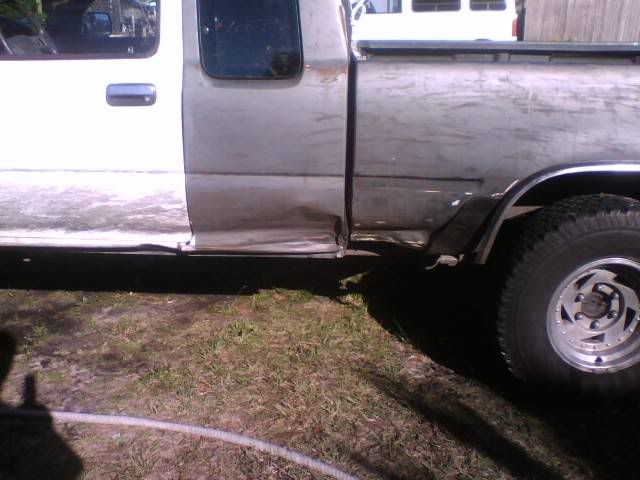
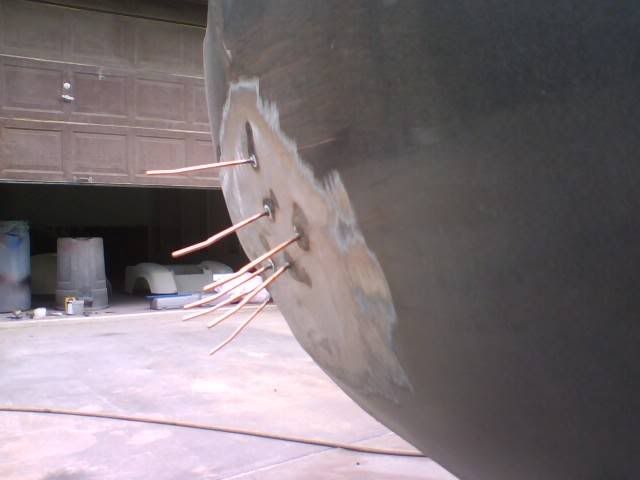
pulled out most of the dent with a tool called a stud welder and a slide hammer. then it was time for duraglass.
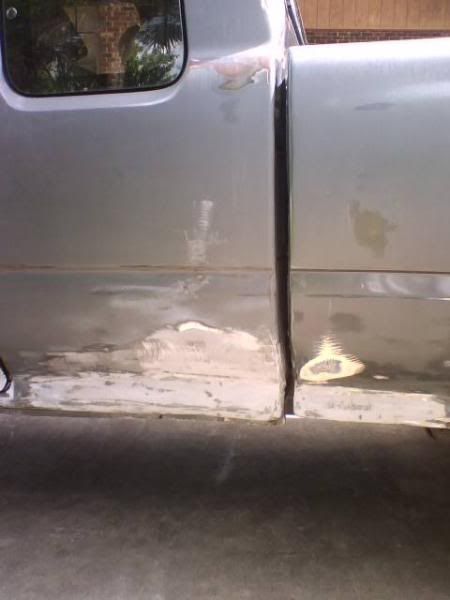
bondo.
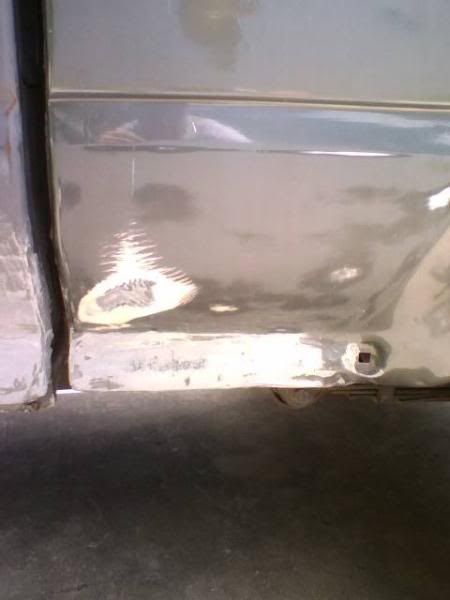
ready to wetsand.
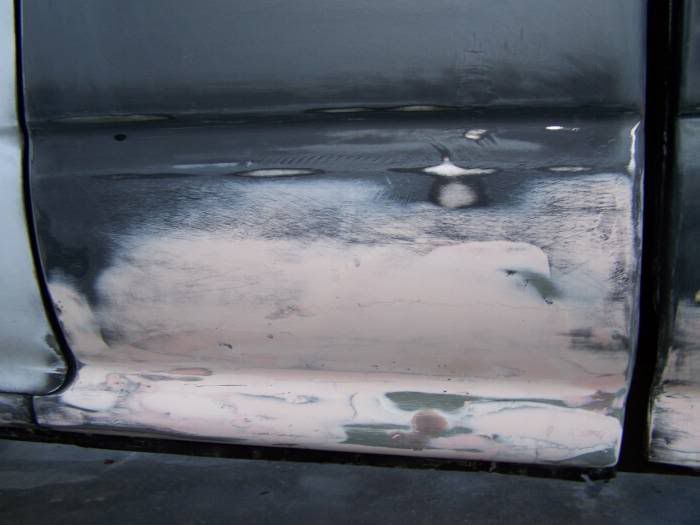
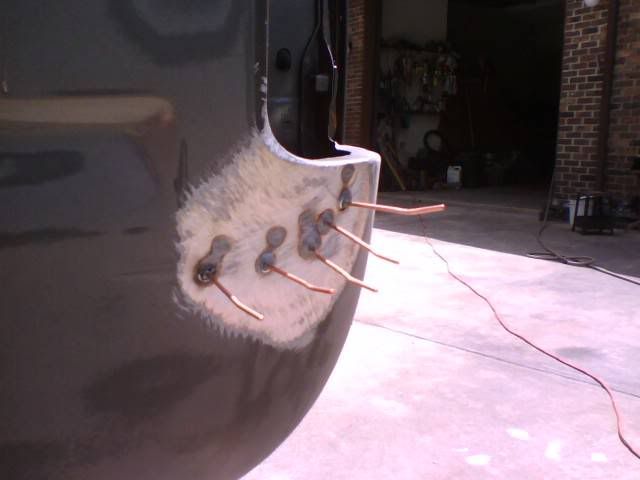
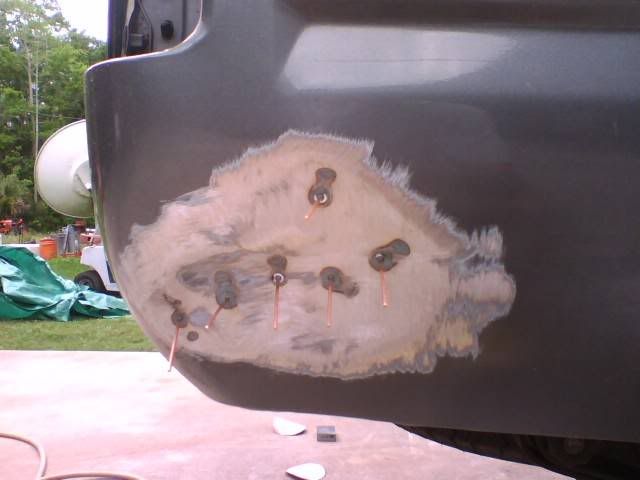
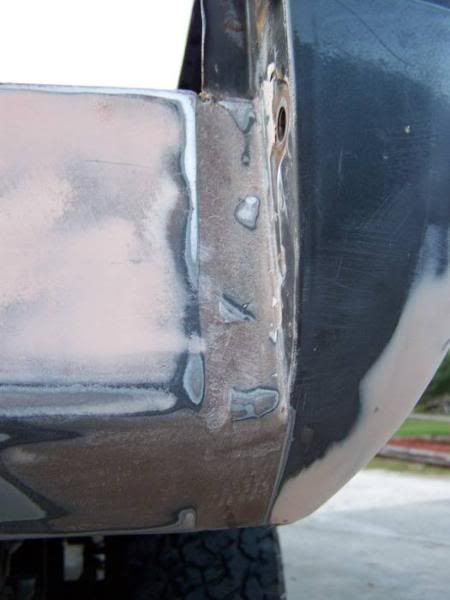
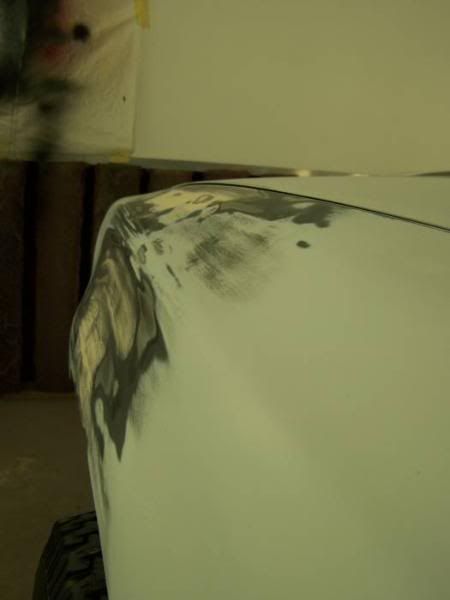
driver rear corner had a nice dent. here you can see the stud welding pins.
ready to wetsand.
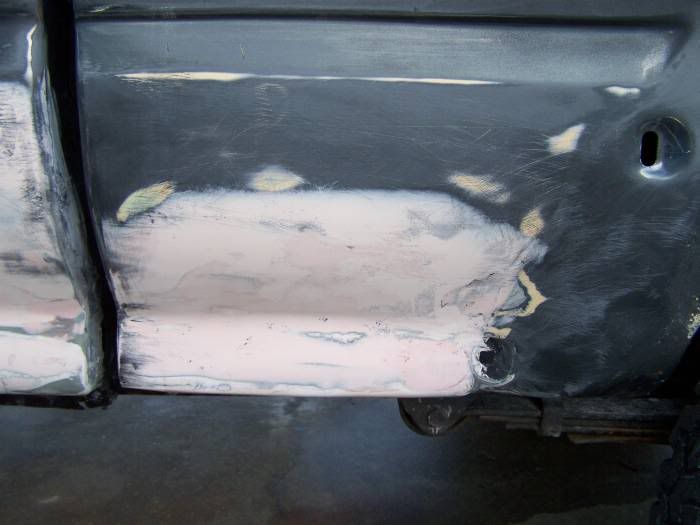
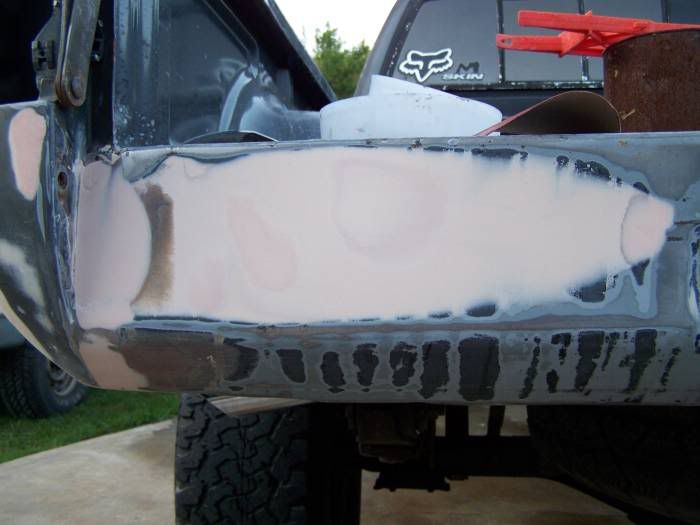
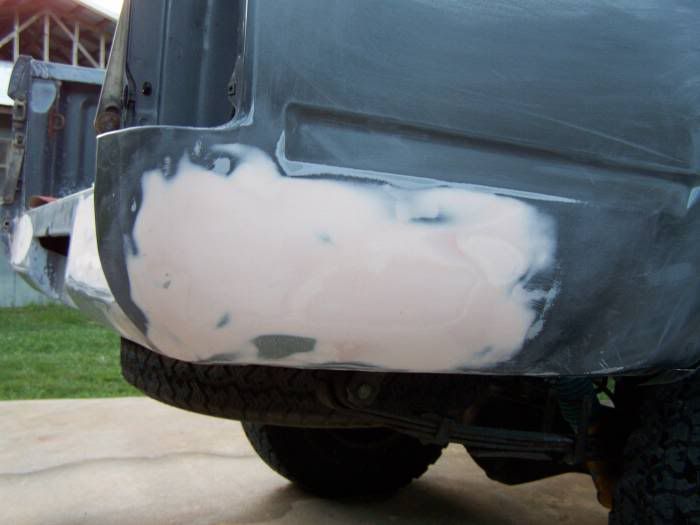
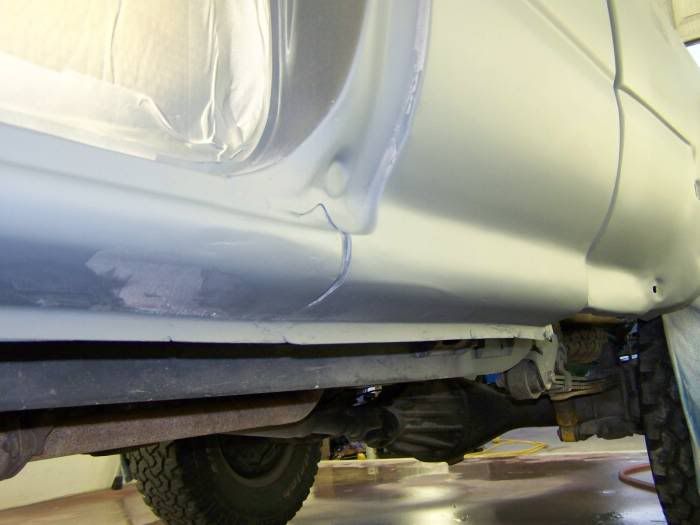
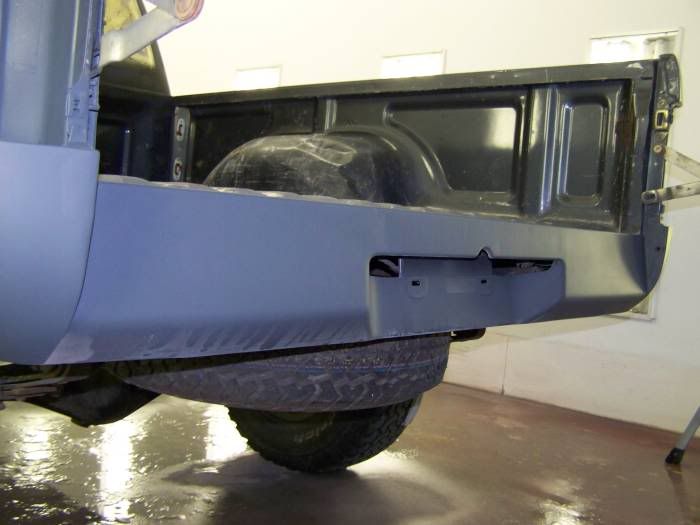
i wanted to make the factory rollpan nice and smooth. so i could take my bumper off if i wanted, for that nice clean look...
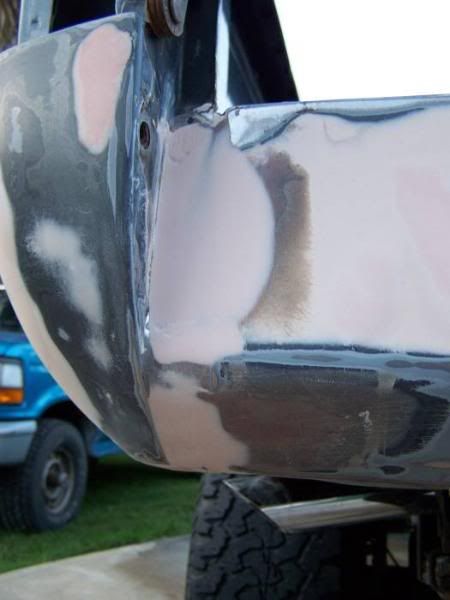
ready to wet sand.
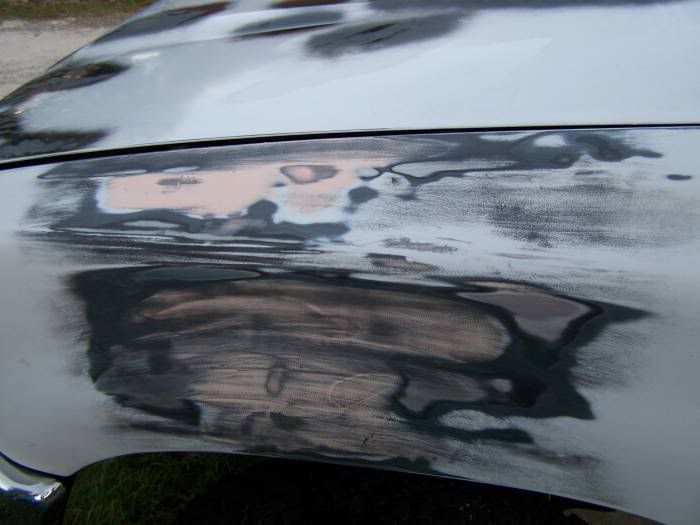
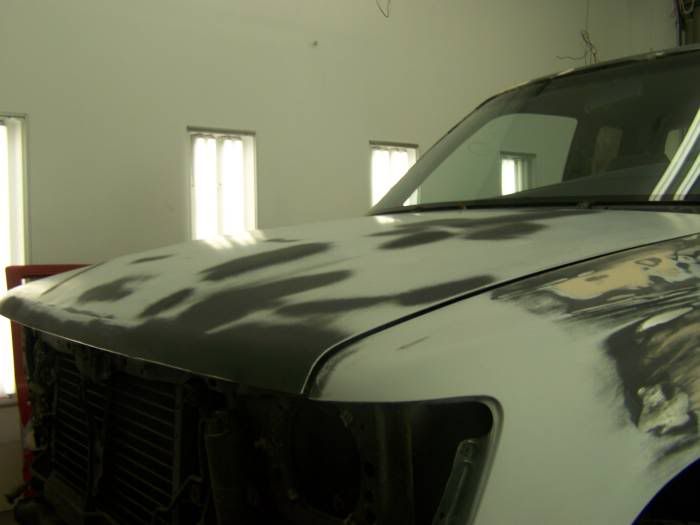
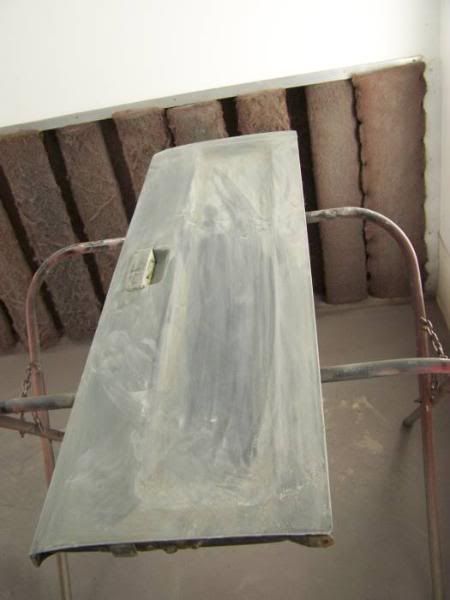
couple dents in front driver fender. no ploblem.
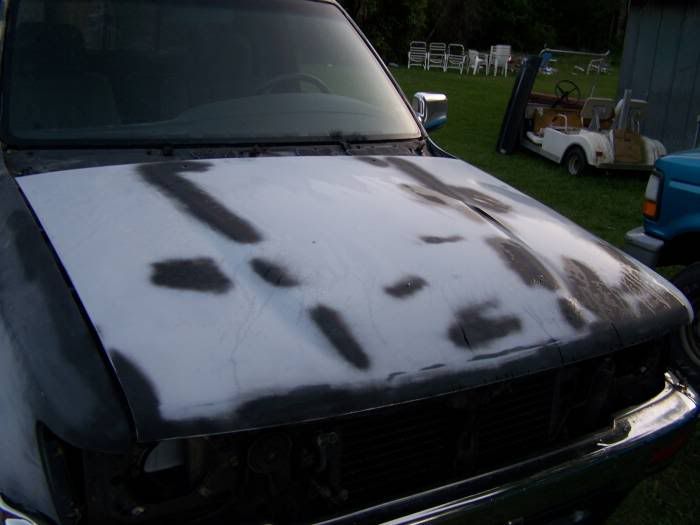
hood ready to wet sand.
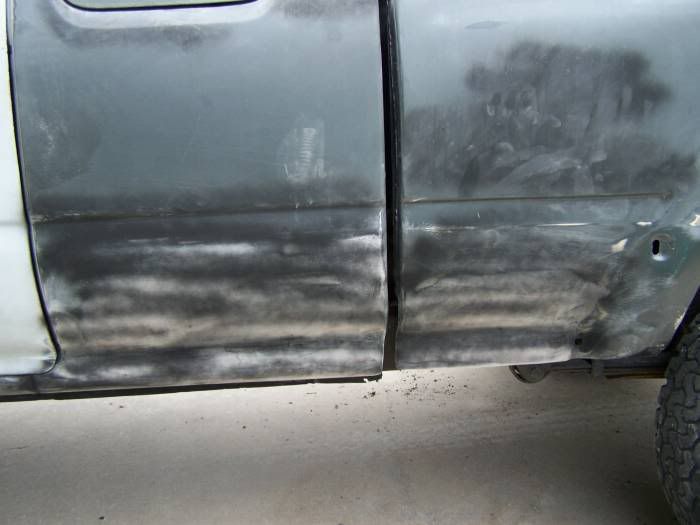
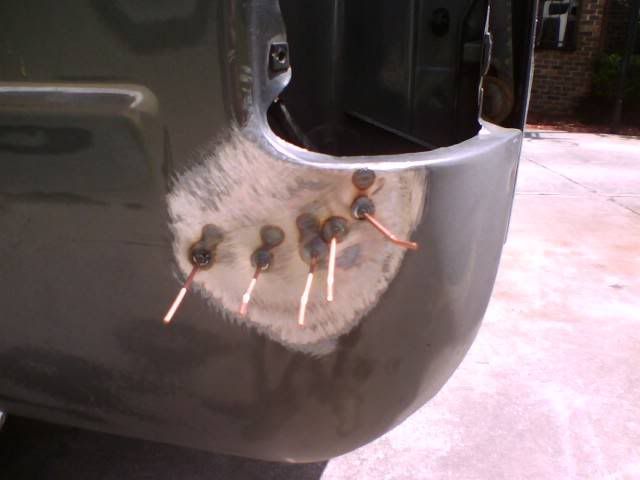
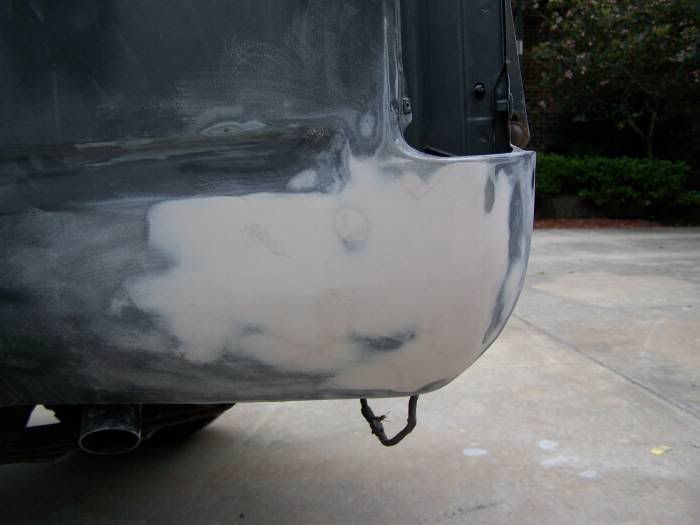
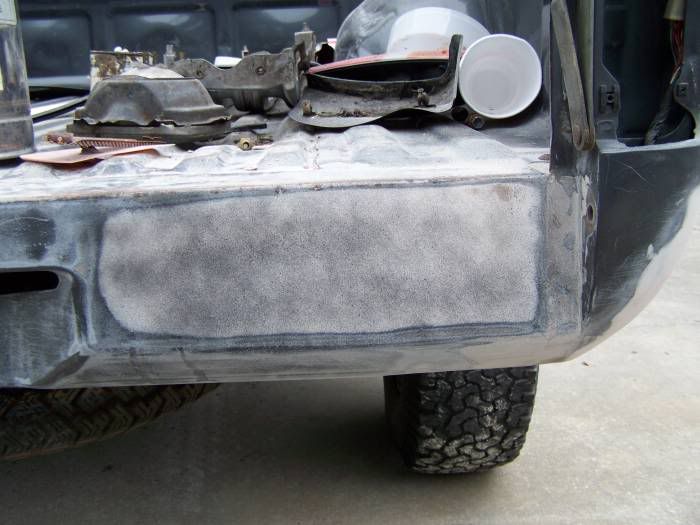
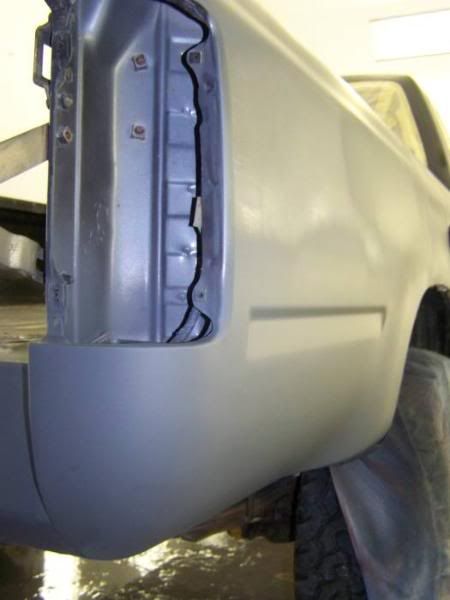
passenger side rear corner had a nice dent too... again you can seet the studs used to pull out the dent first.
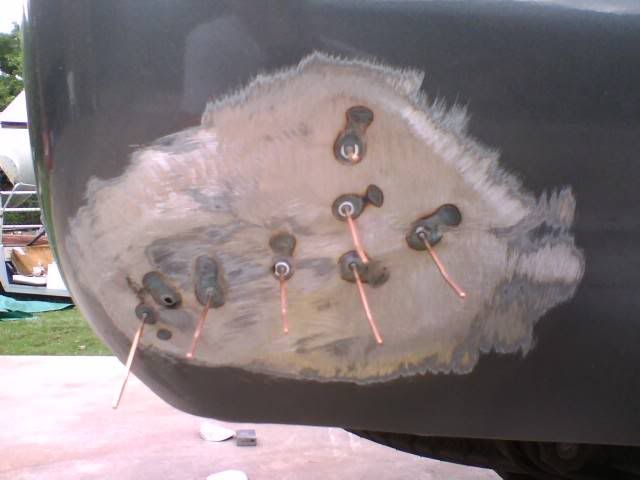
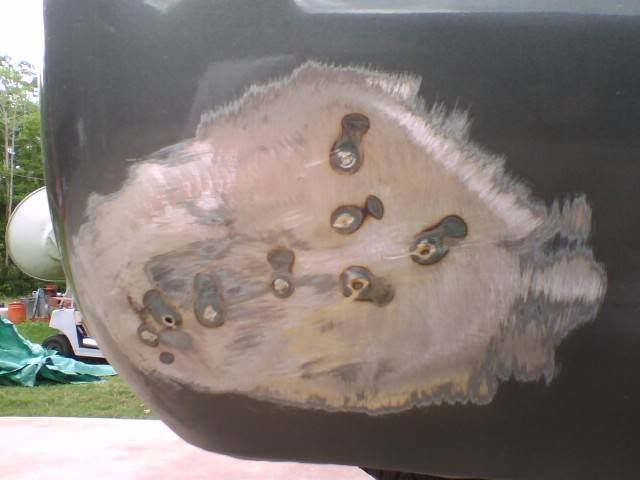
notice the studs ground off.
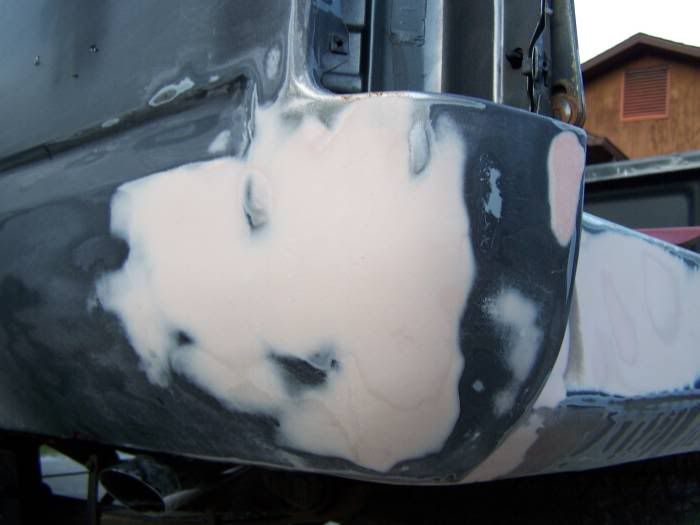
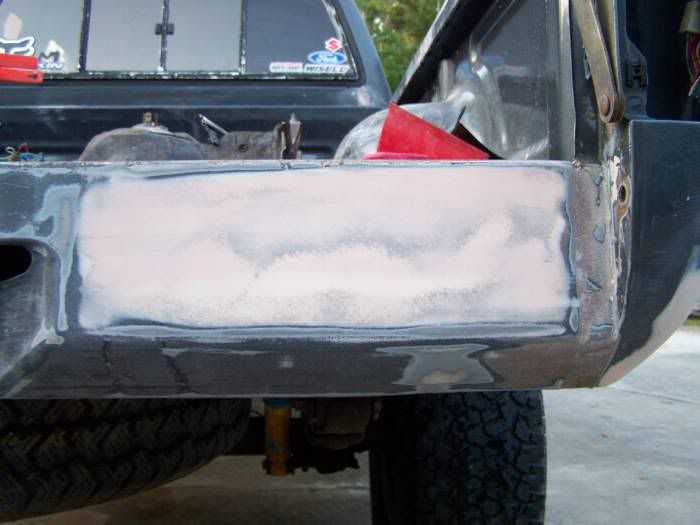
frist coat of bondo.
after sanding and a couple other swipes of bondo.
ready to wet sand.
passenger side of the factory roll pan. you can see the guide coat. (used to tell you where you need the sand, or where you need more bondo if any or you dident know.)
ready to wet sand.
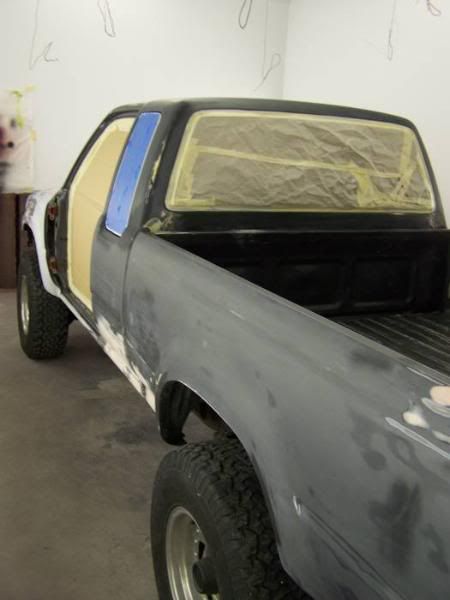
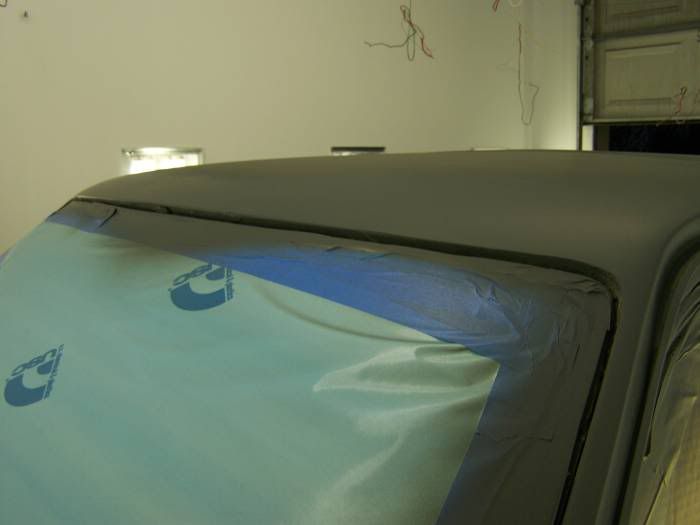
little spot of rust under each side of the rear window. steps used to fix this: spot sand blast, swipe or two of duraglass, swipe or two of bondo, and a final swipe of finishing pudy.
ready to wash before first coat of primer.
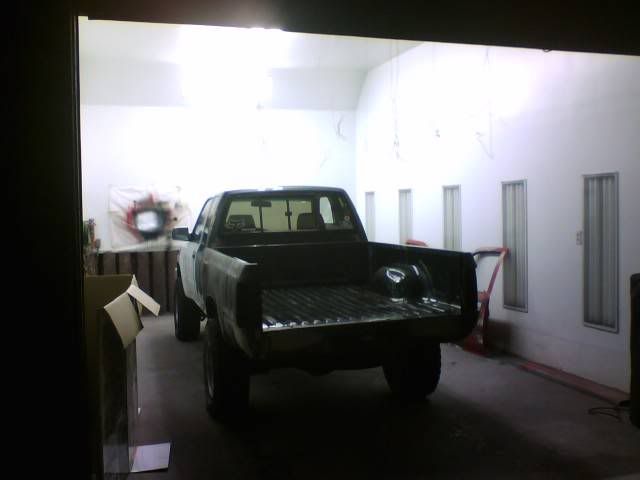
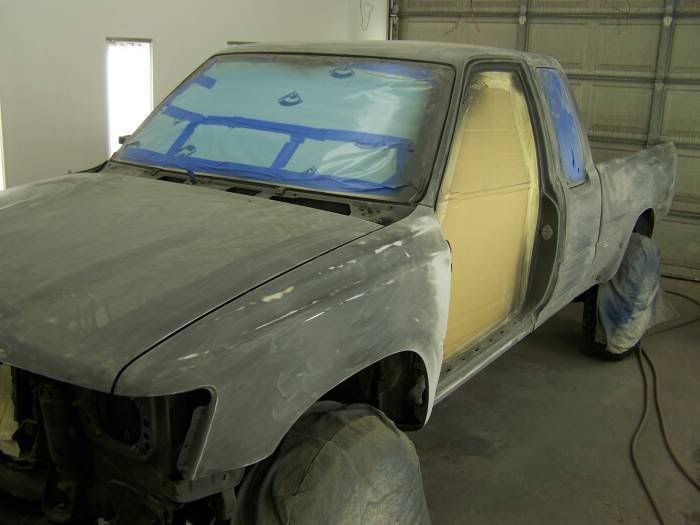
rolled her into the booth to tape it off.
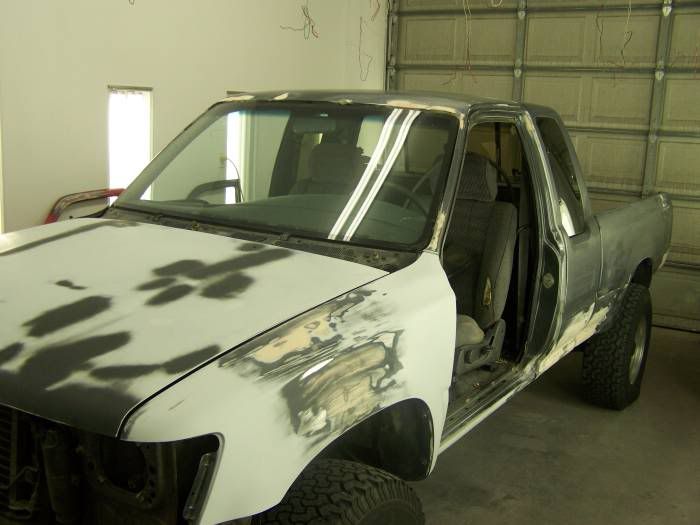
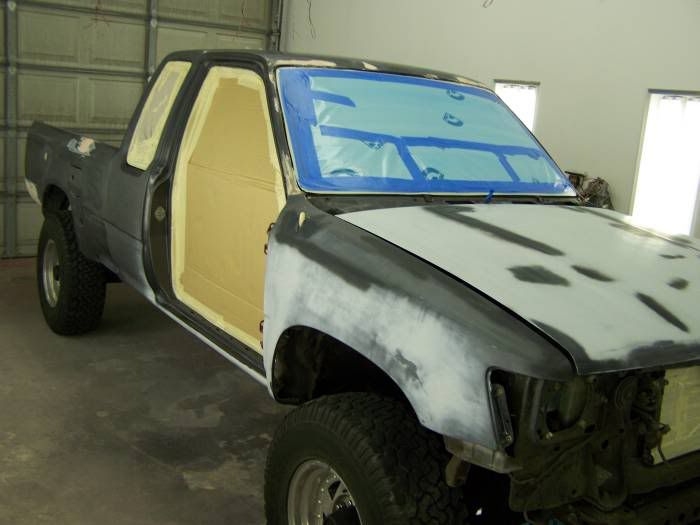
couple shots before 1st primer.
no more crater. )
)
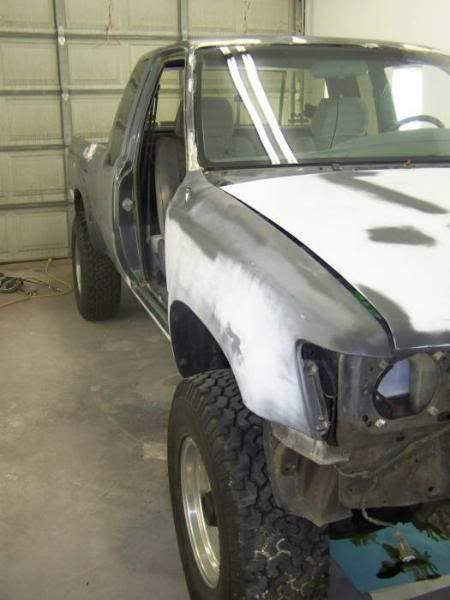
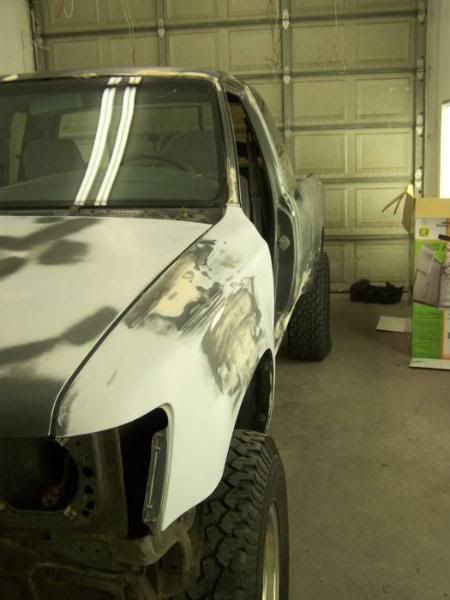
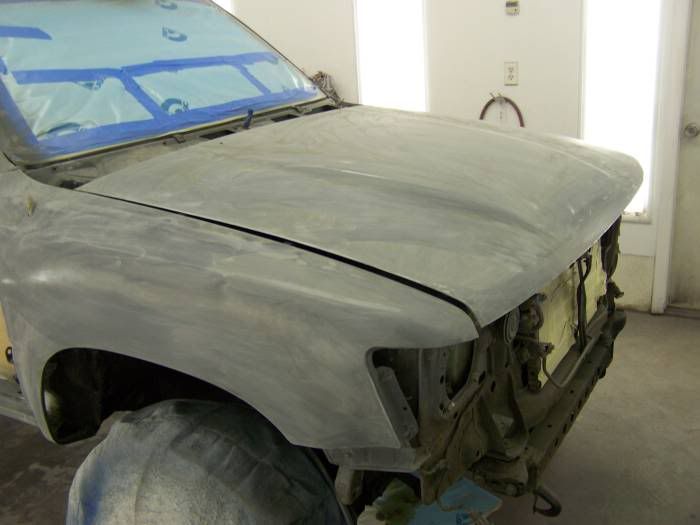
front driver fender.
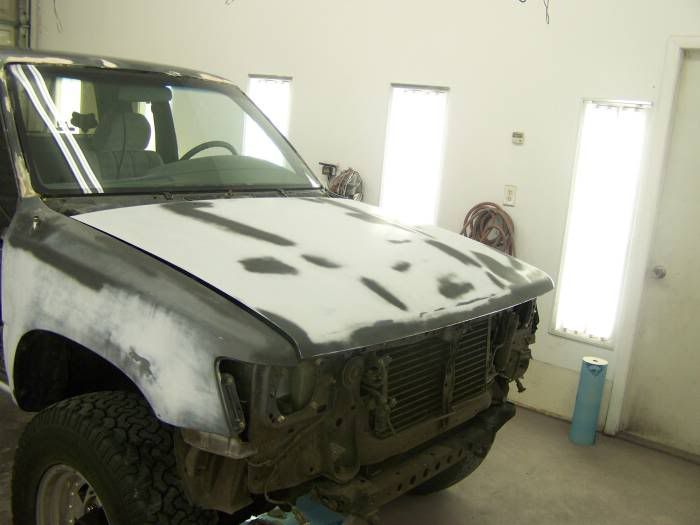
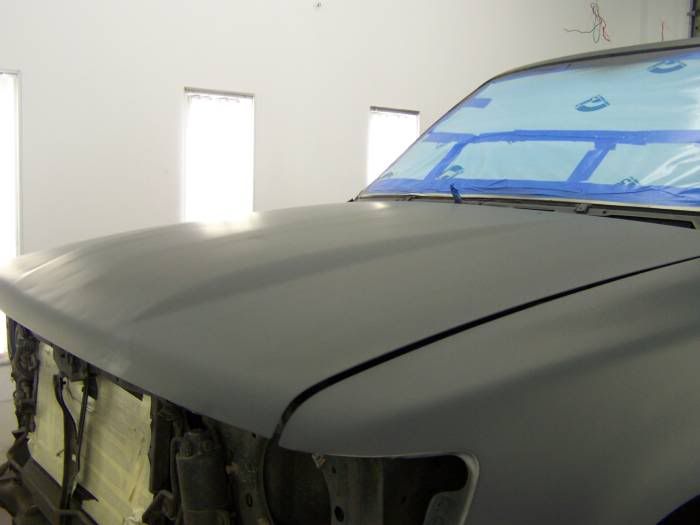
hood.
right before taping off.
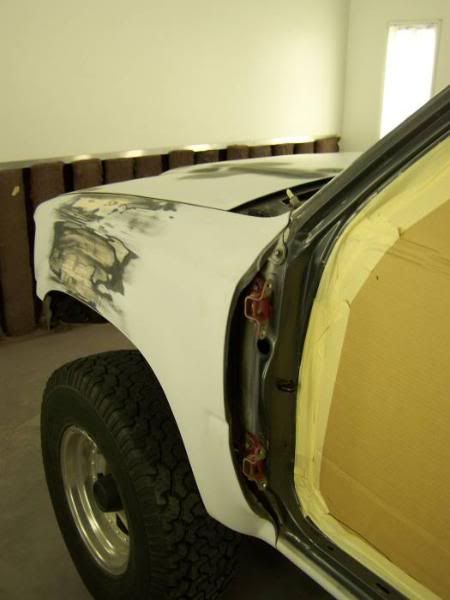
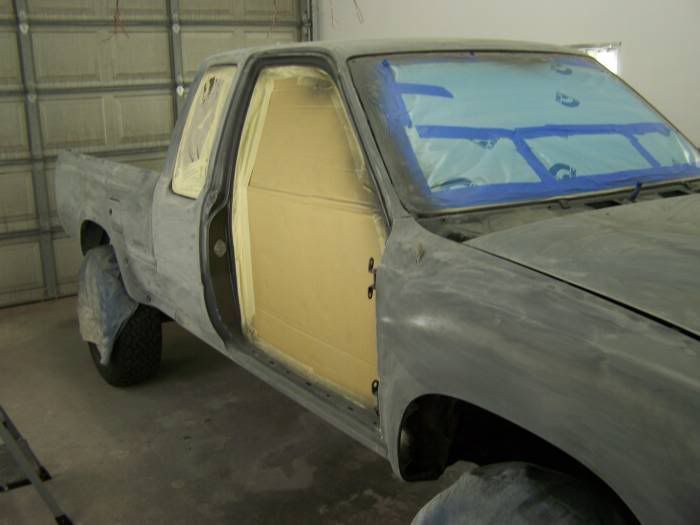
right after taping off.
notice the new hinges, no more saggy doors.
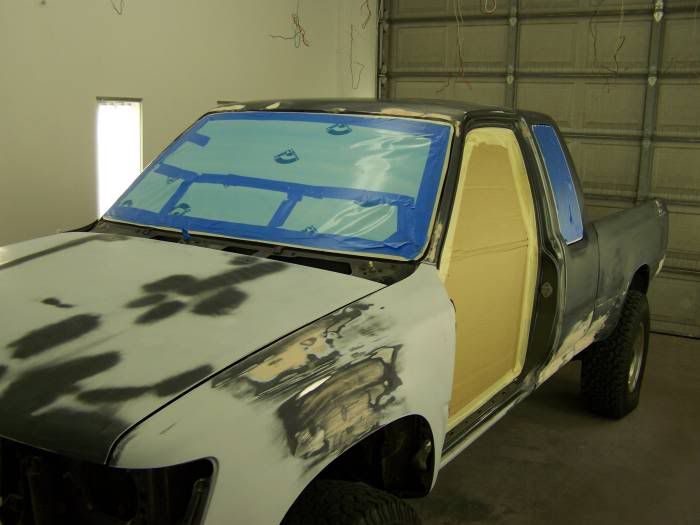
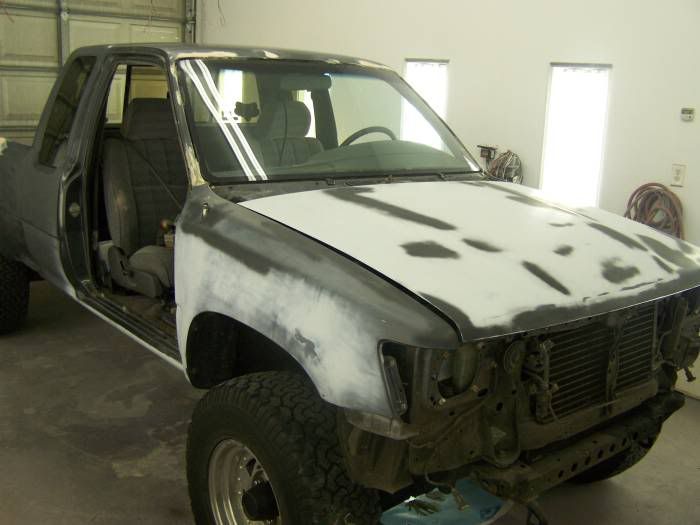
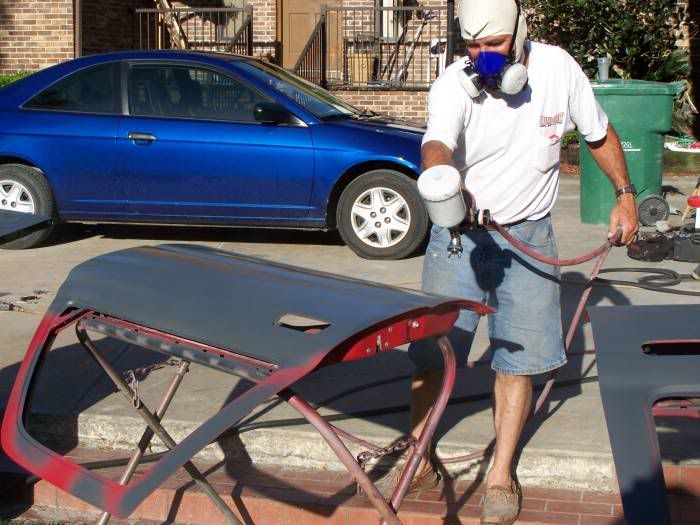
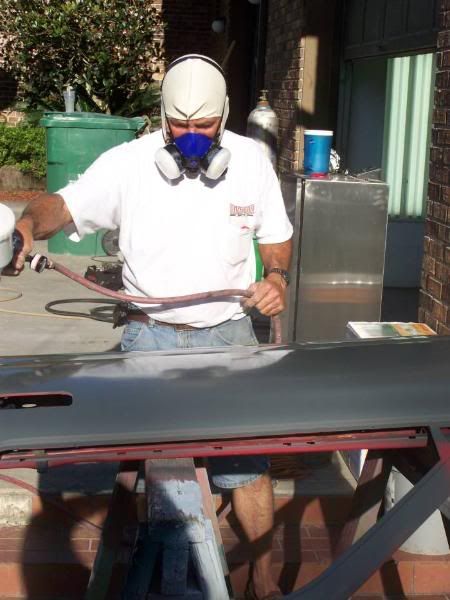
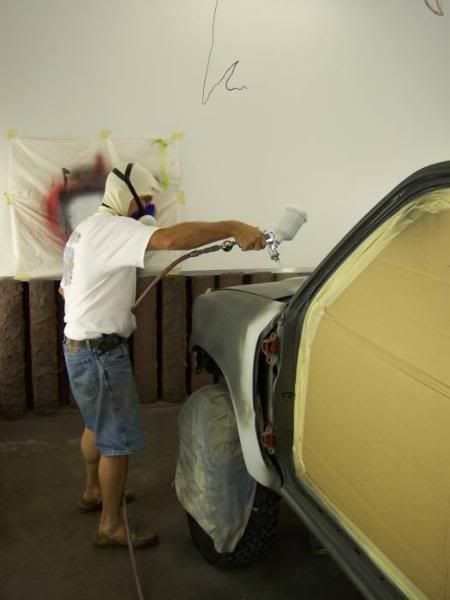
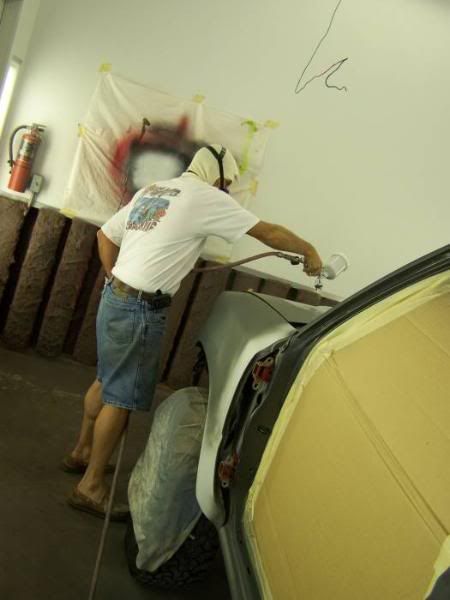
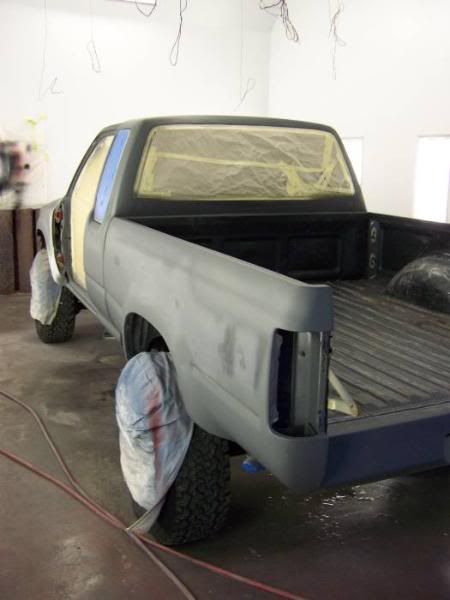
and my uncle finally laying down some primer. the primer used was called DP-21 Color-It Primer.
crater gone. kinda scary what you can hide.


more to come...
thanks for looking! ask away if you have any questions!!!!
couple days before d day.
(terror music starts playing in background.)
so a group of us go mudding the night of new years eve. a kid that i know from school was stuck in like this marsh thing and a buddy in a zr2 on 32's and i were trying to help him out. on my way to change pulling angles i was bogging through the marsh like area i got myself hung up on a stump. i was pissed to say the least.
couple more glamour shots before the work.
it was love at first sight...
so i must admit, i started getting tired of looking at that crater and the two tone just wasent cutting it anymore.
found some donor doors...
and body work had begun.
crater before.
pulled out most of the dent with a tool called a stud welder and a slide hammer. then it was time for duraglass.
bondo.
ready to wetsand.
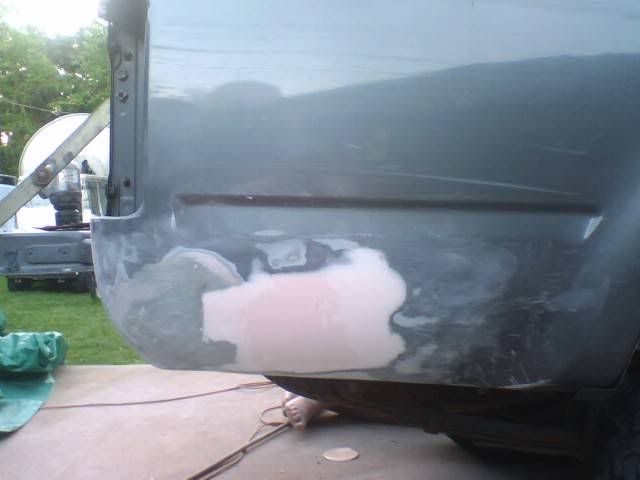
driver rear corner had a nice dent. here you can see the stud welding pins.
ready to wetsand.
i wanted to make the factory rollpan nice and smooth. so i could take my bumper off if i wanted, for that nice clean look...
ready to wet sand.
couple dents in front driver fender. no ploblem.
hood ready to wet sand.
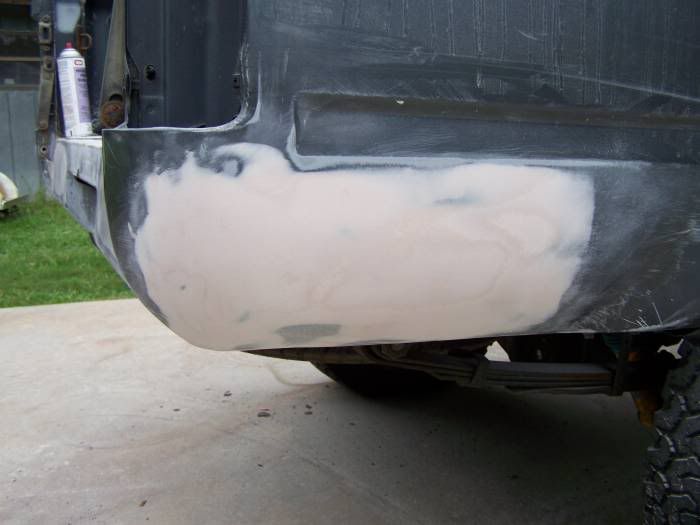
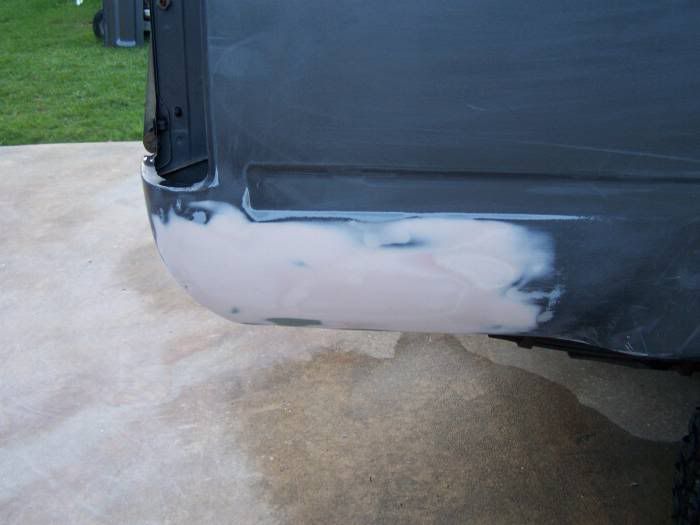
passenger side rear corner had a nice dent too... again you can seet the studs used to pull out the dent first.
notice the studs ground off.
frist coat of bondo.
after sanding and a couple other swipes of bondo.
ready to wet sand.
passenger side of the factory roll pan. you can see the guide coat. (used to tell you where you need the sand, or where you need more bondo if any or you dident know.)
ready to wet sand.
little spot of rust under each side of the rear window. steps used to fix this: spot sand blast, swipe or two of duraglass, swipe or two of bondo, and a final swipe of finishing pudy.
ready to wash before first coat of primer.
rolled her into the booth to tape it off.
couple shots before 1st primer.
no more crater.
)front driver fender.
hood.
right before taping off.
right after taping off.
notice the new hinges, no more saggy doors.
and my uncle finally laying down some primer. the primer used was called DP-21 Color-It Primer.
crater gone. kinda scary what you can hide.
more to come...
thanks for looking! ask away if you have any questions!!!!
Last edited by MIKEMOKAS; 07-07-2008 at 09:27 PM.
Trending Topics
07-07-2008, 09:46 PM
#8
Registered User
Thread Starter
belive me, it all pays off in the end man. i was grinning from ear to ear after i backed my truck out of the paint booth.
its a great feeling to see all of your hard work pay off.
update tomorrow!
its a great feeling to see all of your hard work pay off.
update tomorrow!
07-07-2008, 10:34 PM
#10
Registered User
hey mike
for thoese things you pulled the dent with, its that gun that welds on a little piece of metal, then what do you do with it?
ive seen things that are like a hammer but you pull towards yourself and it holds onto that weld and pulls the dent, is that the same thing? or differnt?
for thoese things you pulled the dent with, its that gun that welds on a little piece of metal, then what do you do with it?
ive seen things that are like a hammer but you pull towards yourself and it holds onto that weld and pulls the dent, is that the same thing? or differnt?
 07-08-2008, 07:55 AM
#13
Registered User
Thread Starter
hey mike
for thoese things you pulled the dent with, its that gun that welds on a little piece of metal, then what do you do with it?
ive seen things that are like a hammer but you pull towards yourself and it holds onto that weld and pulls the dent, is that the same thing? or differnt?
for thoese things you pulled the dent with, its that gun that welds on a little piece of metal, then what do you do with it?
ive seen things that are like a hammer but you pull towards yourself and it holds onto that weld and pulls the dent, is that the same thing? or differnt?
to my understanding orange peel mostly just comes from the factory, when the robots paint the vehicles. when you have a highly qualified painter, and you use high quality products, you usually wont end up with any orange peel. but even if you do encounter orange peel, you still have the option of wetsanding it out and then buffing the areas that you feathered out.
personally id just live with it. id shoot myself if i had to perfectly wet sand a whole vehicle!
one thing that i did have a little trouble with is when i would lay down some bondo on a dent, when i was ready to start sanding, i would remove too much bondo material. then id have to mix up another swipe of bondo and try it again. but as they say practice makes perfect, and near the end of the body work stages i was doing pretty good with the bondo spreader and the DA sander.
thanks for the replys everyone!
Last edited by MIKEMOKAS; 07-08-2008 at 07:59 AM.
07-08-2008, 08:08 AM
#14
Registered User
Thread Starter
ohhh and another thing i wanted to tell you guys. when you paint a vehicle. you dont have to primer the whole thing like you see thoes littler ricer people do... you only lay down primer over areas where you had to do body work. IE, rust repair, bondo/ duraglass work.
the origional paint that was on the vehicle is the best primer.
just thought id clear that up.
the origional paint that was on the vehicle is the best primer.
just thought id clear that up.
 Upload more pics!
  07-08-2008, 04:11 PM
#17
Registered User
Join Date: Sep 2006
Location: Good 'ole Georgia
Posts: 1,801
Likes: 0
Received 0 Likes
on
0 Posts
AHHH! went scrolling through all the replies hoping to see a finished product! How much did you spend including body work and paint? I'm thinking about the duplicolor 3 step to paint mine.
07-08-2008, 04:36 PM
#18
Registered User
Thread Starter
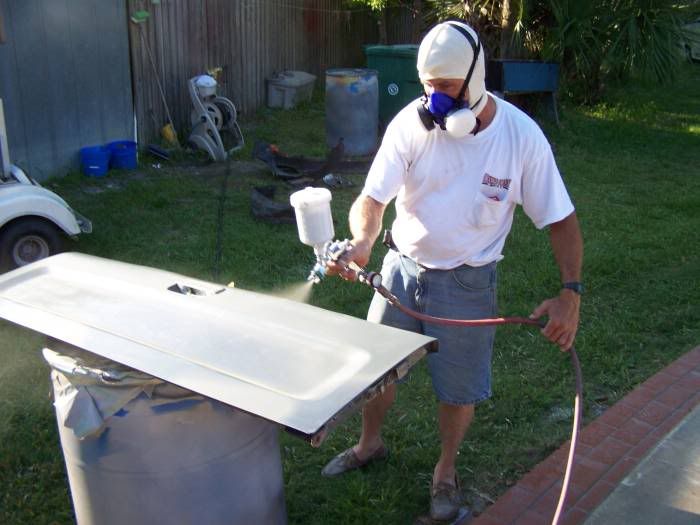
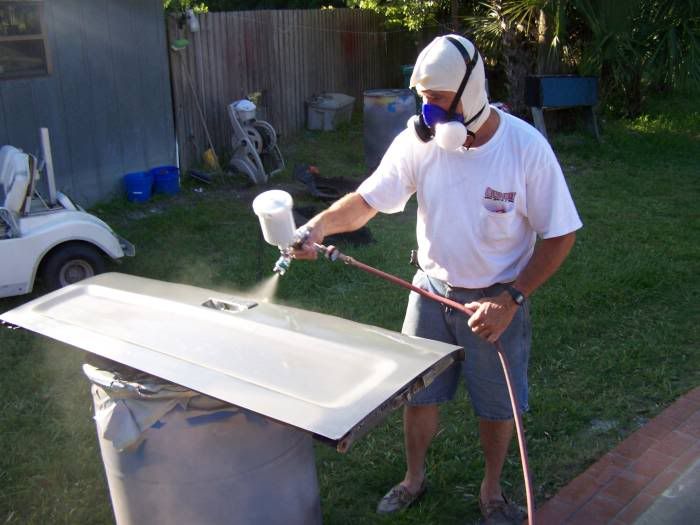
after the primer dried it was time to start blocking. blocking is where you use a paint stick usually and wrap a fine grit sandpaper around it and go over the areas that you worked on in this motion ////// and then you go against that motion with this kind of motion \\\\\\. you do this to make sure that theres no low spots in your bodywork. as my uncle says... make sure it looks "tits." if you find any imperfections here youll have to roll her outside and do a little more work with the glazing puddy, to fill in your low spots.

blocking takes up a lot of time. heres a hint if your about to do bodywork on your rig... since im a beginner i had to find an easier way to do the blocking process. i took a trip to my local home depot and went to the sandpaper isle. i found these nice sanding spunges i guess you would call them. in reality i think that their made to aid in wall paper removal but i found that they were soft, but firm enough to flow along your body lines, unlike a hard pain stick. just passing along some info..
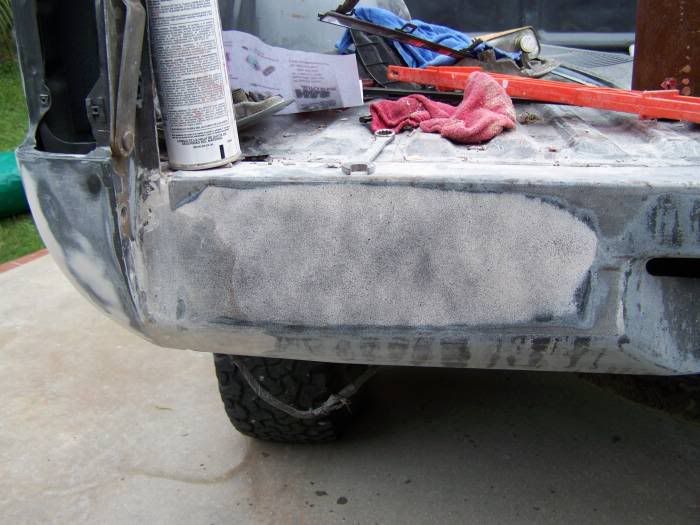
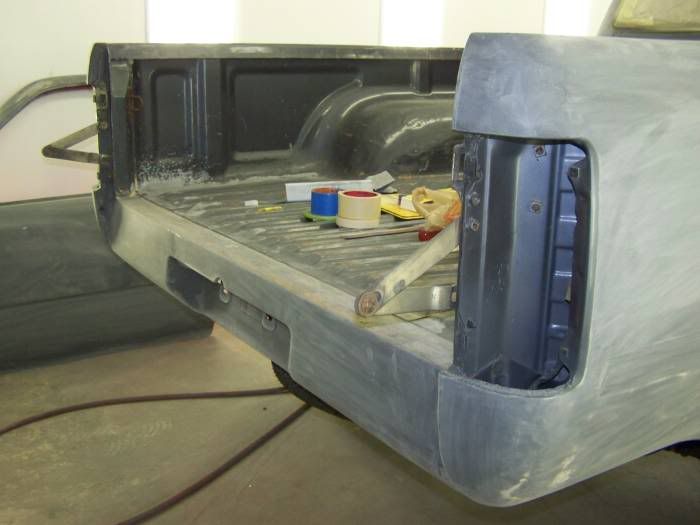
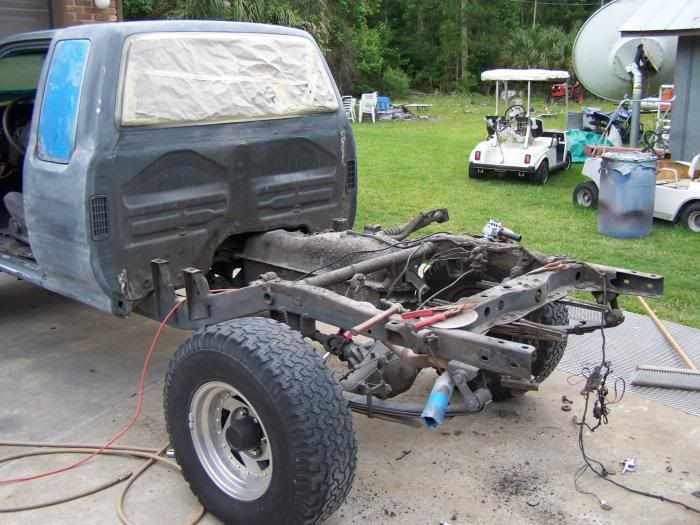
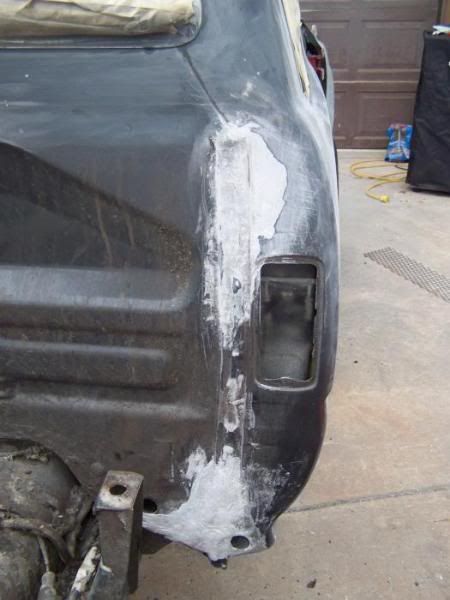
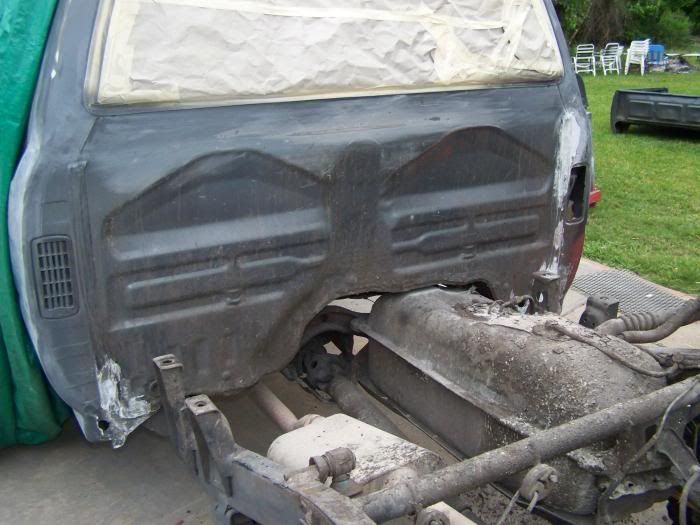
once i started seeing my truck look better i decided to go ahead and remove the bed if fix the worst of my problems. rust.
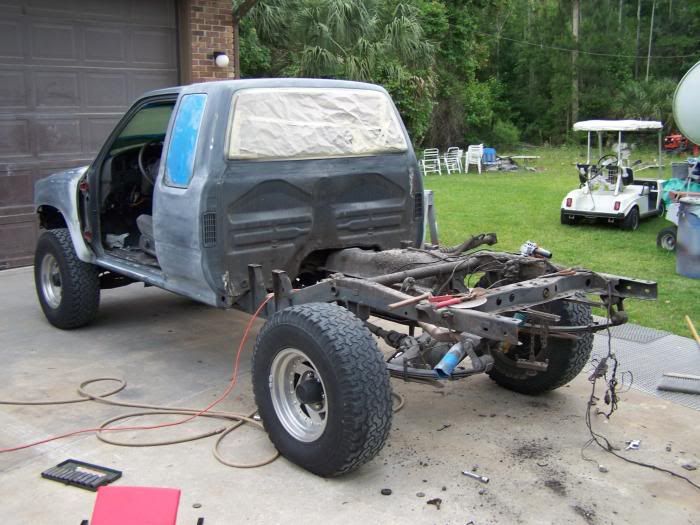
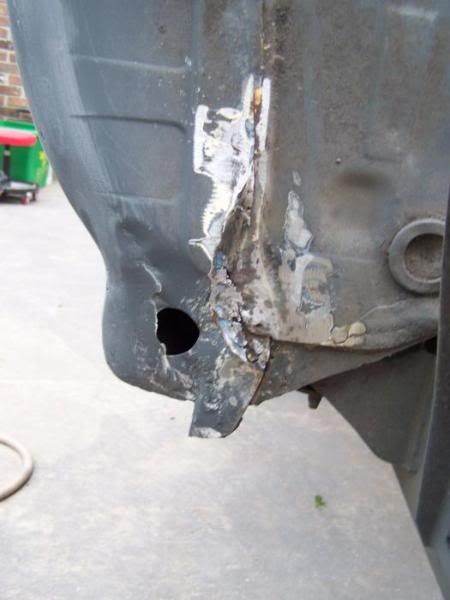
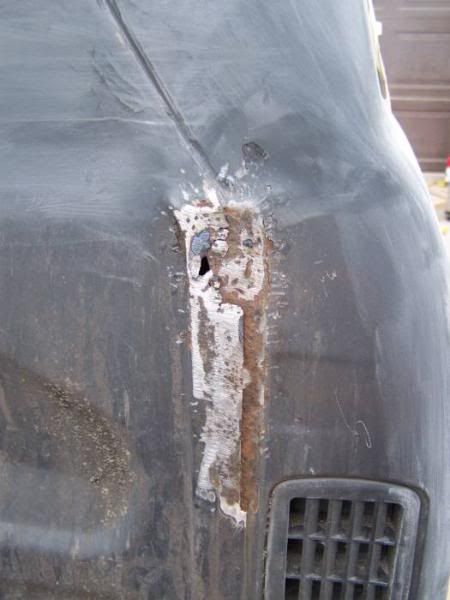
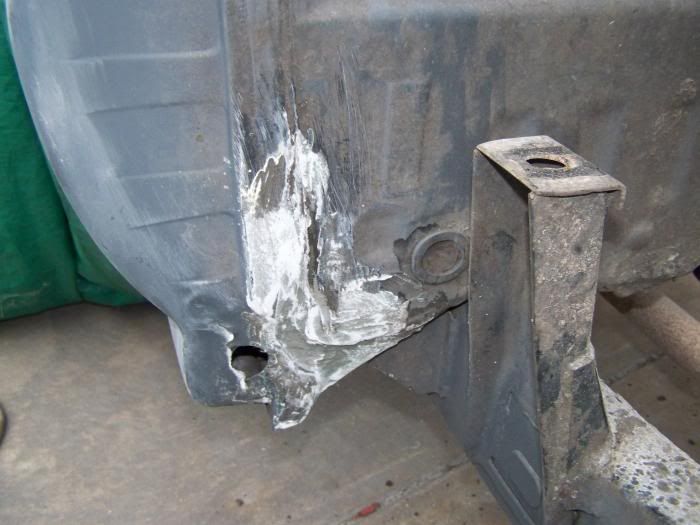
steps used to fix this: first i used this air tool called the tickler its this wierd looking thing with a bunch of little metal rods that beat off the rust, then spot sandblasted, duraglass, and then bondo. if you look colsly at the above photos you can see the little ding marks from the tickler. ^^^
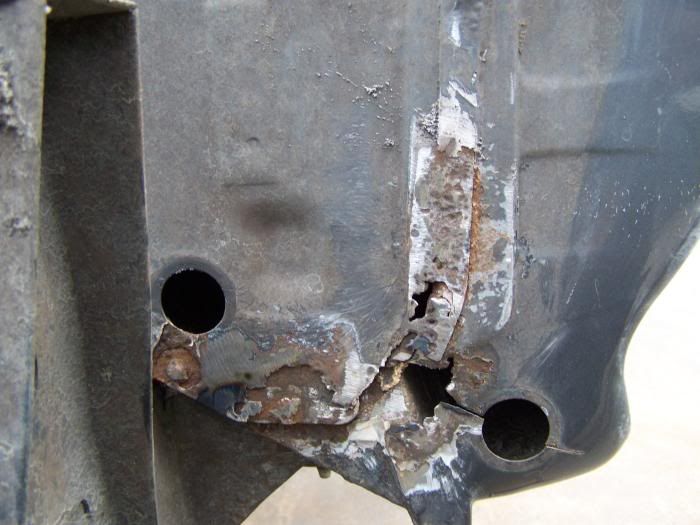
what i call duraglass is also called fiberglass resin jelly from wal-mart. i use this first because it is waterproof, and because it has small strands of fiberglass in it and that makes it alot stronger.
after some duraglass.
more in a little while.
blocking takes up a lot of time. heres a hint if your about to do bodywork on your rig... since im a beginner i had to find an easier way to do the blocking process. i took a trip to my local home depot and went to the sandpaper isle. i found these nice sanding spunges i guess you would call them. in reality i think that their made to aid in wall paper removal but i found that they were soft, but firm enough to flow along your body lines, unlike a hard pain stick. just passing along some info..
once i started seeing my truck look better i decided to go ahead and remove the bed if fix the worst of my problems. rust.
steps used to fix this: first i used this air tool called the tickler its this wierd looking thing with a bunch of little metal rods that beat off the rust, then spot sandblasted, duraglass, and then bondo. if you look colsly at the above photos you can see the little ding marks from the tickler. ^^^
what i call duraglass is also called fiberglass resin jelly from wal-mart. i use this first because it is waterproof, and because it has small strands of fiberglass in it and that makes it alot stronger.
after some duraglass.
more in a little while.
Last edited by MIKEMOKAS; 07-08-2008 at 04:40 PM.


