
2nd Gen Tire Carrier on 1st Gen 4runner
 10-13-2012, 04:29 AM
#1
Registered User
Thread Starter
Join Date: May 2011
Location: Upstate NY
Posts: 21
Likes: 0
Received 0 Likes
on
0 Posts
2nd Gen Tire Carrier on 1st Gen 4runner
I've got a 88 4Runner that I bought last year that I'm slowly fixing up. Yesterday, I stopped at a pick and pull looking for a new motor for my tailgate window. They had a 91 4runner with a factory rear tire carrier on it. I grabbed the carrier for $17 with a spare tire rim still mounted on it. I also got my window motor from the same truck for $15. I figured for $17 the carrier was worth seeing if I could get it to work. I'm pretty cheap and my wife and I just had our 1st baby. My wife gets pissed if I put too much $$ in to my "POS" as she calls it.
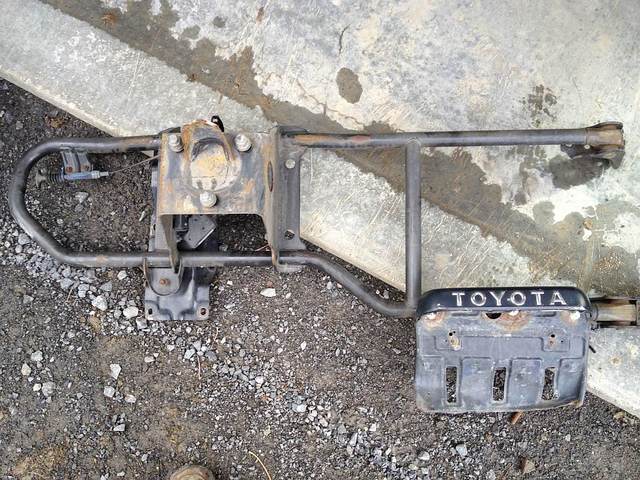
Here's a photo of the rack.
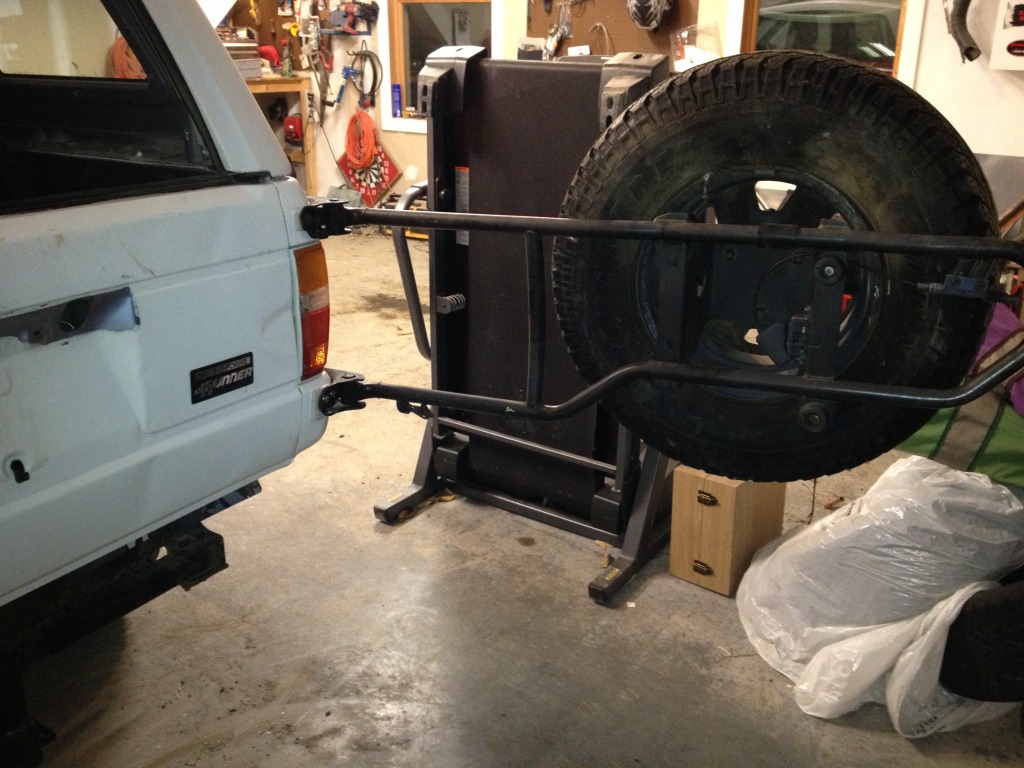
The first thing I did was hook some tie down straps from my sunroof over the top to the tailgate. I was home alone and didn't have anyone to hold it for me.
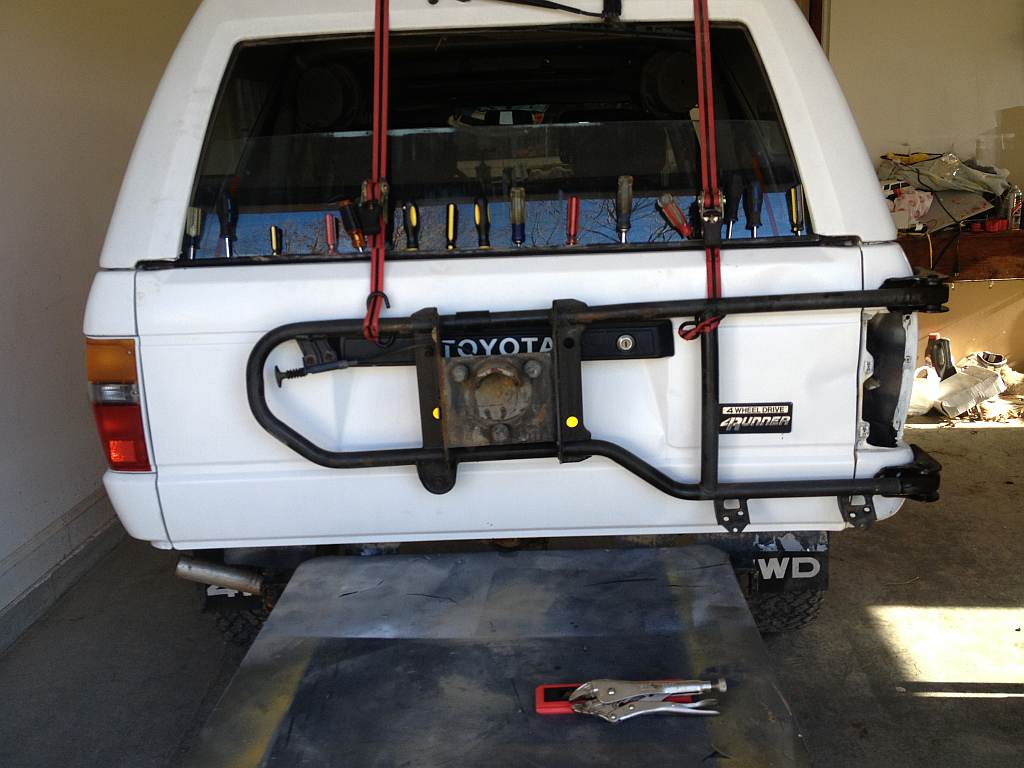
Never mind all the screwdrivers I was gluing the rubber strip back on. The straps made it easy to position the carrier and check for clearance issues. (I know it's not level in this pic) I figured the black "toyota" piece would need to be removed.
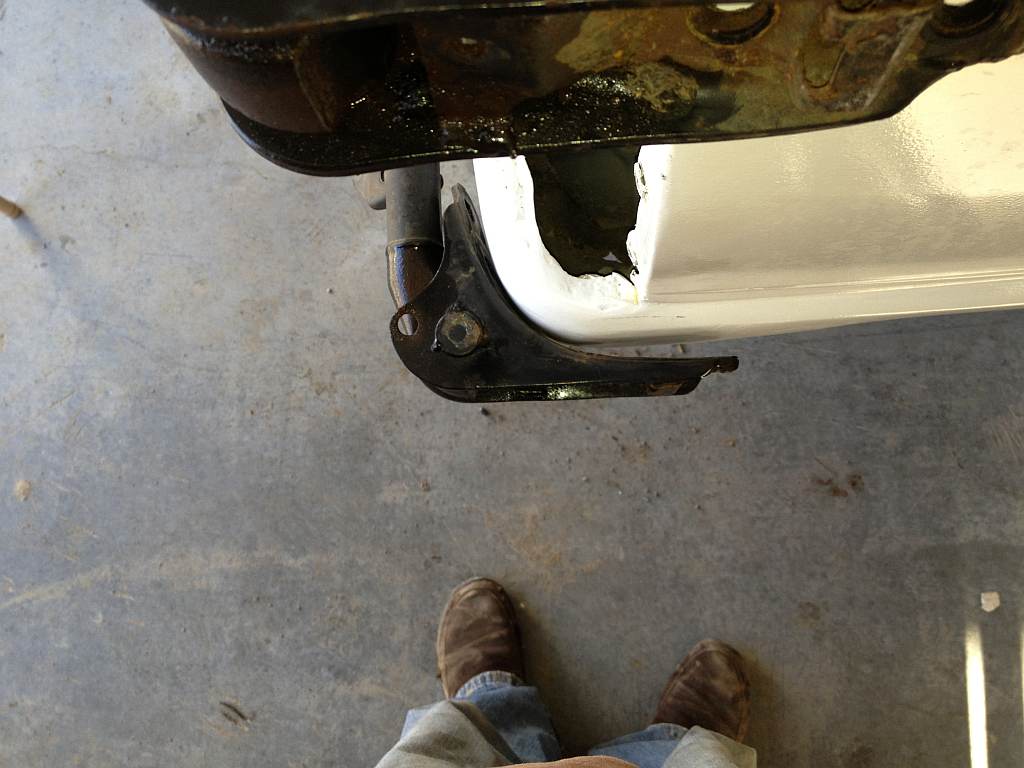
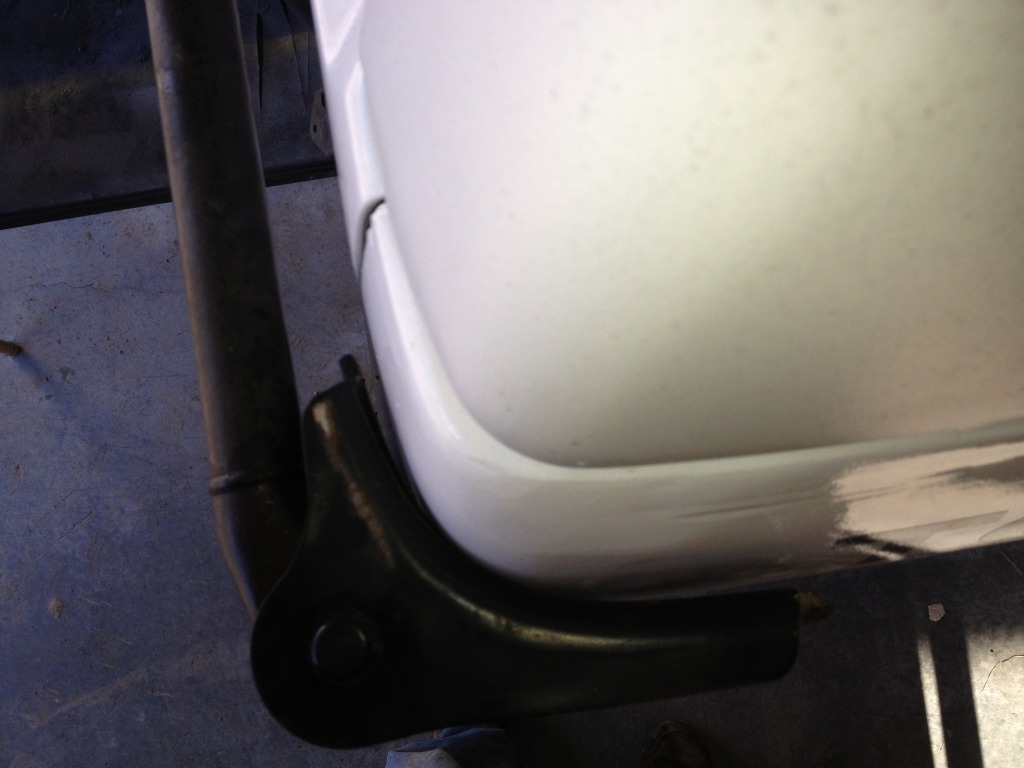
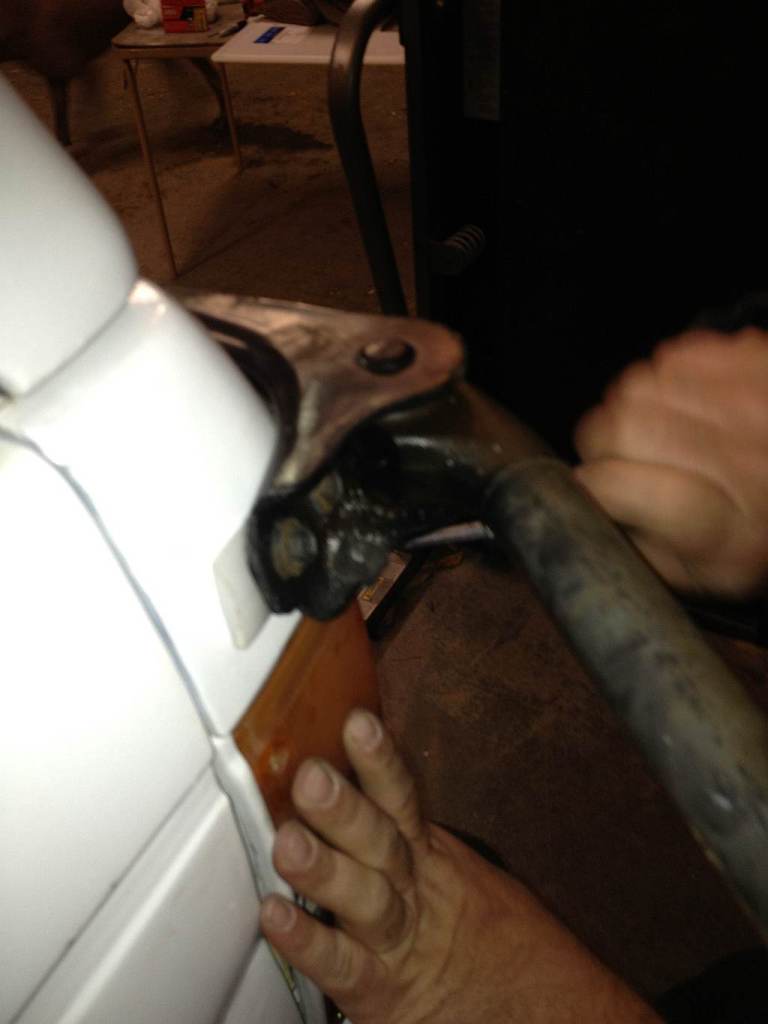
Here is a couple of photos showing the difference in the body lines from my 1st gen and the 2nd gen rack
Here's a photo of the rack.
The first thing I did was hook some tie down straps from my sunroof over the top to the tailgate. I was home alone and didn't have anyone to hold it for me.
Never mind all the screwdrivers I was gluing the rubber strip back on. The straps made it easy to position the carrier and check for clearance issues. (I know it's not level in this pic) I figured the black "toyota" piece would need to be removed.
Here is a couple of photos showing the difference in the body lines from my 1st gen and the 2nd gen rack
 10-13-2012, 04:53 AM
#3
Registered User
Thread Starter
Join Date: May 2011
Location: Upstate NY
Posts: 21
Likes: 0
Received 0 Likes
on
0 Posts
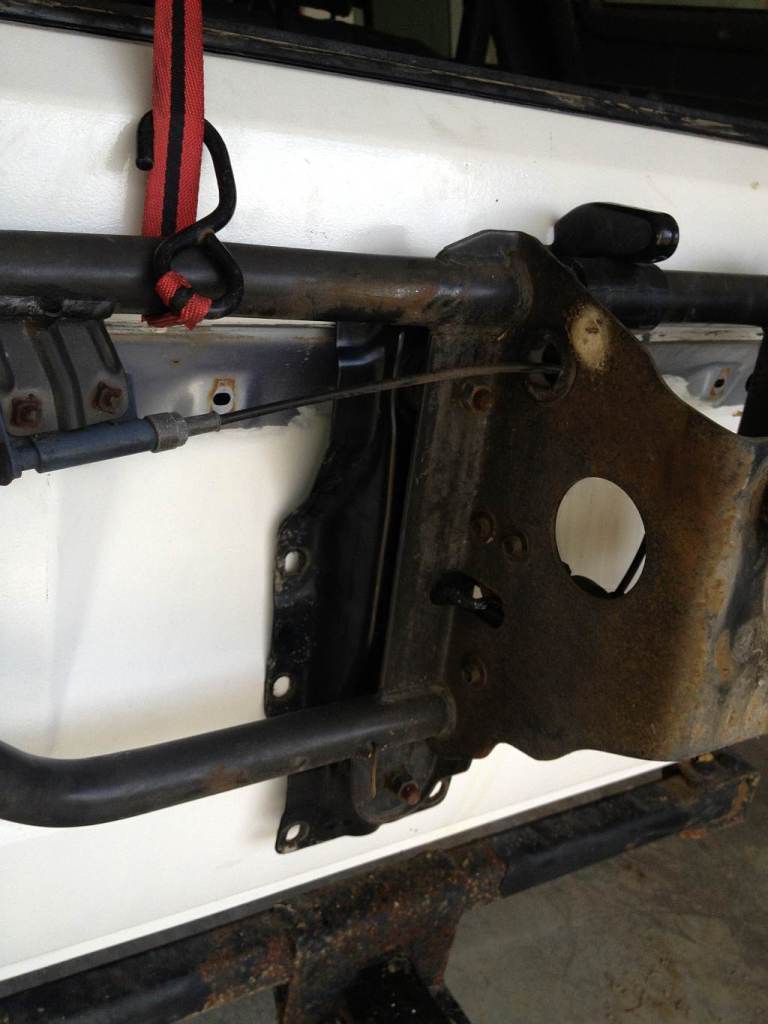
center mount with toyota trim removed. There is 8 bolts that hold the center bracket. The bottom two holes will have to be shimmed out.
more later....
10-13-2012, 05:25 AM
#4
Registered User
Thread Starter
Join Date: May 2011
Location: Upstate NY
Posts: 21
Likes: 0
Received 0 Likes
on
0 Posts
To shim out the sides and the center bracket, I used UHMW PE plastic. More specifically, a cutting board from Walmart. The stuff is super tough, I've used it for skid plates on my Yamaha Rhino in the past. I cut a couple of pieces to fit in between the body and the rack.
I still have to trim them better around the mounts, but I plan on taking rack off to paint it and the rear tailgate again. Again, no laughing at my bodywork or roller paint job. The truck had a ton of rust when i got it.
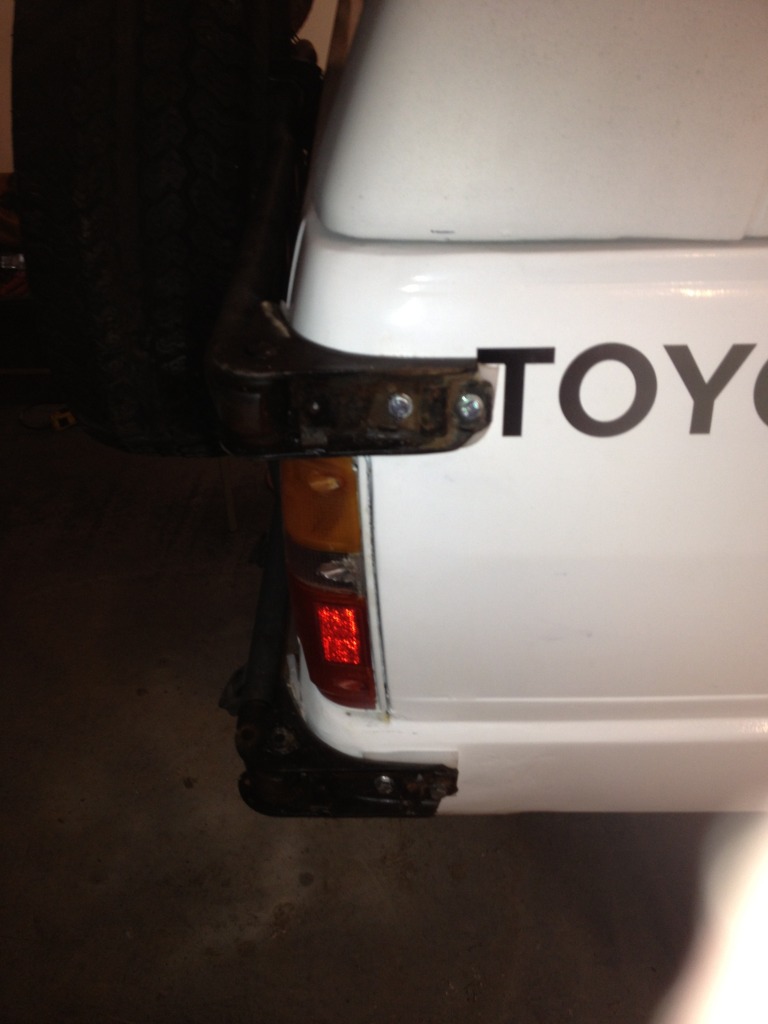
I reinforced behind the body panel with some steel plate and used some fender washers. It really stiffened up the panel. I need to get some better bolts when I remount it after painting.

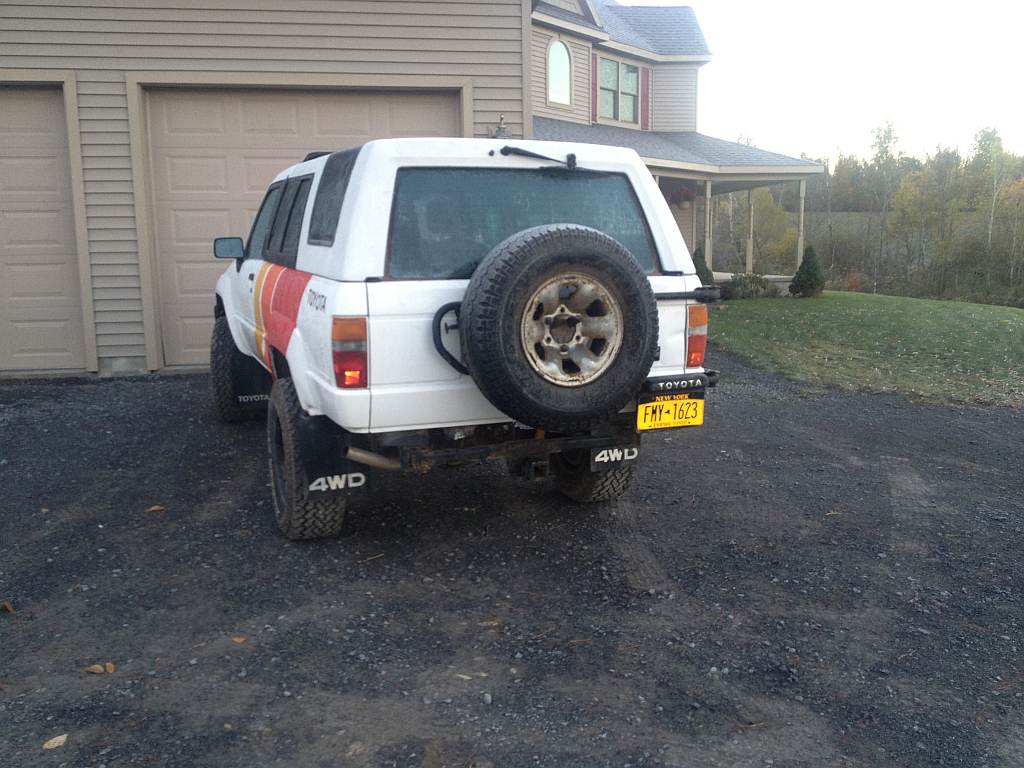
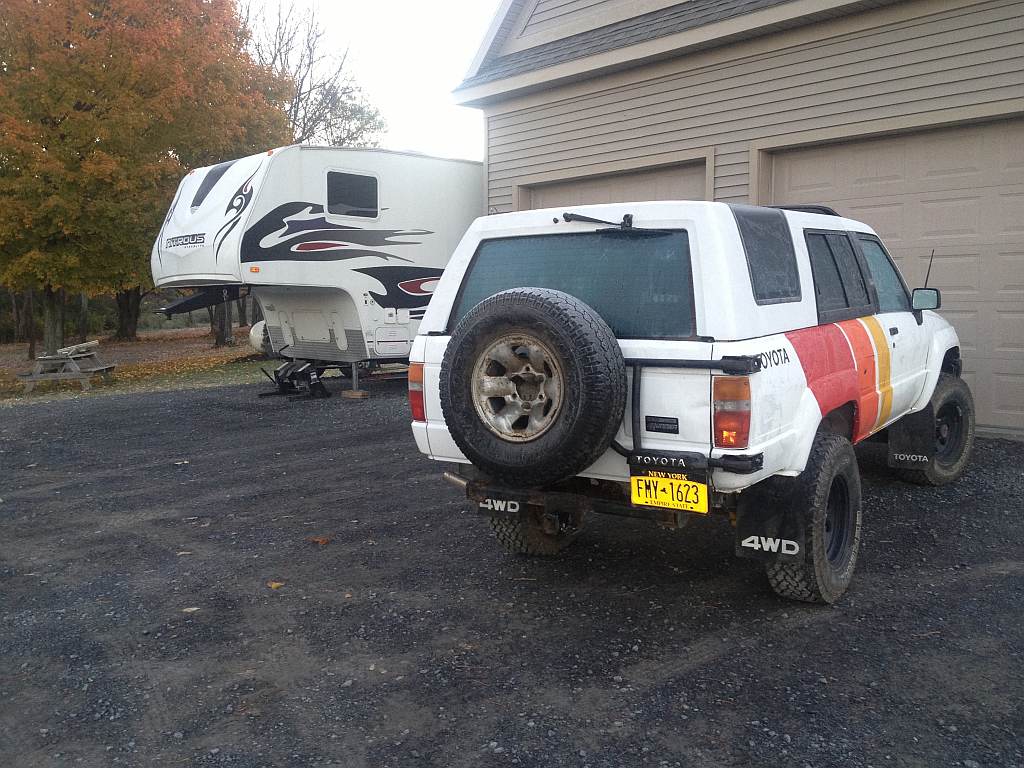
Here is a couple of pics of it all mounted up.
I still have to trim them better around the mounts, but I plan on taking rack off to paint it and the rear tailgate again. Again, no laughing at my bodywork or roller paint job. The truck had a ton of rust when i got it.
I reinforced behind the body panel with some steel plate and used some fender washers. It really stiffened up the panel. I need to get some better bolts when I remount it after painting.
Here is a couple of pics of it all mounted up.
Trending Topics
10-13-2012, 10:34 AM
#10
Looks good, but did you re-enforce the mount inside the quarter panel? Second generation 4runners with rear tire carriers have steel frames inside their quarter panels. It shouldn't be an issue when the tire carrier is closed since the tailgate takes some of the load, but I'd be worried about my quarter panel sheet metal over time.
The following users liked this post:
Peter Franklin (07-29-2019)
10-13-2012, 10:43 AM
#11
Registered User
That's brilliant. I would really like to see more of your 4Runner! While we are playing true confessions I embeded a section of Walmart cutting board into the deck of my boat to make a cleat to screw the steering console to! I wasn't going to tell anybody though...
I'm going to make a screwdriver rack just like that one!
I'm going to make a screwdriver rack just like that one!
10-13-2012, 04:51 PM
#13
Registered User
Join Date: Sep 2008
Location: middle of no where Alaska
Posts: 4,355
Likes: 0
Received 2 Likes
on
2 Posts
Do you have any structural support inside the body panel in the corner? The 2nd gens with the rear tire carriers have some brackets inside to support the weight. It looks realllly goood though. I love those graphics, too 
10-14-2012, 07:34 AM
#14
Registered User
Thread Starter
Join Date: May 2011
Location: Upstate NY
Posts: 21
Likes: 0
Received 0 Likes
on
0 Posts
I reinforced the inside of the body with steel plate where the carrier bolts through. I forgot to take pictures when I had the taillight out. I'll take some when I take it back off to paint. The carrier originally had covers over the hinges on the side, but they were pretty torn up. I'm going to keep my eye out for a set.
10-14-2012, 07:36 AM
#15
Registered User
Thread Starter
Join Date: May 2011
Location: Upstate NY
Posts: 21
Likes: 0
Received 0 Likes
on
0 Posts
10-14-2012, 11:39 AM
#17
Registered User
Join Date: Dec 2010
Location: merritt island, FL
Posts: 592
Likes: 0
Received 0 Likes
on
0 Posts
hmm id be really interested in seeing all your supports, ive been dying to do this so if its doable i will be very happy. When you open and close it does the sheet metal bend or anything? I wonder if someone that has a 2nd gen could post some pics of their supports, thatd be awesome.
10-15-2012, 12:59 PM
#18
Registered User
Thread Starter
Join Date: May 2011
Location: Upstate NY
Posts: 21
Likes: 0
Received 0 Likes
on
0 Posts
hmm id be really interested in seeing all your supports, ive been dying to do this so if its doable i will be very happy. When you open and close it does the sheet metal bend or anything? I wonder if someone that has a 2nd gen could post some pics of their supports, thatd be awesome.


