1st gen 4Runner wood paneling on interior
 11-11-2013, 07:45 PM
#1
Registered User
Thread Starter
Join Date: May 2013
Location: NW WA
Posts: 137
Likes: 0
Received 0 Likes
on
0 Posts
1st gen 4Runner wood paneling on interior
I'm not sure if this is the appropriate forum topic , but here goes....
I have interior panels missing in the rear of my 87 runner and the doors have some very poor excuse of trim as well.
I went a got 1/4 inch sheet of white maple panel board and would like to customize this for my interior trim pieces.
There are a few ideas bouncing around in my head, but I'm interested to know what my fellow yotatechers think.

 11-12-2013, 10:32 AM
#6
Registered User

Join Date: Sep 2013
Location: Canada
Posts: 23
Likes: 0
Received 0 Likes
on
0 Posts
Hey if you can take pictures of the progress, I am thinking of doing the same in my 92 yota in the next couple years. Would be very interesting to see how you do it and how it turns out! Good luck and looking forward to the results, which will be amazing!
11-12-2013, 11:21 AM
#7
Registered User
Thread Starter
Join Date: May 2013
Location: NW WA
Posts: 137
Likes: 0
Received 0 Likes
on
0 Posts
Sure. I'll post them in this thread. It will be a few days before I begin though. Thanks for the luck. I'm not a very good carpenter loo
Trending Topics
11-12-2013, 12:33 PM
#8
Registered User
Join Date: Sep 2013
Location: Canada
Posts: 23
Likes: 0
Received 0 Likes
on
0 Posts
Just take your time and measure twice. If you think you may mess up cuts, leave extra on the cuts and then finish it by hand. I am not the best at that kind of stuff either and that is how I go about it, takes more time but if you measure twice and match it up as you go to make minor corrections you should come out okay.
11-12-2013, 01:25 PM
#9
Registered User
Join Date: Nov 2012
Location: florida
Posts: 698
Likes: 0
Received 0 Likes
on
0 Posts
I think wood 1/2 or 3/4 door pannels stained dark would look pretty sweet they would be easier to make then full door pannels too
1/2
3/4
Full
1/2
3/4
Full
Last edited by Stetson_md; 11-12-2013 at 01:38 PM.
 11-14-2013, 07:49 PM
#12
Registered User
Thread Starter
Join Date: May 2013
Location: NW WA
Posts: 137
Likes: 0
Received 0 Likes
on
0 Posts
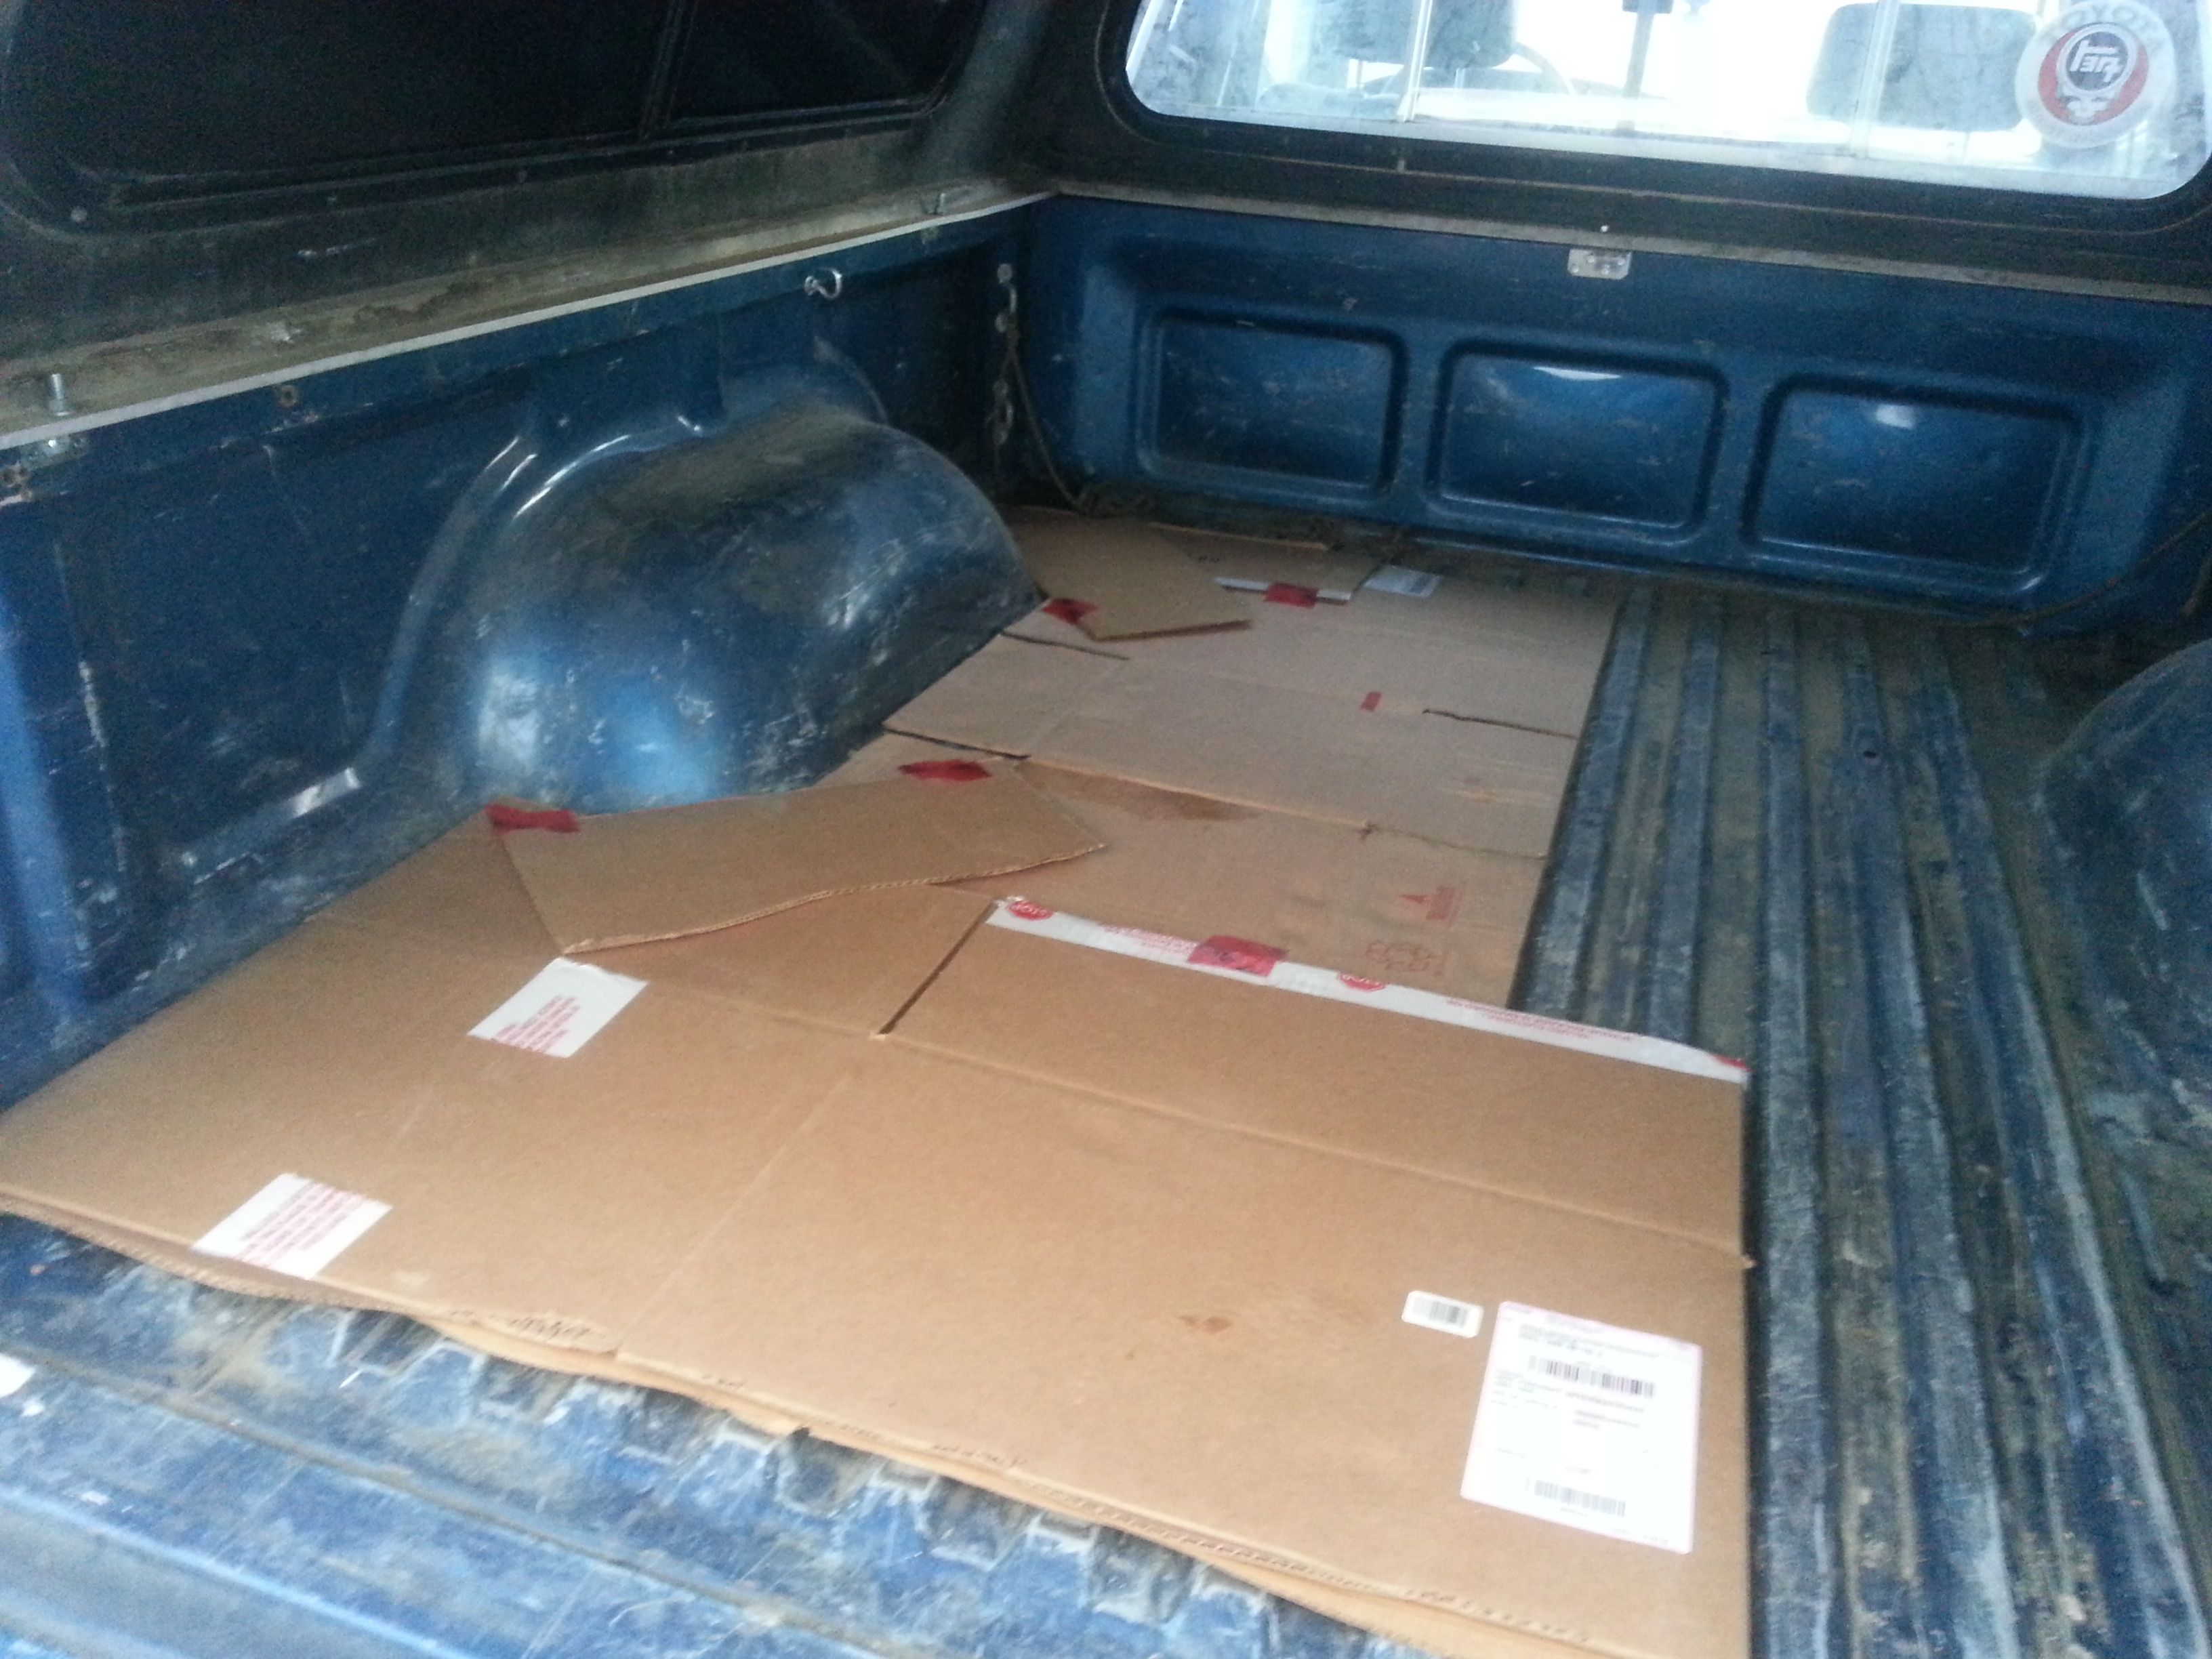
I liked the idea of 1/4 in the back because it obviously will have more flex. Im not sure if flex would be 100% necessary, but we'll see.
I've decided that I will use some household foam under layment as insulation/sound eliminating material.
I like the look of the 3/4 on the doors. I think I might just do that since I won't have enough maple for everything.
Not so sure how I will do the rear end driver side being there's a fluid sack there.
I have winter prep stuff getting in the way of getting this stuff done right now. Maybe tomorrow.
11-14-2013, 07:51 PM
#13
Registered User
Thread Starter
Join Date: May 2013
Location: NW WA
Posts: 137
Likes: 0
Received 0 Likes
on
0 Posts
11-15-2013, 06:03 AM
#14
Registered User
Join Date: Nov 2012
Location: florida
Posts: 698
Likes: 0
Received 0 Likes
on
0 Posts
I liked the idea of 1/4 in the back because it obviously will have more flex. Im not sure if flex would be 100% necessary, but we'll see.
I've decided that I will use some household foam under layment as insulation/sound eliminating material.
I like the look of the 3/4 on the doors. I think I might just do that since I won't have enough maple for everything.
Not so sure how I will do the rear end driver side being there's a fluid sack there.
I have winter prep stuff getting in the way of getting this stuff done right now. Maybe tomorrow.
I've decided that I will use some household foam under layment as insulation/sound eliminating material.
I like the look of the 3/4 on the doors. I think I might just do that since I won't have enough maple for everything.
Not so sure how I will do the rear end driver side being there's a fluid sack there.
I have winter prep stuff getting in the way of getting this stuff done right now. Maybe tomorrow.
11-15-2013, 11:43 AM
#16
Registered User
Join Date: Nov 2012
Location: florida
Posts: 698
Likes: 0
Received 0 Likes
on
0 Posts
3/4 is the way I went when i made my dp's also. just pay close attention to the bottom of the dp mine where to big after the first try and I couldn't close my door all the way
11-16-2013, 07:23 PM
#17
Registered User
Thread Starter
Join Date: May 2013
Location: NW WA
Posts: 137
Likes: 0
Received 0 Likes
on
0 Posts
11-16-2013, 07:25 PM
#18
Registered User
Thread Starter
Join Date: May 2013
Location: NW WA
Posts: 137
Likes: 0
Received 0 Likes
on
0 Posts
I still plan on doing this project, I just picked up two more trucks today. One is an 89 pick up with a 22re that needs a rear main seal and one is a parts car. I got them both for $1,400 and I'm feeling pretty good.
11-24-2013, 10:12 PM
#19
Registered User
Thread Starter
Join Date: May 2013
Location: NW WA
Posts: 137
Likes: 0
Received 0 Likes
on
0 Posts
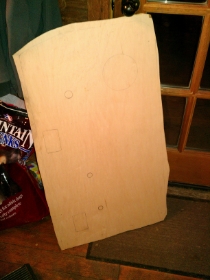
I started on the door panels tonight and so far it has gone rather well.
So here is what the door panel looks like on the under side. There is insulation foam that really got in my way when doing the outline, so if you do it this way, I suggest cleaning that all off first.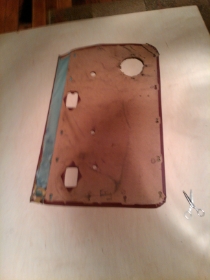
Also, you can see the blue plastic film at the top is on and it's in the way in my opinion. I just removed the whole red cover.
The rounded corner by the speaker was already damaged which is part of the reason I am doing this. It went back in to place well enough to do a stencil.
I'm a bit concerned that my jig saw wont give me the clean and sharp cuts I am after so I'm wondering if I should just cut wide and use a rasp/sandpaper to smoothen out the edges.
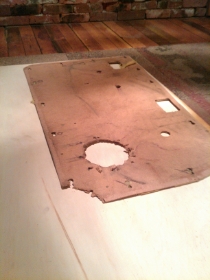
Anyhow, that's where I am as for tonight. And with cleanup time included it only took about 45 minutes to outline for both doors.
So here is what the door panel looks like on the under side. There is insulation foam that really got in my way when doing the outline, so if you do it this way, I suggest cleaning that all off first.
Also, you can see the blue plastic film at the top is on and it's in the way in my opinion. I just removed the whole red cover.
The rounded corner by the speaker was already damaged which is part of the reason I am doing this. It went back in to place well enough to do a stencil.
I'm a bit concerned that my jig saw wont give me the clean and sharp cuts I am after so I'm wondering if I should just cut wide and use a rasp/sandpaper to smoothen out the edges.
Anyhow, that's where I am as for tonight. And with cleanup time included it only took about 45 minutes to outline for both doors.
11-25-2013, 03:01 PM
#20
Registered User
Join Date: Nov 2012
Location: florida
Posts: 698
Likes: 0
Received 0 Likes
on
0 Posts
Sorry for the delay all I did wascut/ file more off the bottom. Didnt have and old panel to use as a template
No matter what saw you use youll need to file sand or route the edges.
Also you probably won't notice if if it undersized
No matter what saw you use youll need to file sand or route the edges.
Also you probably won't notice if if it undersized
Last edited by Stetson_md; 11-25-2013 at 03:15 PM.


