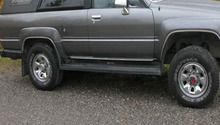
Toyota Tundra 2000-Present: How to Replace Shocks
Replacing the shocks on your Tundra can save you a lot of money. Read on to learn how to do it.
This article applies to the Toyota Tundra (2000-present).
The shocks in the Toyota Tundra can take a beating, but after enough abuse, they will eventually wear. Labor costs could be quite expensive when it comes to replacing shocks, but although it will take some time, the process can be done successfully at home instead. To test if the shocks are bad, start by visually inspecting them for any leaks. Then, go to the side that you think has a faulty shock, and push down on your Tundra. If it bounces right back up to the neutral position, then your shock is working properly; however, if the truck bounces a few times before going back to the original position, then you are ready for a new shock. Read on to learn how you can change the shocks on your Tundra.

Materials Needed
- Jack and jack stands
- Tire iron
- Socket set
- Coil spring compressor
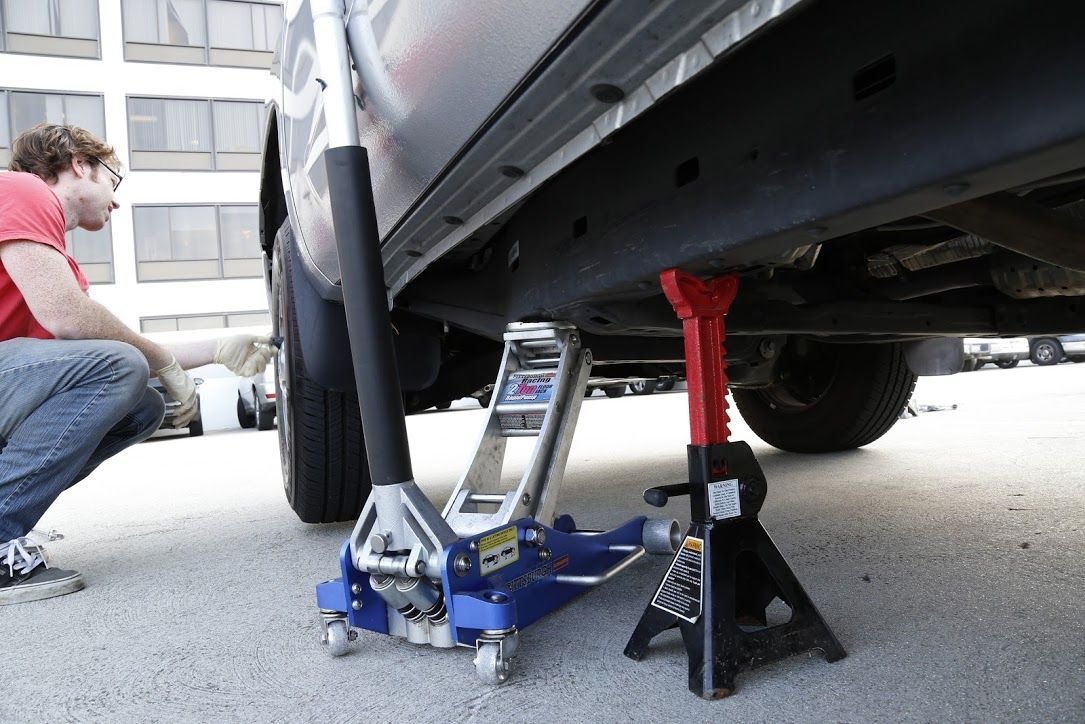
Step 1 – Raise truck and remove wheel
Using your tire iron, loosen the lug nuts on the wheel you will be replacing the shock at. Using your jack, raise the truck, then secure it with jack stands. Remove the wheel.
Step 2 – Remove shock
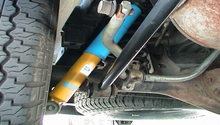
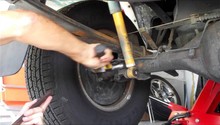
On the Toyota Tundra, the shock is connected to the coil spring, so you will have to remove them as a whole. They are held in place by one bolt from the bottom and three on top. Remove the bottom bolt first by loosening the nut, then tap it until it comes off. Then, remove the top three bolts. Don't remove the fourth bolt in the middle. Once you remove the last of the three top bolts, the strut will fall right down.
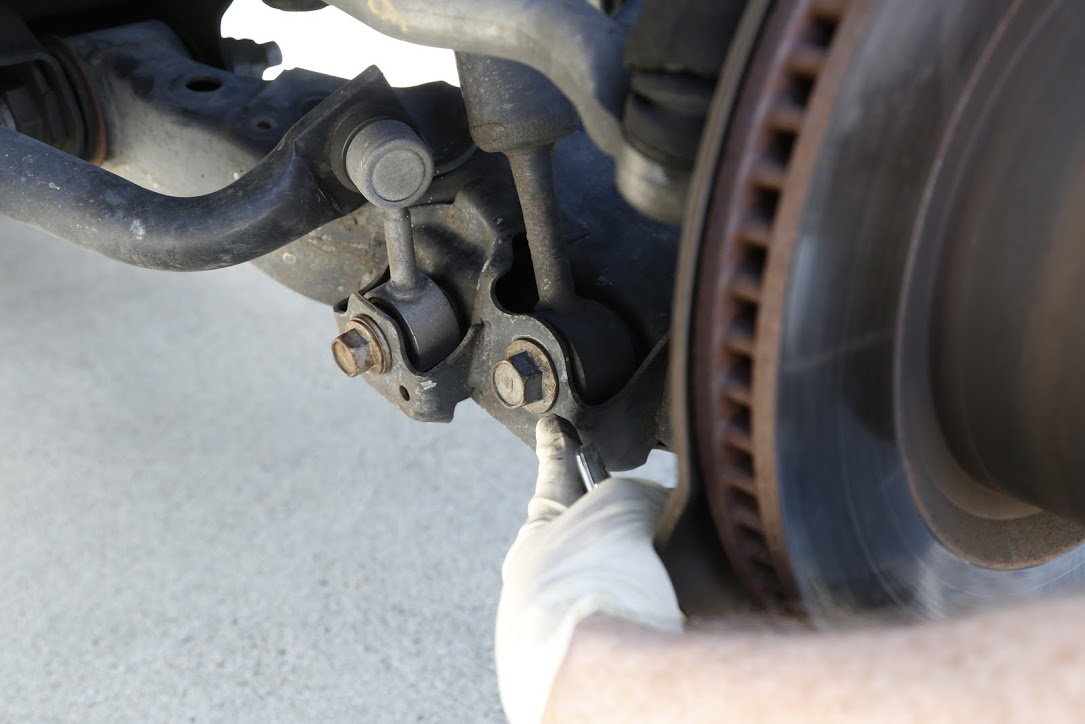
Figure 2. Remove lower shock bolt. 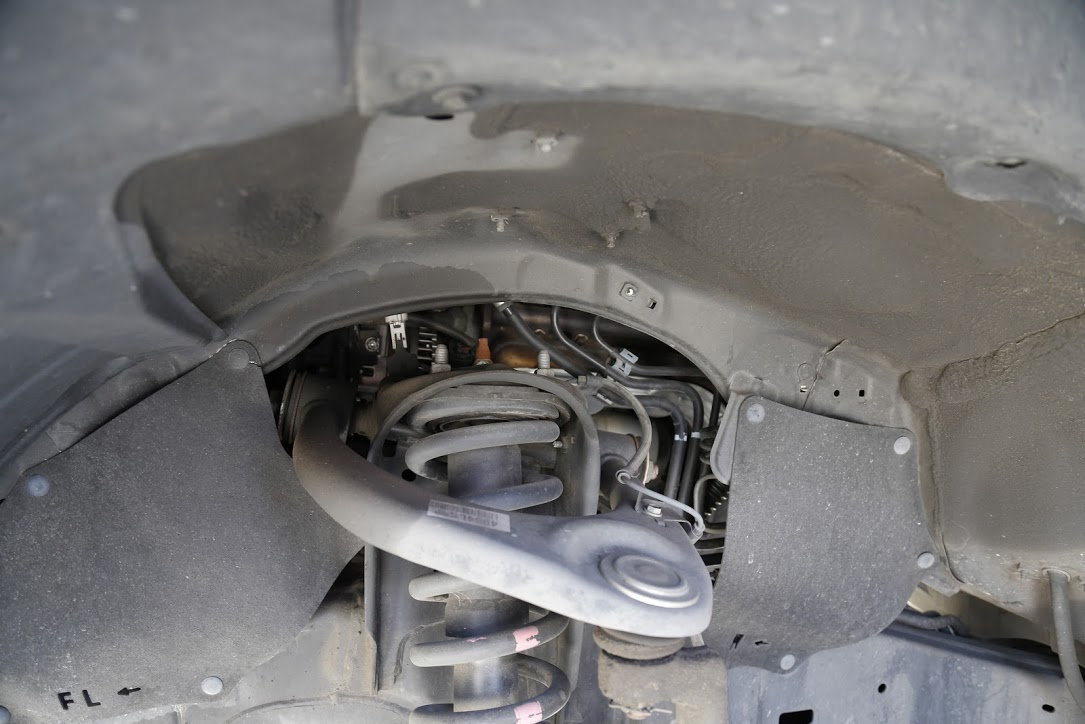
Figure 3. Remove top three bolts to remove strut.
Step 3 – Remove coil spring
Before installing the new shock in place, you have to remove the coil spring from the old one, and install it onto the new one. Lay the shock flat on the ground, then install the two spring compressors. Gently and slowly, start compressing the coil spring a little bit at a time, alternating between both compressors. When the spring is compressed enough where it's not touching the hat on top, start removing the nut on the top center, which will free the shock. Install the shock absorber in place, tighten its nut, then start decompressing the spring very slowly, again, alternating between both compressors.
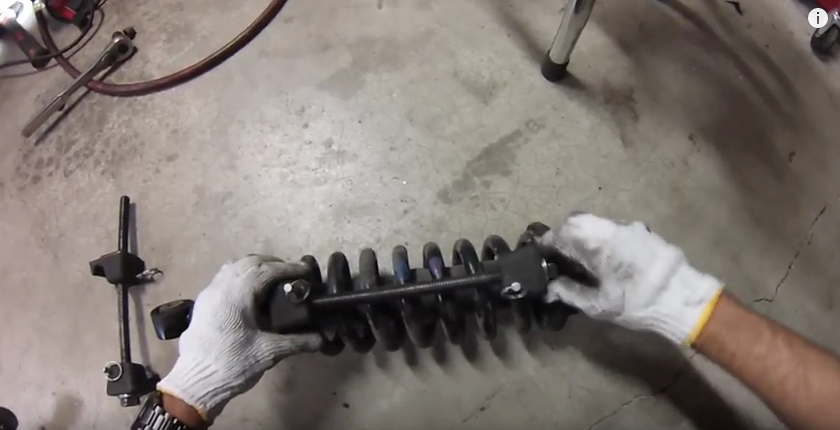
Figure 4. Install compressors. 
Figure 5. Compress spring. 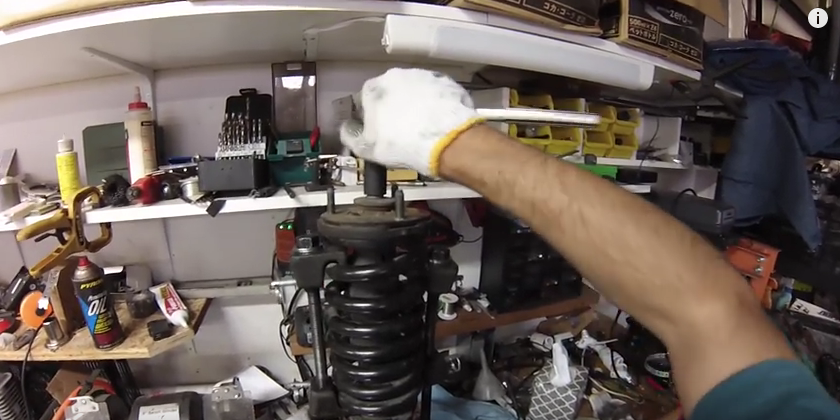
Figure 6. Remove shock.
Step 4 – Install new strut
Installation is the reverse of removal.
Install the top three bolts first, then install the lower one. Install the wheel back in place, then lower the truck.
Featured Video: Front Shock Replacement
Related Discussions
- Tundra Struts - YotaTech.com
- DIY Shocks - YotaTech.com
- Adjustable Shocks - YotaTech.com