Toyota Tundra 2000-Present: How to Change Front and Rear Differential Fluid
Changing your differential fluid regularly, especially for trucks driven off-road, is a great way to keep your truck alive!
This article applies to the Toyota Tundra (2000-present).
Your differentials are in charge of transferring power produced by the engine to the axles. This process creates a lot of heat and is very stressful on parts at times. Your differential fluid is constantly dealing with temperature changes and high friction. Over time, this fluid starts to wear out and degrades. If your differential is not properly lubricated, there can be permanent damage to your differential which will result in a very costly repair. Instead, maintain your differential fluid regularly by following the steps below!

Materials Needed
- 24mm socket, ratchet, extension and breaker bar
- 10mm hex head socket
- Rags and drain pan
- Torque wrench
- 4 qts gear oil for rear
- 3 qts gear oil for front
Step 1 – Drain front differential fluid
Before draining your differential fluid, take a five minute drive to reduce the viscosity of the fluid to make it drain more completely. This will also heat up the fluid slightly, so make sure you avoid contact with it. Then, make sure you can open up the fill plug with your 10mm hex head socket because you won't go anywhere if you drain your differential fluid but can't get the fill plug open. Place your drain pan underneath the differential in case a few drops come out of the fill plug. Then, slowly remove the 10mm hex bolt drain plug, letting the fluid slowly drip out instead of removing the plug quickly. Let the differential drain and the reinstall the drain plug, torquing it down to 36 ft/lbs.
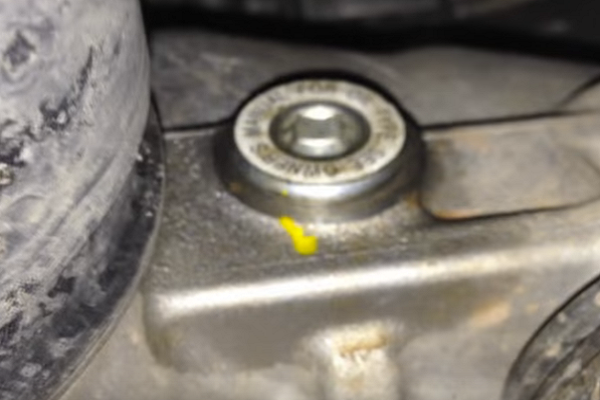
Figure 1. Fill plug. 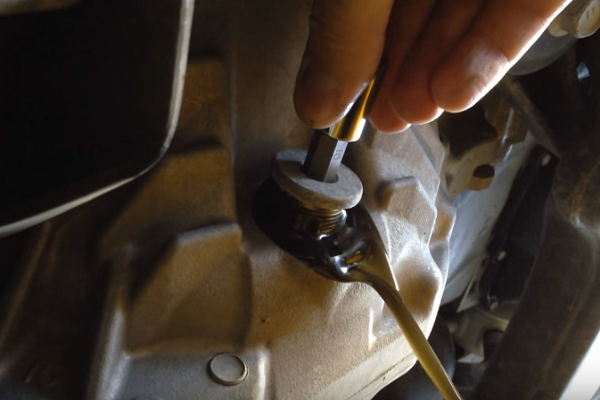
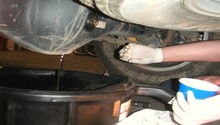
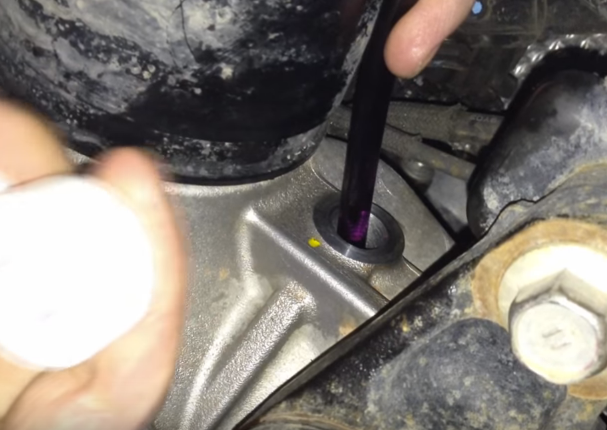
Figure 2. Draining the differential. 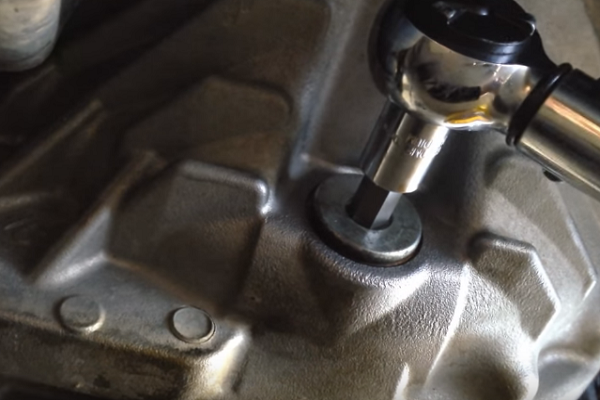
Figure 3. Drain plug install.
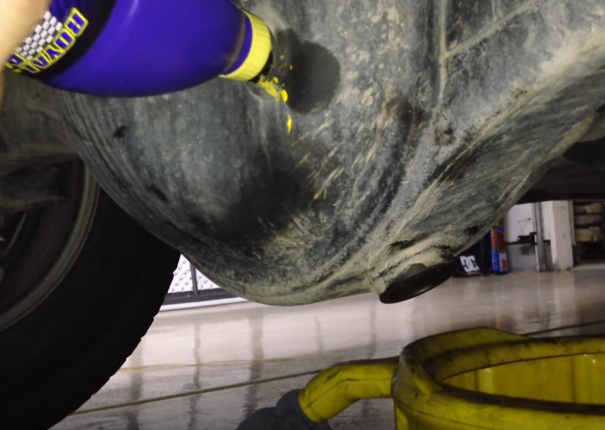
Step 2 – Fill front differential
Now that the drain plug is installed, you can fill the differential fluid through the fill plug. For this, you need a clear plastic tube and a pump to squeeze the fluid into the differential. You will know you are done filling the differential when fluid starts to leak out of the differential fill plug hole. When this happens, quickly remove the plastic tube and install the fill plug, and torque to 36 ft/lbs.
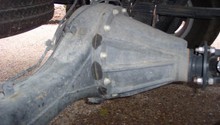
Step 3 – Drain rear differential fluid
Much like the front differential fluid, the rear differential fluid has to be drained by removing the 24mm drain plug. Also, make sure you can remove the fill plug before opening the drain plug. Apply a similar technique as the front differential fluid and this is a piece of cake. The torque spec is still 36 ft/lbs.
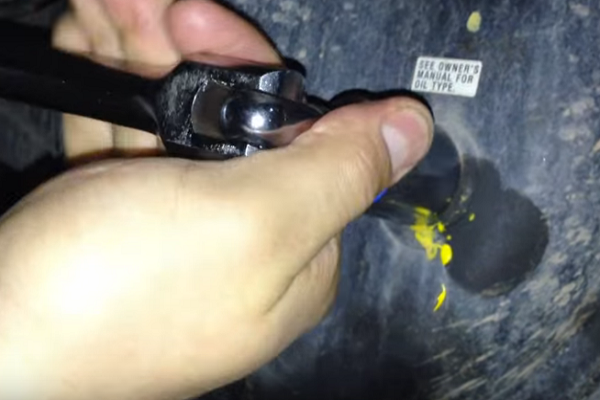
Figure 5. Removing fill plug. 
Figure 6. Removing drain plug. 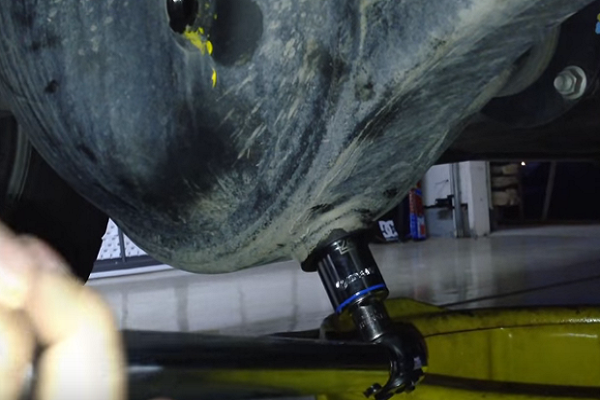
Figure 7. Installing drain plug.
Step 4 – Fill rear differential
You are almost done! Filling the rear differential is easier because you can fill without using a plastic tube. Instead, use the nozzle on the end of your fluid container and squeeze in the fluid. That's it, you have replaced your differential fluid!
Featured Videos
-
Front Differential Fluid Change
-
Rear Differential Fluid Change
Related Discussions and Videos
- Front Differential Fluid - YouTube.com
- Rear Differential Fluid - YouTube.com
- Diff Oil Tundra Rear Ends - YotaTech.com
- Tundra Rear Axle - YotaTech.com
- Differential Gear Oil Change - YotaTech.com
- Differential Lube - YotaTech.com