Toyota 4Runner and Tacoma: How to Replace Brake Pads, Calipers, and Rotors
Replacing your brake pads, calipers, or rotors can make a big difference in how your Toyota 4Runner or Tacoma stops. There are few things that need to be replaced periodically on a modern truck, but the brakes still wear out and need attention with normal use.
This article applies to the Toyota 4Runner (1996-2002), and the Toyota Tacoma (1995-2015).
We can all agree that the brake system is the most important system on the Toyota Tacoma or 4Runner. When it comes to safety, maintaining the brake system should always come first. The more consistent you stay with replacing the brake pads, the more you can preserve the brake rotors. The calipers, on the other hand, have not been known to need replacement, but sometimes they can go bad, which causes their pistons to stick. Read on to learn how to replace the brake pads, rotors, and calipers on your truck.

Materials Needed
- Jack and jack stands
- Tire iron
- Socket set
- C-clamp
- Rubber mallet
- Brake pads
- Brake rotor
- Brake caliper
- Clear hose
- Bottle
- Wrench
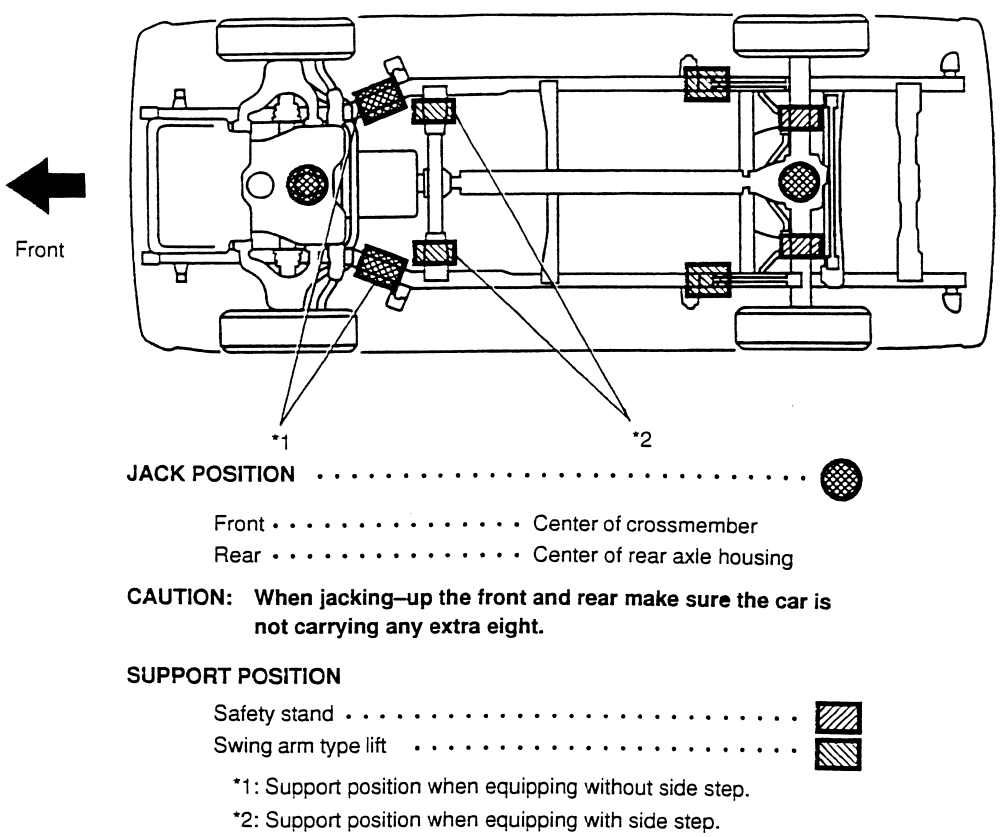
Step 1 – Jack up the truck
Loosen the lug nuts on the wheel you will be replacing the brakes on, then jack up your truck. Secure the truck with jack stands, then remove the wheel.
Step 2 – Replace brake pads
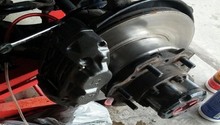
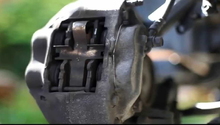
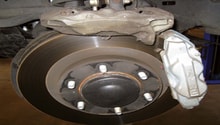
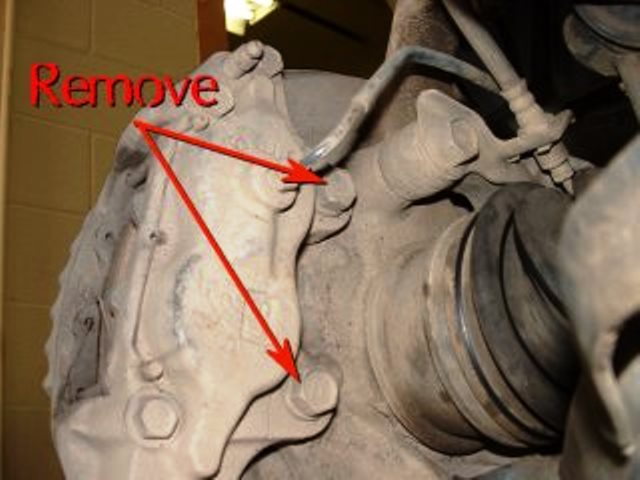
Remove the two bolts on the back of the brake caliper using your socket and ratchet. Pull the brake caliper up and off the rotor, then secure it so it doesn't hang from the brake lines. On 4-piston calipers, pull the clips and slide out the retaining pins, then the brake pads should drop right out. On slider type calipers, the pads should slip out easily once the caliper is off the disc. Use a big pair of pliers or C-clamp to compress the piston to allow room for the thicker new pads. Install the new pads the opposite of how you took the old ones out. Reinstall the caliper.
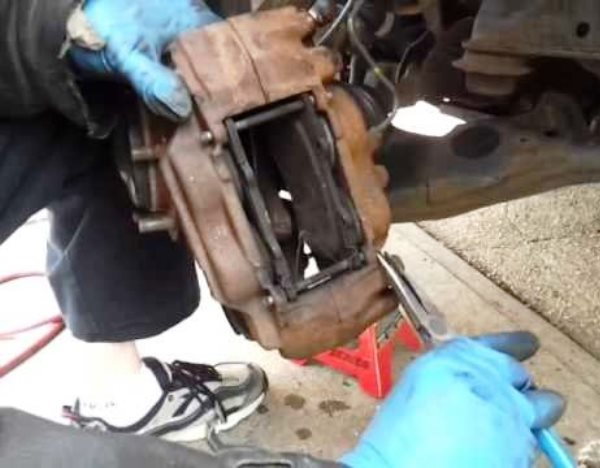
Figure 3. Pull the pins and the pads will fall out. 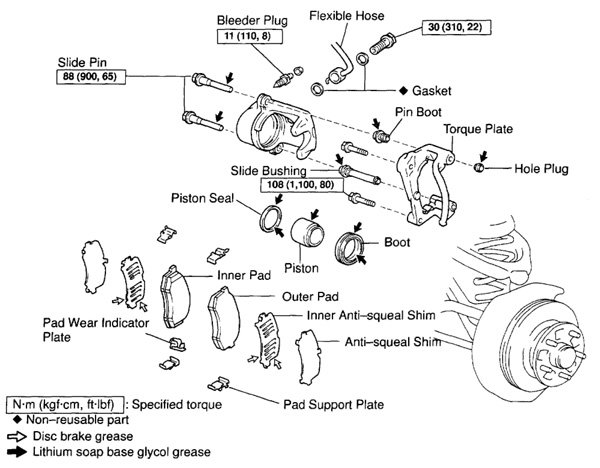
Figure 4. Tacoma 2WD caliper assembly.
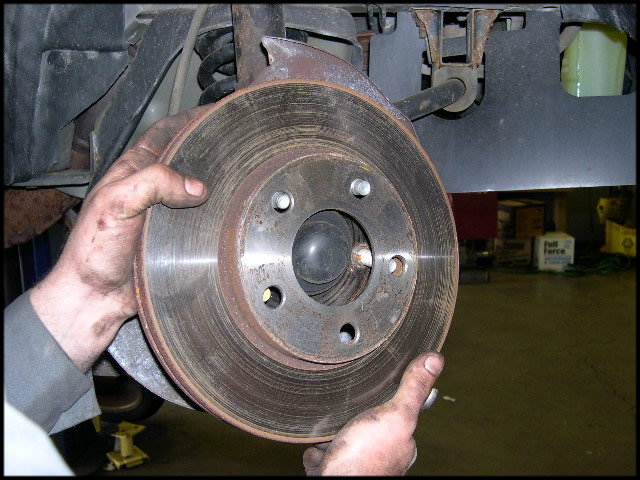
Step 3 – Replace brake rotor
With the brake caliper removed, the brake rotor comes right off. All that really holds it to the hub are the wheel and lug nuts. You may need to give it a few taps with the rubber mallet to get it loose. Once it's loose, pull it straight out to remove. Place the new one in place.
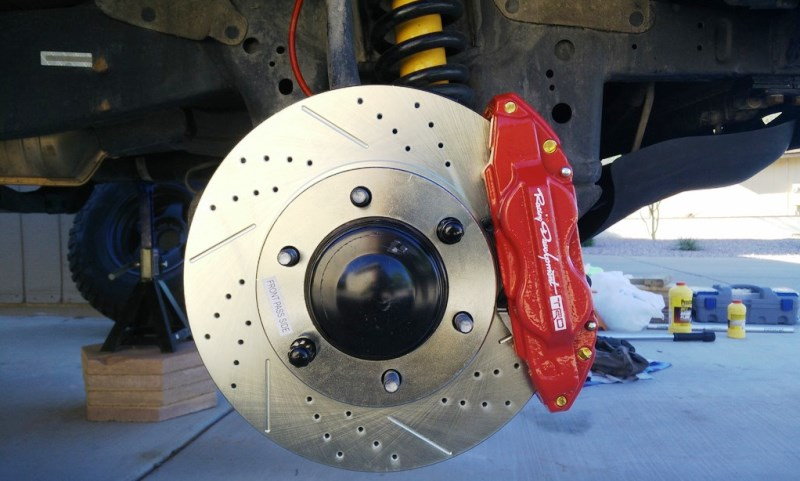
Step 4 – Replace brake caliper
If your caliper is faulty and needs replacement, simply remove the brake line from the old caliper, then install it immediately onto the new caliper. Place the new caliper over the rotor, then tighten the two bolts on the back holding it in place. Make sure you put the caliper on the correct side of the truck, as there are left and right versions. The bleeder screw always goes at the top of the caliper.
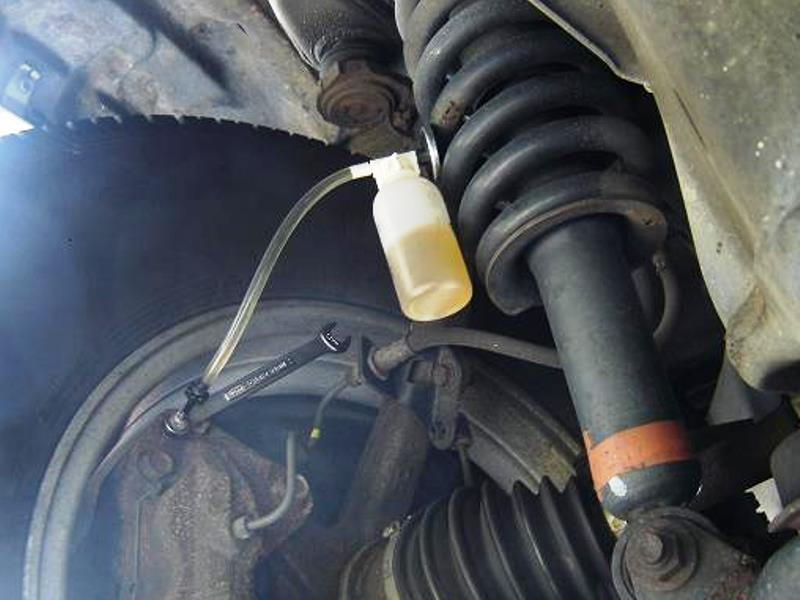
Step 5 – Bleed the brakes
You only need to bleed the brakes if you replace the brake caliper. Connect the clear hose to the bleeder valve on the back of the caliper, then connect the other end into a bottle. Ask a helper to pump the brake pedal a few times, then keep it pressed down. Loosen the bleeder valve, and watch the fluid coming out. Once you stop seeing bubbles, tighten the bleeder valve first, then let go of the brake pedal. Top of the brake fluid reservoir.
Related Discussions
- Brake Pad Replacement - YotaTech.com
- Front Brake Job - YotaTech.com
- Changing Brake Pads - Yotatech.com