Toyota 4Runner 1996-2002: How to Replace Lower Ball Joints
Does it feel like your wheels are all over the place whenever going over the slightest bumps? Third generation Toyota 4Runners have been known to suffer catastrophic lower ball joint failure, so it is a good idea to have them checked out whenever you rotate your tires. If they need to be replaced, or if you want to upgrade to the stronger Tacoma parts, read on.
This article applies to the Toyota 4Runner (1996-2002).
Like all other components, your truck's suspension is prone to wear and tear over time, and it is important to give it the needed maintenance or replacement in order to have a safe comfortable ride. It has been found over the years that the lower ball joints on the 3rd generation 4Runner fails at an alarming rate. Luckily, YotoTech members discovered that Toyota Tacoma uses a larger, stronger unit, which is interchangeable to the part equipment found on Toyota 4Runners, with only one other part (the tie rod end: $35) having to be changed. Since it is barely any additional work, or expense, It might be wise to "upgrade" this component when the time comes to replace them on your 3rd gen Toyota 4Runner. Read on to learn more about how to DIY this maintenance.

Materials Needed
- Hydraulic jack and jack stands
- Ratchet with various sockets
- Large adjustable wrench
- Dead blow hammer
- Tie rod puller
- Penetrating oil
- Pliers
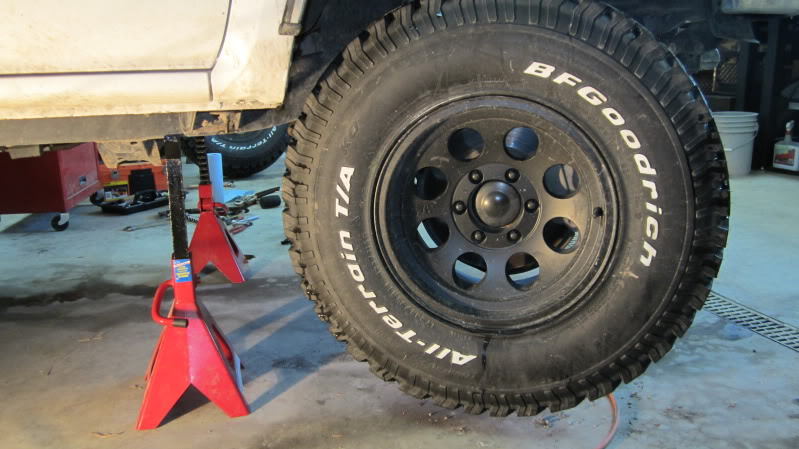
Step 1 – Lift and support vehicle
Before getting your truck in the air for this job, it's wise to loosen the lug nuts.
- Secure rear wheels with wheel chocks.
- Jack front of vehicle with hydraulic jack.
- Place jack stands under frame of vehicle.
- Remove wheel bolts and set wheel(s) aside.
Pro Tip
If you're using an air impact gun, you will not need to loosen the bolts ahead of time, but it does help.
Step 2 – Separate outer tie rod end from ball joint
Because of the design of the lower Toyota ball joint, you must remove the tie rod end from the steering knuckle, even if you are just replacing the ball joint with the original 4Runner part. The bolt hole for the tie rod end is part of the cast piece the ball joint is attached to.
- Turn the wheel all the way to one side for easier access to components.
- Remove cotter pins from tie rod and ball joints.
- Use a breaker bar to break the bolt on the tie rod (19mm).
- Use tie rod puller to separate tie rod from the ball joint.
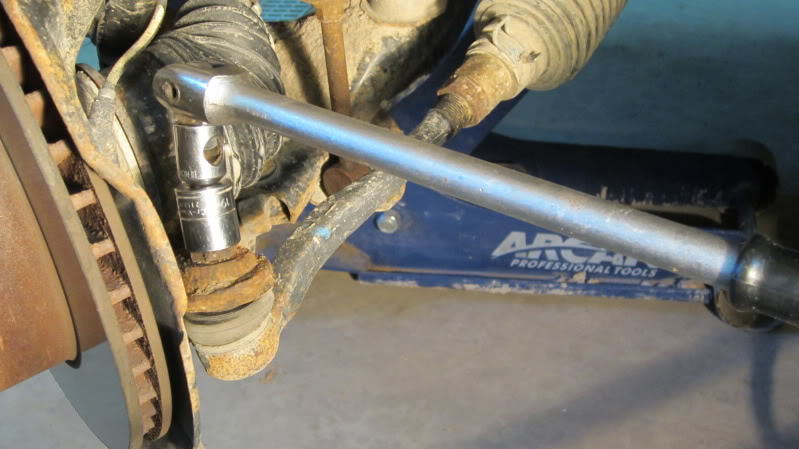
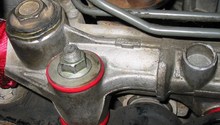
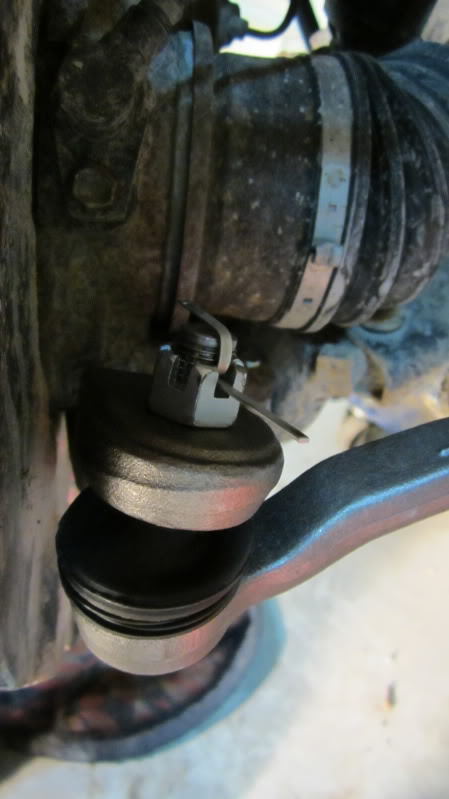
Figure 2. Loosening the tie rod end bolt. 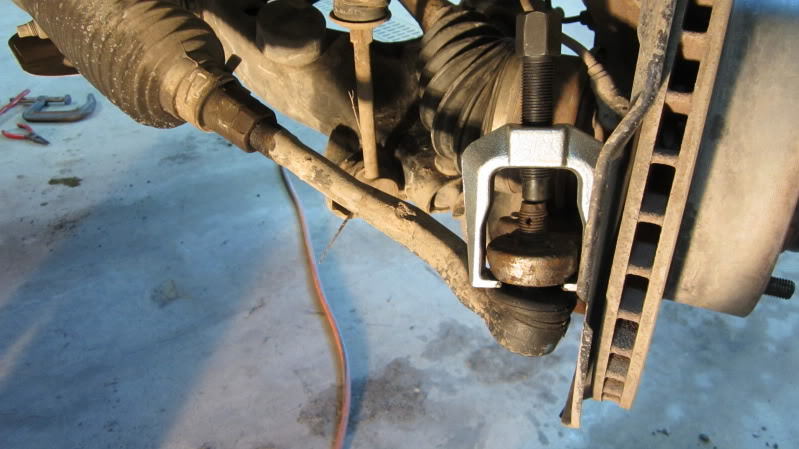
Figure 3. Use the tie rod puller to separate the tie rod from the steering knuckle.
Pro Tip
Spray PB Blaster or other penetrating oil on the nuts and let them soak. It will make it easier to free nuts and separate components from one another.
Step 3 – Separate ball joint from knuckle
Now that the clearance is gained by removing the old outer tie rod end, we can begin to separate and remove the old ball joint.
- Remove the ball joint nut (24mm).
- Remove the four ball joint bolts (14mm).
- Use hammer with pickle fork or tie rod puller (if big enough) to separate ball joint from knuckle.
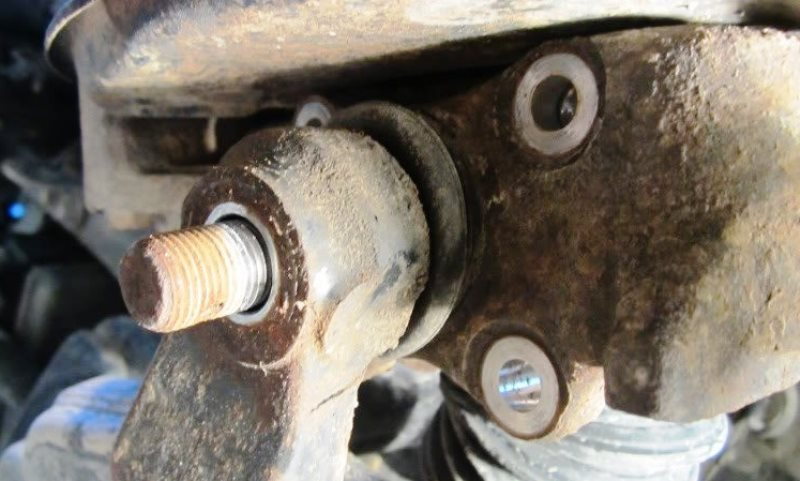
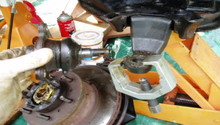
Figure 4. Lower ball joint with bolt removed. 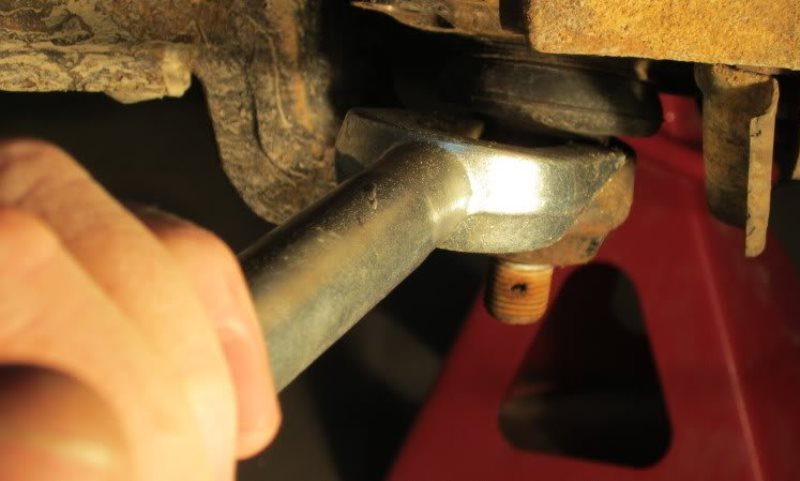
Figure 5. Separating ball joint with the "pickle fork." 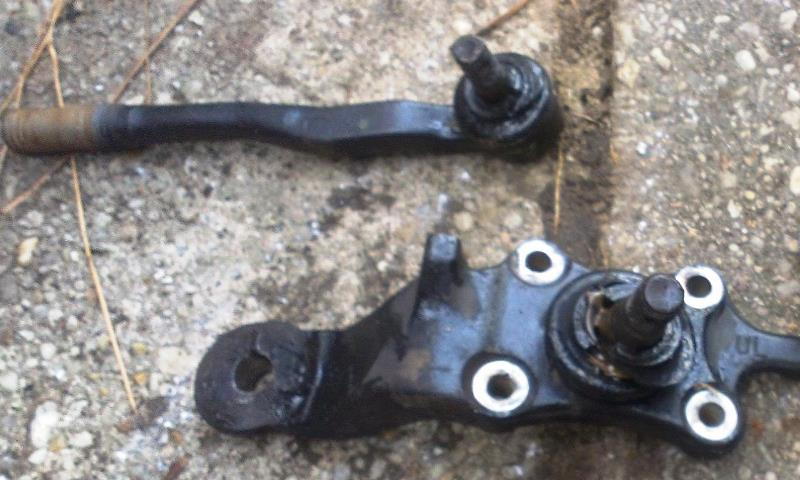
Figure 6. Old ball joint and tie rod end.
Pro Tip
A hammer and a "pickle fork" can be used to separate the ball joint from the knuckle. However, using the tie rod puller "upside down" should work as well.
Step 4 – Install new ball joints
Now that the old stuff is out, time to install the new.
- Line up new ball joint holes and secure with new bolts.
- Torque the bolts down to 59 ft/lbs.
- Pull the assembly down to insert through the control arm.
- Secure new castle nut with cotter pin.
- Torque the bolt down to 105 ft/lbs.
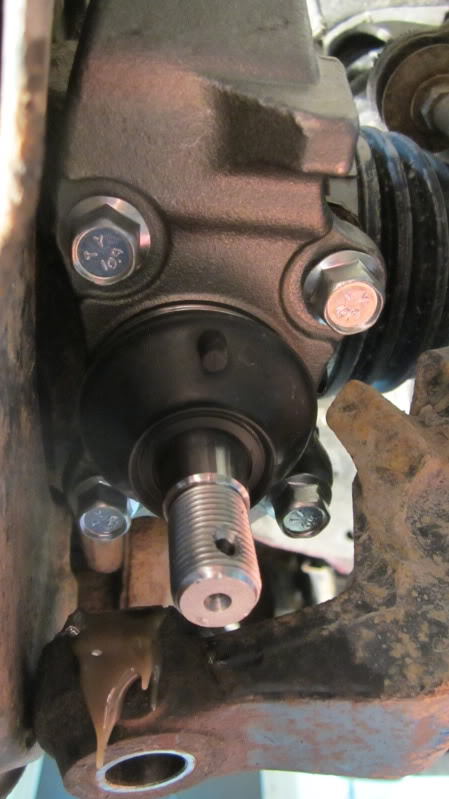
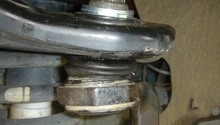
Figure 7. New ball joint installed in control arm. 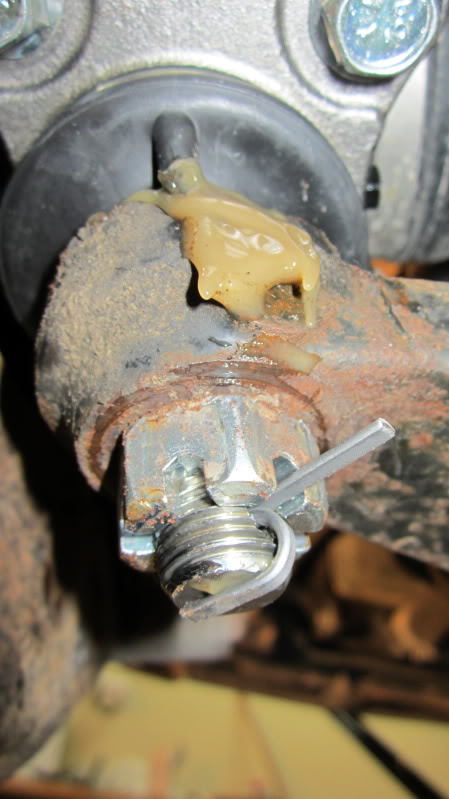
Figure 8. Castle nut and cotter pin torqued as well as installed.
Pro Tip
You can use blue Loctite on the threads of the four bolts that hold the ball joint to the control arm to ensure a secure bond.
Step 5 – Install outer tie rod end
If you have upgraded to Tacoma parts, you will have to remove and replace the old tie rod end on your truck and then have the front end aligned. If you are not upgrading, just bolt the old tie rod back to the ball joint.
- Measure length of old tie rod end as properly adjusted before taking off.
- Unscrew old tie rod end from steering rack.
- Install outer tie rod end to rack and adjust until the length is correct.
- Attach new tie rod end to steering knuckle/ball joint with new castle nut.
- Tighten castle nut and install new cotter pin.
- Secure and torque bolts down to 53 ft/lbs.
Pro Tip
Get the vehicle professionally aligned at a reputable shop if you replaced the tie rod ends. Even a small difference in the tie rod end length will lead to increased tire wear, steering that may not be centered, and poor straight line stability.
Featured Video: Easy Way to Separate Ball Joint
Related Sites
- DIY: Lower Ball Joint Removal and Installation - Toyota4Runner.org
- Ball Joints Differences Discussion - Toyota4Runner.org