Toyota 4Runner 1984-1995: How to Replace Your Tail Light Assembly
A broken tail light is a pretty common problem. This article will show you how to fix it.
This article applies to the Toyota 4Runner (1984-1995).
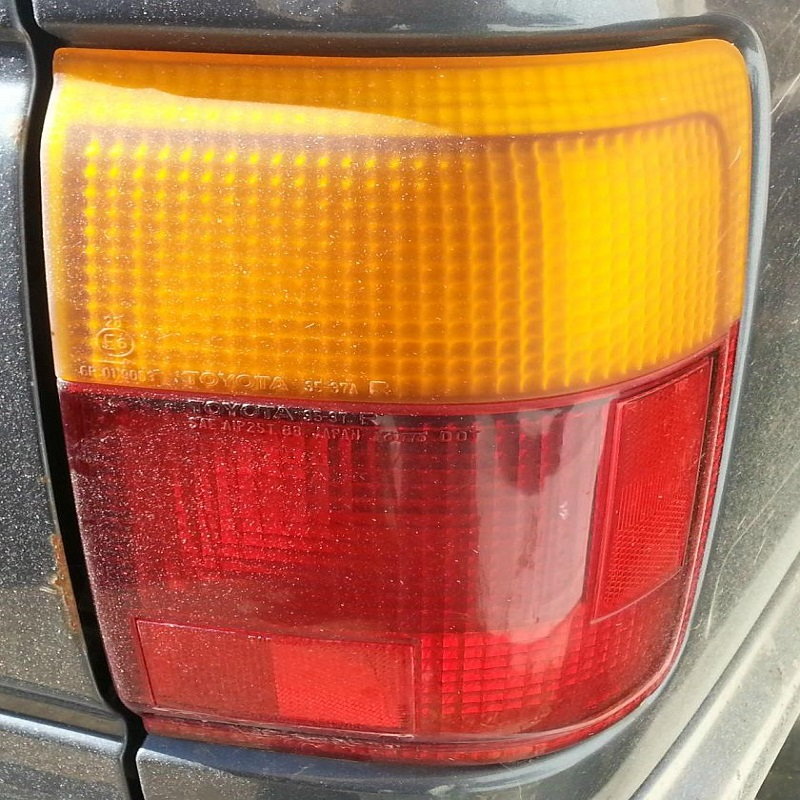
Your tail light is made of multiple elements; you have the D.O.T. mandated reflectors, your brake lights, and the actual tail lights themselves that come on when you turn your lights on. The reflectors in the tail light assembly help other drivers to see you when you're braking. So when a tail light breaks, you're legally obliged to fix it as soon as possible. While it may be one of the easiest parts to break, it is also one of the easiest parts to replace. Keep reading to learn more.

Materials Needed
- Replacement tail light assembly
- Ratchet with 10mm socket
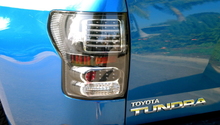
Step 1 – Remove the old tail light
Start by opening the tailgate of your 4Runner. Next to the broken tail light assembly you will find two 10mm bolts. Remove these bolts. Then pull the tail light assembly back and out. It may take a little wiggling to get it to come loose. Be careful not to break the electrical connector as you pull it out. Once it comes loose, disconnect the electrical connector to the tail light assembly and then set the assembly aside.
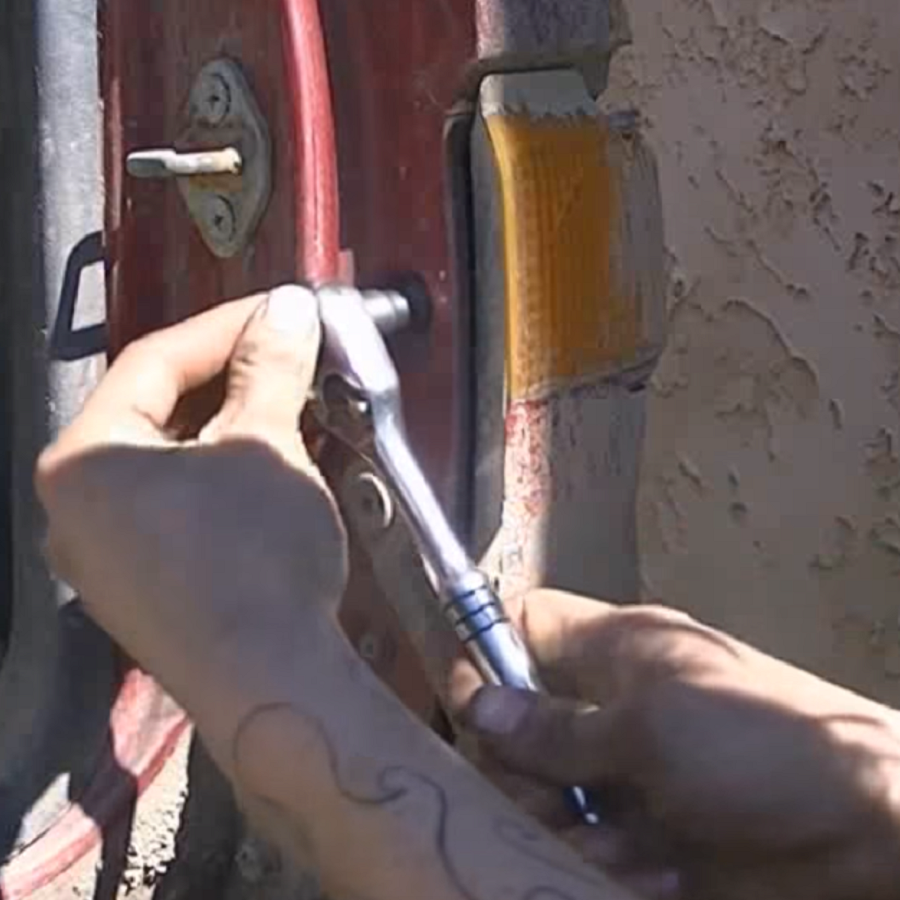
Figure 1. Remove these two bolts. 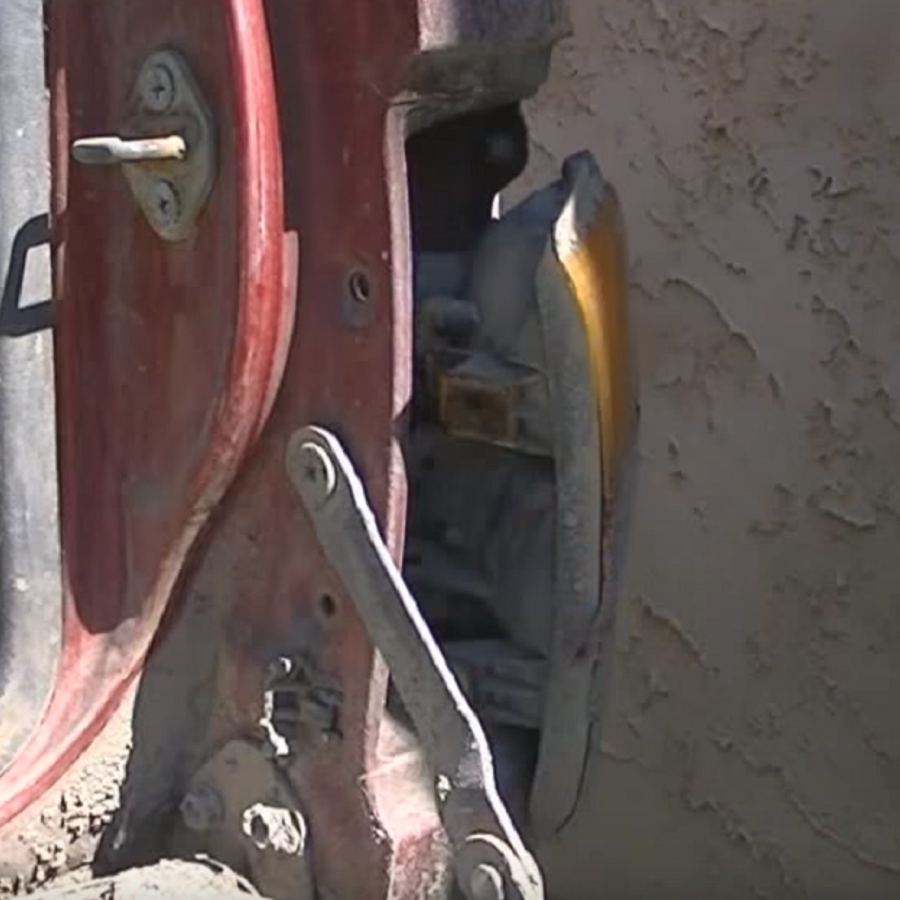
Figure 2. Pry the tail light assembly loose. 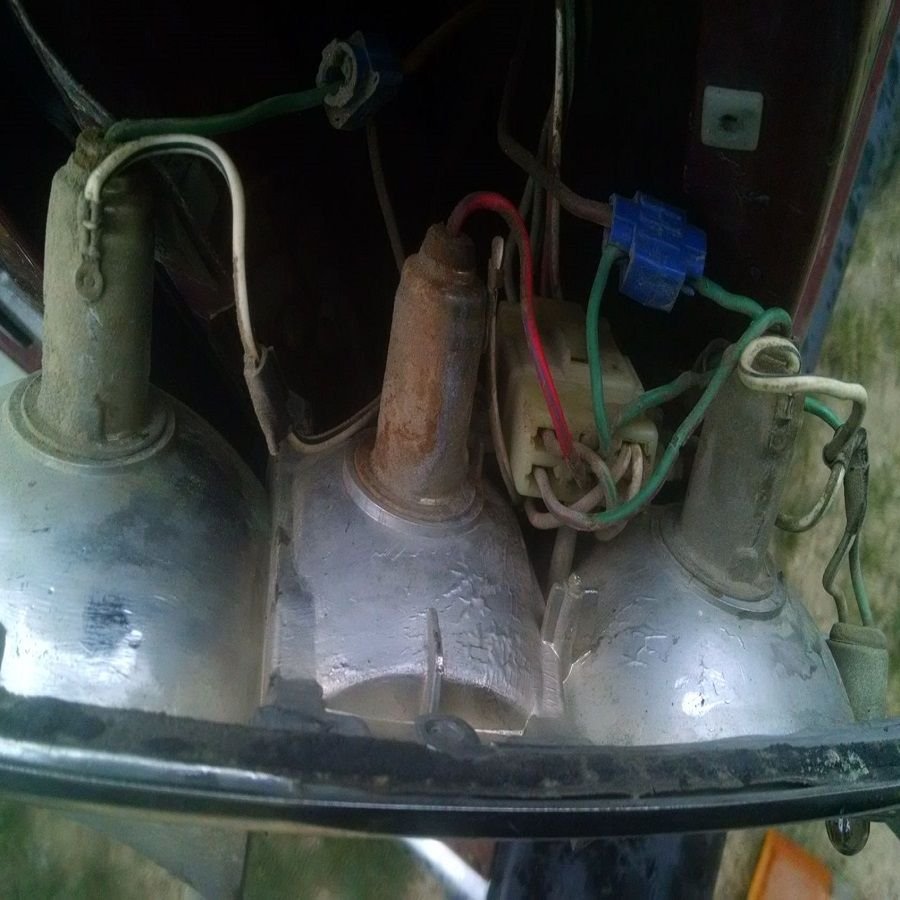
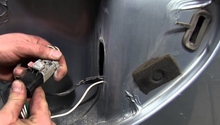
Figure 3. Disconnect the electrical plug.
Step 2 – Install the new tail light
Your new tail light assembly should come with everything you need. Start by connecting the electrical connector. You'll see two tabs on the corner of the new tail light assembly. Line up the tabs with the indentations on the side of your 4Runner, then push the tail light assembly into place. Be careful not to break off the tabs, as they are part of what holds the tail light assembly to your 4Runner. Press it down until it snaps into place. Then tighten the two 10mm bolts on the side. Test out your new tail light assembly and make sure that the lights are working properly. Then you're all done.
Featured Video: How to Change 4Runner Tail Light
Related Discussions
- 2nd Gen 4Runner Tail Light Options - YotaTech.com
- Nice Tail Lights 1st and 2nd Gen 4Runners - YotaTech.com