Toyota 4Runner 1984-1995: How to Replace Fuel Pump
You don't always have to remove the tank. It may be as easy as opening a door to get to the pump.
This article applies to the Toyota 4Runner (1984-1995).
Your Toyota has an electric fuel pump in the gas tank. The tank is under the vehicle and no one I know of enjoys dropping a gas tank. Fortunately, Toyota provided an access panel under the rear seat on most years, so you can get to the pump without dropping the tank. If you have checked and know that your fuel pump is faulty, you can change it with moderate difficulty. Get ready to get to know your truck intimately.

Materials Needed
- Nitrile gloves
- 3/8" drive ratchet
- Six point 10mm socket
- Metric line wrenches
- Flat blade screwdriver
- Wire brush
- Penetrating fluid
- Fuel pump
- Fuel pump sending unit bracket
- Grinder or Dremel-type tool (for 4Runners without access panel)
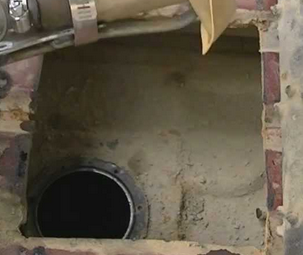
Step 1 – Check for access panel
This job will be a lot easier if your model 4Runner has the access panel under the rear seat. Check for it by removing the bottom cushion on the passenger side and looking for it.
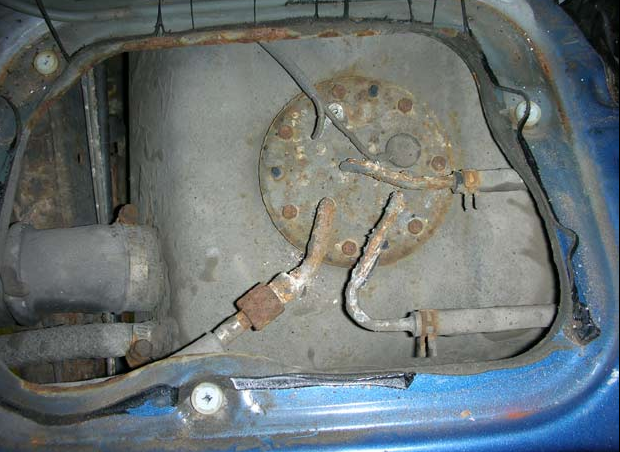
If your vehicle does not have the access panel, you will either have to drop the tank or cut your own access panel. Either of these is much more involved and will take much more time. The best thing about cutting your own panel is that it will be there if you ever need it in the future. The best way to handle this is with a grinder, or a Dremel-type tool. Using a Sawzall or a larger tool will make quick work of the sheet metal, but you risk damaging ancillary items because the working space is on the tighter side.
Step 2 – Unhook fuel pump assembly
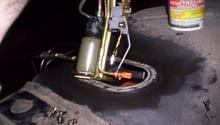
After you get access to the fuel pump, there are several items to disconnect. Since it is dirty under there, clean the top of the pump assembly off and wire brush the screws, then spray them well with penetrating fluid. Number 1 and 2 are hoses and clamps that must be removed (some models only have one hose.) Number 3 is the fuel line that goes to the engine. If you have not already done so, remove the fuel pump fuse and start the vehicle to relieve the pressure in the system. The cleaner you can get these nuts, the better; also, spray them down with penetrating fluid. Using the appropriate size line wrenches, hold the fitting that goes to the fuel pump and turn the nut on the line to the front. It will be very tight and you do not want to twist anything off. Be careful. Cover the line that goes to the front, so nothing gets in it. Number 4 is the connector for the wires that needs to be unplugged.
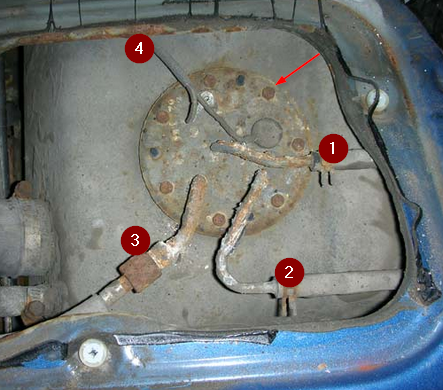
The arrow points to one of the seven screws that holds the pump to the tank. Be very careful removing them, as they all need to come out and not twisted off. A 6-point socket will grab the bolt better than your typical 12-point socket.
Pro Tips
- Keep the opening to the gas tank covered so no debris falls in.
- Clean the electrical connector for a good connection.
Step 3 – Remove fuel pump assembly
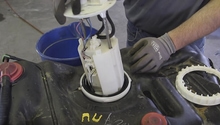
Gently lift the old pump assembly out of the tank. Set it on your workbench ready to replace the pump.

Pro Tip
Nitrile gloves are gasoline proof and will keep it off of your hands.
Step 4 – Replace fuel pump
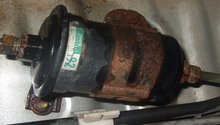
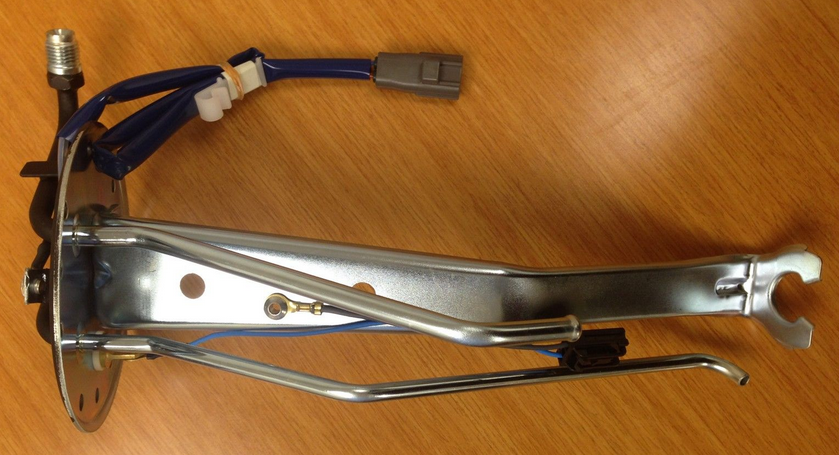
The fuel pump itself is attached to the fuel pump sending unit bracket. Since the bracket has the fuel line fitting on it and the wiring, it is likely that you will have to replace it. If yours is good, you can reuse it and save $125.
The new fuel pump as shown in Figure 6 will include everything that you need to install it on the bracket. Instructions should be included in case you need assistance. While we are in here, replace the fuel pump strainer as well. If your fuel pump kit comes with one, then that is one less thing to worry about.
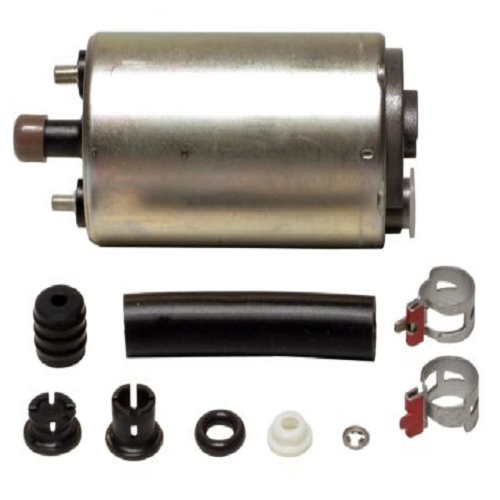
Figure 6. New fuel pump kit. 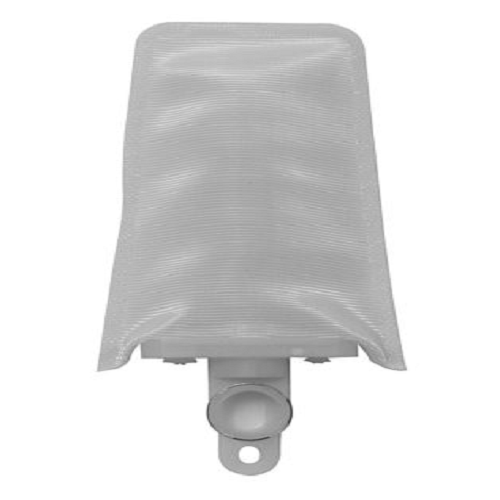
Figure 7. Fuel pump strainer.
Pro Tip
To be sure that the new pump works, and before you go too far, you can test it by hooking it up to your battery momentarily.
Step 5 – Install pump assembly
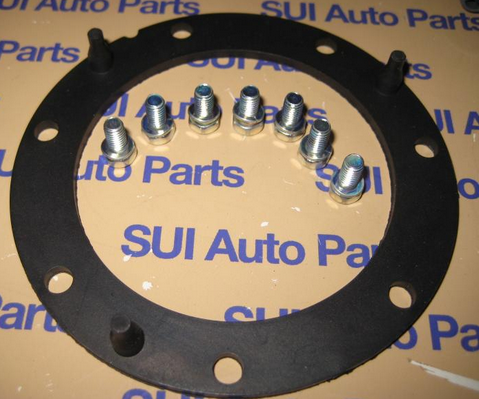
Place the fuel pump assembly into the tank just as you took it out. If your kit did not have a new gasket for the assembly to the tank, be sure to get one; it is cheap insurance to be sure there are no leaks. Carefully start the mounting screws to be sure that they start correctly. Once they are all started, tighten them all down in a cross pattern. No need to tighten them too much.
Now hook up the fuel line with your line wrenches and tighten securely. Then hook up any other hoses and the electrical connector. Start your truck and check for any leaks. Repair any immediately.
Pro Tip
Keep all of the parts clean so they seal well.
Step 6 – Replace access panel
Replace the access panel, being sure it is sealed well. You are ready to go with a new fuel pump!
Featured Video: Inspecting 4Runner Fuel Pump
Related Discussions
- Fuel Pump Replacement - YotaTech.com
- Changing Fuel Pump - YotaTech.com
- Fuel Pump Not Working - YotaTech.com
- Fuel Pump Shot - YotaTech.com