When you click on links to various merchants on this site and make a purchase, this can result in this site earning a commission. Affiliate programs and affiliations include, but are not limited to, the eBay Partner Network.
Well, it’s finally time to build a rear bumper to compliment the front one that I built earlier. The main goals of this bumper are to:
1. Integrate a receiver into the bumper to eliminate the low hanging OEM trailer hitch.
2. Include a place for additional rear-facing lights. (I’ll probably use my OEM fog lights)
3. Provide enough space for a 255/85R16 spare tire in the stock spare location.
4. Provide a place to mount mud flaps to properly cover the rear tires.
5. Provide recovery points (shackle hangers).
6. Compliment the styling of the front bumper.
7. Keep the weight down as much as possible.
8. Have a strong and simple mounting system.
I have been working on the CAD design for several months now, and after many changes I am finally happy with it. The current weight is 105 lbs.
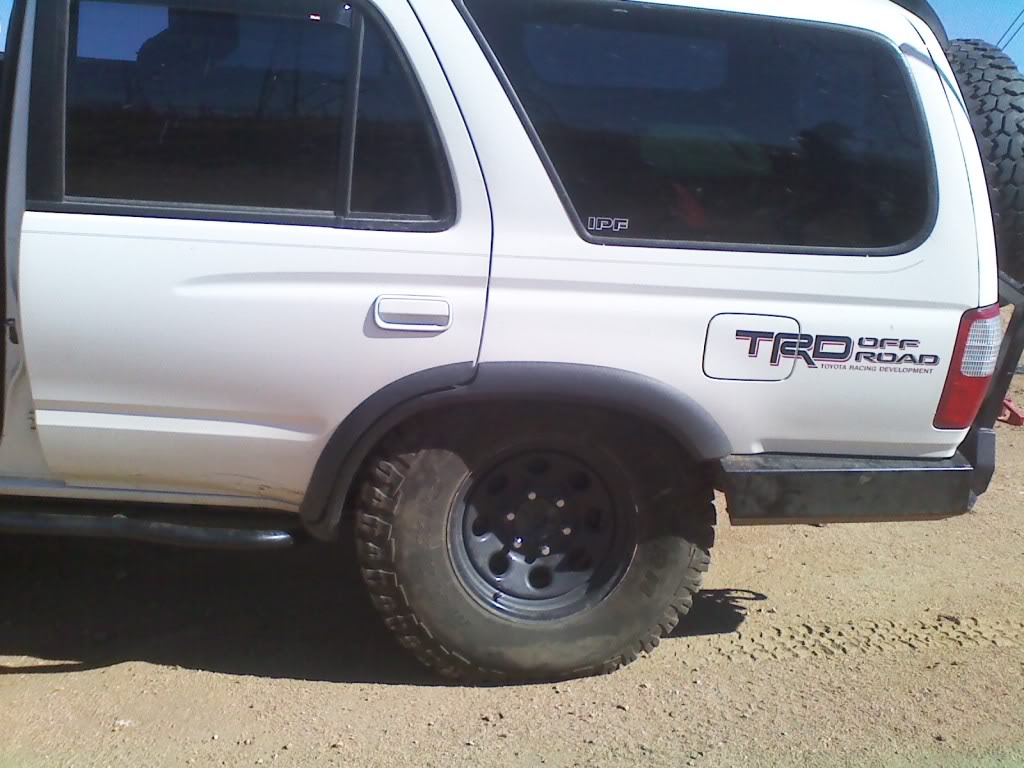
Looks like I will be driving around with quite a rake for the next several months. I think I gained at least an inch of lift in the rear after removing the hitch, bumper, and spare tire.
The rear bumper and receiver were a total pain to remove, as some of the bolts were rusted solid. I ended up cutting many of them off with the angle grinder.
Here’s a shot of some steel parts I’ve been collecting for this project.
The main horizontal beam will be a 3 x 5 x 1/4” angle iron. The mounts going back along under the frame rails are 3 x 4 x 1/4" angle iron. The other outside skin areas will all be 1/8” thick, that I have left over from a 4 x 8’ sheet from my front bumper build.
Like the front bumper build, I want to mock up the bumper with plywood/cardboard first. This was a lifesaver with the front bumper, as I made many changes to improve the design before actually cutting steel. So I got started this past weekend on the mock-up:
That’s where it sits now, and I already have a small list of minor changes I want to make to the design before building the real one. I have some more work to do on the mock-up before finalizing the design, which I hope to do by the end of the year. Then its fabrication time. Let the sparks fly!
Last edited by Bandit Runner; 07-19-2017 at 05:16 PM.
Looks like it will be a sweet bumper. One suggestion I have is you may want to leave yourself a way to put a spindle and a tire swing-away on it later because your sig says you want 35s in the future. Obviously a 35 won't fit under the truck (or even a 33 for that matter) and carrying a spare inside takes up all of your cargo area. As big and bulky as the swing-aways are, I'm very glad I decided to get one.
Another suggestion.. My sides of my CBI bumper don't go quite all the way up to the egde of my rear flares and I can almost rub on it still with 33s when I'm fully flexed out. I'm pretty sure 35s will rub right there so you may want to flex it out and do a little measuring to see how close you are now and make sure you have at least 1.5" of space between your 265s and that area. Otherwise you may have to hack it later.
Looks great though , I'll definitely be checking in to see the progress!
Looks like it will be a sweet bumper. One suggestion I have is you may want to leave yourself a way to put a spindle and a tire swing-away on it later because your sig says you want 35s in the future. Obviously a 35 won't fit under the truck (or even a 33 for that matter) and carrying a spare inside takes up all of your cargo area. As big and bulky as the swing-aways are, I'm very glad I decided to get one.
I had a swing-out tire carrier on my old Nissan PathFinder, and didn't like it at all. Always in my way, and a hassle to get into the back of the truck. I designed the bumper to make sure a 255/85R16 tire will fit in the stock spare location. So I won't have quite a full size spare when running 35's. That should be fine for me, since I rarely, if ever, need to use a spare.
Another suggestion.. My sides of my CBI bumper don't go quite all the way up to the egde of my rear flares and I can almost rub on it still with 33s when I'm fully flexed out. I'm pretty sure 35s will rub right there so you may want to flex it out and do a little measuring to see how close you are now and make sure you have at least 1.5" of space between your 265s and that area. Otherwise you may have to hack it later.
My bumper does come close to the edge of the flares, but it angles back much quicker than your CBI, which is more vertical in that area. Plus, I don't think I get as much flex as you do, yours is pretty impressive.
I think I'll be alright, but I will do some more checking and measuring. Thanks for the tips.
Looking good, have you considered bigger lights than the OEM fogs? They're nice but sometimes leave more to be desired.
Bigger lights won't fit, and I just want something to help the rearward facing light situation. Plus I already have these, so they're basically free. What don't you like about the OEM fogs?
I think carrying a 255/85 as a spare when you have 35s will work just fine to get you off the trails so if you can keep the back more accessible without a swing-away, I say go for that, good idea. Sounds like you have thought this thing through very well, I can't wait to see the finished product. I wish I could have built my own bumper, but don't have the resources yet. There's gotta be a good feeling of satisfaction when it's all finished.
I made some more progress on the mockup last night, and I am pretty much done with it at this point. I spent a lot more time on the mockup when I did the front bumper, adding every little detail, but I didn't do that this time. I just mocked up one side (passenger) of the rear bumper to save time. Didn't see a need to spend time mocking up the driver's side too, as I wouldn't learn anything that I didn't already learn from the passenger side.
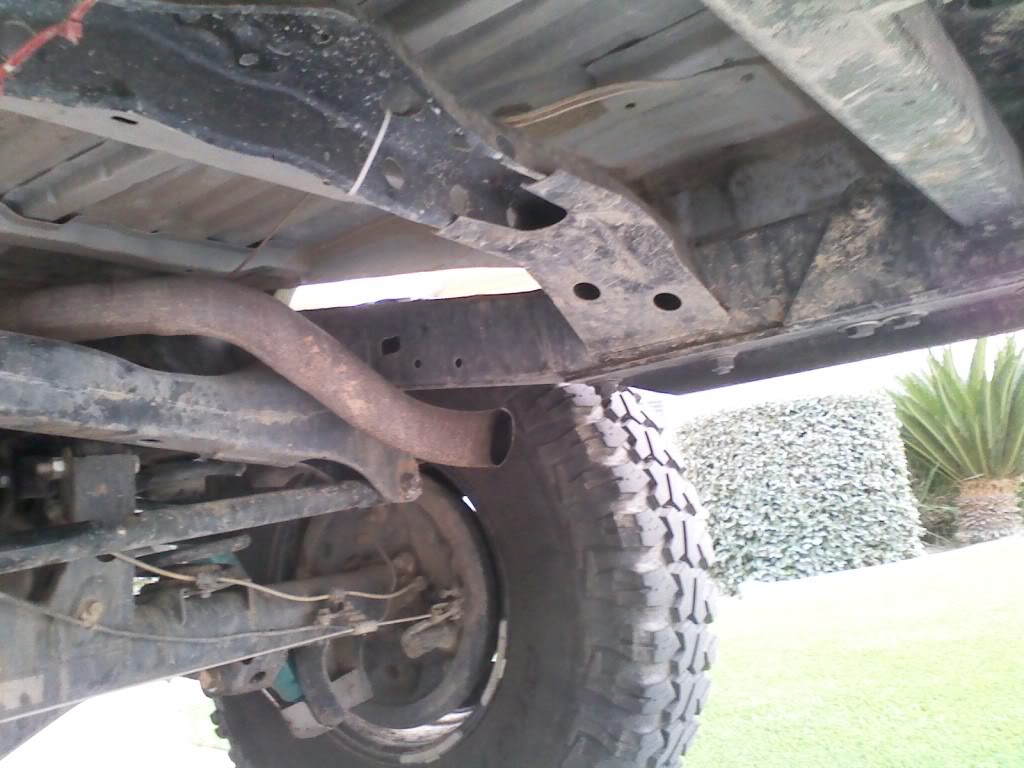
I probably have about 18 hours into the mockup, which was well worth it. I made some changes to the design around the hatch and latch areas, that I wasn't too confident about before. I also verified that the larger spare tire would fit, and that my OEM fog lights will fit in the rear bumper. I also realized that I have to take off the rubber exhaust hanger thingy in order to get the bumper on/off every time (which sucks). A few other small tweaks of dimensions, and I think the design will be finalized this week. Then I should be able to start cutting steel during Christmas break.
Last edited by Bandit Runner; 07-19-2017 at 05:24 PM.
I also realized that I have to take off the rubber exhaust hanger thingy in order to get the bumper on/off every time (which sucks).
I hated that when I was making my rear bumper. I had an exhaust shop move the hanger and change the tip a little. I will try to take a picture and post for you if you like.
How much of that are you going to bend vs cut individual pieces for? If it's all pieces, you are going to hate grinding with a passion after finishing all those welds.
Looks good though! although- I'm not a fan of the pink...
I just hacked my tailpipe and the hanger off. It's far enough away from the frame in this spot that I never put another hanger on and it's never made any noise. It still puts the exhaust out the side/back of the truck too (I don't ever smell it like it's getting trapped).
Thanks guys. I think for the exhaust issue, I'll just deal with it. It really only becomes an issue after I put on the angle iron that connects the side wings with the frame mount pieces, and that will be one of the very last things I add on. So that should minimize the problem.
How much of that are you going to bend vs cut individual pieces for? If it's all pieces, you are going to hate grinding with a passion after finishing all those welds.
None of it is bent, it is all individual pieces. It will require quite a bit of grinding, but that doesn't bother me. I did the same for the front bumper, and that went fine.
Can't wait to see the finished product. I used to check the fab shop once every month or so but since you started your builds it's on of the first things I check now.
 12-01-2010, 07:22 AM