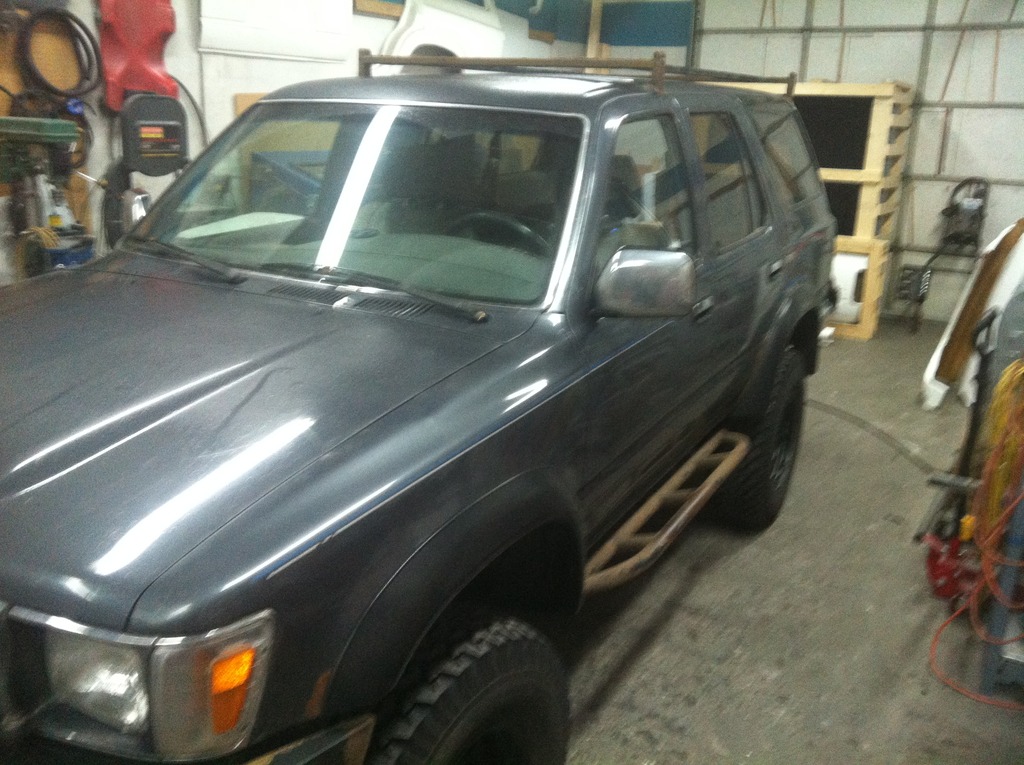
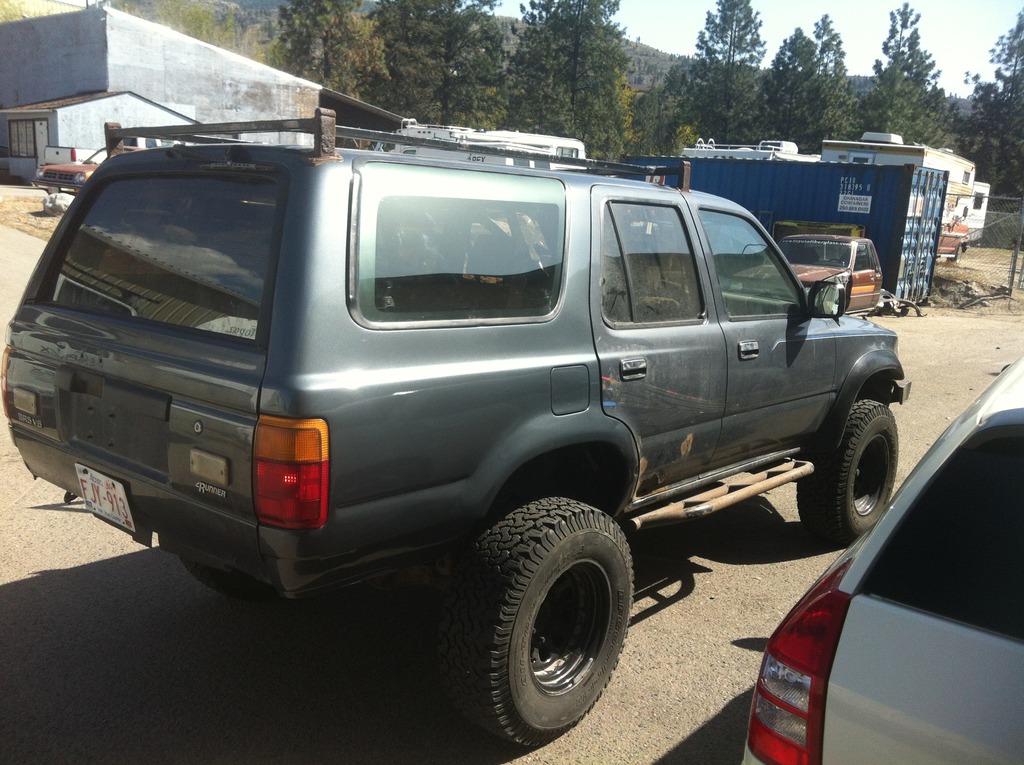
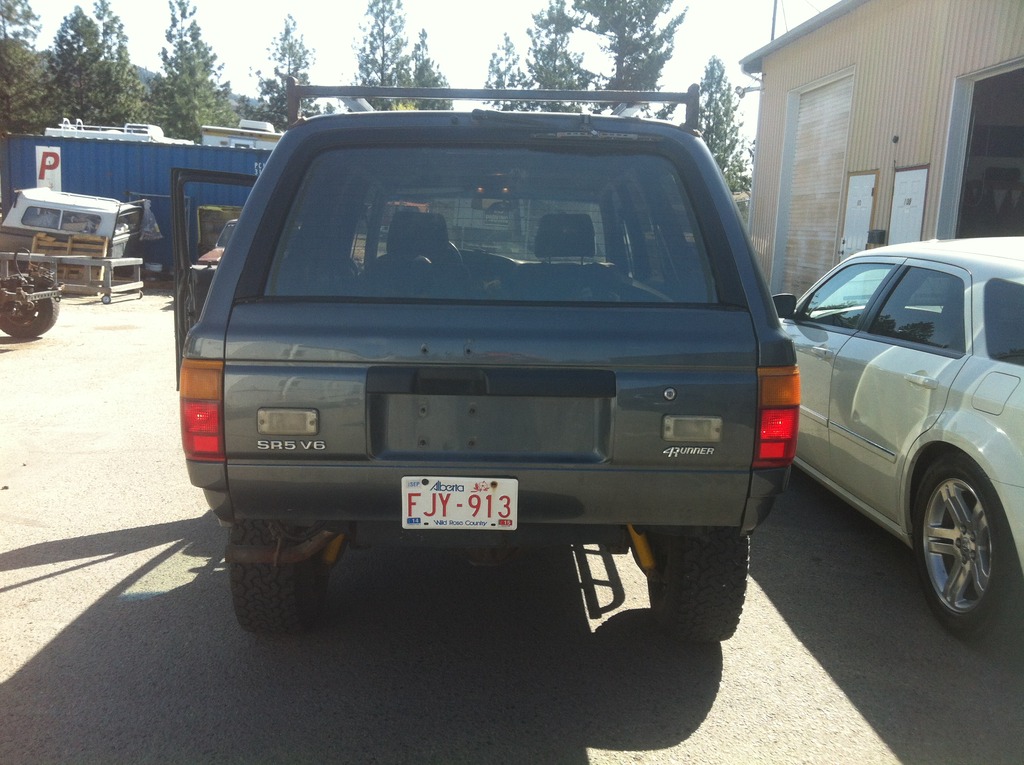
toyotafiberglass - Nicks /91 4Runner 1/4r's

 03-26-2015, 11:38 PM
#2
Super Moderator
Staff
iTrader: (1)
Join Date: Aug 2008
Location: Anderson Missouri
Posts: 11,788
Likes: 0
Received 21 Likes
on
19 Posts
I always like following in depth builds and know this is going to be one of them. Some of the rust you have to deal with is a work out in itself. Already know I will like the results.
03-27-2015, 05:02 PM
#4
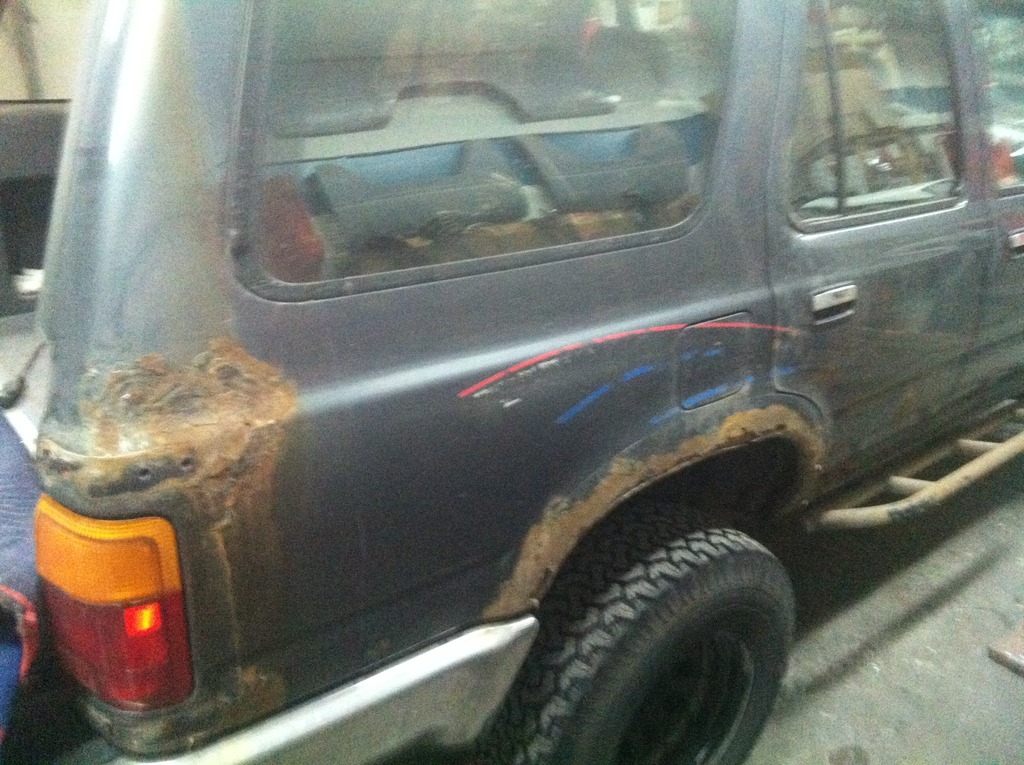
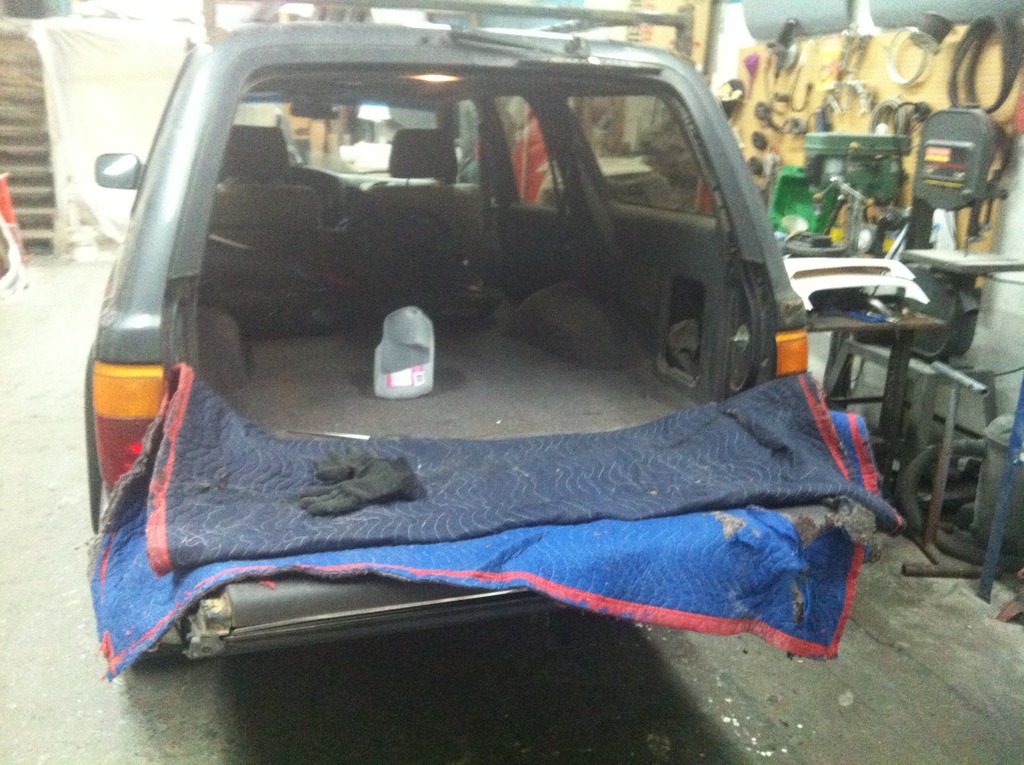
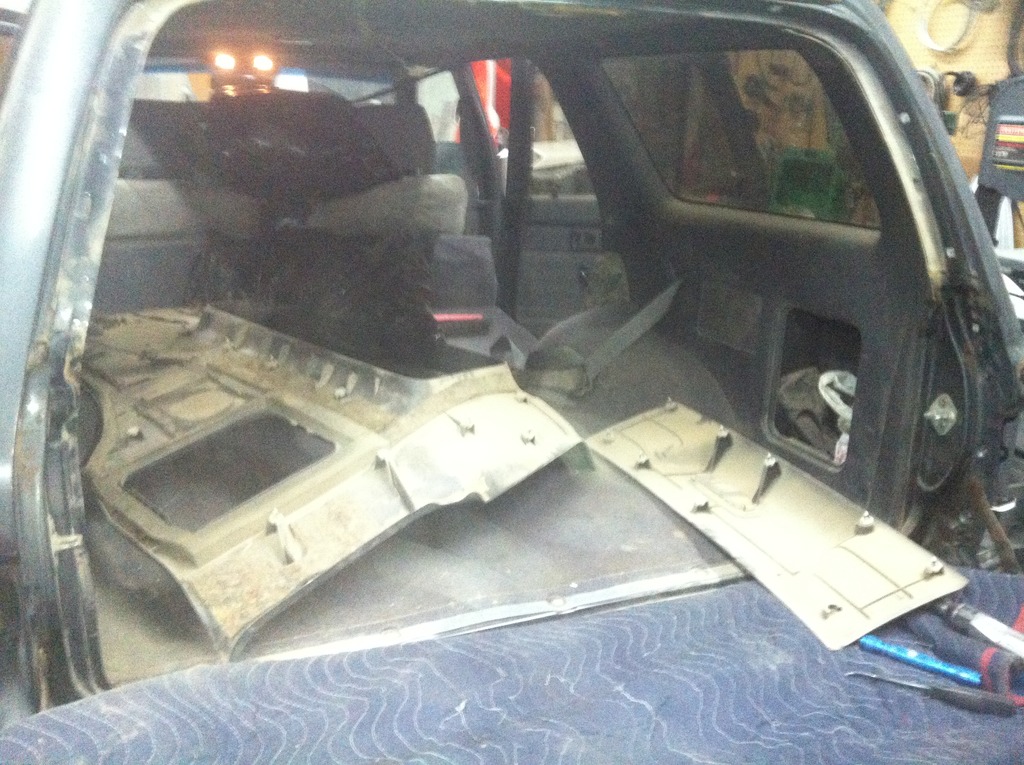
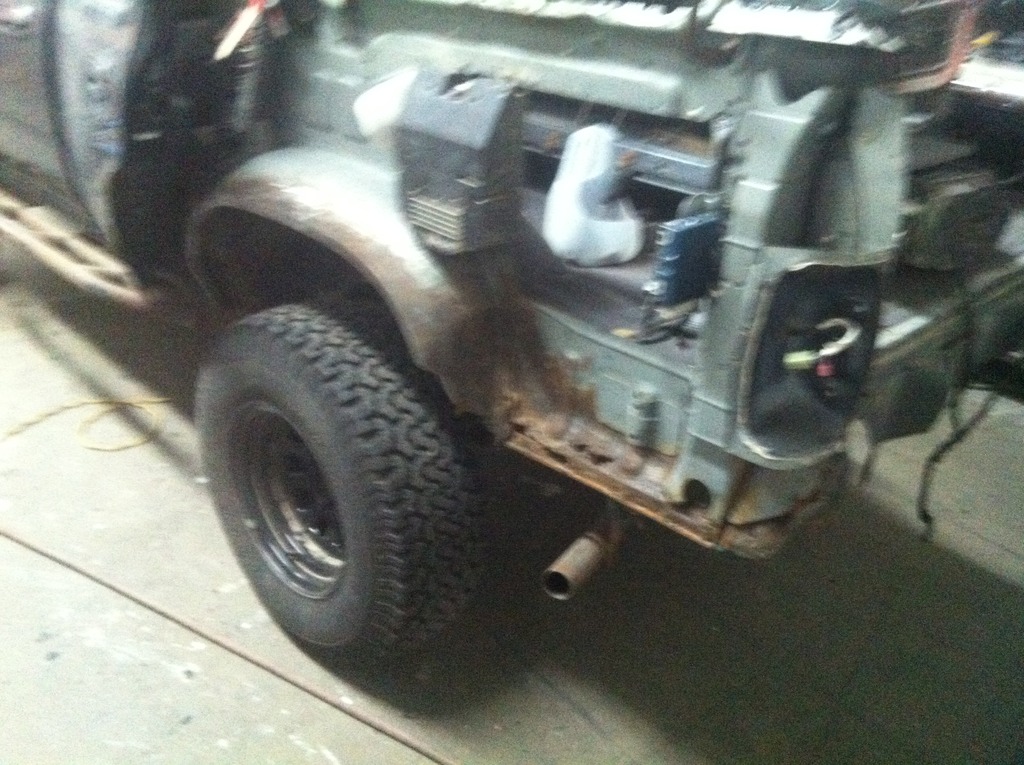
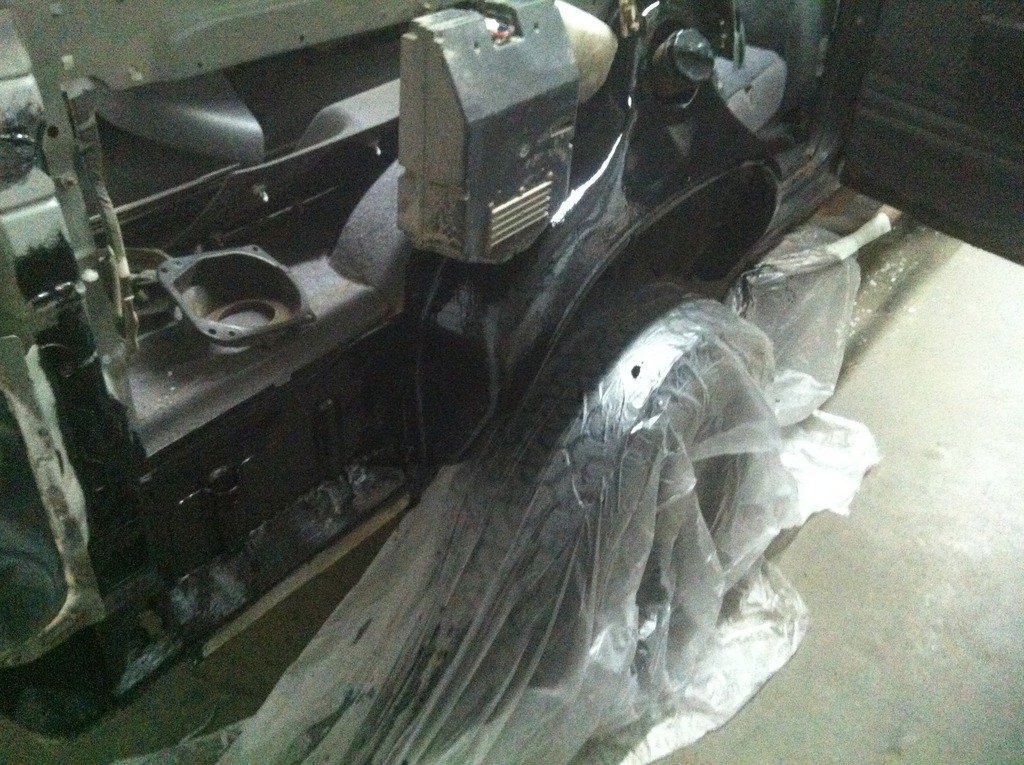
got the rest of the interior out , and removed the rear hatch
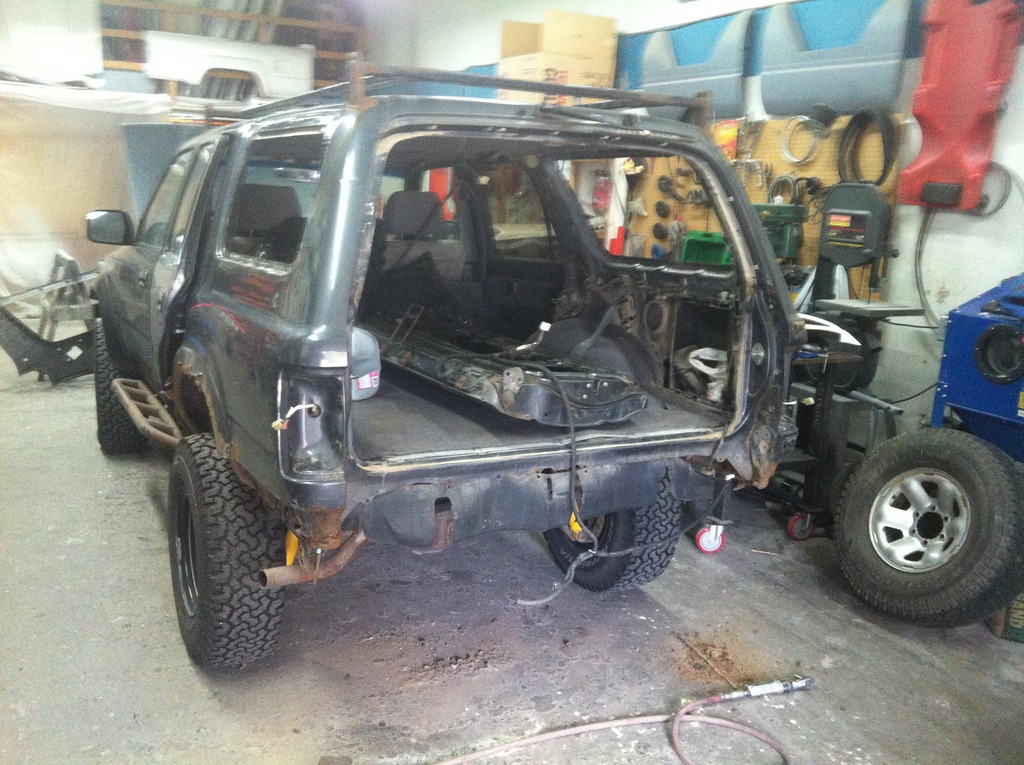
also removed the drivers flare , and as suspected , it's the same as the passenger side
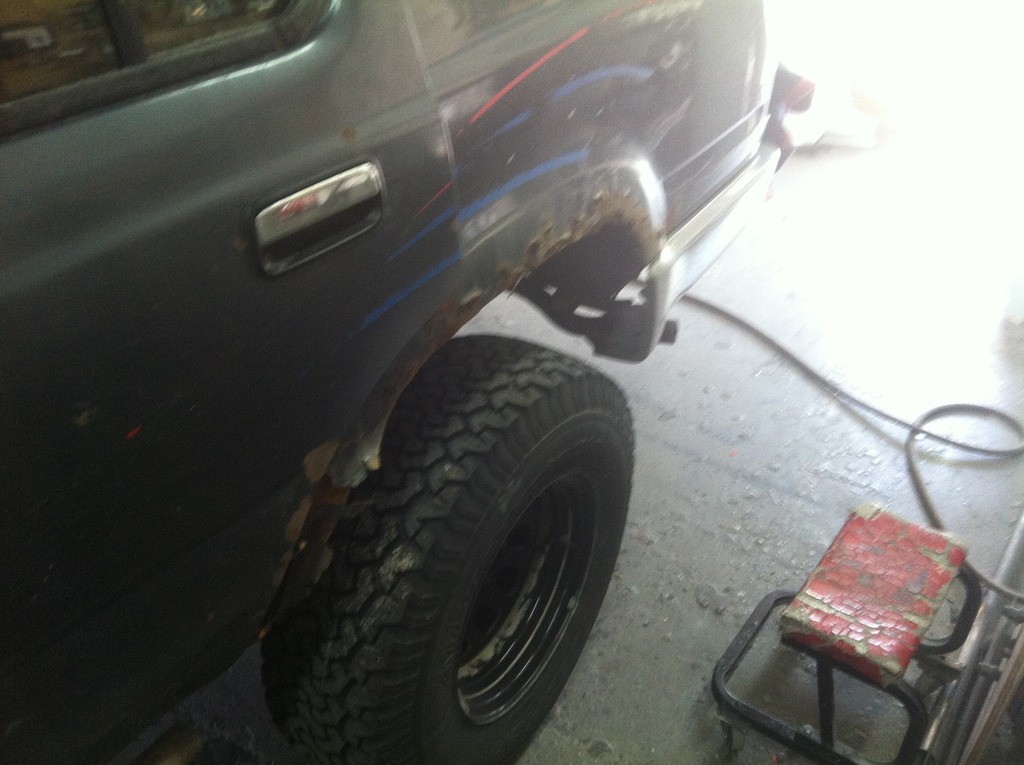
also , got the rear 1/4r windows removed
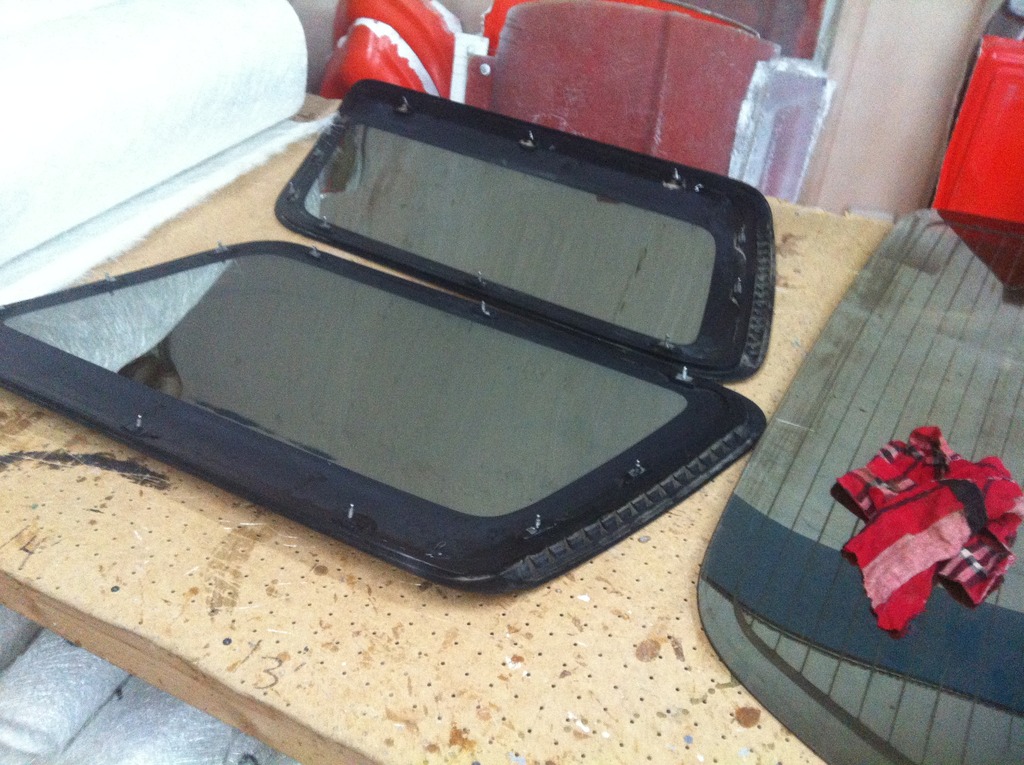
ugly job , I wear rubber gloves with cloth gloves over top , soaked in wd40 ..
.
also removed the drivers flare , and as suspected , it's the same as the passenger side
also , got the rear 1/4r windows removed
ugly job , I wear rubber gloves with cloth gloves over top , soaked in wd40 ..
.

Trending Topics
03-31-2015, 05:23 PM
#8
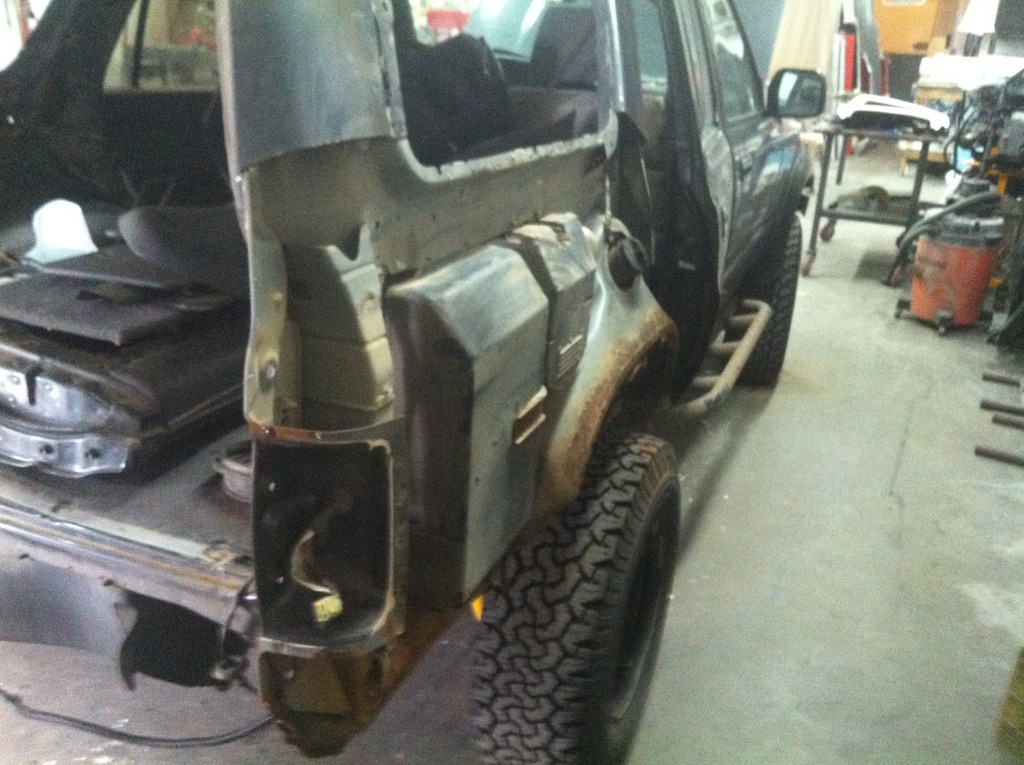
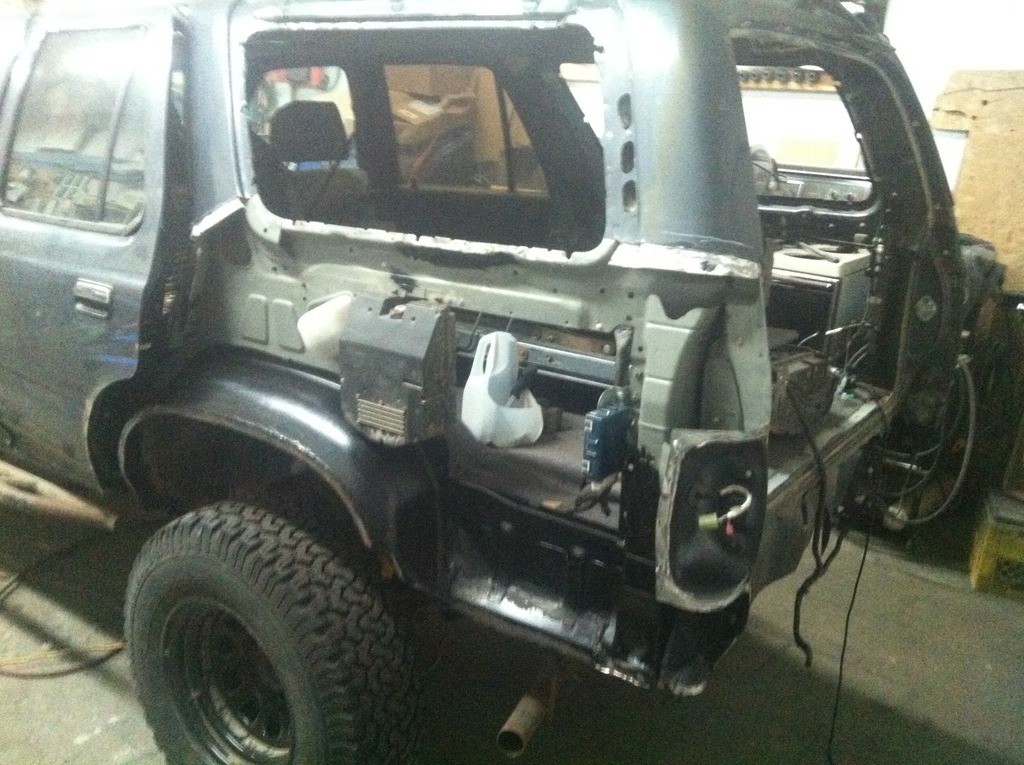
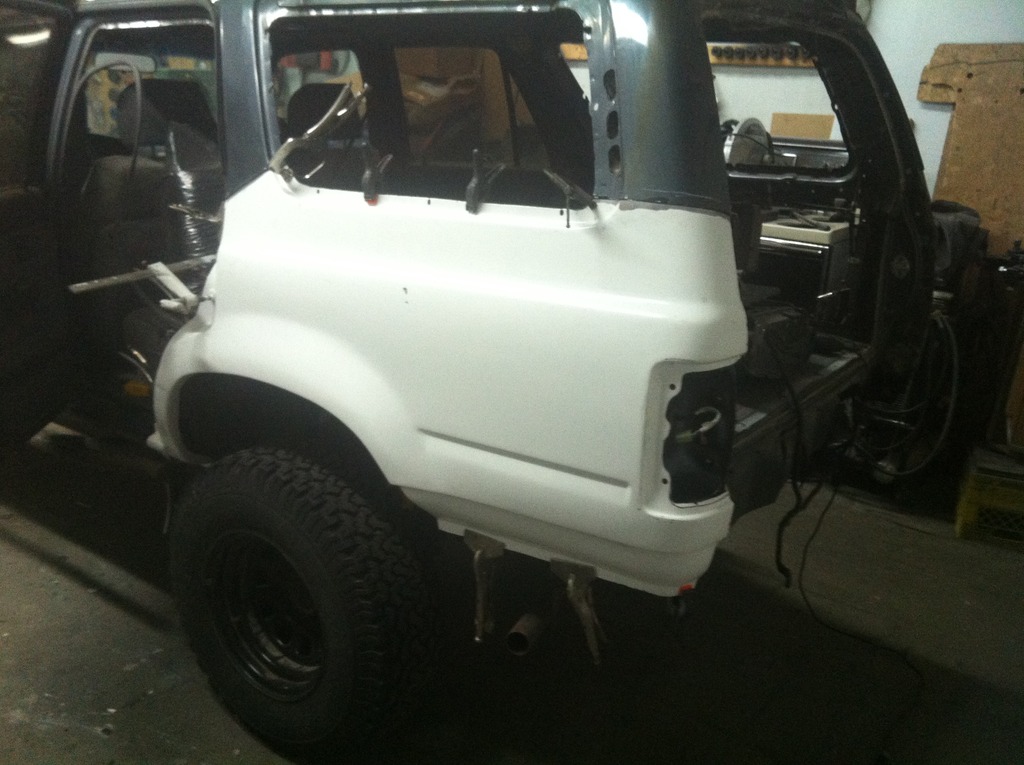
time for some test fitting
take your time .. this will take some time .. I'm about 3 hours total fitting and removing , a little trim here and there , off and on about 10 times , but you want to do this to fit them correctly
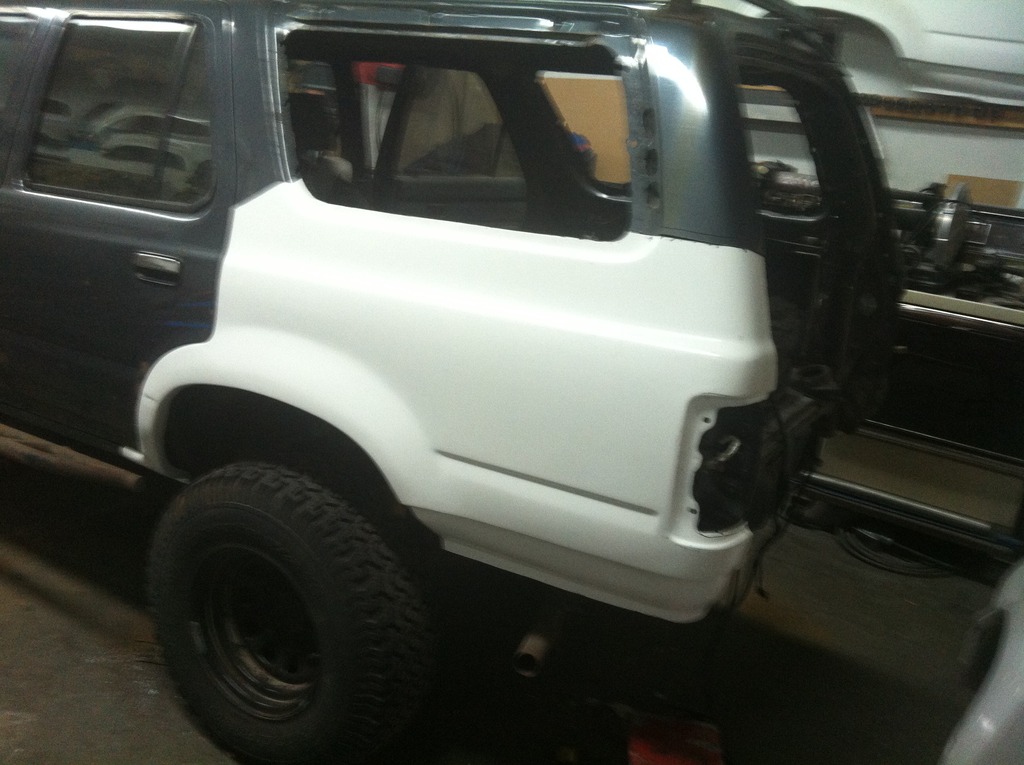
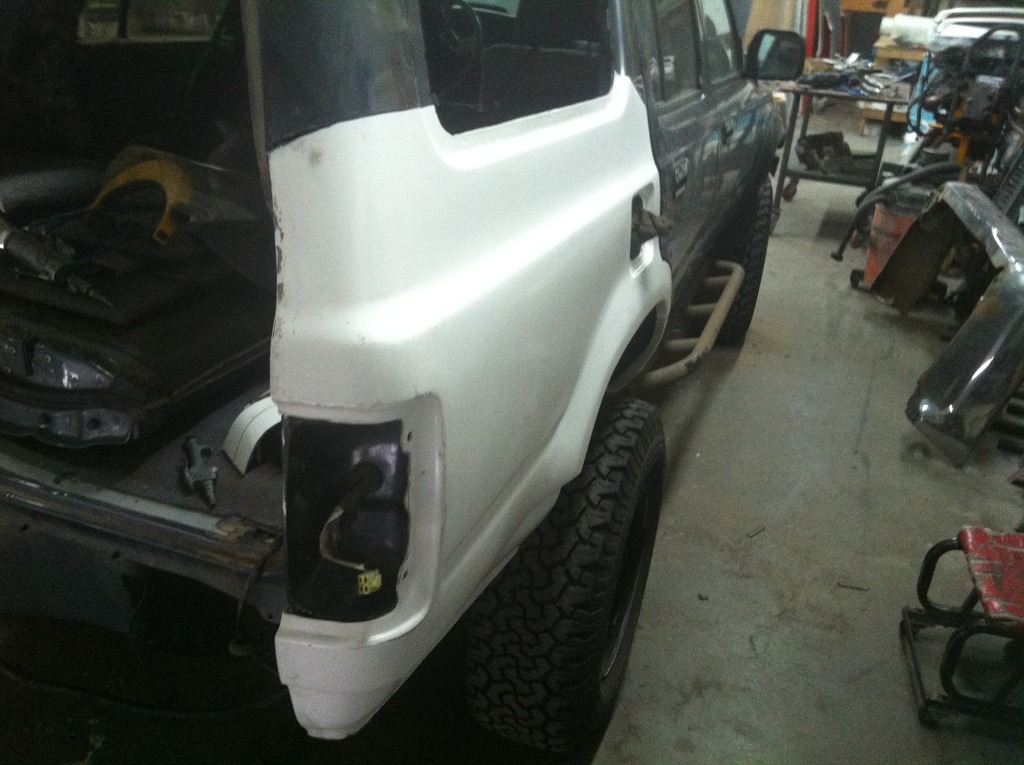
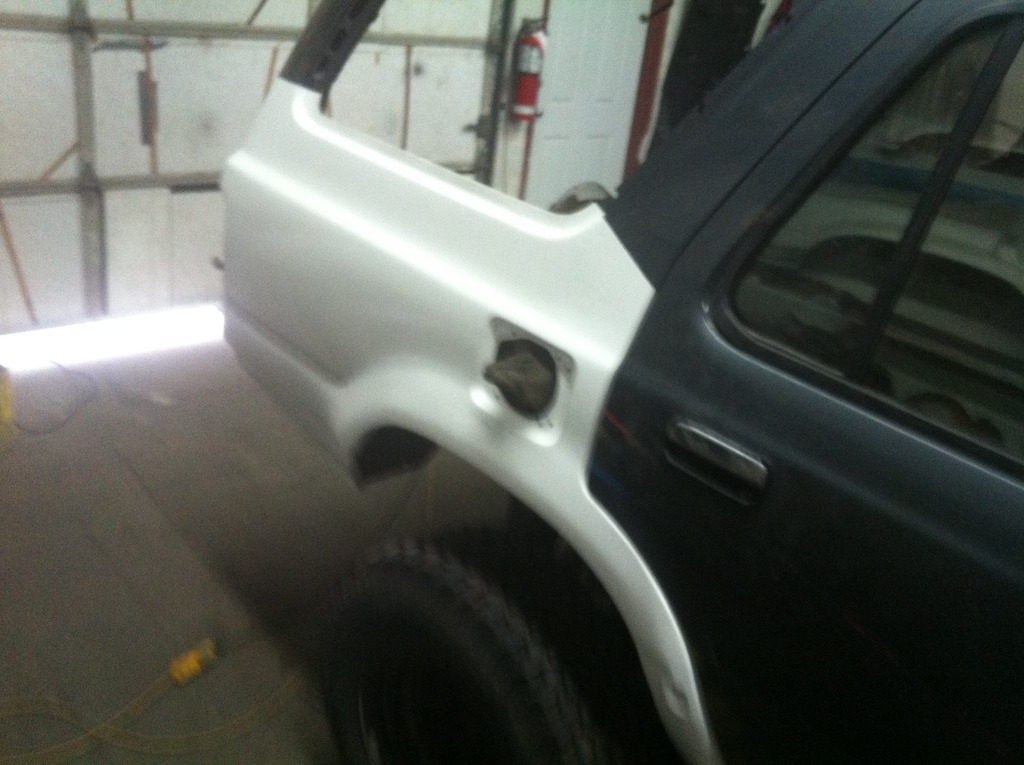
and now I'm happy with the fit ... time to fit the window
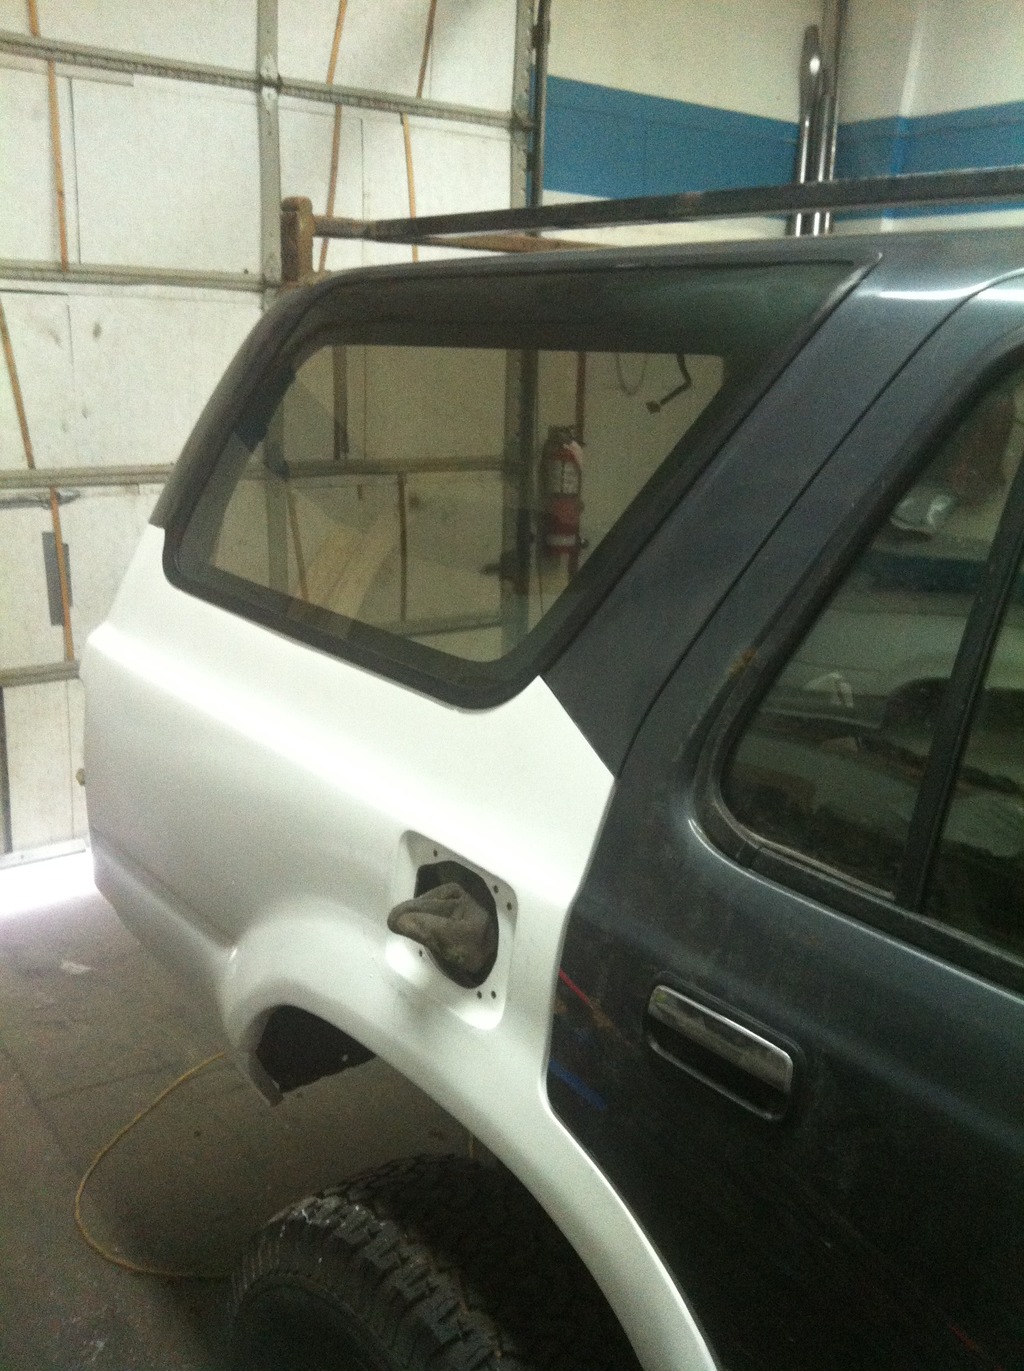
and happy with this ... I can now move on the the rust repair
.
take your time .. this will take some time .. I'm about 3 hours total fitting and removing , a little trim here and there , off and on about 10 times , but you want to do this to fit them correctly
and now I'm happy with the fit ... time to fit the window
and happy with this ... I can now move on the the rust repair
.
04-01-2015, 05:13 PM
#9
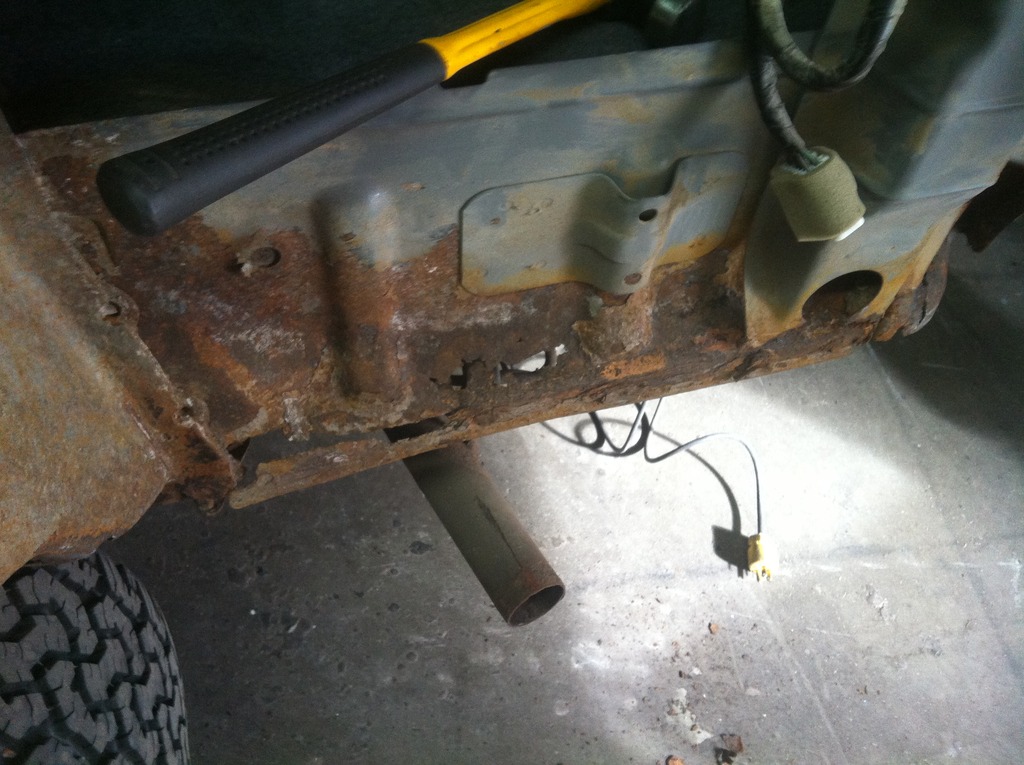
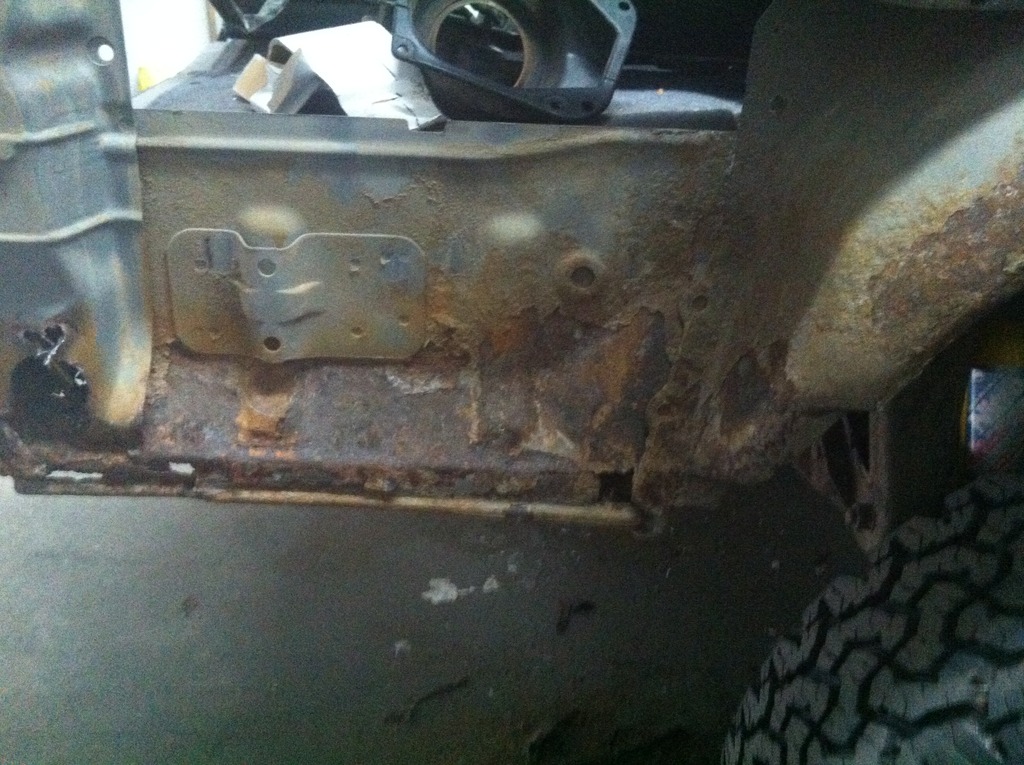
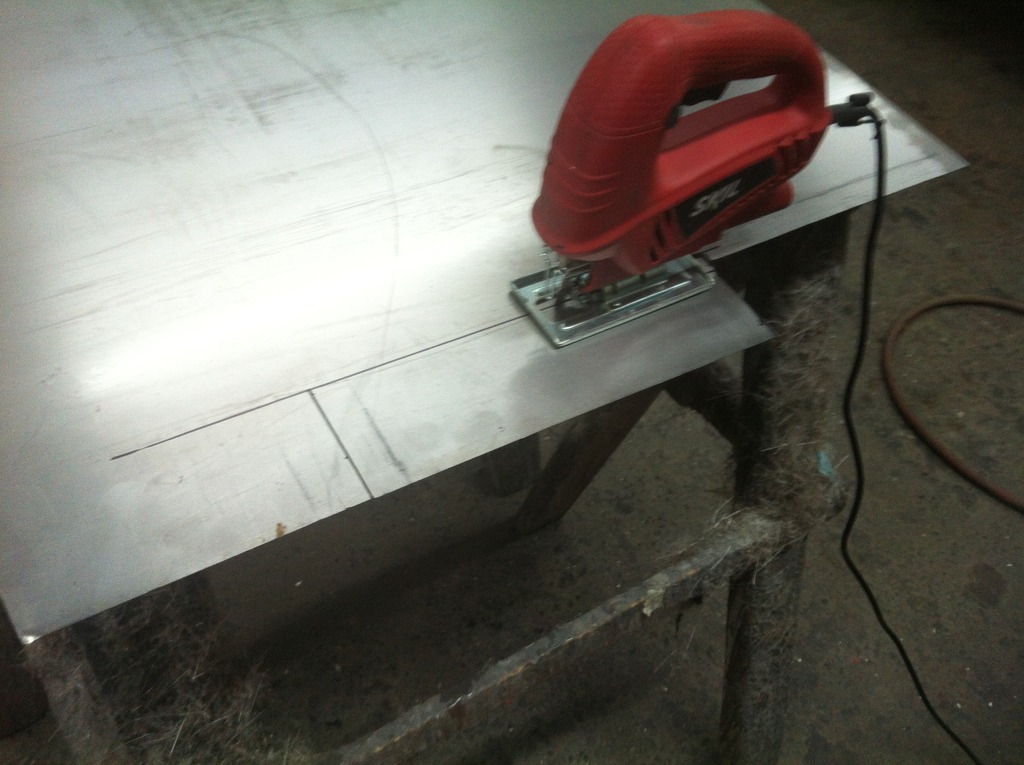
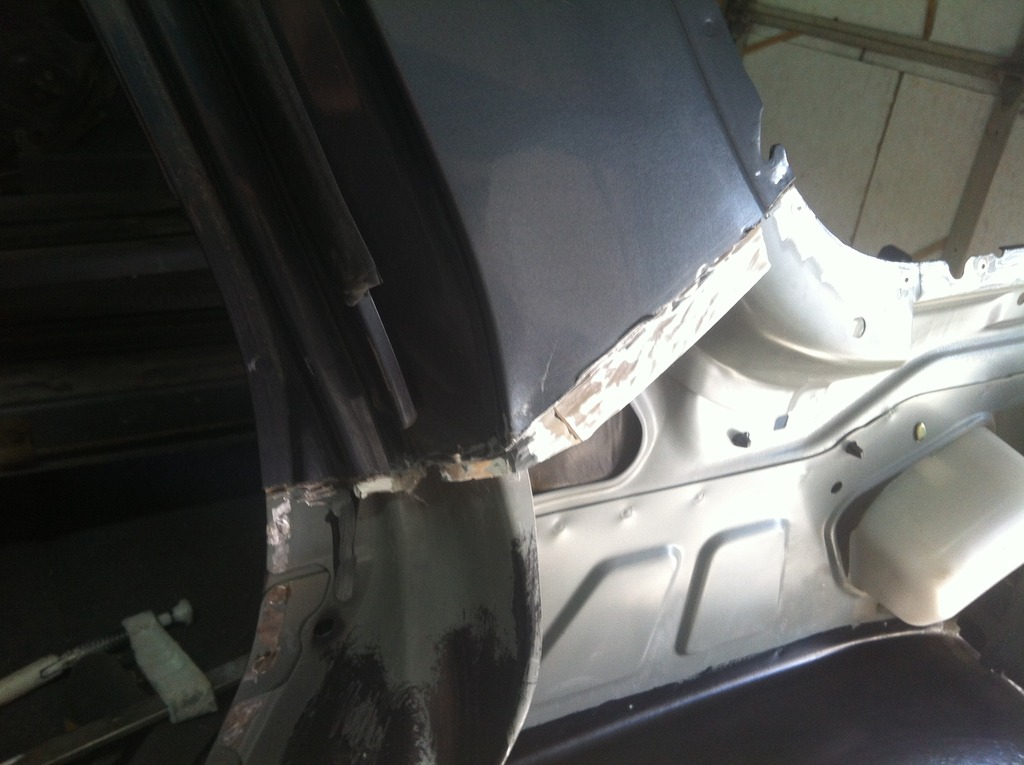
ok so now we have a great fit .. time to fix the rust
first I took a couple of measurements of the piece I would need to cut out . then got my sheet metal , drew the lines , and cut it out .. jig saw works great for these small pieces .
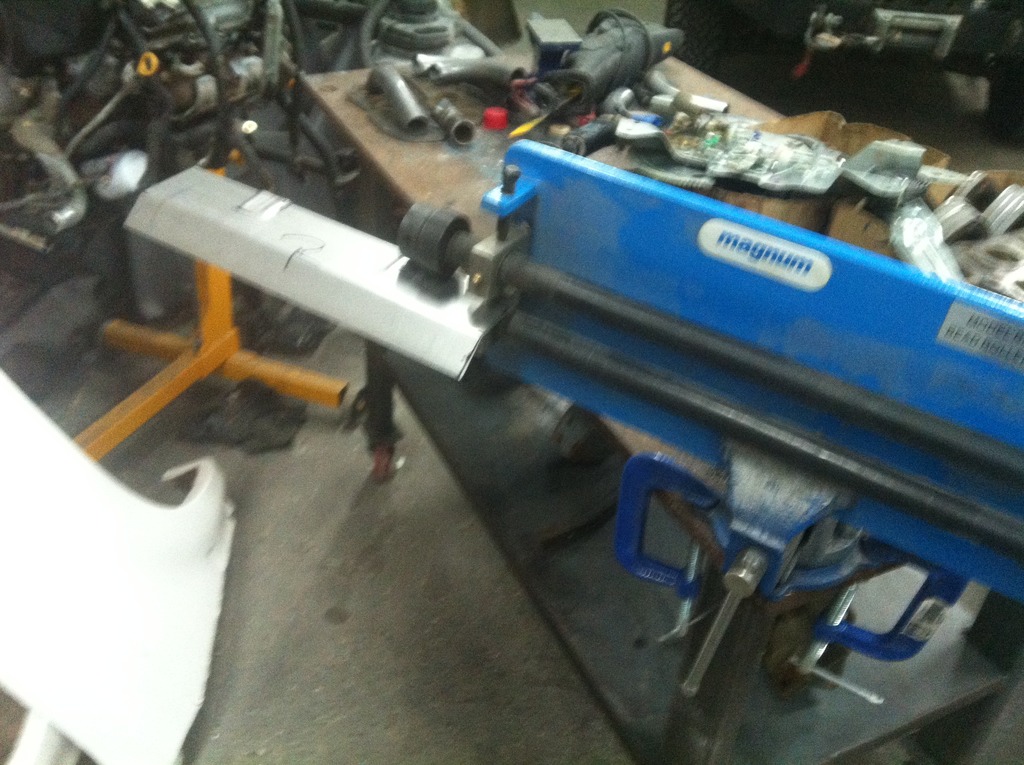
Then with the mini bender , you can put an edge on it .. a piece of 2X4 it counter edge will work as well
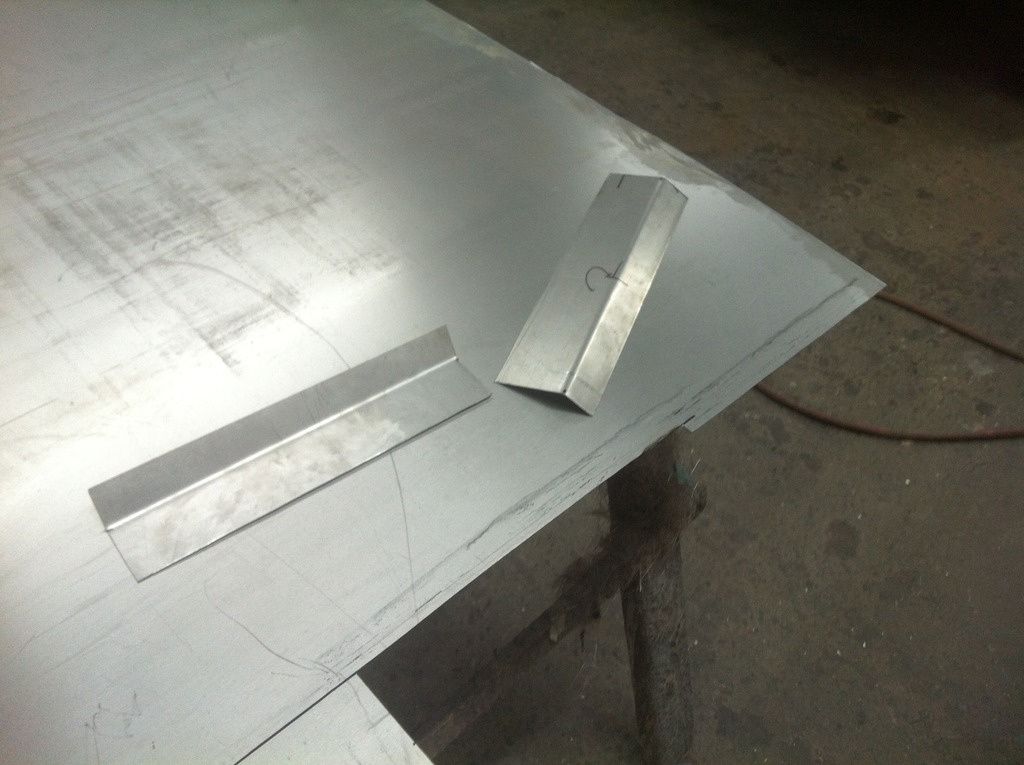
and although no one will ever see it , I used my bead roller to put the factory type "dimples" in the metal
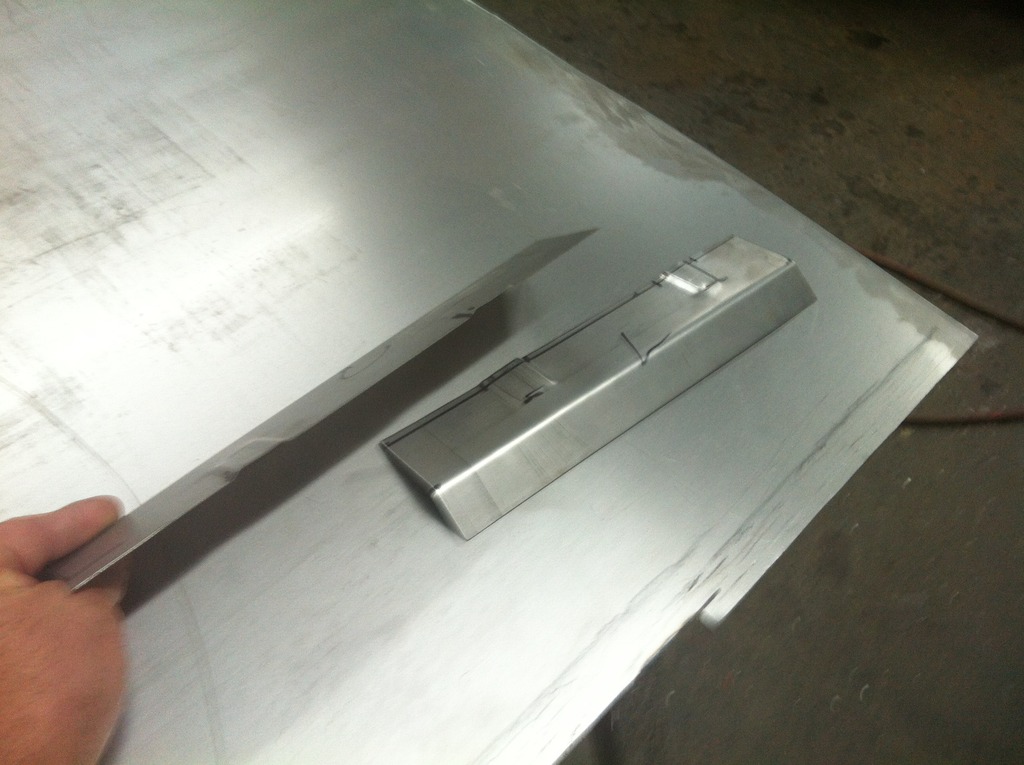
and now , I can take these pieces , and use them as my template for cutting the rust out
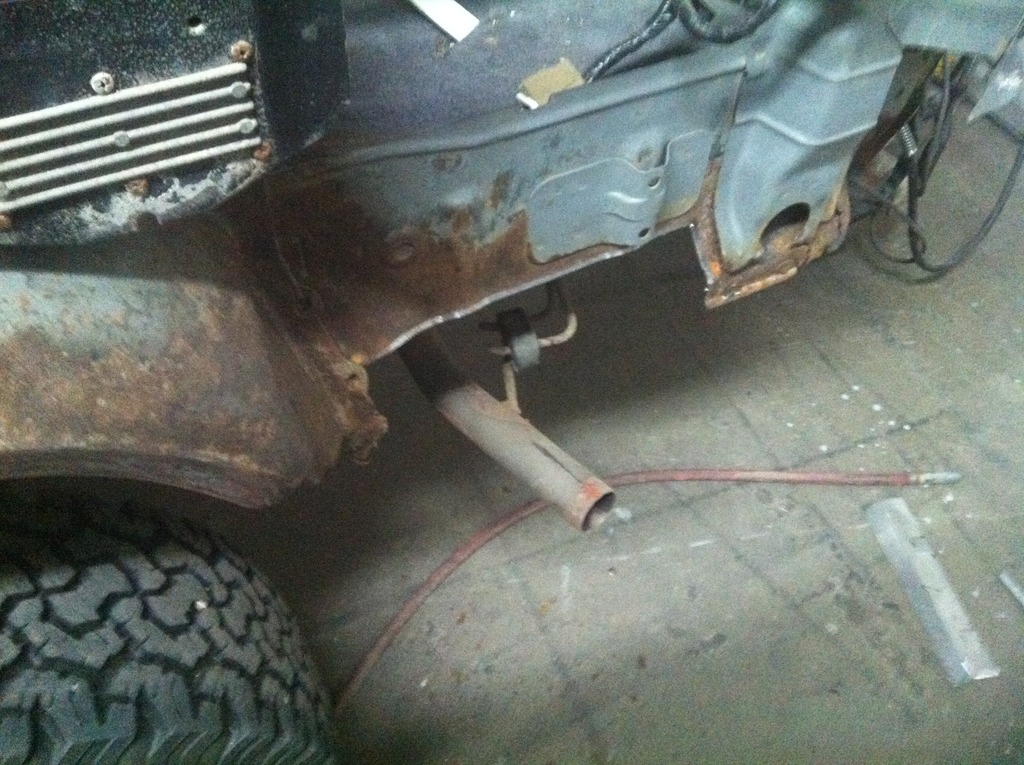
and now tacked in place I can now prep for the POR15 treatment
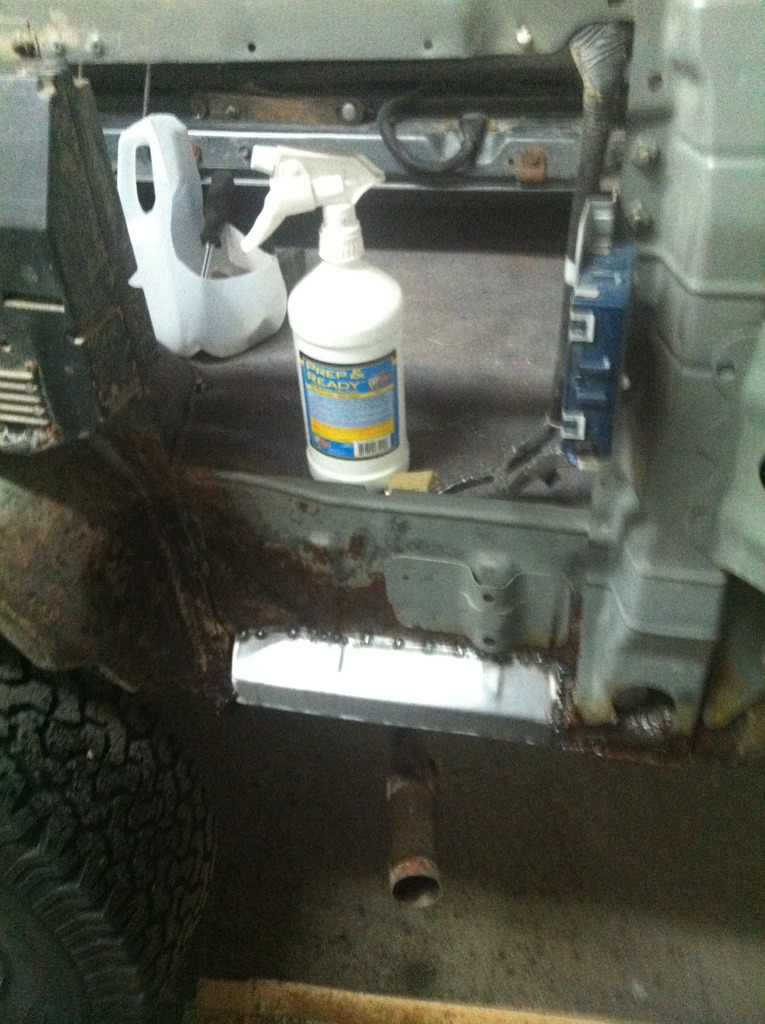
POR15 done .. to cure overnight
also .. got the "glue tabs " done to cure overnight as well
.
first I took a couple of measurements of the piece I would need to cut out . then got my sheet metal , drew the lines , and cut it out .. jig saw works great for these small pieces .
Then with the mini bender , you can put an edge on it .. a piece of 2X4 it counter edge will work as well
and although no one will ever see it , I used my bead roller to put the factory type "dimples" in the metal
and now , I can take these pieces , and use them as my template for cutting the rust out
and now tacked in place I can now prep for the POR15 treatment
POR15 done .. to cure overnight
also .. got the "glue tabs " done to cure overnight as well
.
04-06-2015, 05:32 PM
#10
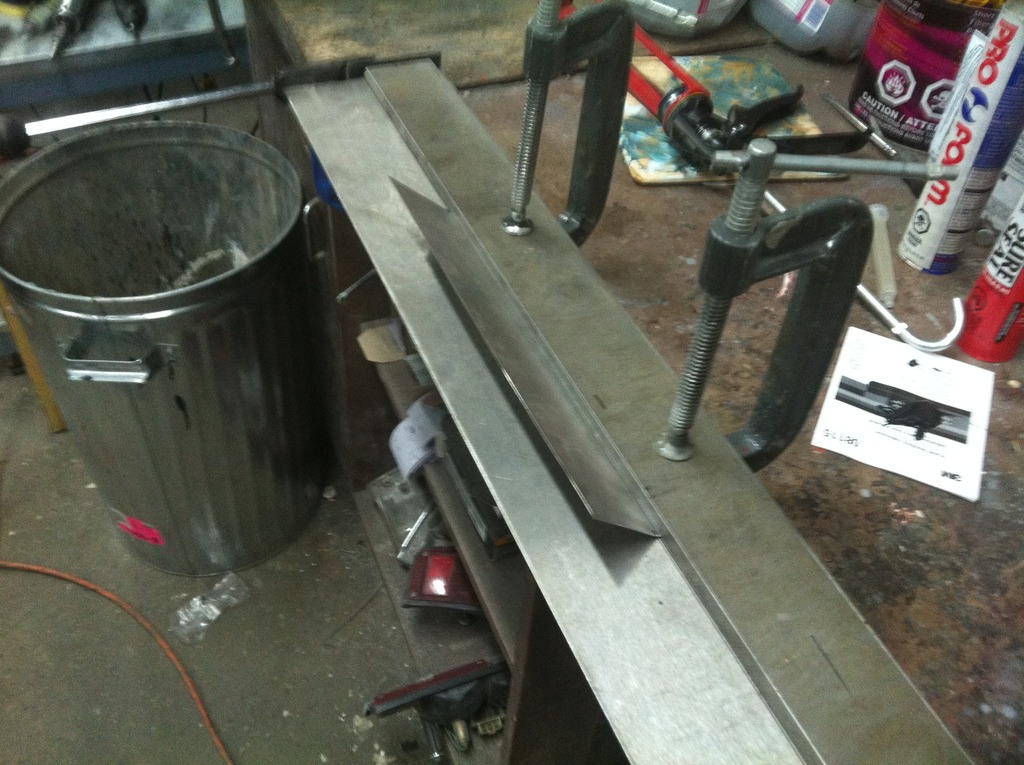
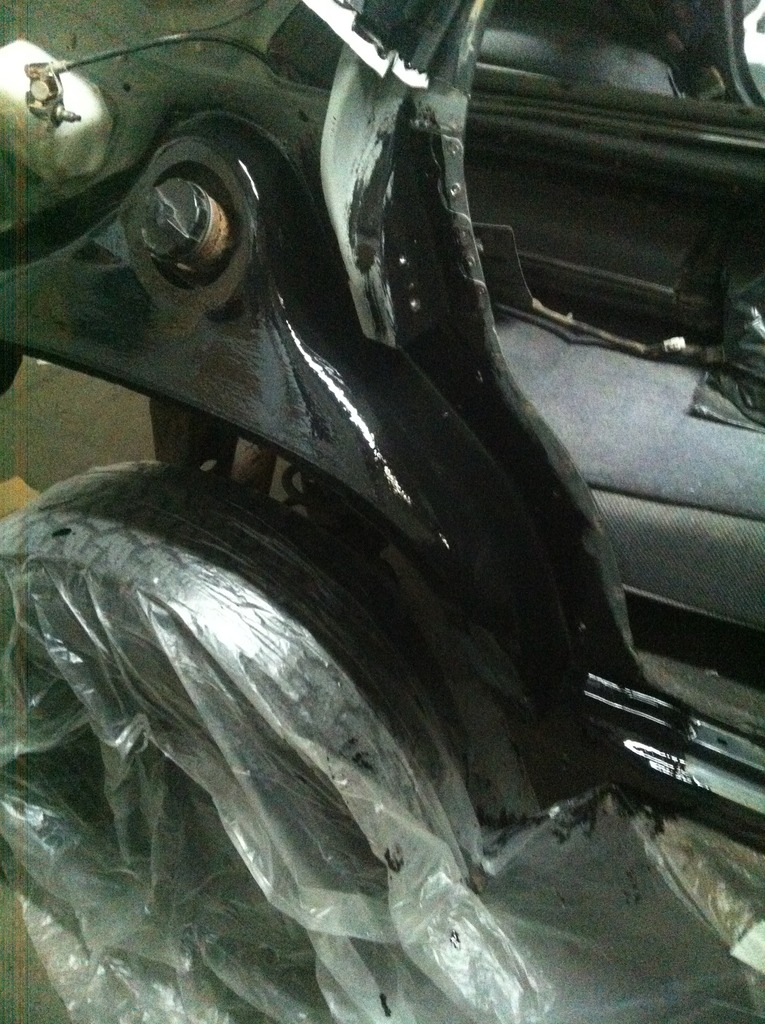
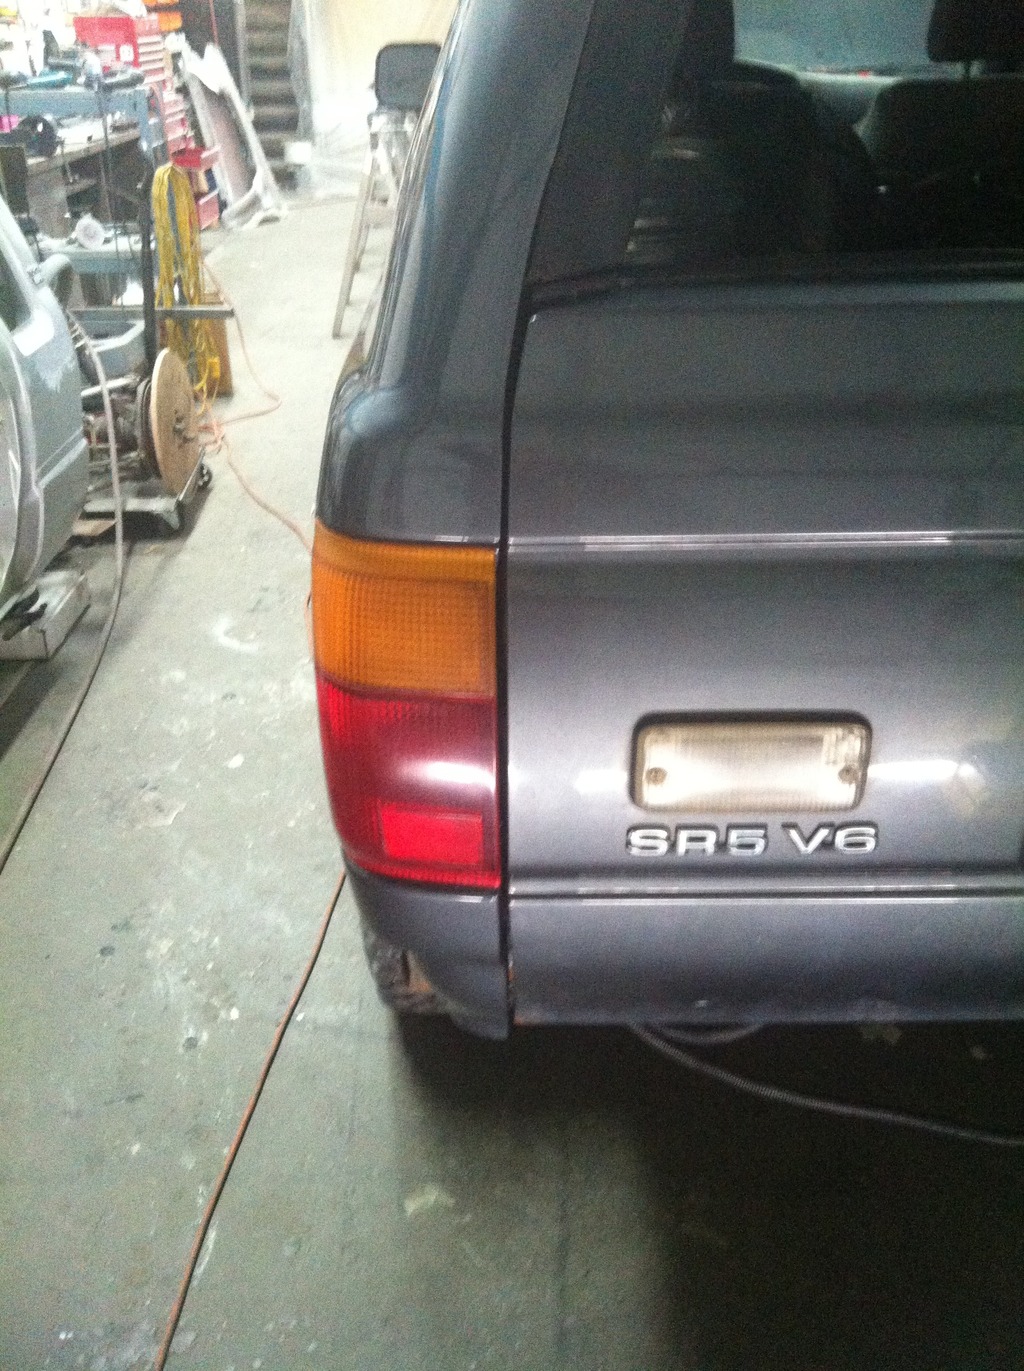
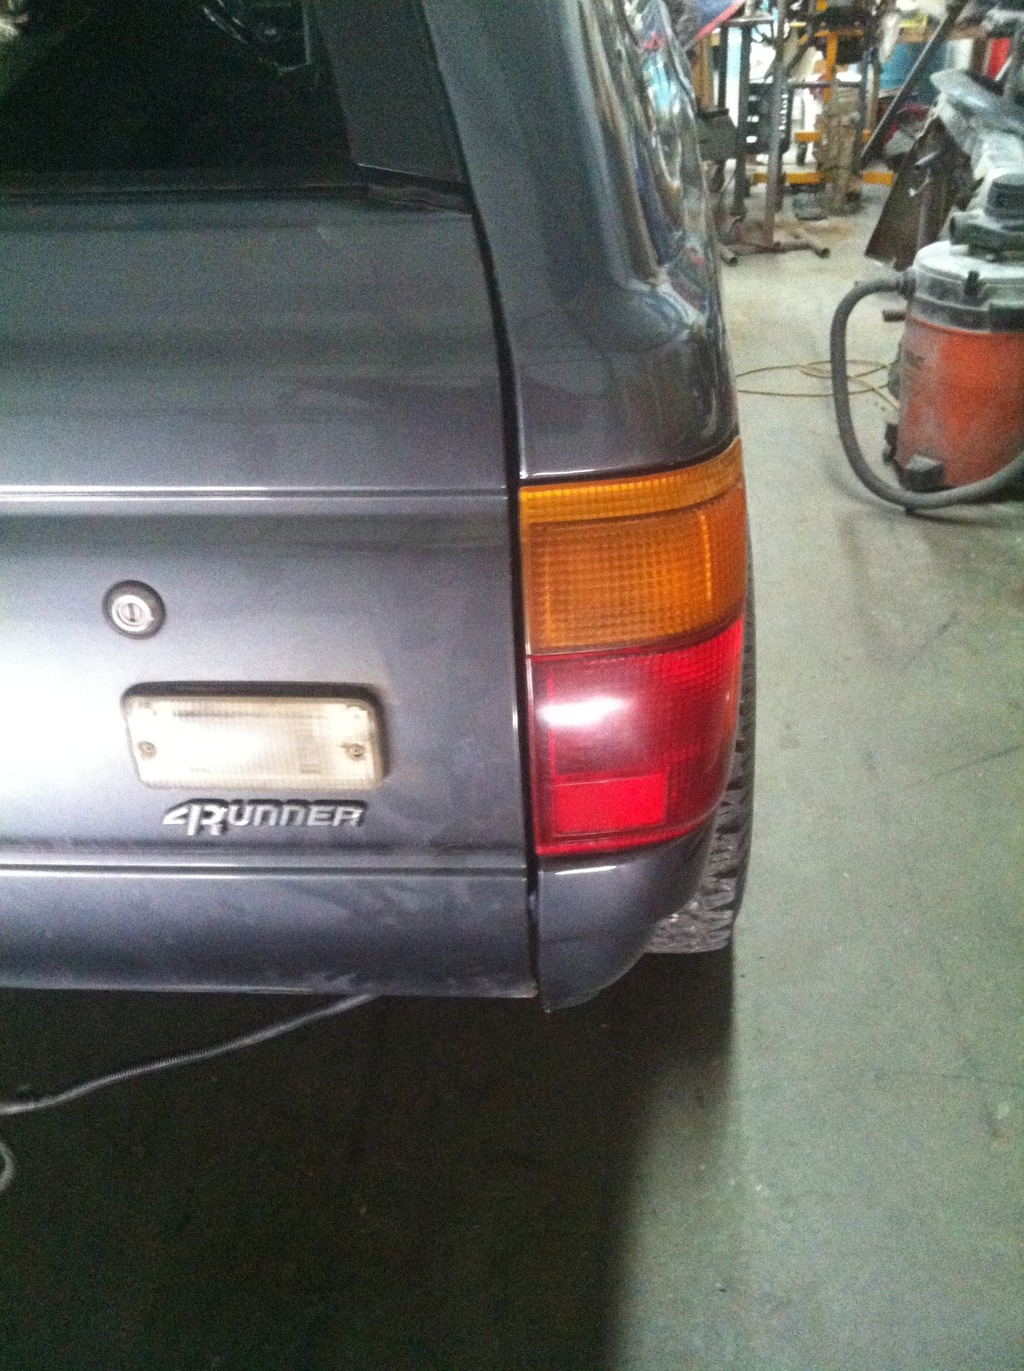
so with the long weekend over , and everything cured , time to make the sides permanent .
We use in our shop , and recommend 3M panel bonder #08115 . not cheep , but in my opinion , it is the best + it is the only product that offers a lifetime warrantee
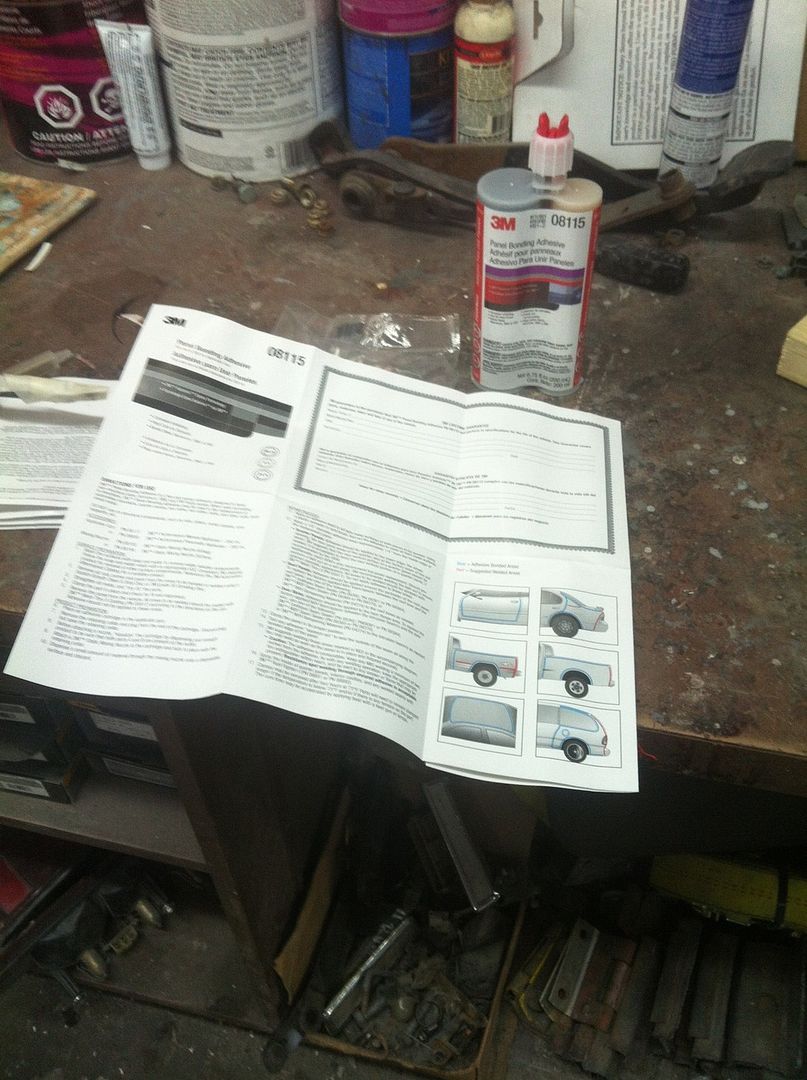
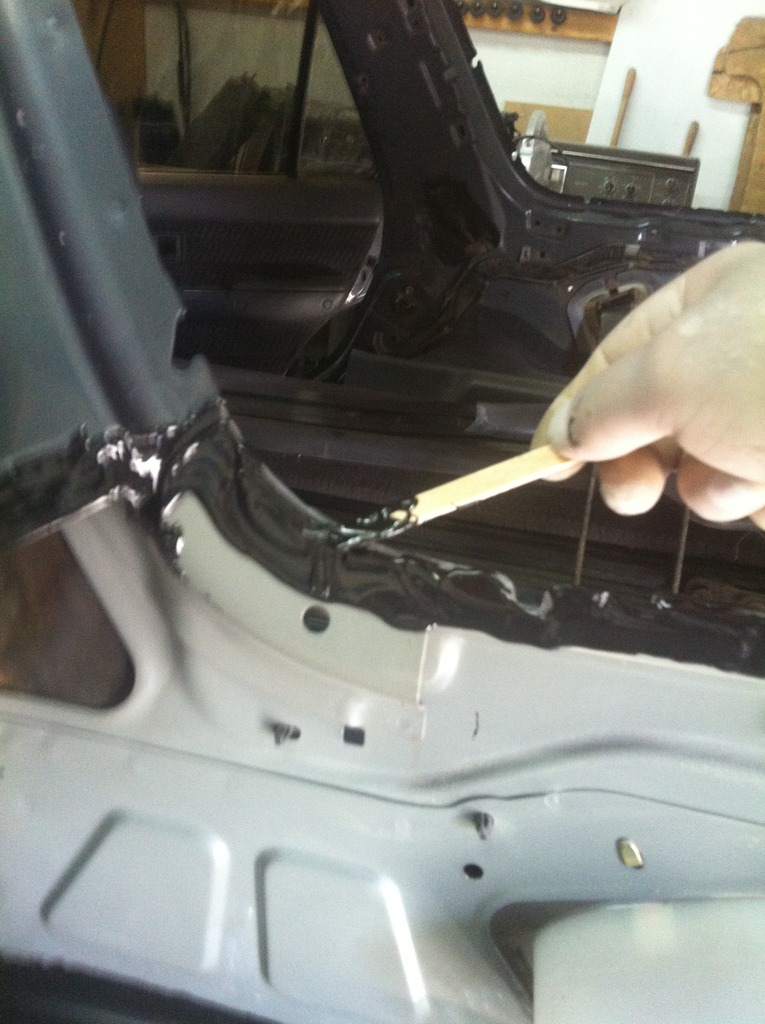
be very liberal with it .. I use a popsicle stick to spread it out , and make sure I cover all bare metal
installed and clamped
.
We use in our shop , and recommend 3M panel bonder #08115 . not cheep , but in my opinion , it is the best + it is the only product that offers a lifetime warrantee
be very liberal with it .. I use a popsicle stick to spread it out , and make sure I cover all bare metal
installed and clamped
.
 04-22-2015, 04:54 PM
#17
Thanks Dave ... I'm doing door skins as well as new hatch skin , + a rear plate bumper W/swing tire carrier next year . he also went away with some of my front fenders he is going to install himself , so I think next year we are doing the complete paint
.
.
Last edited by slacker; 04-22-2015 at 04:55 PM.

Thread
Thread Starter
Forum
Replies
Last Post
Flying91
86-95 Trucks & 4Runners (Build-Up Section)
45
04-11-2024 04:39 PM
FS[PacNorWest]: 1987 Toyota 4Runner $1800 Whidbey Island, WA
coreyedwards7611
Vehicles - Trailers (Complete)
4
01-16-2016 06:38 PM
BeMiceElf
Misc Stuff (Vehicle Related)
7
10-10-2015 09:40 PM


