toyotafiberglass - Mojave tribute build


 05-25-2015, 10:04 AM
#82

Looks like it came from California! Haha
05-27-2015, 06:58 AM
#85
Registered User

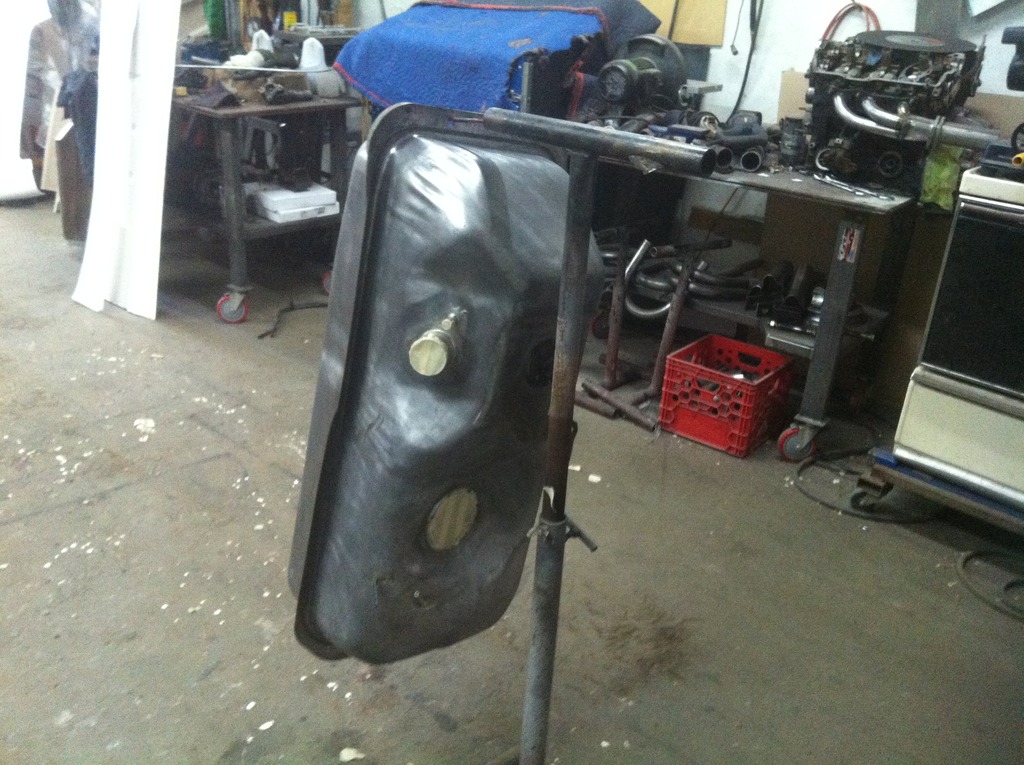
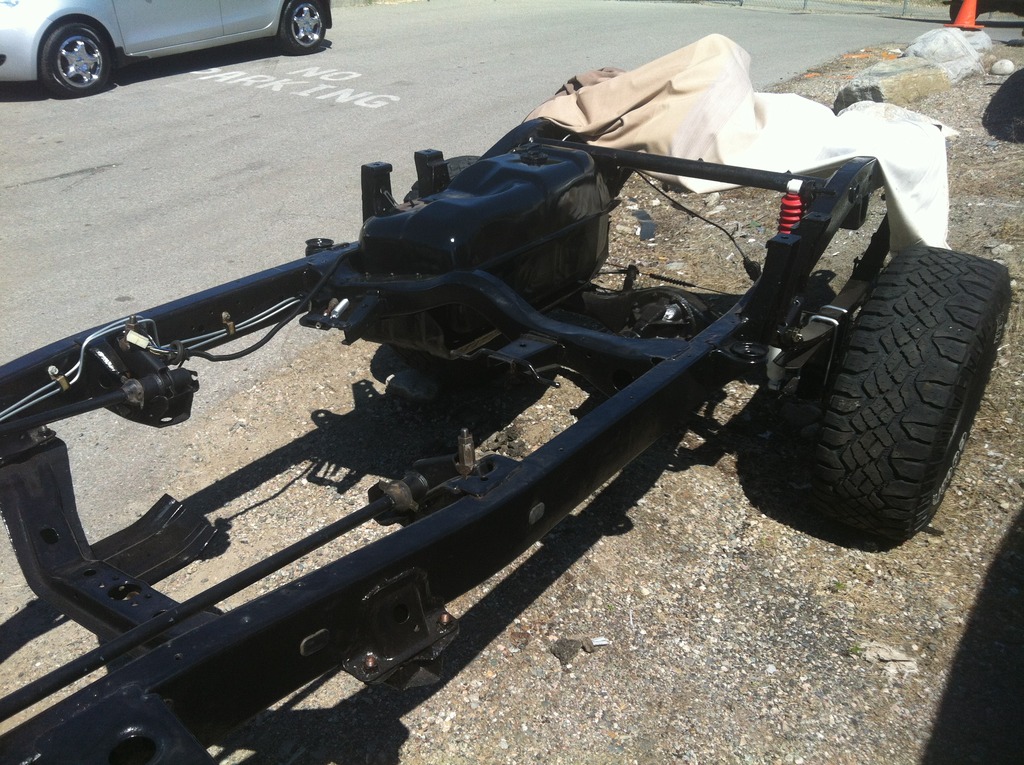
Im thinking about stripping my down. Since rush is all over it. I'll have to do that within the two months since Im out. Need to take the bed off and cab. May just spray paint everything from there. If I can find a Solid Axle and transfer case that will work Ill make this a solid axle
06-11-2015, 05:41 PM
#86
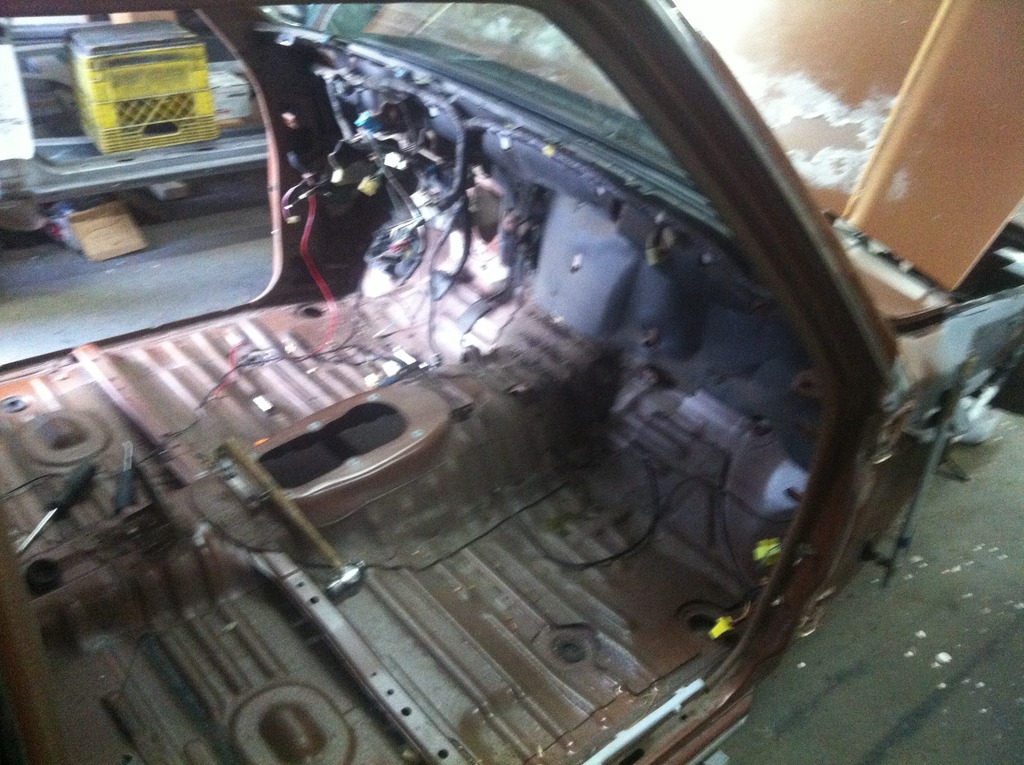
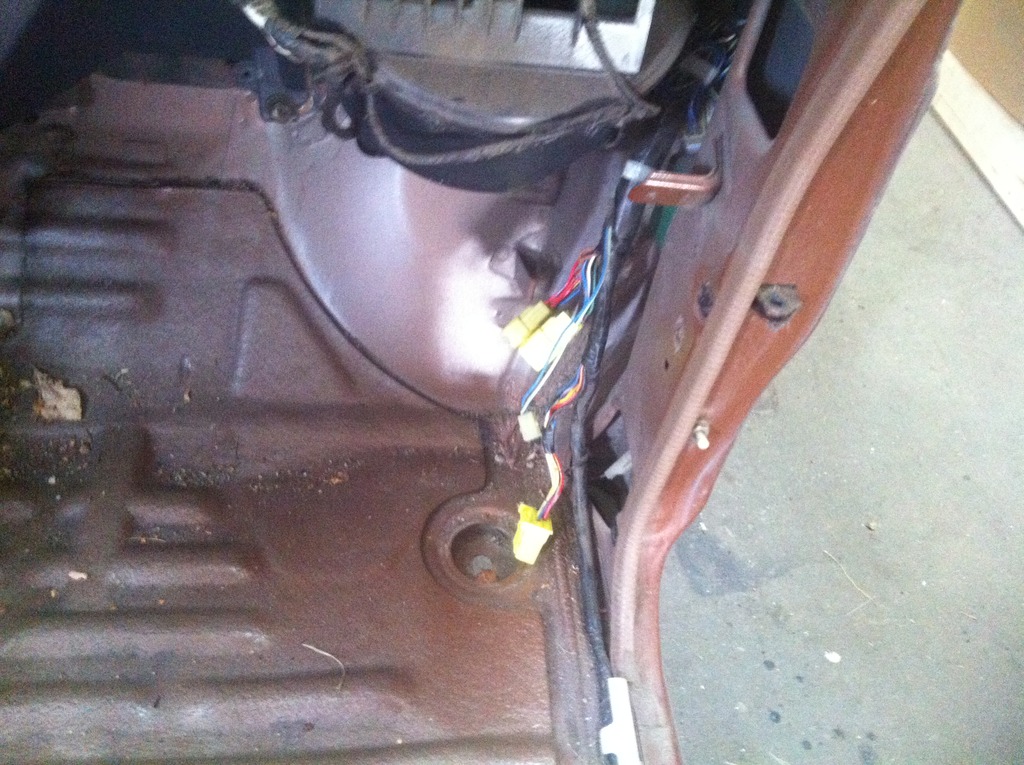
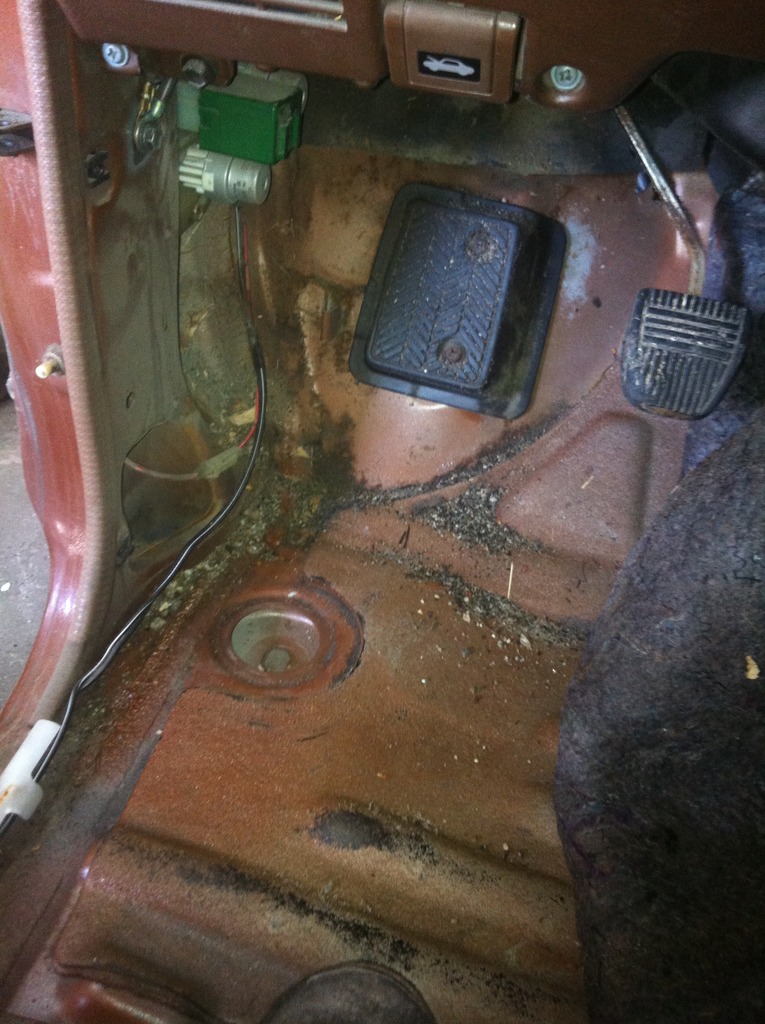
thanks guys ..
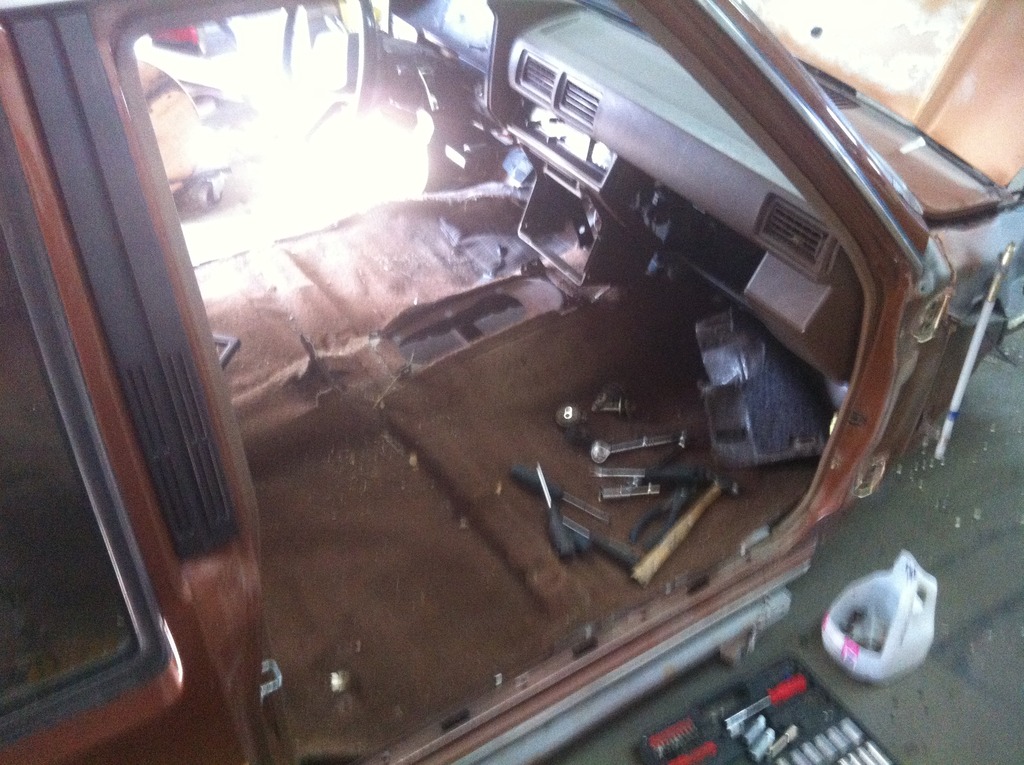
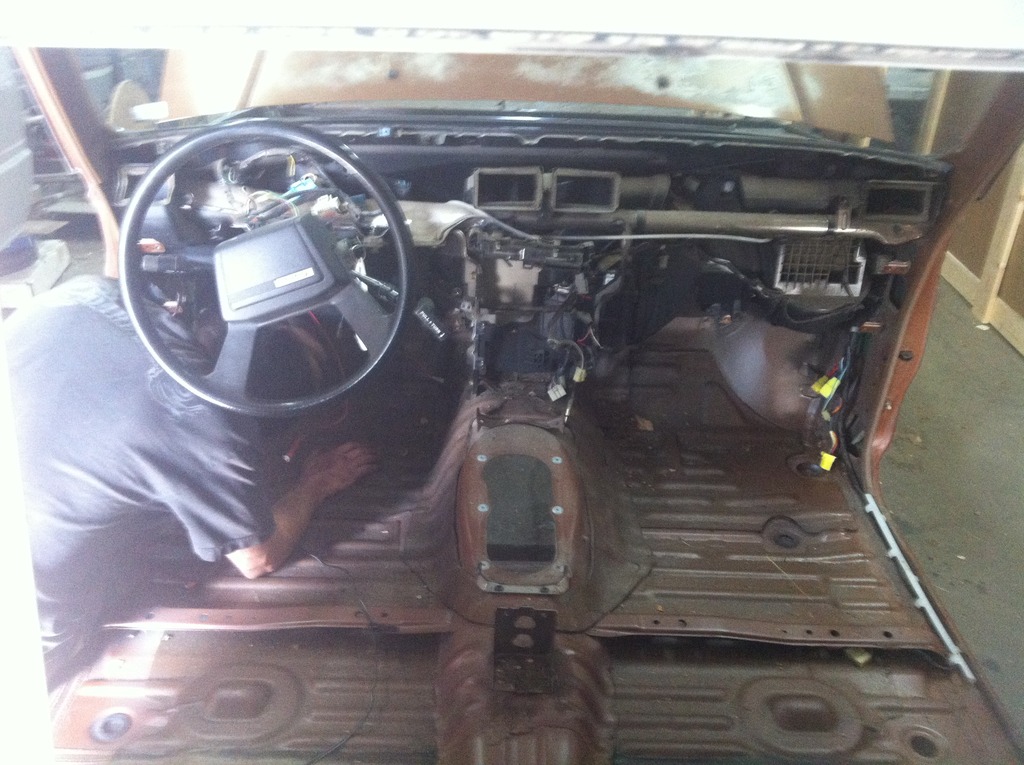
got the OE harness stripped of the "non essentials " (22re engine related)
I need to get the supra power seats wired , as well as the power windows and other accessories embedded into the main harness ..
pics to come
.
got the OE harness stripped of the "non essentials " (22re engine related)
I need to get the supra power seats wired , as well as the power windows and other accessories embedded into the main harness ..
pics to come
.
06-12-2015, 05:42 AM
#87
Super Moderator
Staff
iTrader: (1)
Join Date: Aug 2008
Location: Anderson Missouri
Posts: 11,788
Likes: 0
Received 21 Likes
on
19 Posts
What year of the Supra that seats that you are installing coming out of? You got me intrested in that and can you post some wiring of them when you do that? Electrical is something that make me nervous if it is more then hot and ground.
 07-05-2015, 04:43 PM
#90
no show this weekend , so I was able to work on my own junk !
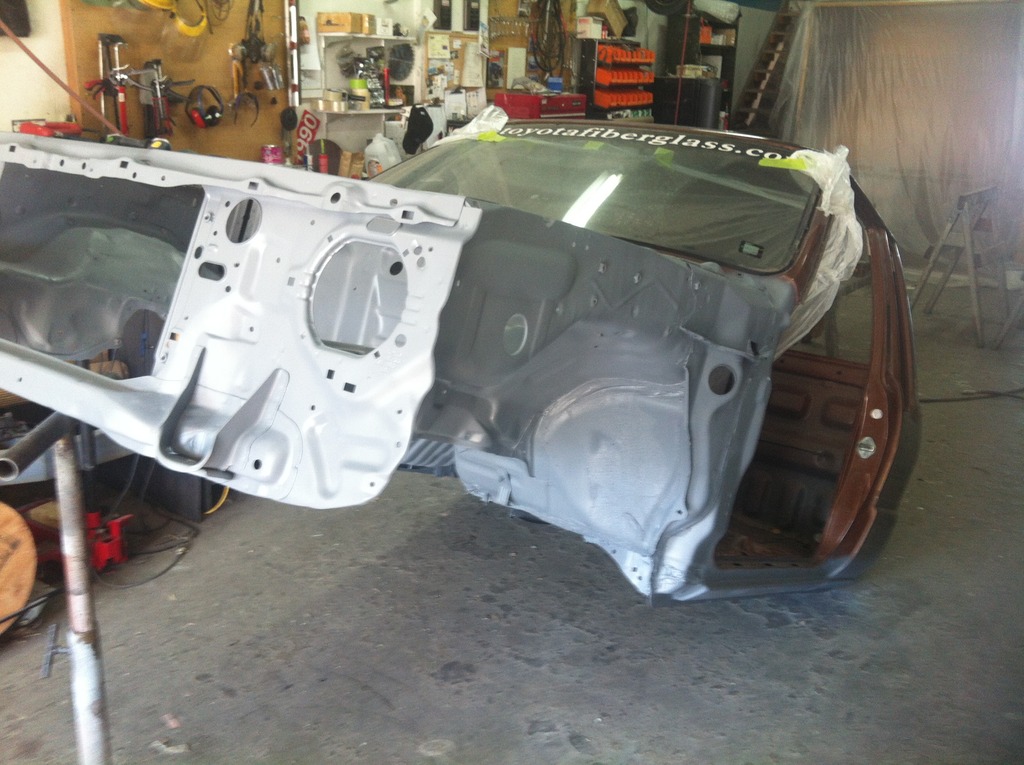
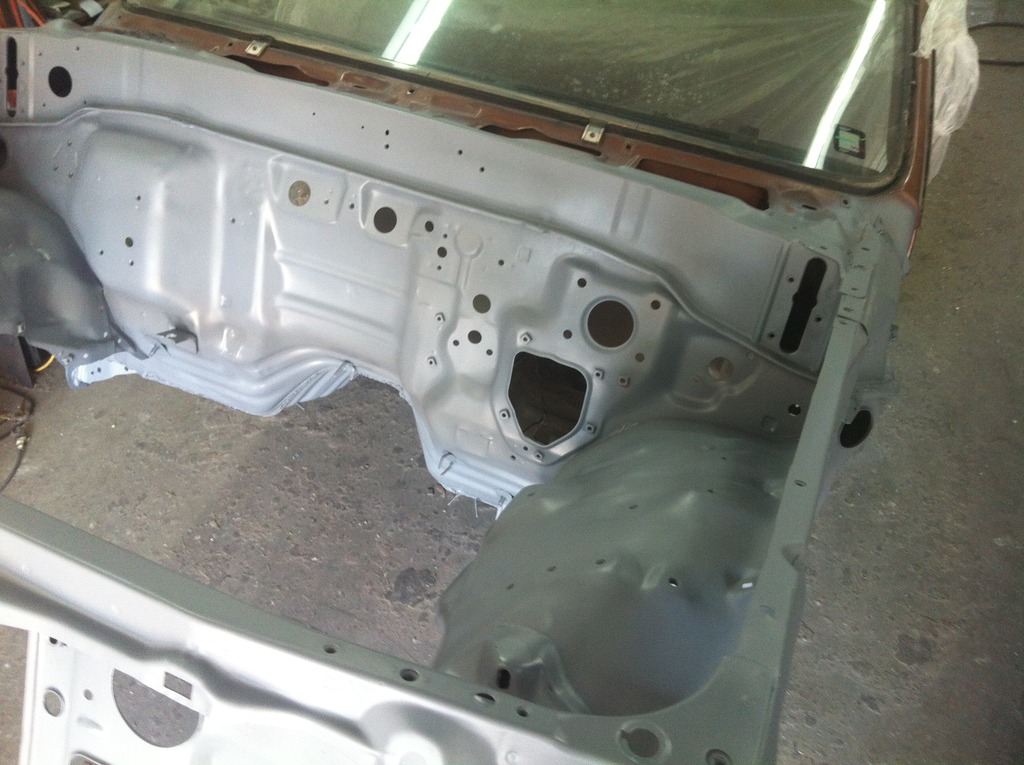
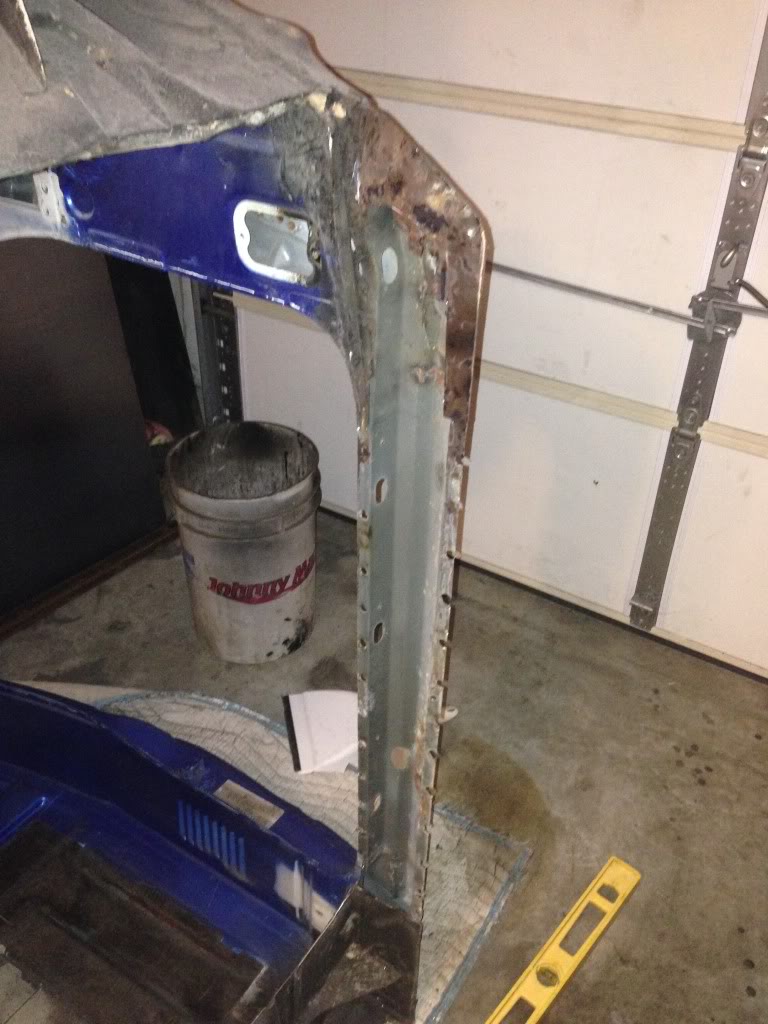
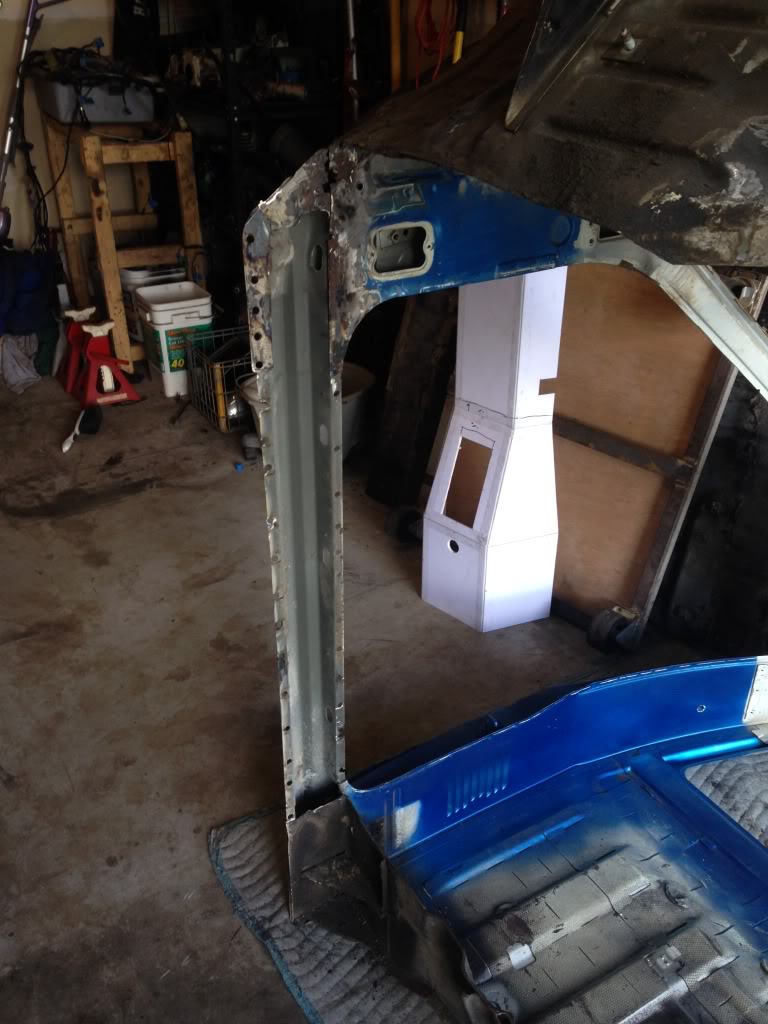
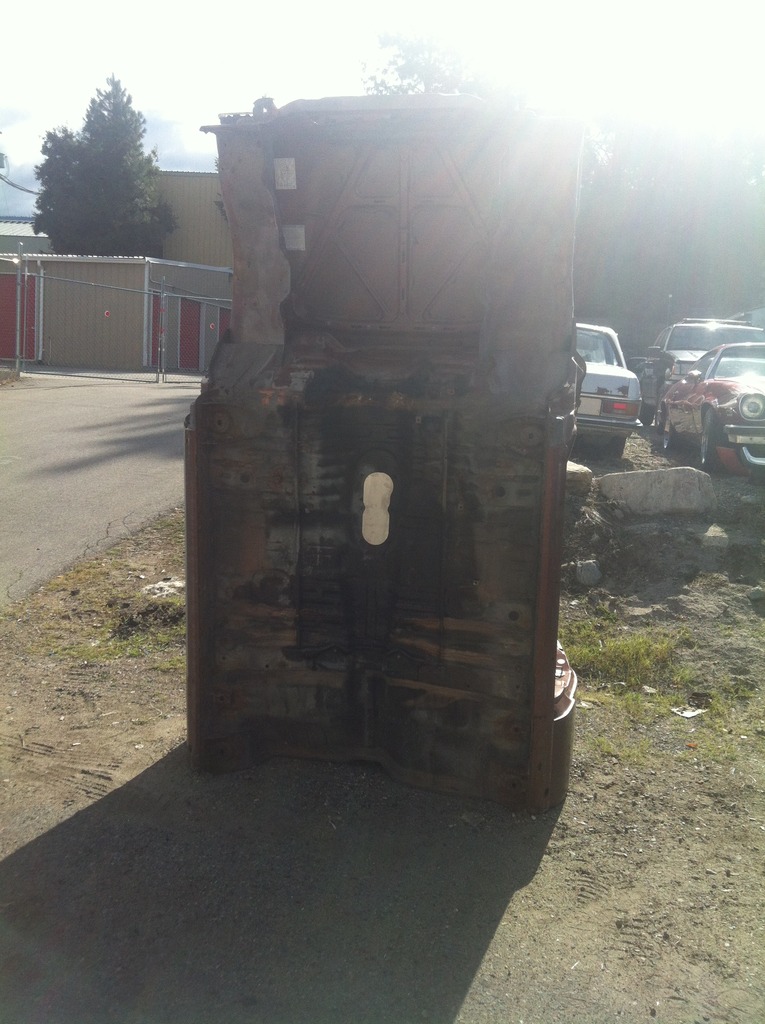
rolled the cab up to the bay doors , and pulled the cowl off . I was planning on using my "smoothie cowl" anyway , but again , I'm sold on this product and need to tell everyone I see .
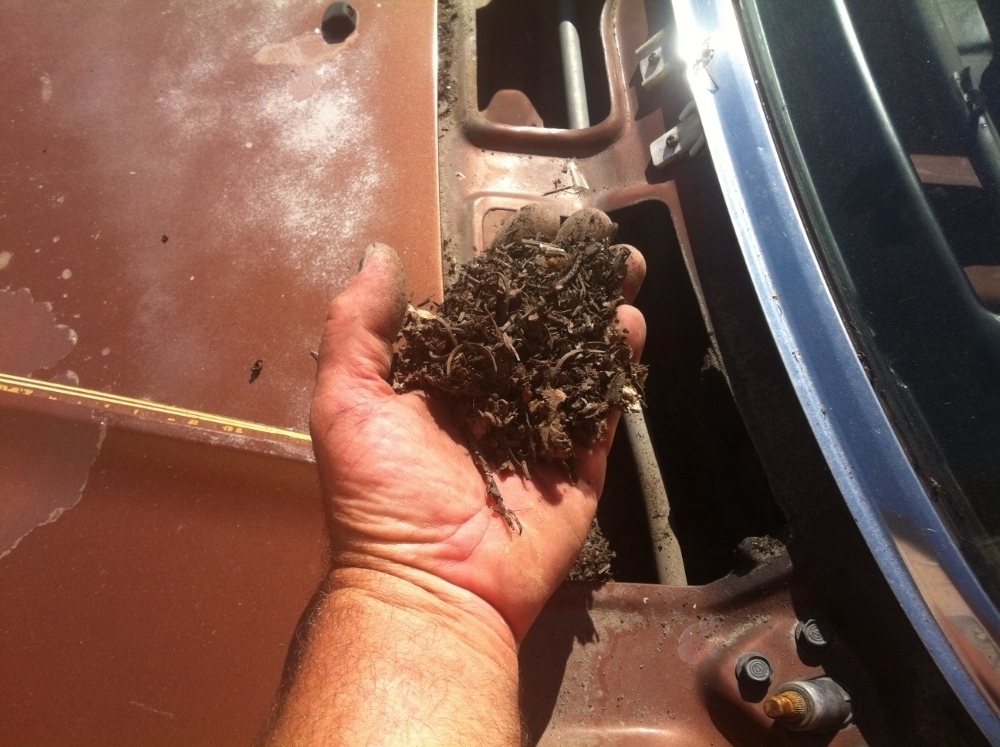
I am so glad I did this now , we haven't seen much rain here in a long time , but just imagine that getting wet and staying wet for any length of time . I have always said this is a bad area for rust , and this just kind of solidifies what I have been preaching ...
also got the original batter trey out .. it was starting to rust anyway , so good riddance
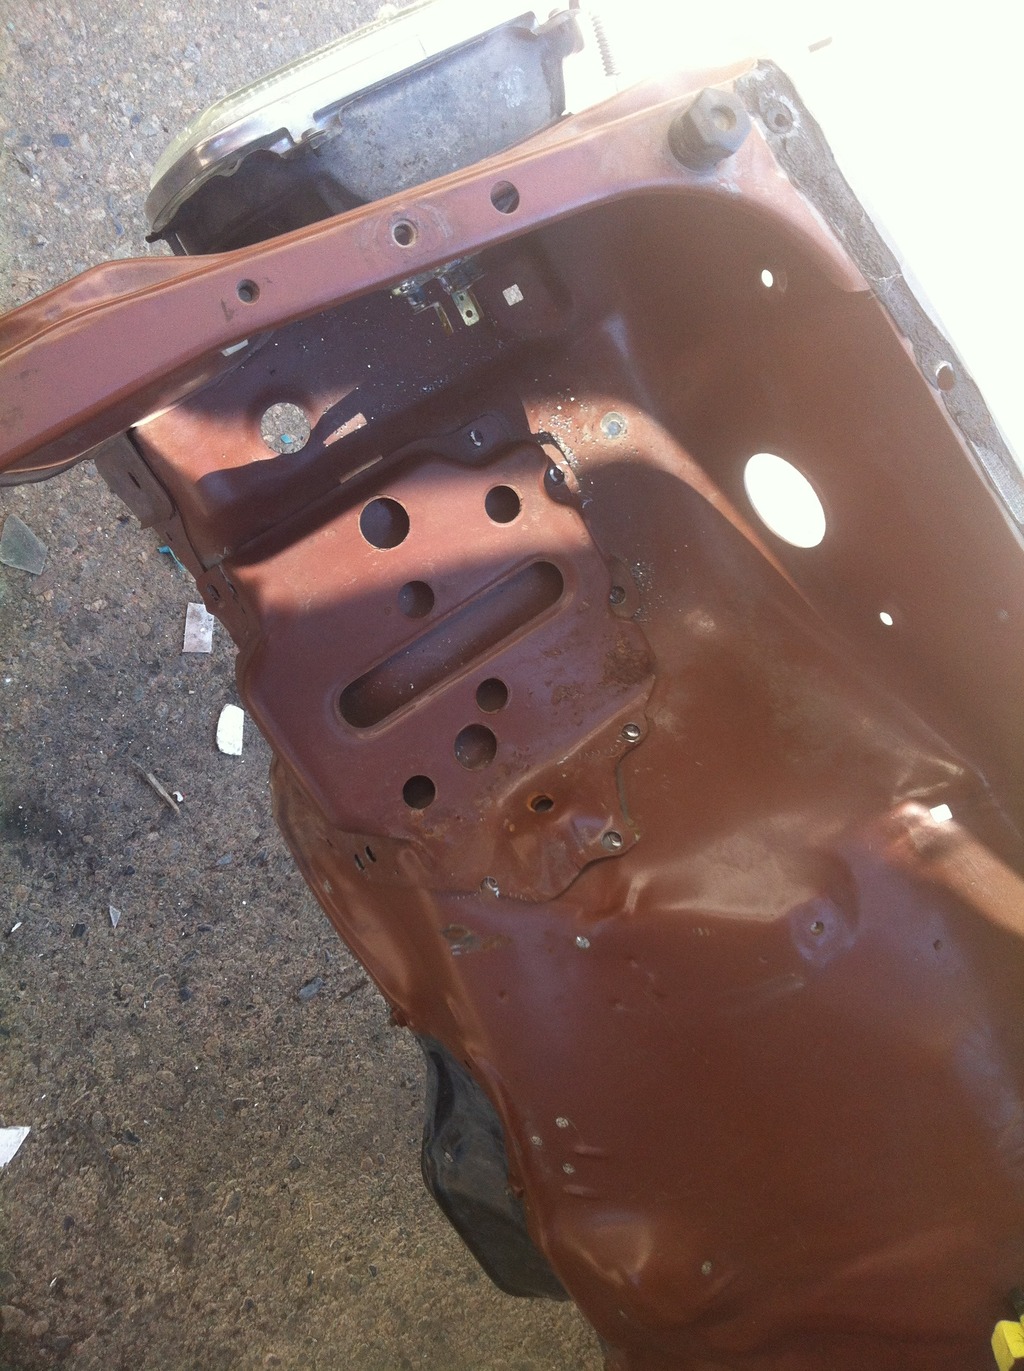
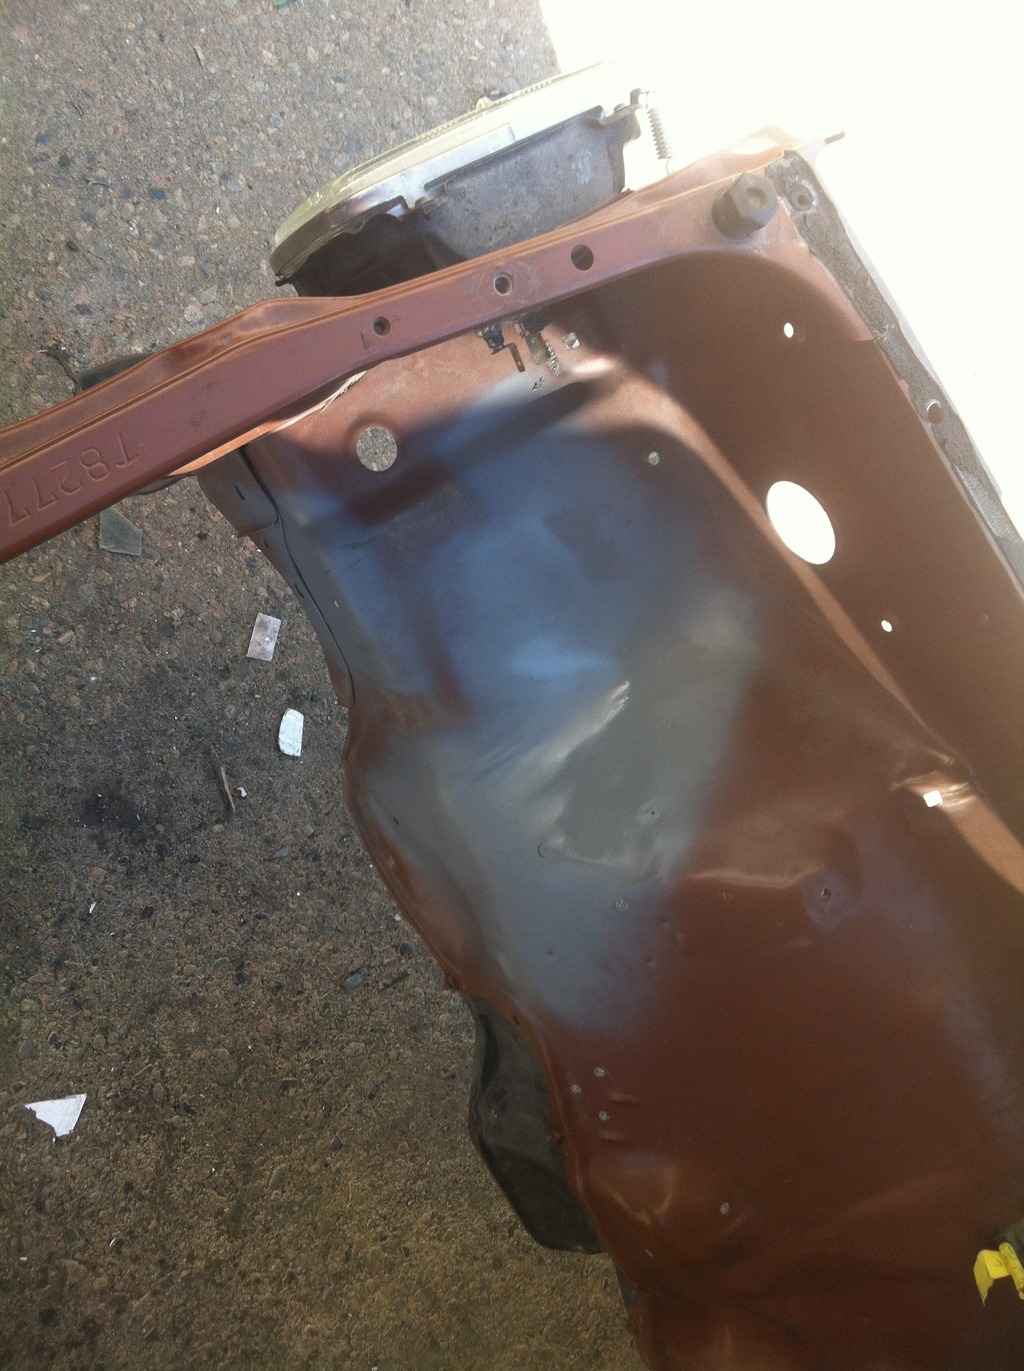
and new trey "glued " on the drivers side
.
rolled the cab up to the bay doors , and pulled the cowl off . I was planning on using my "smoothie cowl" anyway , but again , I'm sold on this product and need to tell everyone I see .
I am so glad I did this now , we haven't seen much rain here in a long time , but just imagine that getting wet and staying wet for any length of time . I have always said this is a bad area for rust , and this just kind of solidifies what I have been preaching ...
also got the original batter trey out .. it was starting to rust anyway , so good riddance
and new trey "glued " on the drivers side
.
Last edited by slacker; 07-05-2015 at 04:49 PM.
07-05-2015, 05:24 PM
#91
Super Moderator
Staff
iTrader: (1)
Join Date: Aug 2008
Location: Anderson Missouri
Posts: 11,788
Likes: 0
Received 21 Likes
on
19 Posts
I try to mention the smoothie cowl for preventing that as well and show what all gets in the cowl area. You maybe aware of the AC problem but here is a link https://www.yotatech.com/forums/f116...trucks-286766/ that may help you if you are not sure about it.
07-05-2015, 05:45 PM
#92
I try to mention the smoothie cowl for preventing that as well and show what all gets in the cowl area. You maybe aware of the AC problem but here is a link https://www.yotatech.com/forums/f116...trucks-286766/ that may help you if you are not sure about it.
yep .. I have read your post Terry ... and yes , the cowl is a direct air flow medium for the heater .. seems like the smoothie is a no brainer .. right ?
.
07-05-2015, 11:58 PM
#93
Wait dumb question, is the HVAC controls not affected when the cowl is closed up?
07-06-2015, 07:12 AM
#95
I have to put a plug in here for Corey on the smoothie cowl... I stole his smoothie cowl idea that he did on his Trekker for my '83 Pickup and I have ABSOLUTELY no regrets!! The Pre-84 trucks are a little more difficult to do than the 84+ trucks, but it really is a rather simple modification.
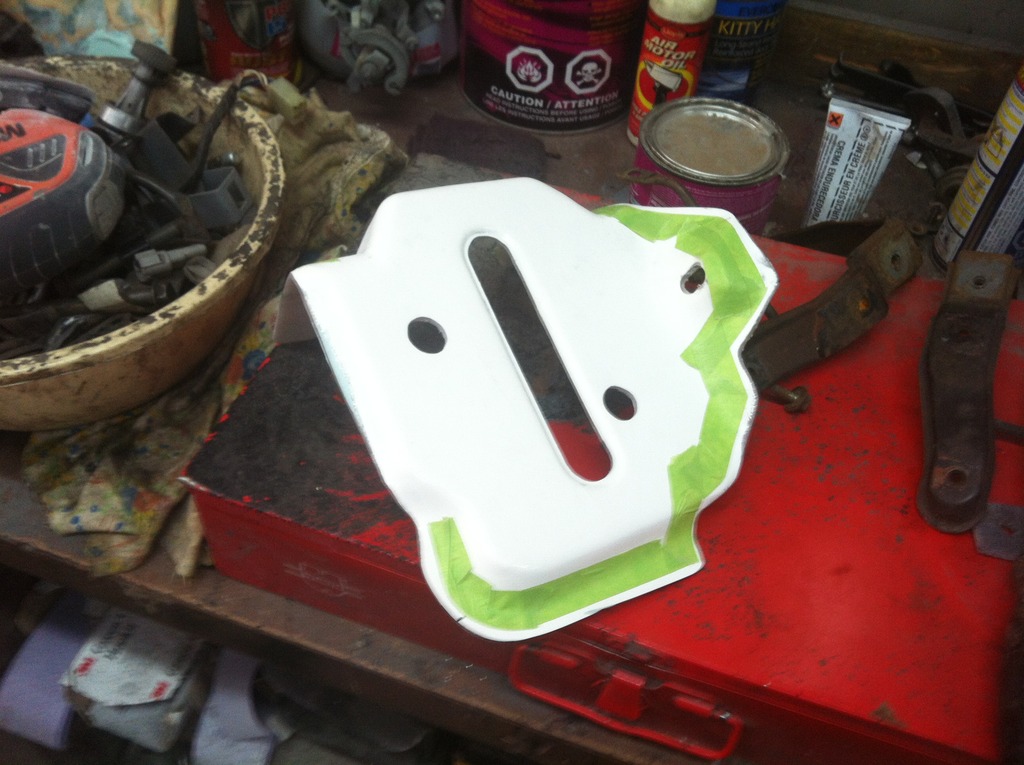
Very simple... Cut patch plates and weld:
Filled & smooth:
And look DAMN GOOD when you're done:

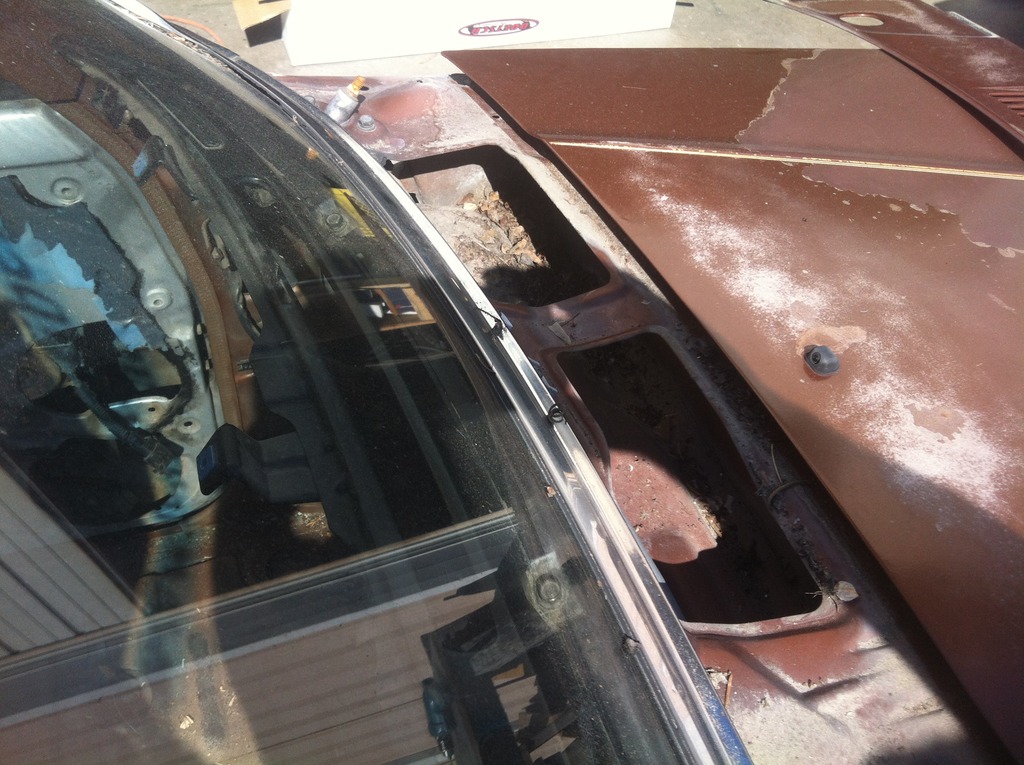
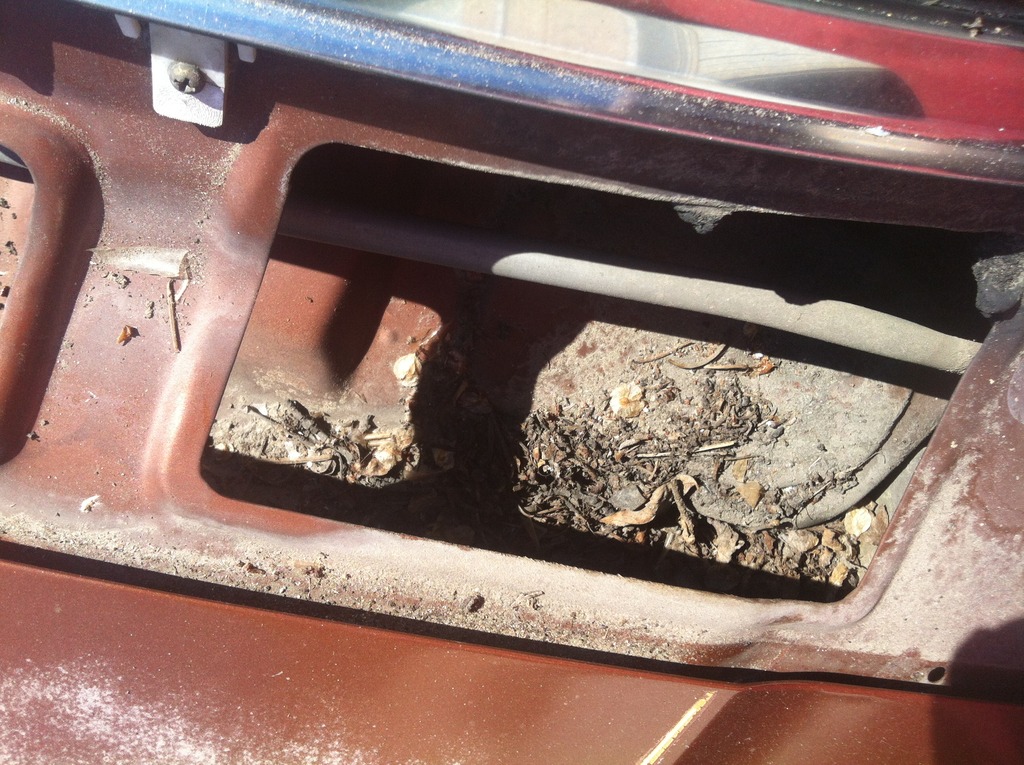
As far as the AC and heater flow issues go, I have absolutely no problems with mine. I'm not as familiar with the 84+ trucks, but with my '83 there are a couple of "drainage" openings that allow for adequate air flow through the cowl. And if even if there wasn't I would MUCH rather prefer reduced airflow on my HVAC than the rust that I had to cut out of my floor and rockers. Just so you all know, here is the damage that is caused by the water draining through the cowl...
Swiss cheese towards the front of the rockers:

Rust between the lap joints of the kick panel, inner rocker and rocker panel:
And rusted out floors and body mounts which all lead to this:
and this:
and this:
Sure, my floors and body mounts look good now, but I sure as hell would have preferred to have not had to do all that work! It took me weeks and a few hundred dollars to get the cancer out of my rockers and floors that could have been prevented had Toyota designed the cowl differently so that water didn't drain down through the fenders and rocker panels.
Bottom line, smoothie cowls are the way to go - got yourself one!
Corey, Sorry for the hijack, but I feel strongly about rust issues (as do you) after having to deal with mine.
Very simple... Cut patch plates and weld:

Filled & smooth:

And look DAMN GOOD when you're done:

As far as the AC and heater flow issues go, I have absolutely no problems with mine. I'm not as familiar with the 84+ trucks, but with my '83 there are a couple of "drainage" openings that allow for adequate air flow through the cowl. And if even if there wasn't I would MUCH rather prefer reduced airflow on my HVAC than the rust that I had to cut out of my floor and rockers. Just so you all know, here is the damage that is caused by the water draining through the cowl...
Swiss cheese towards the front of the rockers:

Rust between the lap joints of the kick panel, inner rocker and rocker panel:


And rusted out floors and body mounts which all lead to this:

and this:

and this:

Sure, my floors and body mounts look good now, but I sure as hell would have preferred to have not had to do all that work! It took me weeks and a few hundred dollars to get the cancer out of my rockers and floors that could have been prevented had Toyota designed the cowl differently so that water didn't drain down through the fenders and rocker panels.
Bottom line, smoothie cowls are the way to go - got yourself one!
Corey, Sorry for the hijack, but I feel strongly about rust issues (as do you) after having to deal with mine.
07-27-2015, 04:47 PM
#97
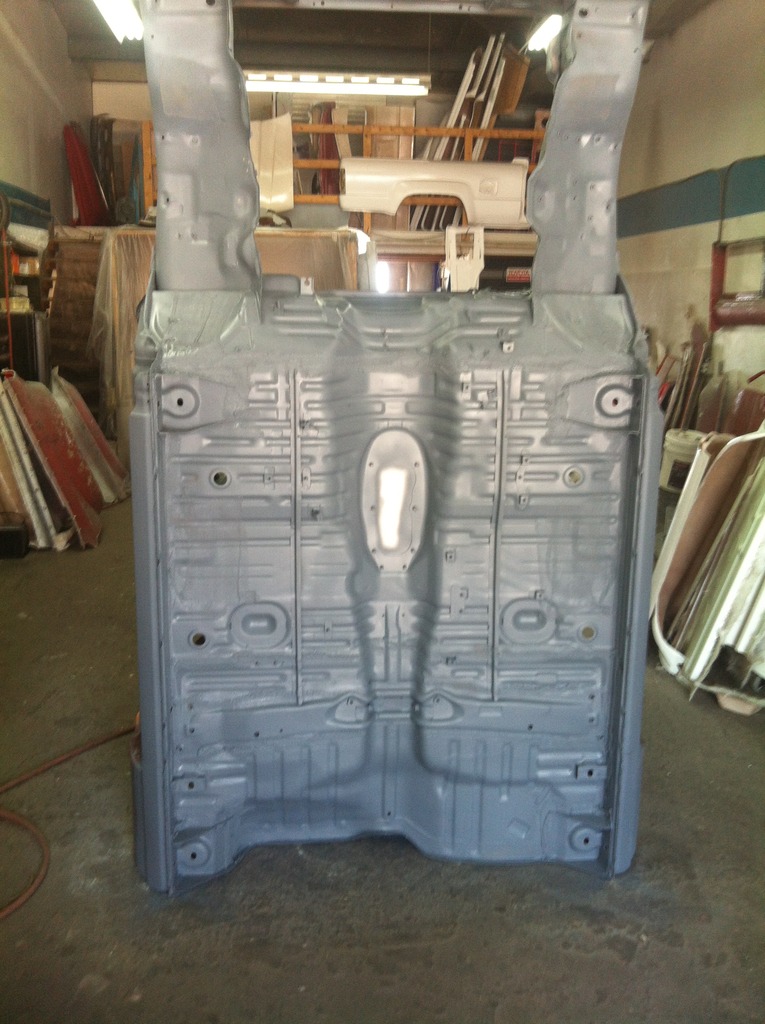
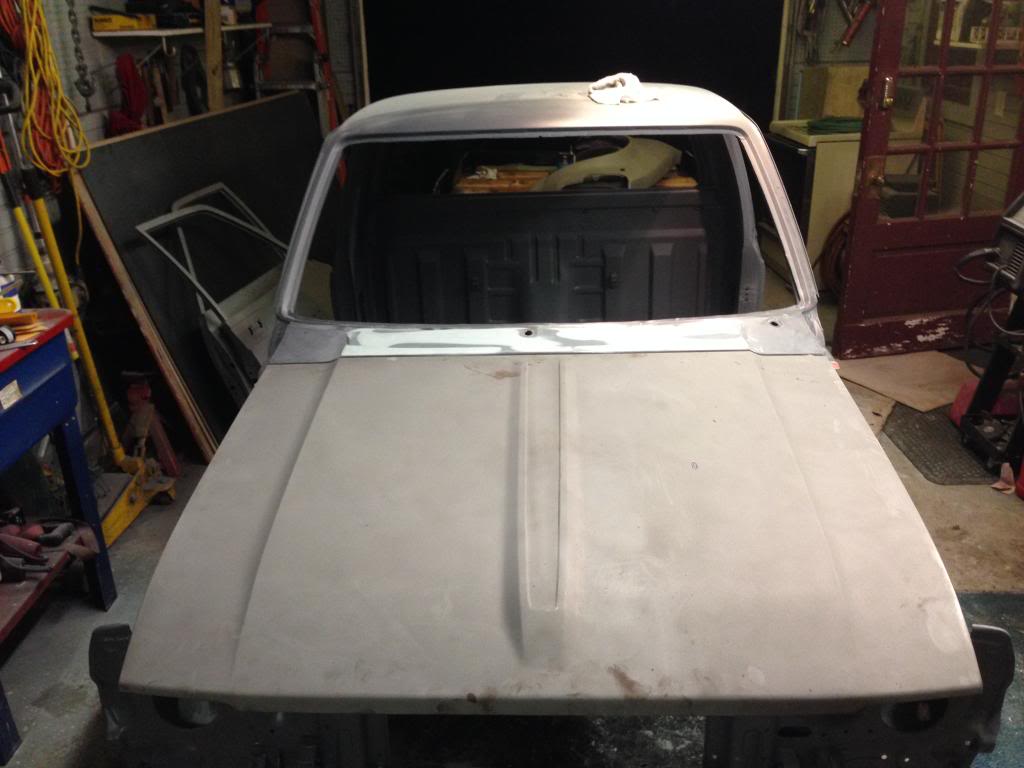
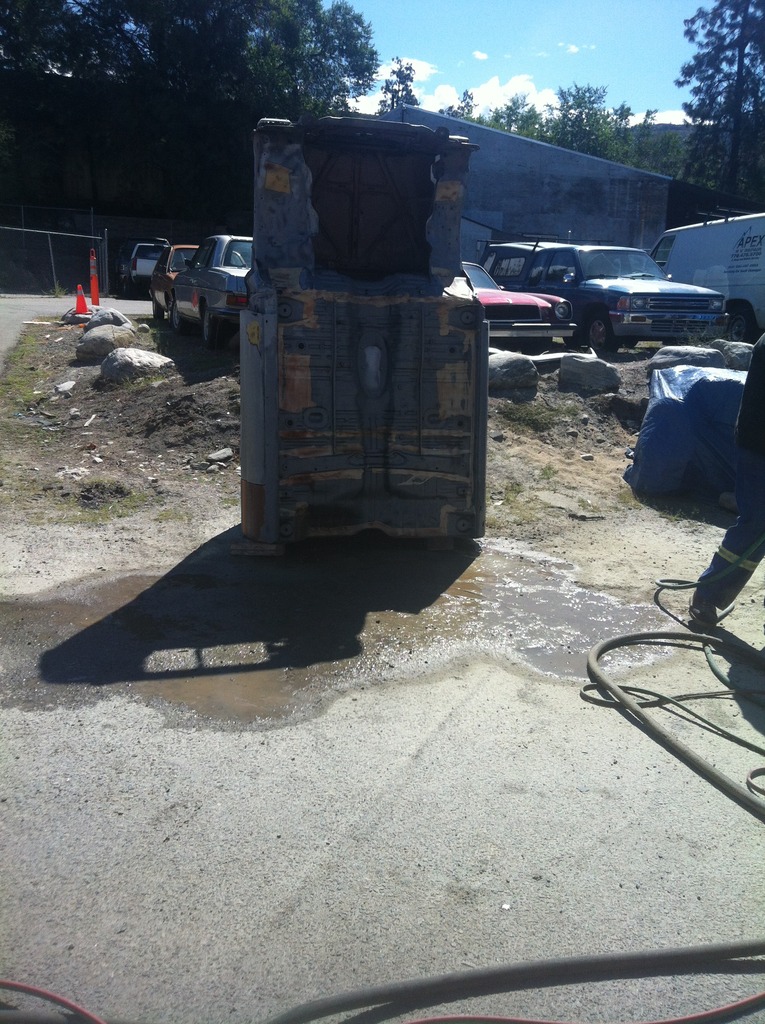
well my friend Troy showed up this morning to blast the underside ..
so got it up on the back side .. and went from there
Before
after
little vid if your interested
[YOUTUBE]
[/YOUTUBE]
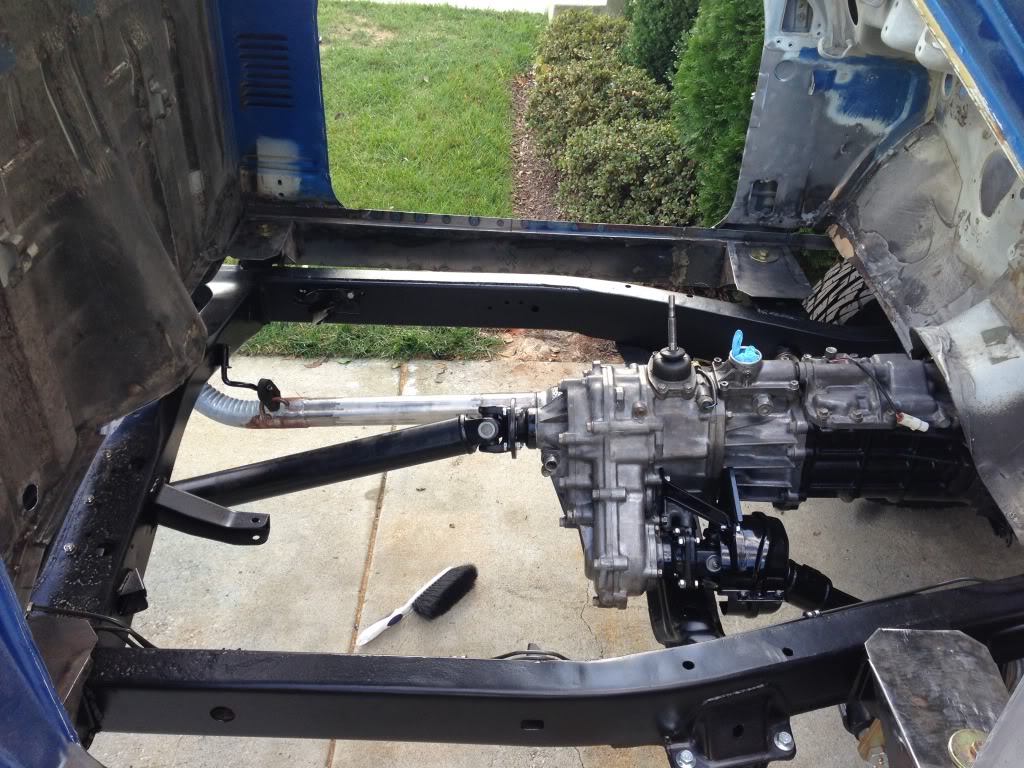
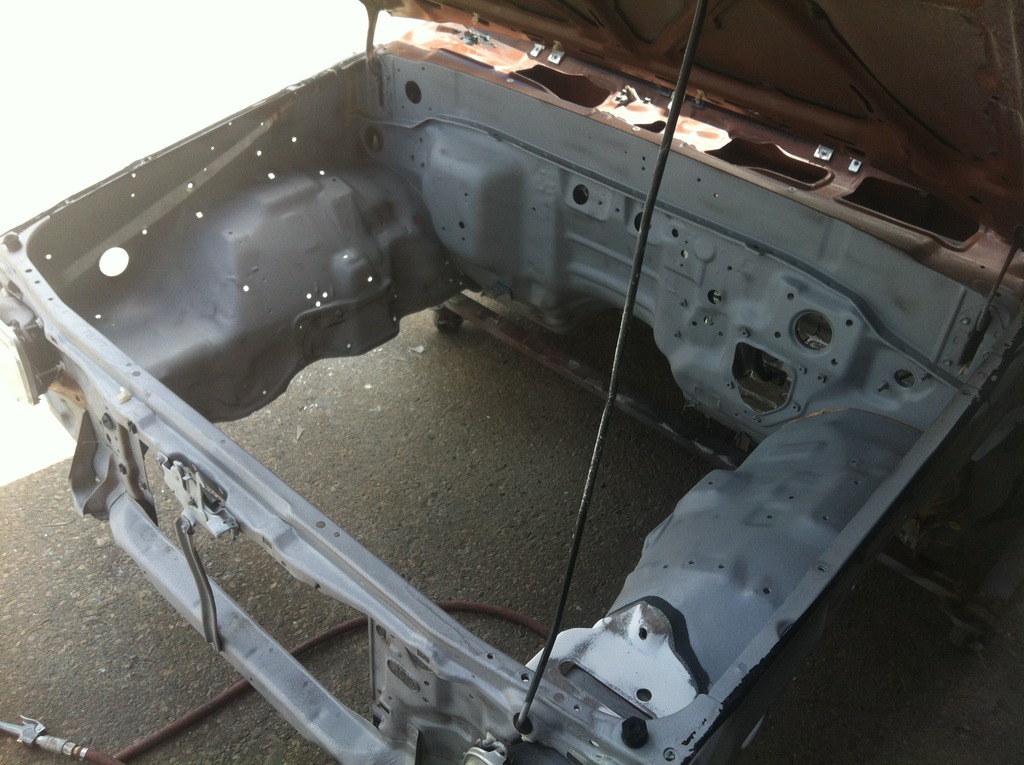
also got the engine bay done , so almost ready for some color
.
so got it up on the back side .. and went from there
Before
after
little vid if your interested
[YOUTUBE]
also got the engine bay done , so almost ready for some color
.
Last edited by slacker; 08-27-2015 at 06:42 PM.
08-06-2015, 04:57 PM
#98
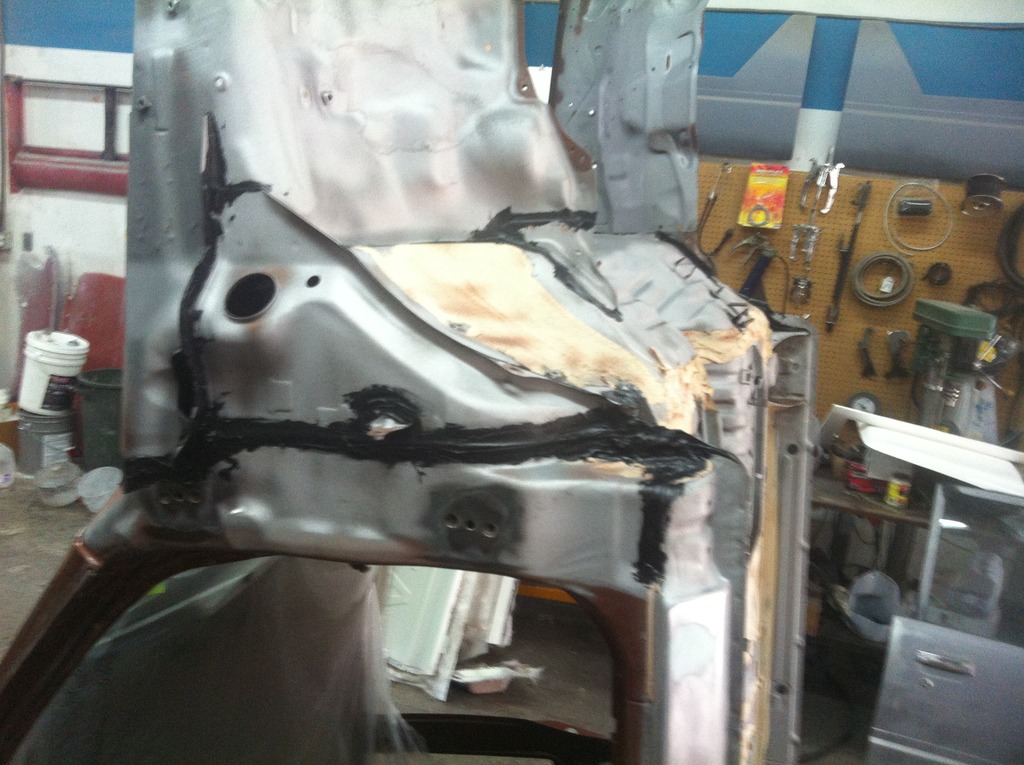
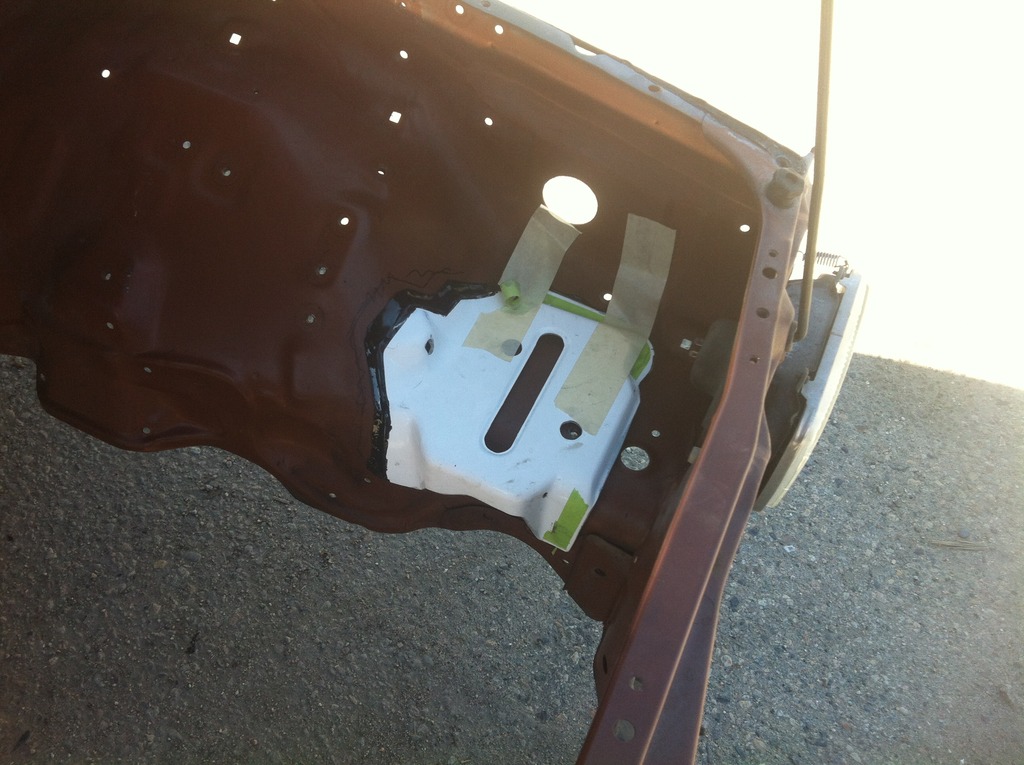
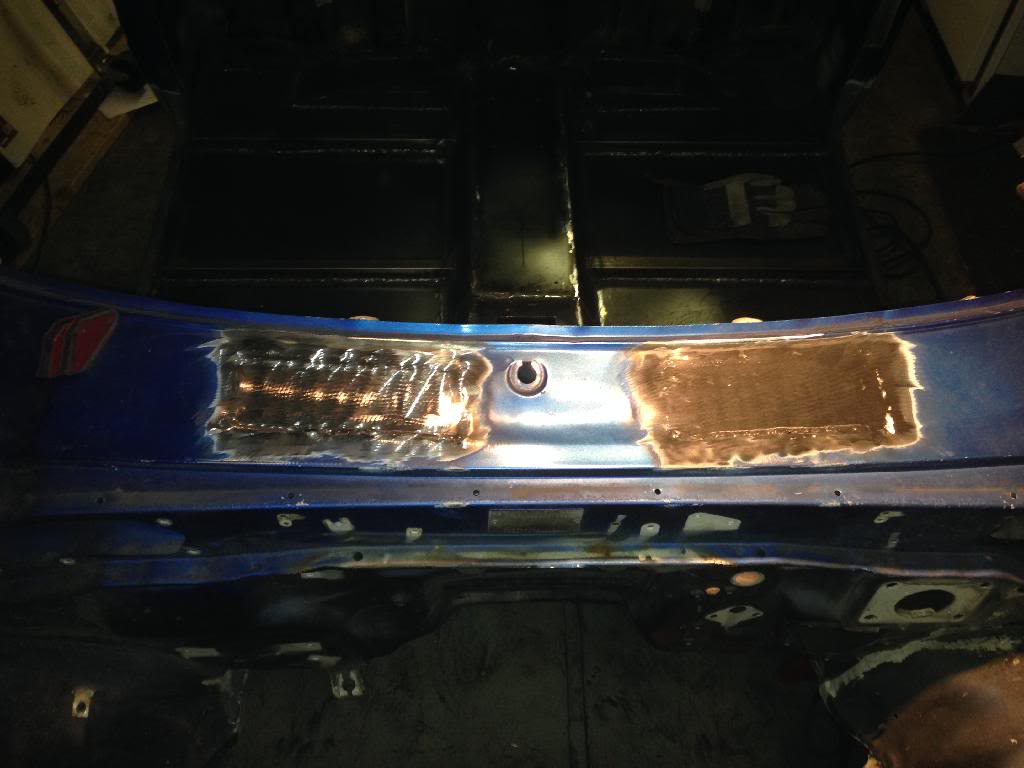
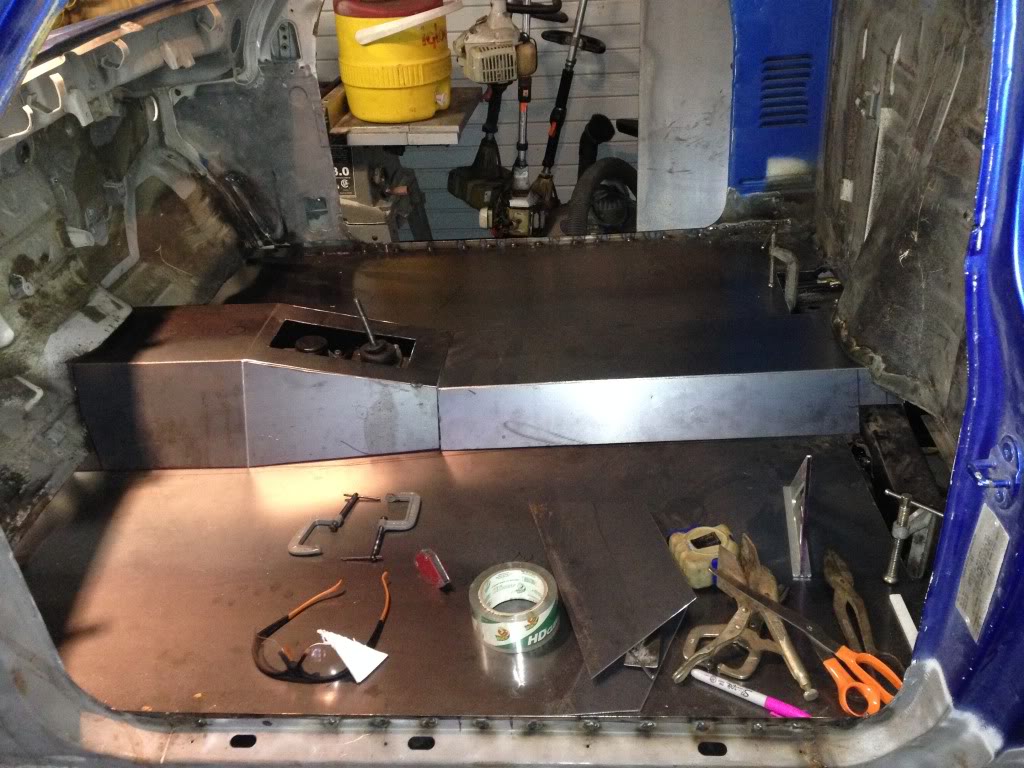
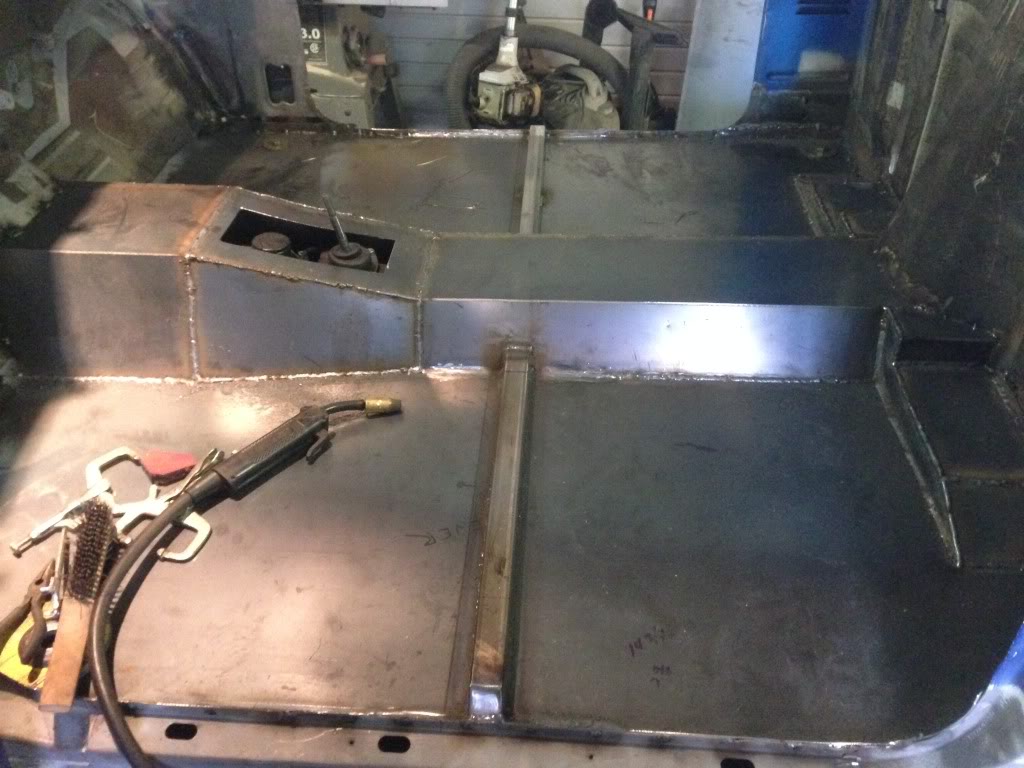
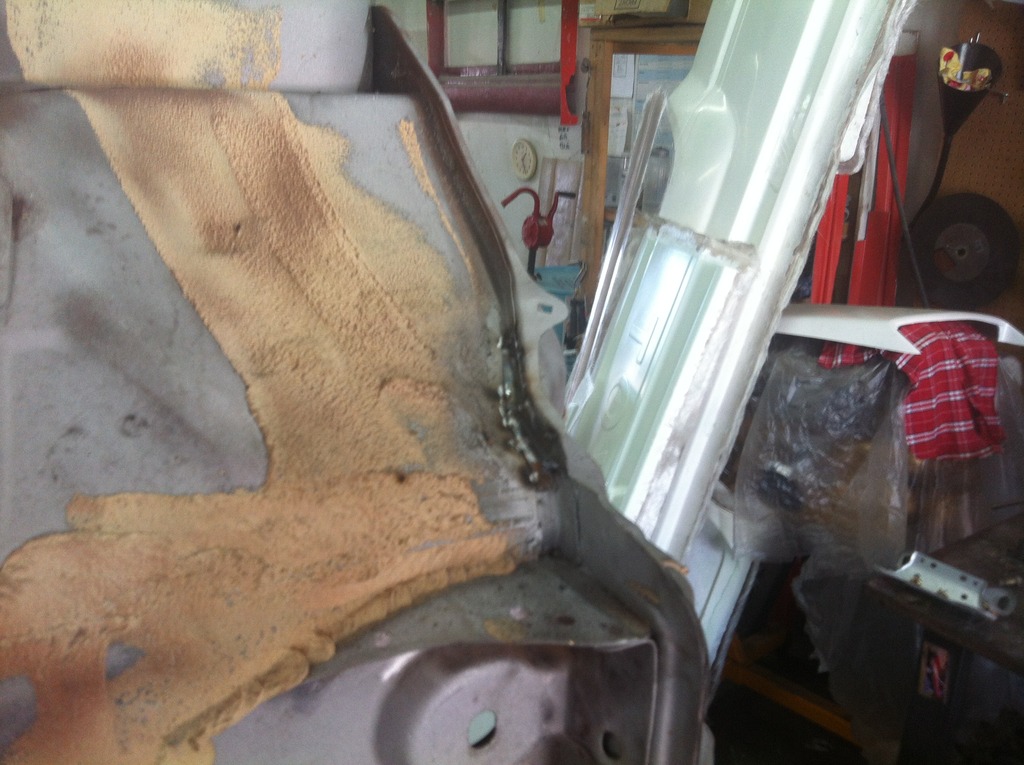
so after the sand blast , some "digging" did revile some holes , so I ended up cutting the rust out , and putting in some patches . It really wasn't to bad , but I just couldn't paint over it
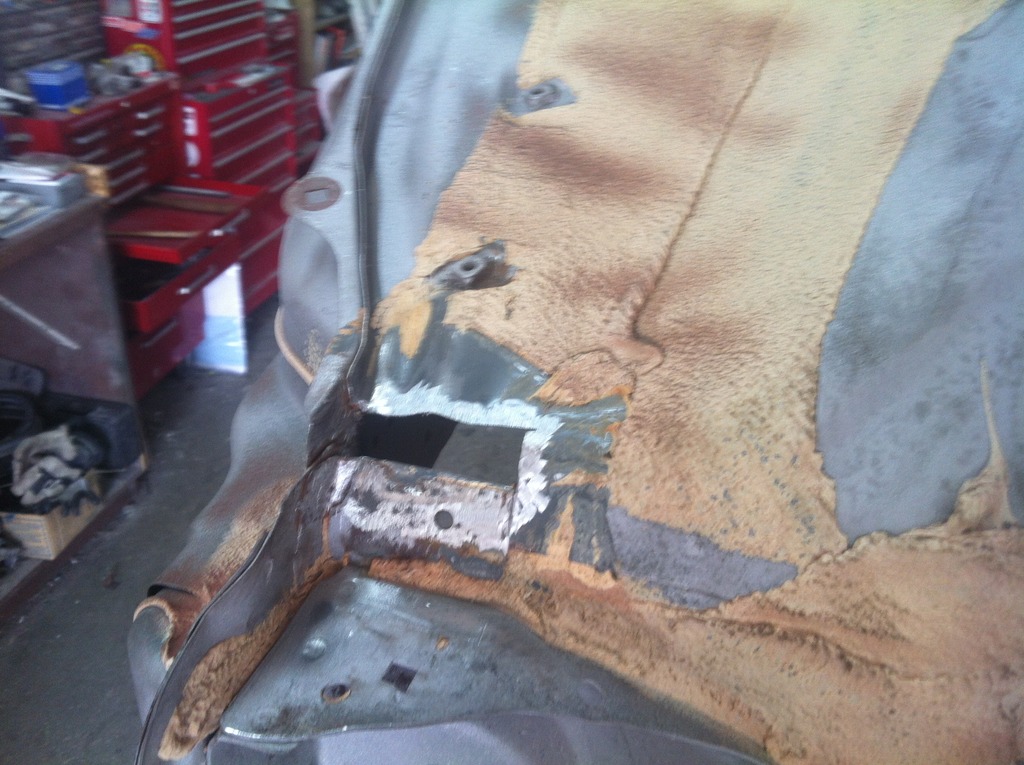
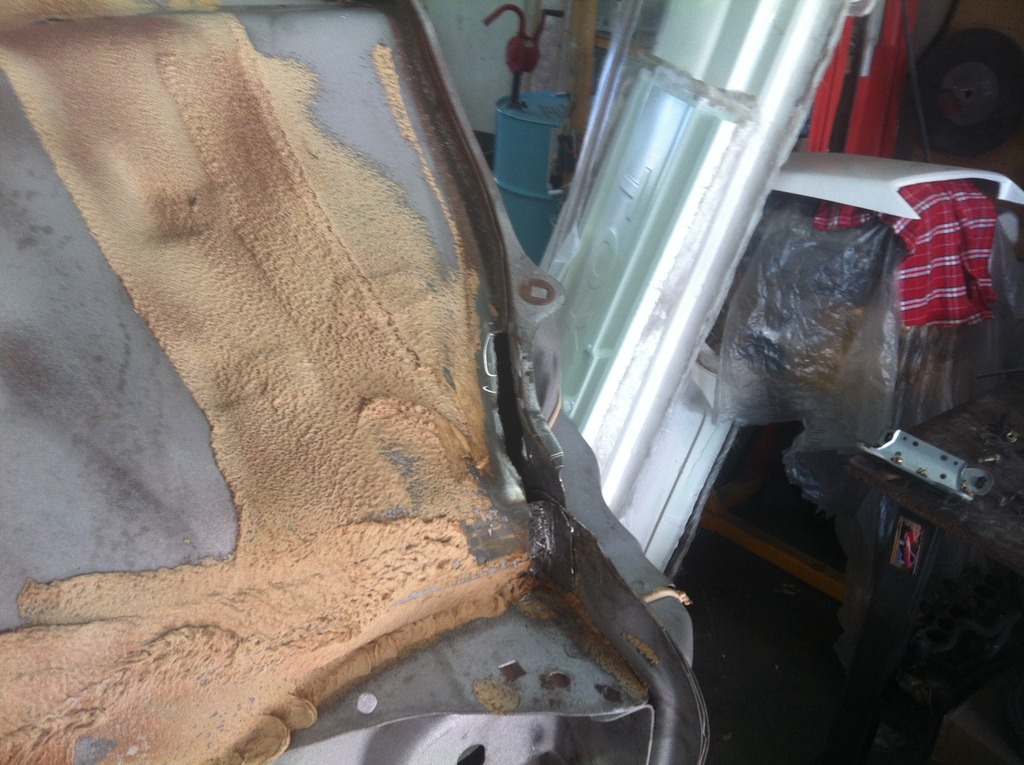
repaired .. still have to grind the welds , but gives you an idea
.
repaired .. still have to grind the welds , but gives you an idea
.