When you click on links to various merchants on this site and make a purchase, this can result in this site earning a commission. Affiliate programs and affiliations include, but are not limited to, the eBay Partner Network.
DONE DONE DONE DONE! Between rain and storms and life and more rain and more storms and more life. Done! I was glad to be able to take my time, this job is time consuming, but not nearly as much time as I took to do it.
Everything torqued and buttoned and adorable.
The valve covers weren’t hard and I learned how to check valve clearances so yay. I especially liked that they were all within spec.
The plastic wiring harness between the plenums was already cracked. Every touch made it fall even more apart in itty bitty pieces, so brittle. I used silicone rescue tape to wrap the wires after inspecting them.
The knock sensors….I am not doing that one as maintenance again! I figured I’d replace the wiring harness because it’s cheap and I was already down into it. It’s common for them to get brittle and break. What I didn’t bank on was the connector on the sensors themselves being excessively brittle. They both fell apart when they were unplugged. The gaskets you need, by the bye, are not cheap. Nor are the sensors. Ah, well. I did enjoy getting down in there and seeing what was what.
It took a little bit to get it to start again. The fuel line does get disconnected during deconstruction. Also, sweet smoke came out of the engine bay once it started to warm up. Antifreeze. The smoke was from down around the exhaust but I couldn’t see a leak for anything. It did burn off after a bit of time.. Coolant did get spilled while partially draining it to do the knock sensors. Given after it did burn off it didn’t come back I’m gonna guess there was some sitting back there somewhere.
Test drove it approximately 10 miles. It drives so completely different from Murray the VW. Slower, taller, brakes and steers differently too. Boy, did I miss being in the 4Runner! It was nice to not smell burning oil after a drive.
This is NOT a how-to. It’s merely a bunch of pretty pics. While I did look up torque specs and have some mechanical know-how (to catch it on fire?) and paid attention to bolt tightening patterns, I am NOT a mechanic. I found the job to be a little time consuming but not hard to do. Having another daily driver, lots of rain and a life of sorts caused me to take my very sweet time.
Draining a little coolant will keep the IAC lines from making a little mess. It’s necessary if you’re going to do the knock sensor. I threw vac caps on all sorts of things more as a reminder to myself (and so it didn’t pee on me)
I actually left the pcv in and threw a vac cap on it, so stuff wouldn’t fall into the valve cover
Unplug IAC
And the vac hose here
I took a lot of reference pics though I only ended up using one. Still, better seeing than sorry.
Just above the IAC vac hose are 2 coolant hoses, one on each side. A little coolant might come out of them when you detach them from the IAC. Have fun with the stupid clamps.
This bracket on the left side (driver’s) needs to be unscrewed at the top and possibly loosened at the bottom so it can be moved. It does not need to be removed.
The bolt above my finger (set of grounds) and the engine test port need to be unbolted.
Closer pics of above
Detach larger vac hose from upper plenum, and the short angled bracket behind it
Pic of above...I loosely put all the bolts and nuts where the came off, to make it easier to remember what hardware went where.
Mousie nest under the fuel rail. There’s one of the injectors in the pic too. Beware the injector wires/ connectors, they could be brittle though mine appeared to be fine. I elected to test ohms- 14.3ish all 6 at 80 degreesish- and not try dealing with the 20 year old o-rings. It’s easy enough to get to them that I’ll deal when the time comes. They do not need to be removed to get to the knock sensors, just unplugged.
Here’s a mousie nest pic, lower intake manifold and broken before I even get to touch it wire harness cover. EXTREMELY BRITTLE wire harness cover. As in cover everything you don’t want pieces in when it comes time to unbolt the harness cover from the valve cover.
First things first, cover those holes! Let’s not play the tear engine down because stuff fell in game!
The right side wire cover was not heat-baked brittle, so that was a plus.
Pull the plug wires and coil packs. I left the plugs in for now, to keep stuff out of the engine.
Have fun unbolting the left side wiring cover from the valve cover (2 bolts each side)
There is a coolant sensor and knock sensor connector just behind the right side timing cover, unplug. There’s also a connector down on top of the a/c compressor, and one on front of the upper timing cover.
Unbolt the valve covers, carefully remove.
Right
Left
They have these washers on each bolt that sometimes stick to the vc
I already have a fairly new pcv valve grommet, but now is a good time to change it if you don’t.
What I didn’t take is pics of putting the new gasket on. Remove the half-moons by pulling straight up (1 each front and rear) and unbolt the cam plug keeper (2 bolts, at each rear) clean all mating surfaces, push gasket into the valve cover, set aside. Apply Toyota FIPG to the half-moons and insert. Wipe off excess FIPG where the vc gasket will sit. Apply FIPG to the metal mating surfaces for the cam plug holder. Make sure the plug stays in place while bolting the holder in place. Apply FIPG to corners of holder and to the separations on the half moons. Okay, that was a horrible explanation. I watched this video starting at 20:14, which was a much better explanation! 3.4 L V6 5VZ-FE Toyota 4runner, Tacoma, Tundra Valve Cover Gasket Tutorial - YouTube
Here is the valve cover torqued down much like you do wheels, not all at once!
Okay, dumb me wants to do those knock sensor wires. Off with the upper radiator hose (drain some coolant first!), then off with the upper timing cover (6 bolts). There are something like 12 bolts and nuts, the back two nuts being hard to find. The bolts come in 2 different lengths, pay a little attention.
The manifold can be lifted up enough to get to the knock sensors. After a million pics I covered the holes. Of course.
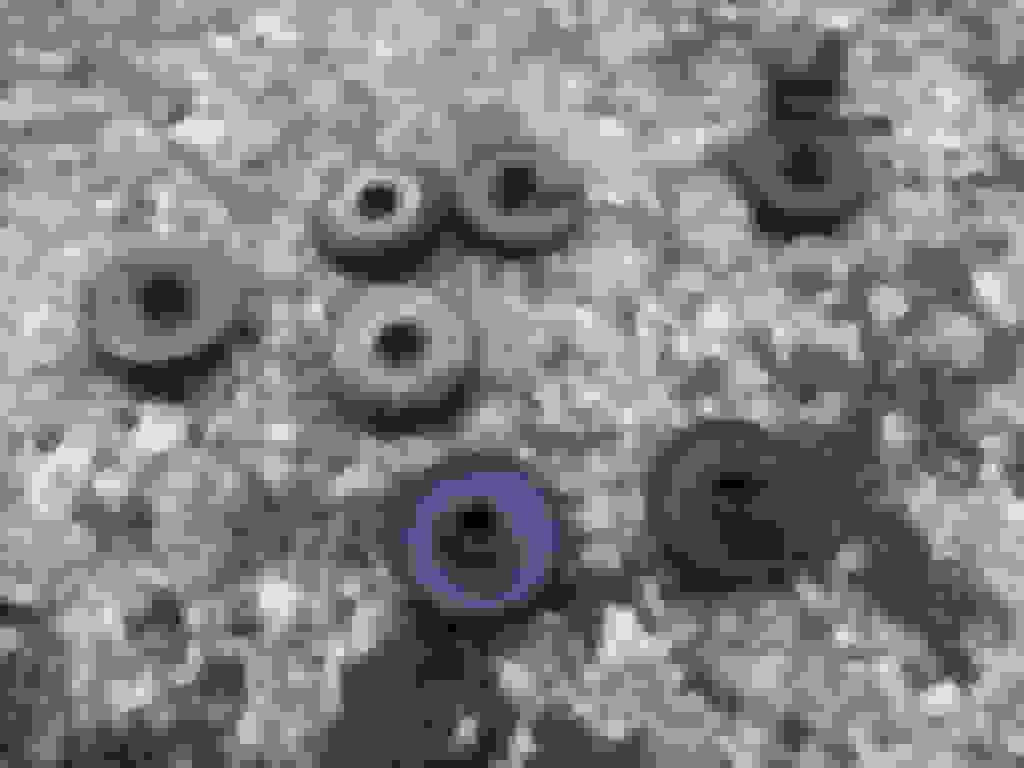
I tested the old (and new) knock sensors (no continuity between body and spade = good), put in the new harness that runs up between the block and a small gap at the right front of the lower intake manifold. New spendy gaskets too.
KS wire routing
And all buttoned up, with silicone rescue tape as the wiring harness cover since the plastic super-disintegrated with each touch, small breeze, and exasperated sigh.
I made loops with the rescue tape so the harness could be secured with the bolts on the valve cover and upper timing cover.
Hab I have decided I need to just drop mine off with you and pick it up after you've done your thing with it. Always getting the important stuff done, good job.
Hab I have decided I need to just drop mine off with you and pick it up after you've done your thing with it. Always getting the important stuff done, good job.
Good morning Jason! Thanks for the vote of confidence.
When the neighbor lady heard me cranking it several times to get the fuel going she was sure I'd messed it up.
When the spilled antifreeze smoked from somewhere off the engine as it warmed up the kid said 'That's not good, I'm outta here!' and he took off.
And I'm pretty sure my husband was thinking 'gonna catch fire' the whole time. Some credit for not saying it out loud.
Now pondering that antifreeze at the water pump weep hole....which means a timing belt. Was planning on waiting another 12,000 miles, about a year. Sometimes my thinker thinks too much. Sure would hate to have it fail on me on the road...
And also need to buy parts to do the 99's valve cover, though it's not leaking as bad. That'll be for the hubby to deal with.
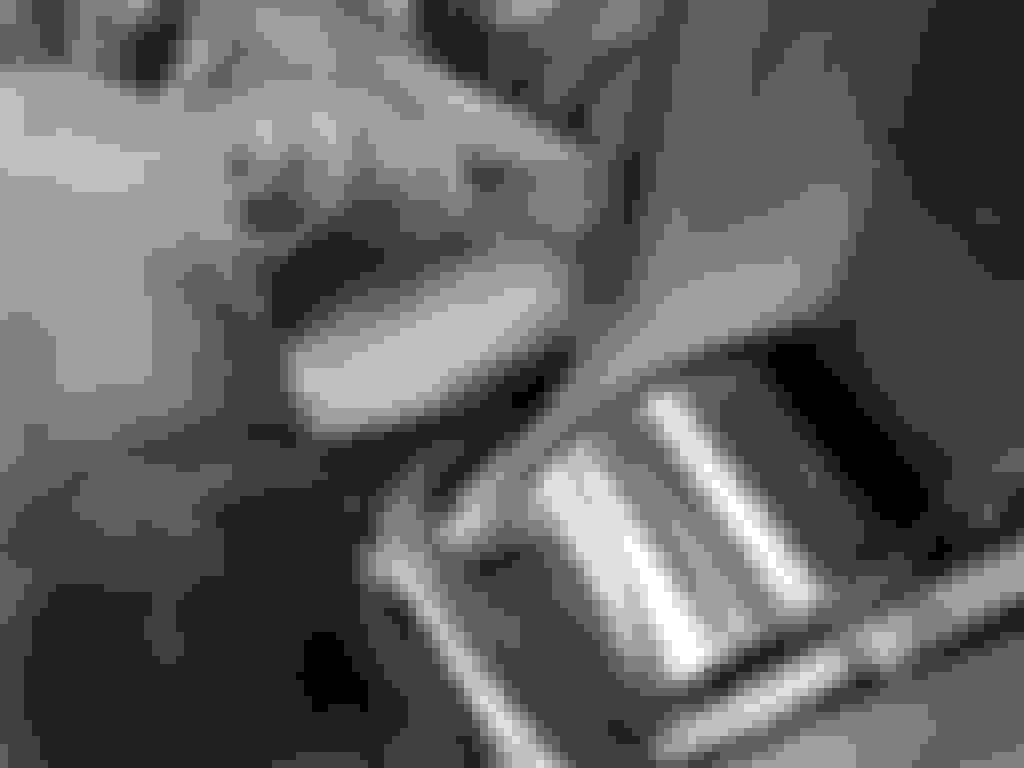
Finally got around to modifying the Warn anderson connector to fit the much cheaper-priced Tuff Stuff connector. Started with a dremel but that was too jumpy so I used my drill and a bit that fit the space I needed to create. That worked MUCH better. Hardest part was getting the cables out of the connector (flat spring has to be released to remove each connector) to make it easier to work on. Might not be needed, but then I was able to use a vise to hold the connector as I worked and there was more space.
Basically you need to drill out a 'lane'
Here are the connectors together, the modified Warn on the left, the Tuff Stuff on the right:
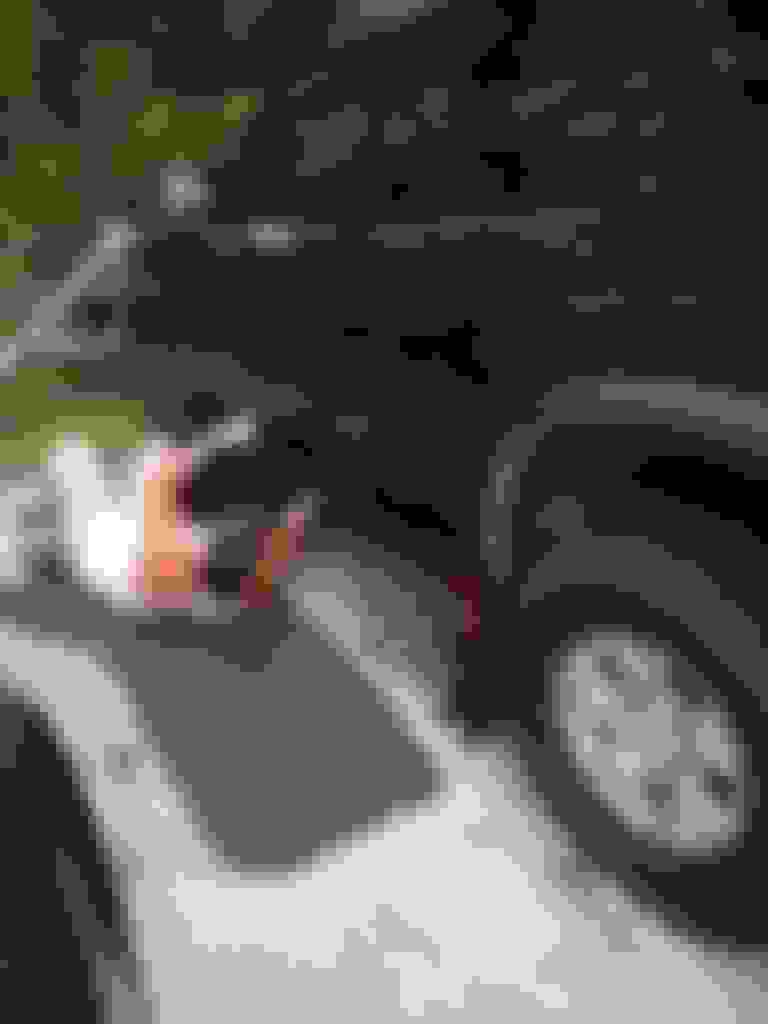
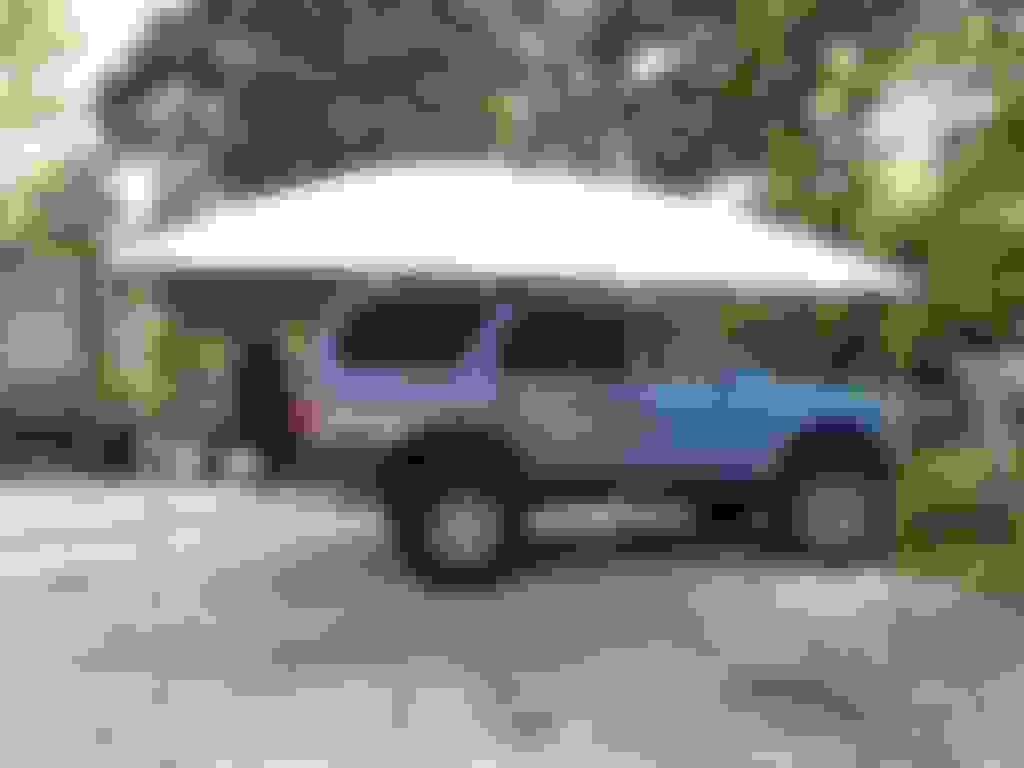
Awnings. I have been wanting one. I can't justify the money for something bigger like the foxwing. Bunch of perusing led me to The Bus Depot. They have an awning thing for quite a bit less than the attached easy to unroll kind. I was intrigued, the price was sorta do-able and it's more portable than the attached version. It also has to be set up like a tent. The first time took forever, the second was much easier now that I know what goes where. Two people to put it on the truck are a plus. I did it all by myself the first go-round.
Pros:
Fits in chair-ish-sized bag.
Big (I got 8x11 to cover the 3 of us with a table)
Can go anywhere on the rack using velcro or bungees to attach
Price
Domed roof = rain runs off and no sagging
Husband fits underneath
Truck doors can be opened
Cons:
Sorta heavy (but not much of a con imo)
The fabric part is not sturdy. As in set this up in grass, dirt, sand or fluffy pillows. NOT on slickrock or asphalt, unless you put a tarp down first. I see some interesting duct tape repairs in the eventual future.
Not as convenient as a mounted awning
Really, for the pros I'm kinda stoked to see how it will all play out in the 'real' world.
There are holes for stakes in the bottoms of the legs, plus guy wires.
 05-26-2016, 02:13 PM