When you click on links to various merchants on this site and make a purchase, this can result in this site earning a commission. Affiliate programs and affiliations include, but are not limited to, the eBay Partner Network.
I haven't heard of the preventer. Might have to look that up! I'll have to get the runner jacked up to check the play of the ball joints. I might add that to the list anyway since I'll have everything apart for the lift.☺
I see what you meant. The tranny oil cooler. Lol I had a brain fart.
Uuhh oohh! Just had all this dropped on my doorstep! Should be on the rig within a couple weeks! Can't wait! Gonna look at the LBJs while it's off the ground too! See if they need replacing.
Bilstein 5100s, ome 881 and 890 with topout spacer, dif drop, Panhard bar drop bracket and coil isolators. And some Candy!
I am loving the feel and handling that it has now! Glad I went this route! Ended up bumping the 5100s to the second notch. Gave me 3" in the front and 3 1/4" in the rear!
Thanks man! Me and the fam are going camping this weekend actually. Same spot as we used to go. Been a while. I'm sure I'll stumble on a couple trails out there.
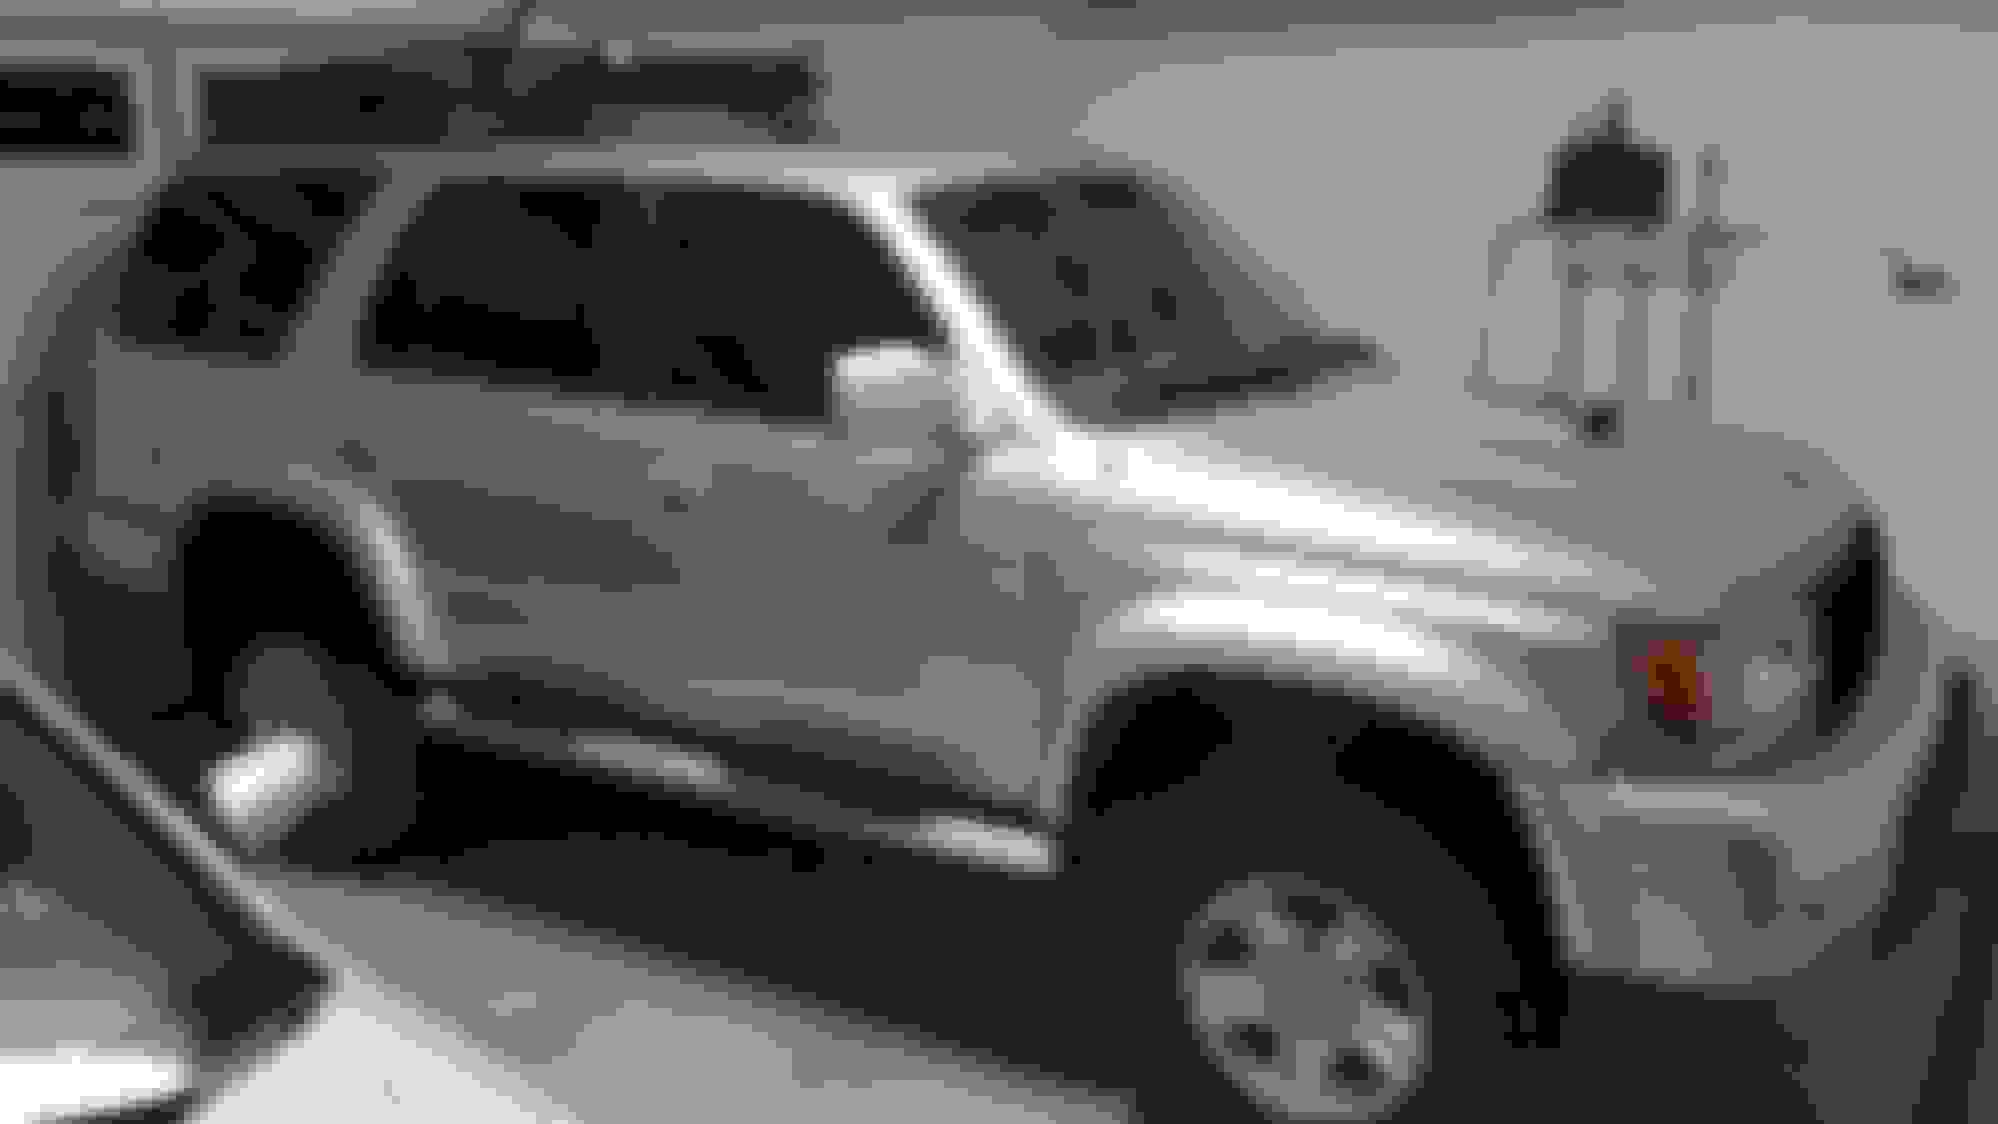
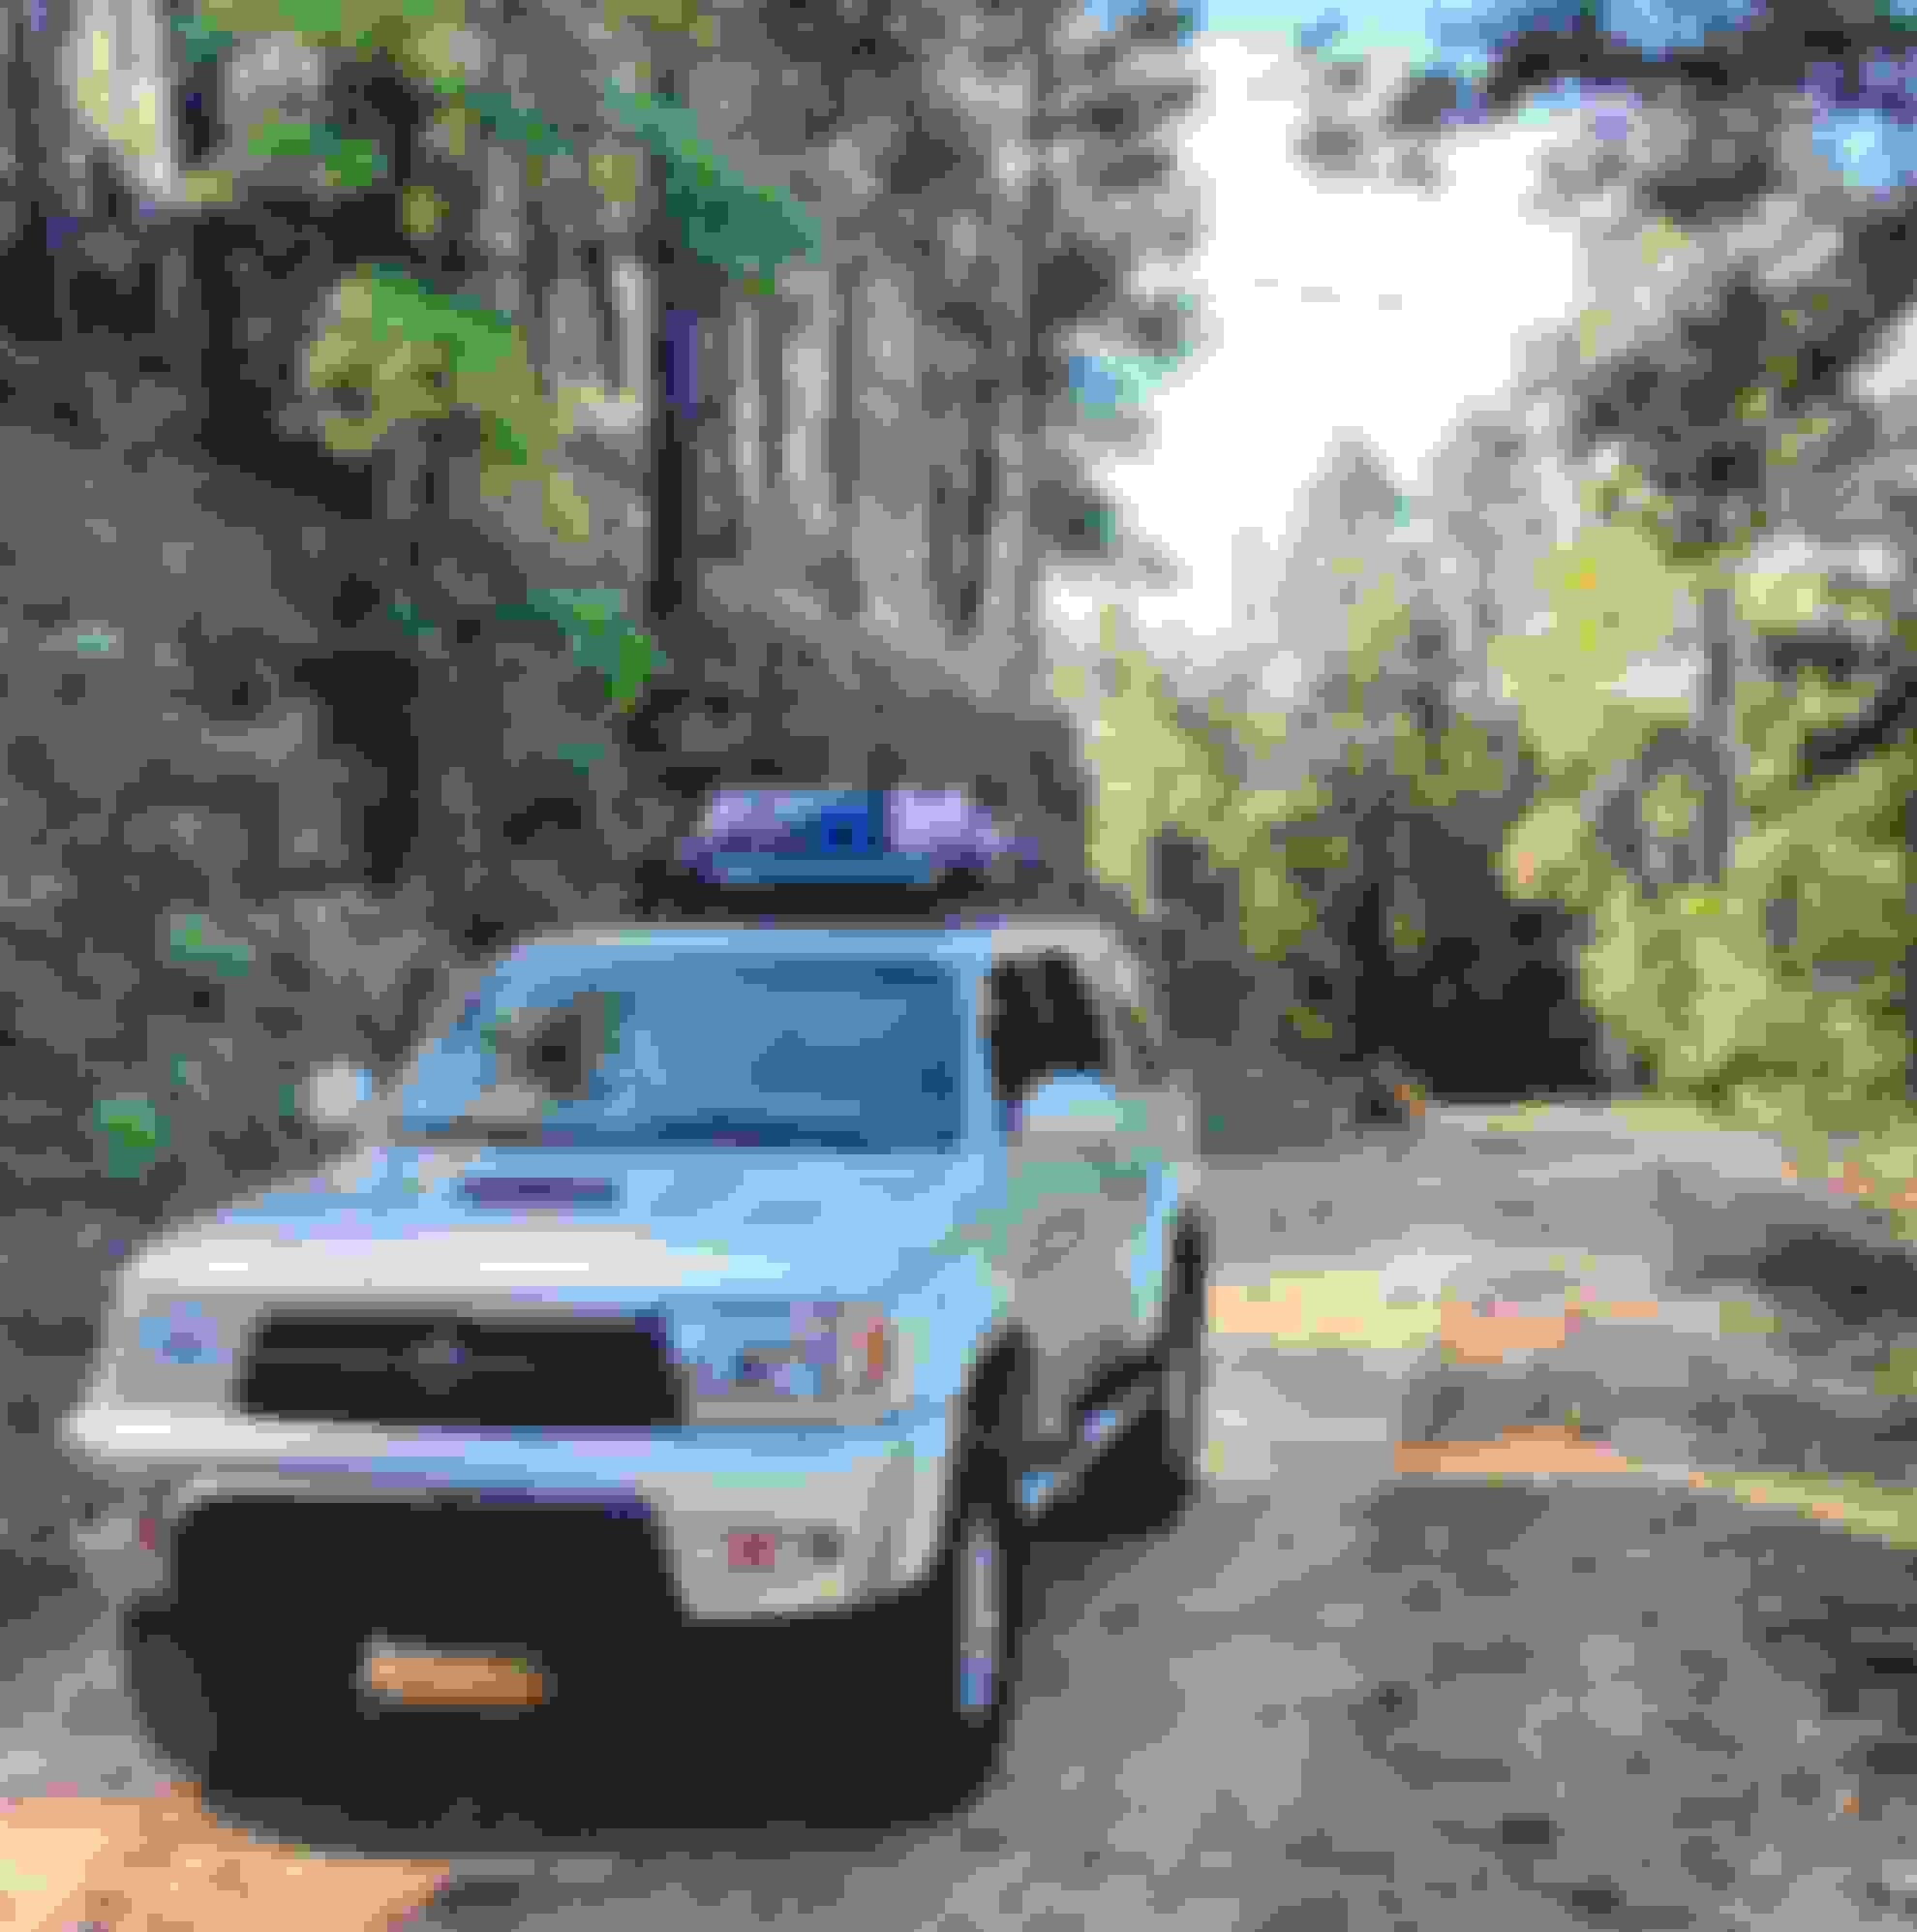
I installed a roof basket this passed weekend and some amazon nilight Cree led fog lights. Which I am very impressed with! I'm not good at taking pictures while I'm installing as I am the only one in the garage and trying to get it done quickly. Lol.
Here it is in the garage after installation. Kind of a bad pic.
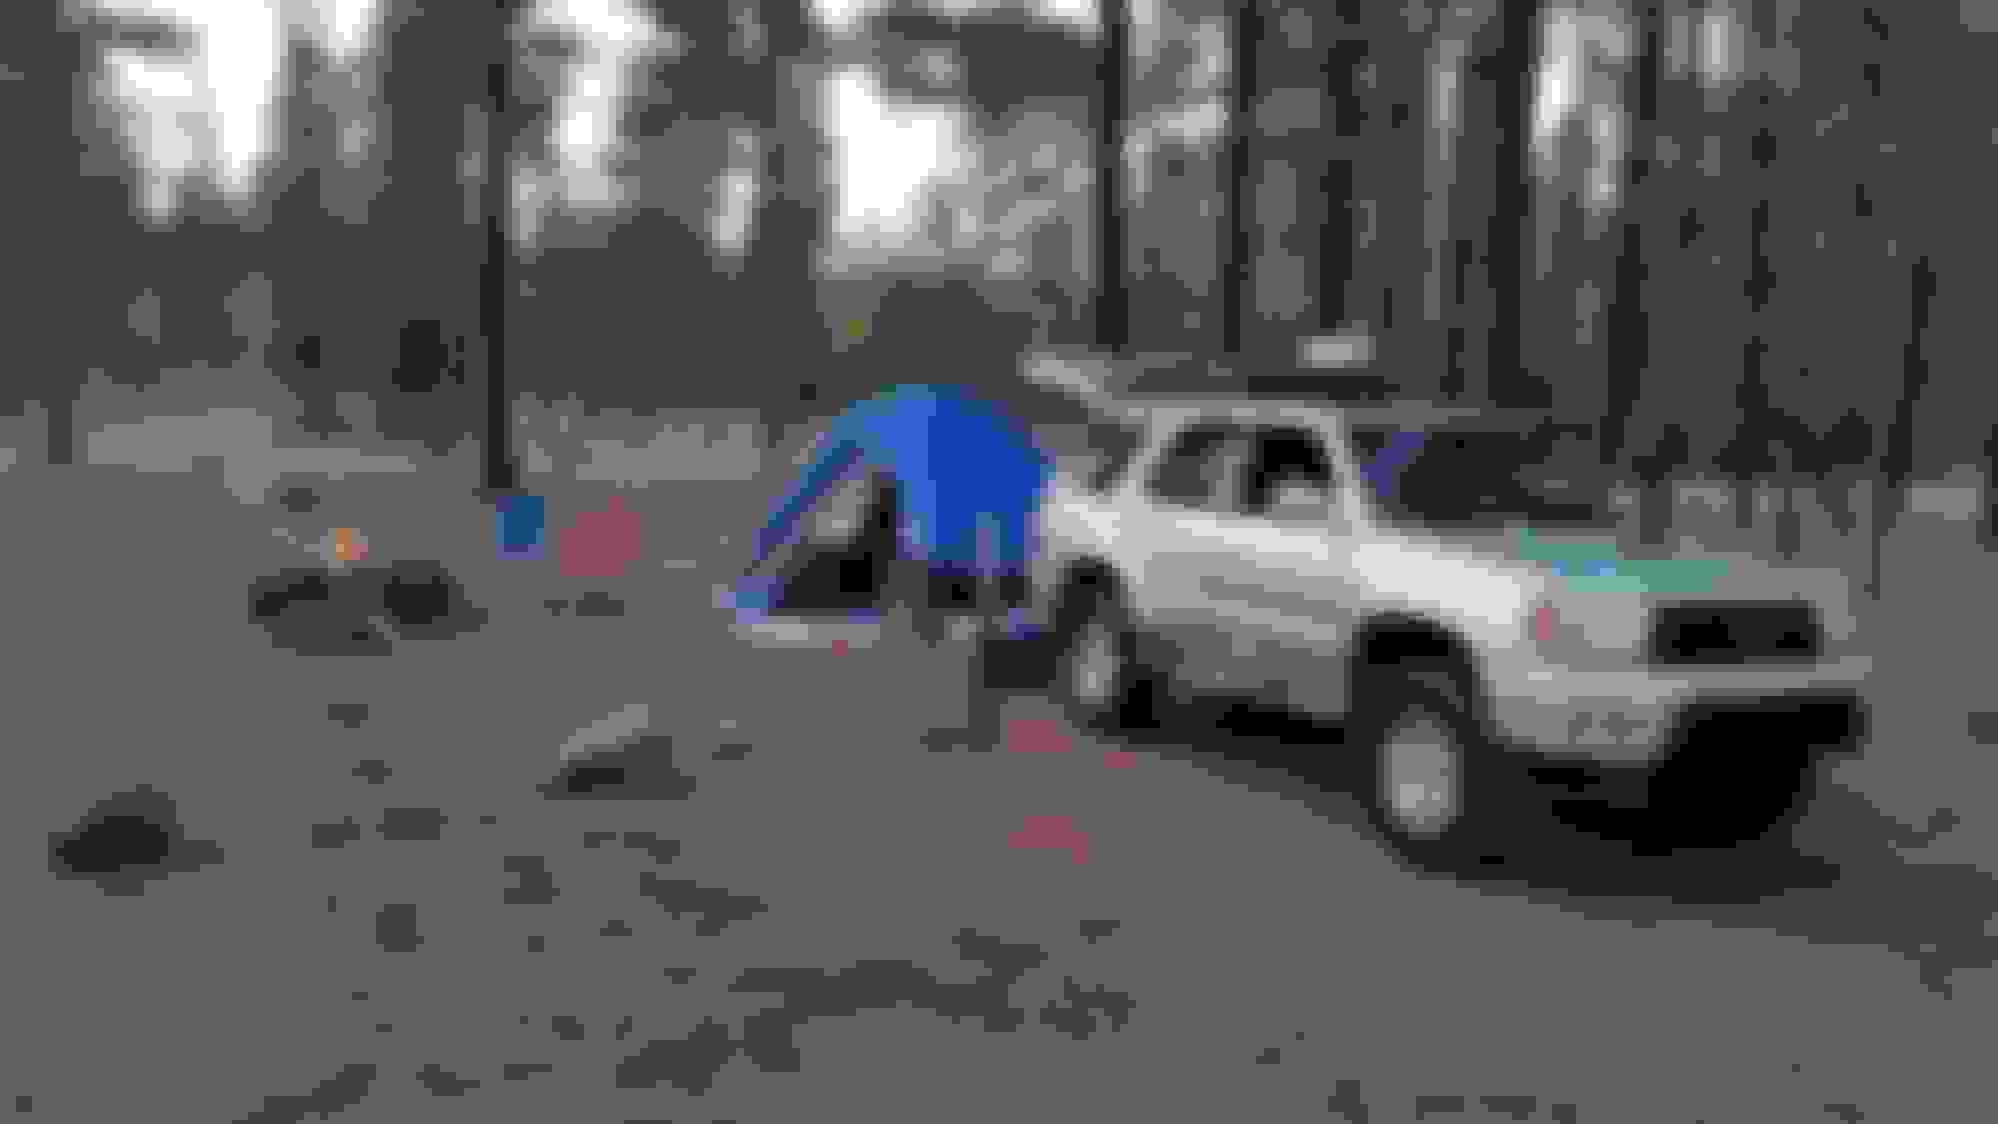
Hit up sedona for some camping. But our usual area was full. So we did some disperse camping for the first time. I liked it. Except for the inconsiderate morons that showed up at 10 oclock wth their quad and i would guess a bunch of alcohol. Didnt get a lot of sleep. Roof rack did good though. Had 4 bundles of firewood, the tent, and 3 chairs on it. Roughly 140 lbs
Here it is loaded up. Had to hit the trail through the woods. Couldn't beat the weather!
Sorry to hear about the crappy camping patrons but the rig looks great! Looks like a nice setup man, good work.
I'll take dispersed camping over a crowded ground any day. We are also headed for a little camping trip this Halloween. Apple river canyon...I can't wait. We did it for Halloween last year....I guess its going to be a tradition now. This time with my 4xinnovations bumper and bike rack I will be able to bring the bikes and hit some trails on 2 wheels.
-RONI-
Last edited by AssYriaNrocKer; 10-11-2015 at 04:25 AM.
Sorry to hear about the crappy camping patrons but the rig looks great! Looks like a nice setup man, good work.
I'll take dispersed camping over a crowded ground any day. We are also headed for a little camping trip this Halloween. Apple river canyon...I can't wait. We did it for Halloween last year....I guess its going to be a tradition now. This time with my 4xinnovations bumper and bike rack I will be able to bring the bikes and hit some trails on 2 wheels.
-RONI-
Thanks man.Yeah I think it will be dispersed camping from here on. It was nice. I'll have to check out your build thread. Didn't know you had a new bumper!! But that sounds like a blast. Hitting some trails on bikes!
Looking good.
What paint did you use around the windshield trim? Did you just tape everything off real good and spray away? I havent been brave enough to hit that area.
Love the camping photos, trying to convince the wife that we can take the kid camping, so between the baby seat and the campfire, I think youve just about made my argument for me.
I actually used the high heat engine paint in low gloss black. Although I can't find it anymore. Holds up well to the AZ heat and car washes! But I recently bout a can of rustoleum trim and bumper paint. And that works pretty well too! Lays down really nice! And yeah with the little girl being almost three at that time it was over due. Probably could have taken her when she was closer to 3 and she still would have had fun! Glad I could help! Lol
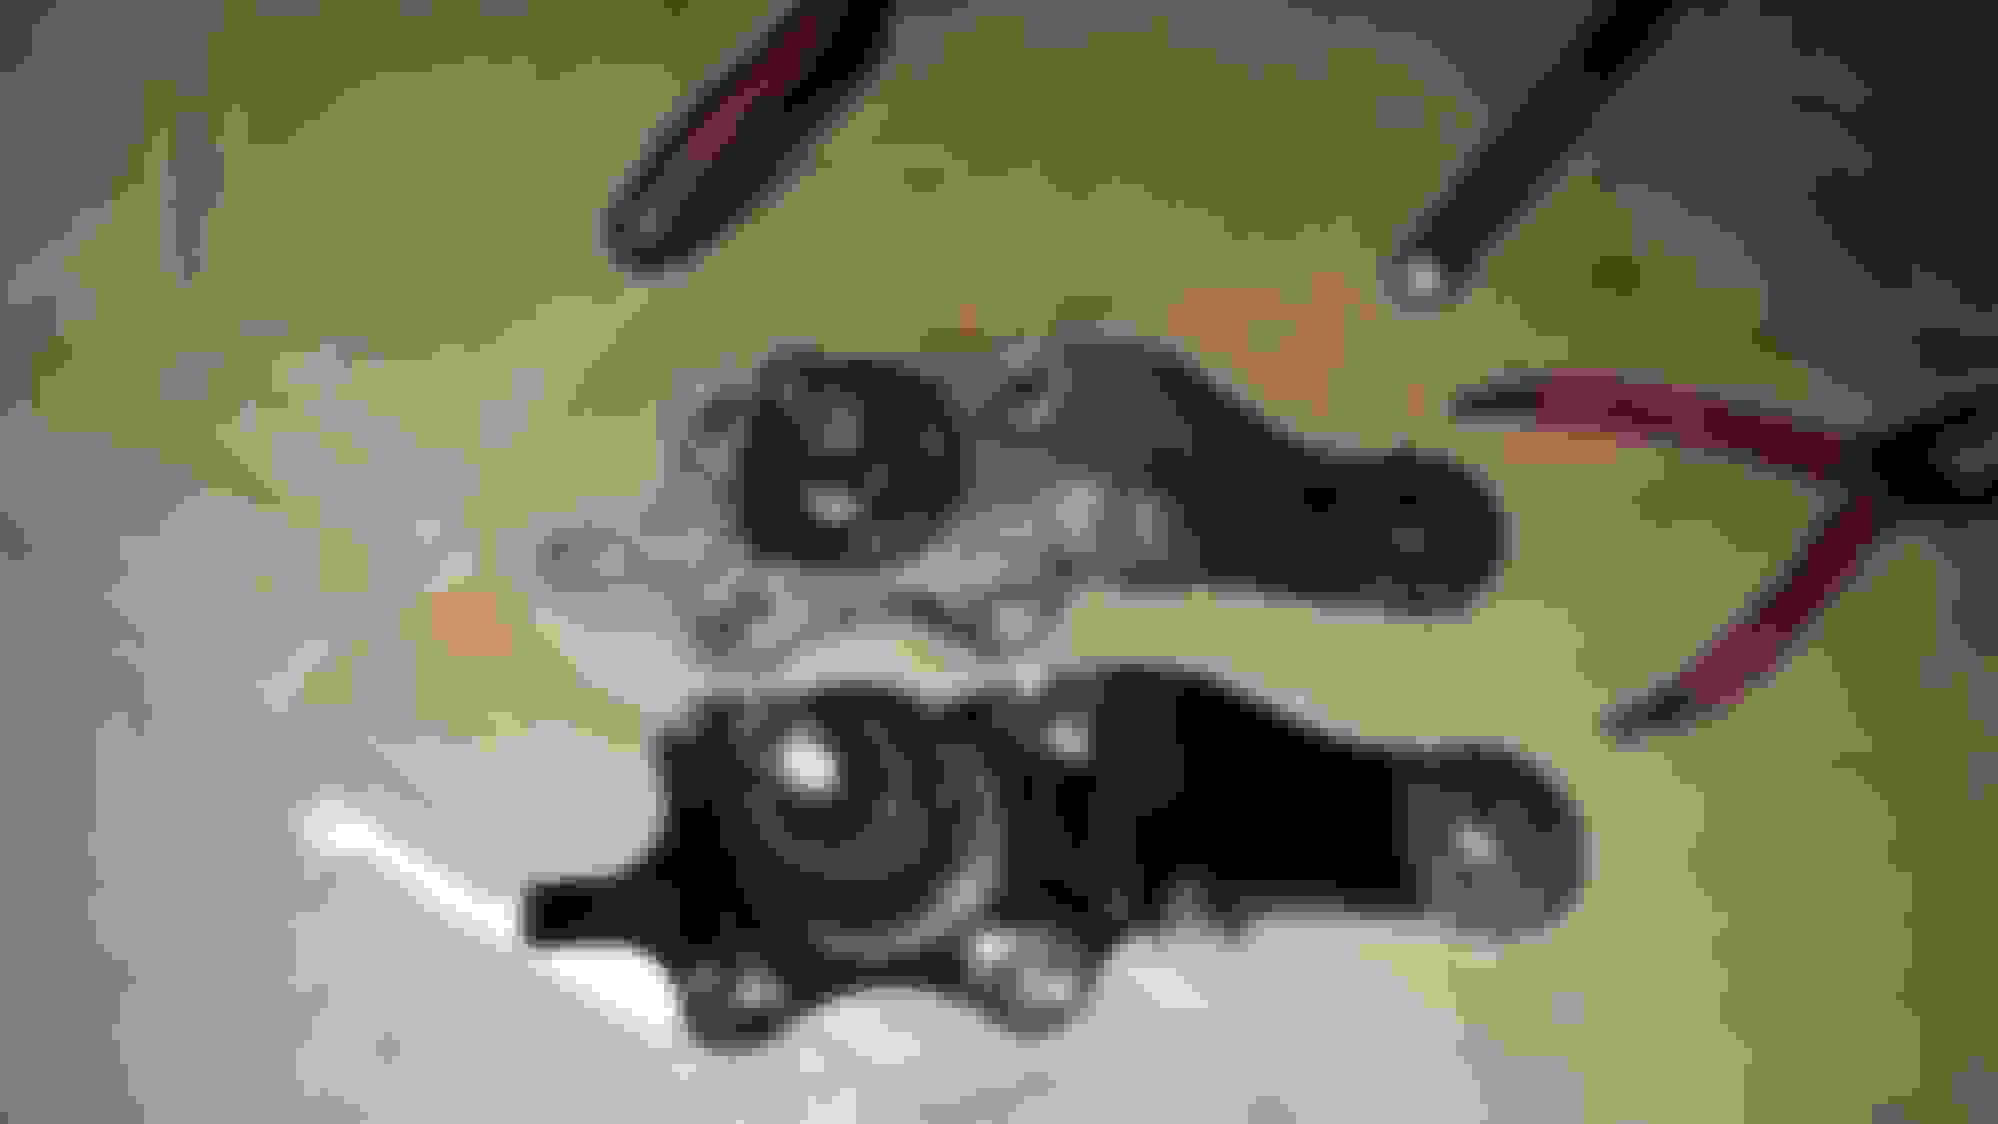
Finally got around to doing the lower ball joints and outer tie rods! Got all OEM parts on Camelback Toyota parts online. Honestly wasn't too bad of a job. Using the tie rod puller made it possible. Tried not using it and it wasn't happening. A couple wrenches and a pickle fork too and they were off and new ones on quick. I'd say it was about time for them to be replaced. 140k miles. And with the new lift didn't want to take a chance!
They were looking pretty rough. Torn boot on the tie rod
Makeshift jack stands. Did one side at a time so I could have the jack and jack stands for support.
Driver side. Definitely needed it
Driver side LBJ
Driver side in and together
Passenger side. Boot got ripped off on removal.
Last edited by 4Runnin2000; 11-20-2015 at 07:26 PM.
Went and tested out the leds at night too! Not bad for 20 bucks! Pretty impressed! Need to get spots for the roof though. And move the floods to the front. But I might just get a light bar and mount it in the bottom of the front bumper. Still deciding
Just replaced the fuel filter. Took all of 20 minutes! Just used normal wrenches. Unscrewed the gas cap. Maybe 6 Oz of fuel came out. If you are quick it could be less! Getting the P0171 and want to try this before I replace o2 sensors! Ugh
 07-20-2015, 06:55 AM


 But that sounds like a blast. Hitting some trails on bikes!