Camburg/Sway-A-Way 2.25 coilover for 96-04 tacoma rebuild!
 01-23-2013, 07:05 PM
#1
Registered User
Thread Starter
Camburg/Sway-A-Way 2.25 coilover for 96-04 tacoma rebuild!
OK so i bought these coilovers in nov and they looked ruff, but i put them on any way and they started to leak. So I took them off and ordered a rebuild kit from camburg. The guy I talked to said you can get the oil for them any were,He was rong, and also forgot to send out my rebuild kit so that took an extra week! You have to buy the sway-a-way 7w shock oil! there goes another week trying to figger that out but i did make some good connections with baja mike over on kartek,http://www.kartek.com/, he sent me in the right direction, and was very happy to help, so please go there if you need anything. After talking to him and getting everything, I thought, I tore into it with out reading up or any thing,NOT A GOOD IDEA!!!! After a lot of research i got in contact with eric at sway-a-way and had a lot of long conversation about how and what to do so I deiced to do a right up with all the info I have so I can help others out.
Before your start please read all this and make sure your have all the part you need
-rebuild kit,every other rebuild you replace the wear bands.
-gallon jug of sway-a-way 7w shock oil
-2 new jam lock nuts from sway-a-way
-make sure you can get your shreader valve and cap off if not you might have to break it off like I did and get a new one!
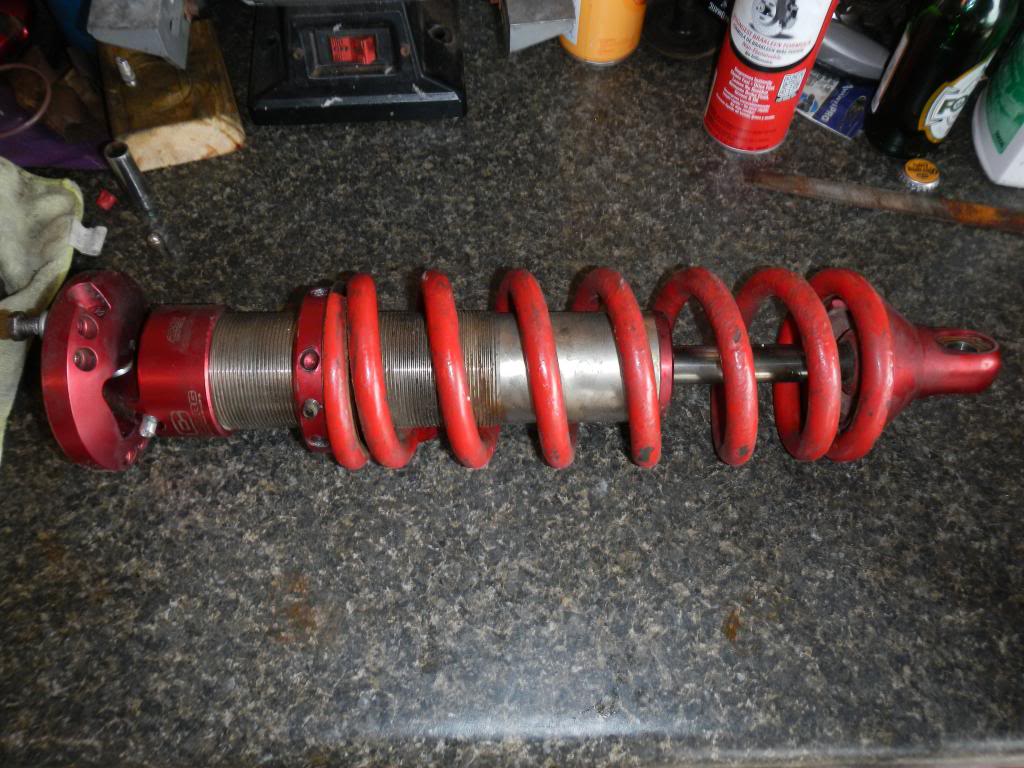
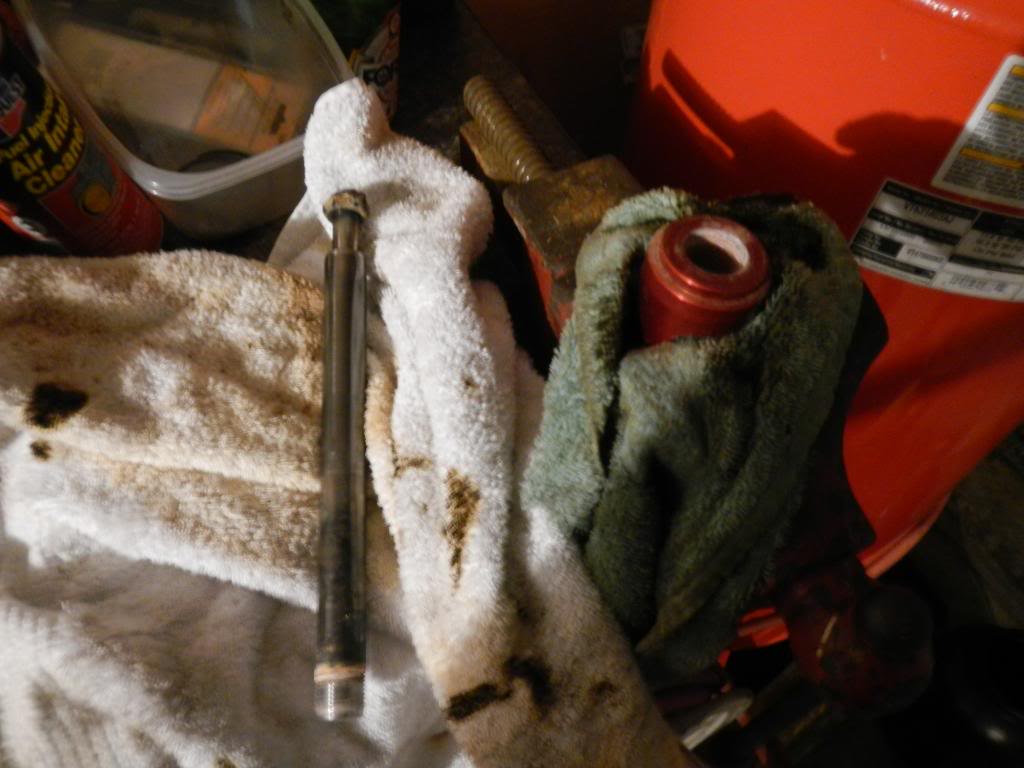
This is what i had to start
One of the adjuster plate was frozen so i had to use a spring compressors to get the spring off, so I could cut the adjuster plate off!
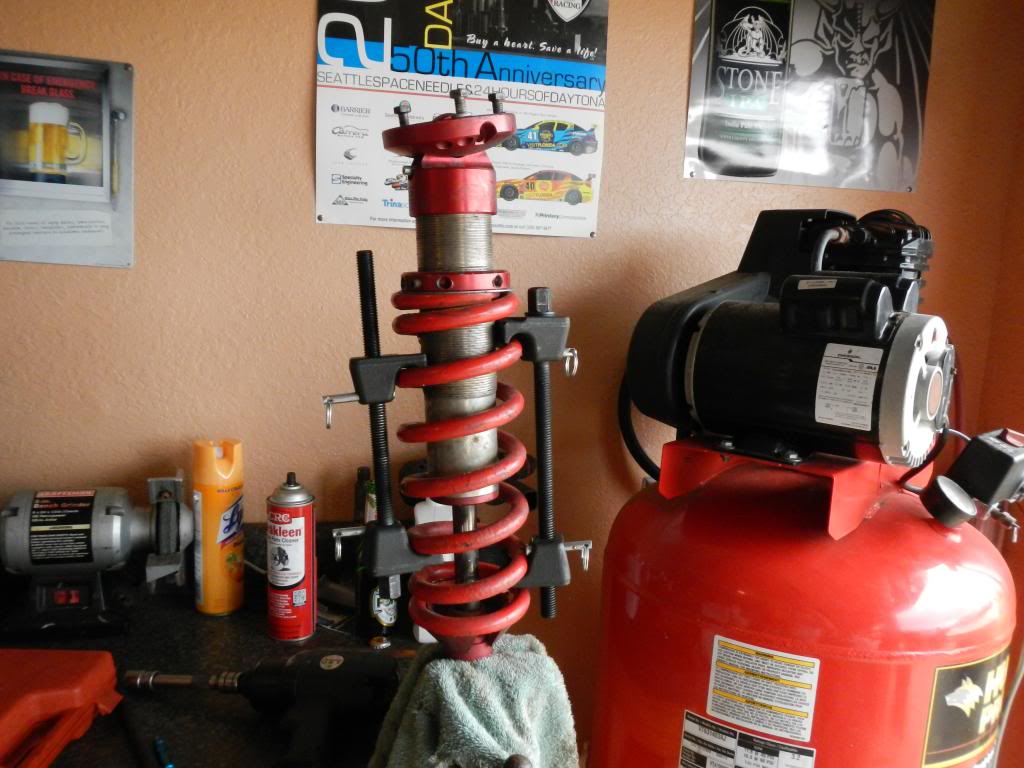
using the compressor, it worked so good I did it on both of them
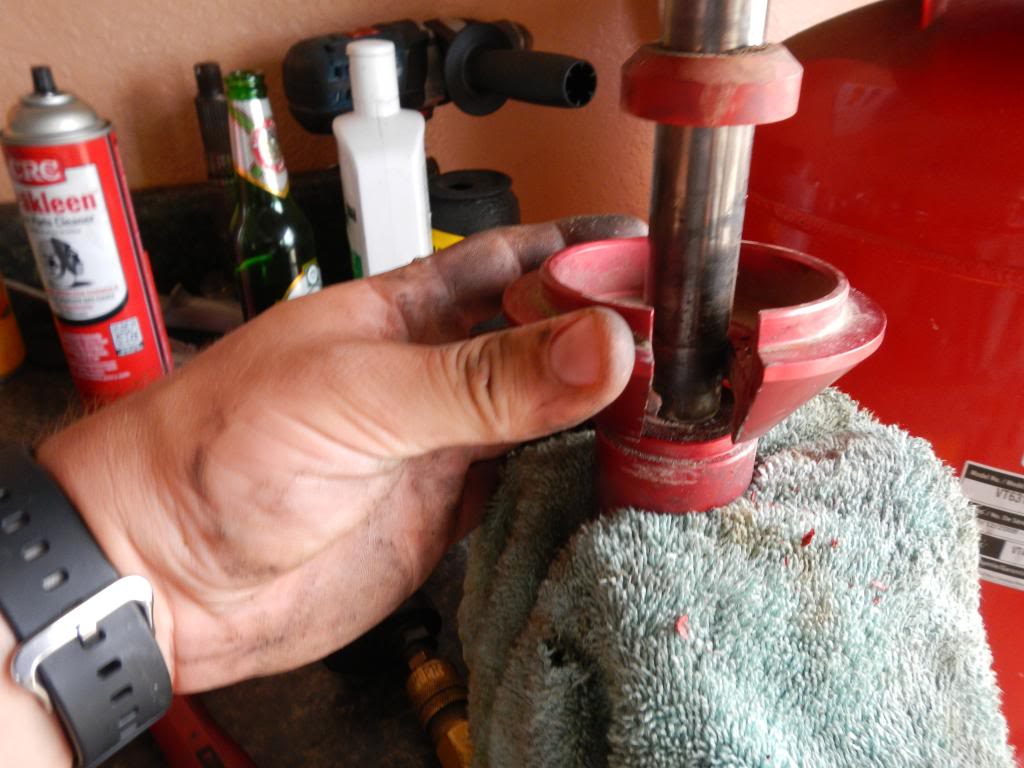
Once you have the spring compressed you can pull the bottom cup off
Now the fun begins!
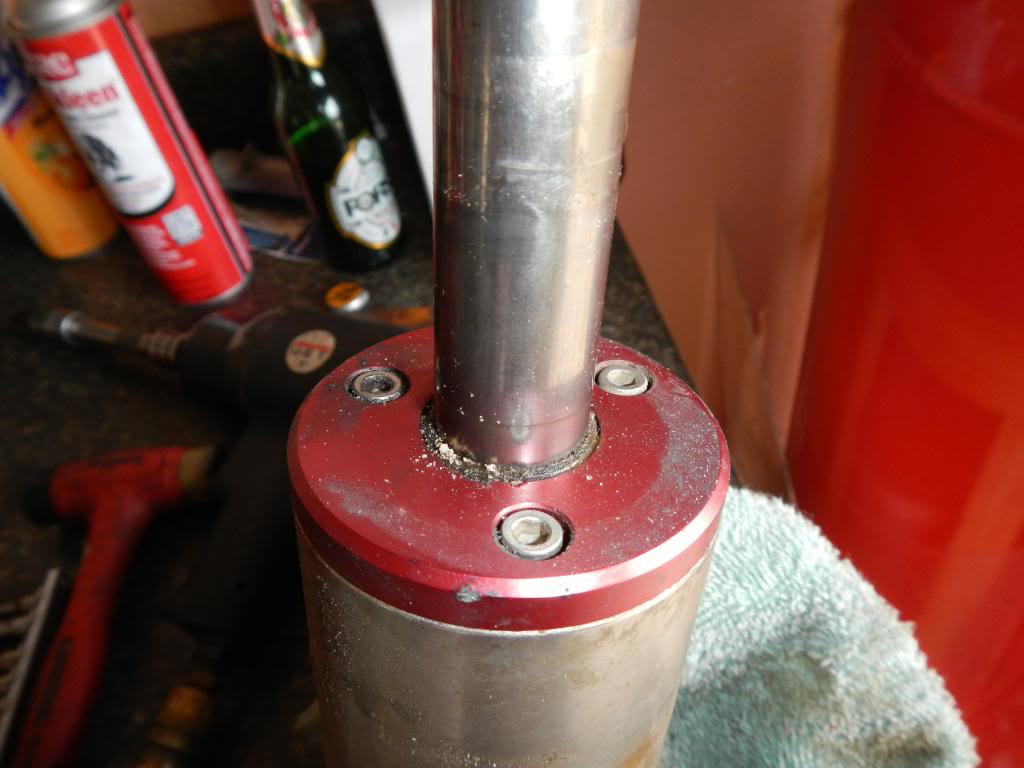
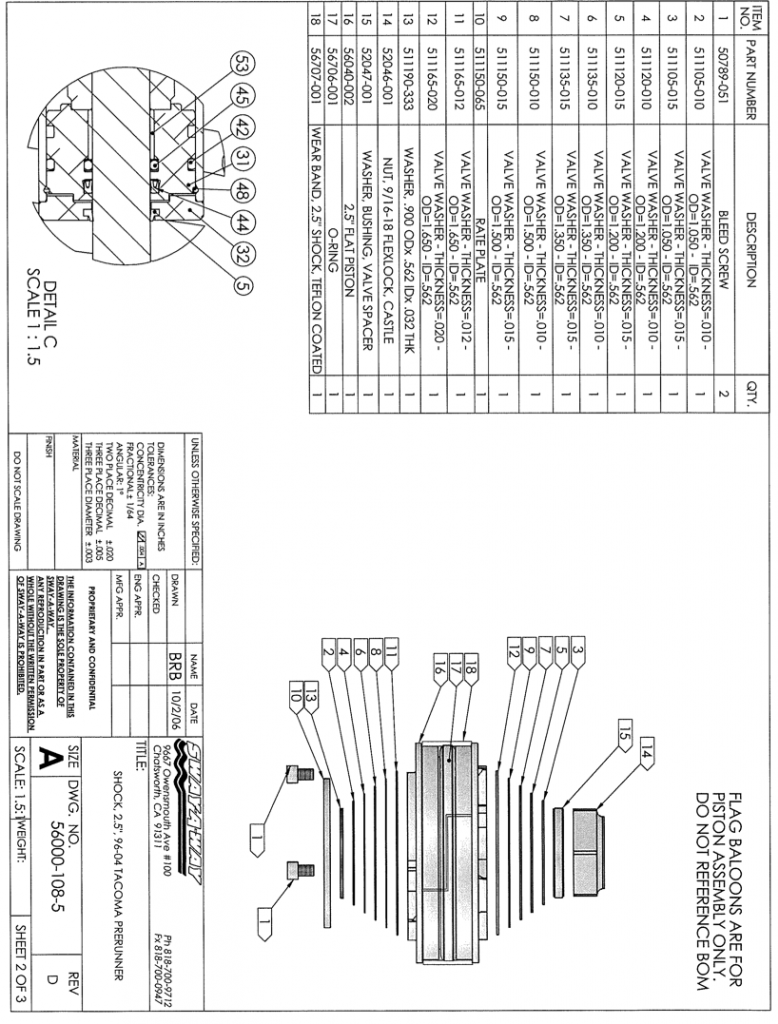
Pull those screws out.
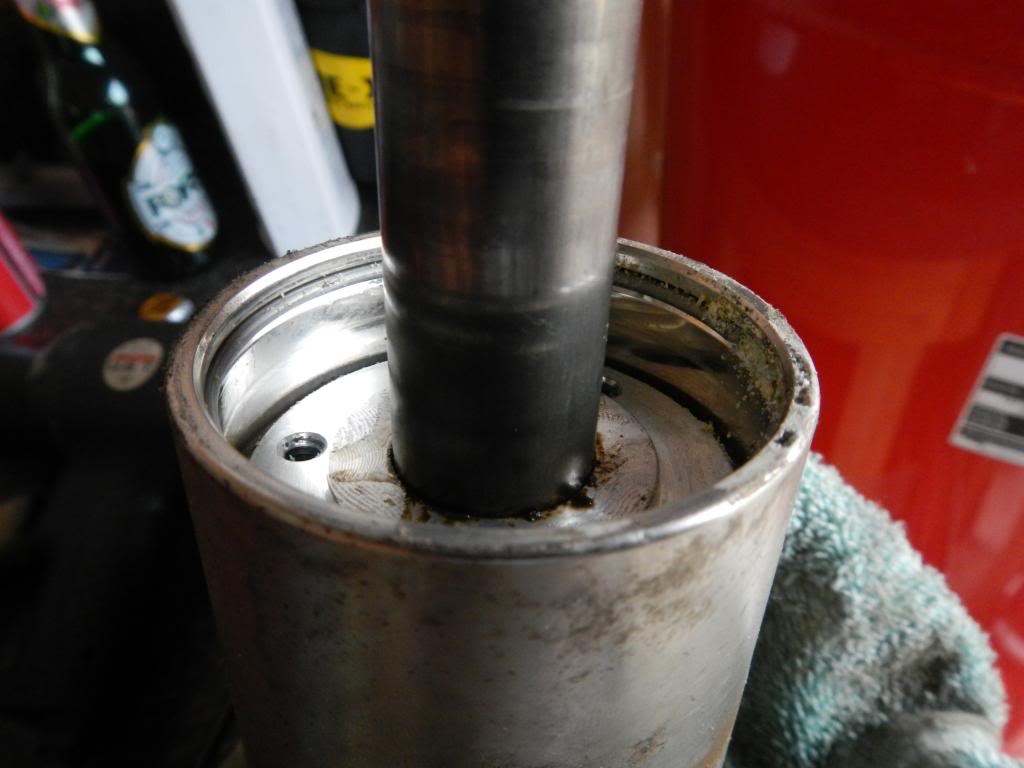
pull that clip out that hold the shaft asbly in, and slowly pull it out! it will make a mess so be ready for it.
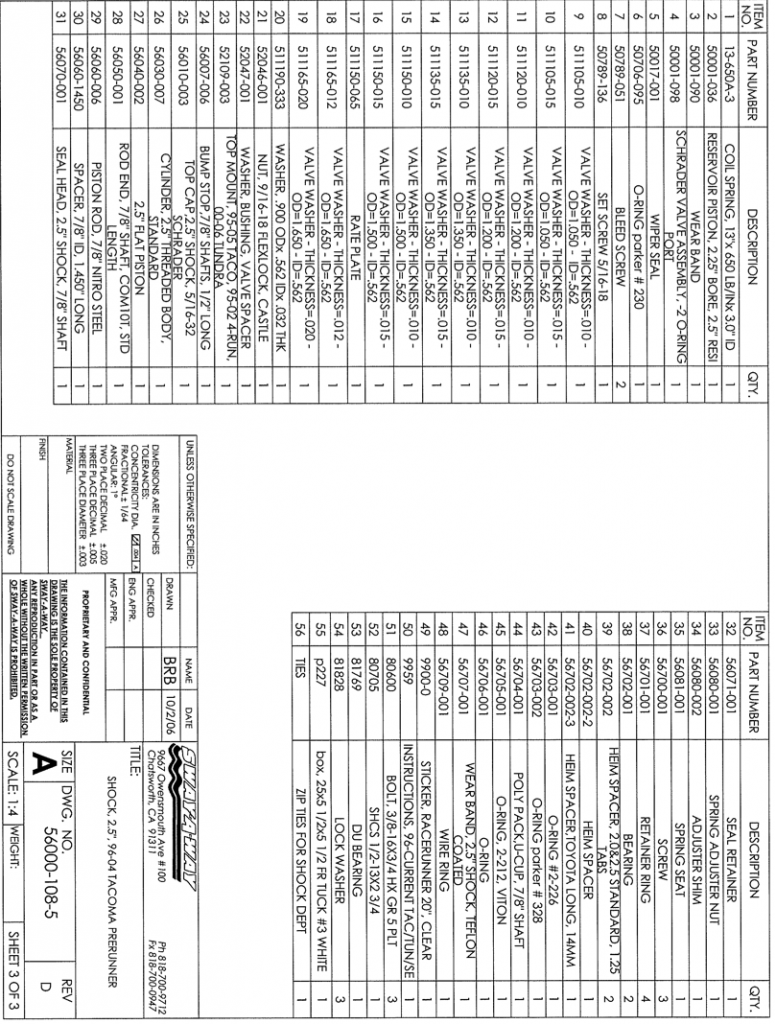
then this is what you have to put all new seals in. Make sure you pay attention how it come apart!!! the bolt that holds this all together is a one time use bolt so you need 2 new nuts for the rebuild!
now replace all the seals

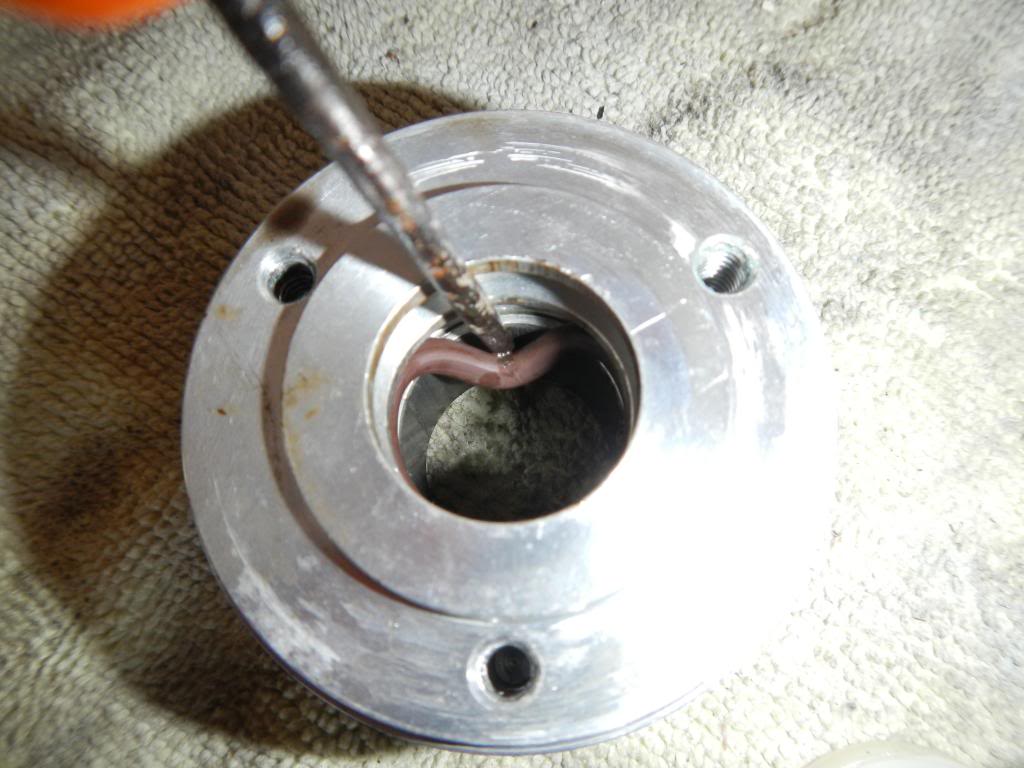
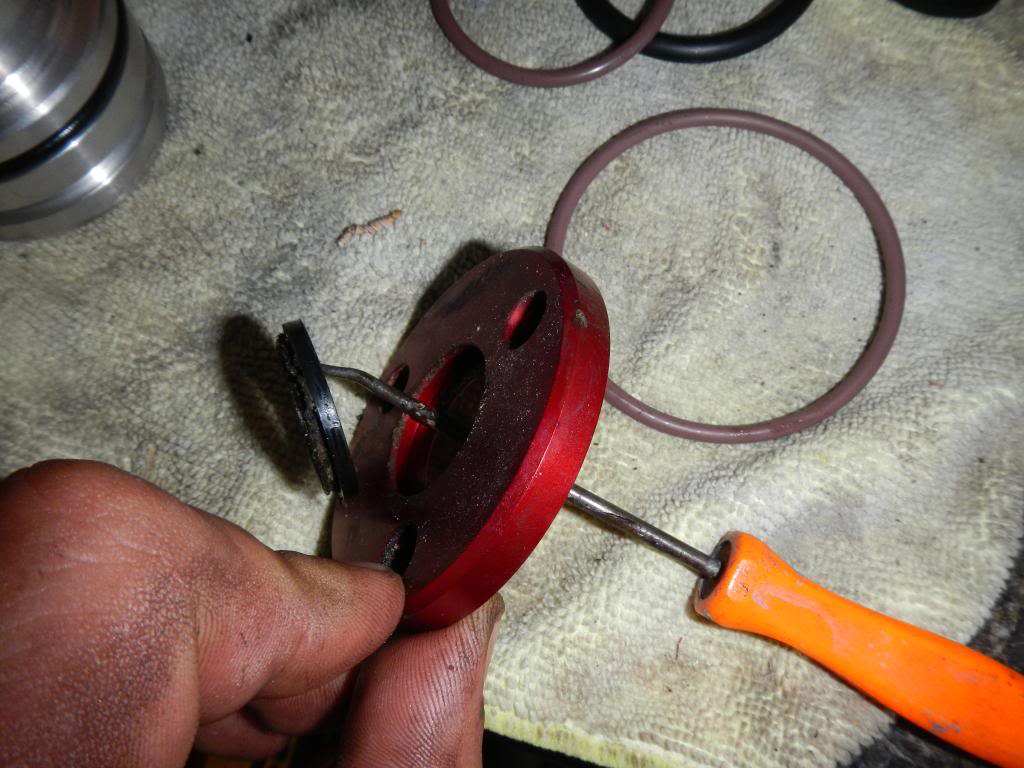
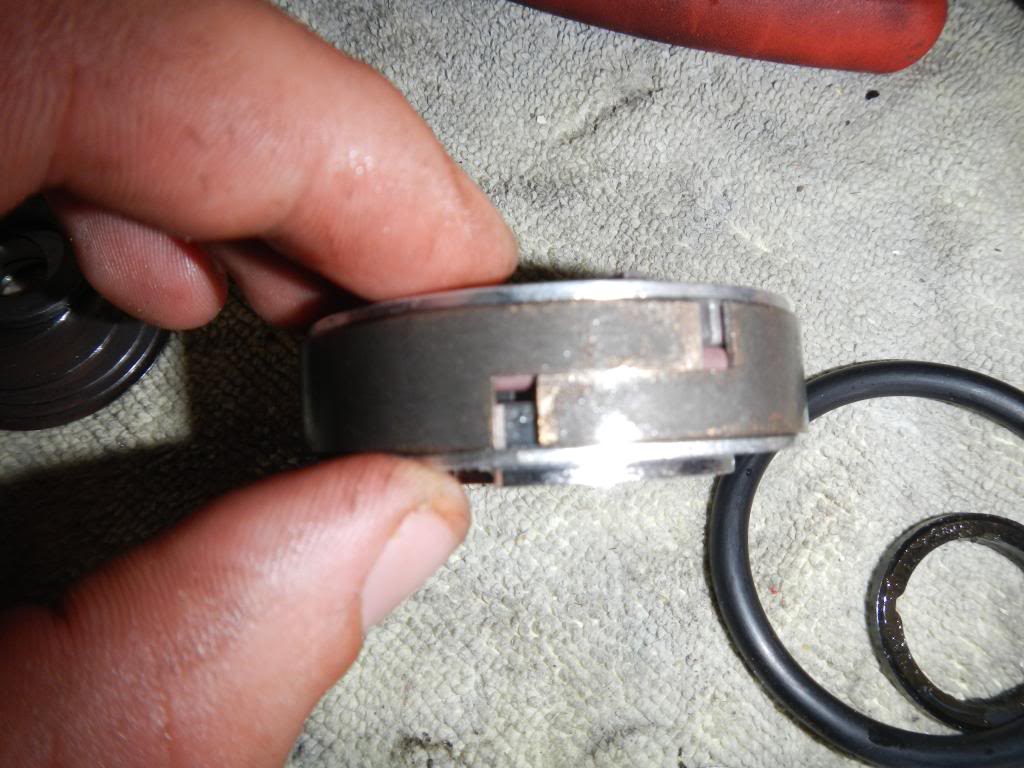
that metal ring around the out side of that is the wear band
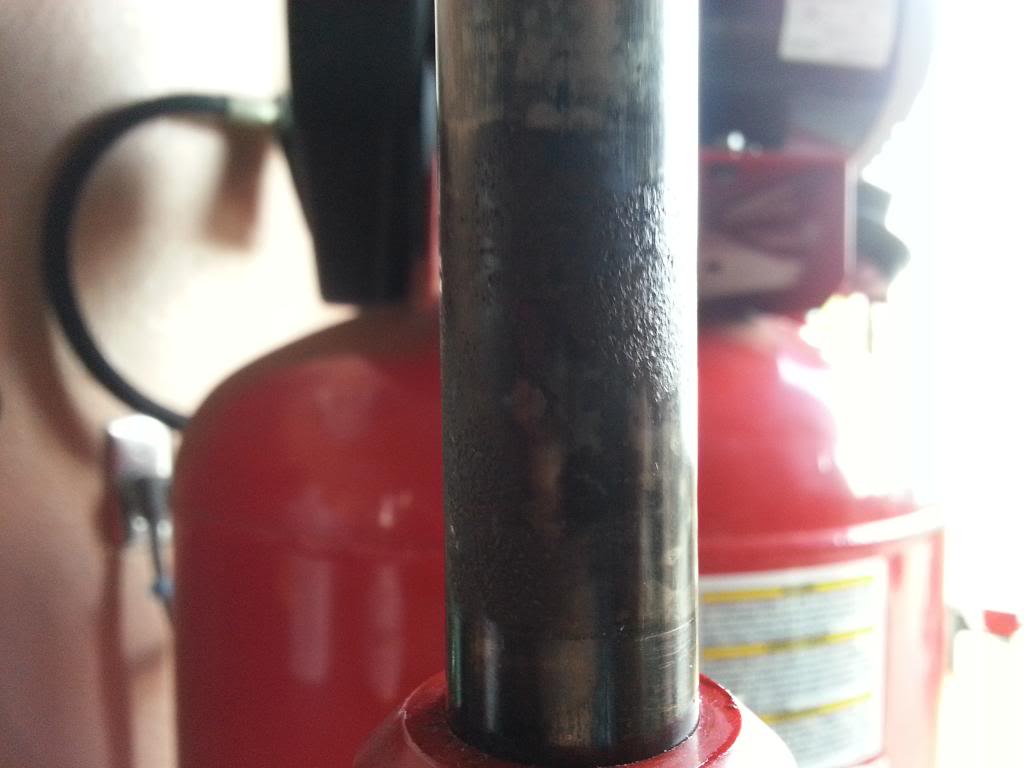
once I took this shock apart i realize that the shock shaft was really pitted bad so I had to order a new shaft for 54 dollars.
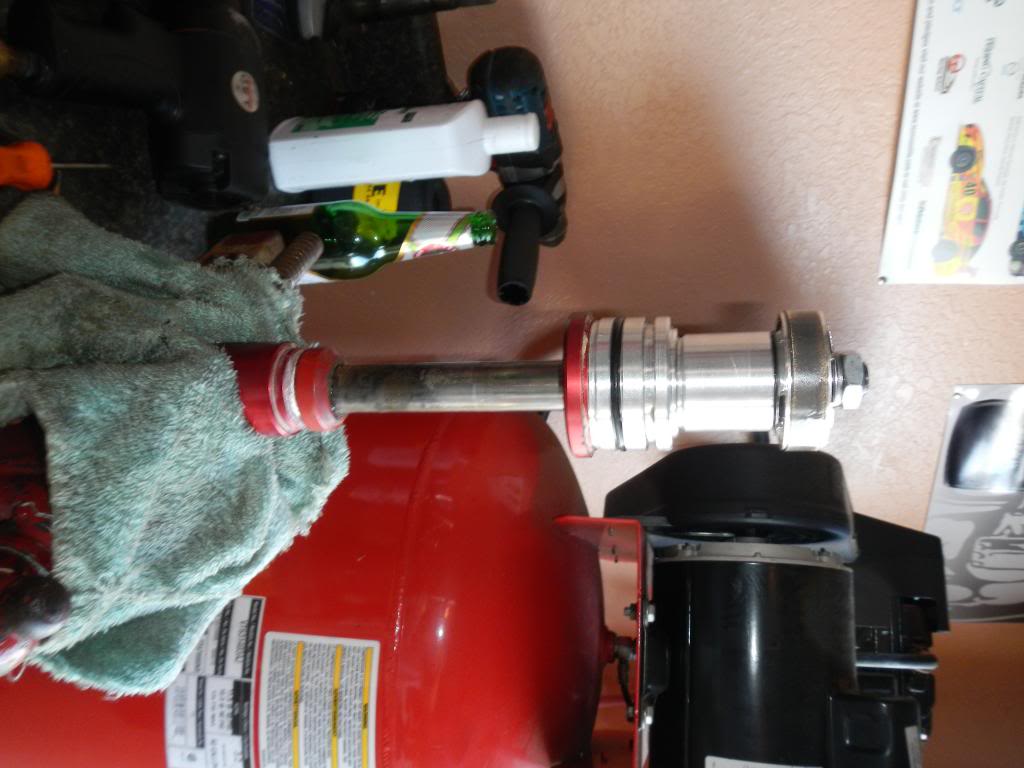
Now the fun part getting the shaft off the end of the shock! I decided just to weld the nut on and impact gun it!
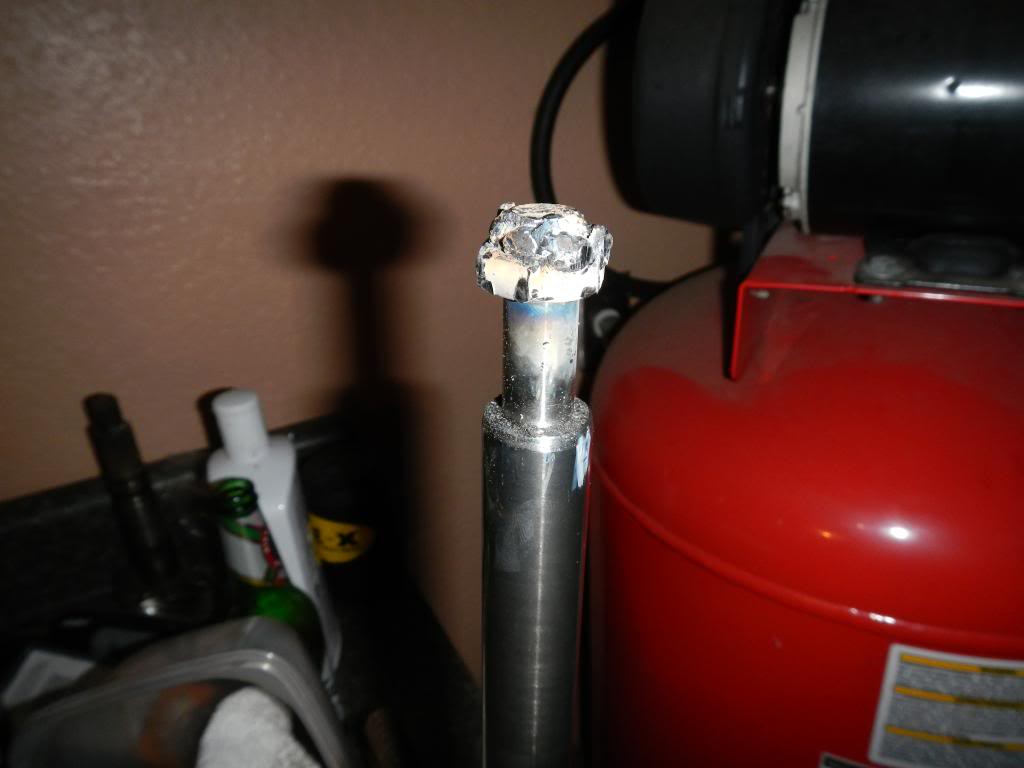
but some lock-tight on the shaft, and put it back in.
so now you can put the stuff back on the shaft with your new nut, witch they told me to just tighten it tight cuz it is a lock nut and dose not really carry a load, it does not need a torque spec.
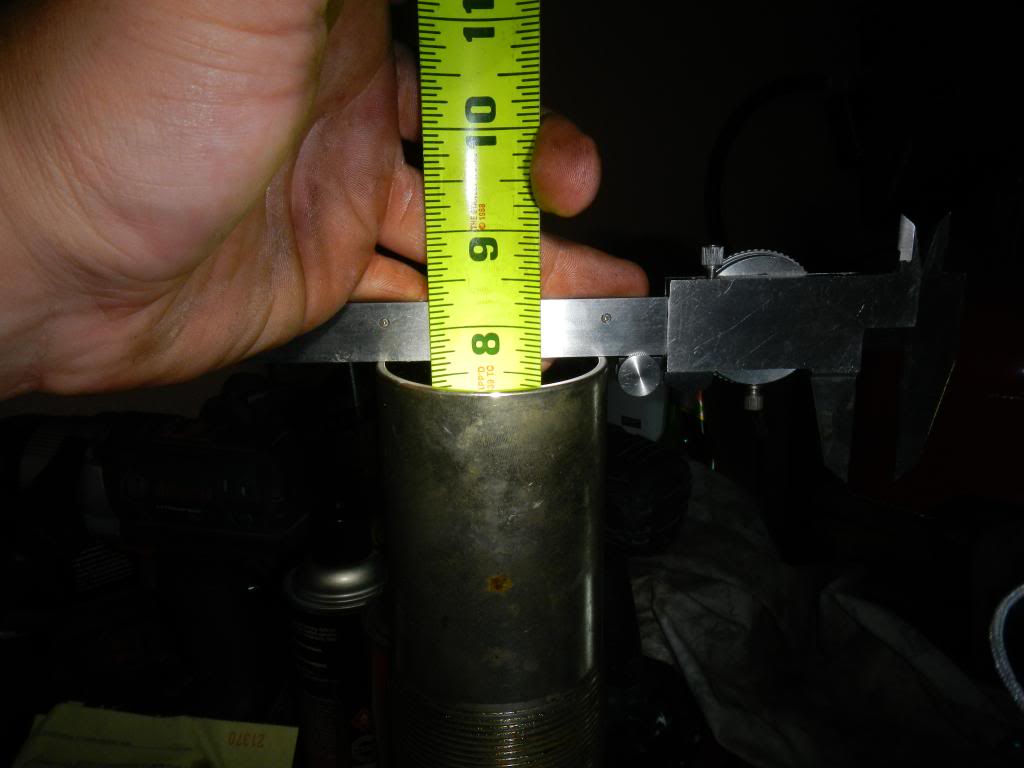
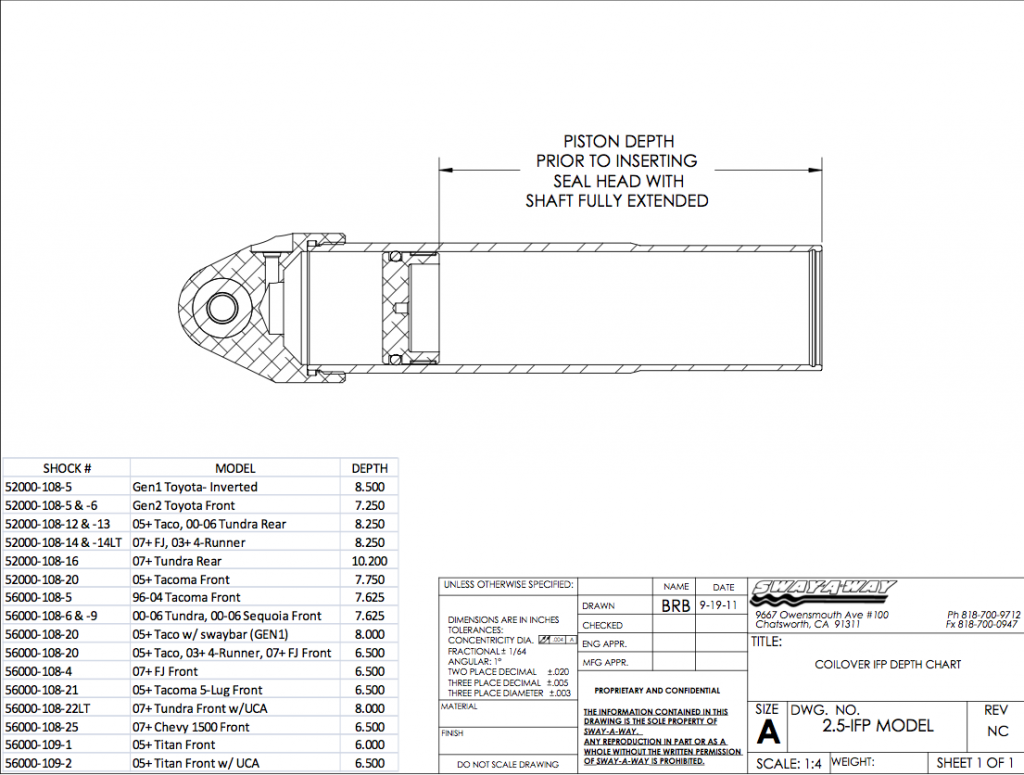
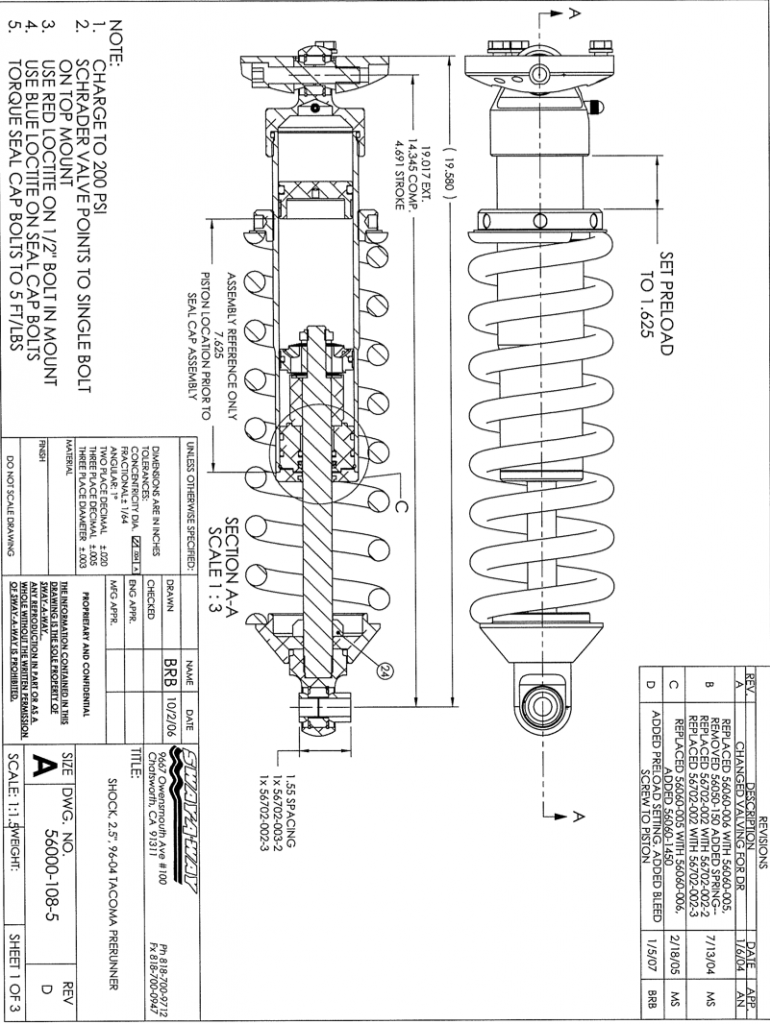
now there is a piston down the tube, so I took off the shreader valve and put air in there but BE CARFUL you are making a cannon so only put a small amount of air and blow it out. replace the seal and put it back in, make sure the inside if the shock is clean. When you put the piston back in you have to measure from the top of the piston to the end of the tube, on this one it is 7 5/8
Then you need to fill the shock tube about 3/4 full of oil and slowly put the shaft in there and right before that last piece goes in it should be squeezing the last bit of oil out.
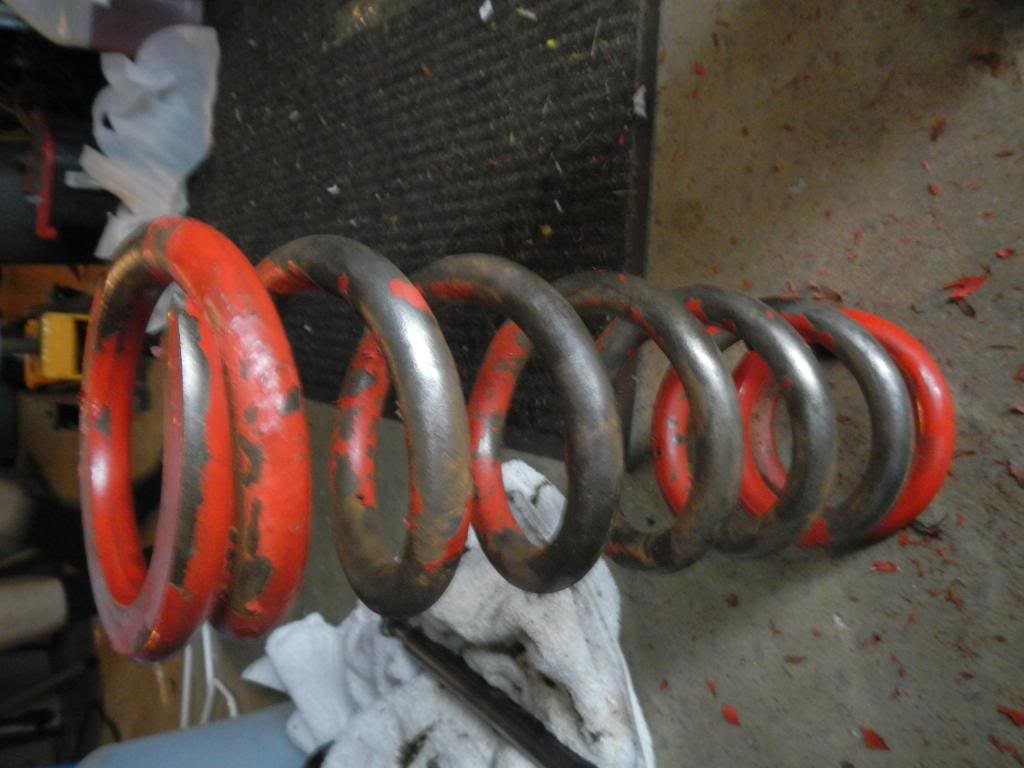
My coils were starting to flake the original coat of paint off so I sanded them down and painted them. they turned out pretty lame but I need them on so I just put it on any way.
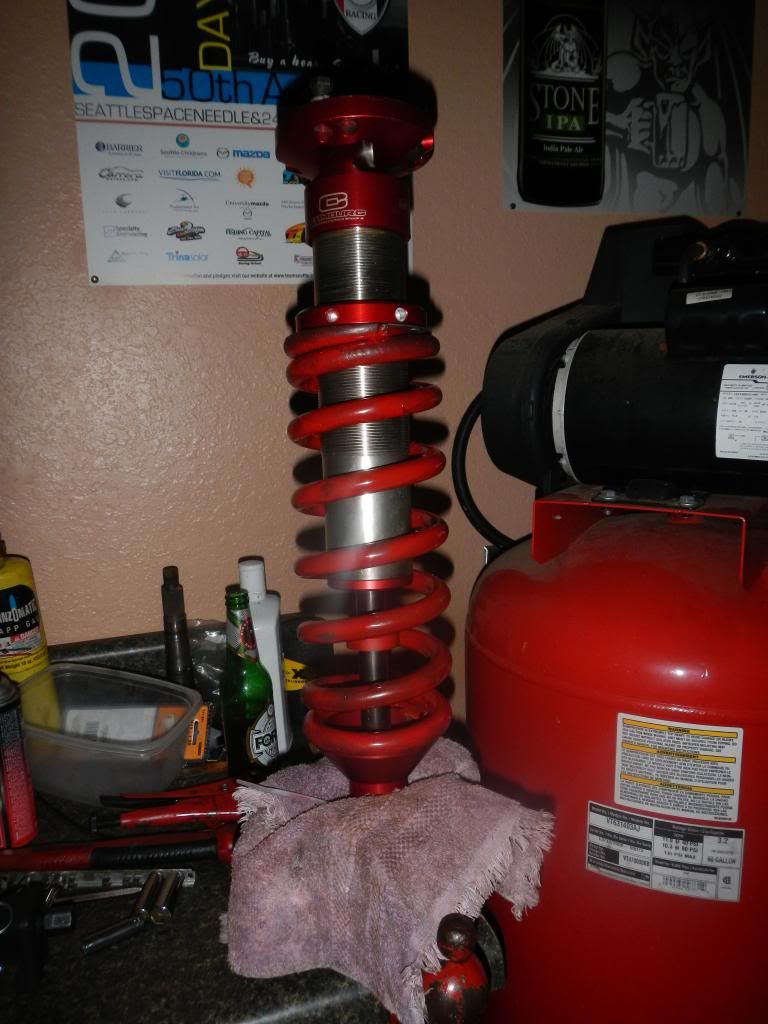
To this!
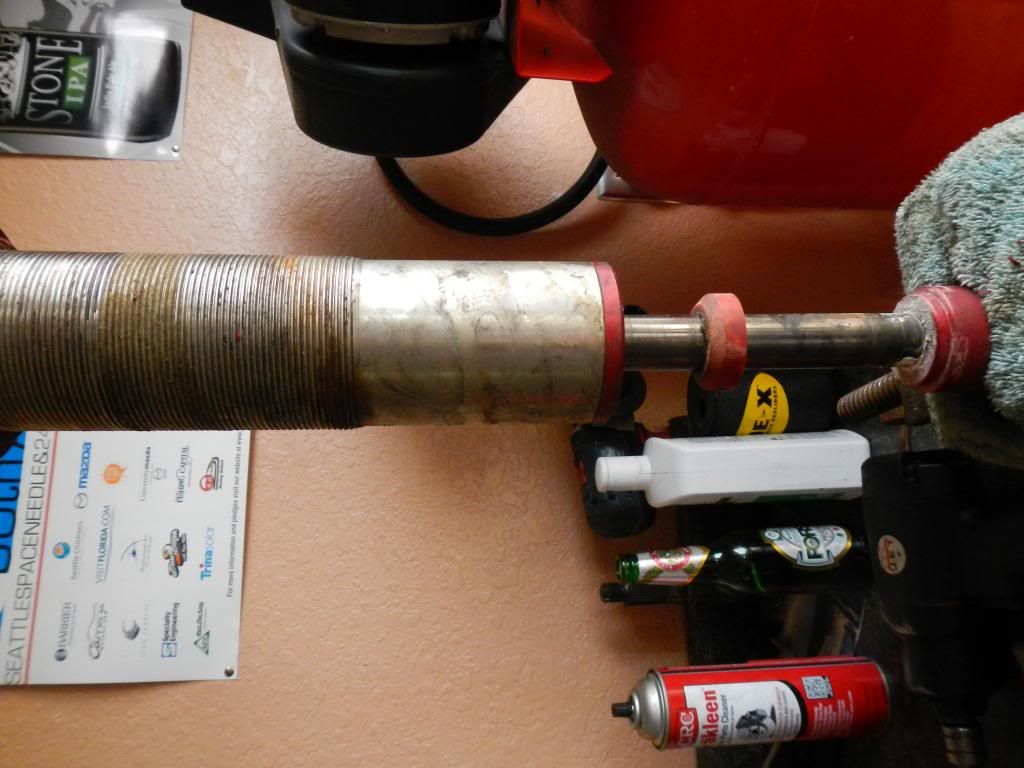
The big metel tube dose come off and there is a big tan seal that goes in there! I did not replace it because eric said it was not a big deal so I put it in my tool box for later!
I also got some diagram from sway-a-way if this helps and so you know im not blowing smoke up you know were!
I hope this helps out!!!
Before your start please read all this and make sure your have all the part you need
-rebuild kit,every other rebuild you replace the wear bands.
-gallon jug of sway-a-way 7w shock oil
-2 new jam lock nuts from sway-a-way
-make sure you can get your shreader valve and cap off if not you might have to break it off like I did and get a new one!
This is what i had to start
One of the adjuster plate was frozen so i had to use a spring compressors to get the spring off, so I could cut the adjuster plate off!
using the compressor, it worked so good I did it on both of them
Once you have the spring compressed you can pull the bottom cup off
Now the fun begins!
Pull those screws out.
pull that clip out that hold the shaft asbly in, and slowly pull it out! it will make a mess so be ready for it.
then this is what you have to put all new seals in. Make sure you pay attention how it come apart!!! the bolt that holds this all together is a one time use bolt so you need 2 new nuts for the rebuild!
now replace all the seals
that metal ring around the out side of that is the wear band
once I took this shock apart i realize that the shock shaft was really pitted bad so I had to order a new shaft for 54 dollars.
Now the fun part getting the shaft off the end of the shock! I decided just to weld the nut on and impact gun it!
but some lock-tight on the shaft, and put it back in.
so now you can put the stuff back on the shaft with your new nut, witch they told me to just tighten it tight cuz it is a lock nut and dose not really carry a load, it does not need a torque spec.
now there is a piston down the tube, so I took off the shreader valve and put air in there but BE CARFUL you are making a cannon so only put a small amount of air and blow it out. replace the seal and put it back in, make sure the inside if the shock is clean. When you put the piston back in you have to measure from the top of the piston to the end of the tube, on this one it is 7 5/8
Then you need to fill the shock tube about 3/4 full of oil and slowly put the shaft in there and right before that last piece goes in it should be squeezing the last bit of oil out.
My coils were starting to flake the original coat of paint off so I sanded them down and painted them. they turned out pretty lame but I need them on so I just put it on any way.
To this!
The big metel tube dose come off and there is a big tan seal that goes in there! I did not replace it because eric said it was not a big deal so I put it in my tool box for later!
I also got some diagram from sway-a-way if this helps and so you know im not blowing smoke up you know were!
I hope this helps out!!!
 02-21-2014, 09:34 AM
#2
Registered User

Join Date: Aug 2010
Posts: 3
Likes: 0
Received 0 Likes
on
0 Posts
Thanks for the write-up; saves me the trouble of writing one!
I am rebuilding my 2.0's at the moment and I thought that I would add that after calling SAW, the depth to set the piston (between oil and nitrogen) on the 2.0's is 7 1/4" instead of the 7 5/8" for the 2.5's
I am rebuilding my 2.0's at the moment and I thought that I would add that after calling SAW, the depth to set the piston (between oil and nitrogen) on the 2.0's is 7 1/4" instead of the 7 5/8" for the 2.5's

Thread
Thread Starter
Forum
Replies
Last Post
foampile
03+ 4Runner/GX470, & 05+ Tacomas
1
12-18-2022 01:29 PM
polo451
General Vehicle Related Topics (Non Year Related)
13
11-20-2016 07:49 PM
Vargntucson
95.5-2004 Tacomas & 96-2002 4Runners
0
07-04-2015 12:15 PM


