Yota 3.0's 1992 Pickup Build-Up Thread
 03-22-2010, 09:01 AM
#1
Yota 3.0's 1992 Pickup Build-Up Thread
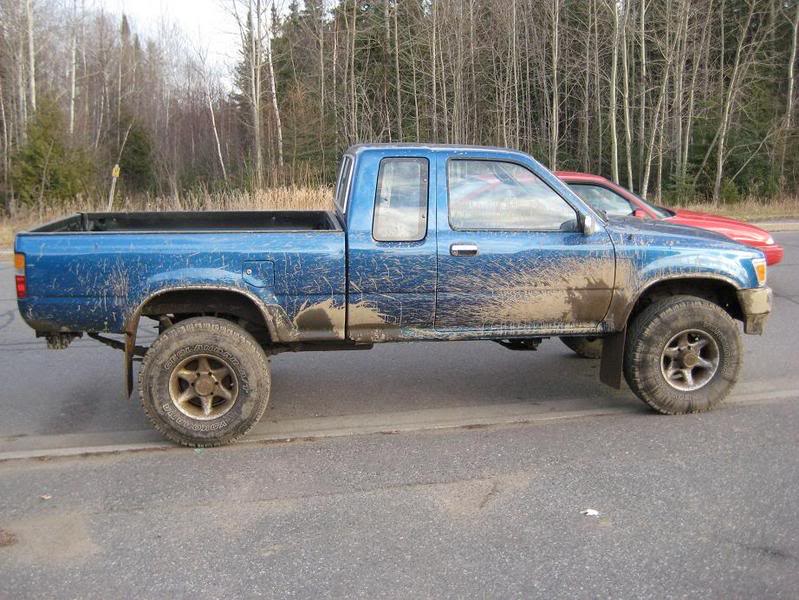
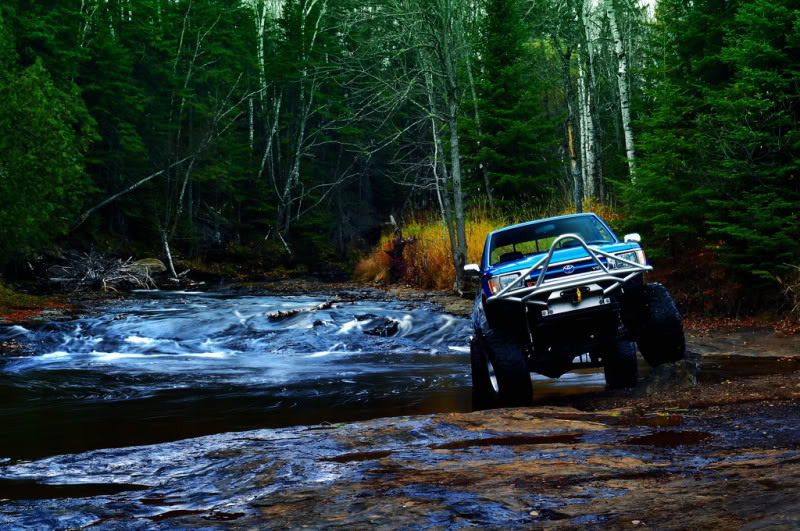
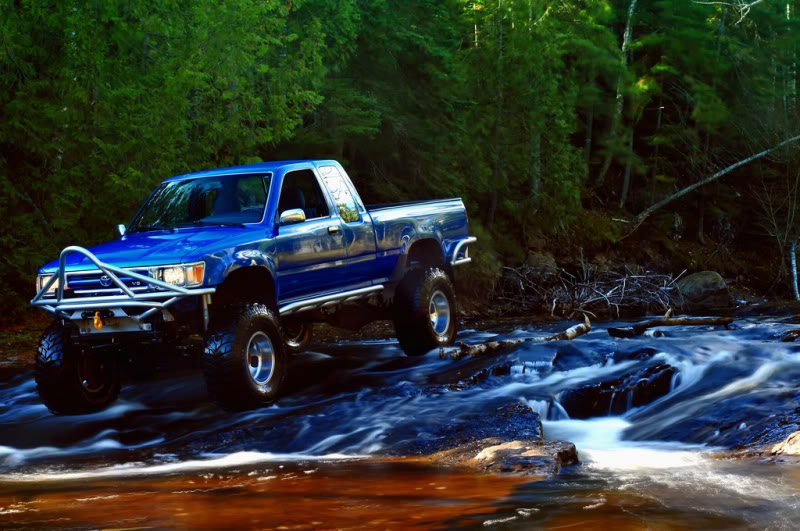
Well here in Ontario Canada its is impossible to own a summer car and drive it all year round so i picked up a 92 back in August 2007 for a winter vehicle and had no intentions of ever doing anything to it (im sure everyone has said this at some point) besides some body work as it was starting to show rust and the rocker panels were as thin as paper.
Drove it like this for the first winter

Summer 2008 picked this up from a buddy
Started to clean it up and get it ready

TG kit came in
Painted with POR15
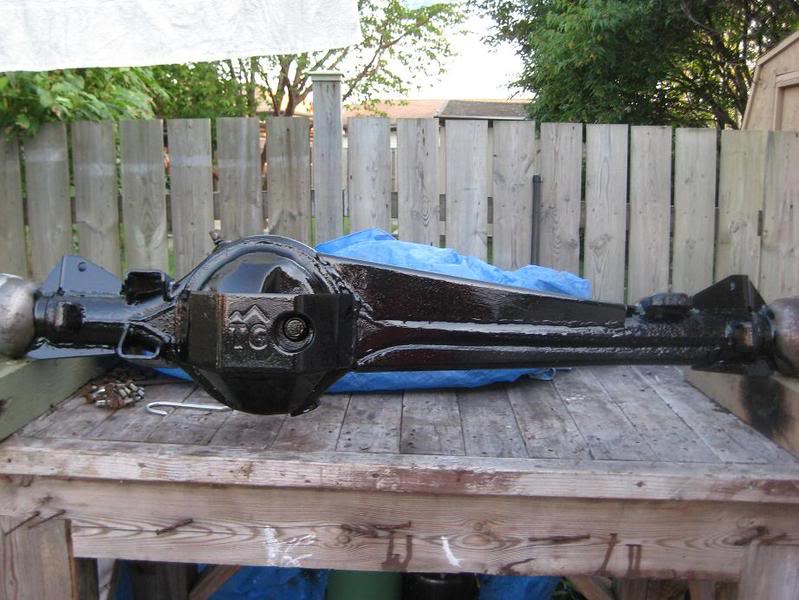
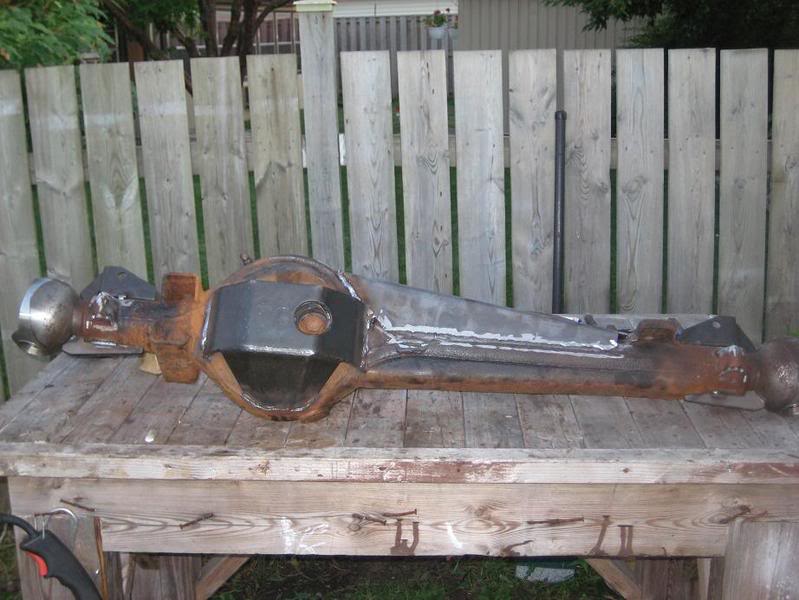
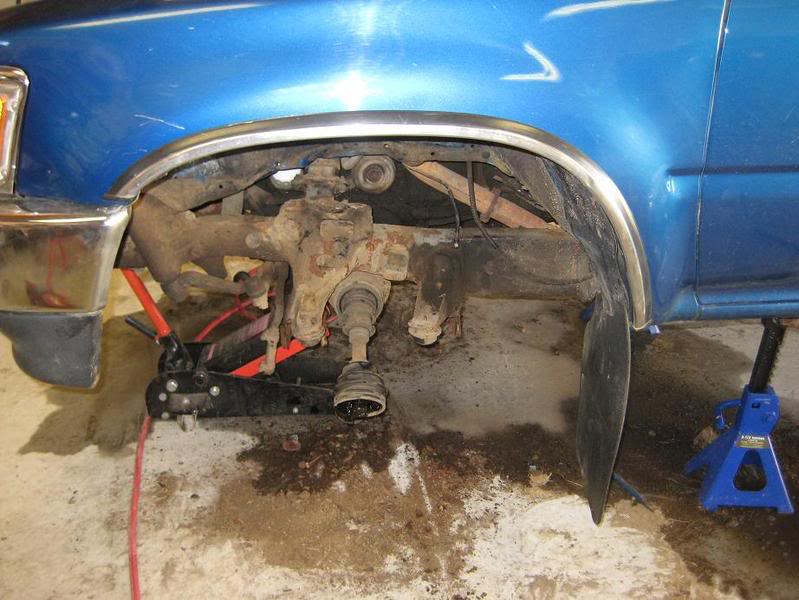
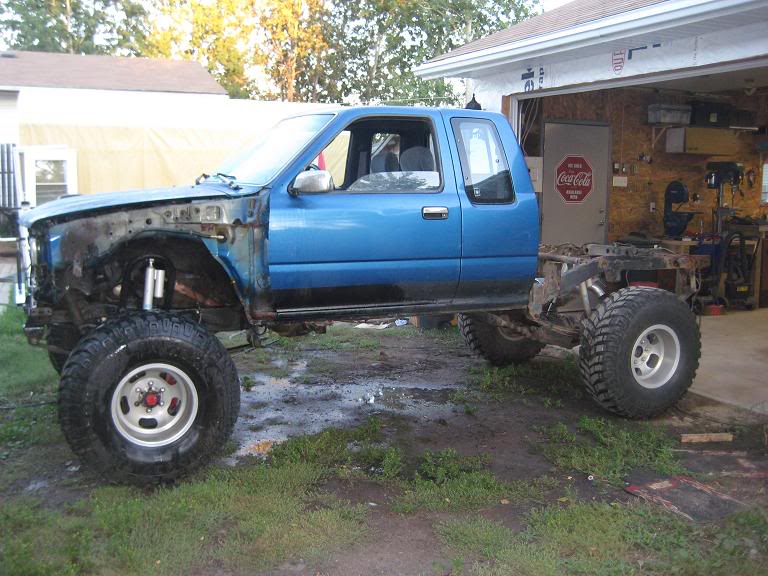
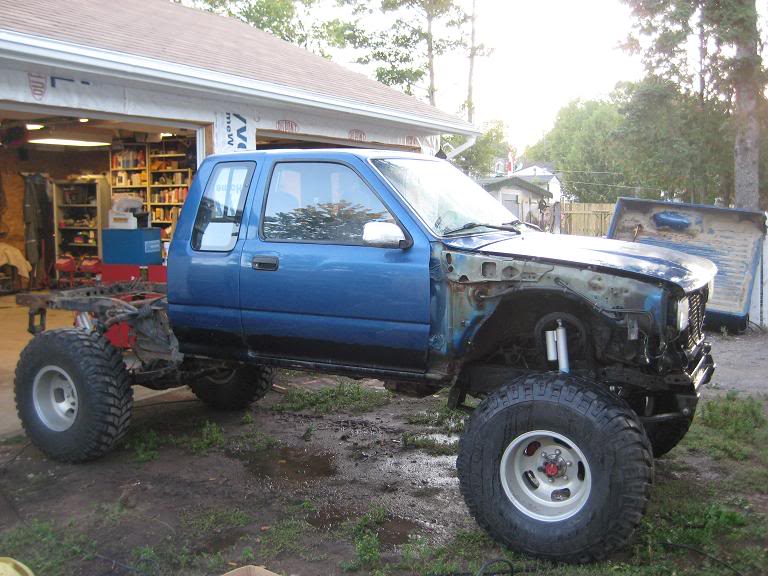
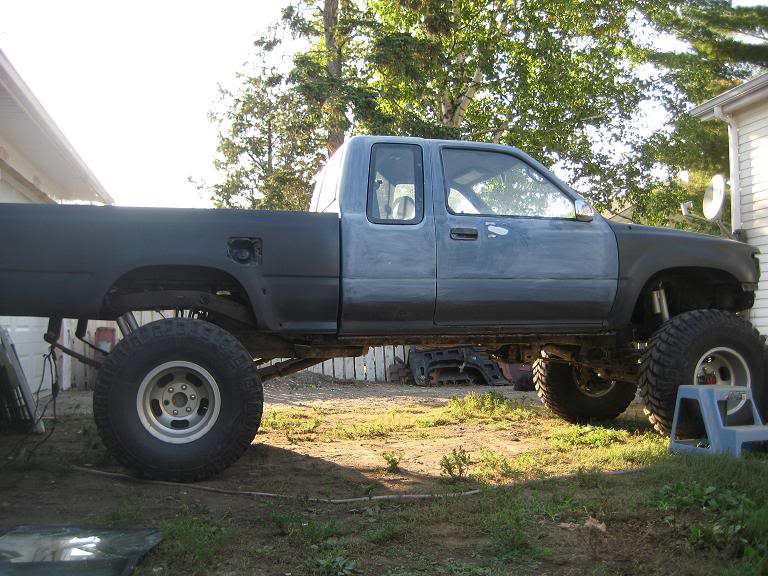
Fall 2008 i started the SAS


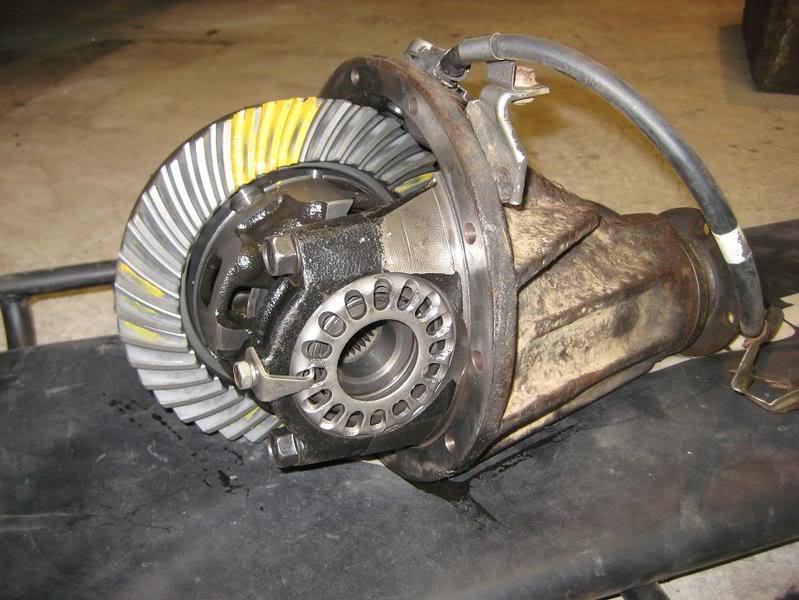
4.88's
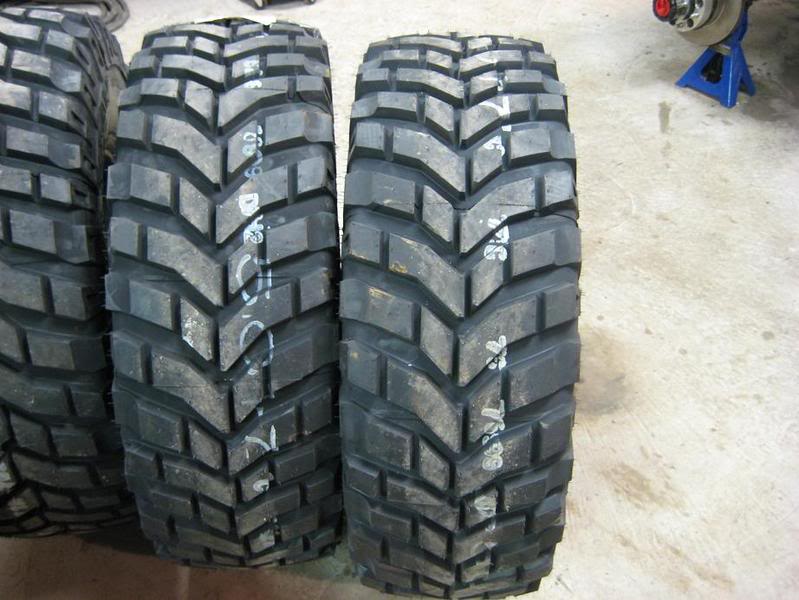
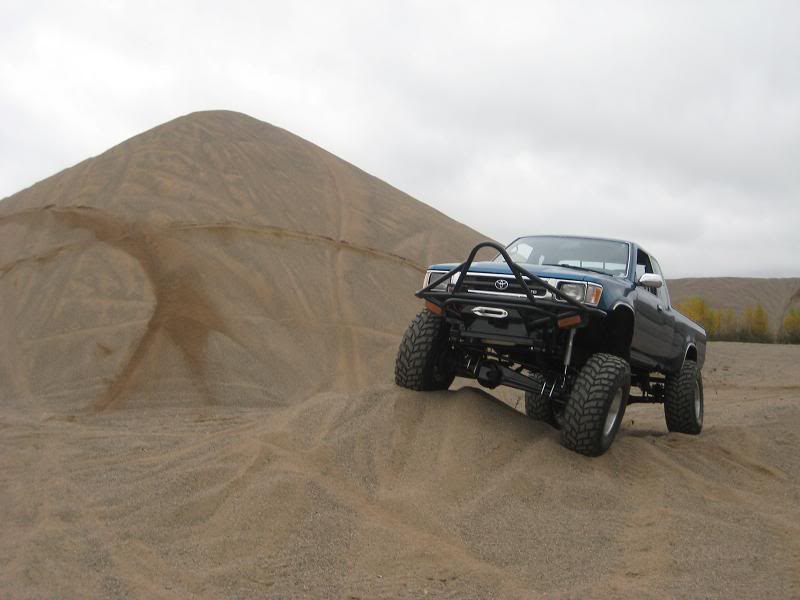
Tires 35x12.5x15 MT Baja Claws
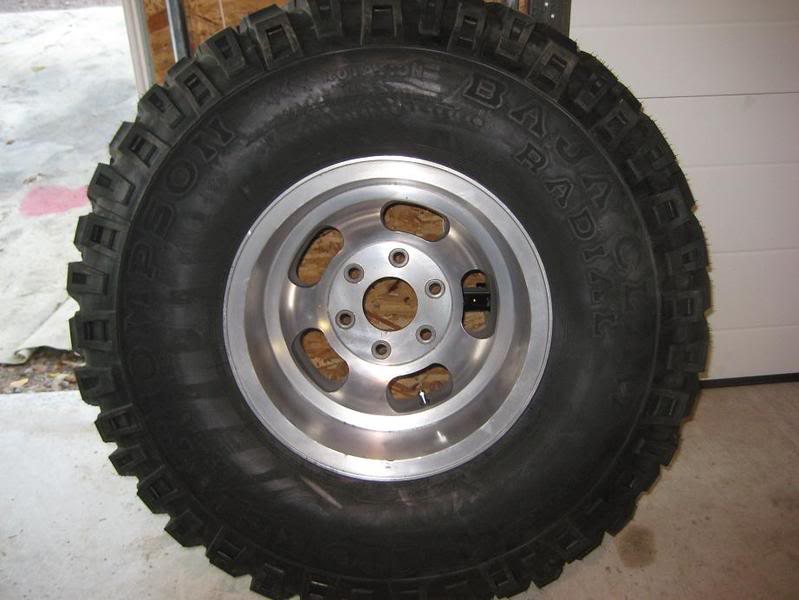
Picked up some Chevy Slot wheels from a swap meet
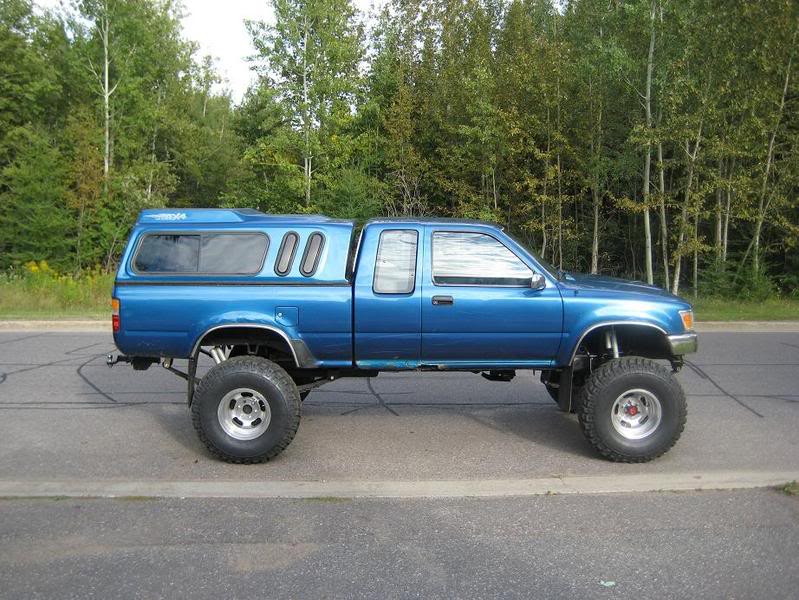
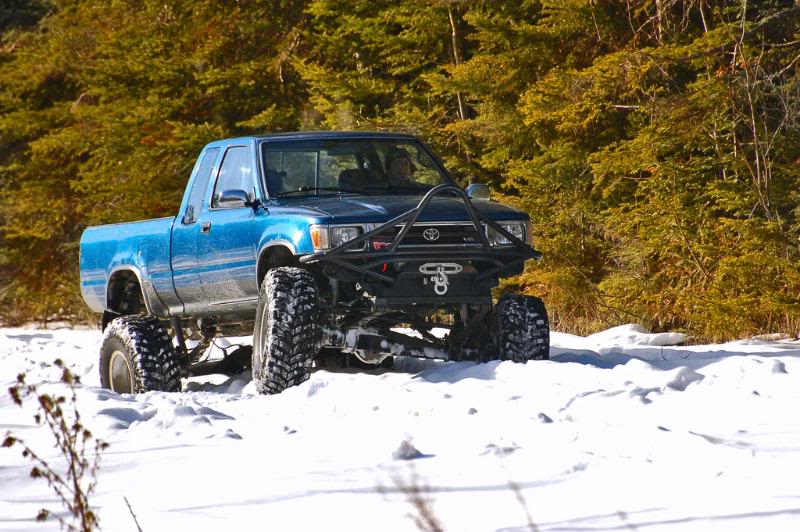
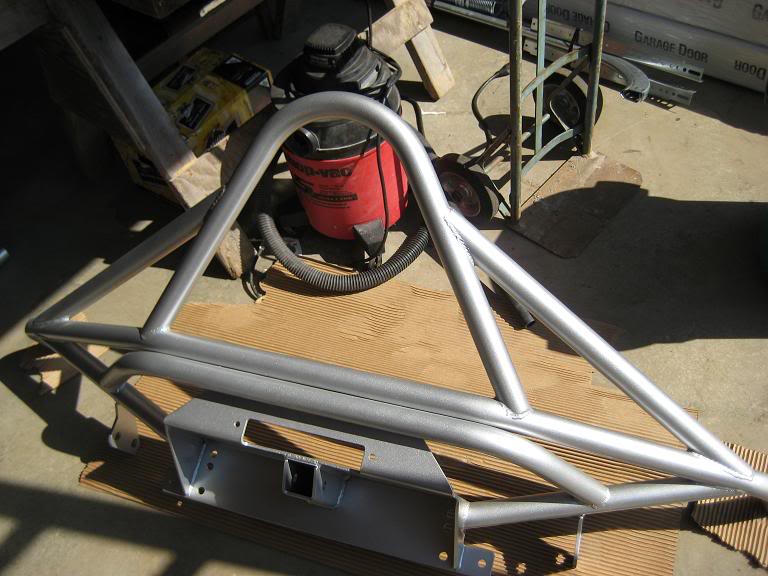
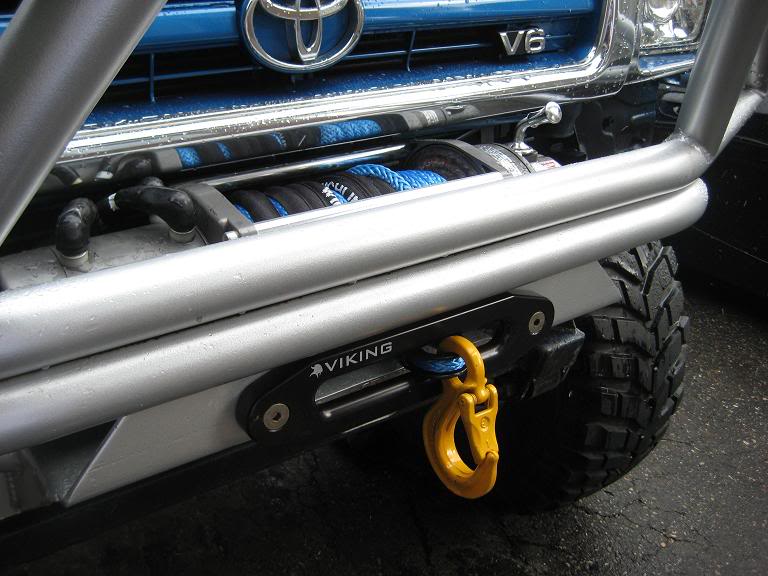
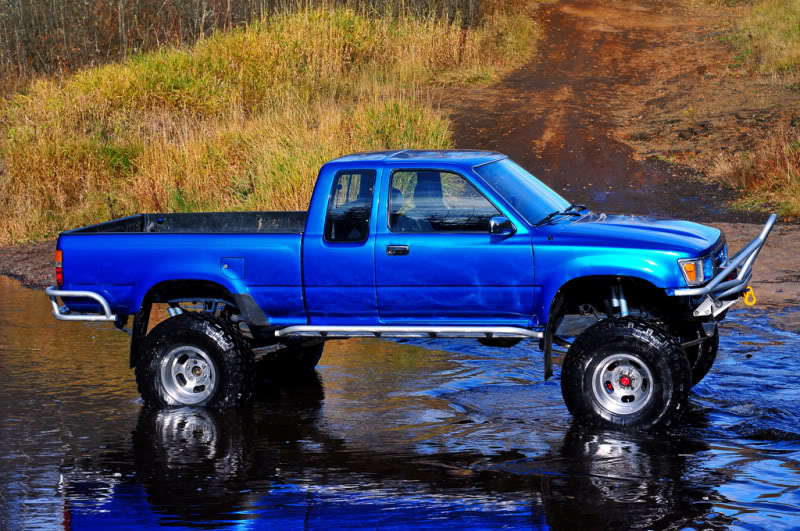
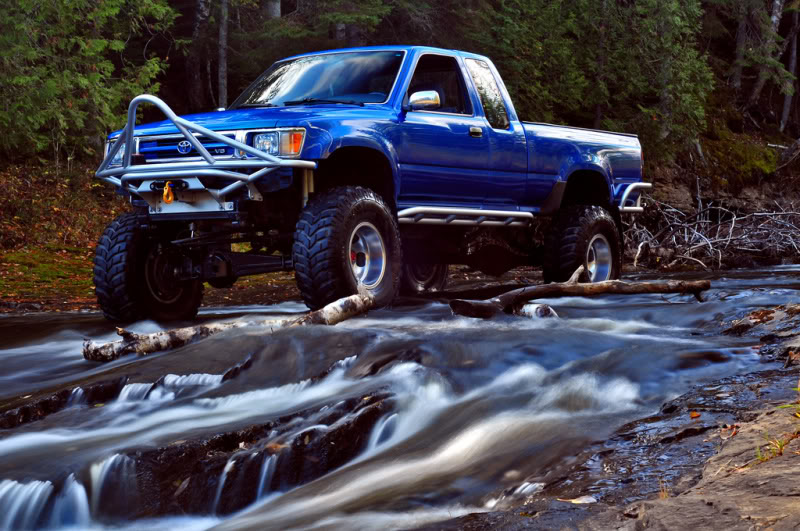
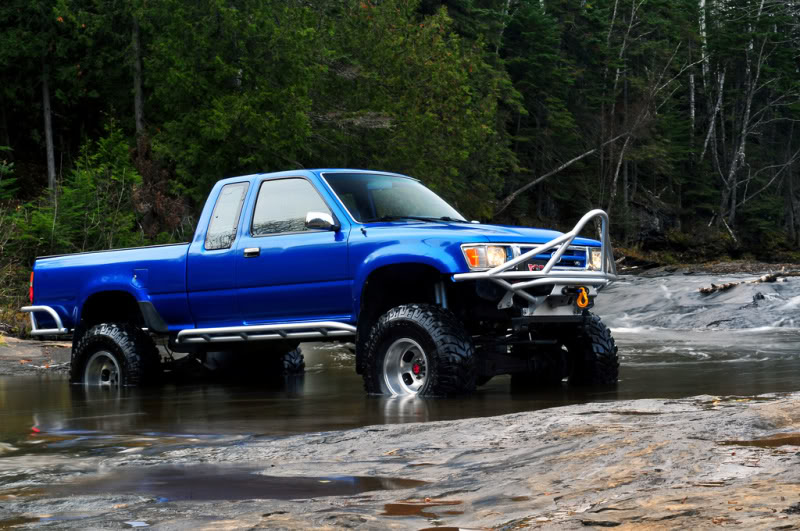
Put on a TG front bumper and Warn M8000
Winter 2008
Summer 2009
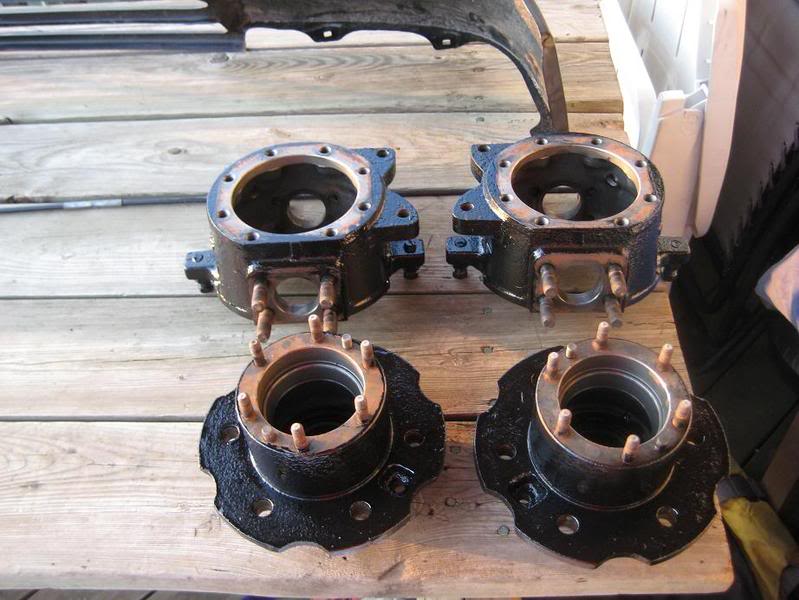
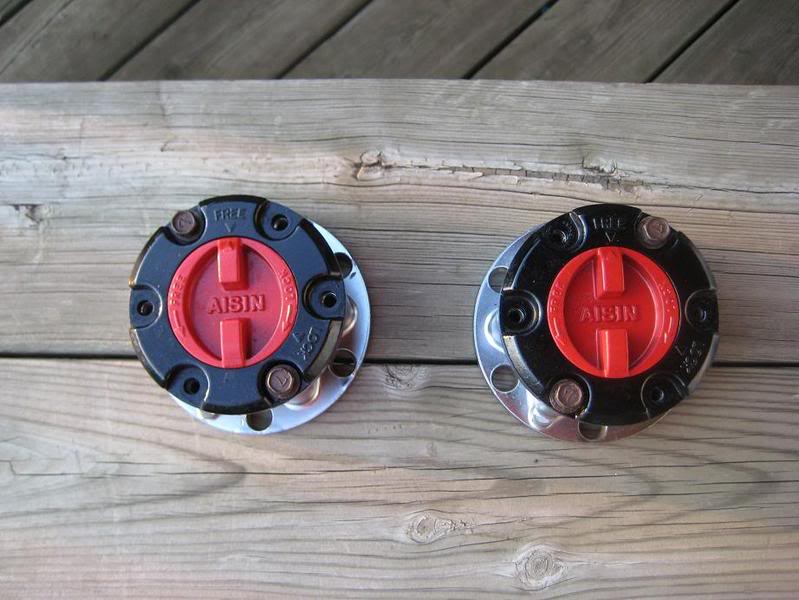
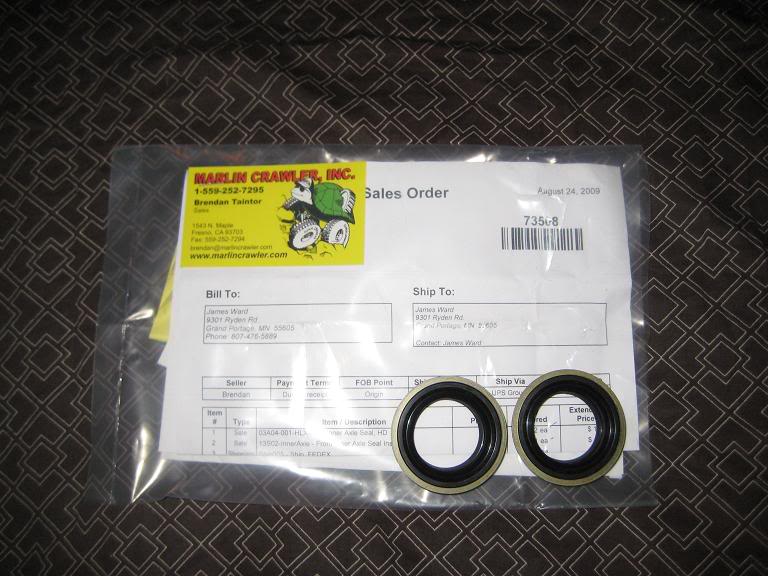
picked up some Dirty 30's and Marlin hd seals

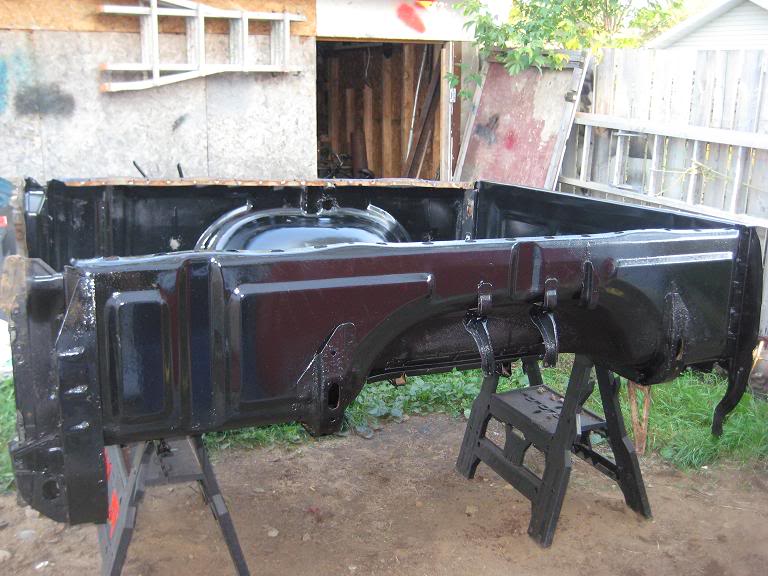
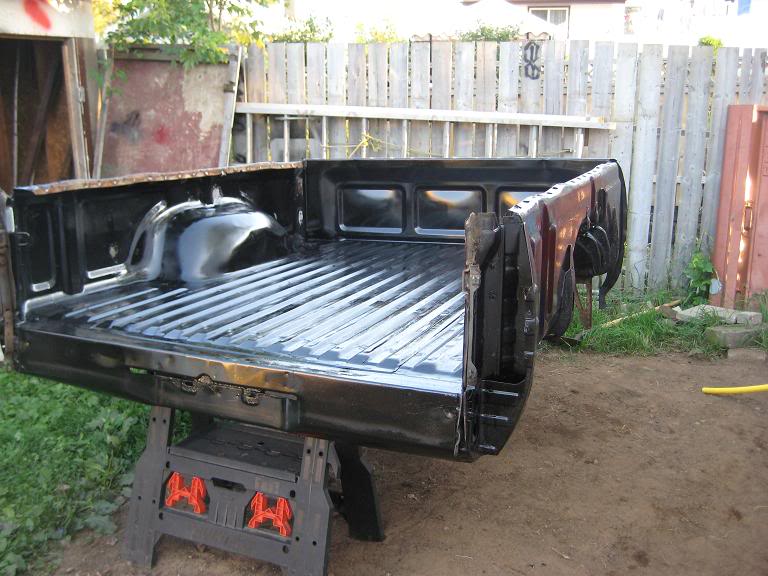
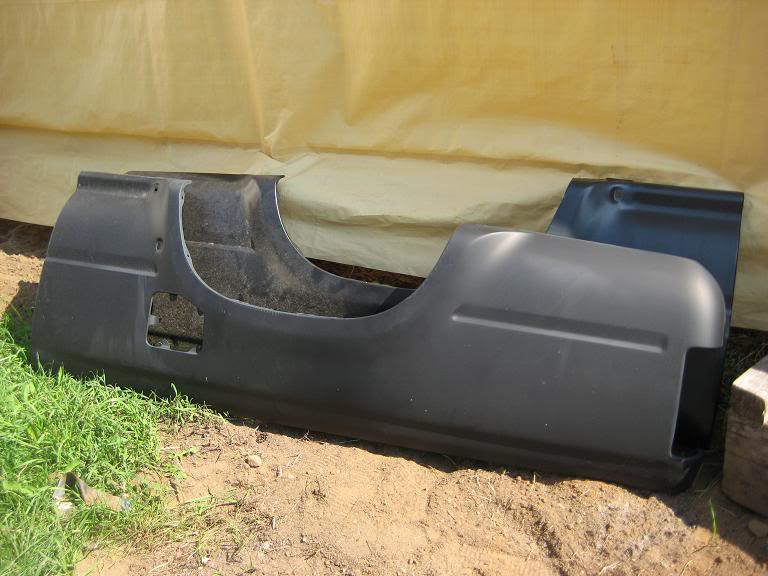
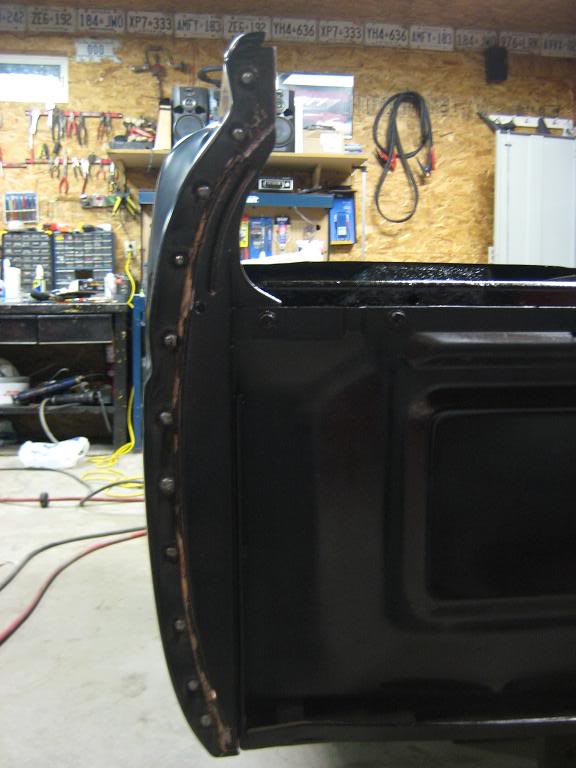
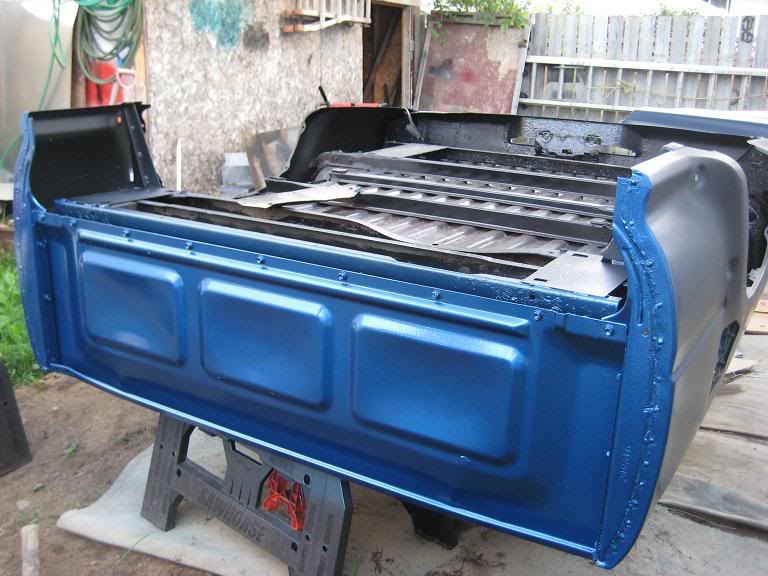
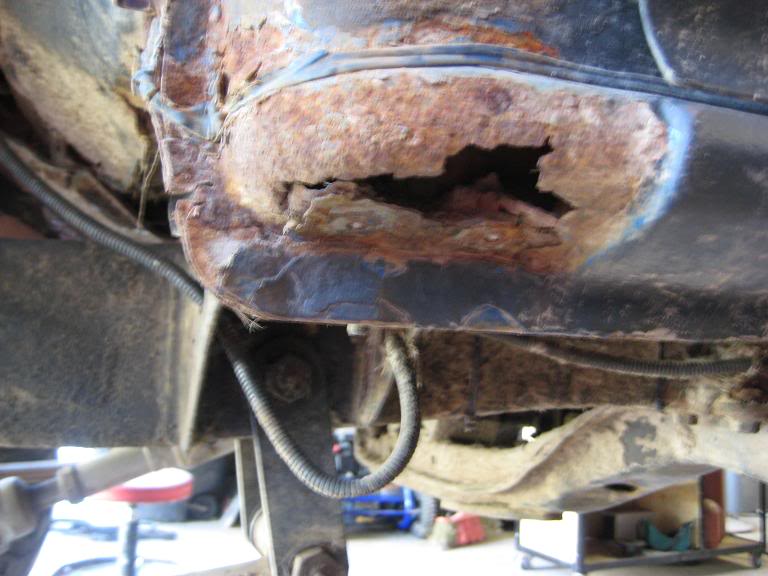
and decided to start on the body work so the search began for good shape box. found one with a nice bed but the sides were toast so ordered up some metal box sides.
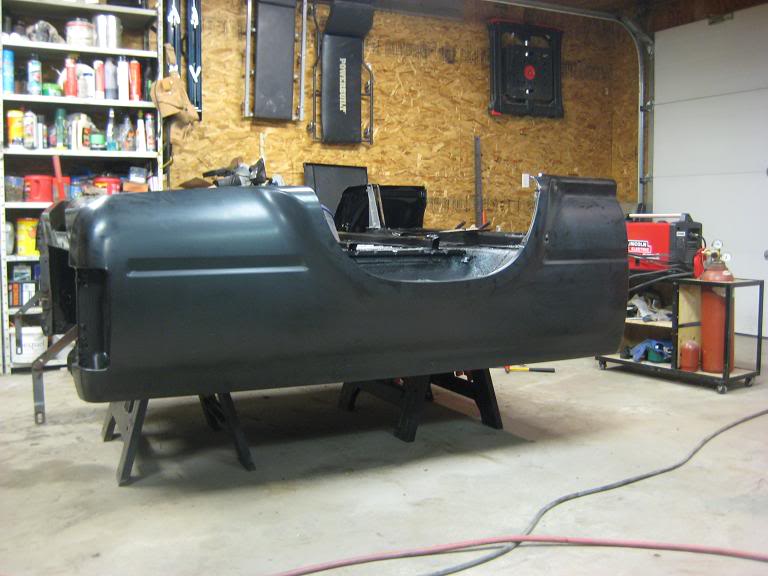
Grind off all the spot welds andPOR15 the whole box
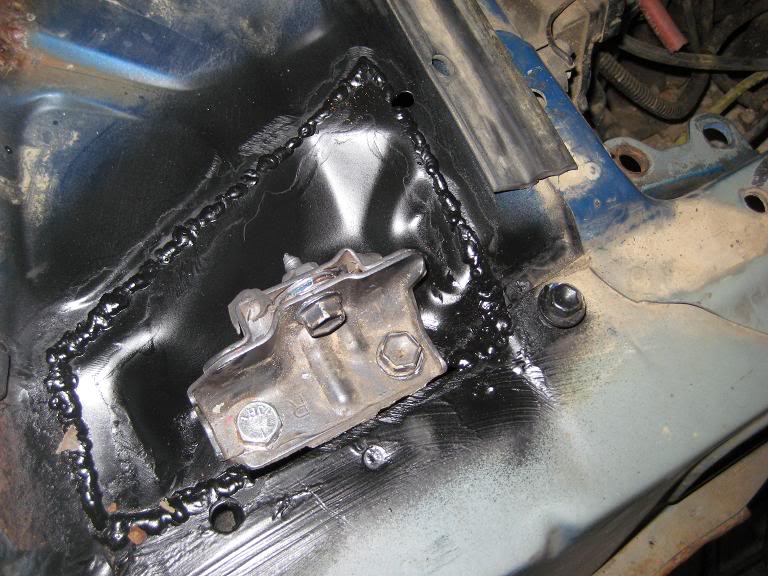
Made some new brakets to replace the old rusty ones
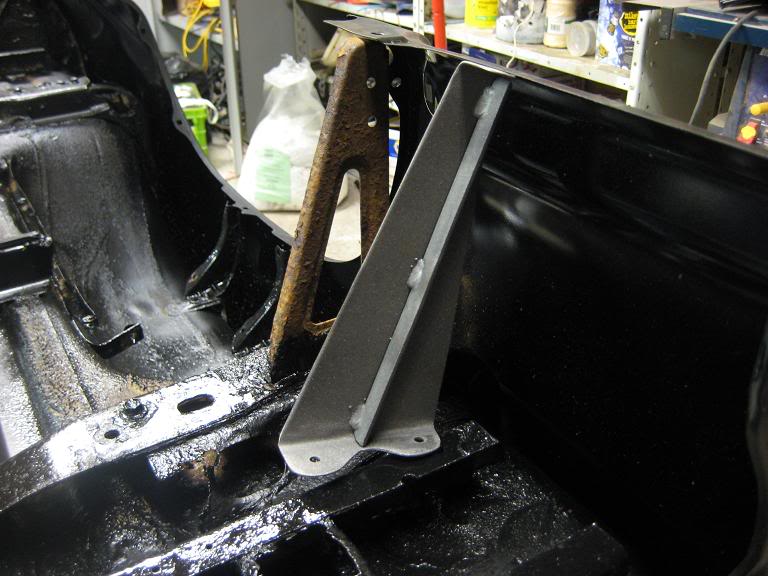
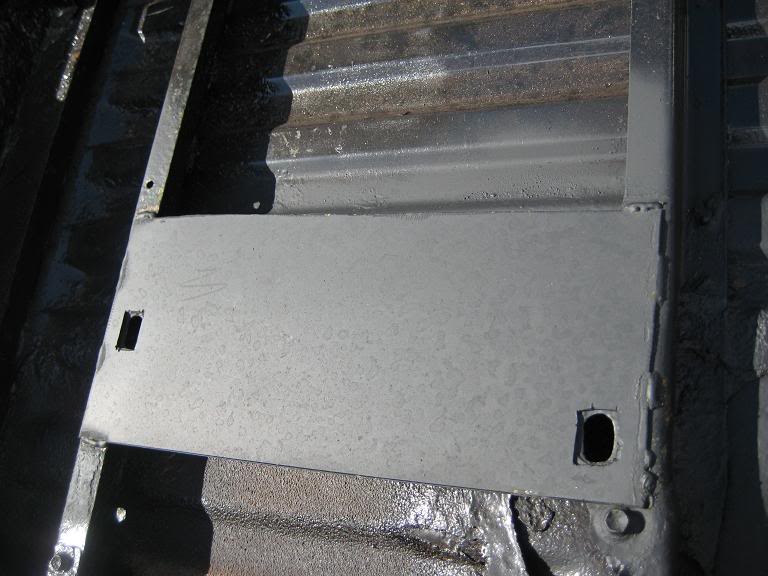
Made some plates to reinforce the bed a bit

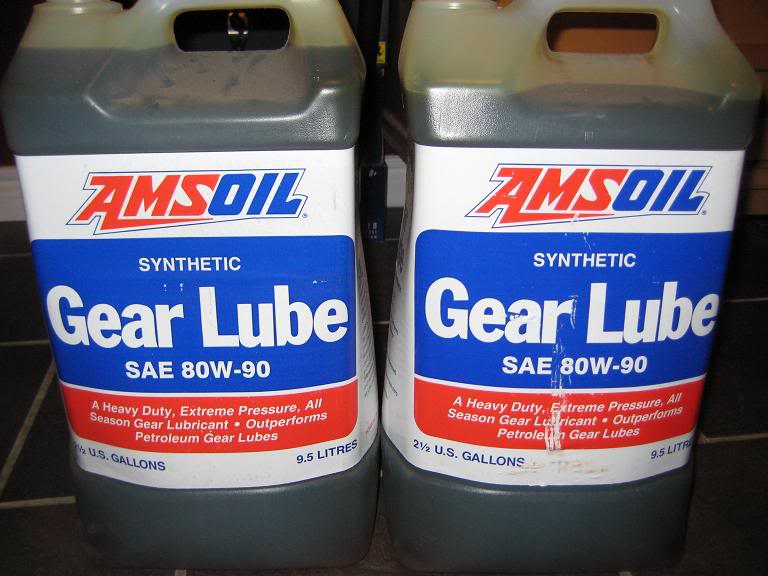
Got a good deal on some amsoil
Started to pull apart the truck
Powder coated bumpers
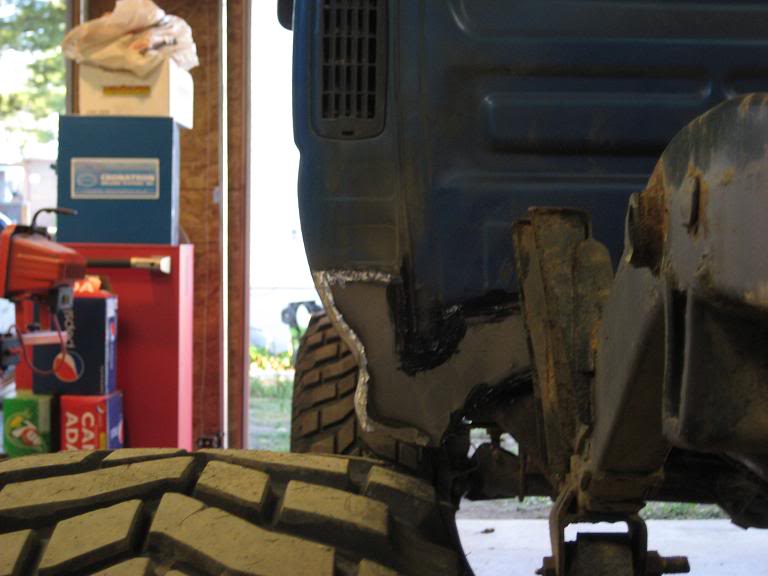
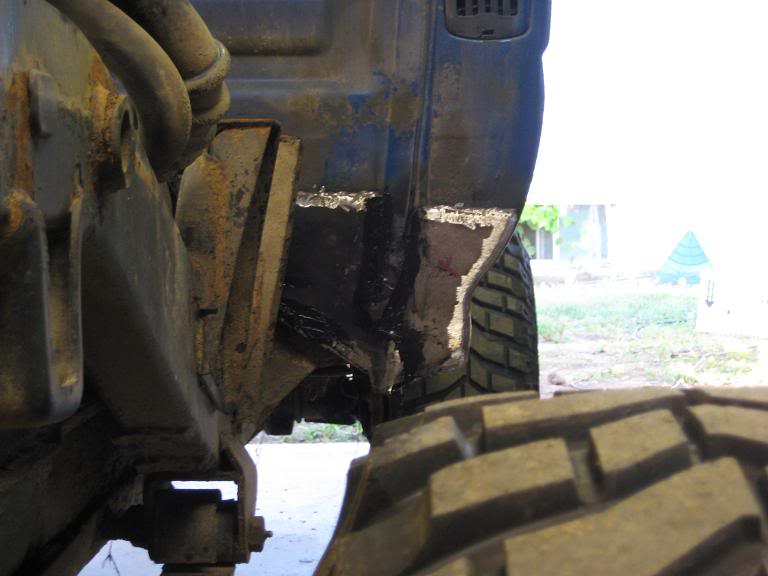
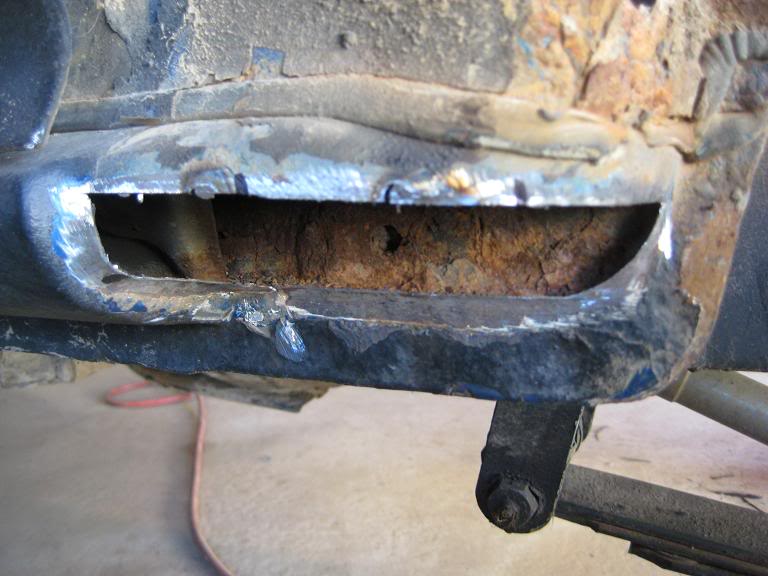
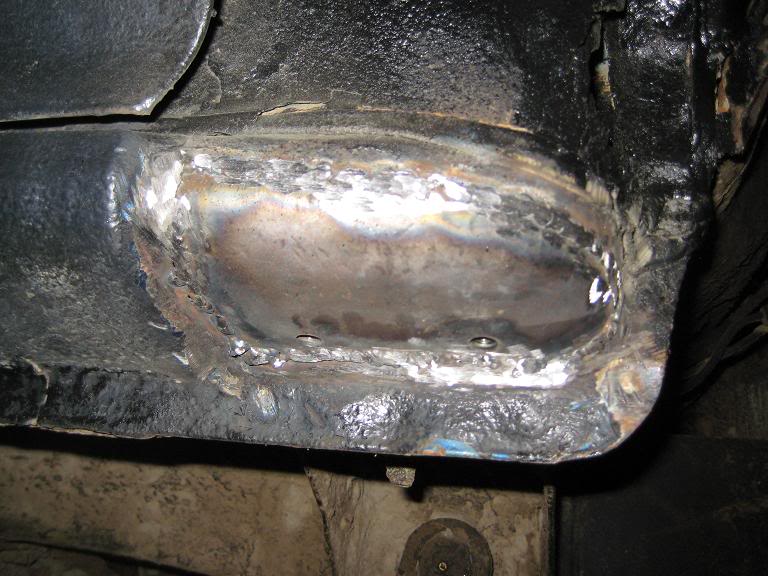
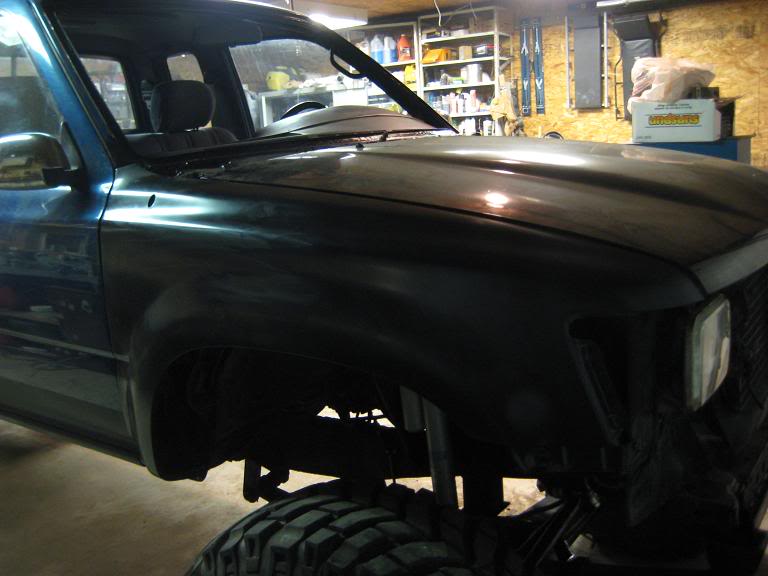
Cut some plate and fix the cab corners

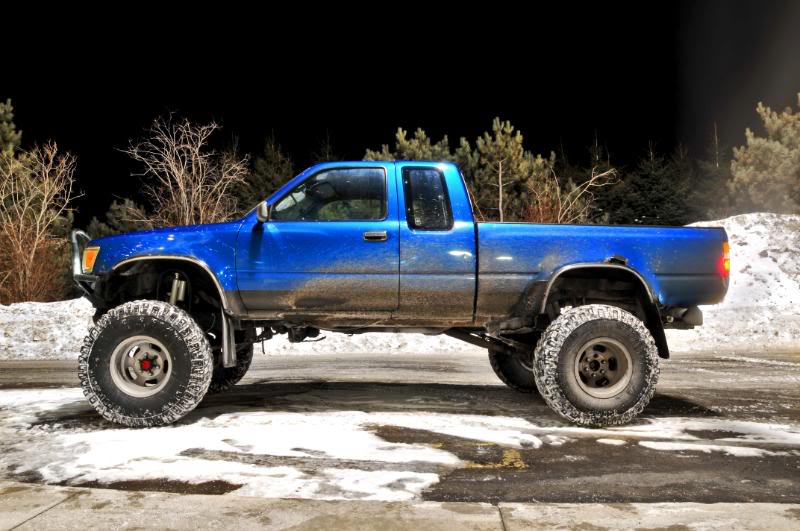
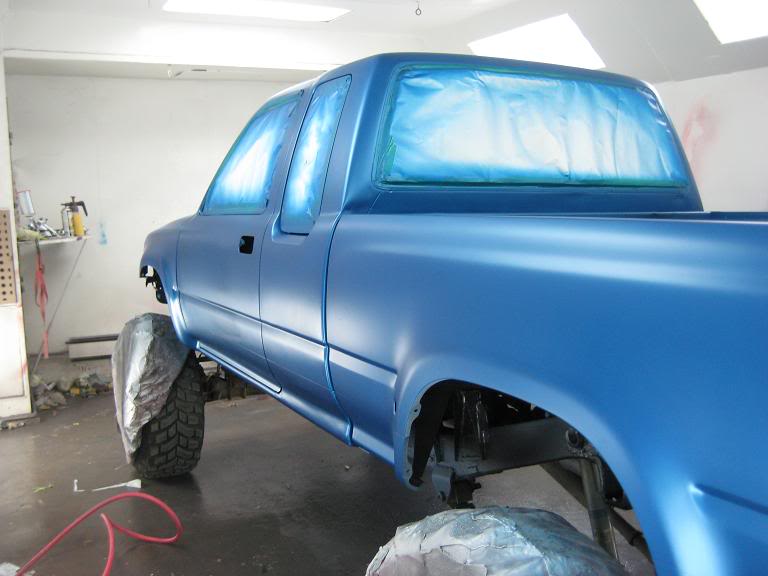
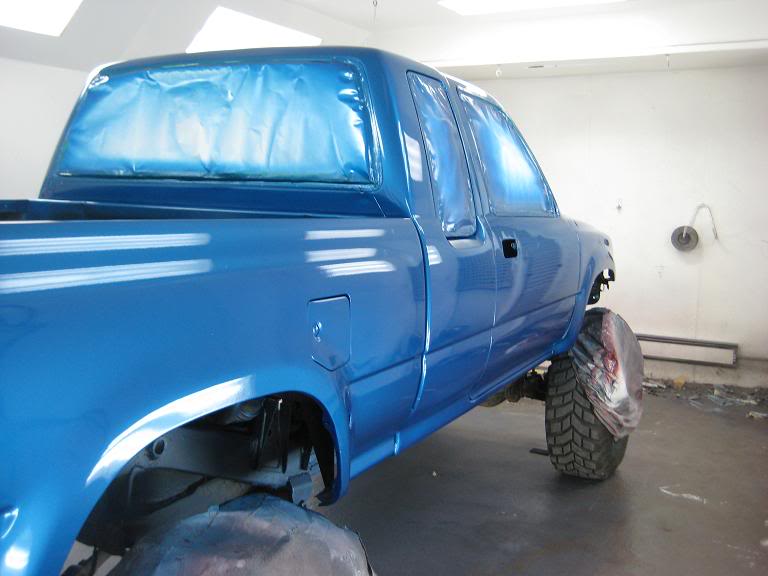
some paint (Speedway Blue)

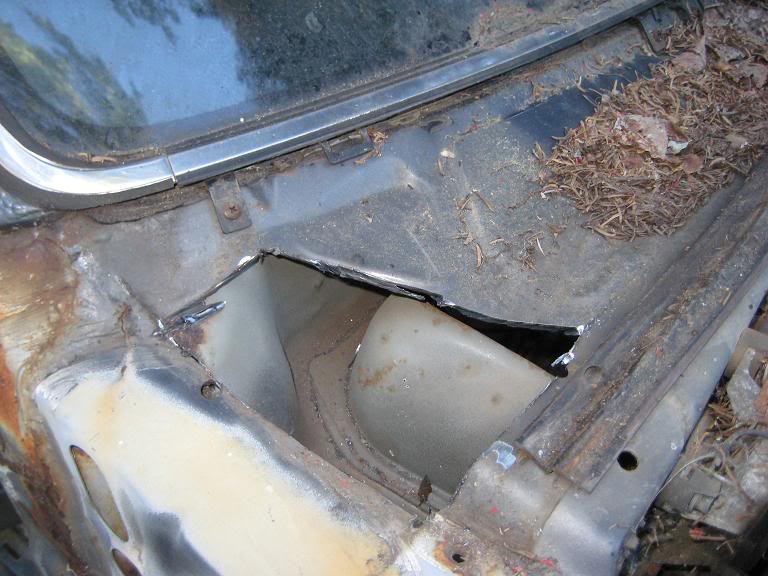
My hood hinge was broken right off and left a huge hole in the truck so i went to the parts truck and cut out what i needed then welded it in
bolted the hood on
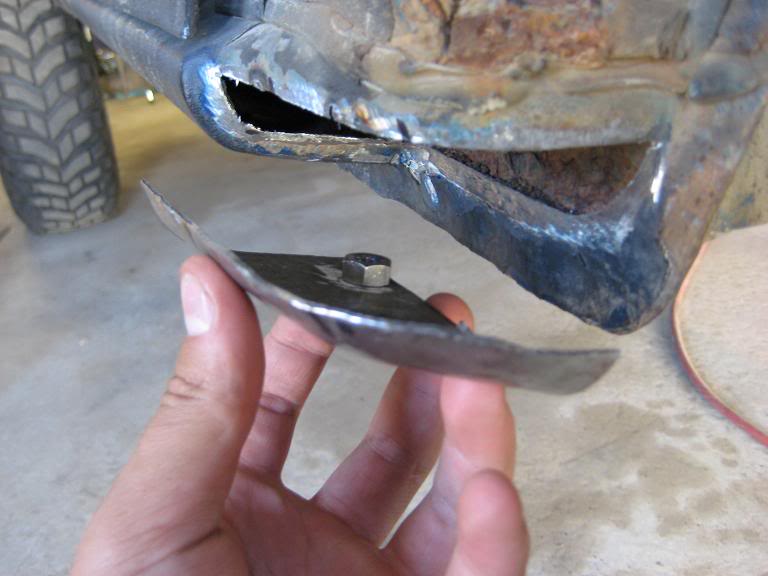
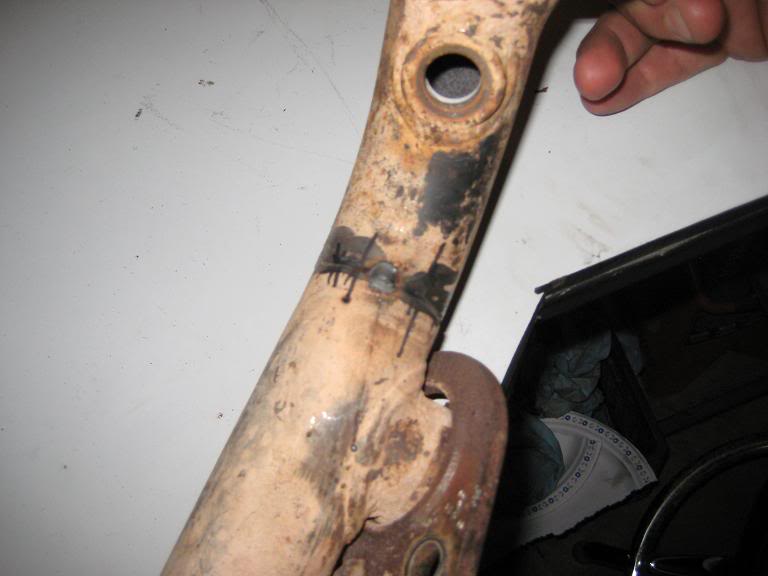
Front cab corners were all rusted also and the bolts for the fender no longer existed.... soooo i made some new ones
Got the fender on
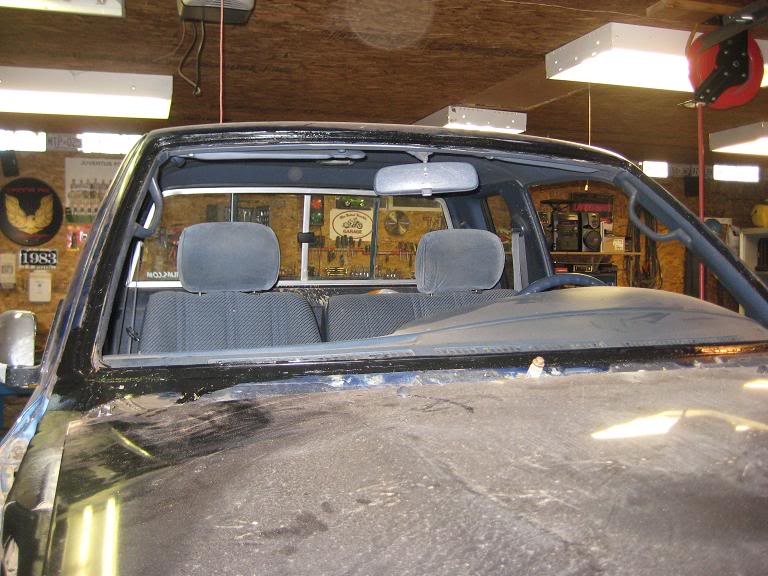
removed windshield to fix the rust around the window and POR15 it
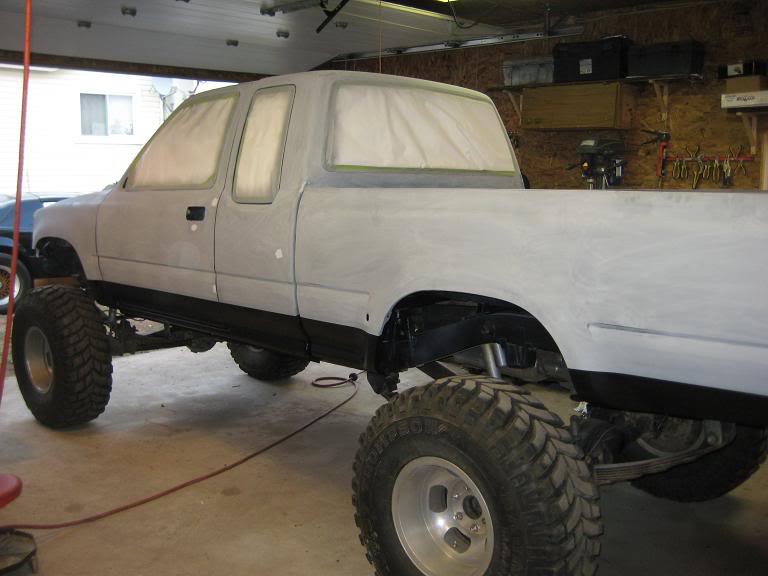
All sanded down
Primed

Rocker gaurd
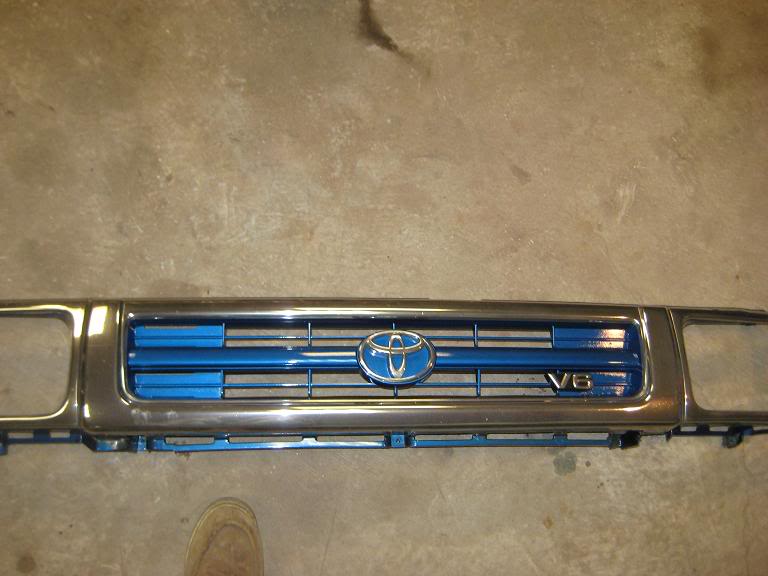
Painted the grill to match but it was a last minute thing while i had the black paint in my hand so i figured it wouldnt hurt to try and see how it looks.
The paint booth

3 coats of base
3 coats of clear
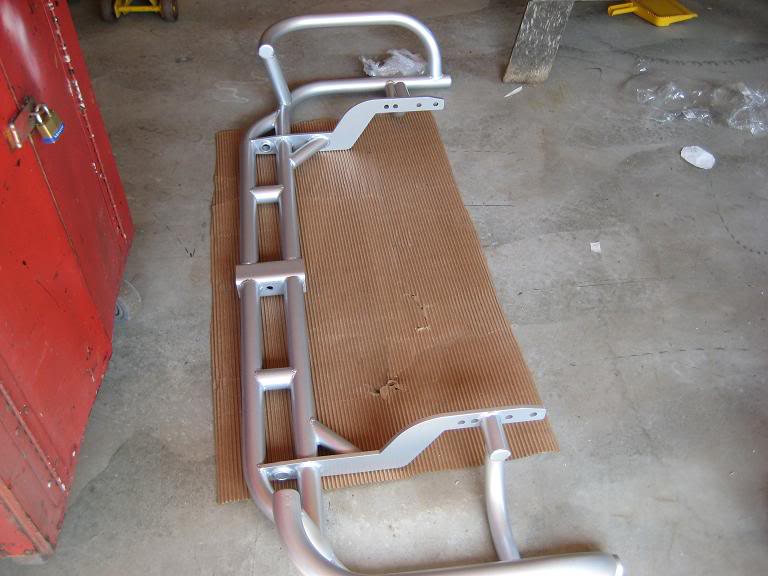
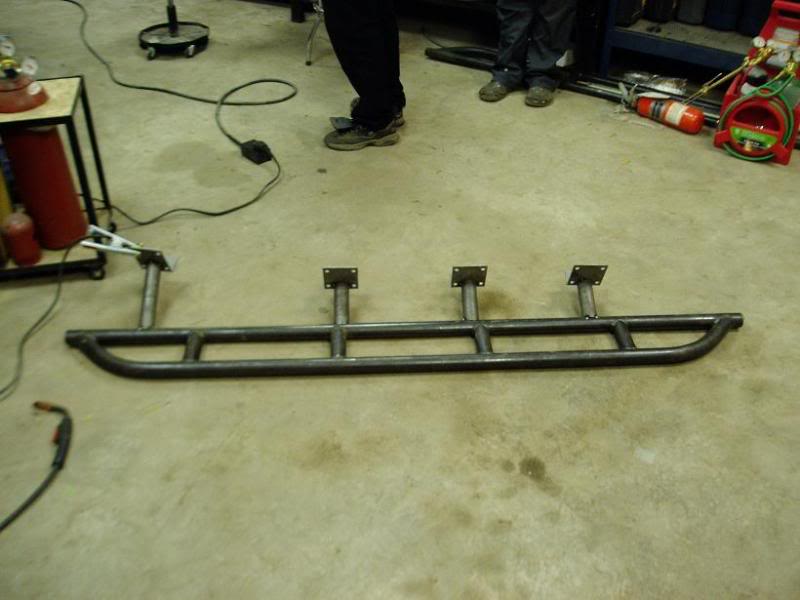
Put the rock slider together
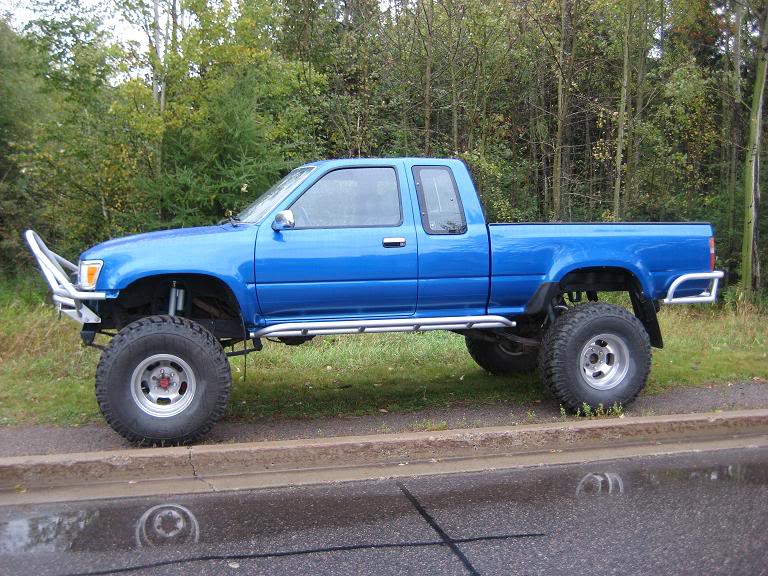
First day back on the road
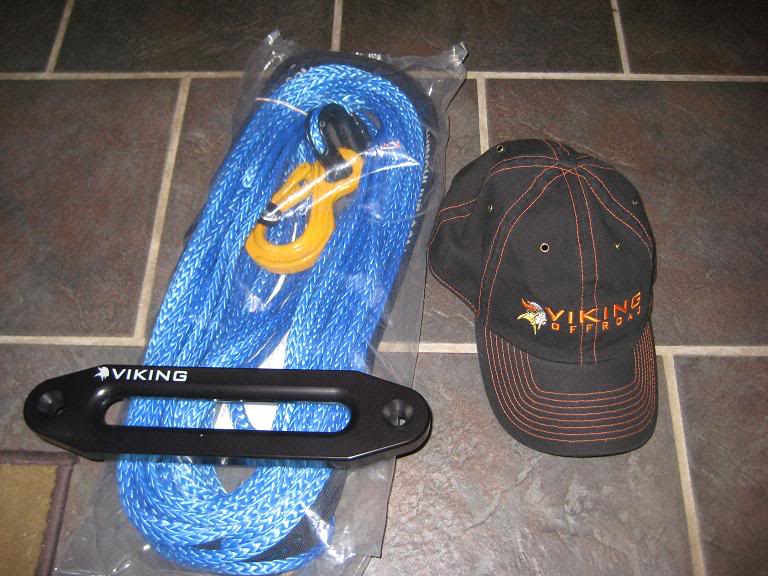
Viking Offroad order showed up.. SWEET free hat!
some more pics
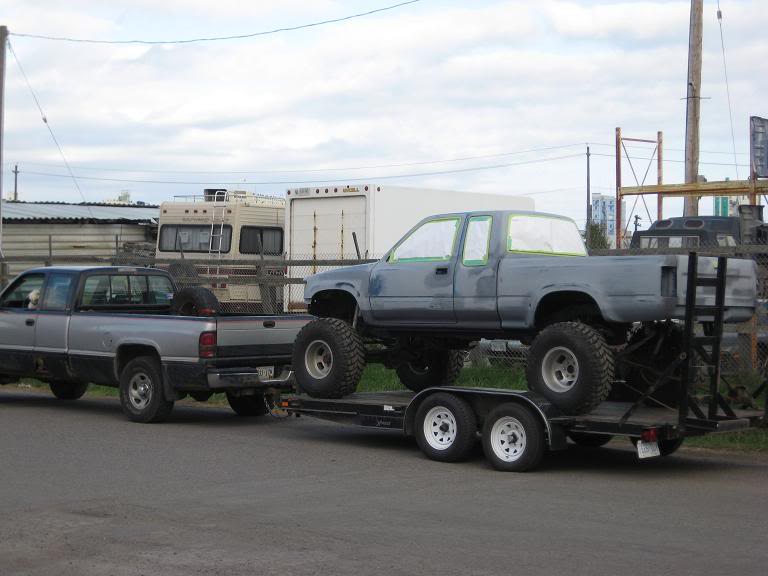
Fall 2009 brought this home
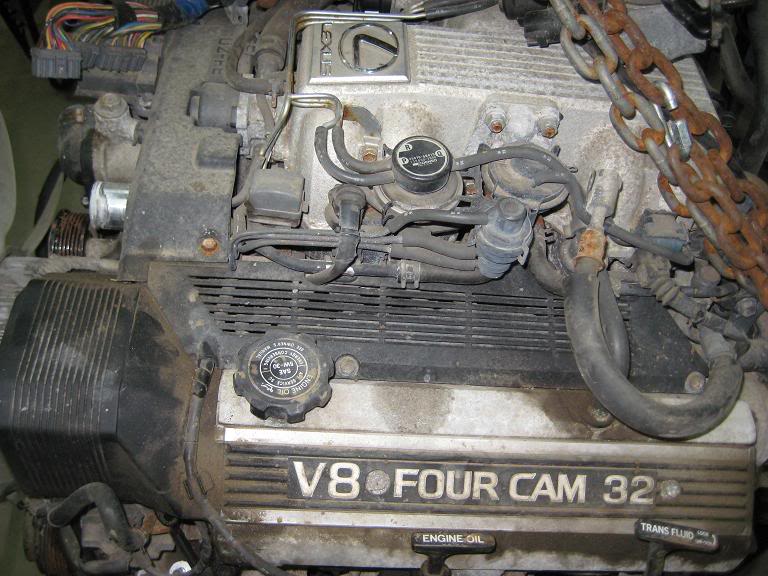
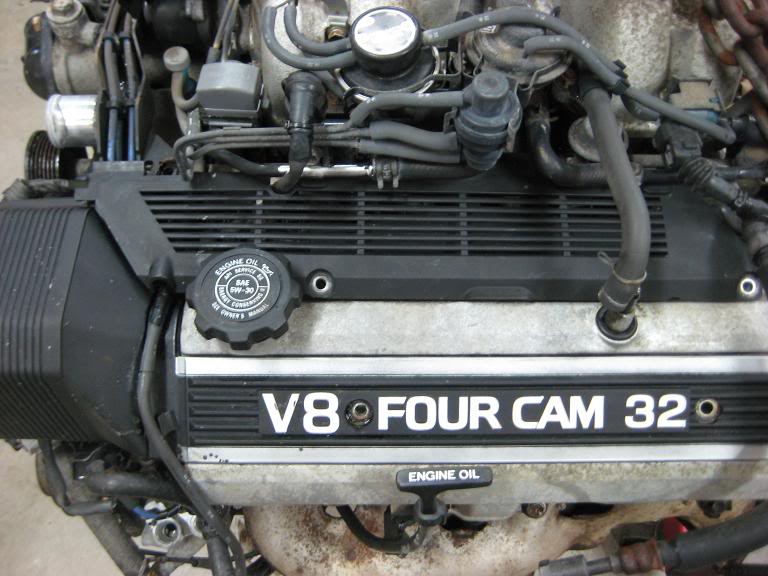
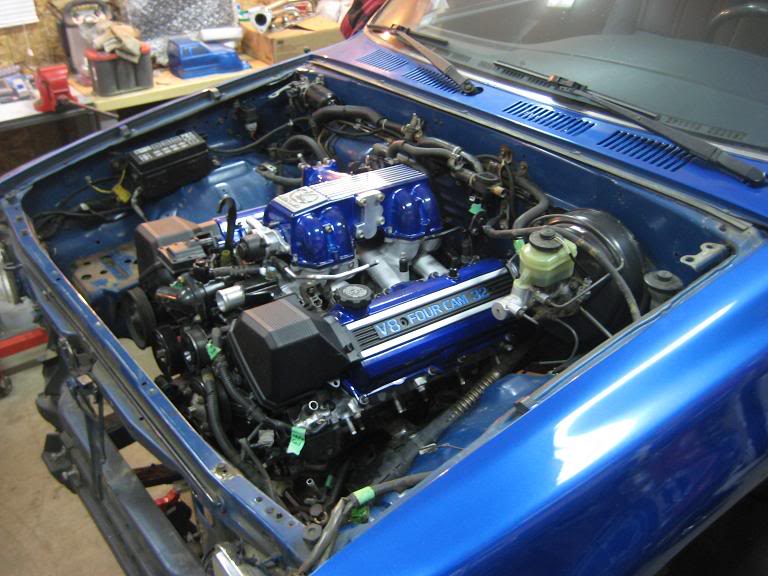
92 Lexus LS400 1UZ-FE
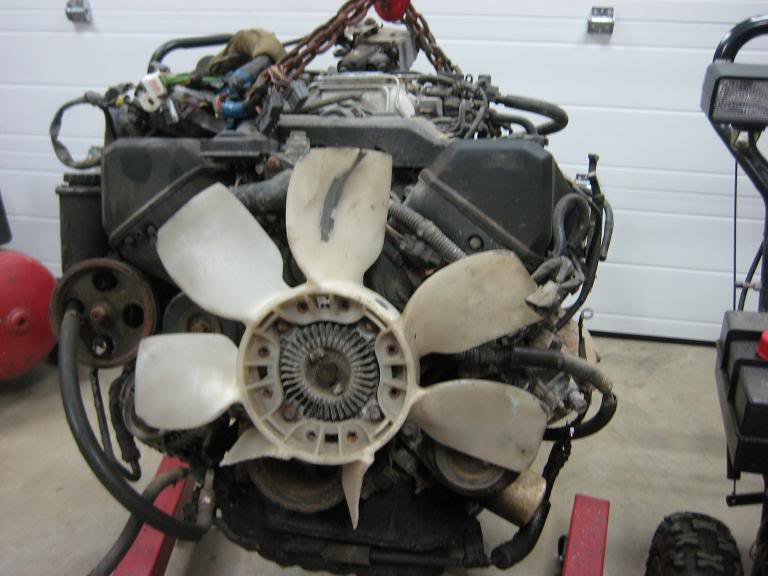
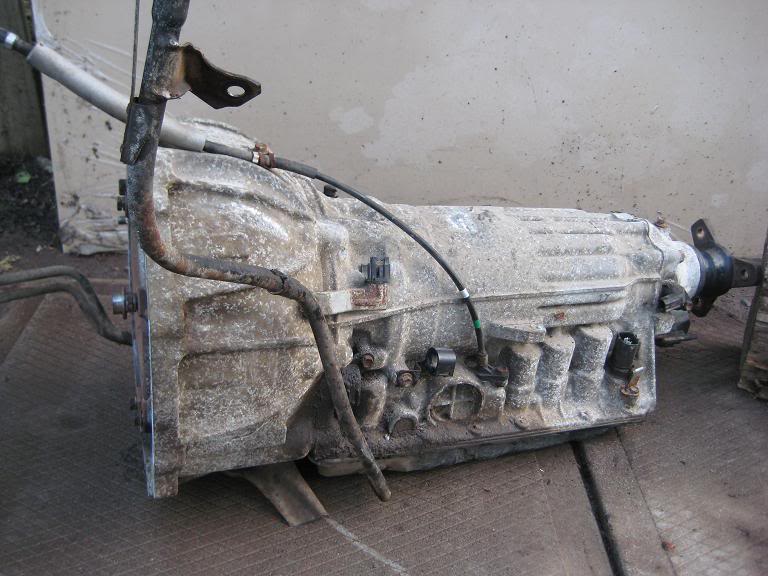
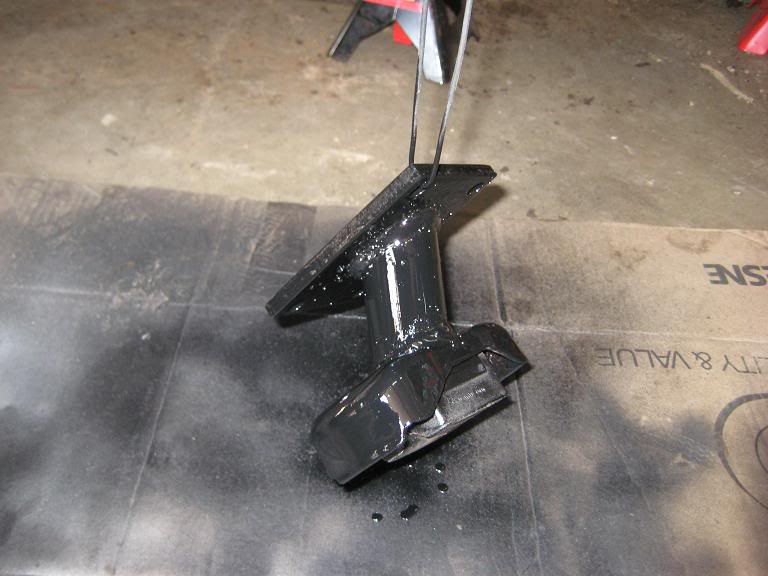
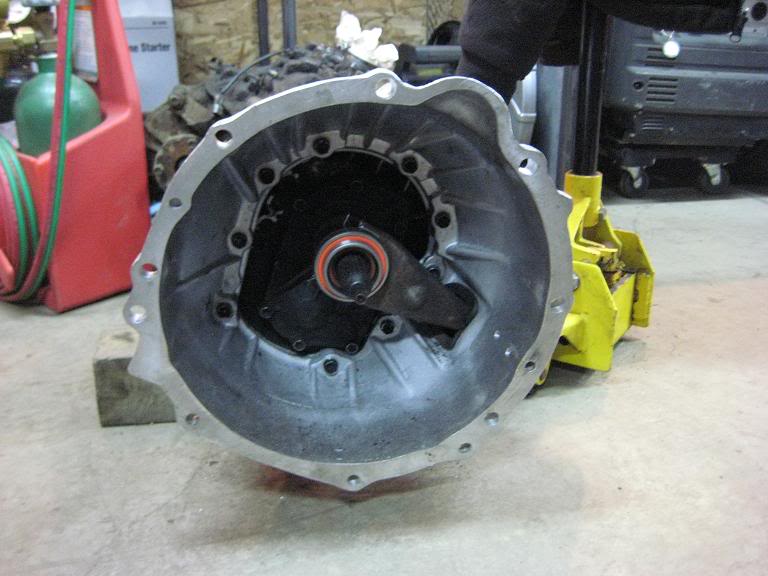
removed tranny
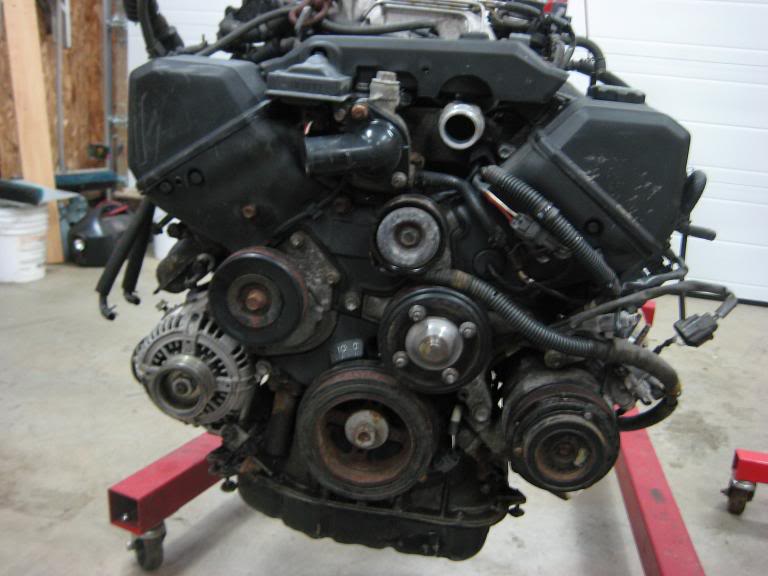
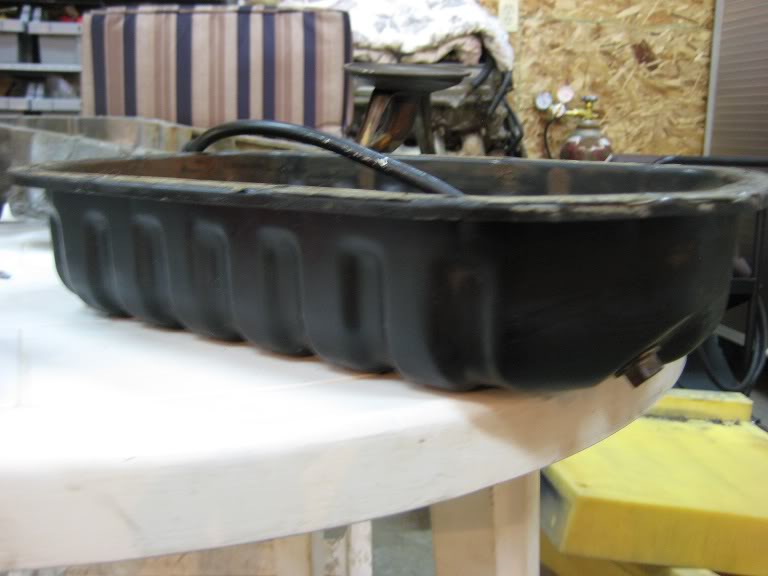
Cleaned it up a bit with degreaser and a pressure washer
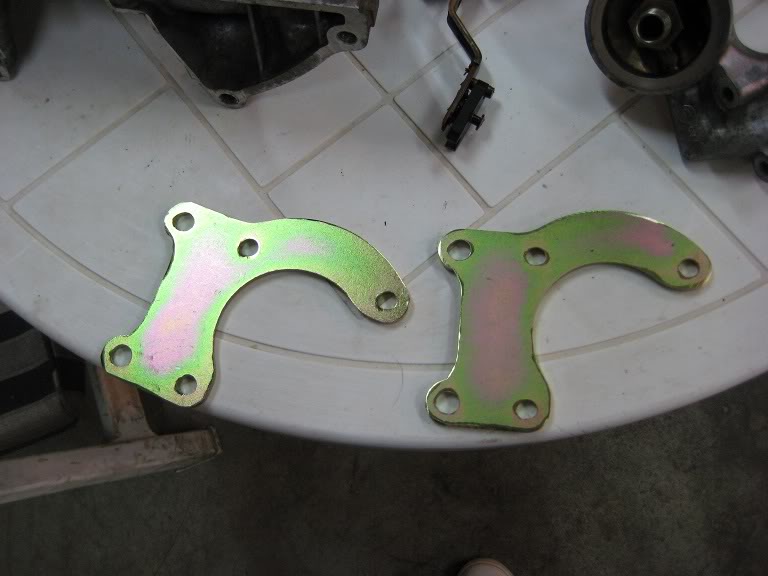
Rear disc brackets
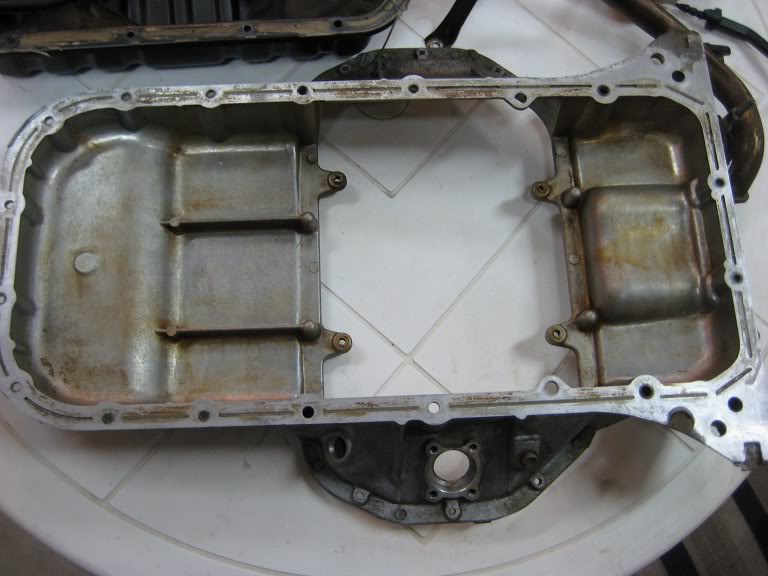
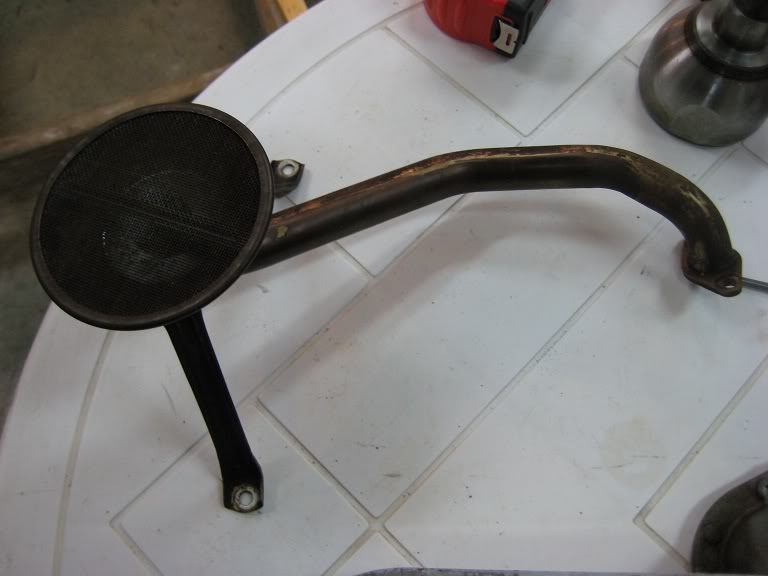
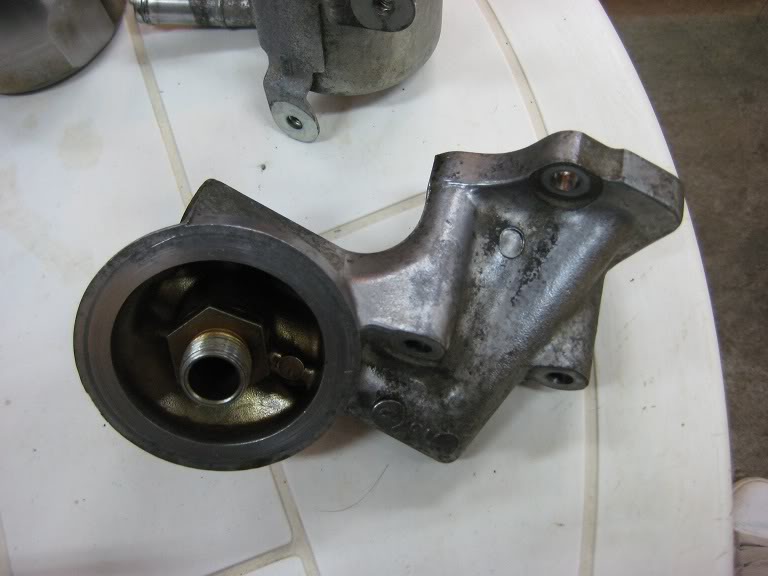
SC400 rear sump setup and oil filter mount
Put in an order to lextreme
Water pump

rotors
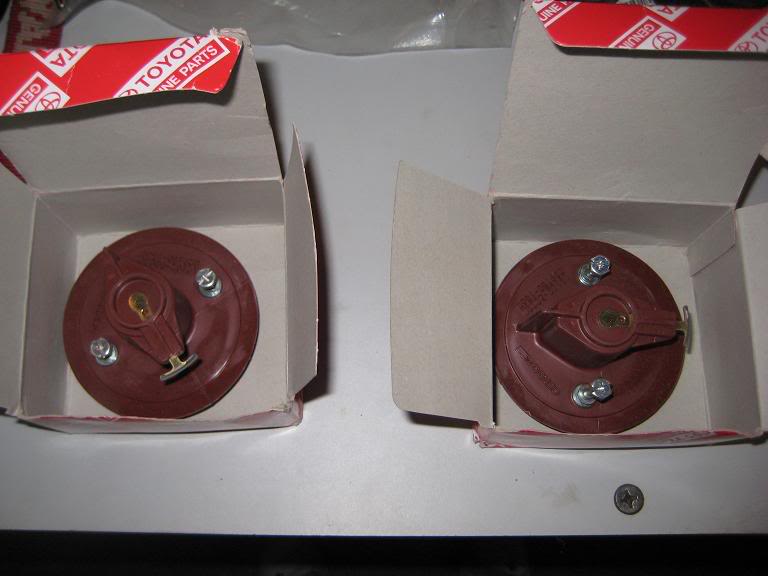
Caps
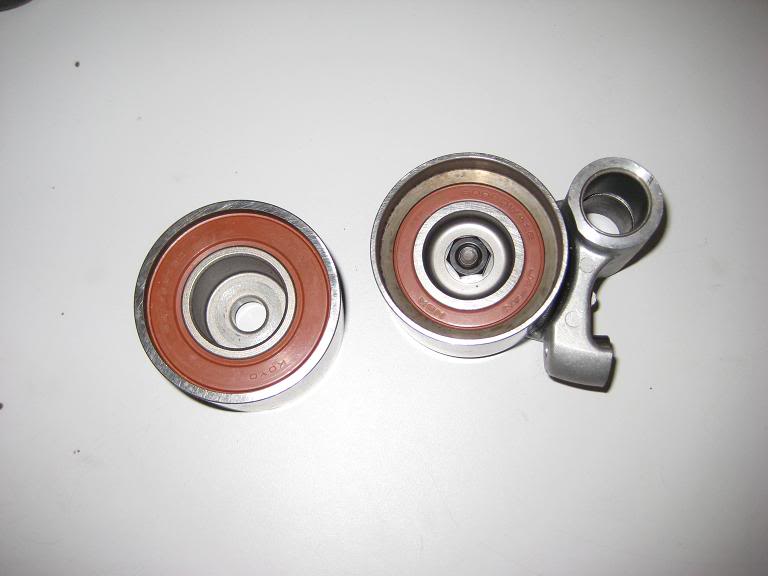
Timing belt pullies
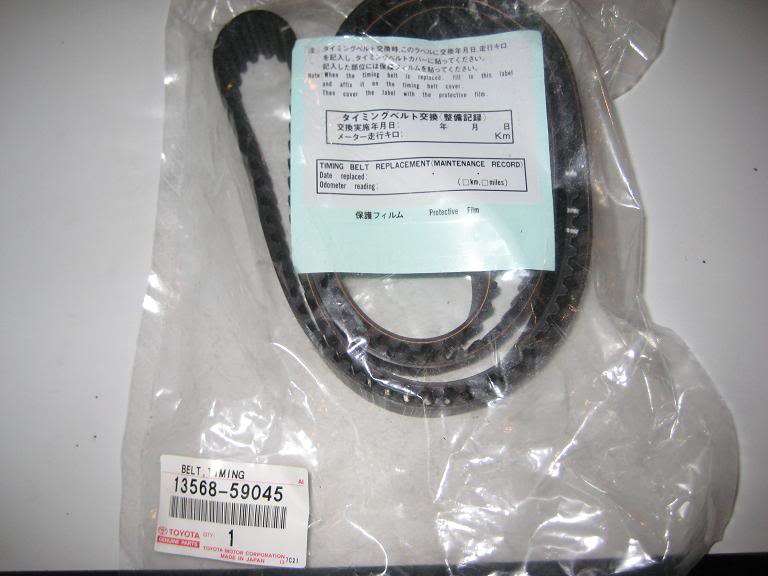
Timing belt
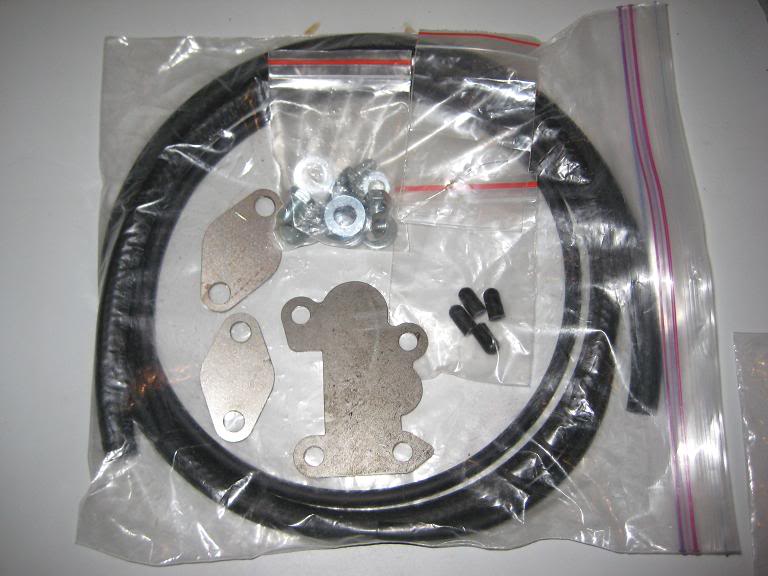
EGR delete kit
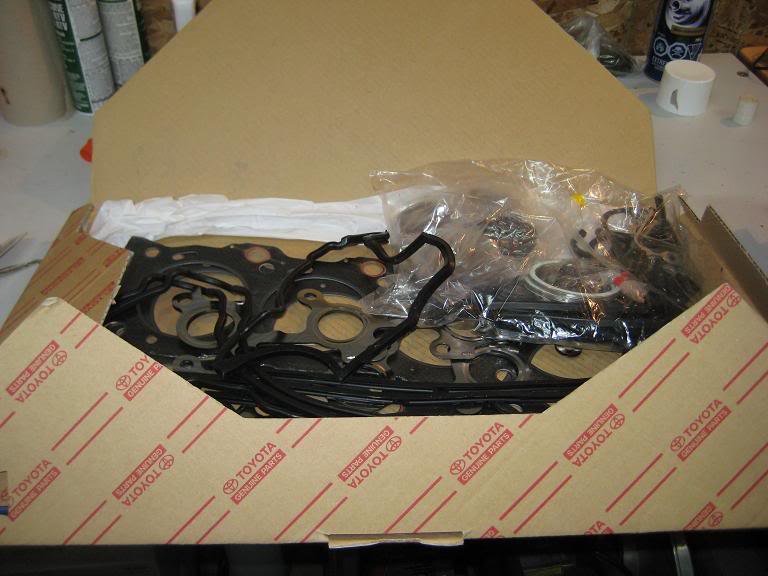
Full engine gasket kit
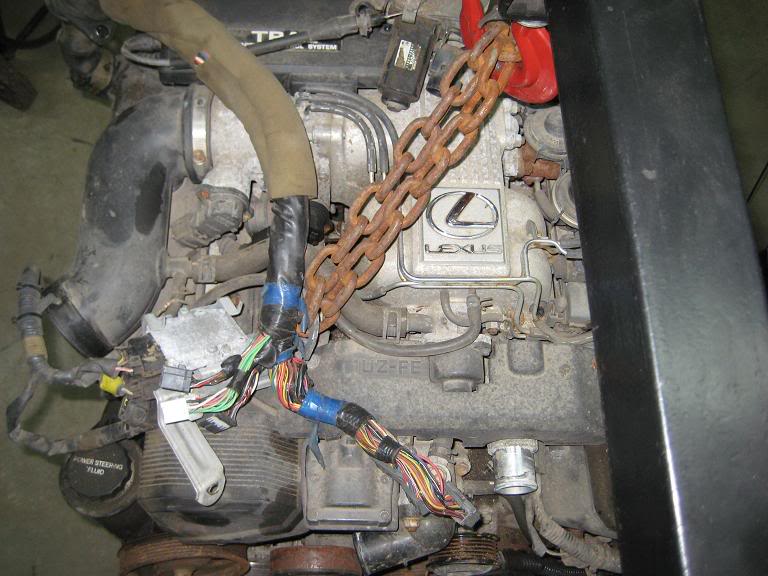
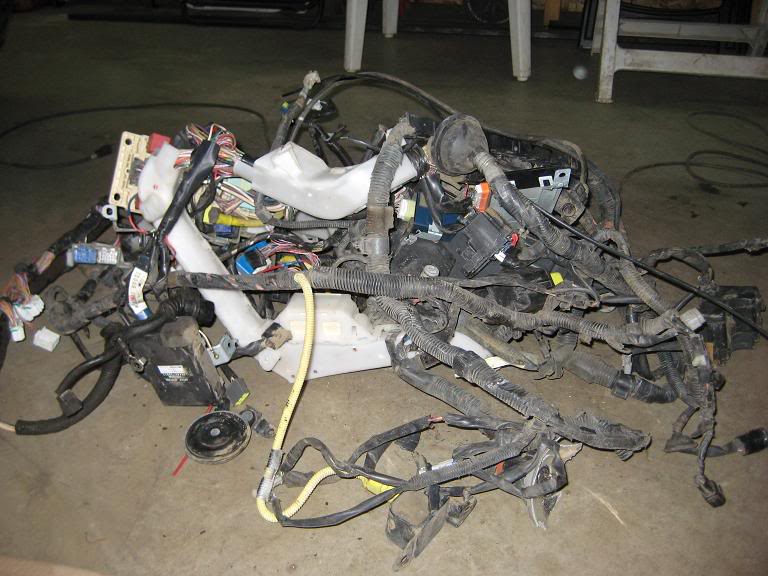
Wire harness from the car
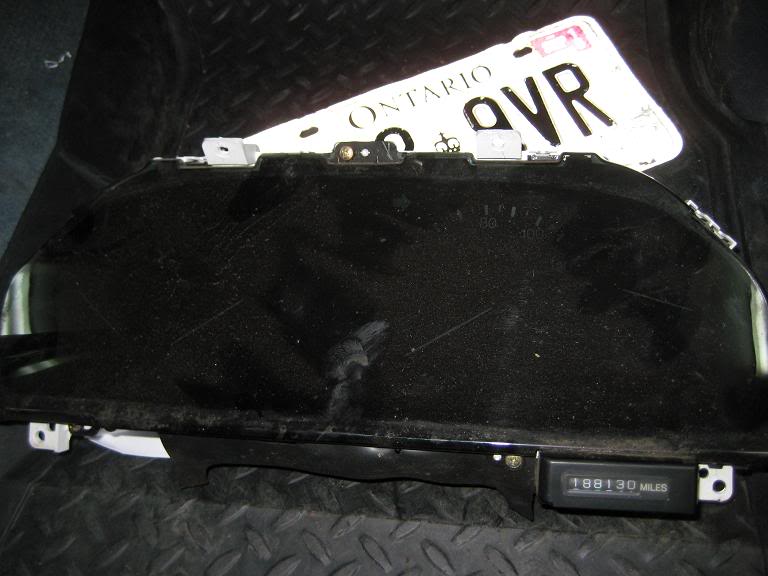
Lexus cluster
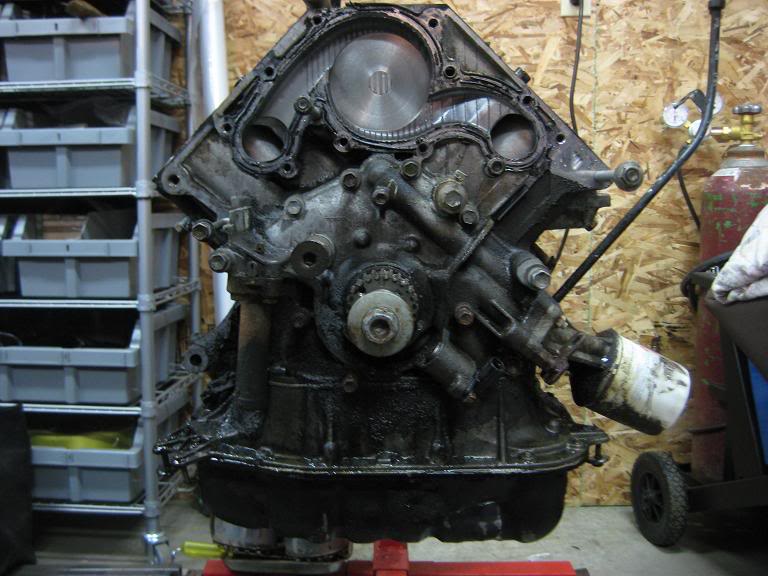
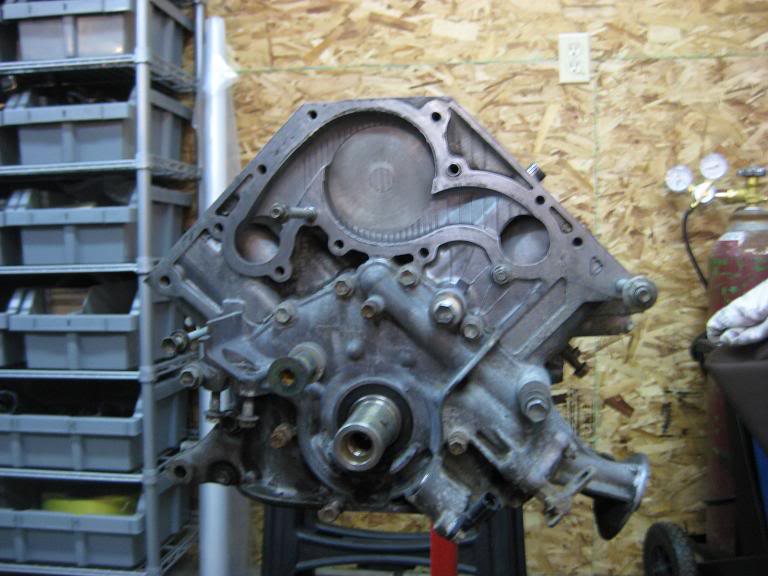
Started to pull the engine apart
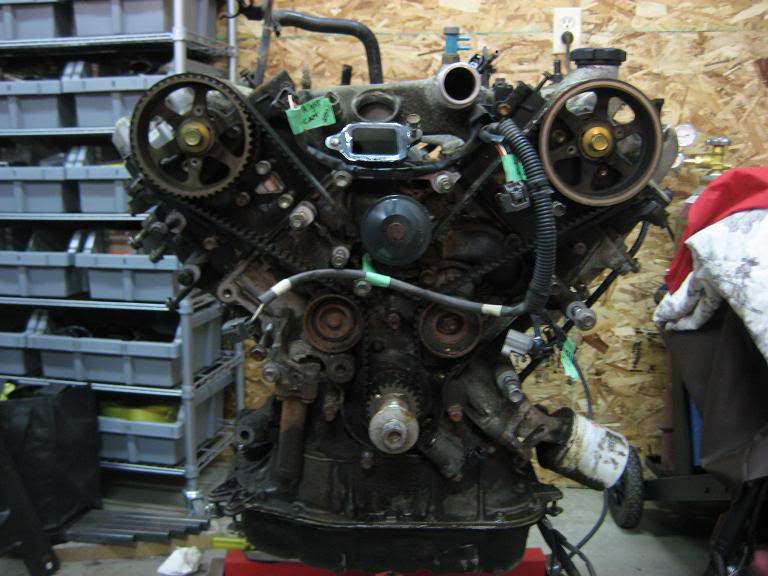
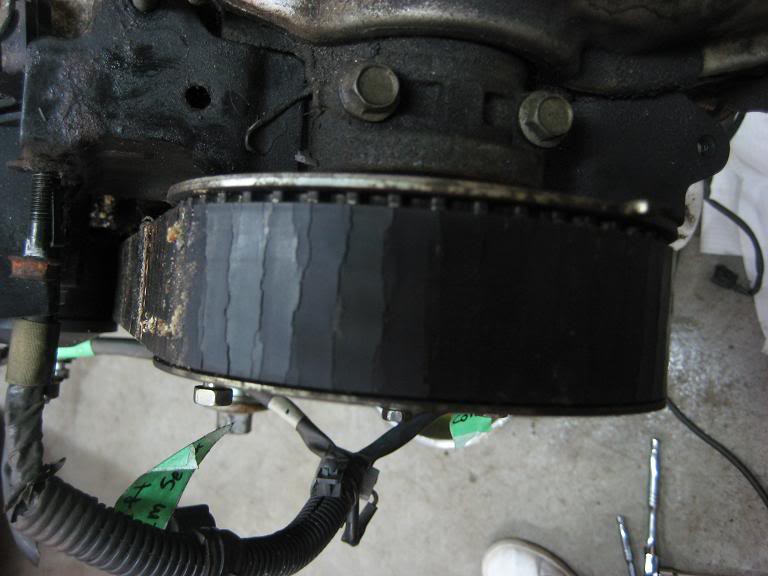
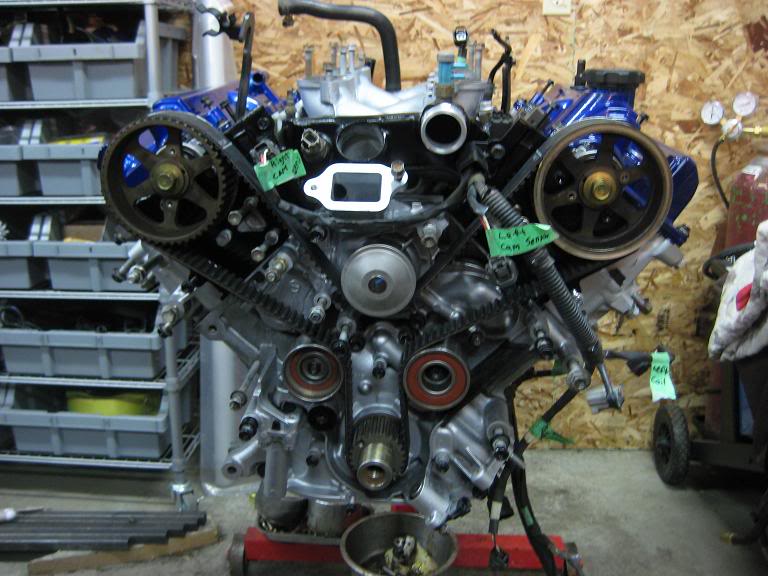
Nice timing belt lol
Found a little nest under the intake
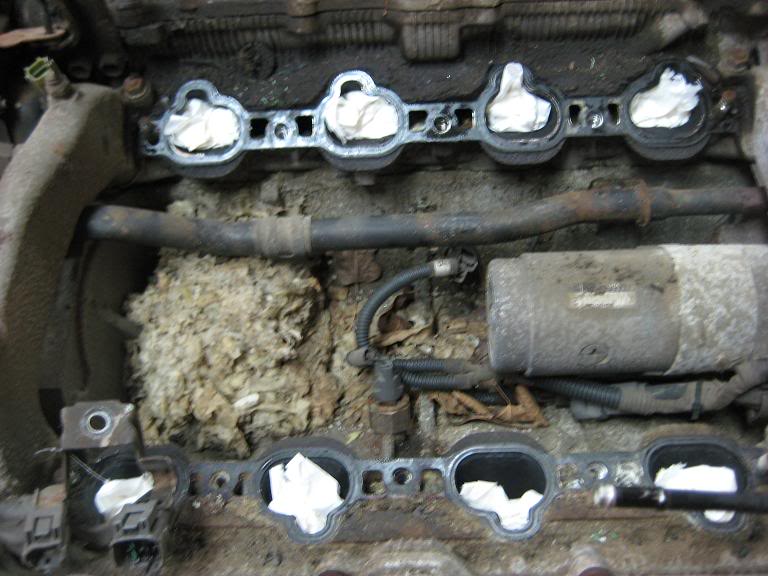
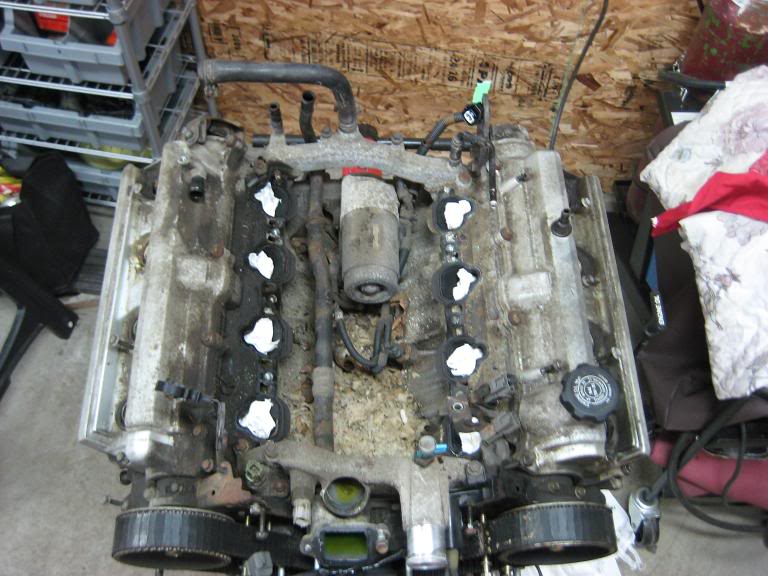
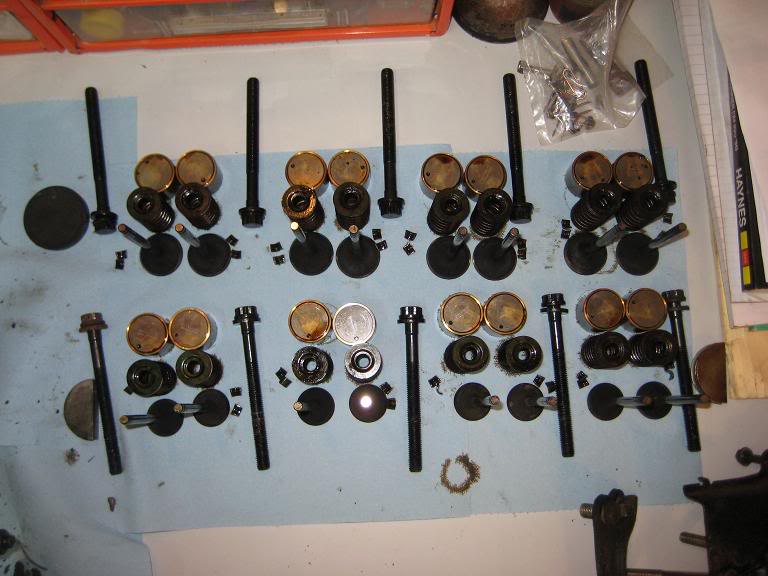
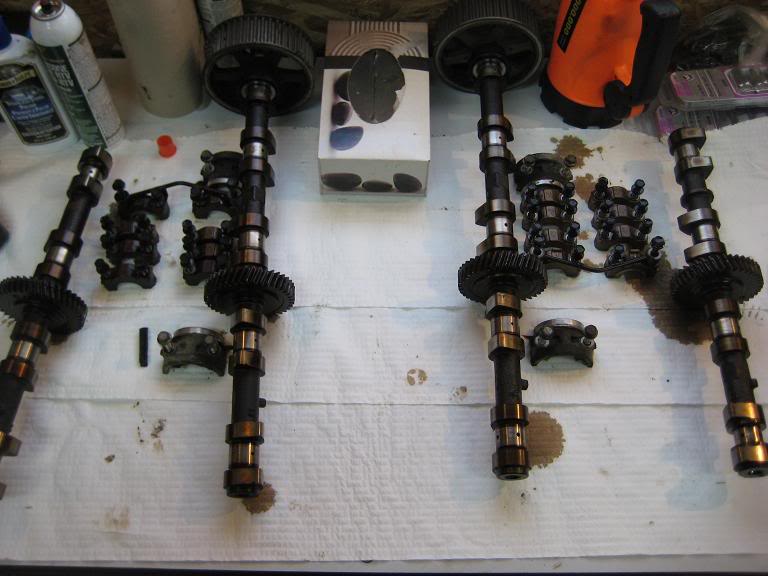
Pulled the heads apart to clean them and change the valve seals
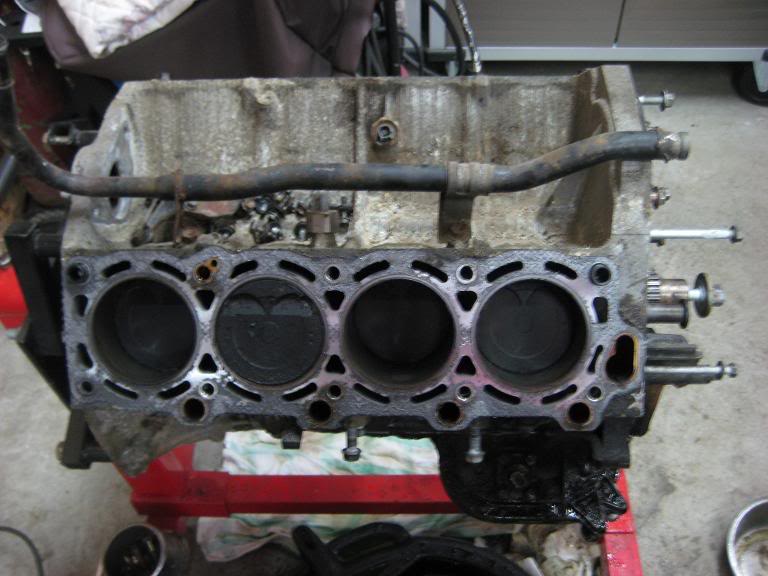
Cleaned the block with some acid
Heads back on
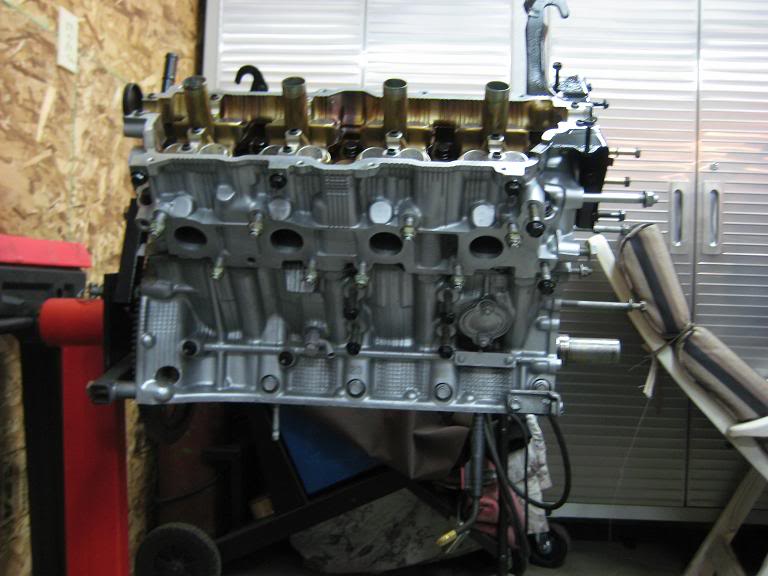
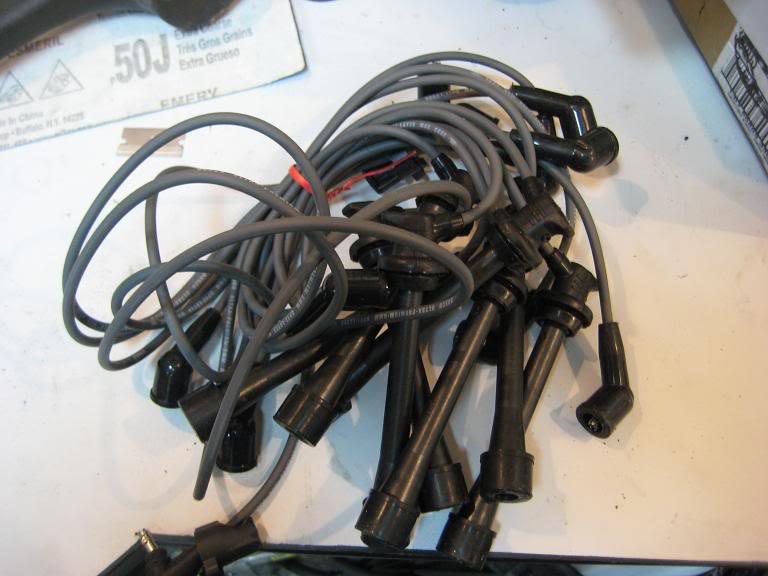
got some plug wires
new timing belt tensioner
new power sterring pump
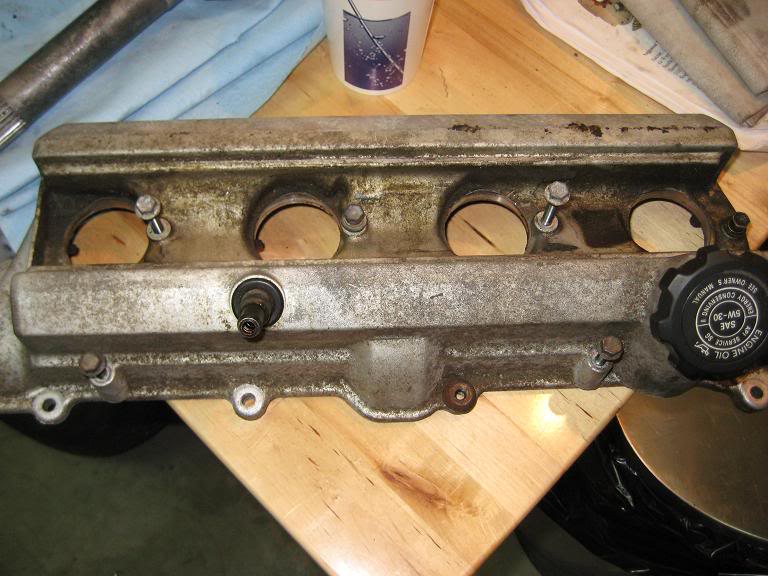
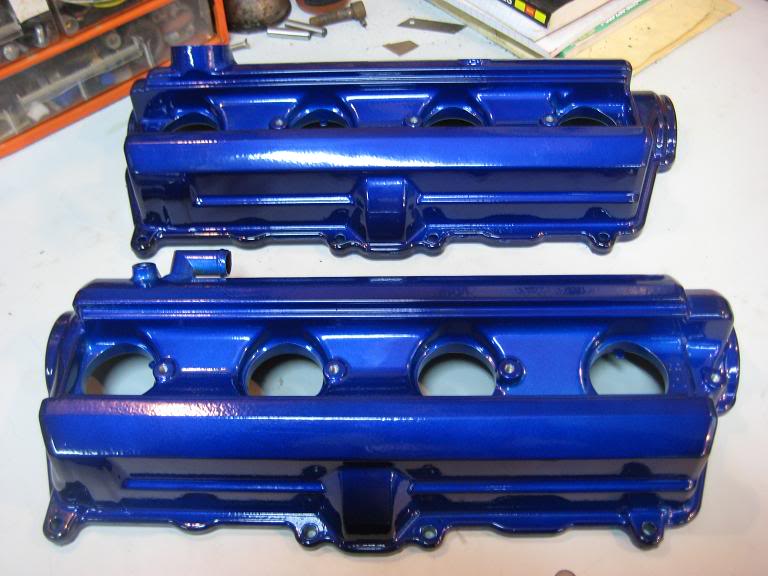
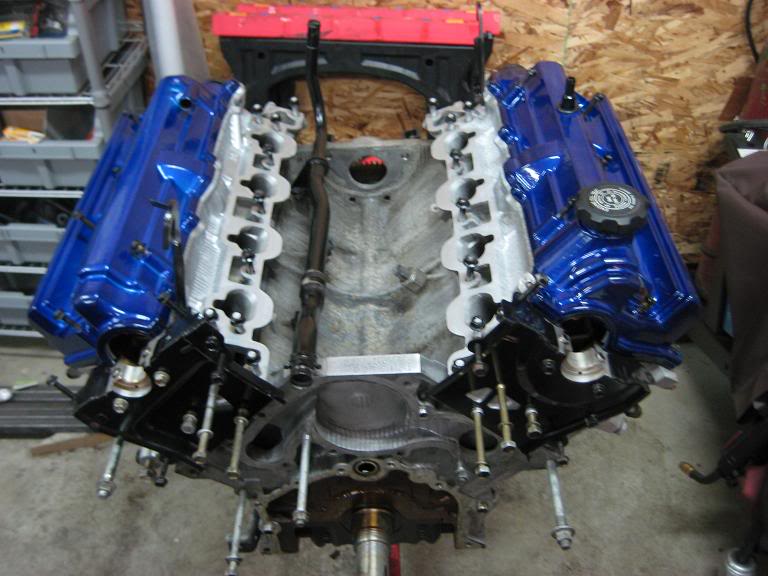
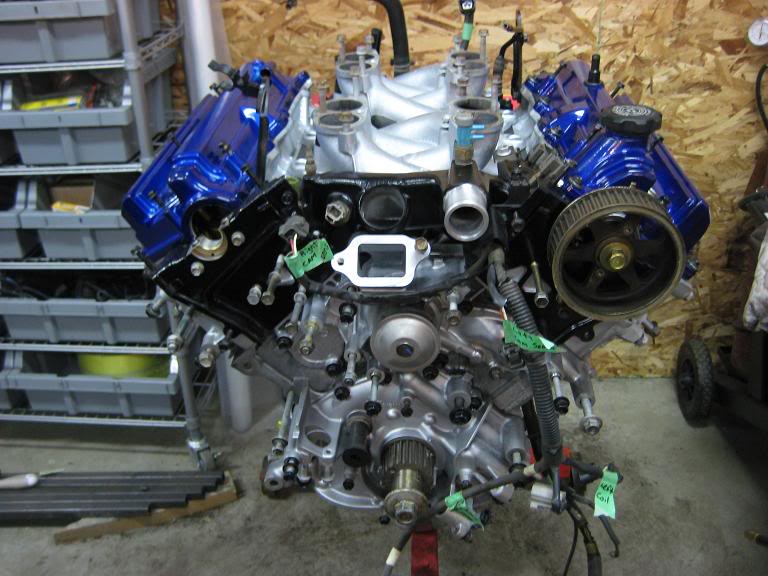
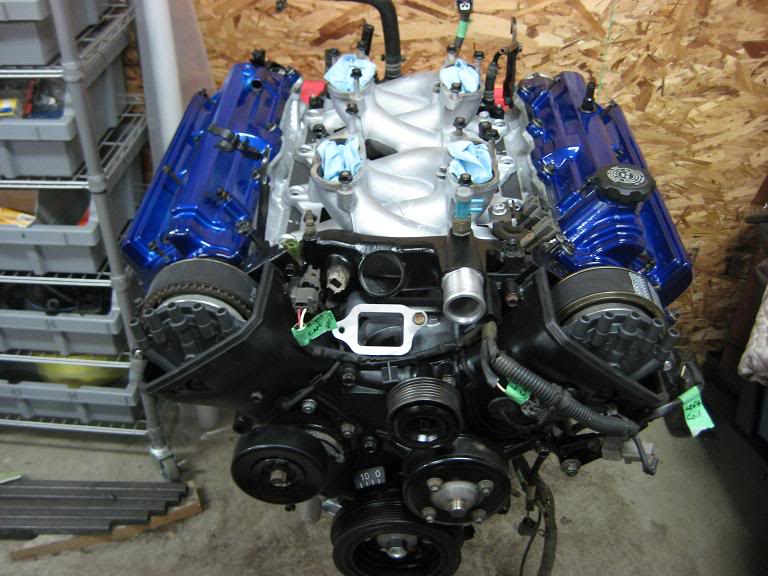
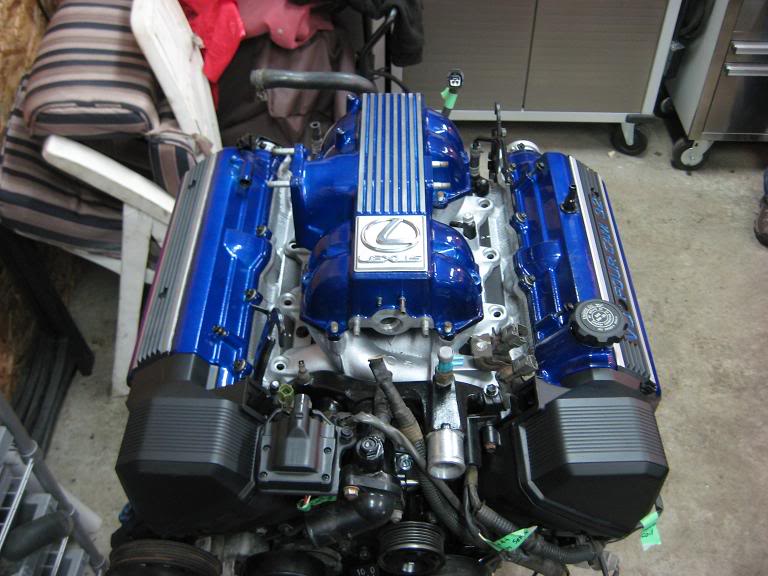
Powder coated the valve covers
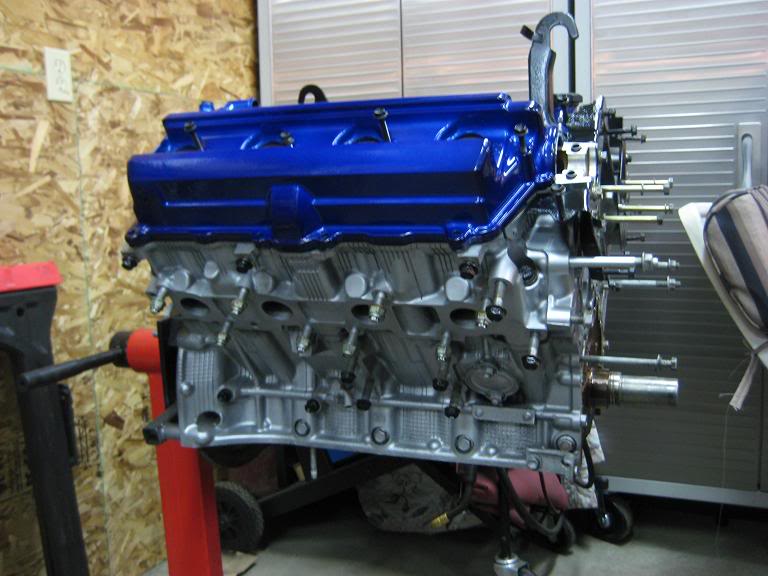
Almost back together
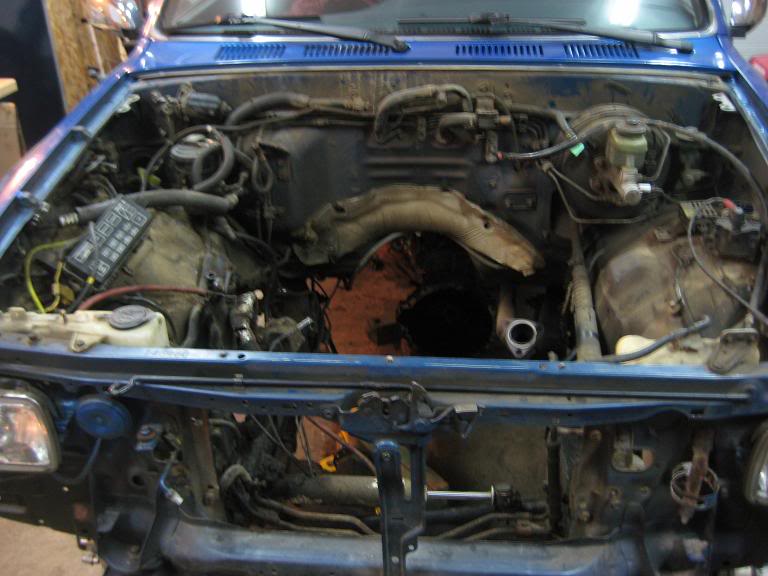
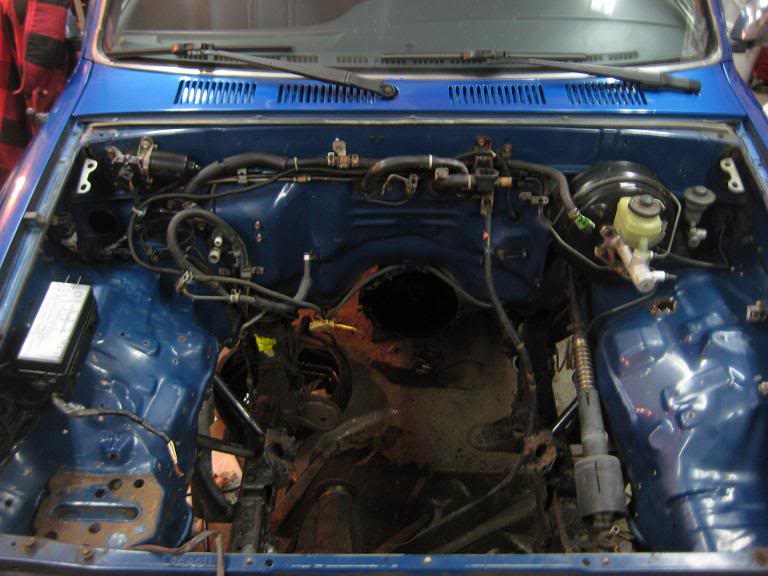
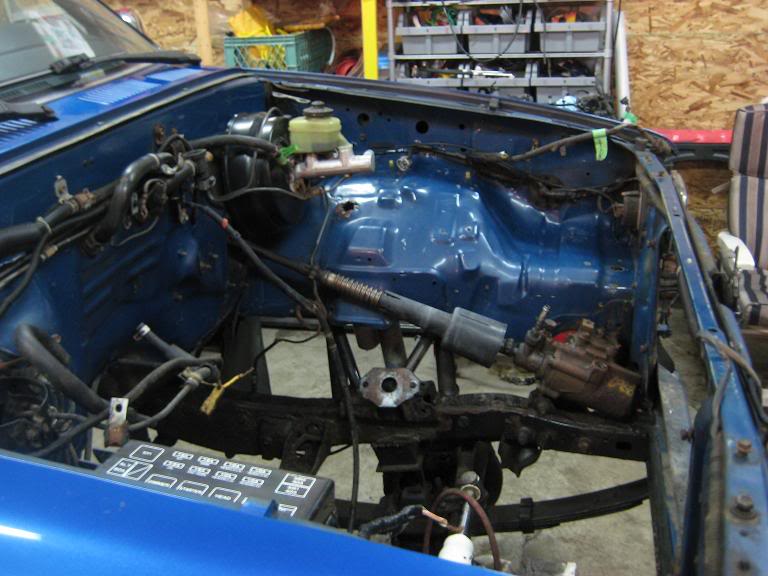
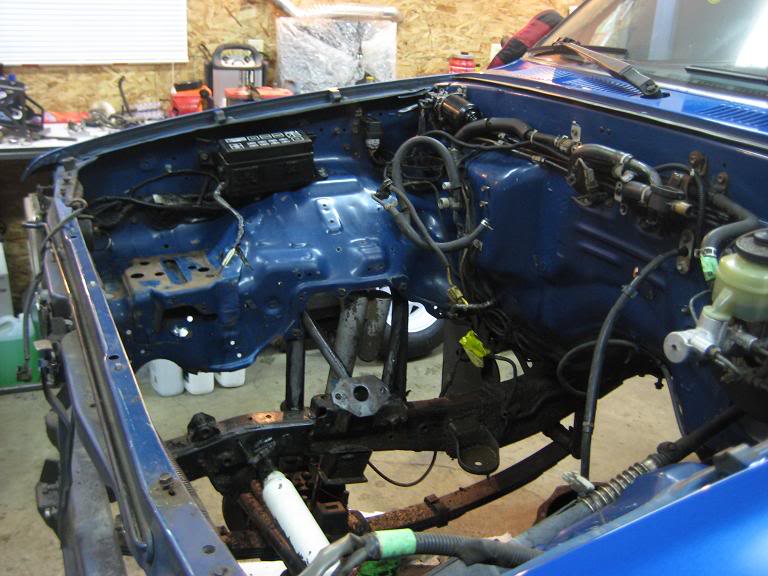
Pulled out the 3.0 and cleaned the engine bay. it was mid winter at this point so i had to lay down plastic and use a sponge with soapy water
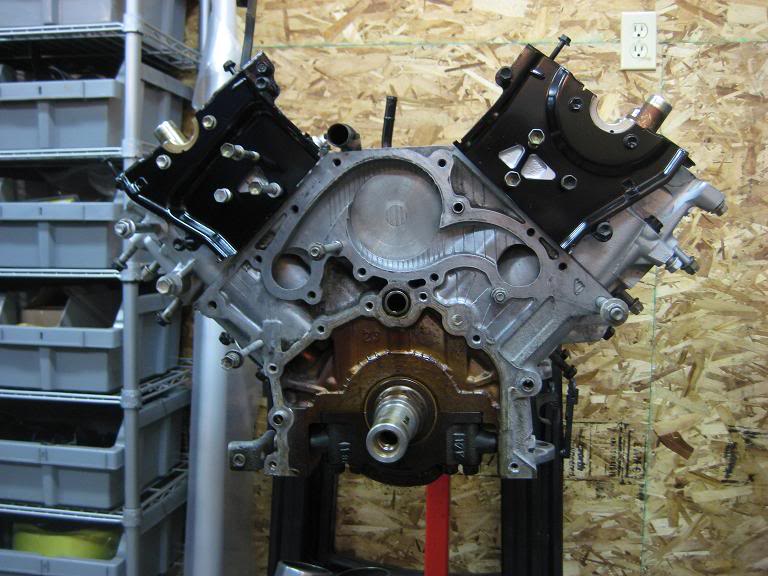
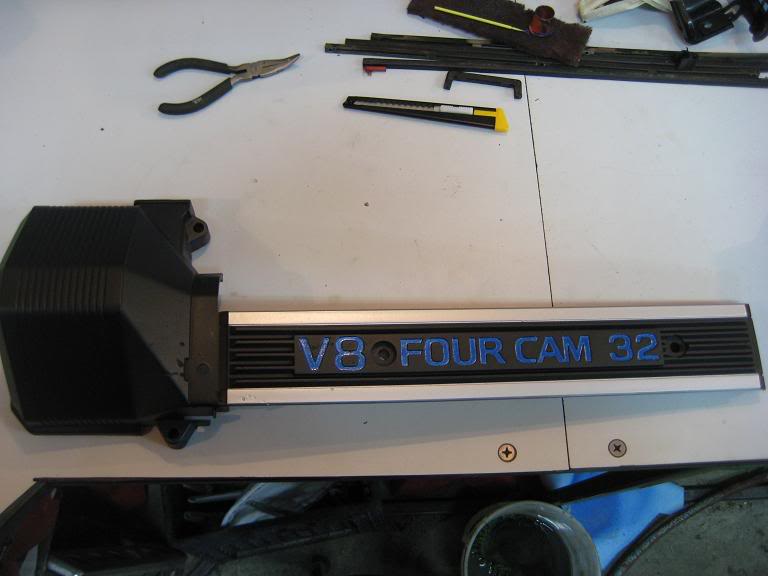
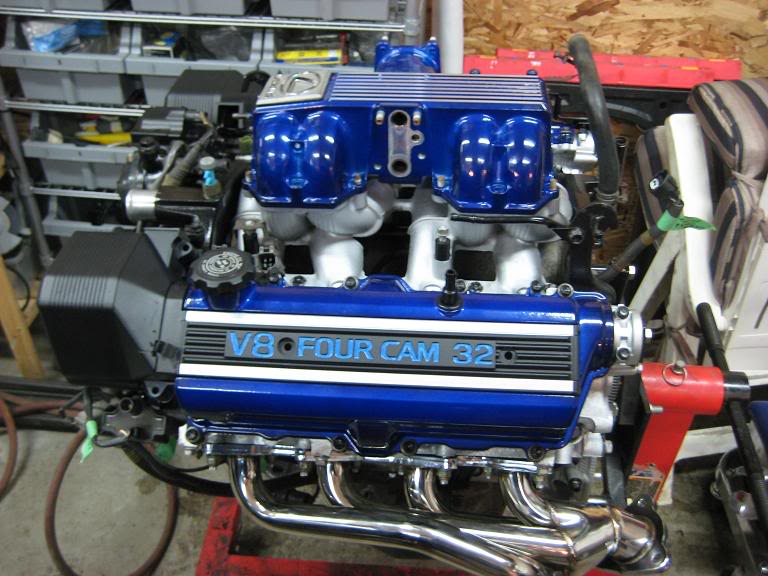
Painted the engine covers
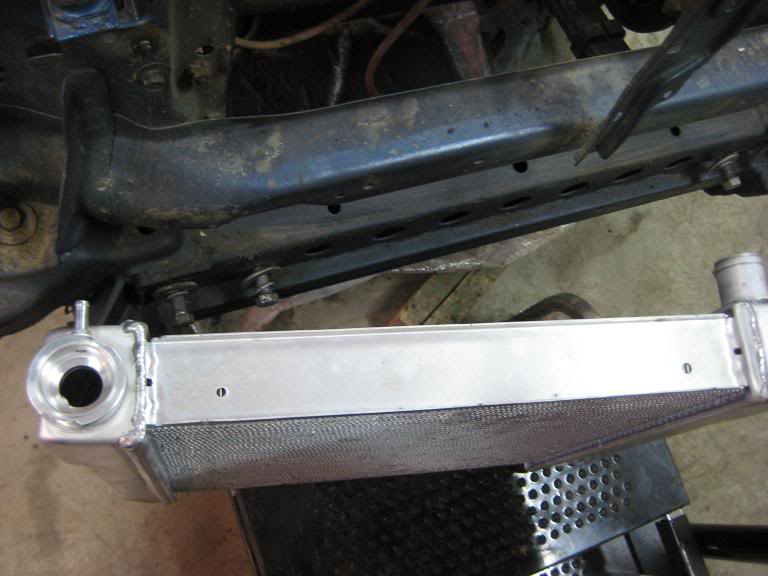
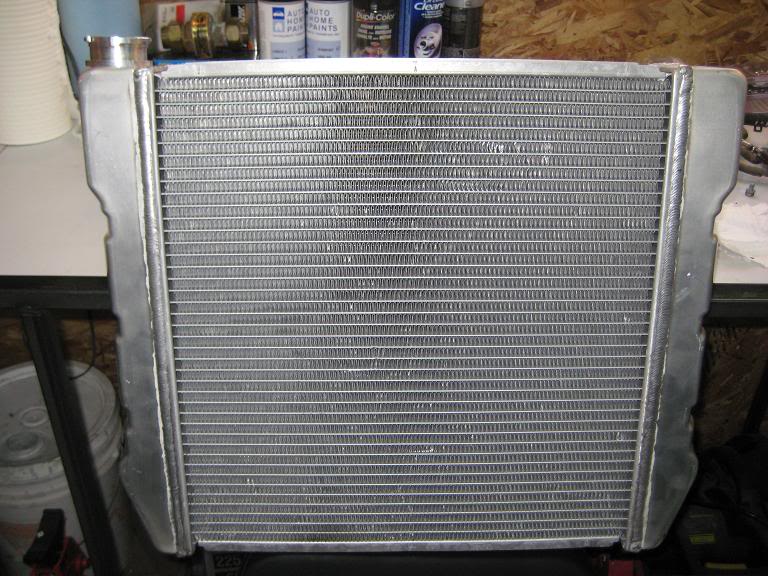
4 core aluminum rad
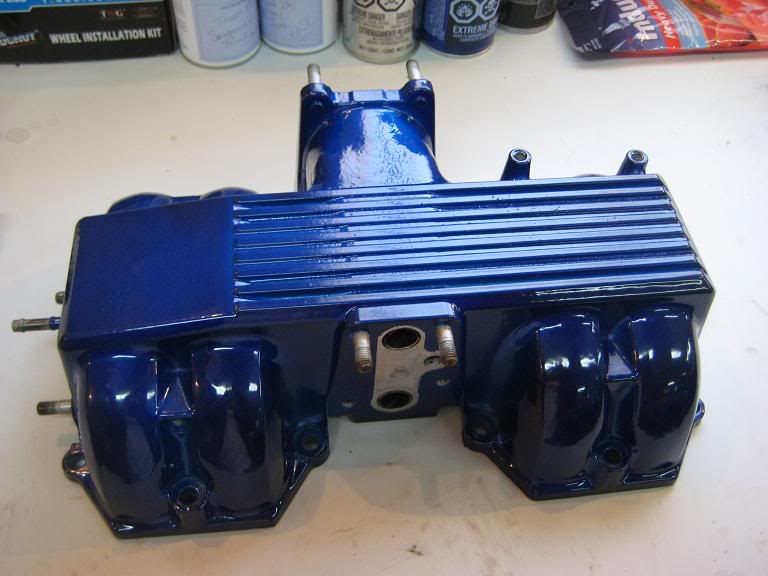
Powder coated the intake manifold
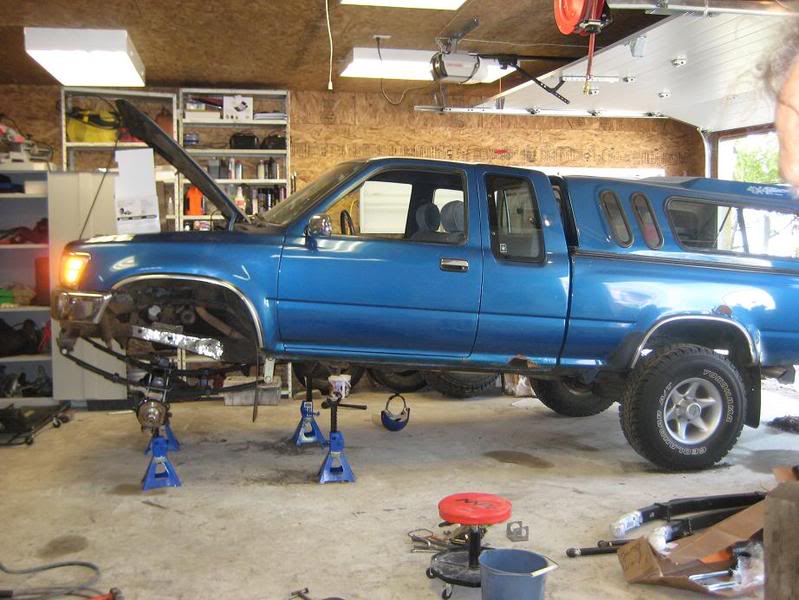
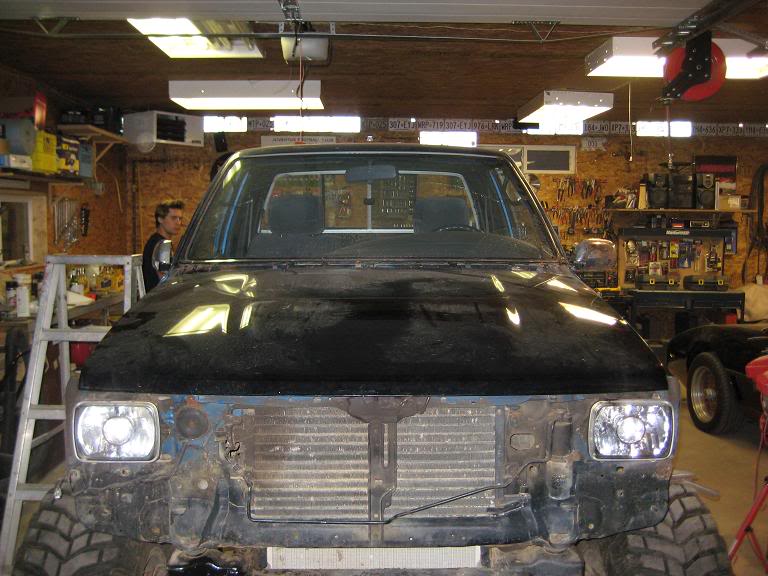
The first of many test fits haha

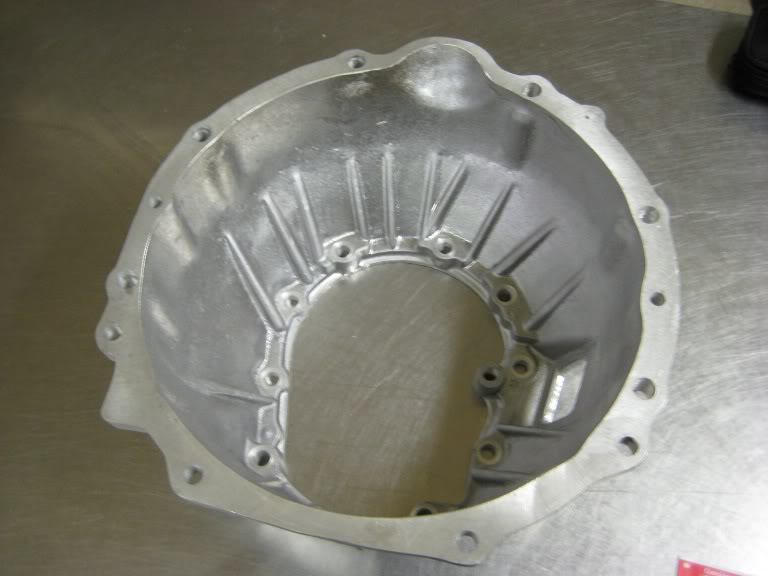
Then the bell housing for my R150F showed up from A1turbos

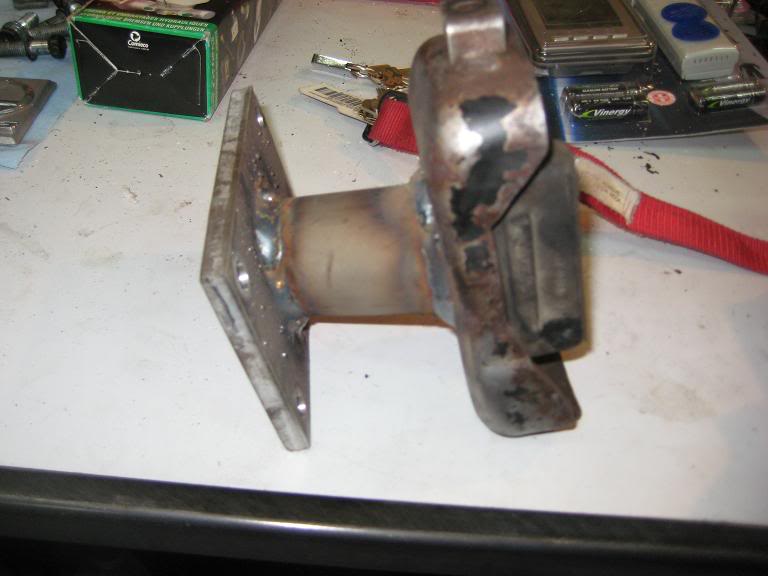
Another test fit with the tranny and new bell housing on. Started on the motor mounts

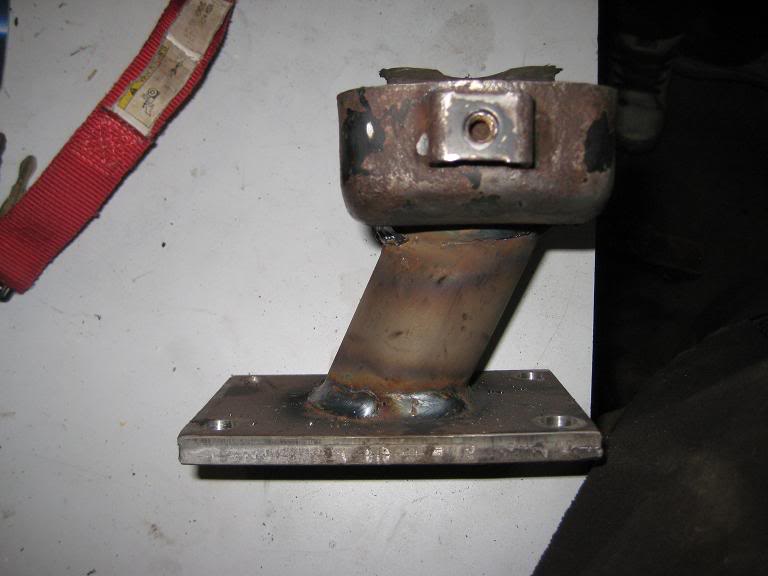
this was the end result, 3/8 plate, some DOM tubing left over from my rock sliders and the 3VZ rubber mounts
it sits on its own for the first time
Painted the motor mounts
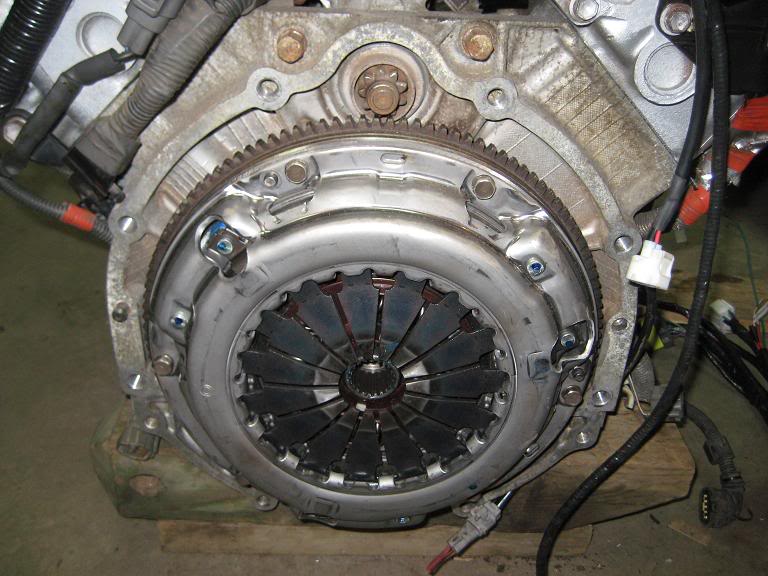
Bell Housing bolted on and new throw out bearing installed, the bearing was from my Marlin HD clutch kit.
OK the flywheel!! i dont have pics but here is what i did. I had the back of the 3VZ flywheel machined to put the ring gear in the exact same spot as the stock flex plate, then i took it to the CNC to have the bolt holes cut. the bolt patter is almost the exact same except the 1UZ pattern is a tad wider so made a program to make the holes a bit more outward resulting in a slight oval look.. then i had the flywheel balanced and bolted it on with a 3vz HD clutch kit from Marlin
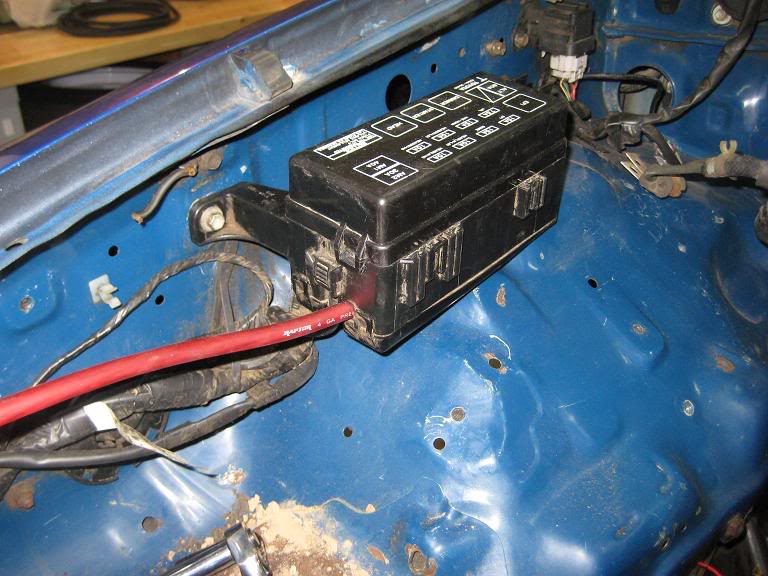
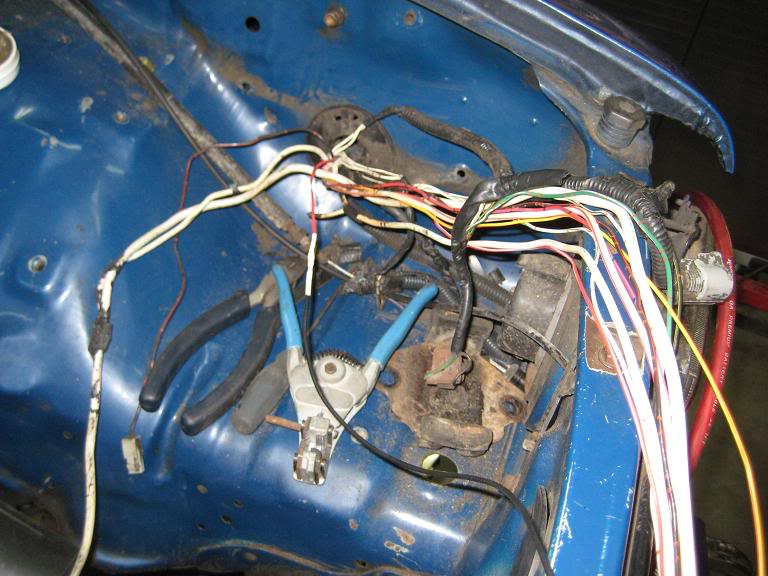
Ran a larger wire to the main fuse box
Had to move the alternator wiring to the other side
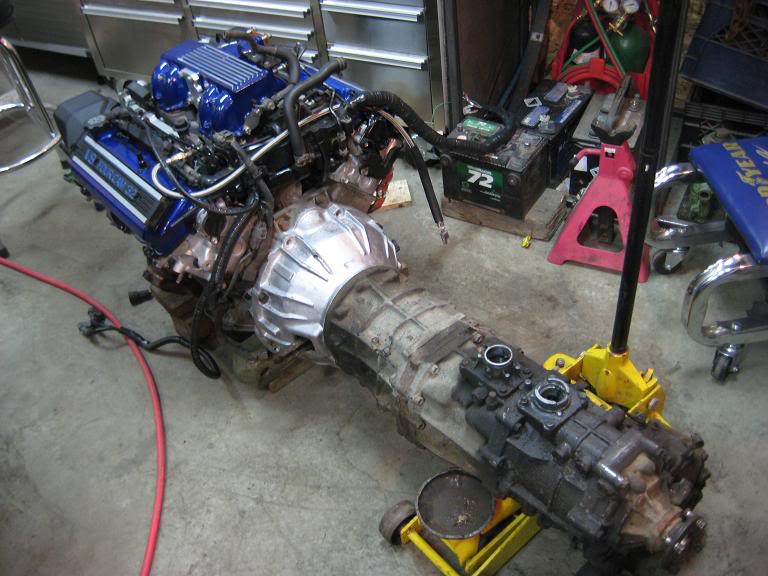
Drive line
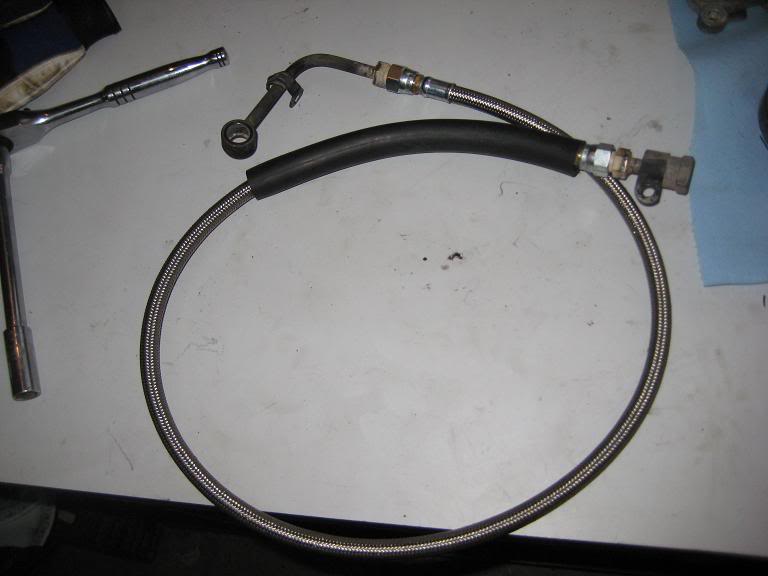
Custom fuel line. the 1UZ feed and return are on the driver side and the truck feed and return are on the passenger side so i just had a long line made to run over the other side.
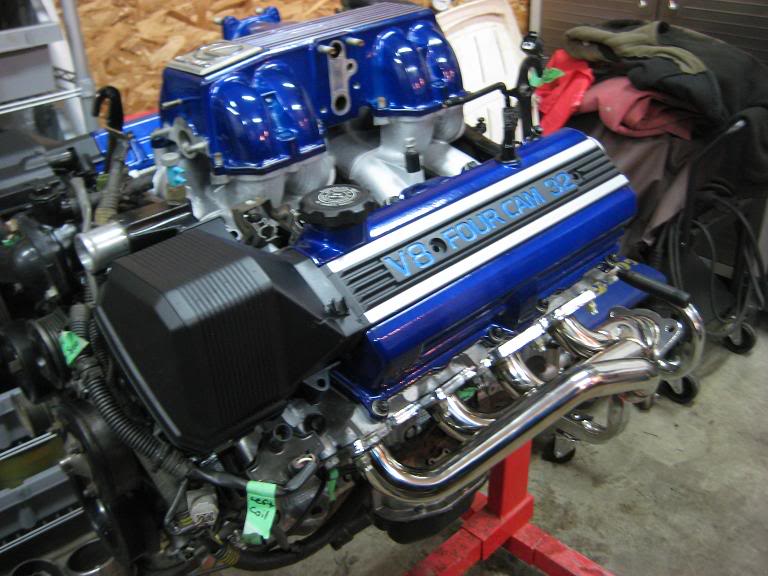
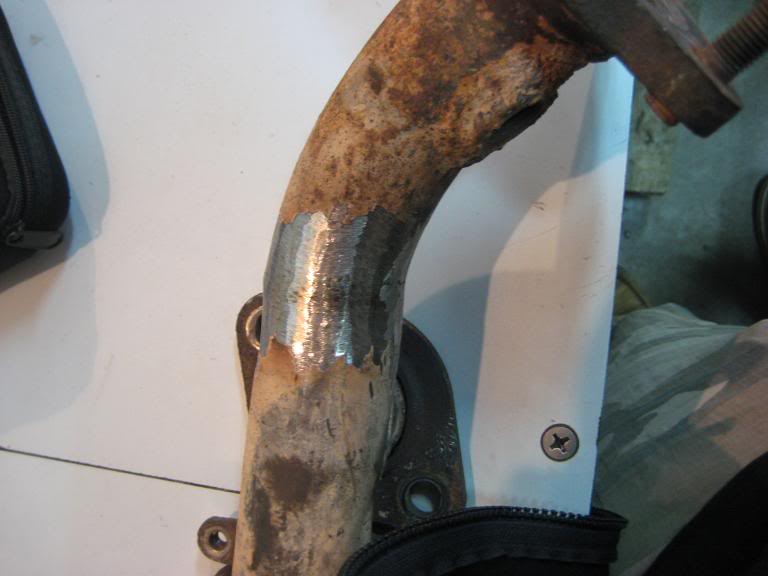
The stainless headers i have will not fit.. well the passenger side does fit but the drivers side wont because of the steering shaft, maybe if i had a body lift it would of worked but i dont want to run a body lift or make my truck any higher. So i found some 2001 Tundra manifolds bolted them on but i had to cut the driver side and rotate the flange as it was pointing right at the frame rail

ill have another update tomorrow.. stay tuned
Drove it like this for the first winter
Summer 2008 picked this up from a buddy
Started to clean it up and get it ready
TG kit came in
Painted with POR15
Fall 2008 i started the SAS
4.88's
Tires 35x12.5x15 MT Baja Claws
Picked up some Chevy Slot wheels from a swap meet
Put on a TG front bumper and Warn M8000
Winter 2008
Summer 2009
picked up some Dirty 30's and Marlin hd seals
and decided to start on the body work so the search began for good shape box. found one with a nice bed but the sides were toast so ordered up some metal box sides.
Grind off all the spot welds andPOR15 the whole box
Made some new brakets to replace the old rusty ones
Made some plates to reinforce the bed a bit
Got a good deal on some amsoil
Started to pull apart the truck
Powder coated bumpers
Cut some plate and fix the cab corners
some paint (Speedway Blue)
My hood hinge was broken right off and left a huge hole in the truck so i went to the parts truck and cut out what i needed then welded it in
bolted the hood on
Front cab corners were all rusted also and the bolts for the fender no longer existed.... soooo i made some new ones
Got the fender on
removed windshield to fix the rust around the window and POR15 it
All sanded down
Primed
Rocker gaurd
Painted the grill to match but it was a last minute thing while i had the black paint in my hand so i figured it wouldnt hurt to try and see how it looks.
The paint booth
3 coats of base
3 coats of clear
Put the rock slider together
First day back on the road
Viking Offroad order showed up.. SWEET free hat!
some more pics
Fall 2009 brought this home
92 Lexus LS400 1UZ-FE
removed tranny
Cleaned it up a bit with degreaser and a pressure washer
Rear disc brackets
SC400 rear sump setup and oil filter mount
Put in an order to lextreme
Water pump
rotors
Caps
Timing belt pullies
Timing belt
EGR delete kit
Full engine gasket kit
Wire harness from the car
Lexus cluster
Started to pull the engine apart
Nice timing belt lol
Found a little nest under the intake
Pulled the heads apart to clean them and change the valve seals
Cleaned the block with some acid
Heads back on
got some plug wires
new timing belt tensioner
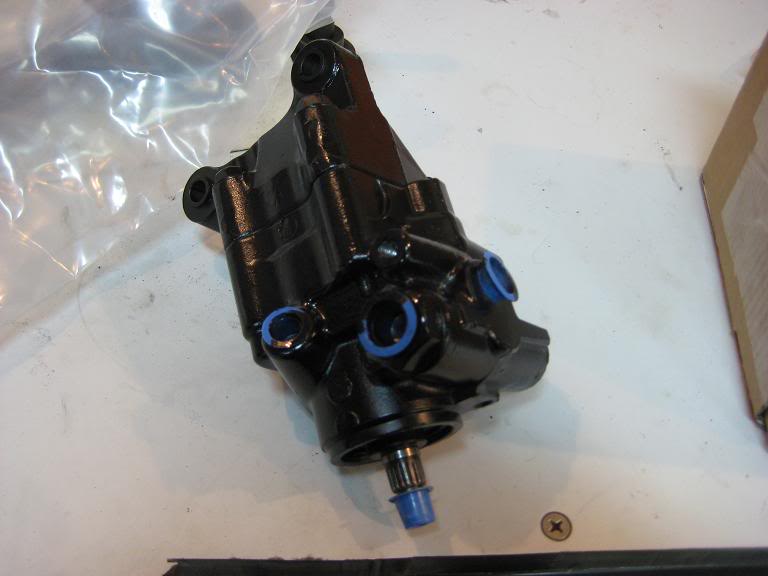
new power sterring pump
Powder coated the valve covers
Almost back together
Pulled out the 3.0 and cleaned the engine bay. it was mid winter at this point so i had to lay down plastic and use a sponge with soapy water
Painted the engine covers
4 core aluminum rad
Powder coated the intake manifold
The first of many test fits haha
Then the bell housing for my R150F showed up from A1turbos
Another test fit with the tranny and new bell housing on. Started on the motor mounts
this was the end result, 3/8 plate, some DOM tubing left over from my rock sliders and the 3VZ rubber mounts
it sits on its own for the first time
Painted the motor mounts
Bell Housing bolted on and new throw out bearing installed, the bearing was from my Marlin HD clutch kit.
OK the flywheel!! i dont have pics but here is what i did. I had the back of the 3VZ flywheel machined to put the ring gear in the exact same spot as the stock flex plate, then i took it to the CNC to have the bolt holes cut. the bolt patter is almost the exact same except the 1UZ pattern is a tad wider so made a program to make the holes a bit more outward resulting in a slight oval look.. then i had the flywheel balanced and bolted it on with a 3vz HD clutch kit from Marlin
Ran a larger wire to the main fuse box
Had to move the alternator wiring to the other side
Drive line
Custom fuel line. the 1UZ feed and return are on the driver side and the truck feed and return are on the passenger side so i just had a long line made to run over the other side.
The stainless headers i have will not fit.. well the passenger side does fit but the drivers side wont because of the steering shaft, maybe if i had a body lift it would of worked but i dont want to run a body lift or make my truck any higher. So i found some 2001 Tundra manifolds bolted them on but i had to cut the driver side and rotate the flange as it was pointing right at the frame rail
ill have another update tomorrow.. stay tuned
Last edited by Yota 3.0; 03-22-2010 at 09:02 AM.


 03-22-2010, 02:50 PM
#5
Registered User

Join Date: Jul 2008
Location: Thunder Bay, Ontario, Canada
Posts: 148
Likes: 0
Received 0 Likes
on
0 Posts
Well it's about time, and don't go saying I don't have a build thread cause you know why I don't lol. Nicest Yota in Thunder Bay by a huge margin and probably one of the nicest in Canada(don't hate me he's my buddy.)
03-23-2010, 05:09 AM
#7
Thanks for all the great feedback guys  Yay Yotatech!
Ok here is an update on where i am at today
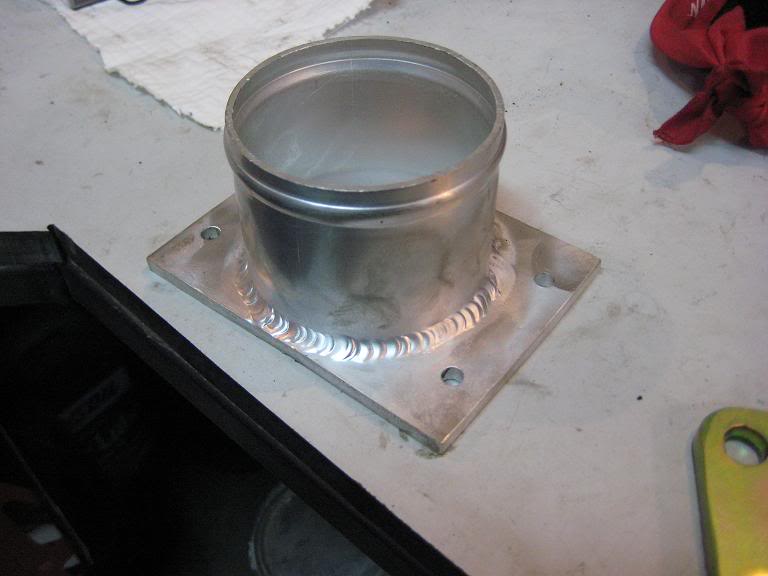
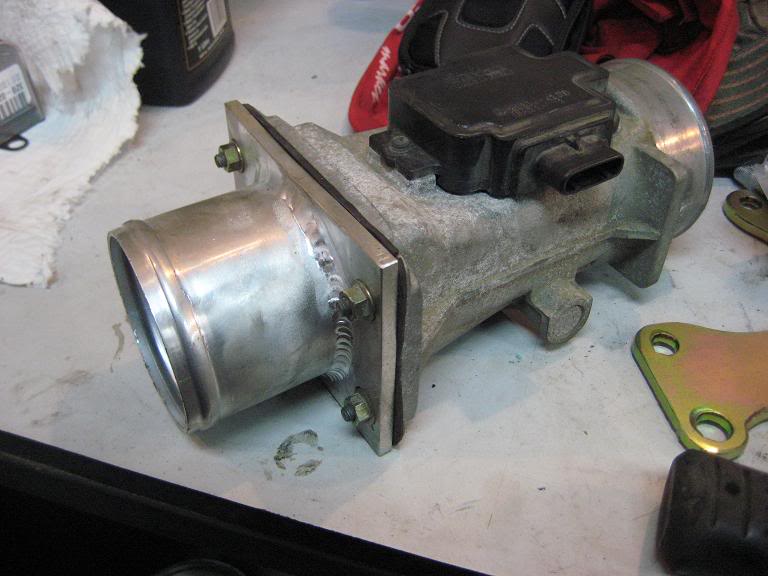
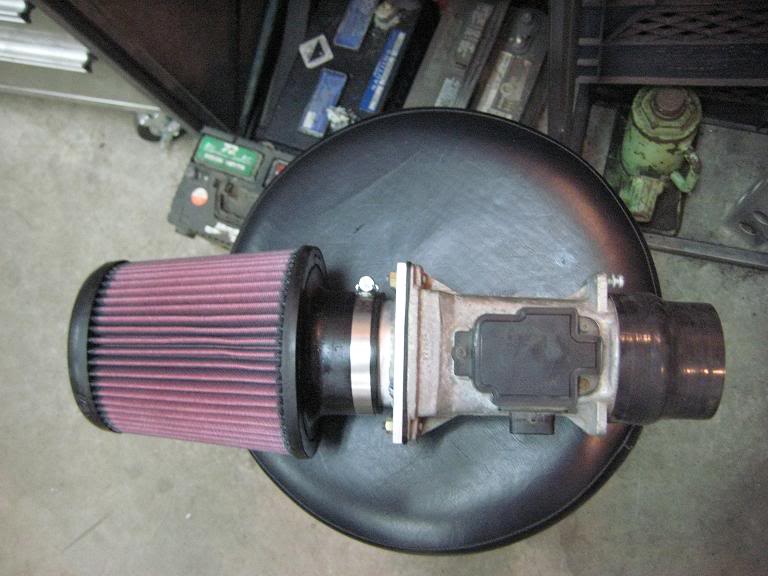
Made an adaptor to fit a cone filter on my MAF
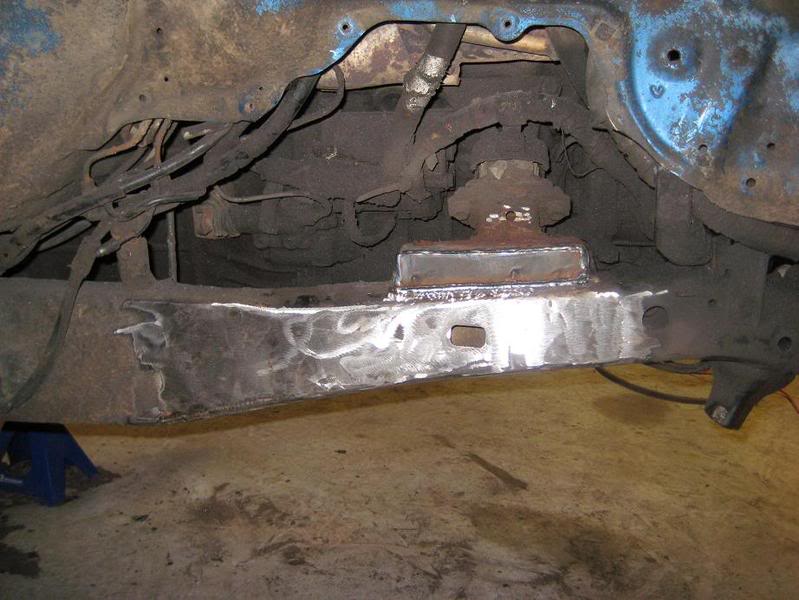
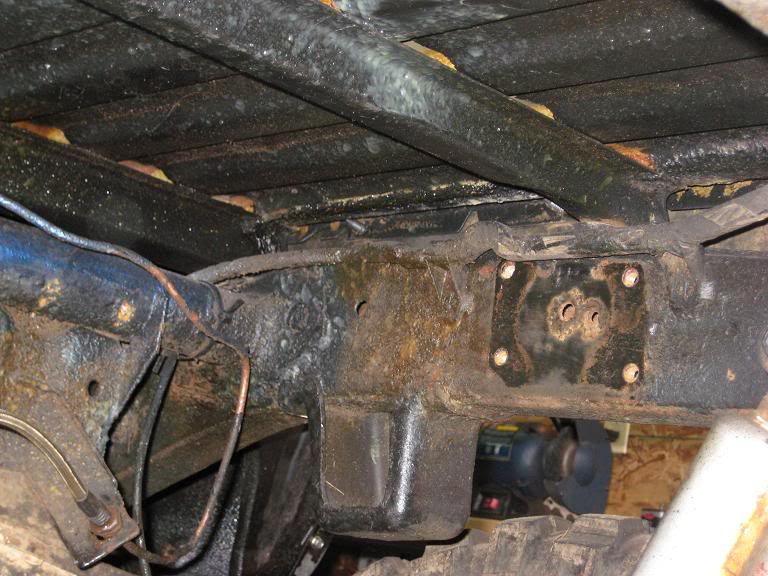
Started to cut up my cross member
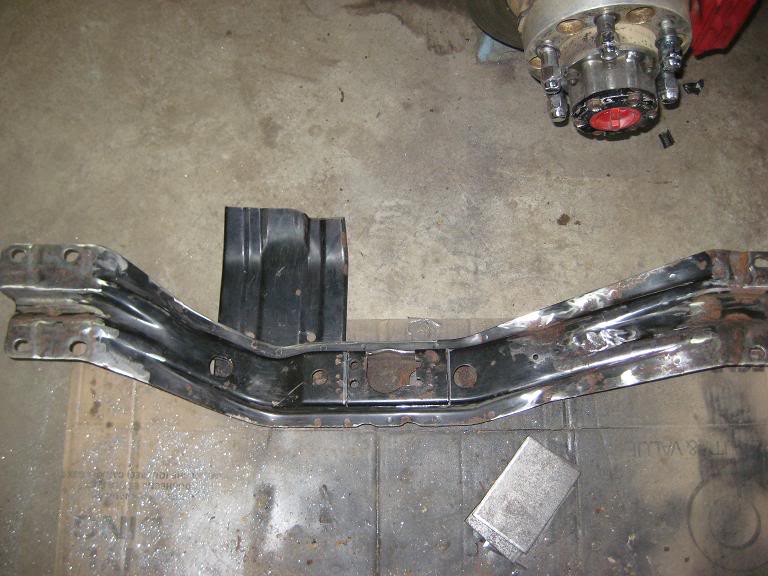
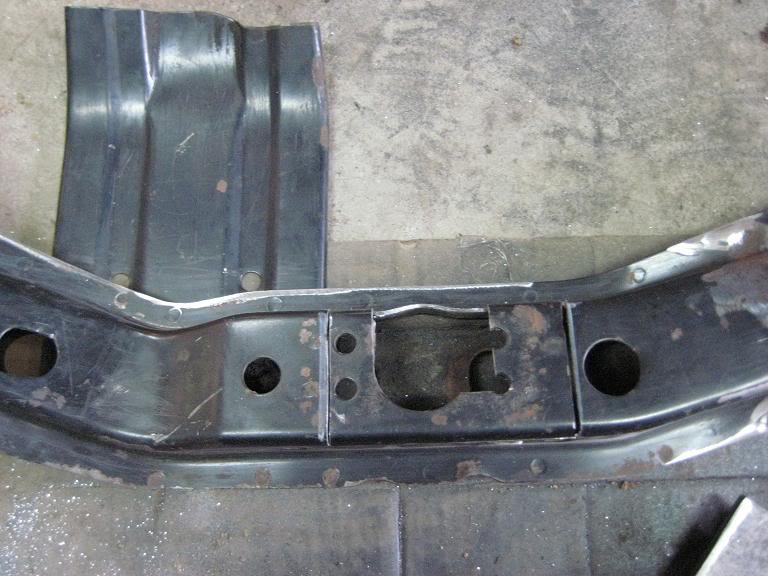
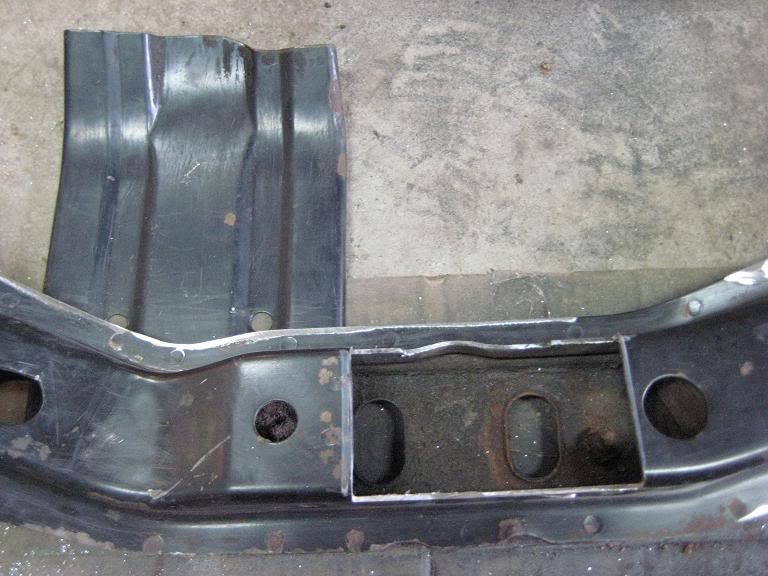
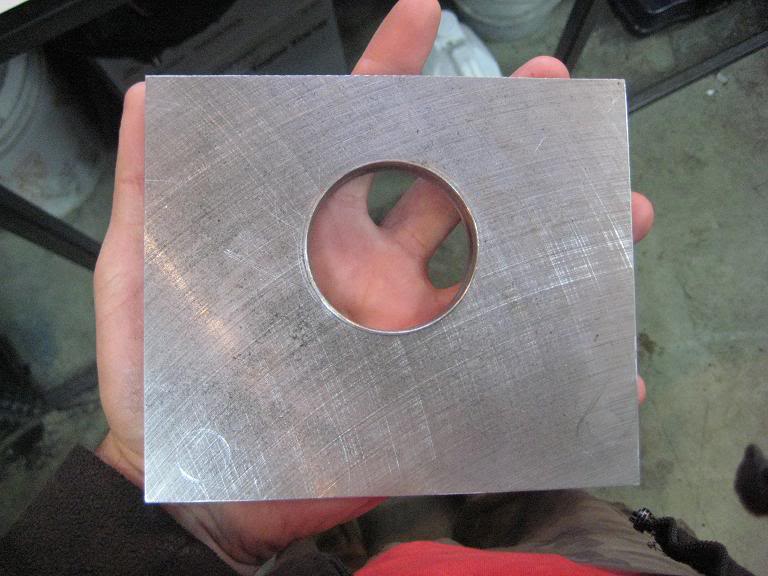
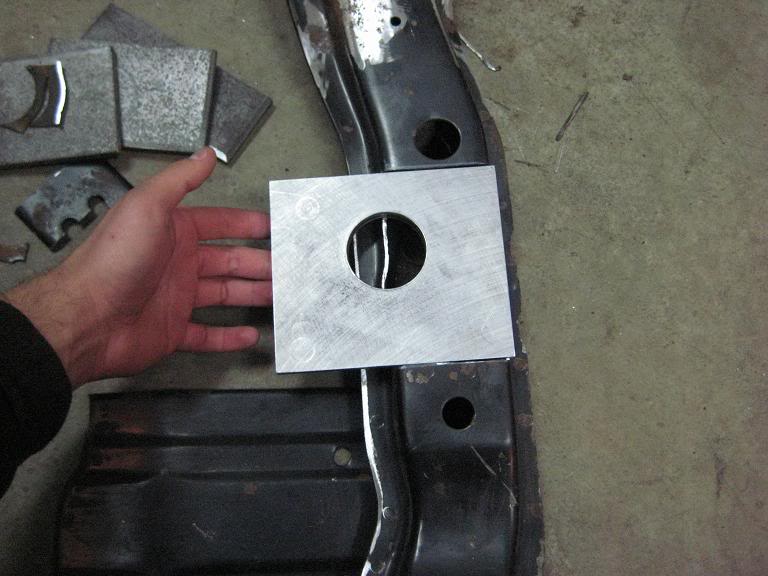
Cut a 3/8 plate to weld in, its not square but the hole is where i need it
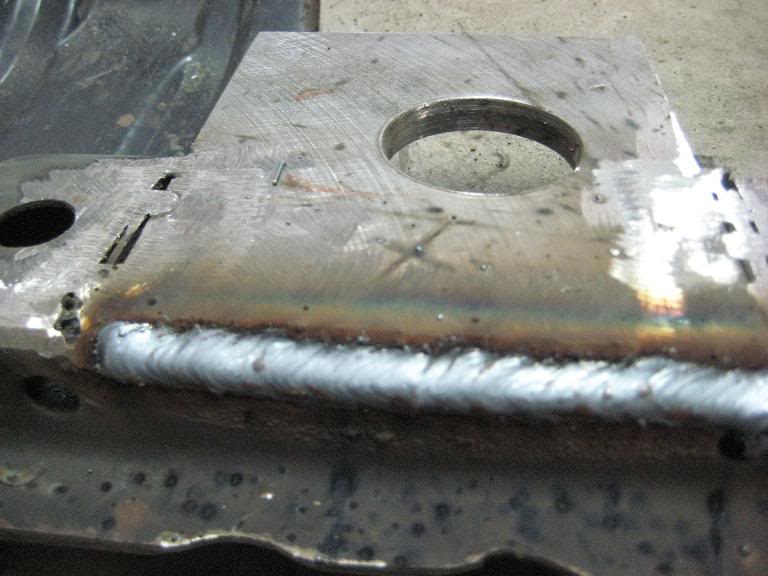
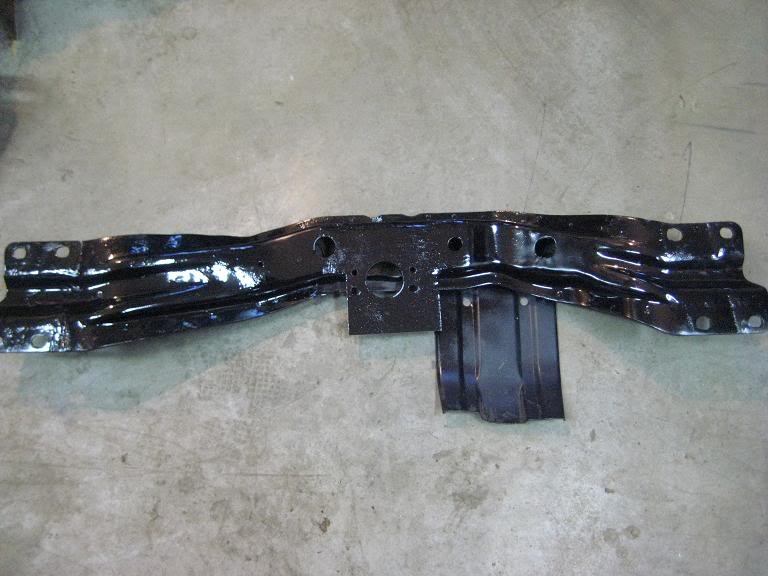
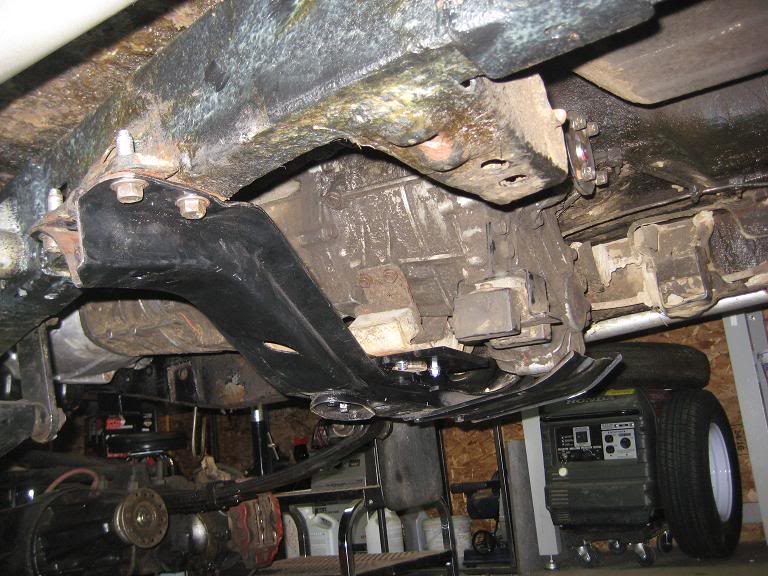
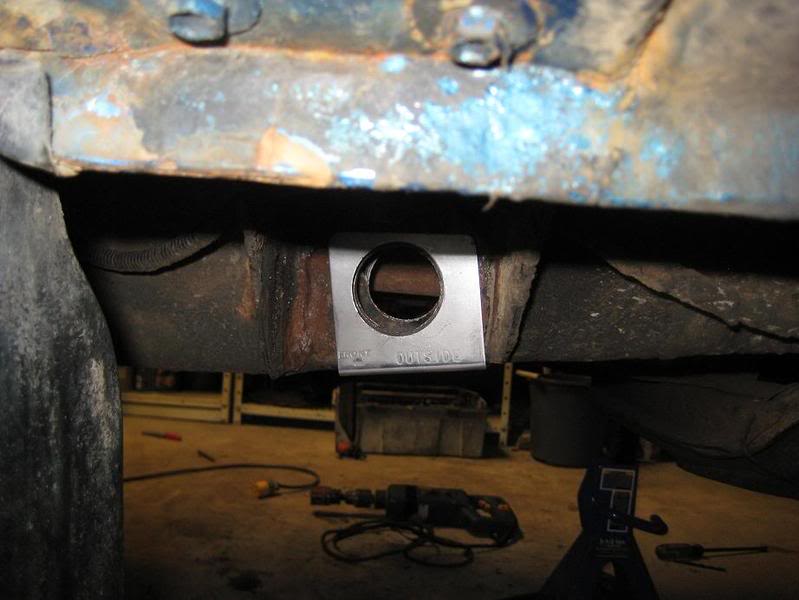
my whole driveline moved back about 1.5 inches so i also had to move the hanger bearing back.. more 3/8 plate
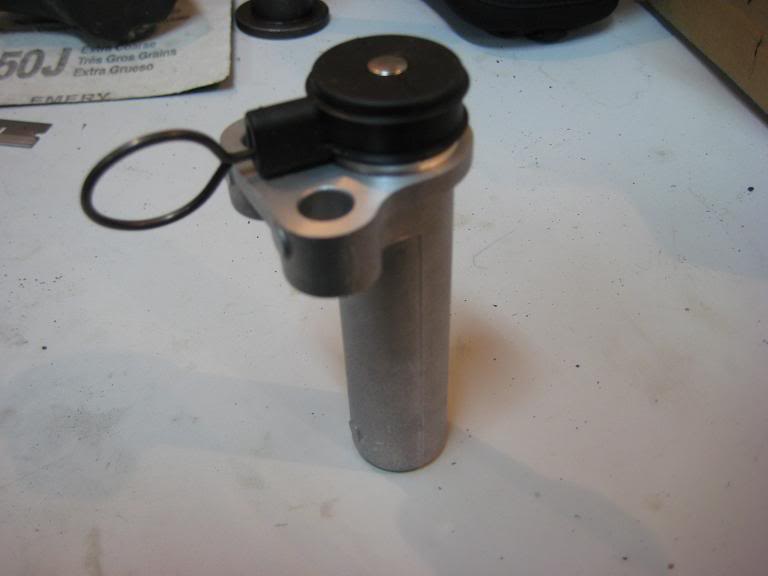
Mounted my ignitors and resistor box
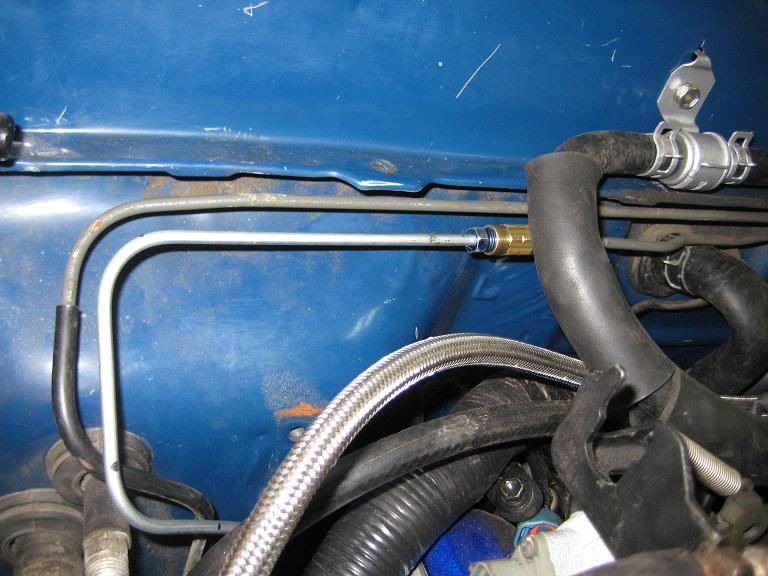
The stock throttle cable is stupid long and the way i had it mounted had 3 big bends so the cable was really stiff soo... i routed it under the intake manifold

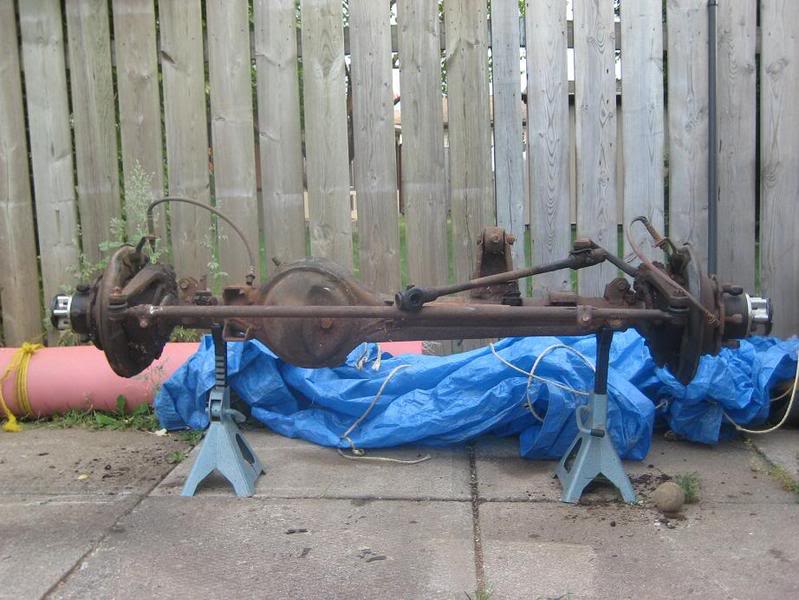
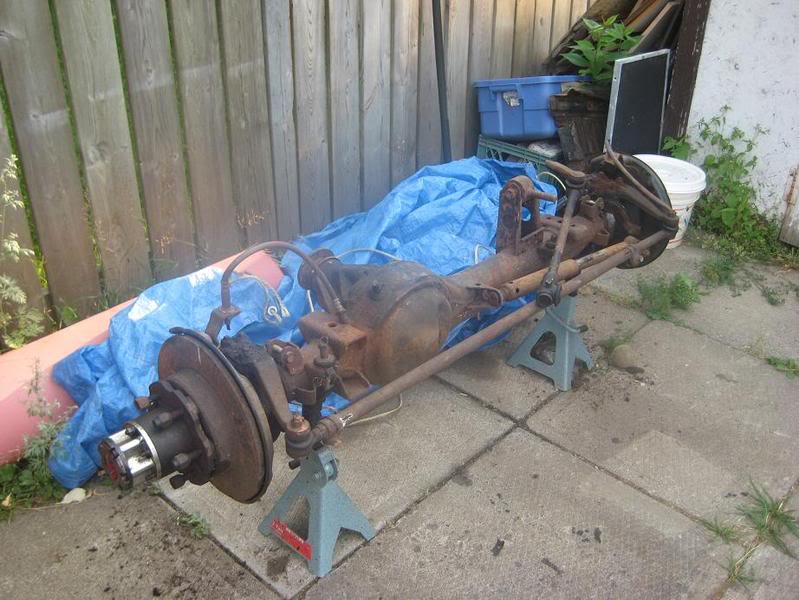
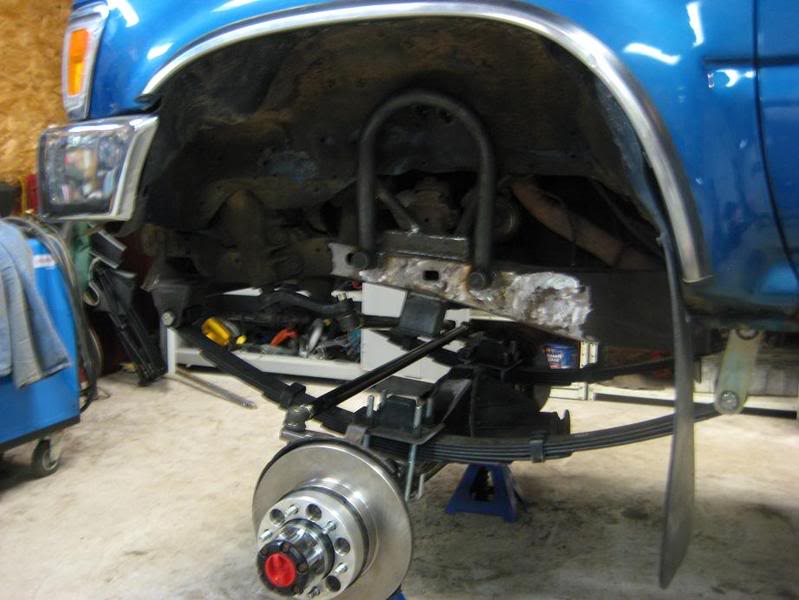
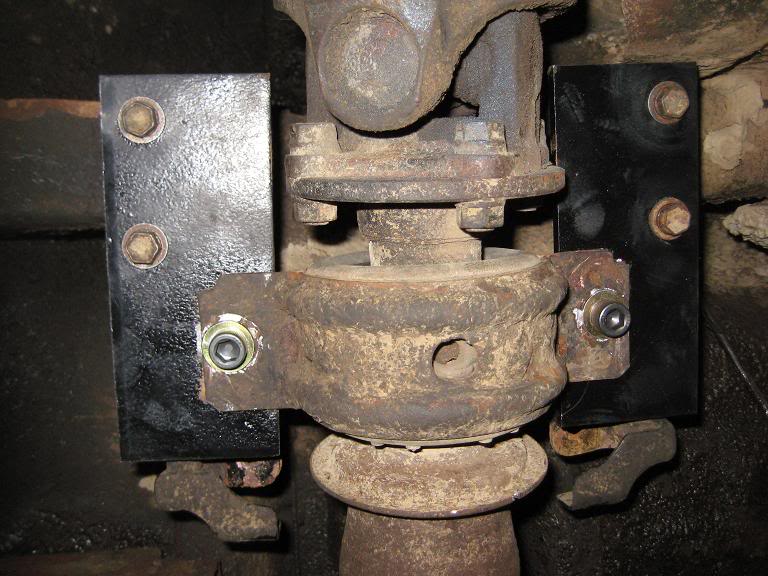
Then started to work on my rear disc swap

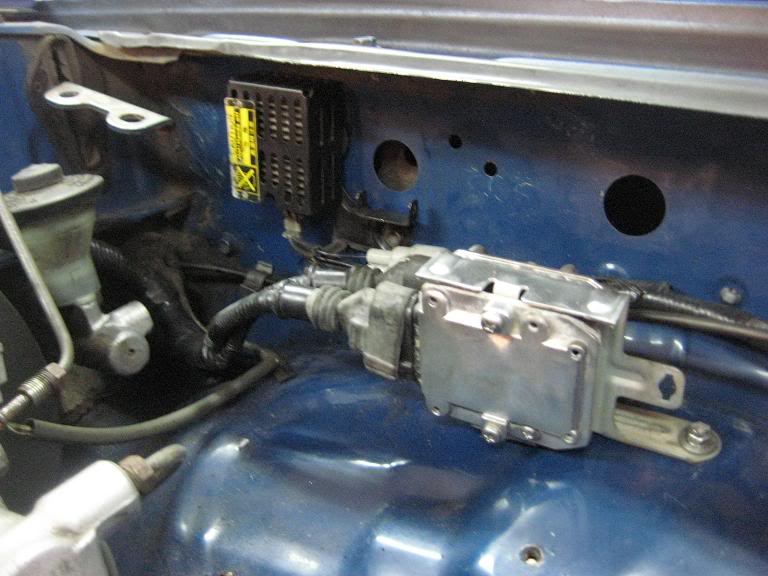
U can see my stainless braided clutch line I added in this pic behind my proportioning valve
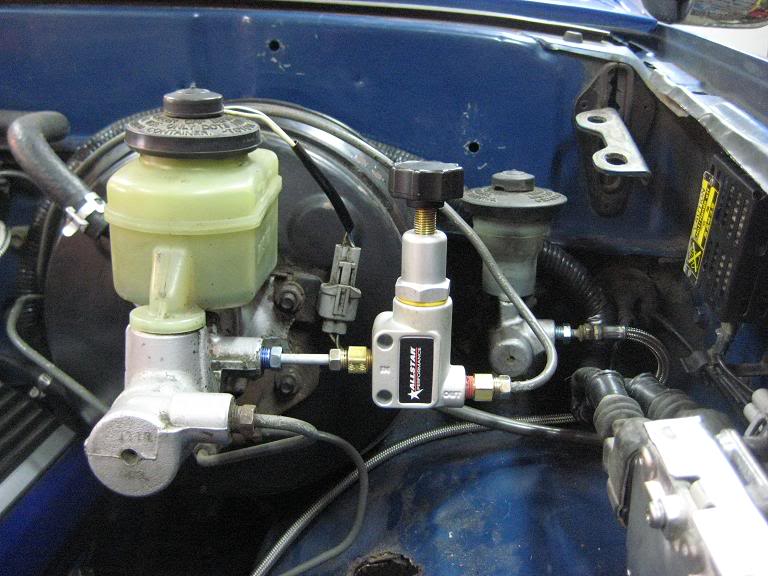
fixed the front brake line i broke while trying to take it apart
Stay tuned
Yay Yotatech!Ok here is an update on where i am at today
Made an adaptor to fit a cone filter on my MAF
Started to cut up my cross member
Cut a 3/8 plate to weld in, its not square but the hole is where i need it
my whole driveline moved back about 1.5 inches so i also had to move the hanger bearing back.. more 3/8 plate
Mounted my ignitors and resistor box
The stock throttle cable is stupid long and the way i had it mounted had 3 big bends so the cable was really stiff soo... i routed it under the intake manifold
Then started to work on my rear disc swap
U can see my stainless braided clutch line I added in this pic behind my proportioning valve
fixed the front brake line i broke while trying to take it apart
Stay tuned
Last edited by Yota 3.0; 03-23-2010 at 05:10 AM.
Trending Topics
 scribed
 03-25-2010, 08:08 PM
#14
Thanks for all positive comments guys
Alright so i got another update!
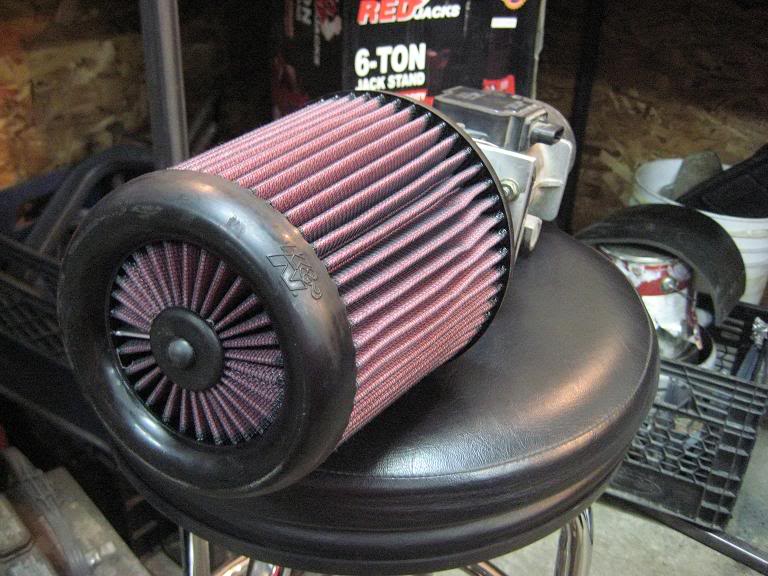
Got my air filter on the MAF
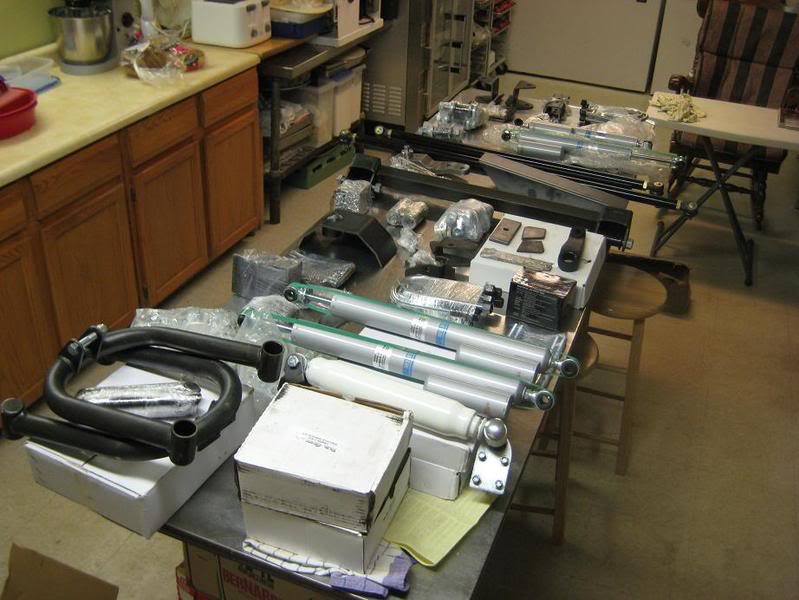
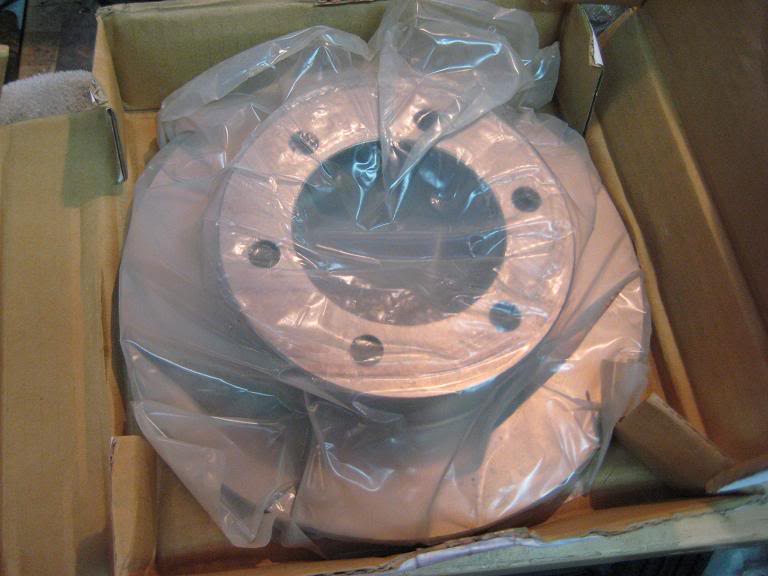
Picked up my rear rotors for my disc swap
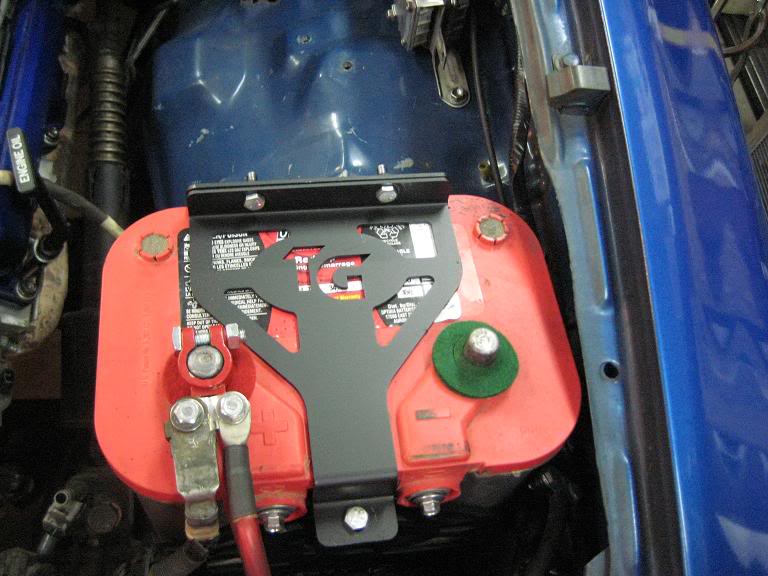
Mounted the battery box
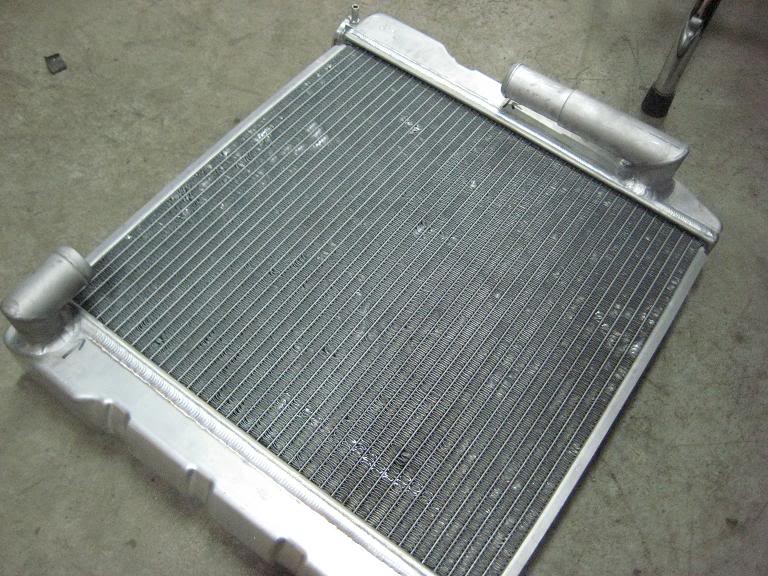
Got my rad ends modded so it would fit
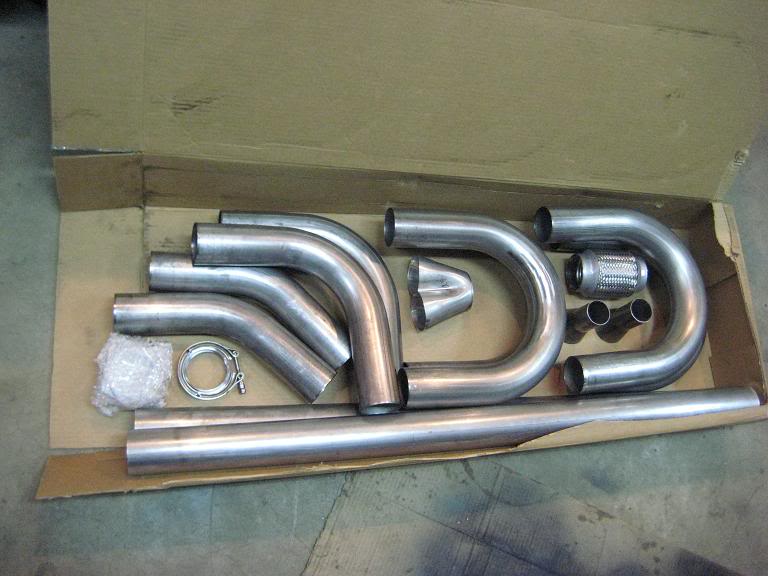
My exhaust piping, 409 stainless 3 inch mandrel bent, vband clamps, collector, flex pipe.
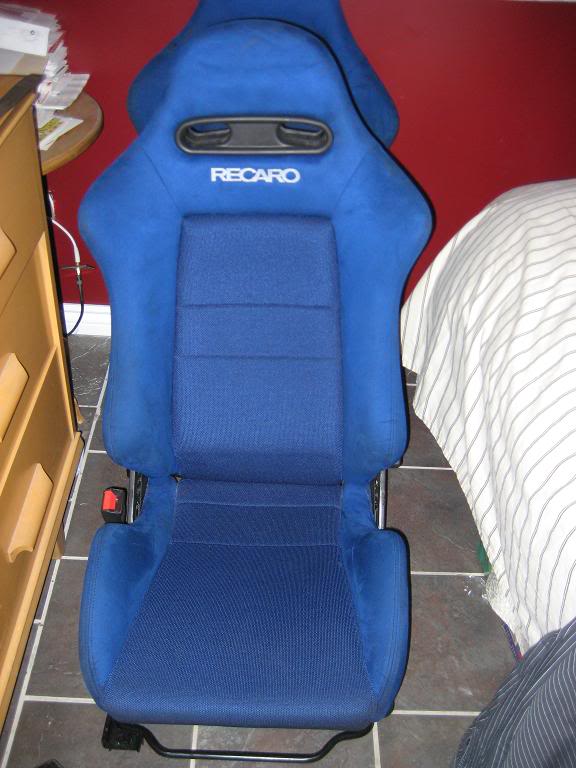
and my suede recaro seats
Alright so i got another update!
Got my air filter on the MAF
Picked up my rear rotors for my disc swap
Mounted the battery box
Got my rad ends modded so it would fit
My exhaust piping, 409 stainless 3 inch mandrel bent, vband clamps, collector, flex pipe.
and my suede recaro seats
Last edited by Yota 3.0; 01-04-2011 at 06:48 AM.
03-26-2010, 09:49 AM
#18
Registered User
Join Date: Feb 2007
Location: North Carolina
Posts: 521
Likes: 0
Received 0 Likes
on
0 Posts
Love your truck man! You wouldn't happen to have any shots of the truck from the rear would you I'm trying to decide between the TG and the MC rear bumper.
03-30-2010, 04:07 AM
#19
ill look through my pics and if not ill take one tonight for you.


