When you click on links to various merchants on this site and make a purchase, this can result in this site earning a commission. Affiliate programs and affiliations include, but are not limited to, the eBay Partner Network.
Well today really sucked. Removing the IFS was a real pain but I finally got it out. Tomorrow I can actually start building the suspension. I ran out of oxygen before getting the last bracket off the frame and had to do it with a grinder. Tomorrow I will grind everything flush and start cutting the holes for the frame tubes. I am going to try and find somewhere to fill oxygen on a Sunday.
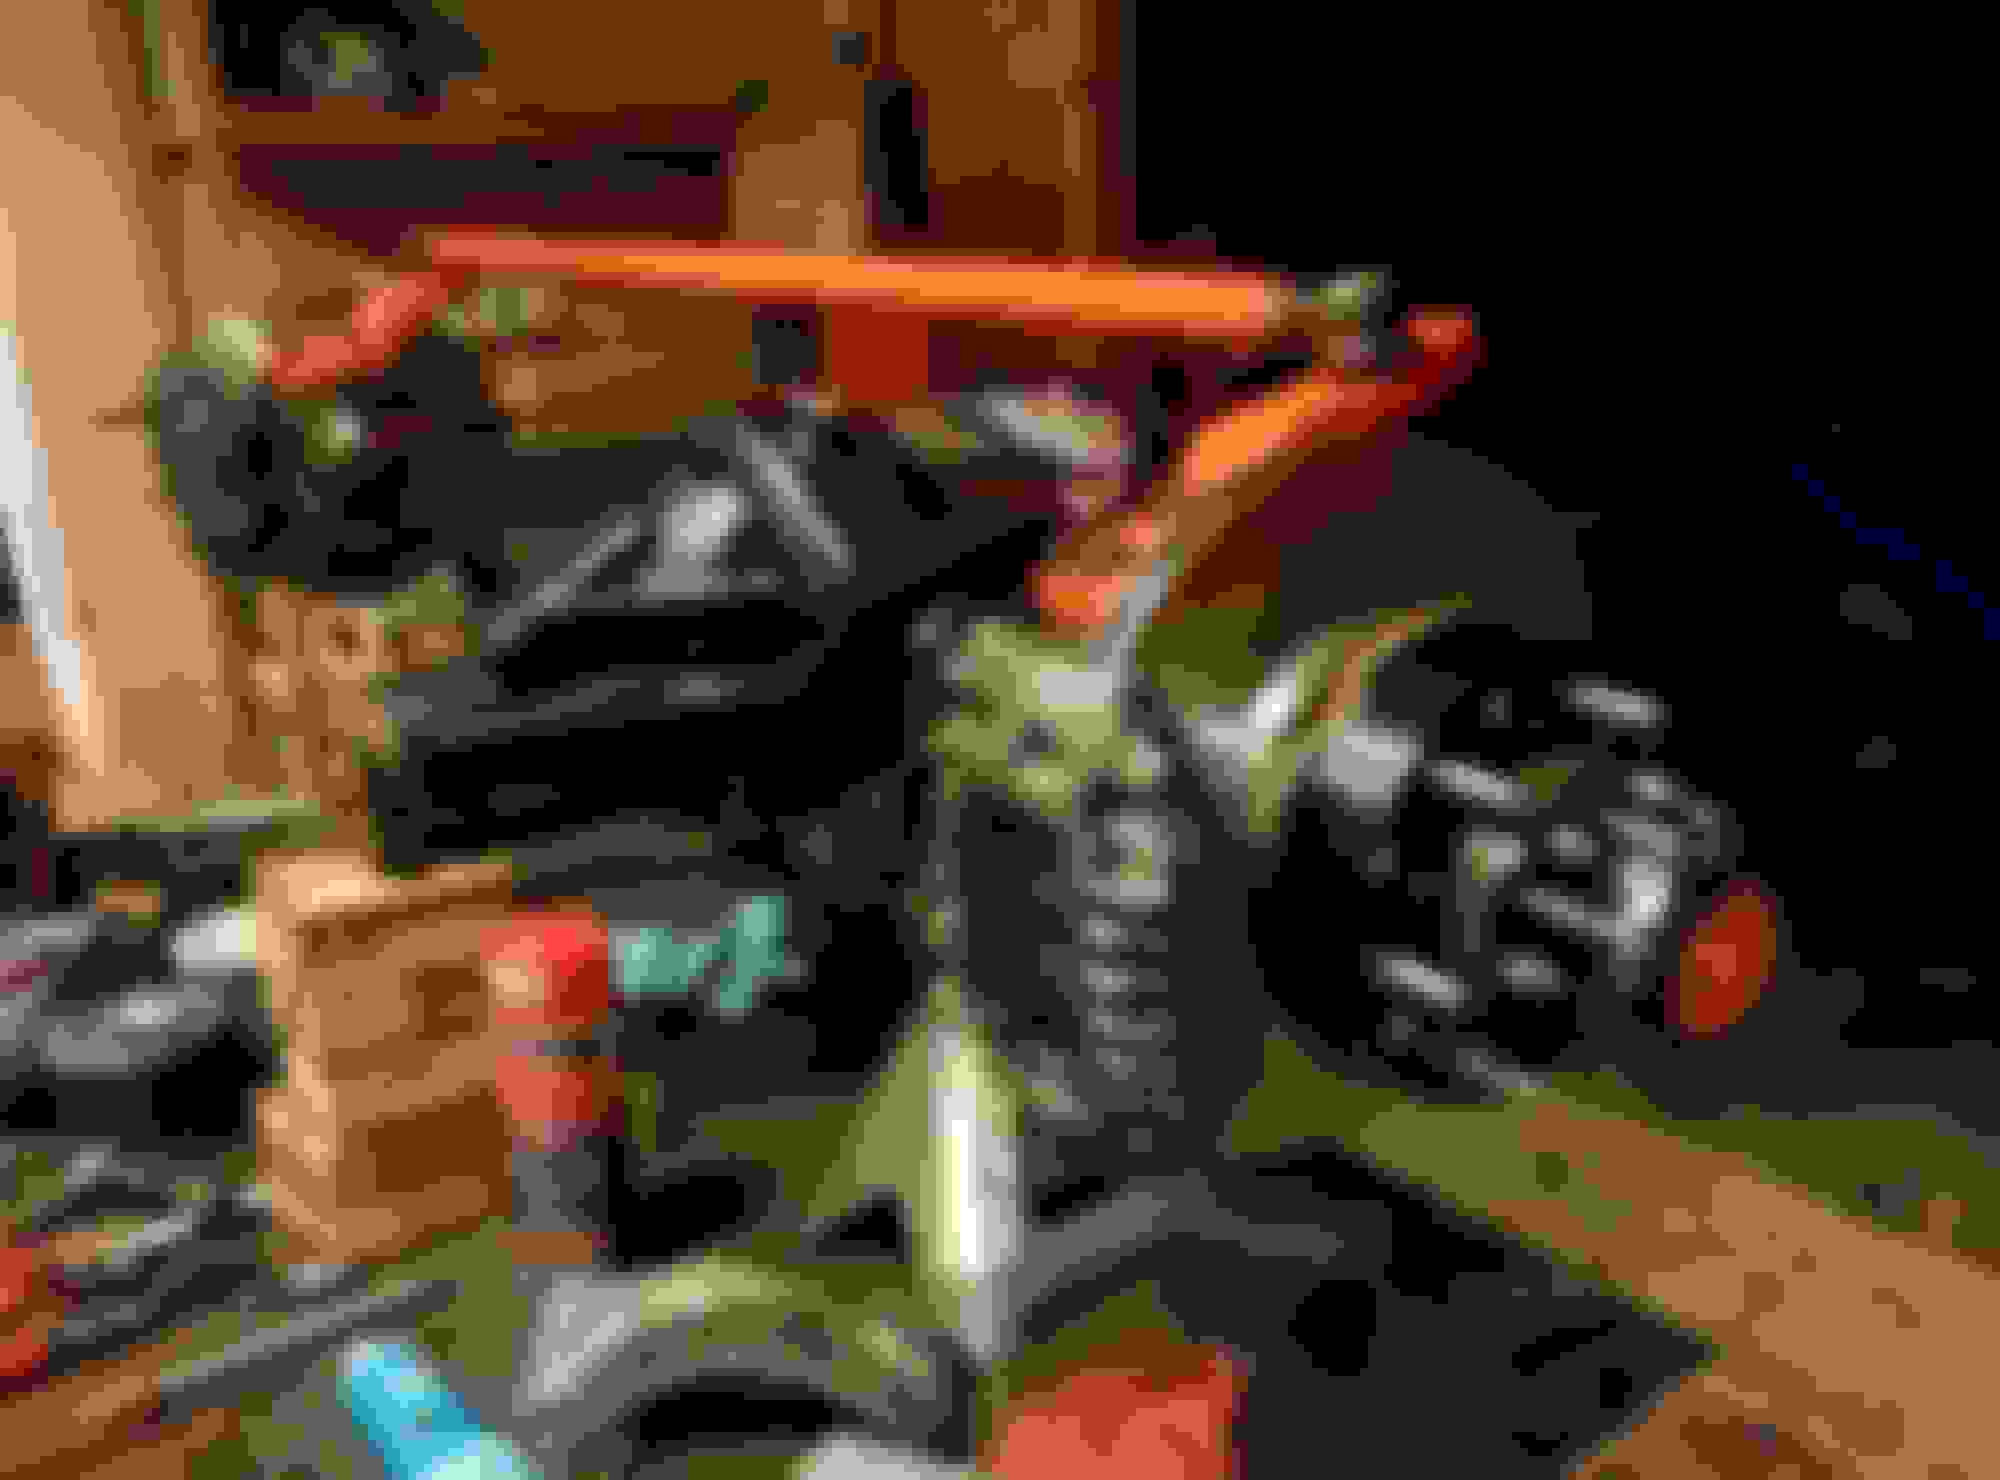
Progress is slow...I feel like I have been grinding for an eternity. I finally got the frame clean though. Used a hole saw on the outside of the frame but there was no room for the drill on the inside so we had to torch it out. Of course I ran out of gas again. Tried using a die grinder to make the holes a little bigger bc I was conservative with the torch when making the inside frame tube holes, but it is taking too long. I stopped wasting my time and went back to grinding the IFS brackets. The hole saw worked great on the outside. I used a 1 3/4 Lenox bimetal hole saw and it cut right through it. Plenty of cutting fluid kept it buzzing right through. The gussets were a pain but not that bad with a torch.
IFS = gone!
Going to get more gas in the morning. Then I will finish sizing up the holes and at that point the frame tubes should be burned in and we can get around to hanging this darn axle!
I mocked up my front spring hanger and test fit the springs to see where to drill my hole. TG says center the hole but a lot of people have said it wont work with the 3" springs and go as far forward as possible in the body mount to get the proper shackle angle. I think they are right as I held the spring up and it didnt even come behind the body mount.
This is passenger side outside hole. Spring hanger is mounted flush with frame. I dont have a pic of the spring up next to the hole but at full droop the front of the body mount basically comes to the center point on the leaf spring bushing (spring too short to even clear the body mount).
According to this I am spot on.
Originally Posted by ScottyC
He can't with the 3" springs. In fact, he needs to mount it 1/4" back of the front crossmember for a decent shackle angle and to have the tie rod and draglink clear each other on compression. Otherwise he'll be having to move the steering box forward.
I have all of these lifts down to a science at this point.
3" springs: 1/4" in back of the frame. Push the frame tube jig all the way forward in the body mount.
4" Springs 1/2" in front. Center the frame tube jib in the body mount
5" springs 3/4" in front. Center the frame tube jib in the body mount
So I may even have to mess with the front spring hanger to get it just right which is ok. I am glad I drilled my holes as far forward as I could.
Tomorrow we will hang the axle and see how the shackle angle looks.
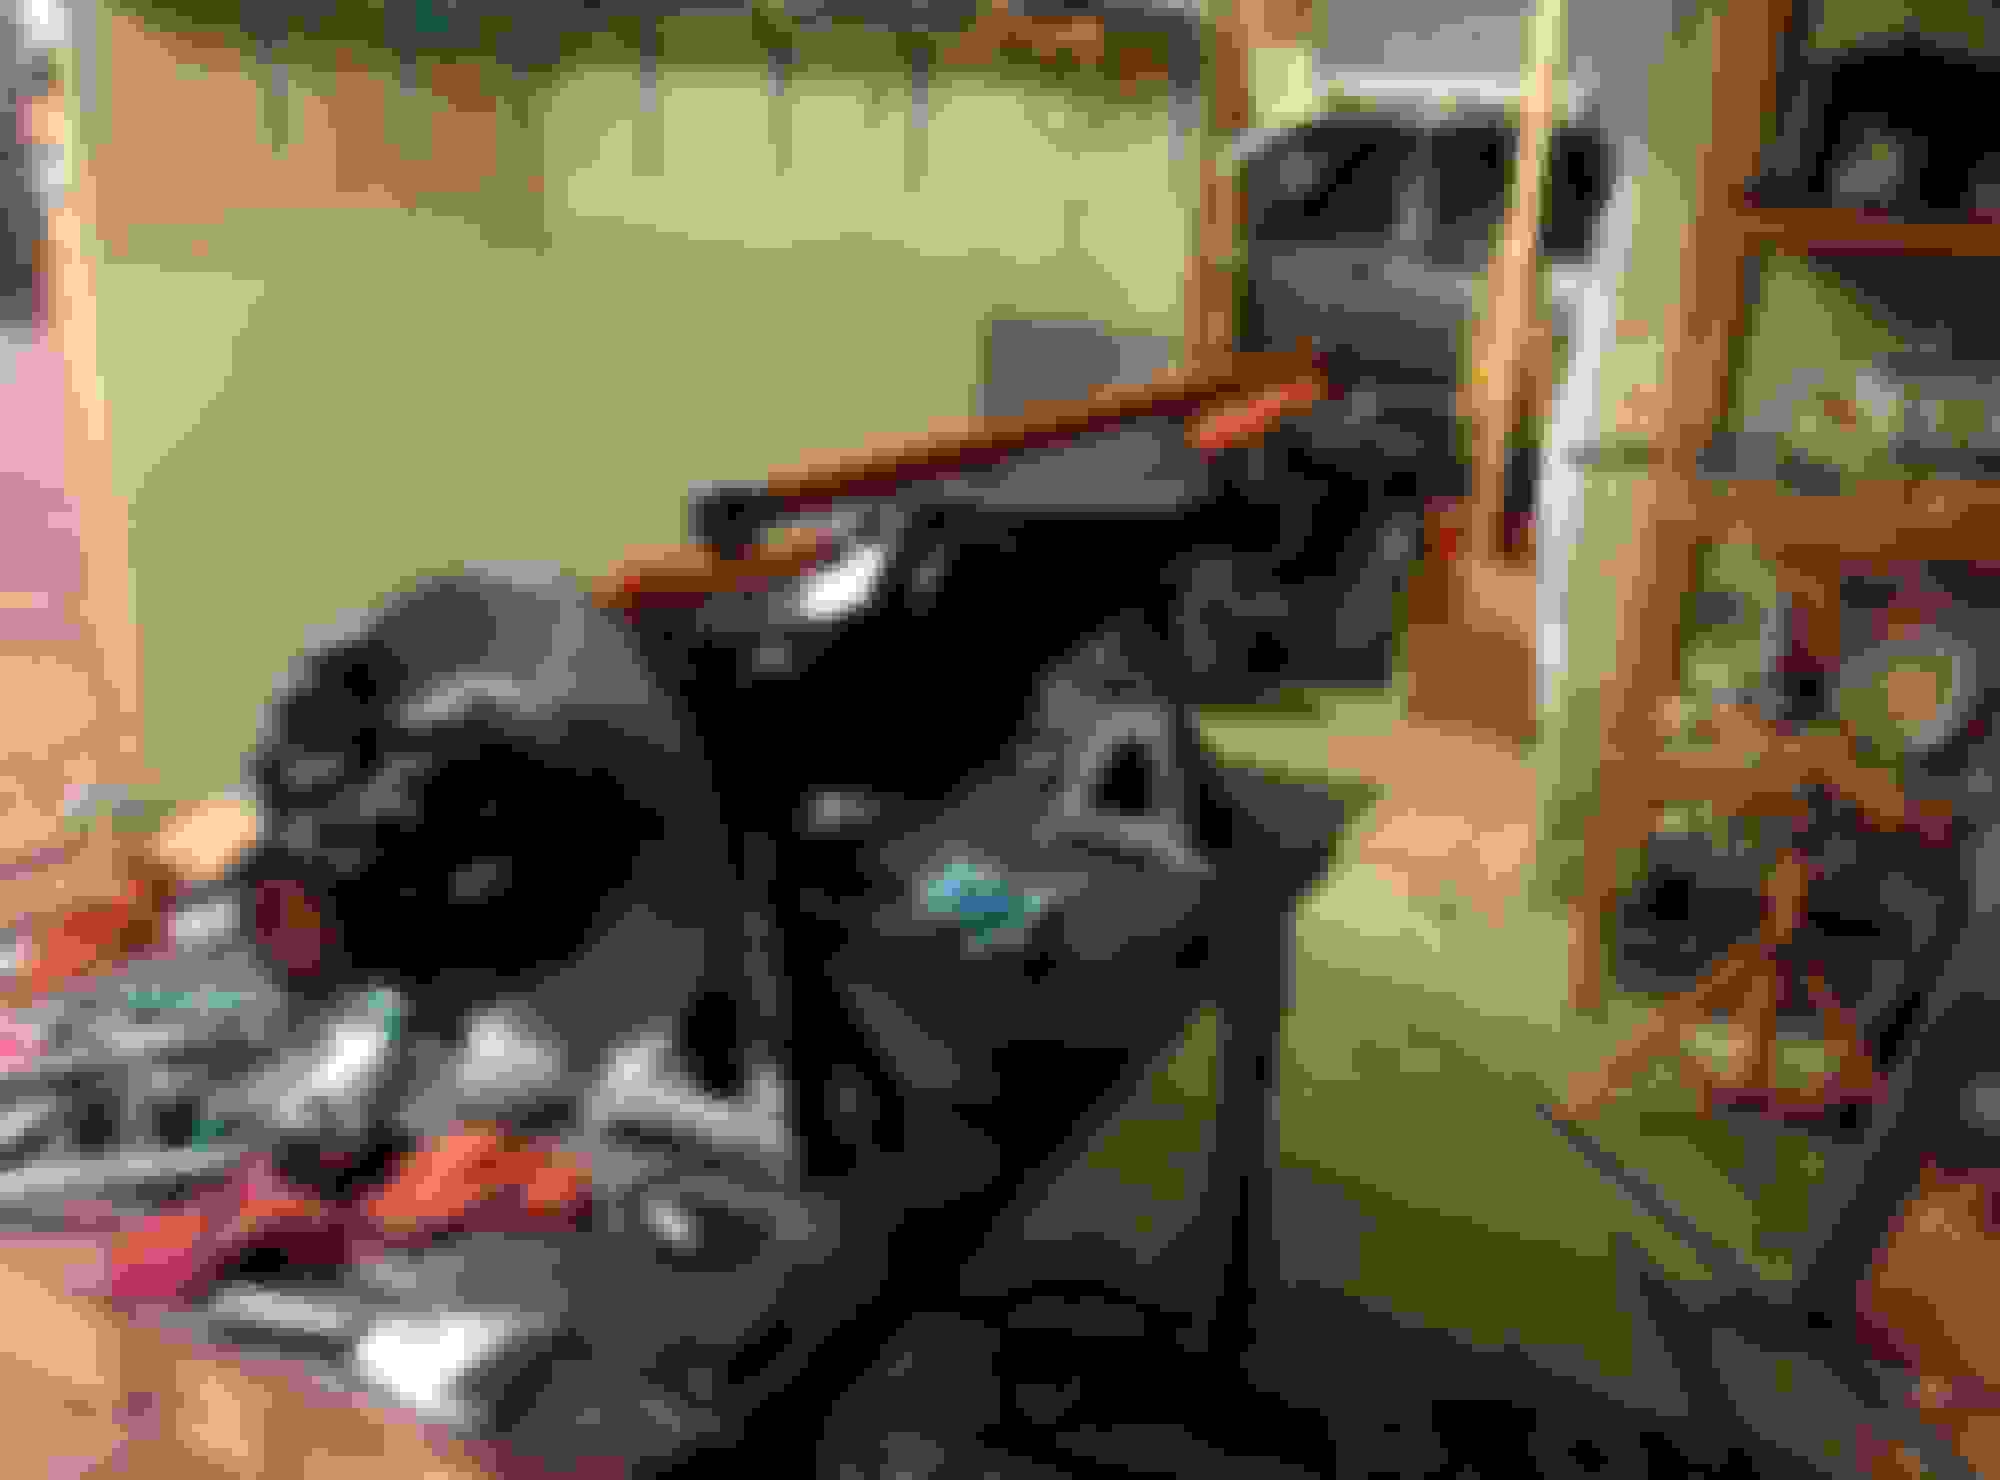
After the frame was clean it was time to get down to the fun stuff. First job was to finish the shackle tube holes. I looked everywhere today for acetylene regulators but everyone was closed. The hole on the inside of the frame was too small so I needed a way to bore it out but my acetylene regulator didnt fit my new tank. And so I whipped out the hole saw and bam, it went all the way through, nice and clean. I definitely think hole saws are the way to go instead of the torch. The hole turned out perfect so I had to tap with a hammer to get the tube through.
After that it was on to tacking up the spring hanger and hang the leafs. And on to the pics....
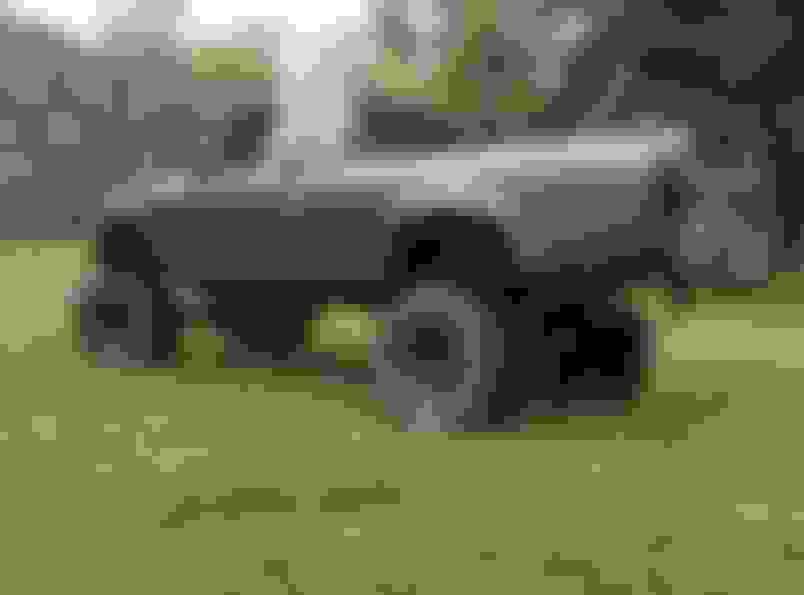
So far so good. One thing I think is kind of interesting is how high the truck is sitting in the front. Check out difference...
If you look above, the springs only sit like 10" off the floor. Not nearly enough for axle + tires so the truck will be even higher in the front that it is in that pic. This thing is gonna be tall...
Tomorrow I will put load on the springs to check shackle angle. Axle shafts come in Wednesday so that when I will be able to mount the axle.
Things are moving slow but I am taking my time and trying to make sure things are going right. So far very straight forward and I am having a blast.
Enjoying the hell out of your build. I have a 92 and I can't wait to get mine done. Just have to get all the parts first. Good luck and keep the pics rolling!
Enjoying the hell out of your build. I have a 92 and I can't wait to get mine done. Just have to get all the parts first. Good luck and keep the pics rolling!
Thanks man. If there is anything you want me to take pics of or document extra good let me know.
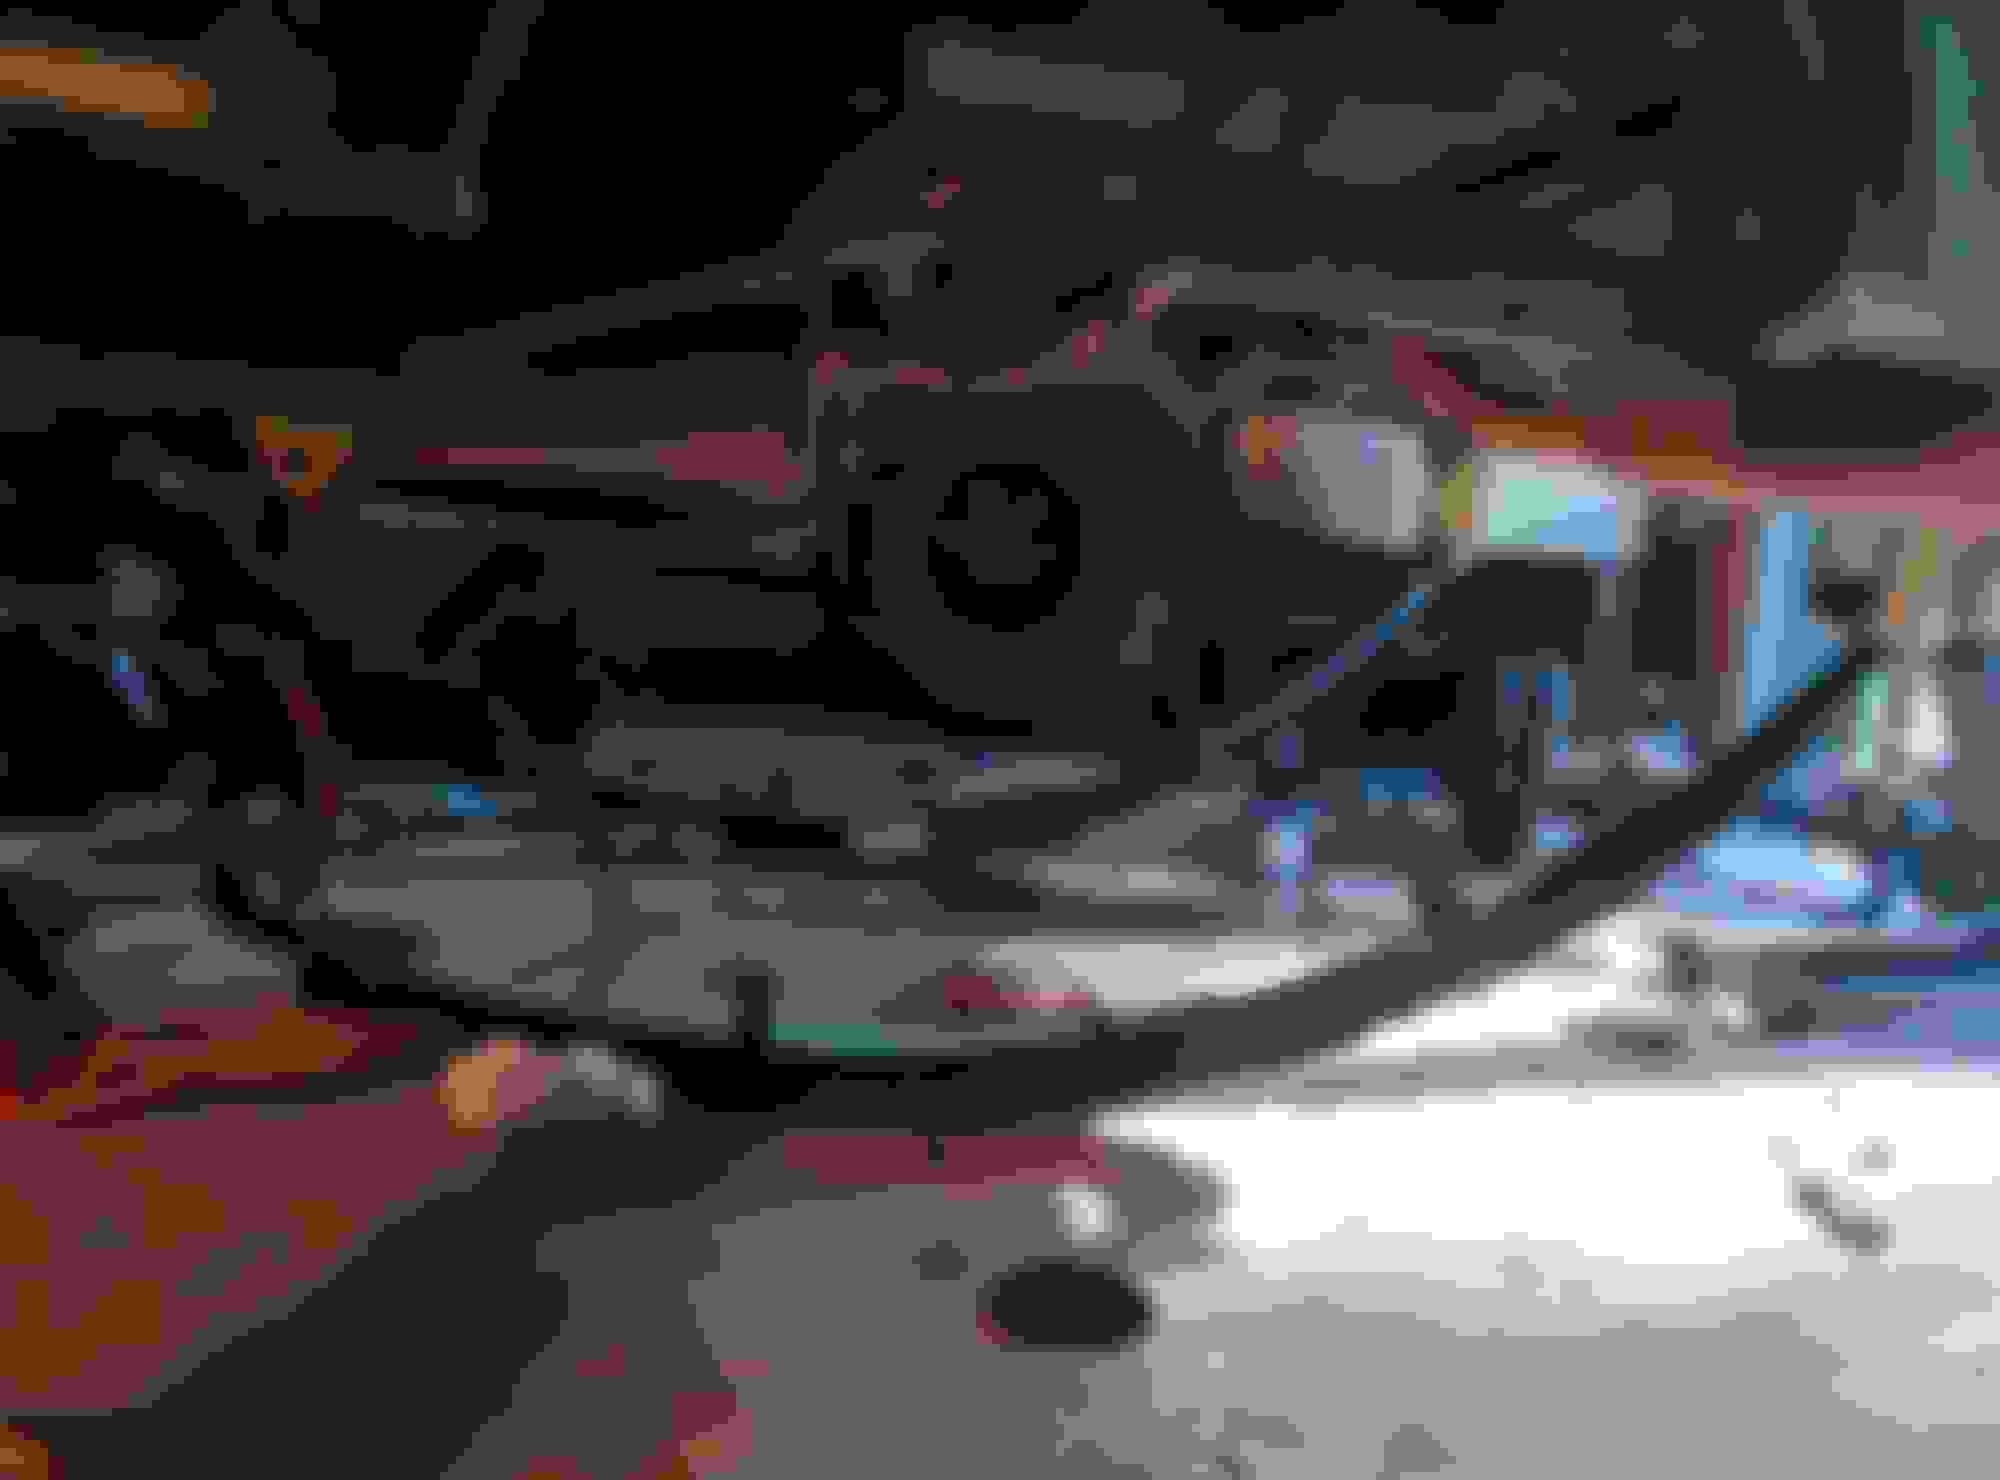
Longfields came in and installed! I didnt have to clearance my axle housing at all. No rubbing on rotation. Not as much progress as I wanted bc I had to knock out some honey do items but I got the axle seals installed, longfields installed, chromoly hub gears installed and hubs rebuilt (PITA!), and knuckles/steering arms on. Preload tested at ~13 lbs with stock shims. Found a busted knuckle stud so I will to replace/repair that and also have to replace some cross threaded lug studs. Thats tomorrow.
I did have one issue with wheel bearing preload. The hub didn't spin until about 20 lbs of pressure was on it. I think FSM says 13. Even with the spindle nut all the way loose I couldn't get it that low so I guess the seals and grease needs to break in a little bit? I just torqued to spec and moved on. I don't know if my preload has ever been perfect though so I'll just ride on it and see. The Chinese bearings in the TG kit probably wouldn't have lasted long anyways lol.
Hope you guys are enjoying the build. I know I am. Tomorrow hopefully we can get the axle under there and test it out. Then measure for a new front drive shaft and start on the rear lift.
Looking good tho. Its definitely a lot of work. I didn't expect the grinding to take as long as it did, but I also cut all the motor mounts out at the same time.
Today I worked on getting brakes hooked up on the front and starting on the rear. I really think TG should do something to include a brake solution for connecting the IFS calipers. They just send you extended lines with no way to connect them to the calipers. So I made my own brackets for the hard line...
I'll probably do something similar for the upper hard line attachment.
And the rear lift is close to complete...
Debating on if I should drop the gas tank before welding on the spring mount on the passenger side.
Going to swap out my rebuild diff on the rear axle and paint/prep axle tonight and hopefully have this thing knocked out by tomorrow.
Btw... Don't even think of using your front driveshaft. I am only on 3" springs and my front shaft isn't even close to hooking back up to my front diff. I was hoping it would be close enough to drive on the street with. If the rear is the same it might be a while before I can drive it bc I will have to order new driveshafts.
The day started by putting some work in on the rear. Everything had to be painted, welded, etc. I already had the shackles on and the axle was out and painted. Diff was swapped.
Tacked the front hangers and got the leafs in first off.
Then, I needed to place the axle under the truck, lower the truck on the axle, and determine pinion angle. Then weld em up. I think my welding has improved!
Finished burning everything in, bled brakes, and torqued everything down and she was ready to roll out of the garage for the first time!!!
Pics:
My buddies WJ:
All in all it was a fun project and no hiccups thank goodness. This thing is TALL!! I plan on removing the 3" BL so that should shrink it down a little.
Before:
After:
Little things still to do:
- Brakes are a little squishy still and need to fab upper hard line brackets.
- Need to weld in shock hoops on front and lower shock mounts on rear. (Anyone have opinions on shock angle for rear...stock upper mounts or / \ angle?)
- Get everything to correct torque specs
- Align steering
- New driveshafts
Hope everyone enjoyed the SAS and if anyone needs more pics just ask.
Yeah the body lift looks terrible, especially with 33's. I already have the new body mount bushings to replace the body lift with. It shouldnt take long. I have to take the BL off before mounting my shock hoops so I will probably try and knock it out tonight after work.
 05-22-2015, 10:47 AM