When you click on links to various merchants on this site and make a purchase, this can result in this site earning a commission. Affiliate programs and affiliations include, but are not limited to, the eBay Partner Network.
Hello all,
I've been a lurker on Yotatech for around the past 6 months. I found the site when I became interested in these older Toyota's and began learning everything I could about them.
Before I get to the build details, bear with me while I supply some background information.
I am currently a student and my passion to learn transcends most other desires. I had never done any major automotive work prior to this, but I have always loved cars and anything mechanical since a very young age, and I am decently mechanically inclined. What attracted me to Toyota 4x4's is their quality, practicality, and above all their reliability. I plan on going through medical school, and have been saving to buy a vehicle for quite some time. A major concern of mine is having a car that I am confident will last me for the next 10-12 years. (the amount of time until I will have a steady job...) With the money I had (around 8k) I realized that I could get an older Yota and do just about everything to it for the same price as a mediocre used car. So a Toyota it was! I committed and bought an 86 Pickup, 22r and 5sp, mid October that I planned on restoring. It needed basically a full restoration, including an engine rebuild, paint, and body work. I began the restoration in mid November, puling the engine to begin the rebuild. Since then the vast resource of knowledge and advice that is Yotatech has proved invaluable to me. I've been using the forum for no small amount of time, and yet have no posts simply for the fact that I've found an answer to every question I've had just by searching!
So here goes a short recap of all I've done in the past few months. Excuse the few and somewhat low quality pictures I have; one of the reasons I'm beginning this build thread is to provide discipline to better document my restoration.
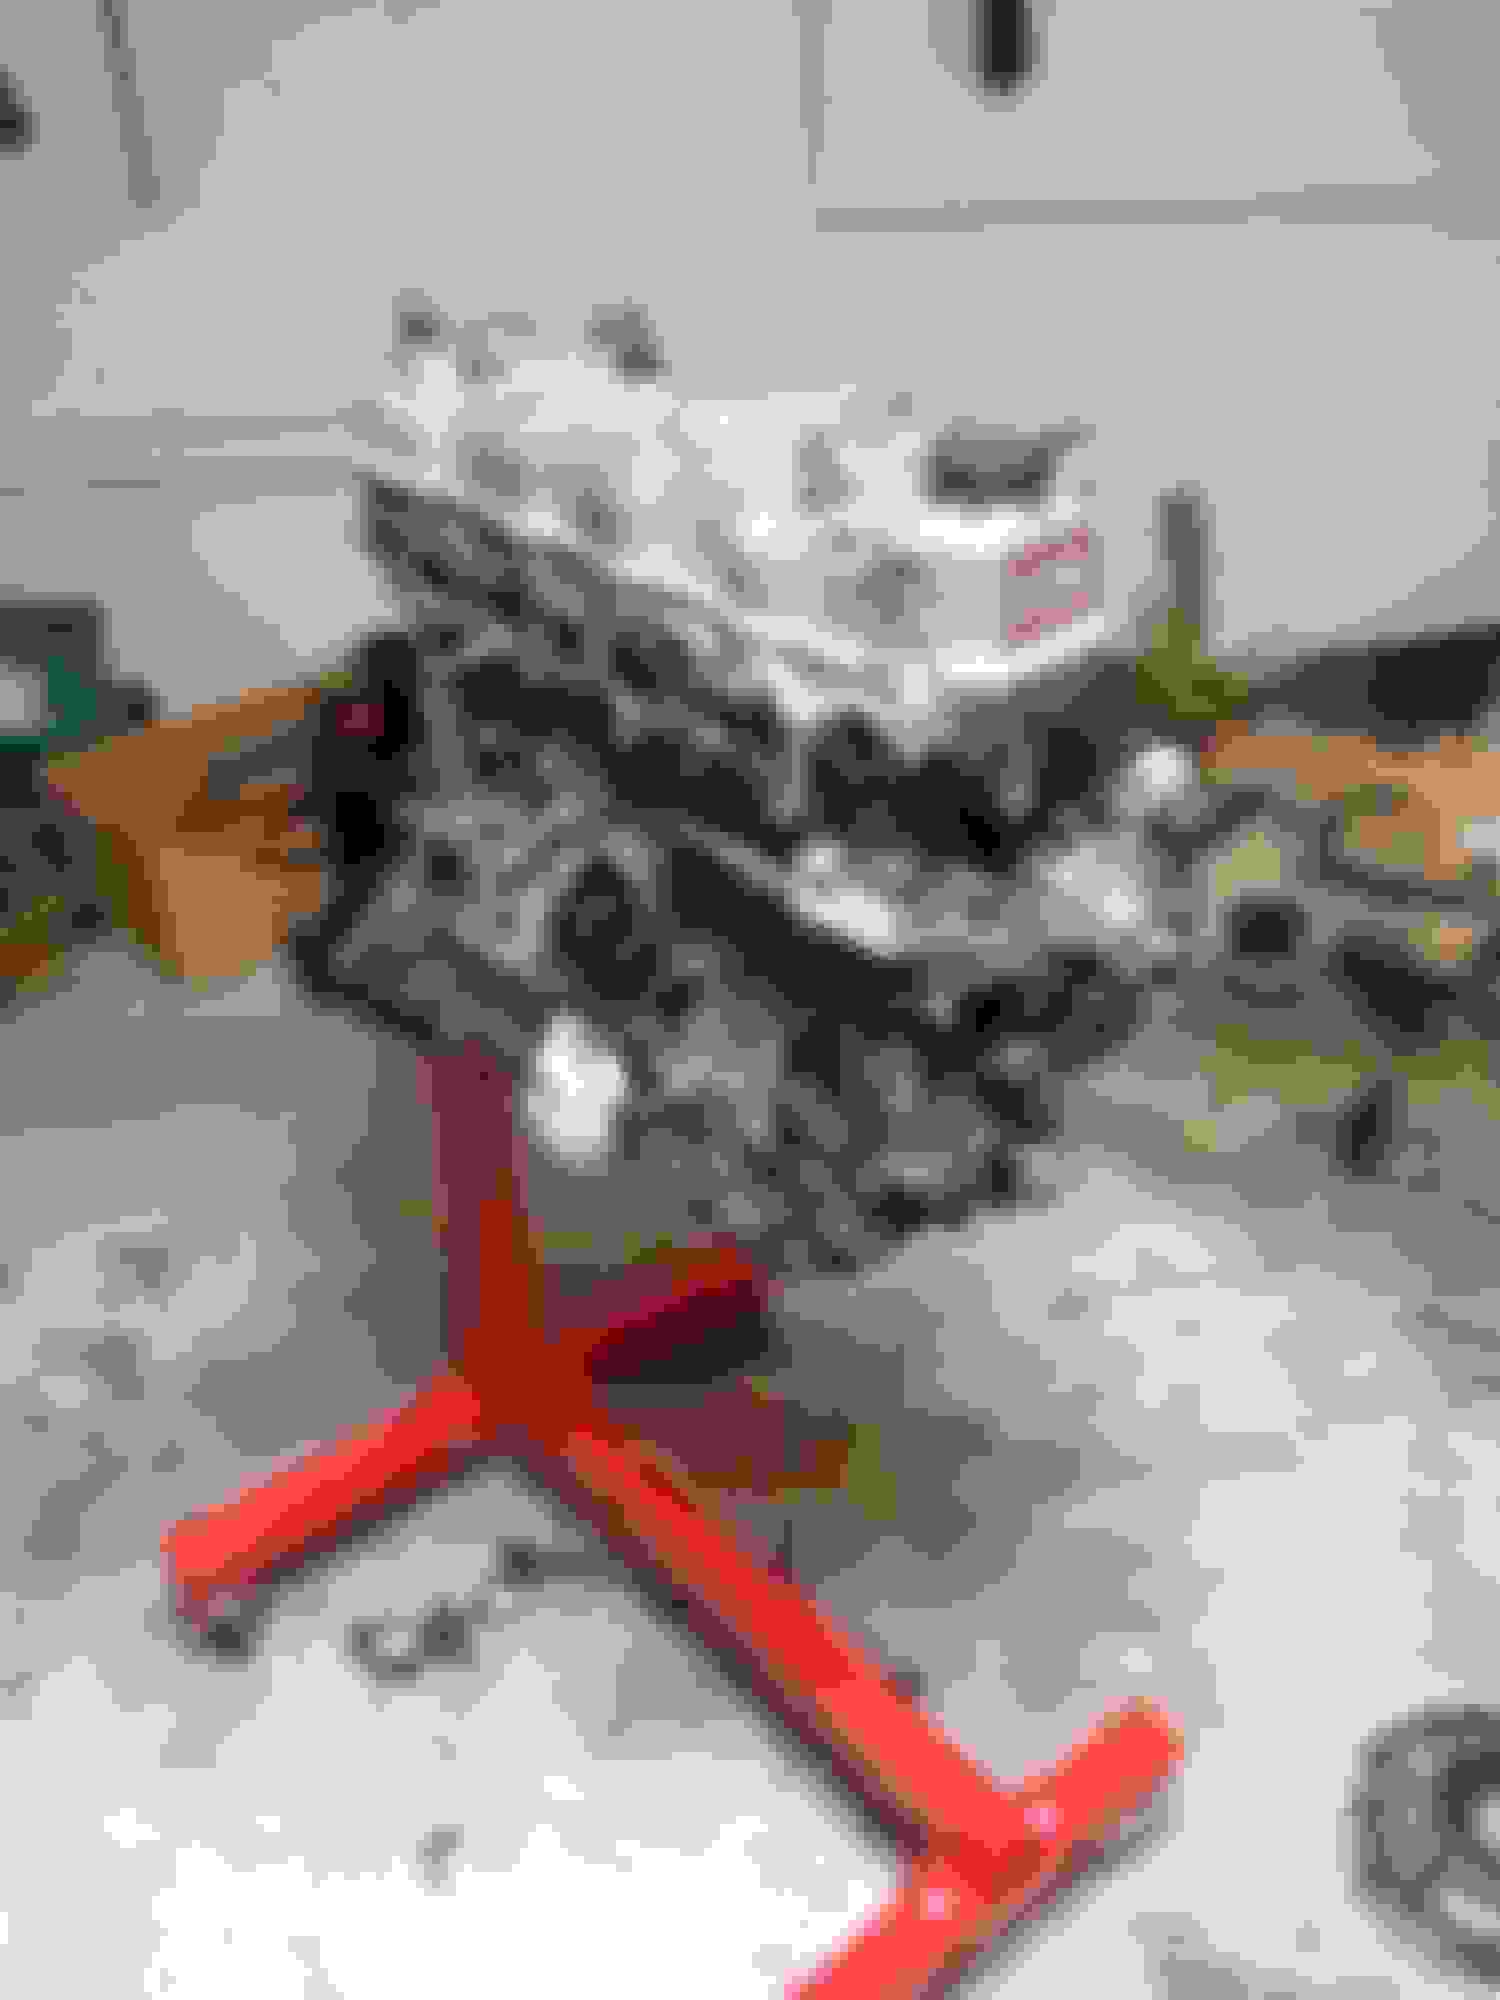
Mid November I pulled the engine and began to tear it down to send to the machine shop
Got the motor out!
Got it stripped down and off to the machine shop!
The engine bay before and after a little cleaning. I do plan to pull everything out so I can repaint it.
In the meantime, the ordering of parts began:
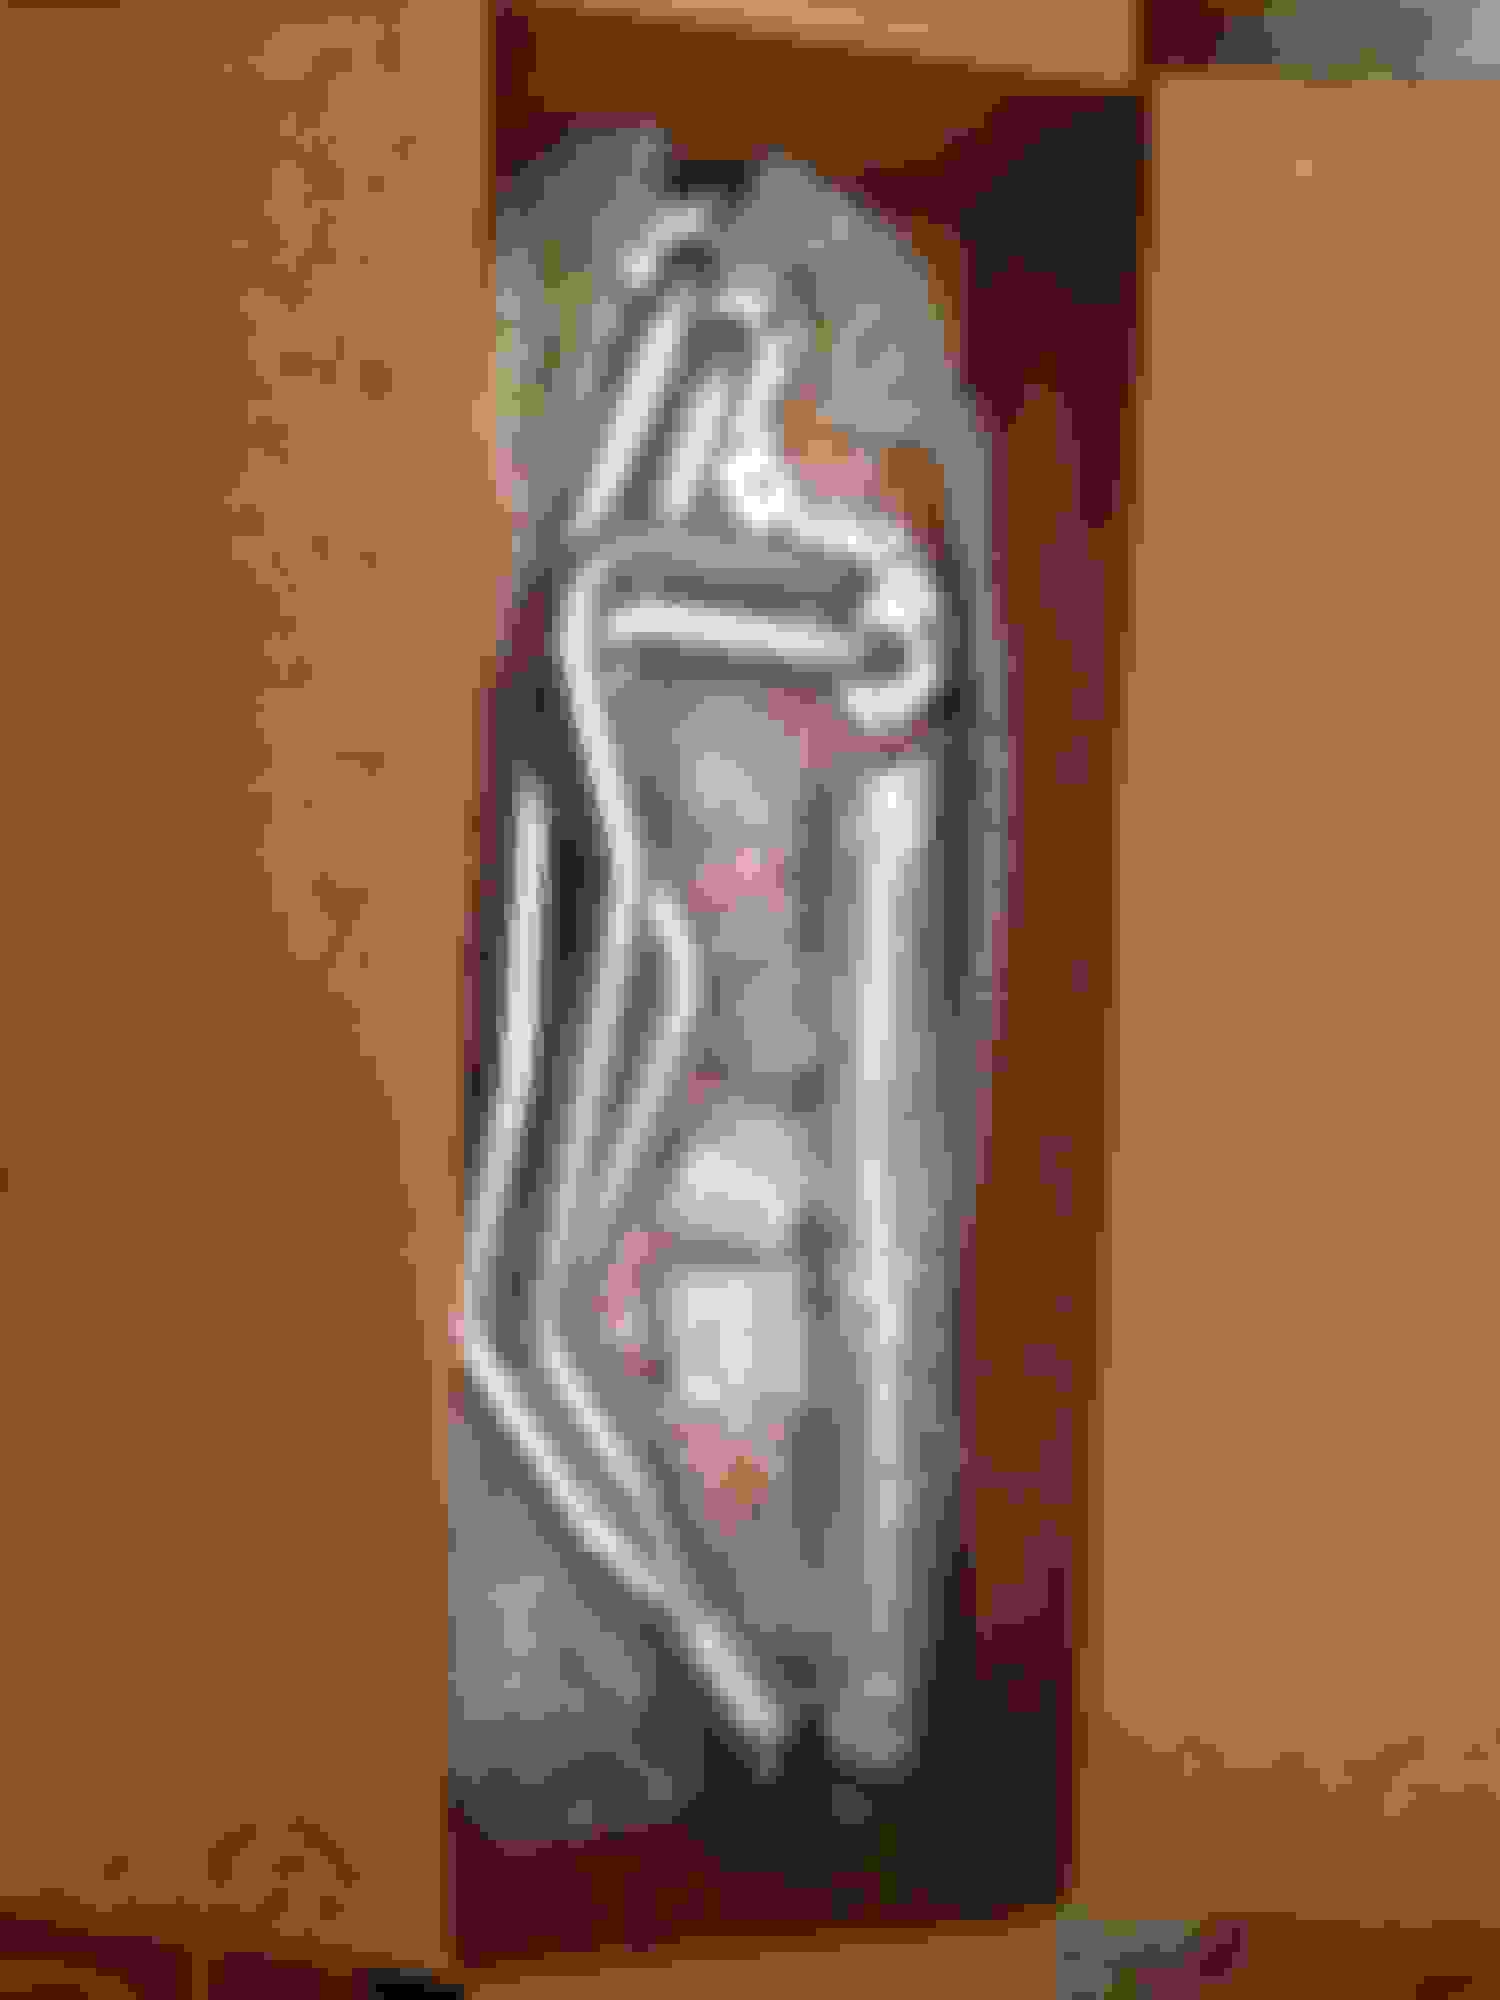
I got an LCE header
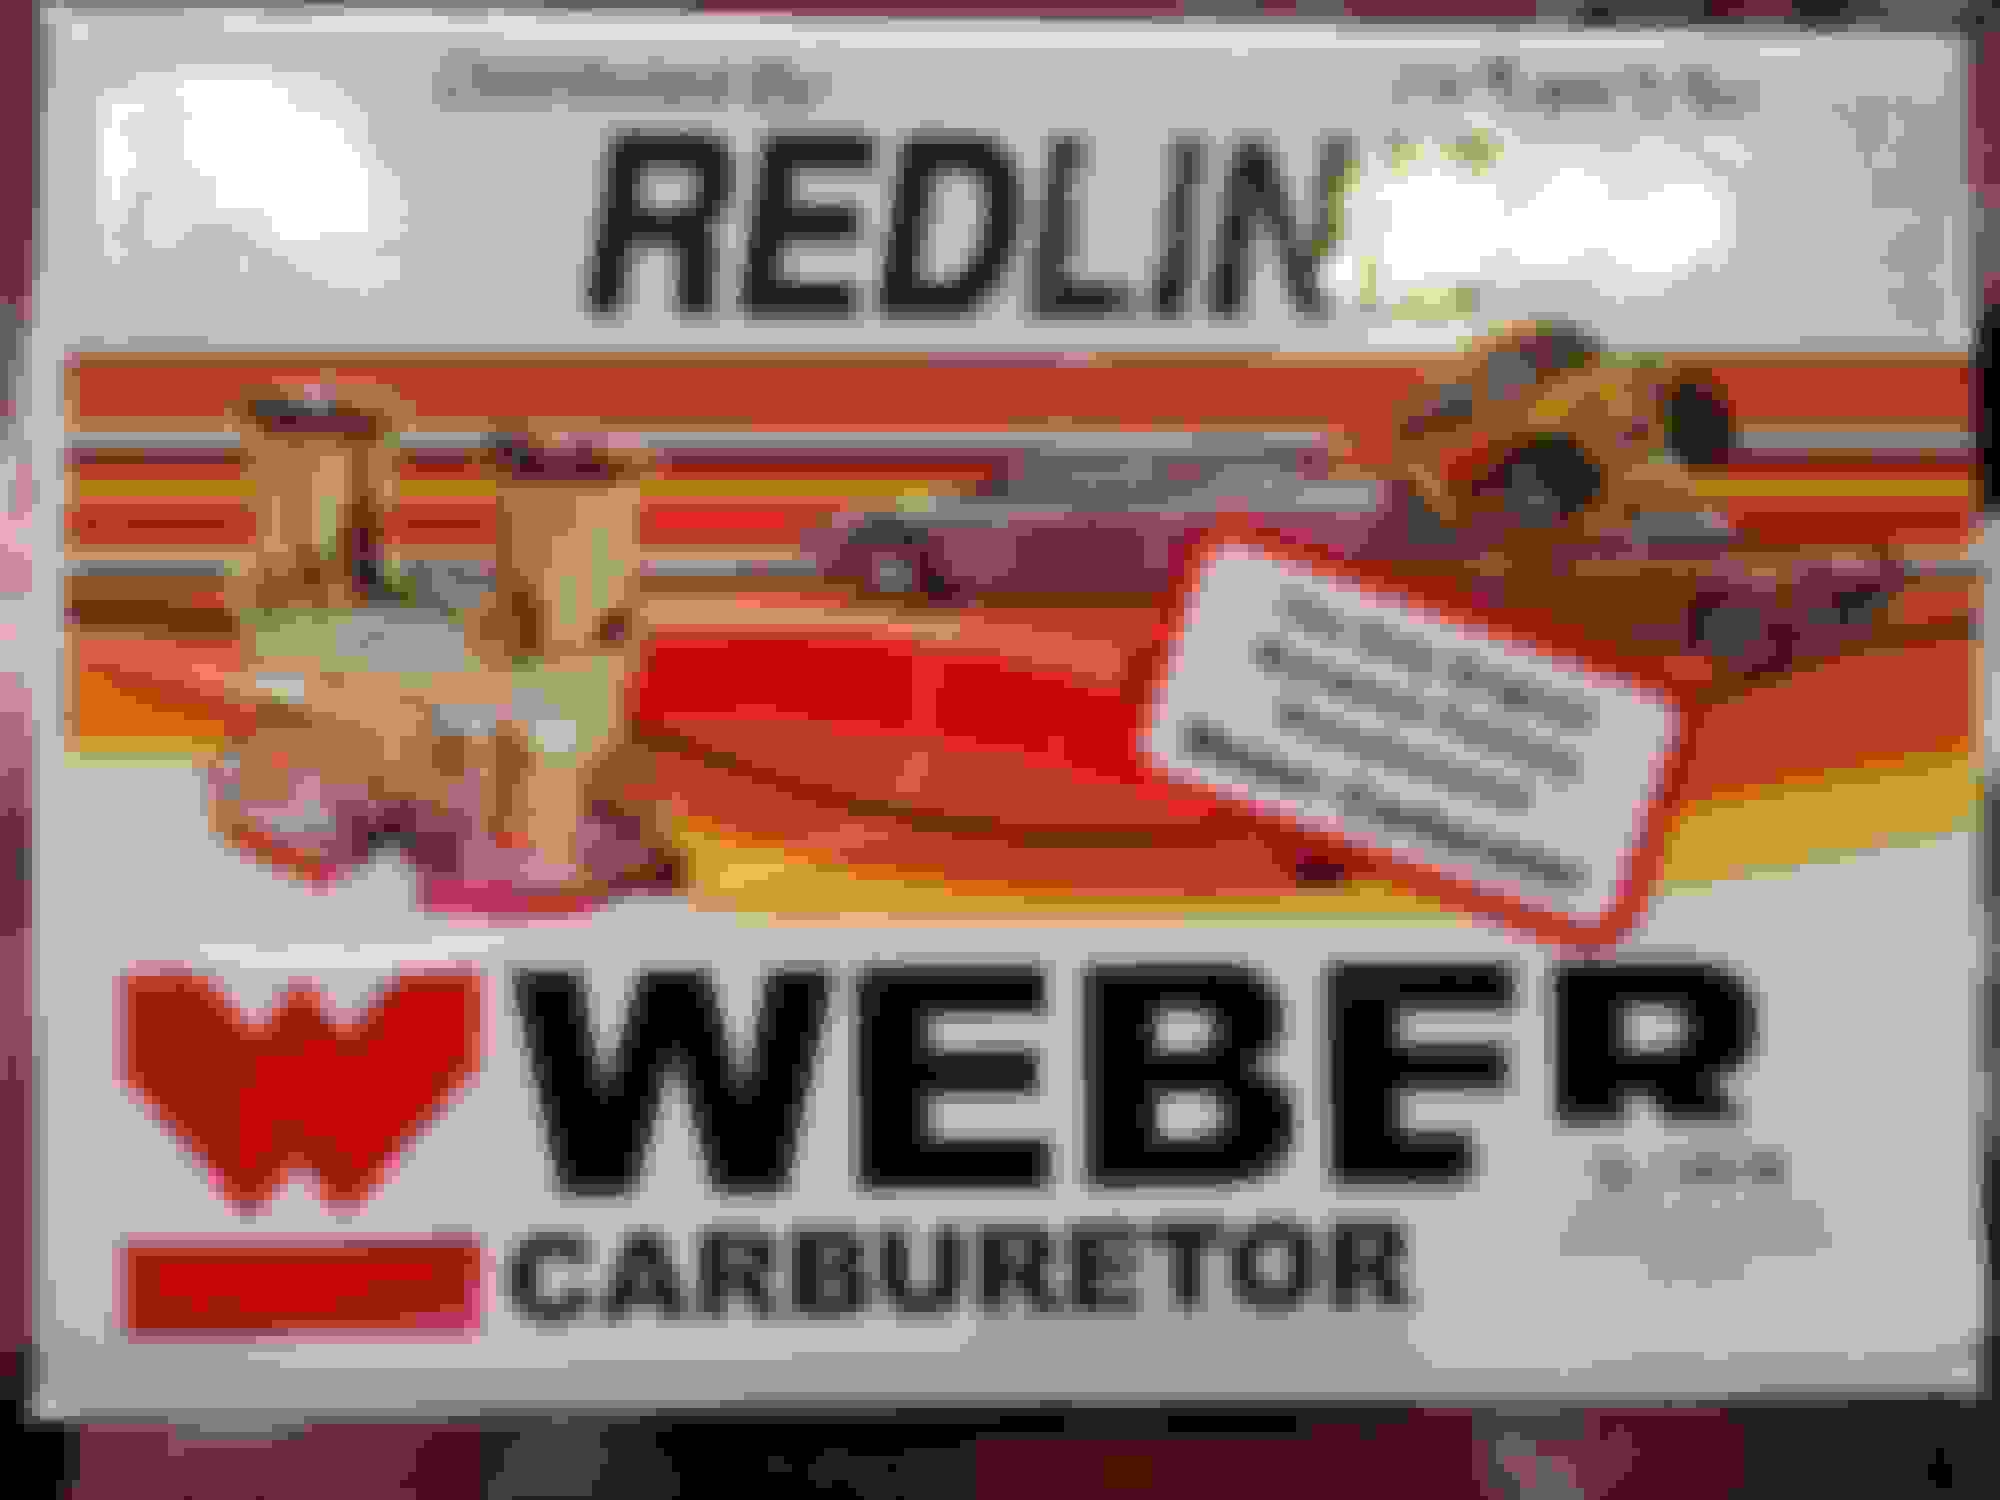
and Weber 32/36. I also got a full engnbldr rebuild kit with his 261 cam. Even though this truck is going to be a daily driver with only occasional offroad use, it seemed, based off other people's opinions, that the 261 is a better cam for this kind of vehicle than the 268. Although it doesn't make much power, if I can have it where I need it, down low, then it shouldn't feel and slow as it could.
Along with the Weber I plan to do a full desmog, basically following all the steps that Kawazx636 established in his. As a side note, Dave and his build have been a huge inspiration to me in my own feeble attempts. Although my build would never hold a candle the masterpiece that he is crafting, I hope to at least create a product that will look good and perform well.
As of late, I have the engine back from the machine shop. It was bored .030 over and decked, with the crankshaft ground and the head rebuilt. My local machine shop really did an excellent job and communicated with me well throughout the whole process. Money well spent.
I have quite a few things I need to do to the truck before I can put the engine back in, so I've mandated that I finish all the work that needs to be done on the truck before I begin rebuilding the engine (because I REALLY want to start that) On the to do list:
Power wash the years of grease and grime off the undercarriage. Done.
Paint the frame. Done.
Rebuild the braking system will later 1" MC, dual diaphragm booster, v6 calipers and rotors, and new drums and hardware in the back.
Replace lower radiator core support.
Paint the engine bay.
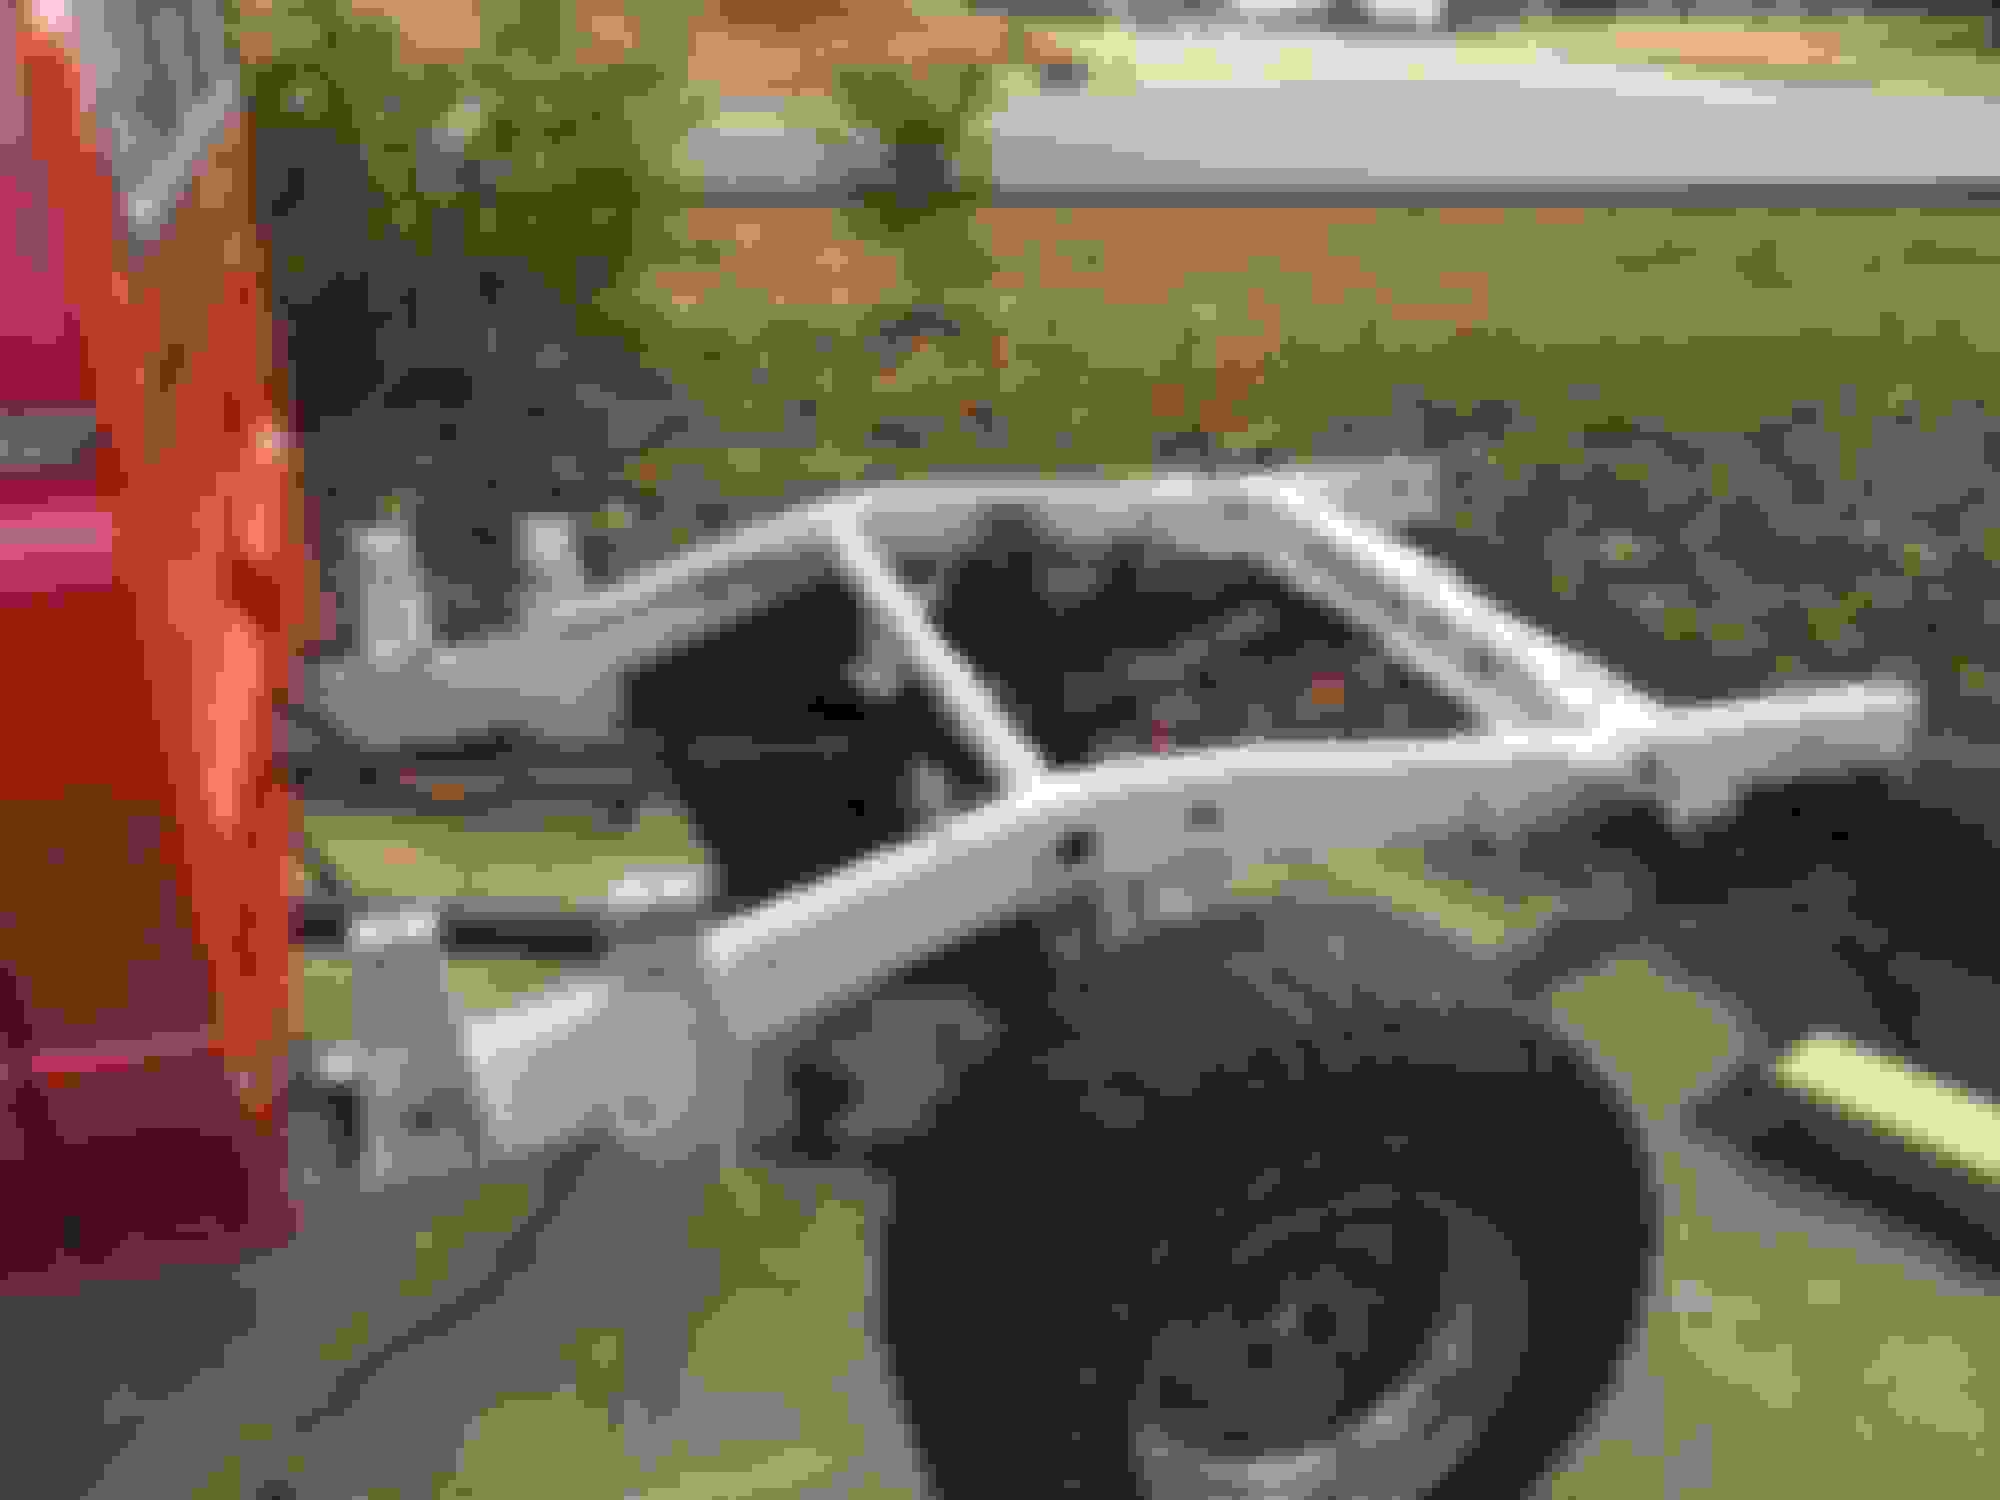
Here is the frame primed and painted I still need to paint under the cab. I've been using my engine hoist to lift it up to access that area.
This brings us to today. Once I finish painting the frame, I'll replace the lower core support then install new brakes. I mainly have only the weekends to work, so I'm hoping to have it back on the road sometime in March. Then I'll begin the paint, body, and interior work.
I should be updating this thread regularly as I make more progress. I'll make sure to take lots of pictures! Thanks for looking!
You are doing a great job and a great looking truck you have. Going with the Webber will make life alot easier for you. Looking forward to your build and welcome to Yotatech.
So today consisted of doing some more pressure washing as well as beginning to address a few of the myriad of wiring problems this truck has. The PO completely botched the factory trailer wiring harness, cutting it off where it originally connected and connecting it to the main loom using awful vampire taps. This guy has never made a single soldered connection on this entire truck... Anyway, I'm currently trying to figure out how the wiring harness used to connect. Here is the link to the separate thread I created for this question in case you have any input.
I've gotten in all my new brake components so hopefully I'll be tackling all the brake work soon.
Another area I'm currently figuring out is what leaf springs to use in the back. As you can tell from some of the above pictures, the stock leafs are almost flat without any weight on the back. I've wanted to keep the truck stock height, but based on my leaf spring selection I'm not sure if I'll be able to or not. I don't really want to use AAL's, as I'll have no idea exactly where they'll put me, and I'm not extremely fond of the idea of just putting a bandaid on my old worn out springs. So right now I'm considering either something like OME 2" spings, or a stock height springs like these from General Spring. Any input would be welcome!
So far I have been able to dodge the spring issue. I use coil springs as helper just as I am always pulling trailers and it works for me. I havent done coils on a truck yet.
Man this truck and build looks familiar! Same as my Red '86 4x4 with a 22r...mine will be getting a similar upgrade like yours this spring/summer. Good luck and please keep us up to date!
Thanks 86 Toy! That's a really nice looking truck you have! Man, sometimes I really wish I was sticking with a stock front bumper and valance setup, I just really like the way it looks. But I decided to go with the AOR tube bumper for durability's sake, and I also like the way it looks, but I'm still conflicted.
A little update: The weather here has been disgusting! Since this past Saturday it's been raining and around 35* every day... And since my truck is outside I haven't been able to get anything done. But I have been doing lots of parts ordering and build research/planning/decision making.
As far as suspension, I decided to replace the whole suspension with the OME kit. It's pretty pricey, I know, but I really like the idea of a whole kit that was designed to work in concert together. And I wanted to keep it stock height but I guess a little bit of lift won't hurt, right...
The second week in March is my spring break, so I'm really going to be hauling ass on this project to try to make some ground. Ideally I would like to get the truck back on the road, but that's a little ambitious. But hey, I'll have ten days, so we'll see what we can get done. Most of my friends will be gone and my girlfriend is having surgery so I really won't have anything to do but work on the truck!
Thanks yota dude! As for the paint, the pictures tell a total lie. The PO painted it last and did a terrible job. The clear coat has peeled off in most places and the paint is chipped and cracked just about everywhere else. A new paint job is a must.
A little update from some work done this weekend. I didn't get as much done as I hoped to because of bad weather, but progress is progress!
My lower radiator core support was badly damaged and needed to be replaced, so that's what I tackled this weekend. This was my very first time attempting any kind of body work, so it turned out as well as I could have hoped for.
This picture shows the original core support. In addition to that dent on the left, the whole support was bowed inward about 2".
I decided to just drill out the spot welds through both pieces and do a plug weld to secure the new one in place. It took some chiseling to get the panels separated, but they came apart easily enough.
After that I got to practice with a hammer and dolly to straighten out and reshape the side support panels to accept the new core support. When fitting up the new support I realized that the bottom had bowed outward (to the left and right) so I had to rig up a ratchet strap to pull it in. I reattached the condenser to confirm the dimensions.
Finally I painted the area underneath the core support and welded the new one on. All in all I was pretty pleased with the result.
I'll paint the rest of those front panels black, as I'll be mounting an AOR tube bumper and they'll be somewhat exposed.
looks like your doing the right thing that front core being bent is just bad for body alignment and can mess up the radiator mounts
frame looks good an solid might want to run a tap through to clean the bolt holes (nuts welded on various points) everywhere as you go put some anti seize on the tap keeps the threads clean lubed an dirt free for later and taking her apart later is MUCH easier with antiseize on threads
ask me how many broken bolts i went through so far on my runner...
Here's a long due update to the thread. I've gotten a decent amount of work done since the last update. Two weeks ago (March 8-14) was my spring break, so I was really hoping to knock out a whole lot on the to-do list. It decided to rain for 8 days straight over that week, though, so I didn't get as much done as I was hoping.
So to start, I've been doing a whole lot of painting and cleaning. I pulled everything out of the engine bay and cleaned, sanded, and painted it. Rustoleum Regal Red was the paint of choice. There's a decent amount of orange peel as expected, but I'm not expecting show quality with a driveway restoration, and it looks tons better than it did old. Here's it sanded, masked, then painted.
And here's one of the engine bay right after the engine was pulled for comparison.
I also painted the valve cover, oil pan, and engine block.
I've also started on the engine rebuild. This is a 22r which will have a Weber 32/36, 261C cam, and an LCE header. It's been bored .030" over, the head has been rebuilt, both the head and block were decked, and the crankshaft was ground. I'm going with a full engnbldr rebuild kit on this.
When installing the crankshaft I had a problem with the end play. When disassembling my engine, my Haynes manual said to check and make a note of endplay, but there was no discernible endplay. There was no gap to even attempt to stick a feeler gauge in. This was very odd as I could tell this engine had never been torn into before. So when installing the crankshaft, I couldn't even fit it in with the thrust washers in place. I talked to Ted, and he said that my problem was very strange, but that I could take some off the backside of the thrust washers to get the clearance I needed. So after several hours of wetsanding those things, I now have an endplay of .003" which is still a bit tight, as the recommended clearance is .004-.007. I decided to stop there because it was starting to become difficult to keep the washers a uniform thickness. They aren't totally level as is, which presented some difficulty when sanding them. Here's some pictures of my setup used to measure the end play.
I also got the pistons installed. I checked the gap on all the rings, which was almost perfect across the board. I have a pretty good machinist. So I installed all the rings on the pistons and the pistons on the rods and slapped them in!
So far things have been going pretty well. The only thing I have to complain about is the weather. But I been doing my best to work through it and work around it. I'm a bit nervous about the whole engine rebuild thing since it's my first time doing this. I've been following all the steps the best I can, but there are still a lot of things that could go wrong... But all I can do is keep doing the best I can, and hoping for the best!
And thanks for the reply Cyberhorn. I've for sure been putting antiseize on a lot of things that I put back.
I actually haven't had any problem with getting bolts loose though. One of the reasons I jumped on this truck, even though it had some body damage and whatnot, was that it is completely 100% rust free. The only bolts I've snapped on the truck so far were the bolts holding the heat shield on the exhaust manifold. From what I've heard most people have a hell of a time getting bed bolts off, but all it took for me was breaking them loose then threading them off by hand. No PB blaster, nothing. I've been extremely lucky with this truck in that department. I think it sat for a long time at one period in its life. I've found things like dirt dobber nests in crevices in the engine block and a wasp nest hanging from the bottom of the intake manifold that definitely suggest that.
Great job on the core support and your engine rebuilding coming along. I have had a tough times with those bed bolts. Sounds like you had it lucky and dirt dobbers do like to find a home where they can.
HA same color ive been using on my runner! looks good! the end play is odd now unless someone at one point flipped a main cap that 'could' cause an issue as they are milled in place a certain way
as for the thrust washers to get them flat as possible its like hand laping a CPU to get the best heat transfer to the heat sink yes ive built a few high performance computers lol you put your wet sand paper on a pane of glass an slide your bearing / cpu on that surface the glass is so flat from being molten on liquid tin its more than flat enough for doing sanding like that
Thanks Cyberhorn! Yeah, sanding those thrust washers on a glass surface was exactly what I was doing. But nevertheless, it was still difficult to keep them a uniform thickness. Mainly because the washers themselves weren't perfectly level while not under any pressure.
I also discovered an interesting anomaly recently. I was cleaning up some parts to paint, and I realized that on my crankshaft pulley, or harmonic balancer, the little timing divot didn't line up with the cutout for the key on the end of the crankshaft.
I was pretty boggled about that. I did some research and found that some other people on here had the same problem, but no one had an explanation for it. So I did some homework and came up with this. The purpose of an harmonic balancer is to absorb crankshaft vibrations. Harmonic balancers are typically constructed in three pieces. The first piece is often called a hub. It bolts to directly to the crankshaft. The hub is surrounded by rubber or fluid which dampens crankshaft vibrations. The outside layer is metal which has grooves on it for the belt. Over time the rubber and/or fluid layer deteriorate causing the outer pulley to shift, either forward or backwards, or side to side, like in my case. You really should get a new balancer, because even if you make a new divot in the right spot, the pulley will most likely continue to shift.
I've been making decent progress, but continue to hit little speed bumps, like getting some wrong parts (even in the right box) and having some other little pieces go missing (not by my own doing).
There are a few things that I'm currently conflicted about. Should I use the rear main oil seal that came in the engnbldr rebuild kit or should I go with an OEM one? I've heard some horror stories about aftermarket. And that's really the last thing that I want to have to replace later on.
Also, what are your opinions on the engnbldr oil pan gasket. I know the oil pan on my engine is designed to be used just with RTV, but I'm just curious what people think about using the gasket.
That is a good catch on the dampner turning on you. I have never seen that before and agree that I think it would just twist again.
I used the engblder pan gasket and mine is leaking. I have yet to get one leak free. May not always be a bad leak but I dont like leaks of any kind. I am going to try and snug up the oil pan bolts and if that doesnt fix it, I will pull the motor and use the FIPG. h ave never used it in the past but am ready to give the FIPG a try.
As far as rear main seal, I have never had a problem with it.
when i rebuilt mine i used the gasket with a thin bit of rtv to fill in any irregularities but i used all aftermarket as im on a very tight fixed budget also DO use a tourqe wrench to tighten the pan bolts
Sorry for the long period of inactivity everyone! My last month of school leading up to finals and everything just got really crazy and I didn't have a lot of time or energy to work on the truck or update my thread. Anywho, I still made a little progress since my last update, so I'll catch y'all up here.
I got the timing chain assembly on the engine and was preparing to put the head on:
But when assembling my rocker arm assembly (with refinished rocker arms from 22re performance and DNJ rocker shafts) I realized that I had been shipped two exhaust rocker shafts. So while waiting for the correct part, I did some miscellaneous work on the truck. I sanded and painted the front frame and suspension components, and fixed some botched tail light wiring.
Here is the painting I got done:
As well as fixing some exposed wiring where the PO had cut into the harness to hook up trailer lights (that didn't even work). I just cut out the corroded section, soldered the ends together, and covered it with heat shrink wrap.
Next, when installing the camshaft, I stripped two of the bolt, even when using a torque wrench with the appropriate range. So I had to install heli-coils, which solved the problem. I didn't get any pictures of the process because I was really sweating thoughout, especially when tightening down the bolts for the first time... Thankfully they made it to the specified torque.
So obviously the next step was installing the head! It was pretty straightforward, and went together smoothly. I torqued the head bolts down to 60ft-lbs (I think... It was a while ago and I can't remember exactly. It was either 60 or 62...) All the bolts turned about the exact same amount when torquing to each phase, so I'm pretty confident that I got a good uniform torque.
I also got the intake manifold installed, which I actually had to do twice because I forgot to install a block off plate that I couldn't get to with the manifold on. Stupid me... But thankfully autozone had the gasket in stock, so it didn't take me long to correct.
I've been using Toyota brand silicone sealant, it's called Toyota FIPG, and that stuff is strong! When removing the intake manifold, even just 15 or so minutes after I installed it, the gasket just split in two instead of coming detached from either the manifold or the cylinder head.
I also installed the rear main seal and replaced the pilot bearing. I used a "seal saver" on the back of the crank in order to provide a new smooth surface for the rear main seal. I don't have a picture, but there was a pretty deep groove that the seal cut into the crank. This is the crank with the seal saver installed.
Next I removed the pilot bearing using an ingenious method I ran across using bread. Yes, bread! The traditional way is to use grease, and I've also seen some people using wet paper, but bread is by far the quickest, easiest, and cleanest method. Simply pack it in with a hammer and socket extension, and the bearing will come out!
And cleanup is the best part of using bread. Instead of wiping up a huge mess of grease or wet paper, simply pull out your little wafer of bread.
I bet you could stick that in the oven and have a biscuit! Just kidding... So after that I installed the new pilot bearing using a 24mm socket. Then I installed the rear main seal, with care to lube it all up so it would slide on nice and easy.
And that brings us to the present. To those of you who made it through all that, congratulations! Being done with school now, I will hopefully be making a lot more progress and will keep you all updated. Thanks!
I've run into a little predicament lately. I found that the A/C compressor and bracket on my truck aren't from my generation of truck. They're actually from a 78-83 Pickup. I need to replace the compressor on my truck since the old one is seized (no A/C is NOT an option living in Mississippi). I could just replace it with the same one that I have now, but they're more expensive, harder to find, and only come as a reman unit without the clutch assembly. So I really want to replace it with the correct unit.
So all that to say, right now I'm on the hunt for an A/C bracket for a 22R(E) as well as the correct manifolds for the new A/C compressor. Those are the parts that connect the hoses to compressor here:
Here are a few pictures of the bracket and compressor I have. With this bracket, the mounting bolts for the compressor go parallel to the engine block, vs with the correct one, they go straight toward the engine block.
Those are the parts I have now that I need to replace. Here is the link to my ad in the wanted section. If you or anyone you know has these parts, I'm ready to buy!
 02-09-2015, 09:06 PM
 I've been using the forum for no small amount of time, and yet have no posts simply for the fact that I've found an answer to every question I've had just by searching!