tinigunner11's 1986 4runner build
 03-24-2013, 04:53 PM
#1
tinigunner11's 1986 4runner build
Well just about every build thread starts the same " been on here a while and figured I'd start a build thread." I'm here for the same reason. I bought this '86 4runner in august of 2012 for $600.
At the PO's house
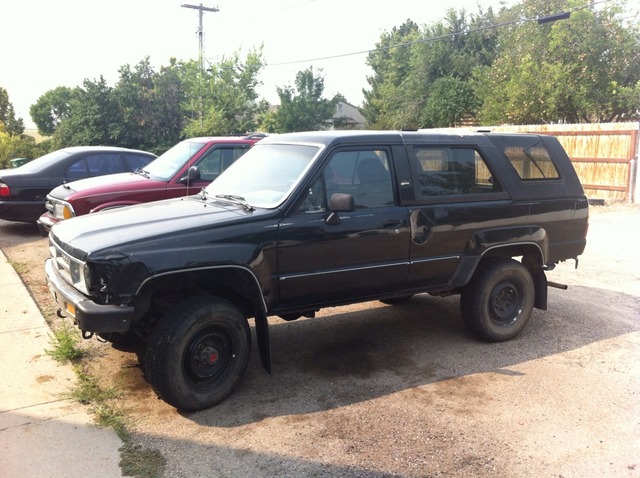
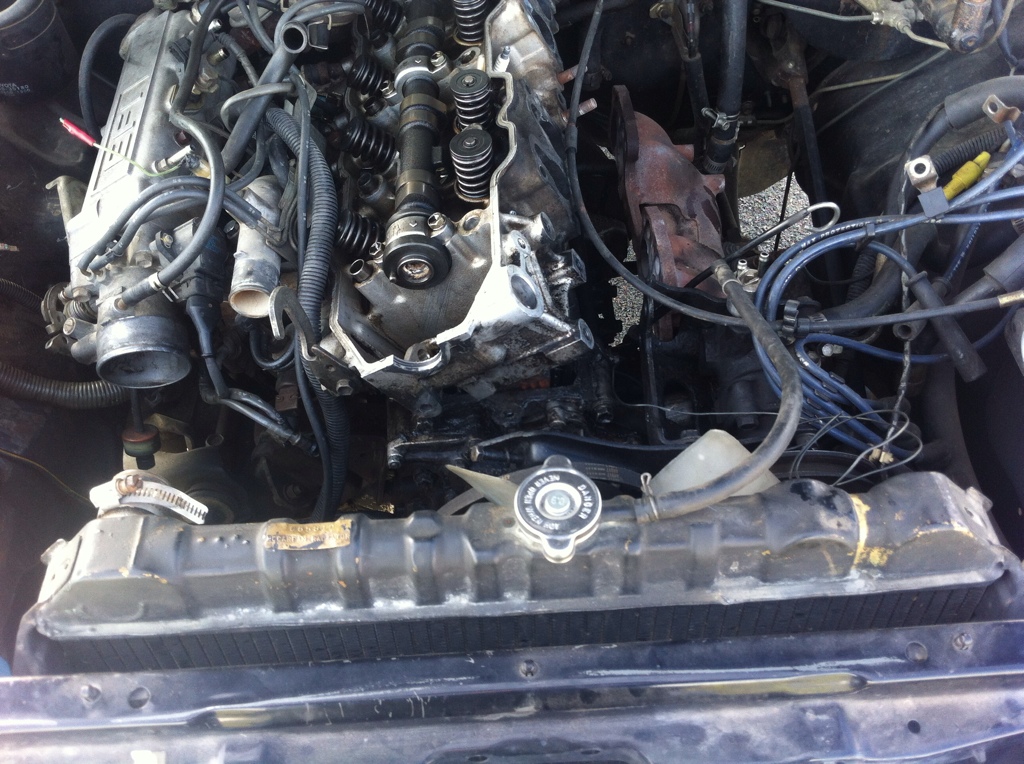
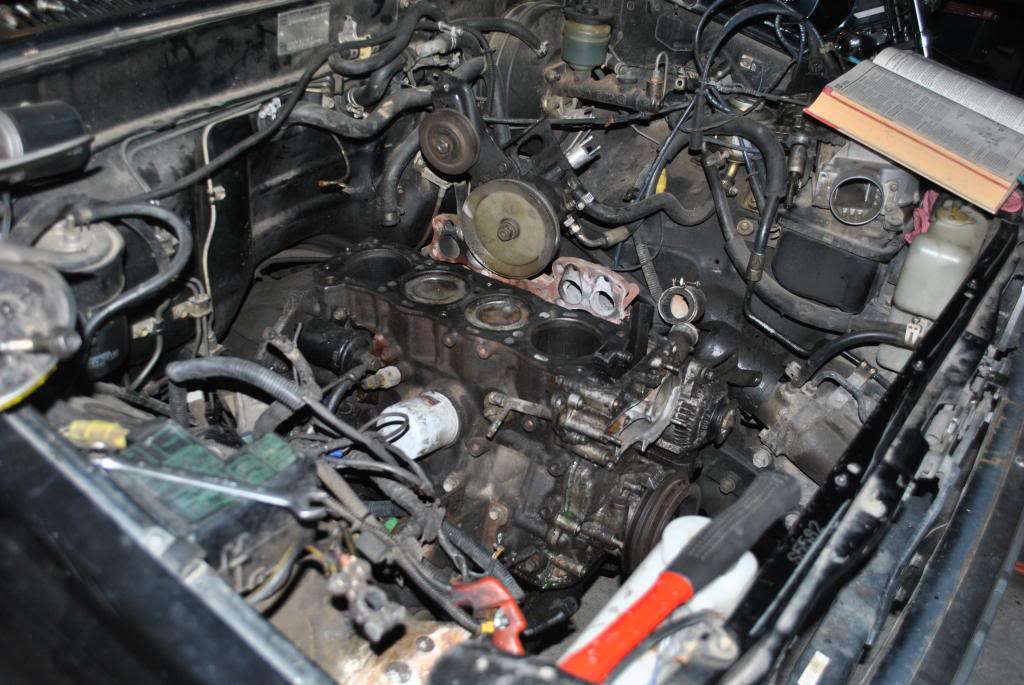
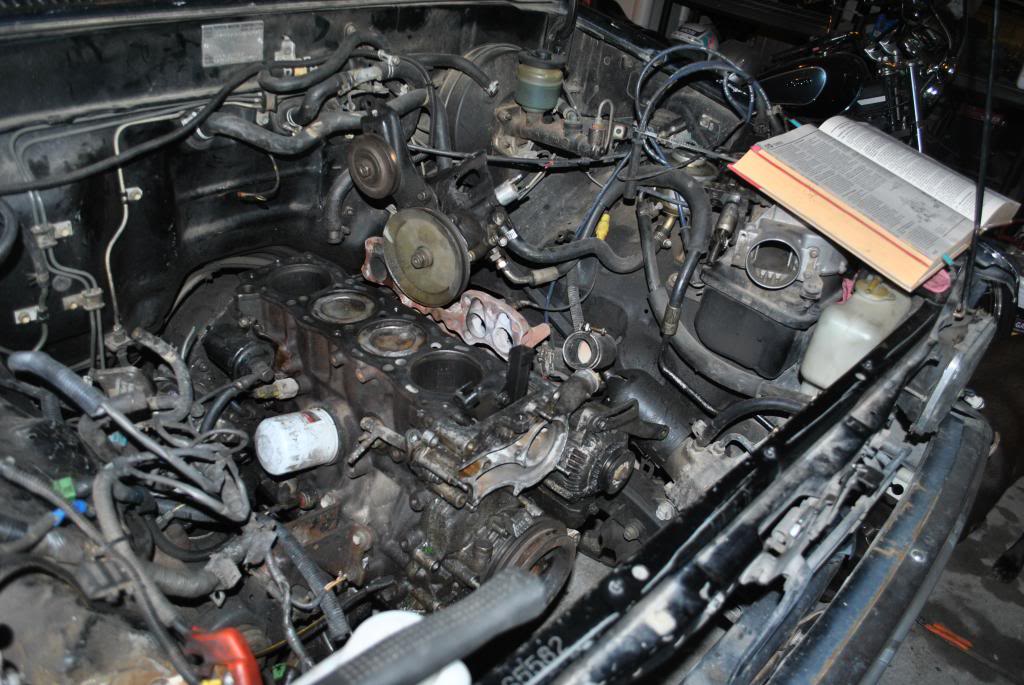
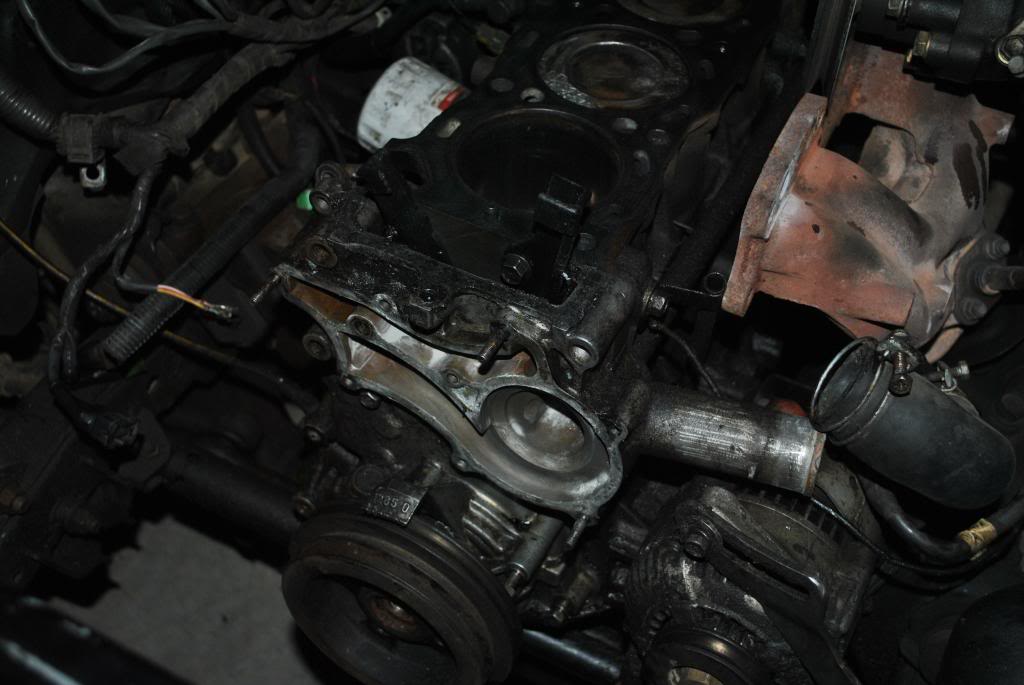
The engine was in pieces in the passengers seat . The lady I bought it from had no idea what had happened to it. She said she had a friend that was a "mechanic" come look at it and diagnose what was wrong. all he really did was tear the top end apart and make a mess.
At the PO's
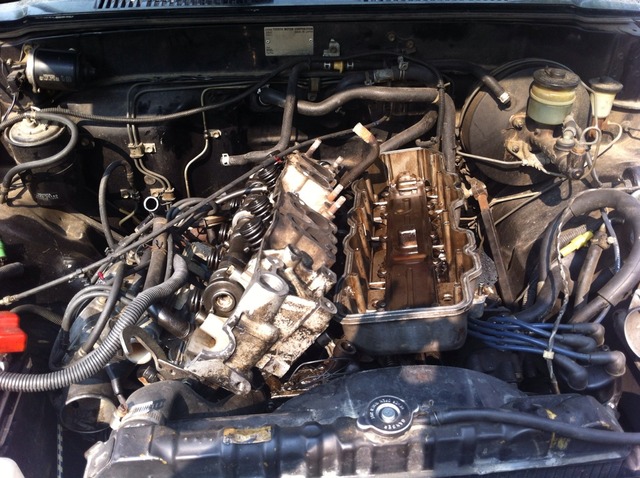
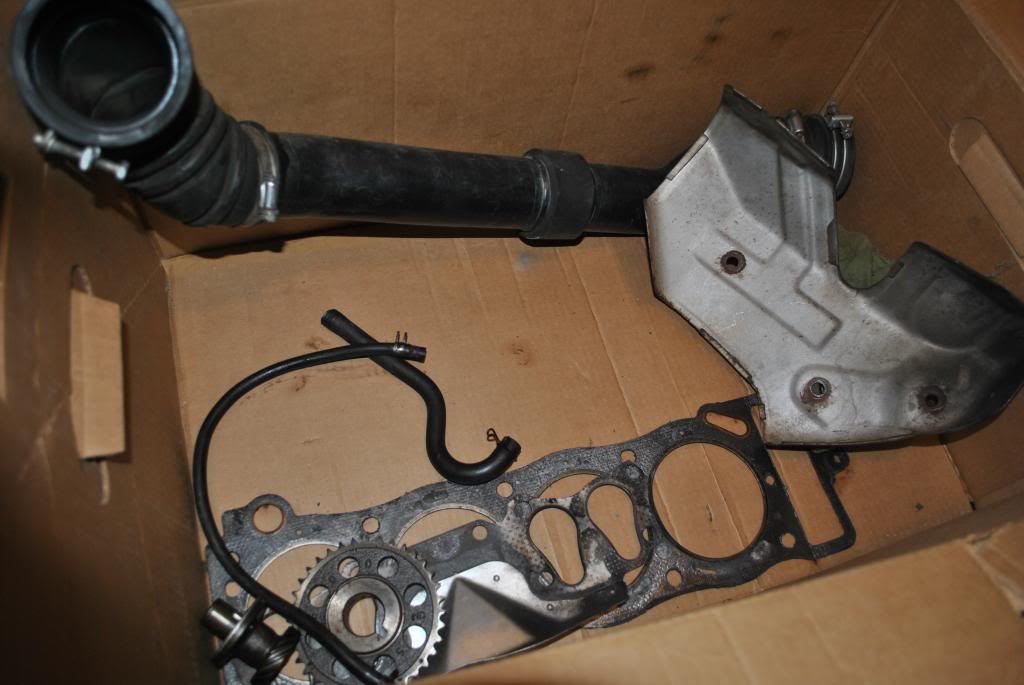
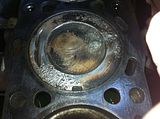
after a quick look at the engine I found a blown top radiator hose and a bad head gasket.
my plans for the truck is.
1. get it running
2. tread wright muddog tires 31x10.5r15
3. addicted offroad bumpers and sliders (his shop is about 8 miles from my house)
4. maybe a zuk mod and 2.5 bj spacers
pretty simple has to be my DD and toy for a while
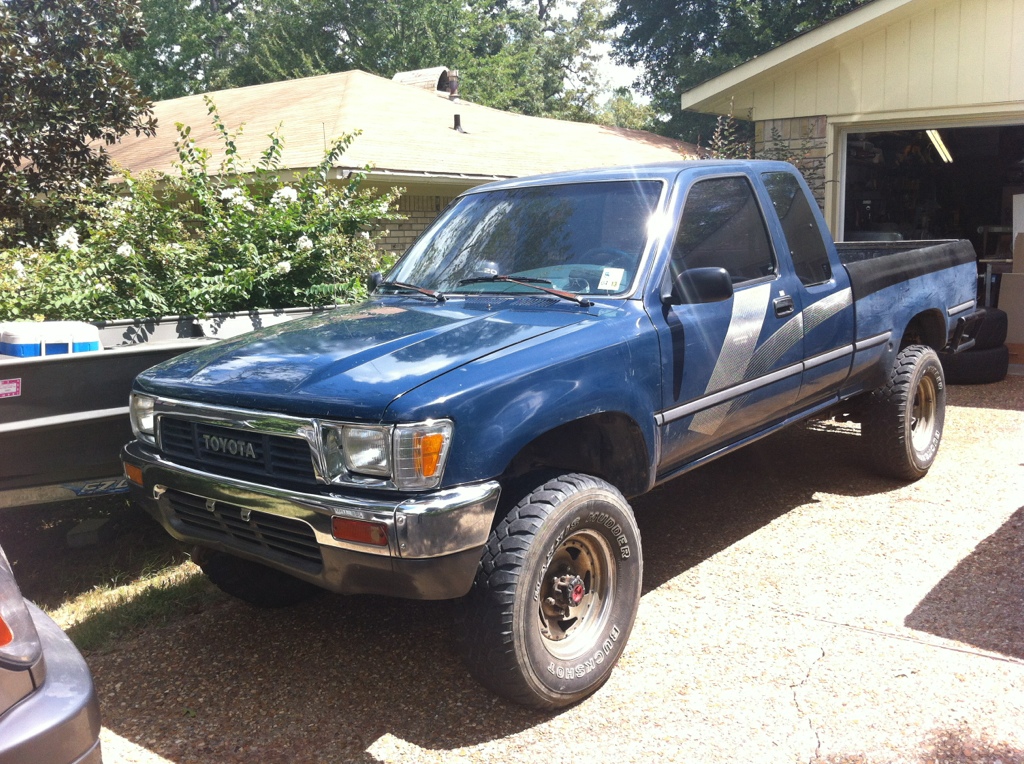
So the day after I bought it I had to go on a two week trip to florida to take my brother to college. so no time to work on the truck. but I did stay at my cousins house and he had this sweet '94
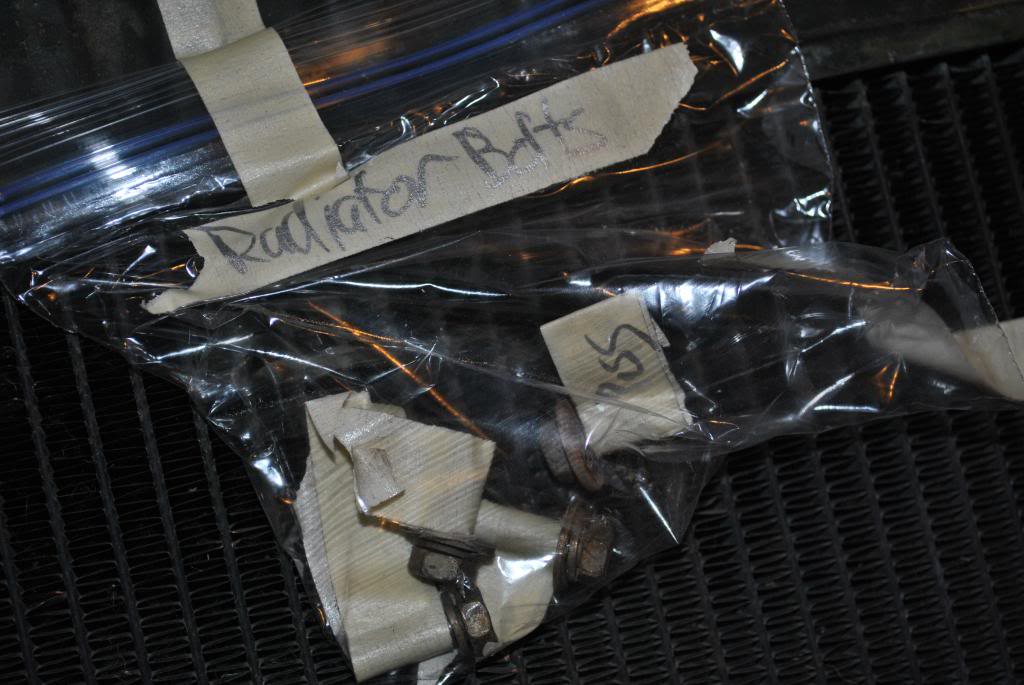
so a few weeks went by and my grandpa offered to work on the truck in his free time. I figured it would be perfect because I'm still in highschool. Well he did a great job at tearing down the engine for me but he didn't label anything and put all the bolts in a pile. as did the PO. I had to take over mid tear down, so I'm a little frazzeled.
this is from the PO
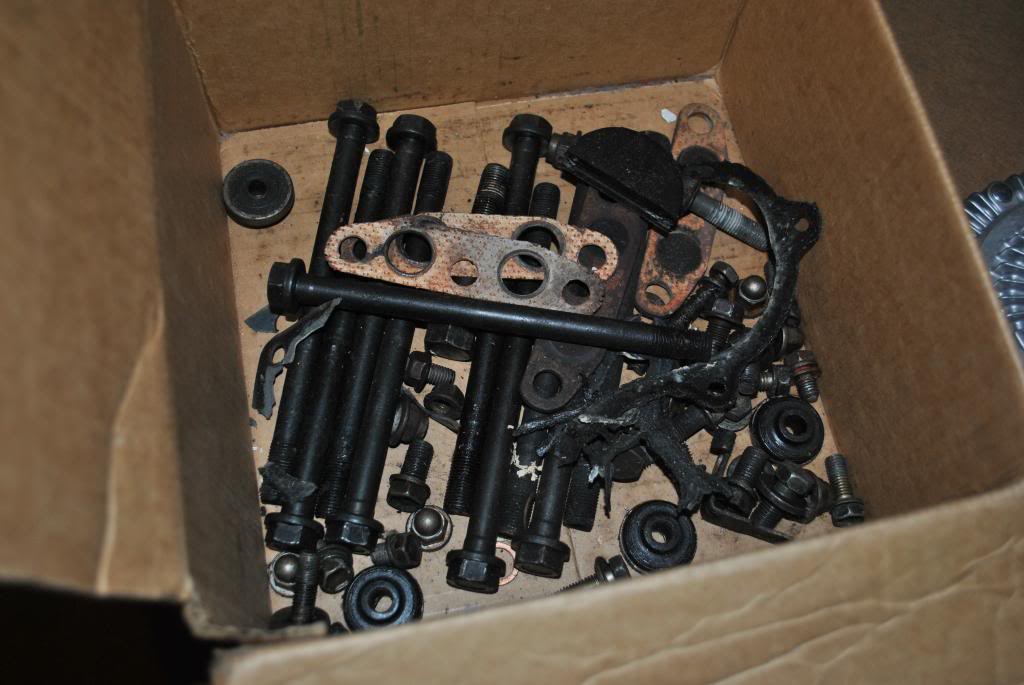
how my grandpa works on cars. he's done it for years, best car guy I know. just not how I would like it. I prefer more organized.
So long story short my grandparents moved out of the house the truck is at and my family moved in, so my grandpa left the truck. I now have the pleasure of putting this mess together. this is my first truck and I've only done very light engine work, never anything close to this. Any help is greatly appreciated. like where bolts go
thanks for reading!
Austin
At the PO's house
The engine was in pieces in the passengers seat
. The lady I bought it from had no idea what had happened to it. She said she had a friend that was a "mechanic" come look at it and diagnose what was wrong. all he really did was tear the top end apart and make a mess. At the PO's
after a quick look at the engine I found a blown top radiator hose and a bad head gasket.
my plans for the truck is.
1. get it running
2. tread wright muddog tires 31x10.5r15
3. addicted offroad bumpers and sliders (his shop is about 8 miles from my house)
4. maybe a zuk mod and 2.5 bj spacers
pretty simple has to be my DD and toy for a while
So the day after I bought it I had to go on a two week trip to florida to take my brother to college. so no time to work on the truck.
but I did stay at my cousins house and he had this sweet '94so a few weeks went by and my grandpa offered to work on the truck in his free time. I figured it would be perfect because I'm still in highschool. Well he did a great job at tearing down the engine for me but he didn't label anything and put all the bolts in a pile. as did the PO. I had to take over mid tear down, so I'm a little frazzeled.
this is from the PO
how my grandpa works on cars. he's done it for years, best car guy I know. just not how I would like it. I prefer more organized.
So long story short my grandparents moved out of the house the truck is at and my family moved in, so my grandpa left the truck. I now have the pleasure of putting this mess together. this is my first truck and I've only done very light engine work, never anything close to this. Any help is greatly appreciated. like where bolts go
thanks for reading!
Austin
Last edited by tinigunner11; 03-24-2013 at 06:23 PM.
 03-24-2013, 05:50 PM
#2
interior shots and made progress tearing down
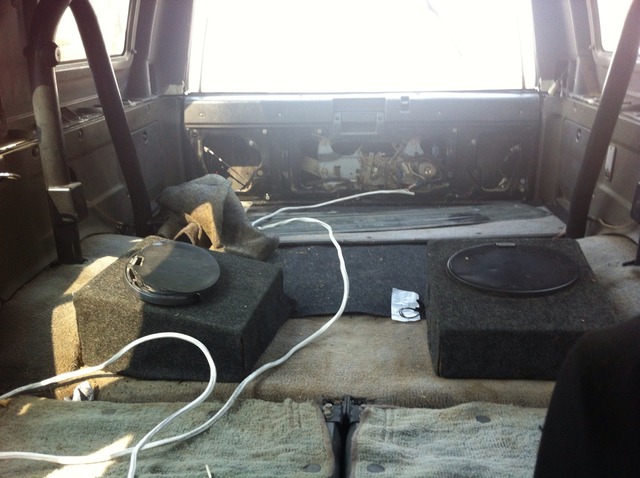
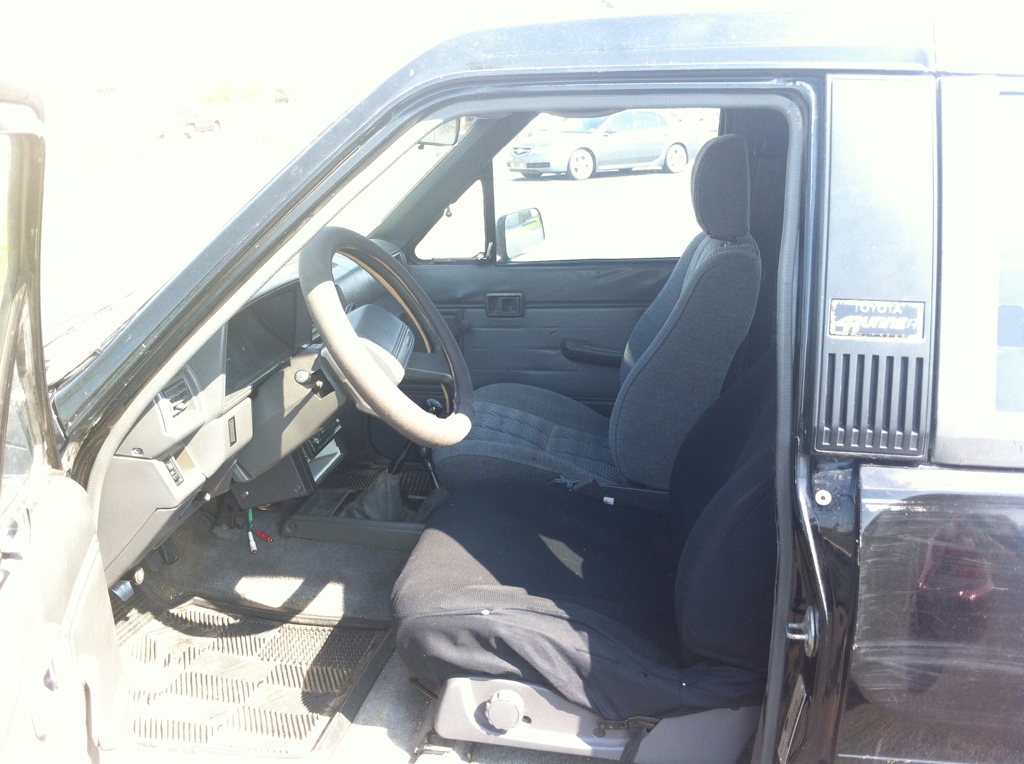
Everyone loves interior shots!
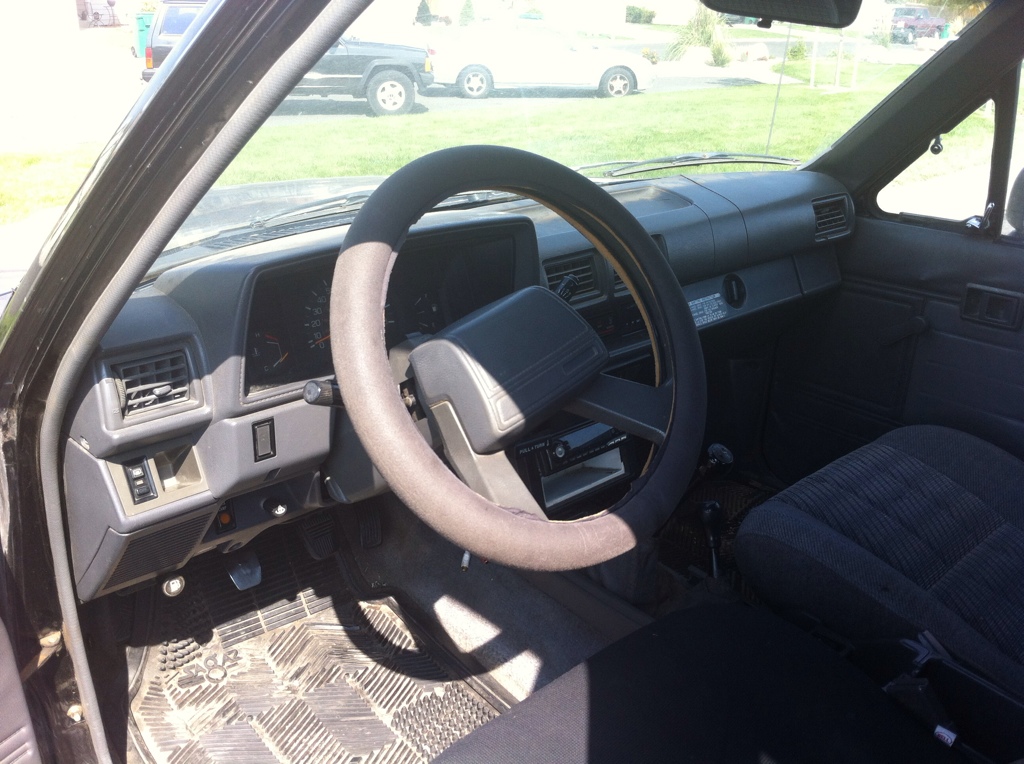
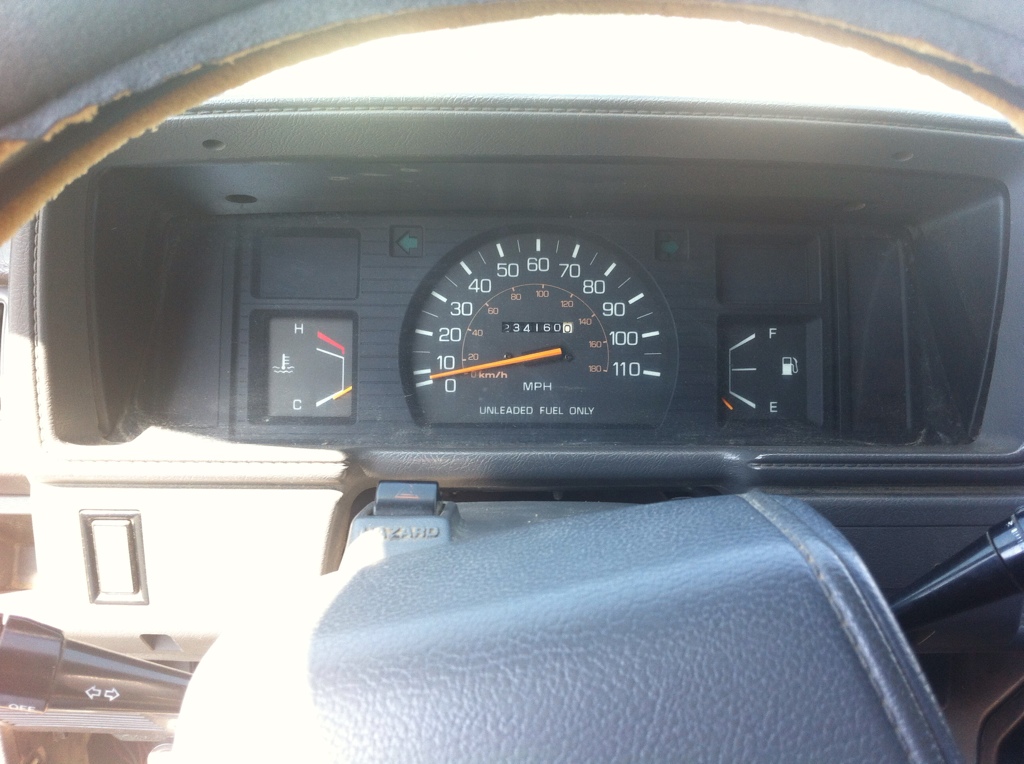
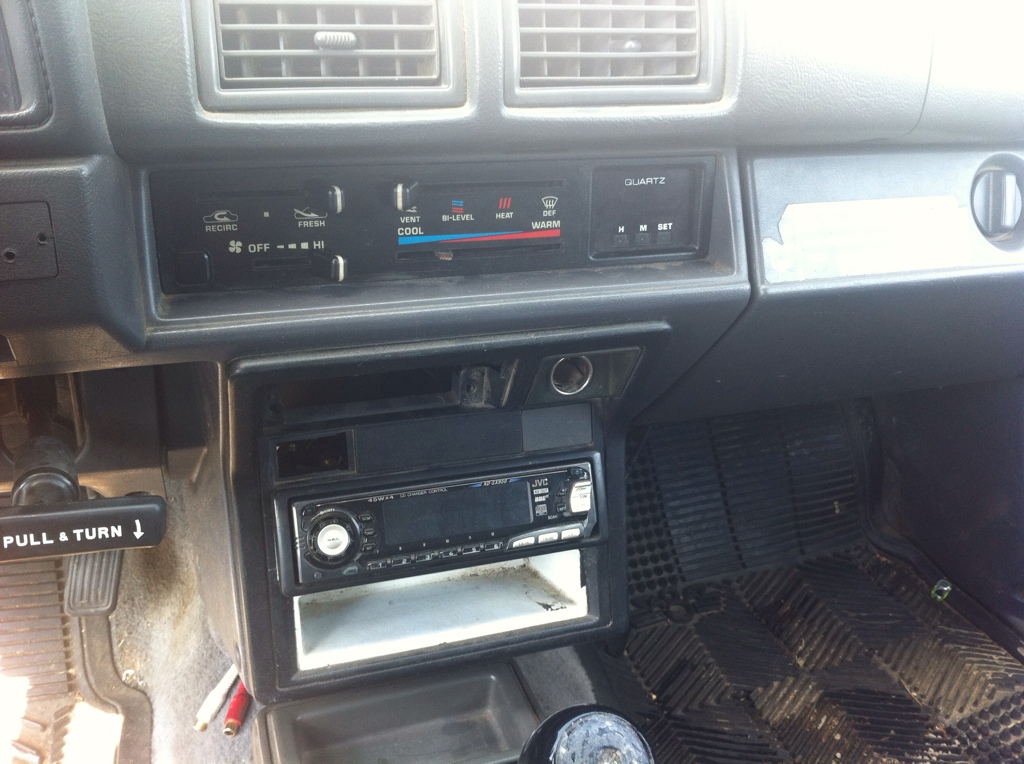
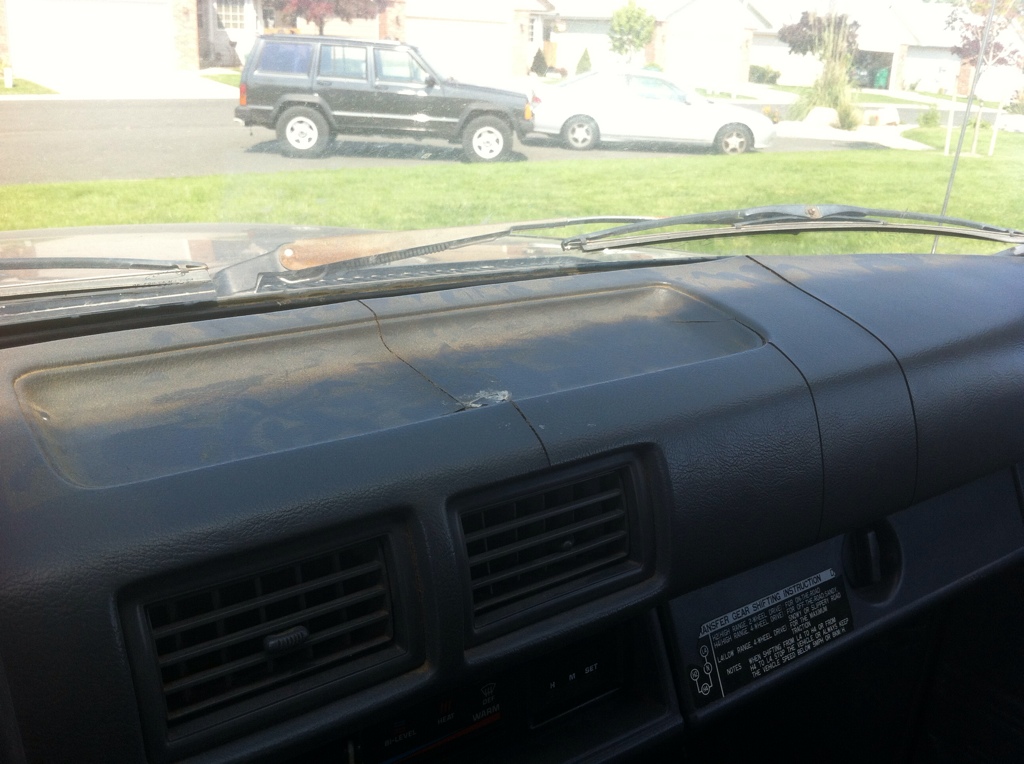
dash just a few cracks
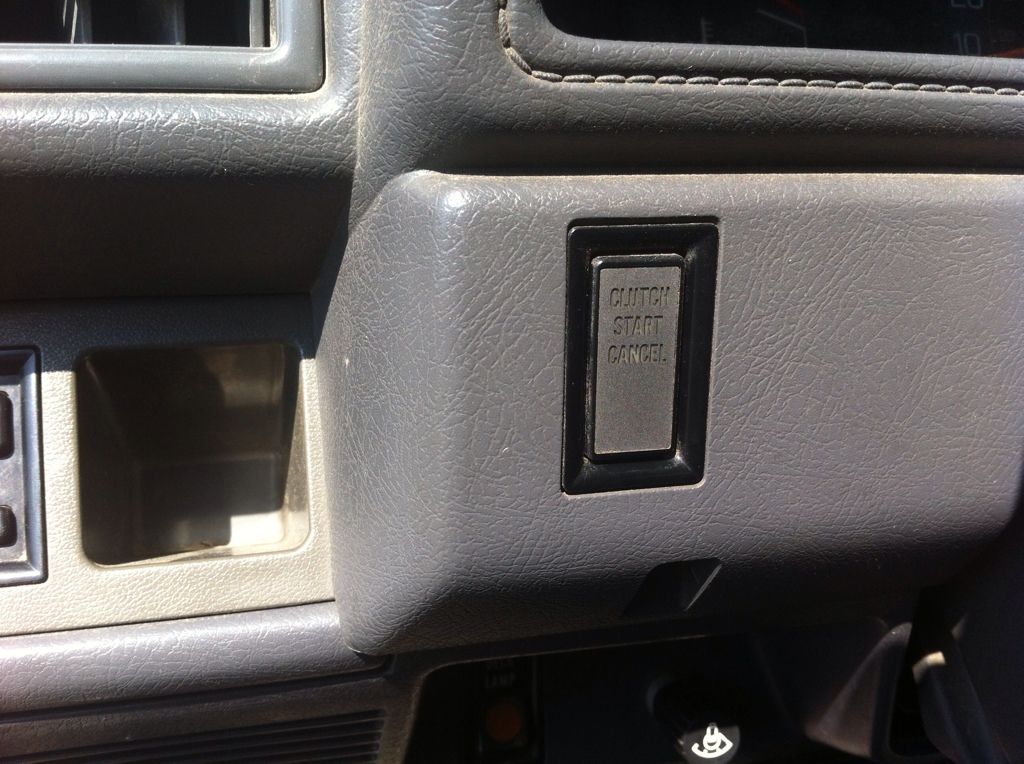
everyone likes this button
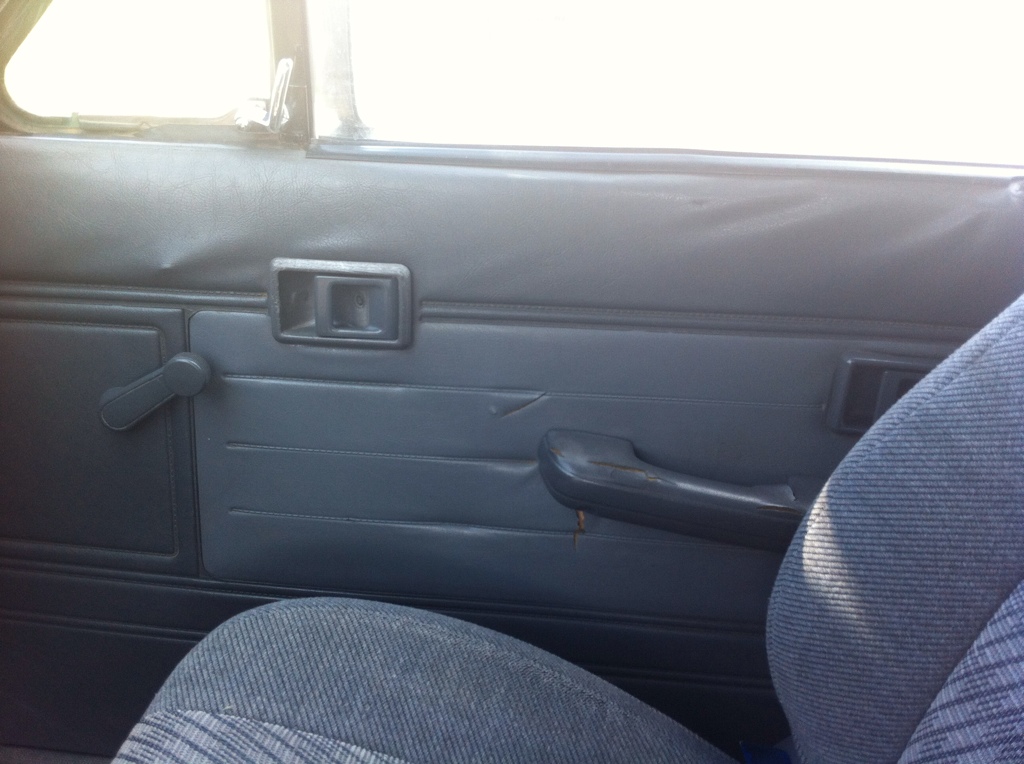
back seats look like no one has sat in them.


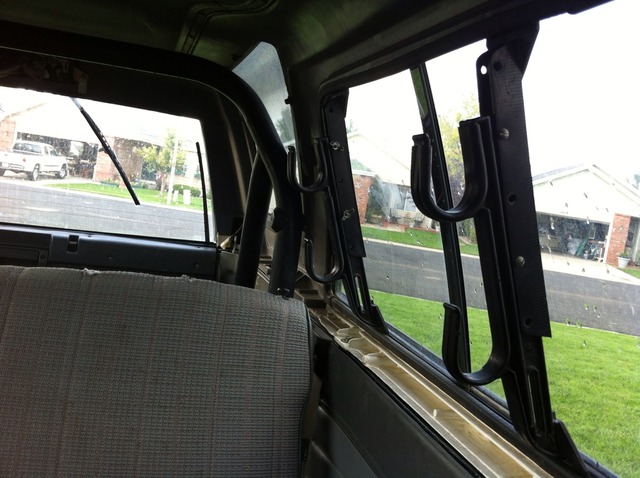
found a place for my gun rack
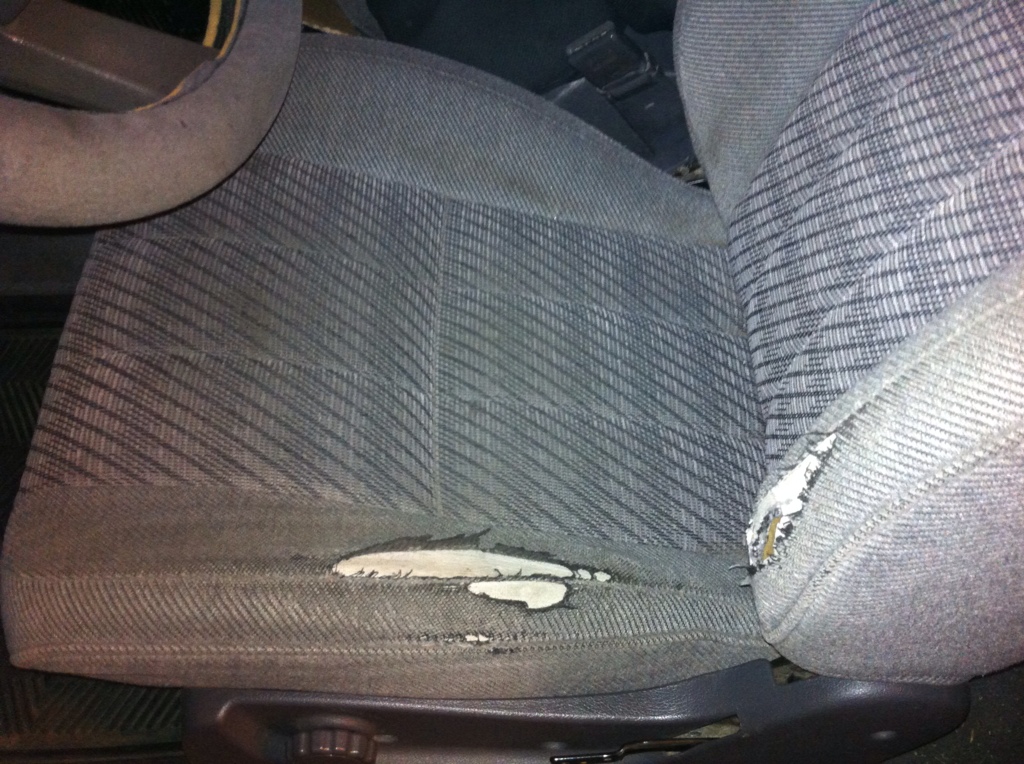
small tear in the drivers seat.
on to the progress...
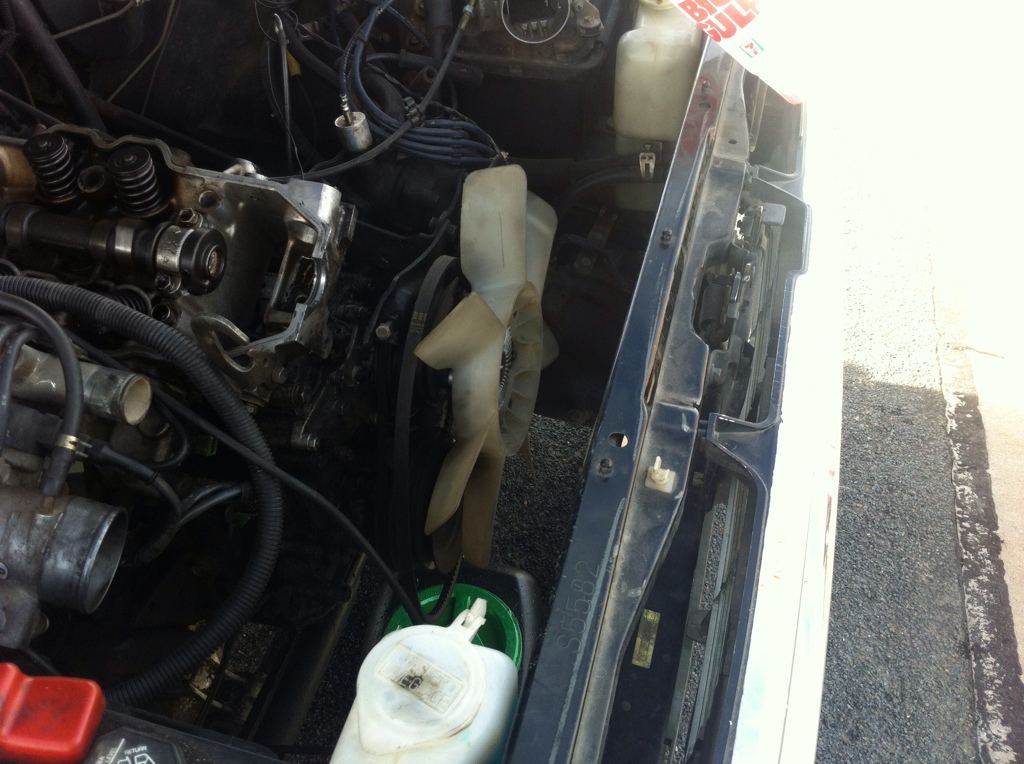
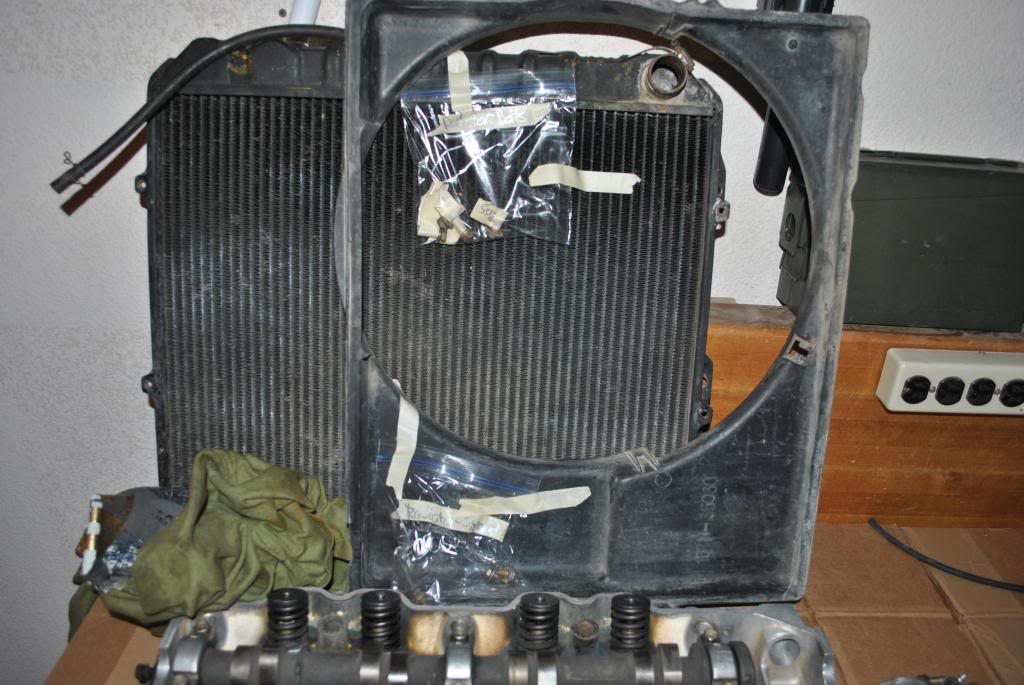
pulled the radiator to help make room.
two bolts on the left
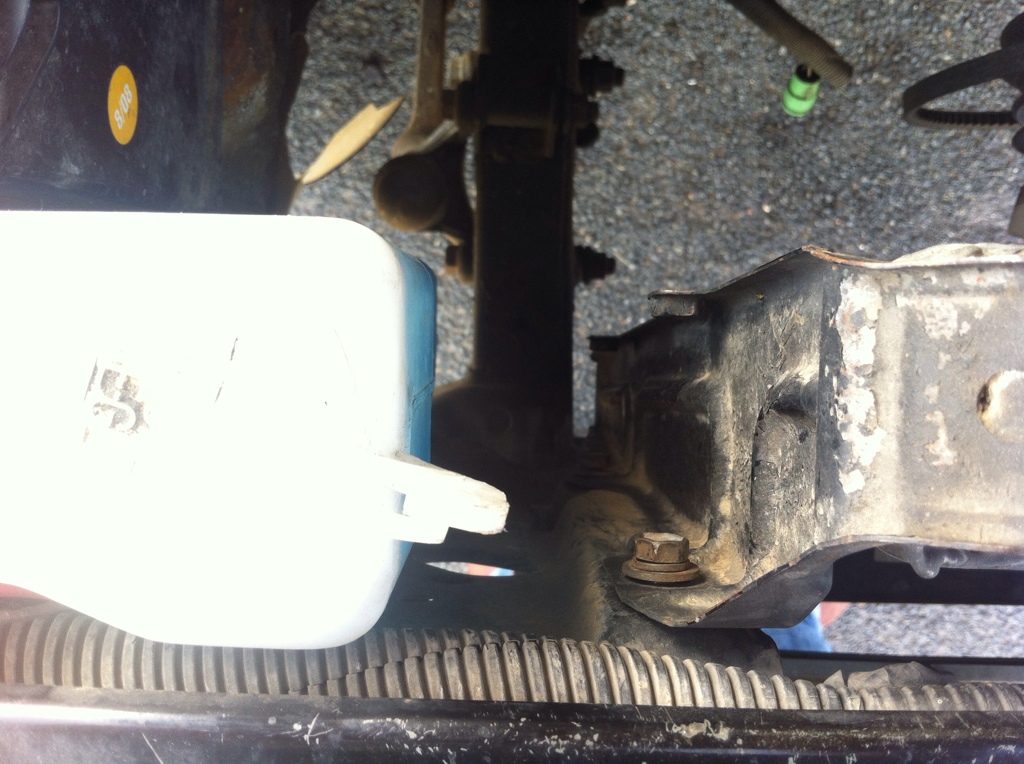
two bolts on the right

bye-bye radiator
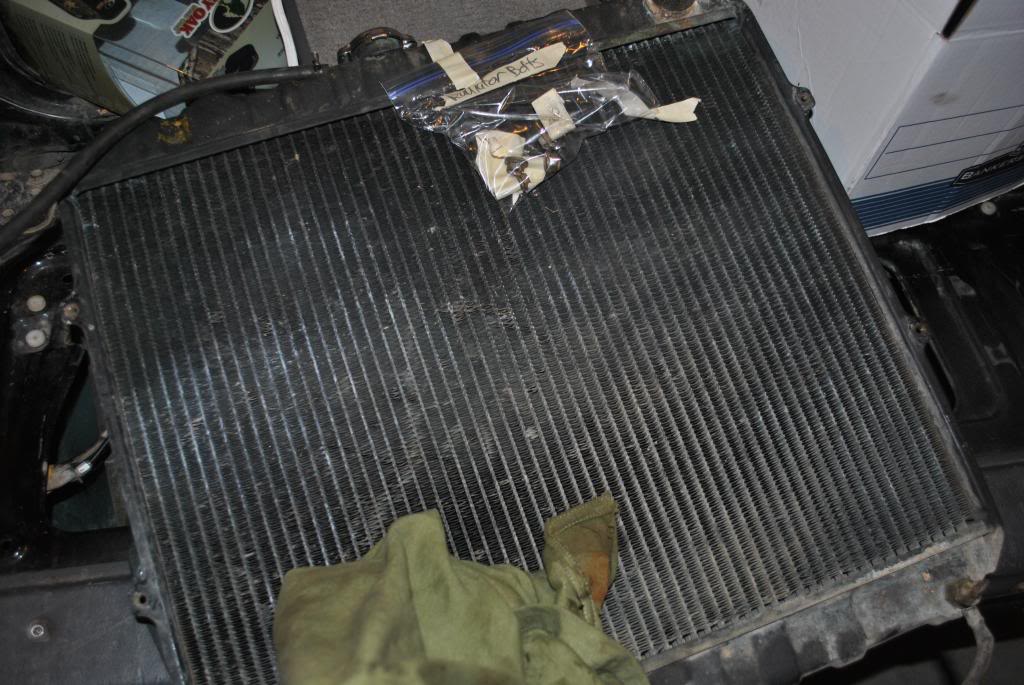
how I will be doing my build
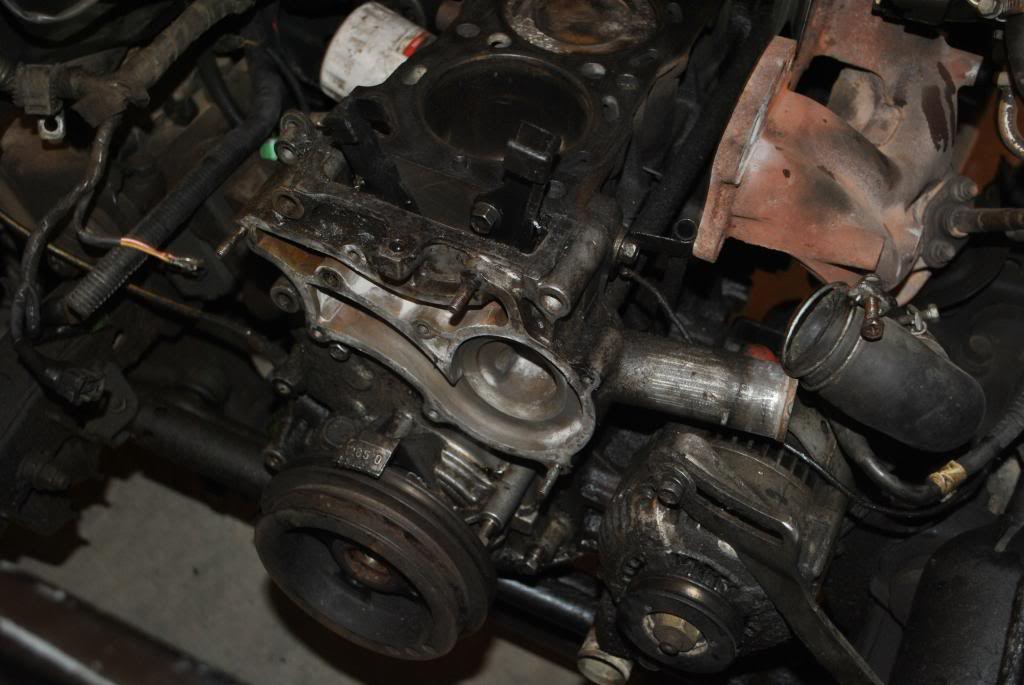
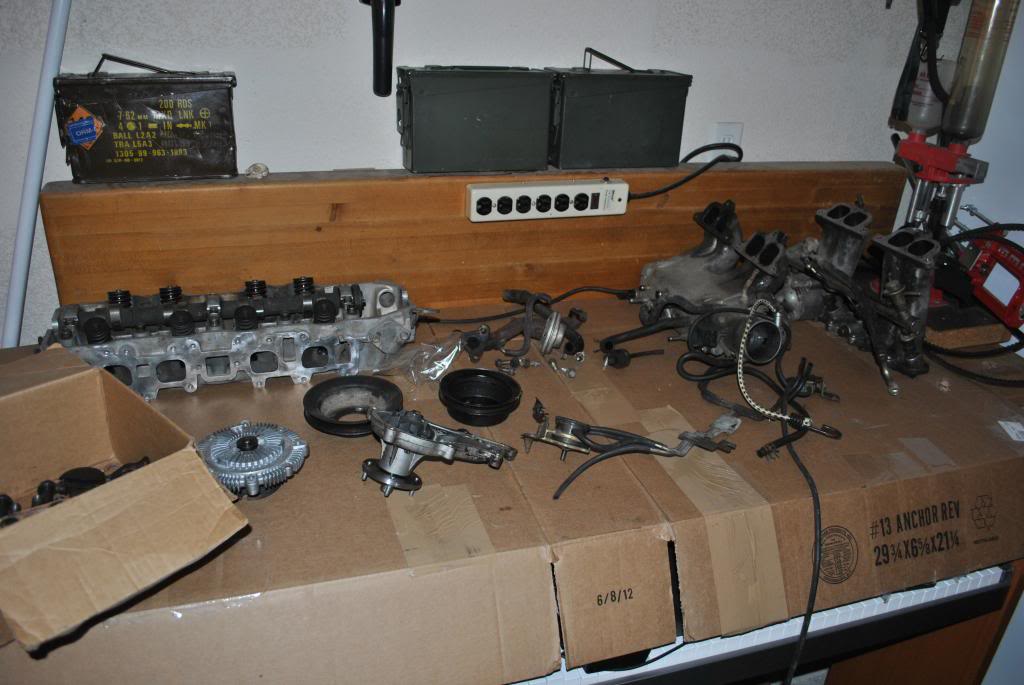
pulled the head and got it resurfaced
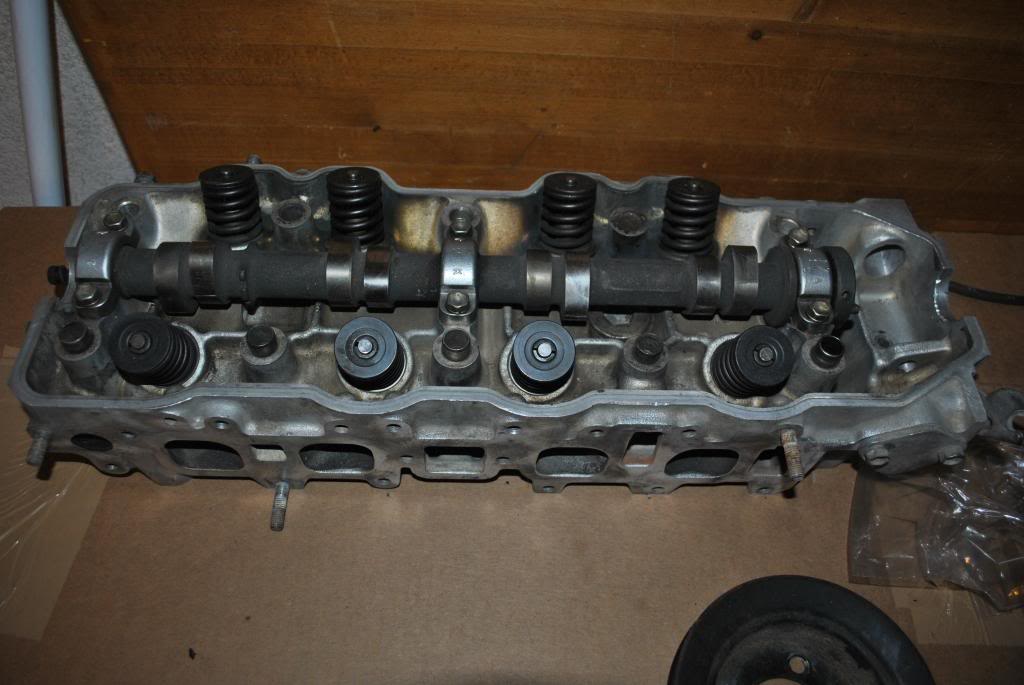
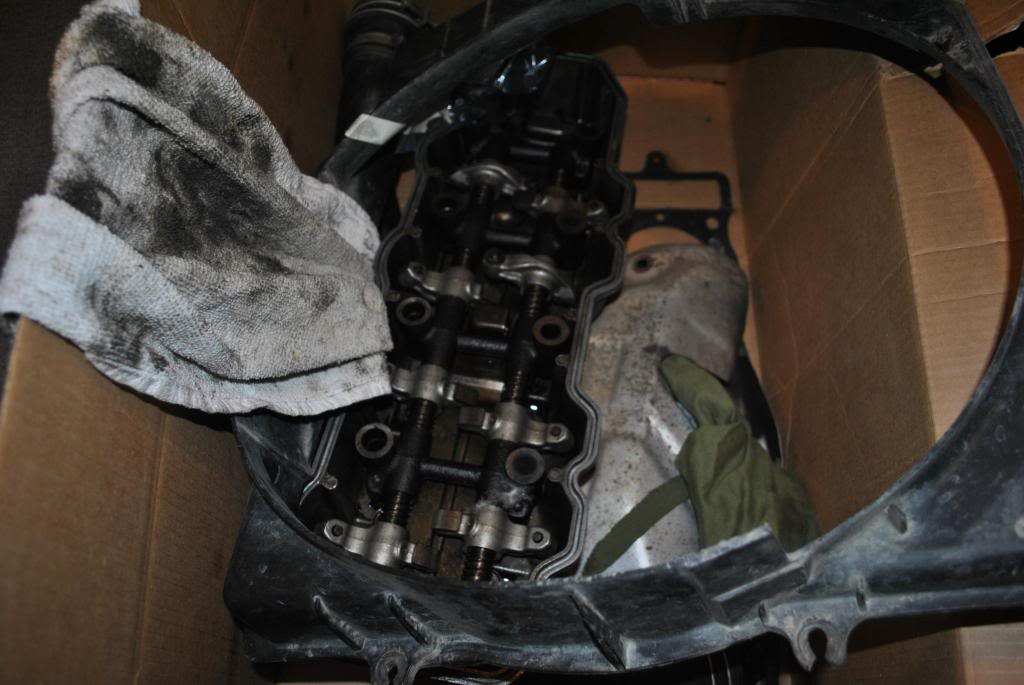
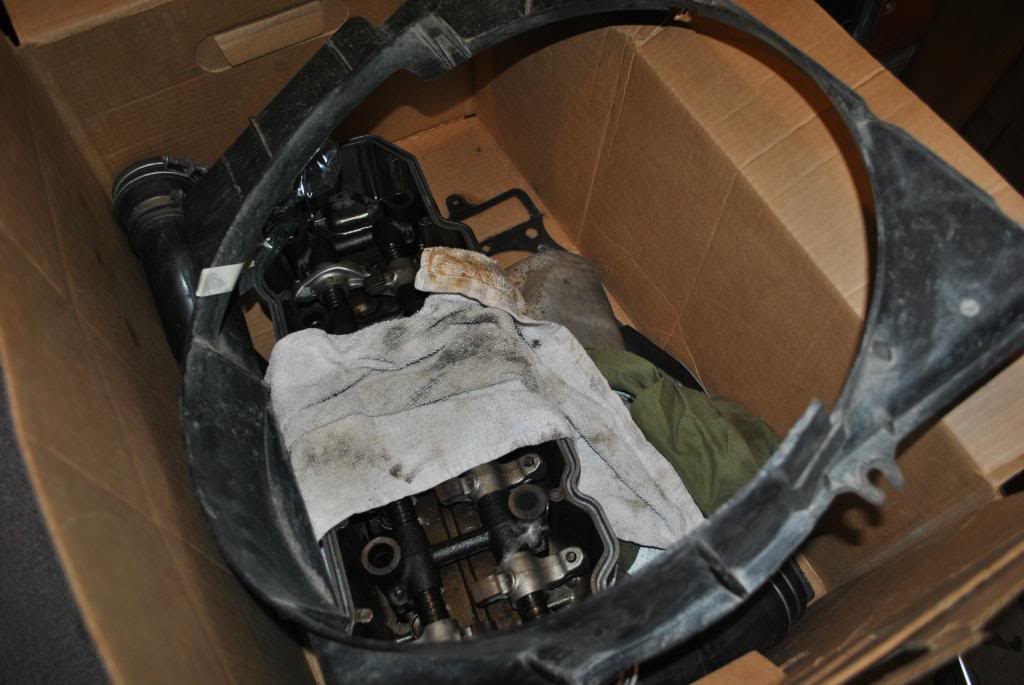
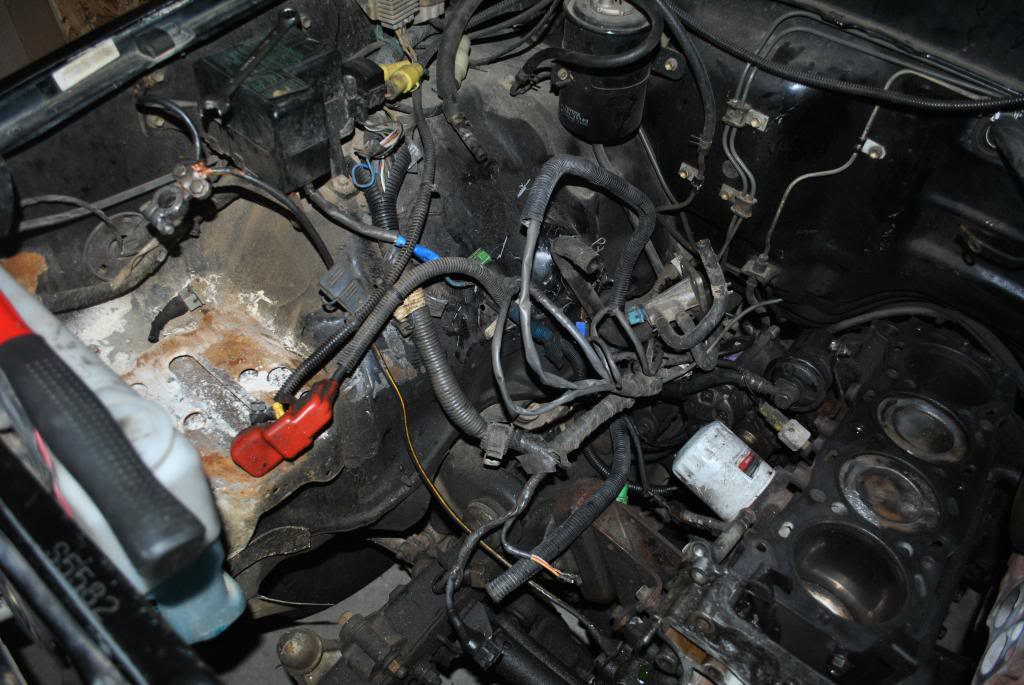
and a few more engine shots. I did zero of this tear down! my grandpa did all of this. so just makes it harder for me to put together.
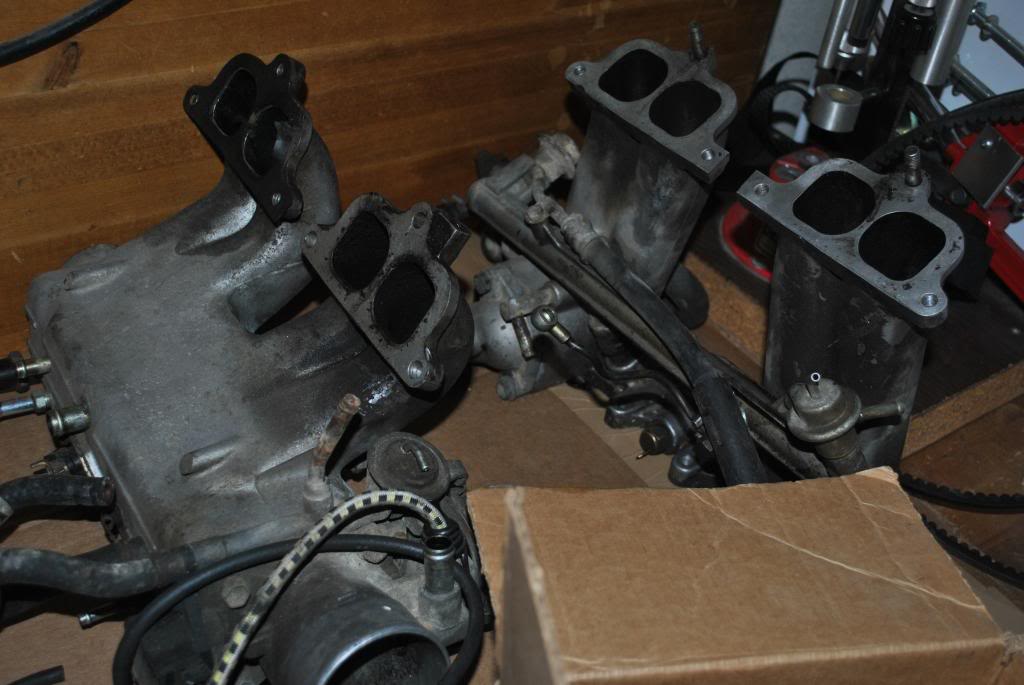
found my intake and injectors tore and set down
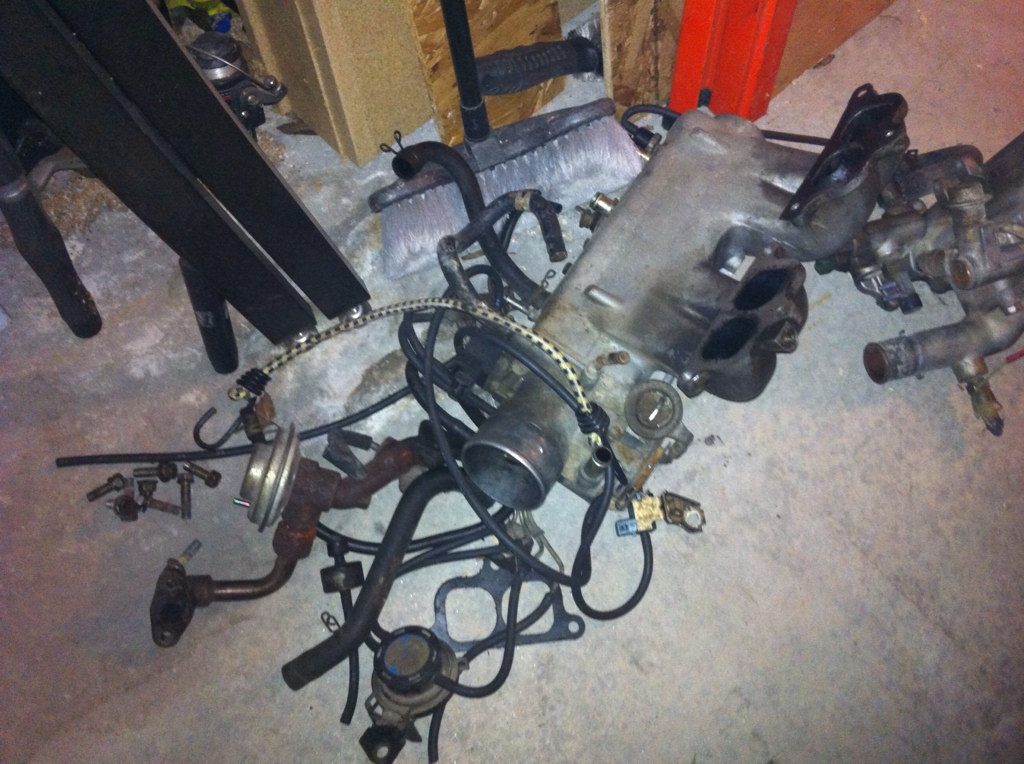
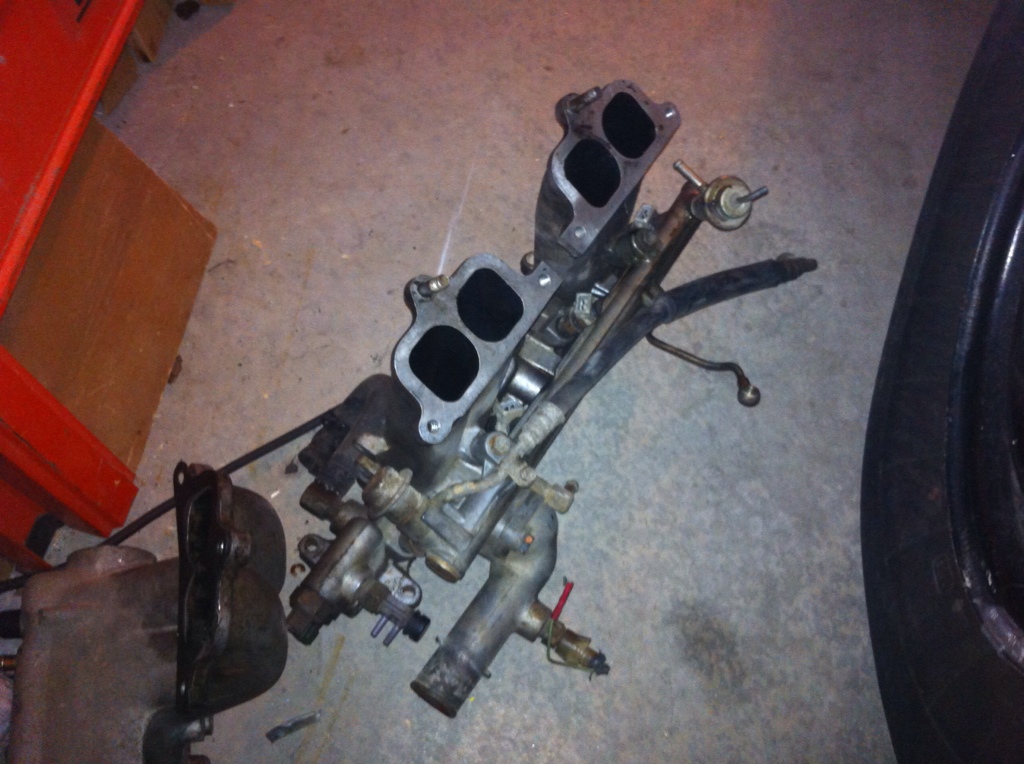
got that taken care of
My help throughout this build is a chilton's manual, my dad (had a 1980 pickup, 1994 and a 1990) and YOTATECH! hopefully I'm not in too over my head. thanks to everyone on this site for making such a great place for information and pictures
dash just a few cracks
everyone likes this button
back seats look like no one has sat in them.
found a place for my gun rack
small tear in the drivers seat.
on to the progress...
pulled the radiator to help make room.
two bolts on the left
two bolts on the right
bye-bye radiator
how I will be doing my build
pulled the head and got it resurfaced
and a few more engine shots. I did zero of this tear down! my grandpa did all of this. so just makes it harder for me to put together.
found my intake and injectors tore and set down
got that taken care of
My help throughout this build is a chilton's manual, my dad (had a 1980 pickup, 1994 and a 1990) and YOTATECH! hopefully I'm not in too over my head. thanks to everyone on this site for making such a great place for information and pictures
Last edited by tinigunner11; 03-24-2013 at 06:33 PM.
03-25-2013, 05:16 AM
#3
Looking good so far man. I know its hard trying to sort through other peoples messes and parts bins to put things back together. I have had many projects like that. But Hang in there and take your time. It will all come together. There are so many helpful and knowledgeable people here on Yotatech. So dont be afraid to ask questions.
03-26-2013, 12:09 AM
#4
Super Moderator
Staff
iTrader: (1)
Join Date: Aug 2008
Location: Anderson Missouri
Posts: 11,788
Likes: 0
Received 21 Likes
on
19 Posts
I have spent more time looking for the correct nuts and bolts when someone has lost them or misplaced them that I feel your pain. Looks like you got a nice little project. One step at a time and you will get there. Dont look at the big picture, just each step and it will be done before you know it.
I personally like a Haynes Manual better then a Chiltons. Seems like Haynes does a better job in explaining things. It may be a personal preference as well. You will see several mention the FSMs on here and they are great, but I find myself refering to the Haynes more then the FSM and I do have a hard copy of the Factory Service Manual as well. Looking forward to your build.
I personally like a Haynes Manual better then a Chiltons. Seems like Haynes does a better job in explaining things. It may be a personal preference as well. You will see several mention the FSMs on here and they are great, but I find myself refering to the Haynes more then the FSM and I do have a hard copy of the Factory Service Manual as well. Looking forward to your build.
03-26-2013, 06:46 PM
#5
thanks gizler, your 85 is awesome! really enjoyed reading your build. In the craigslist ad the lady had listed my truck as an 85. So when I showed up to pick it up I was super disappointed. But it was too good a deal to pass up.
Terry thanks for chiming in! I love your work and your runners are a great inspiration. I had go to the library and copy pages from the haynes today because I cant find one anywhere. So much better than the chiltons.
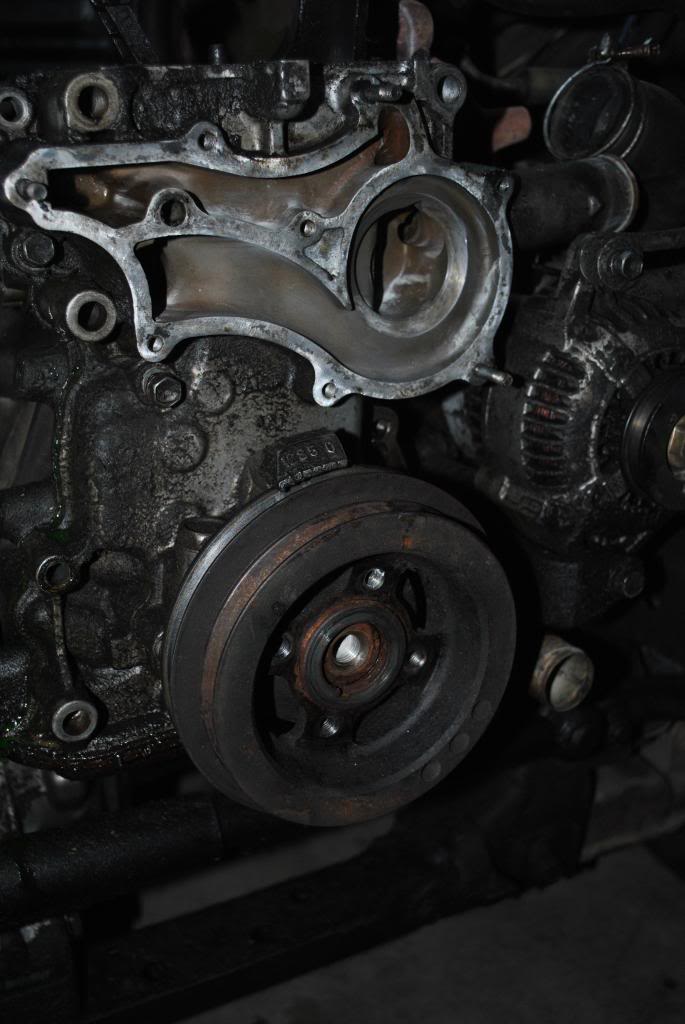
I have a question though. Does anyone know how to get the crankshaft pulley off of the timing cover? I've taken all the bolts out, it just wont budge.
Terry thanks for chiming in! I love your work and your runners are a great inspiration. I had go to the library and copy pages from the haynes today because I cant find one anywhere. So much better than the chiltons.
I have a question though. Does anyone know how to get the crankshaft pulley off of the timing cover? I've taken all the bolts out, it just wont budge.
03-26-2013, 07:59 PM
#7

Can do that now, before you pull that crankshaft pulley. just put the bolt back in and turn it clockwise.
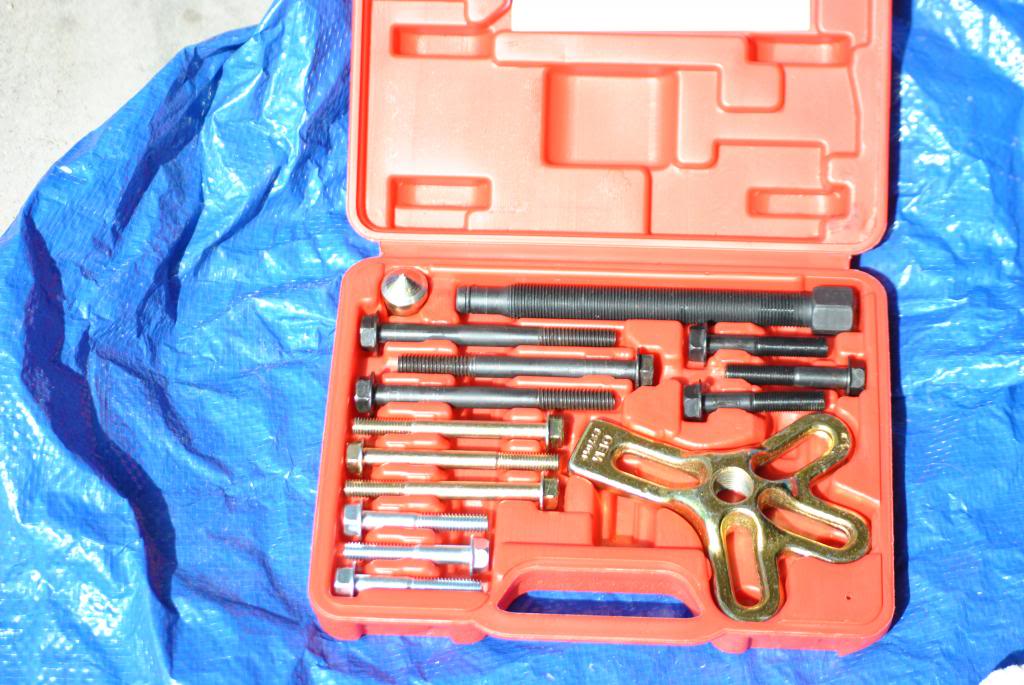
To get the pulley off you'll need some special tools, They can loan you one at the parts store. Also for the book they can order it if they don't have one in stock, but it appears autozone has one that covers 79-95.
3310 N. GARFIELD LOVELAND, CO 80538, Not sure how many there are up in loveland, so I'll save you some time maybe.
Oh the tool is a "pulley remover" Oddly enough. It'll looke like this one or the 3-jaw version.
http://www.autozone.com/autozone/acc...er=231208_0_0_
Trending Topics
03-26-2013, 08:39 PM
#8
Registered User
Join Date: Oct 2009
Location: Kent, Washington
Posts: 54
Likes: 0
Received 0 Likes
on
0 Posts
before you turn it though make sure that the timing chain isn't wadded up in the bottom of the timing cover it could break stuff. all you have to do is rotate it like Co said until the number on piston is at the top of the bore and your at TDC. you shouldn't necessarily need the puller too the last four 22re's ive rebuilt only needed a good wiggle side to side and the crank pulley slides off if its got surface rust then it may need the removal too but you should be able to slide it right off. good luck with putting her back together!
03-26-2013, 10:26 PM
#9
Can do that now, before you pull that crankshaft pulley. just put the bolt back in and turn it clockwise.
To get the pulley off you'll need some special tools, They can loan you one at the parts store. Also for the book they can order it if they don't have one in stock, but it appears autozone has one that covers 79-95.
3310 N. GARFIELD LOVELAND, CO 80538, Not sure how many there are up in loveland, so I'll save you some time maybe.
Oh the tool is a "pulley remover" Oddly enough. It'll looke like this one or the 3-jaw version.
http://www.autozone.com/autozone/acc...er=231208_0_0_
 I wish I would've known about the puller before I went in. I'll pick one up tomorrow.
wannaB its got a decent amount of surface rust. just enough that it doesn't want to let go. I'm going to do some work on it in the morning.
Plans are to get it at TDC, get the pulley off, get the timing cover off and if I have time put the new timing set in. I'll be taking lots of pictures (not like there isn't enough
 ) and using yotatech A LOT.
03-26-2013, 11:30 PM
) and using yotatech A LOT.
03-26-2013, 11:30 PM
#10
Had a response typed out and stuffed it into the clipboard to refresh the pictures, then went and just copied a IMG link off photo bucket DOH.
I uh recognise that motor now
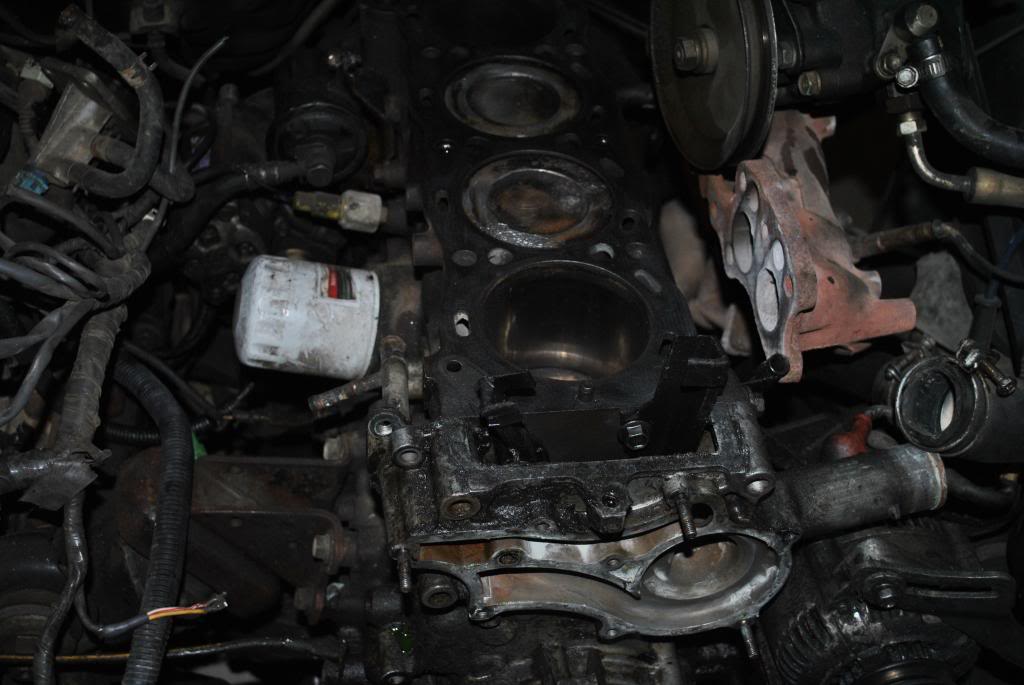
Don't bother spinning that over to TDC, might have ring damage and the crank and pistons are going to get pulled anyway right ?
Anyways direct question time. Yeah just put the crankshaft bolt back in to spin it around. Best todo that with the pully on so you have some leverage to get the bolt back out.
Definately check to make sure the chain isn't going to get hung up if you spin it.
Being at TDC isn't important untill you go to hook the chain up. You'll normally want to spin it around so you can inspect the cylinder walls.
Now I'm gonna wander off and browse your photobucket some more
I uh recognise that motor now
Don't bother spinning that over to TDC, might have ring damage and the crank and pistons are going to get pulled anyway right ?
Anyways direct question time. Yeah just put the crankshaft bolt back in to spin it around. Best todo that with the pully on so you have some leverage to get the bolt back out.
Definately check to make sure the chain isn't going to get hung up if you spin it.
Being at TDC isn't important untill you go to hook the chain up. You'll normally want to spin it around so you can inspect the cylinder walls.
Now I'm gonna wander off and browse your photobucket some more
 03-26-2013, 11:55 PM
#12
Super Moderator
Staff
iTrader: (1)
Join Date: Aug 2008
Location: Anderson Missouri
Posts: 11,788
Likes: 0
Received 21 Likes
on
19 Posts
I just removed my pulley a few minutes ago. What I am trying to show here is I used a chain vise grip around the pulley and was able to hold on to it while using an Impact wrench to break the bolt loose. ( I dont care for chain vise grips but didnt have a choice).
At about the 7 oclock postion (maybe hard to see) I used the wood handle of a hammer and gently pried against the back of the pulley while at the 5 oclock position I tapped the other side of the pulley with a rubber hammer and it popped right off. I left the crankshaft bolt in just incase the whole pulley assembly decided to fly off and to keep it from hitting the ground. Hope this helps.
When you install your new timing chain, there is a dot on the camshaft sprocket and the key on the crankshaft that have to be in the certain positons, that I cant recall right off that will make you set TDC, so dont worry about TDC. It will get corrected when you get to that stage.
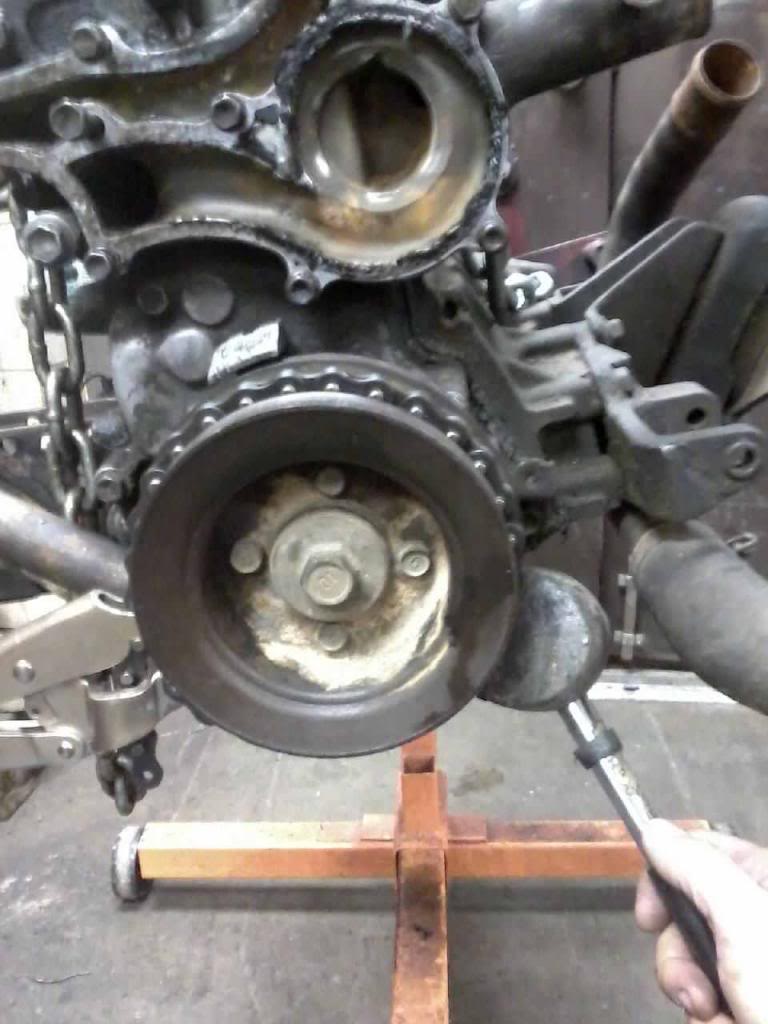
03-27-2013, 06:41 AM
#14
The last pulley I removed from a 22re had to be heated to get the bolt out and then the pulley just wiggled off. If it doesnt want to budge, maybe take a little heat to it.
And like others have said. TDC is really only relevant when you are reinstalling a new timing kit and putting everything back together.
Keep up the good work.
Also very jealous of your location. Kornhuskerwizard and I are stuck in Flatland corn filled nothing. haha
And like others have said. TDC is really only relevant when you are reinstalling a new timing kit and putting everything back together.
Keep up the good work.
Also very jealous of your location. Kornhuskerwizard and I are stuck in Flatland corn filled nothing. haha
 I took out all the bolts needed and the two oil pan bolts at the bottom. the top broke loose but the bottom will not come loose. help?!
03-27-2013, 02:50 PM
I took out all the bolts needed and the two oil pan bolts at the bottom. the top broke loose but the bottom will not come loose. help?!
03-27-2013, 02:50 PM
#17
Double check you got all the bolts and brackets that needed to be removed.
http://personal.utulsa.edu/~nathan-b.../8timingch.pdf
Then tap it with a soft faced mallet to break any stuborn gasket goo loose.
http://personal.utulsa.edu/~nathan-b.../8timingch.pdf
Then tap it with a soft faced mallet to break any stuborn gasket goo loose.
03-27-2013, 08:30 PM
#19
timing cover adventures!
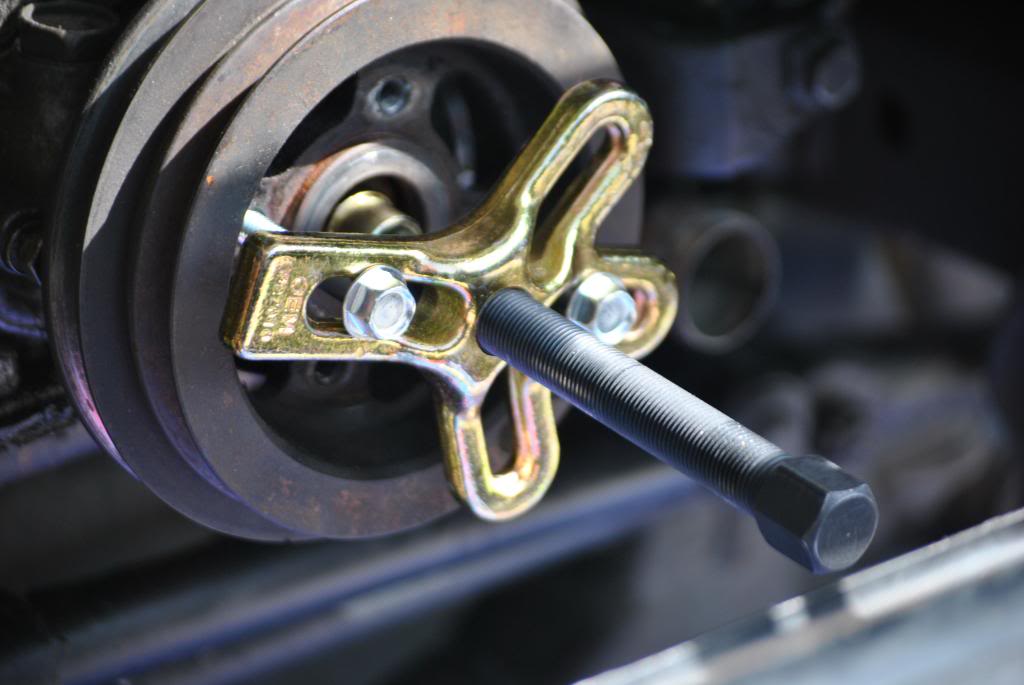
Today was the day had to make few trips to auto to find the part I needed but I finally got it.
crank pulley puller!
plugged in
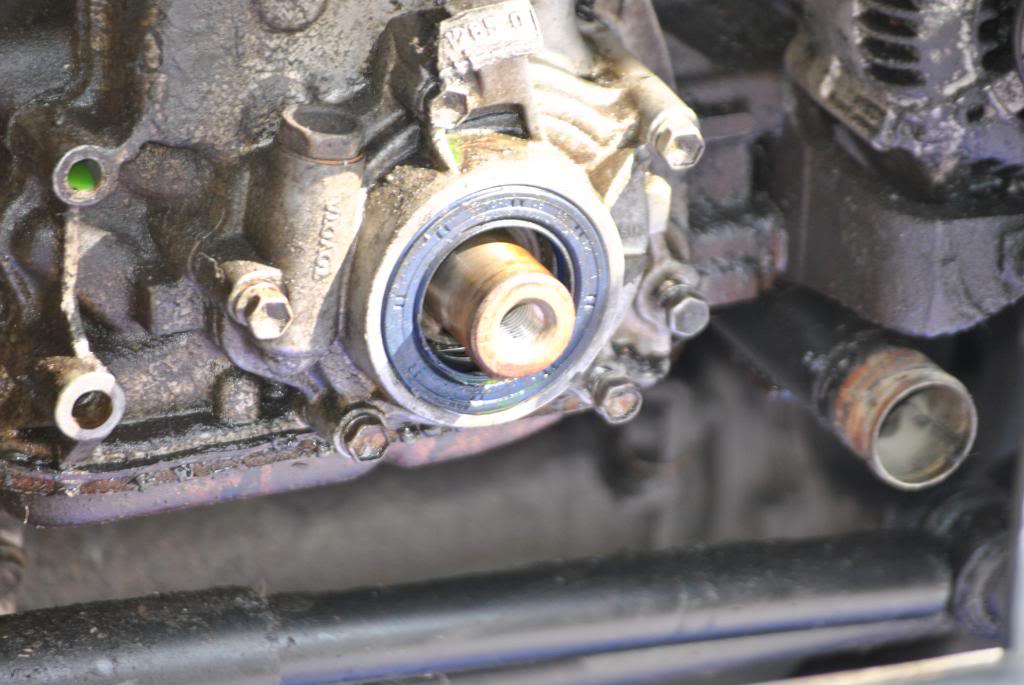
then on to removing the bolts
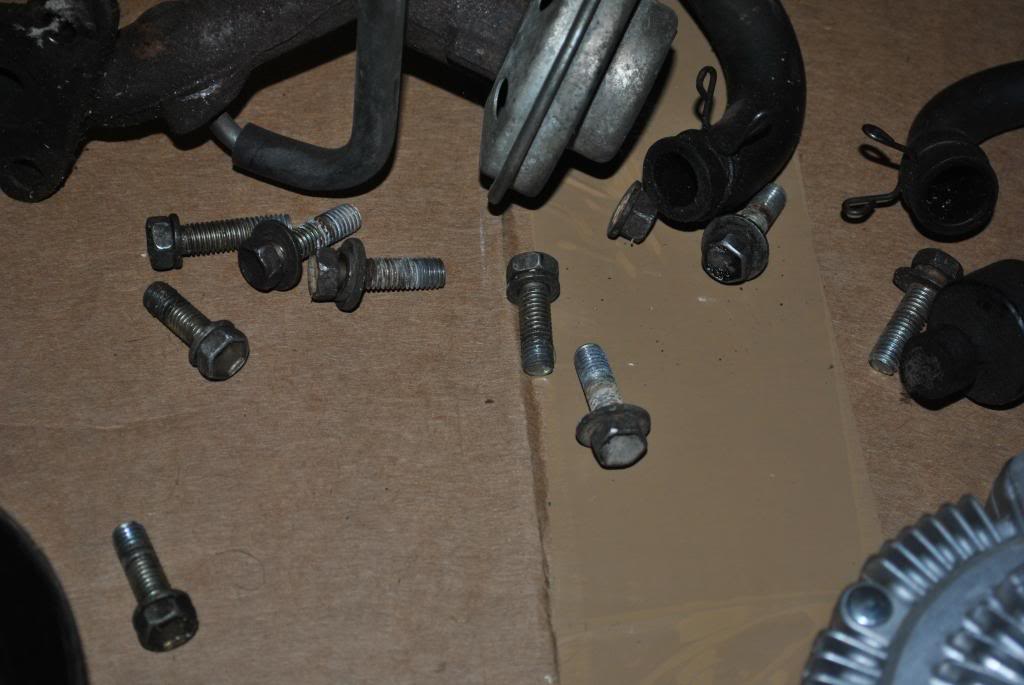
these pictures are of which bolts go in which holes. mostly for me but I figured someone could use it.
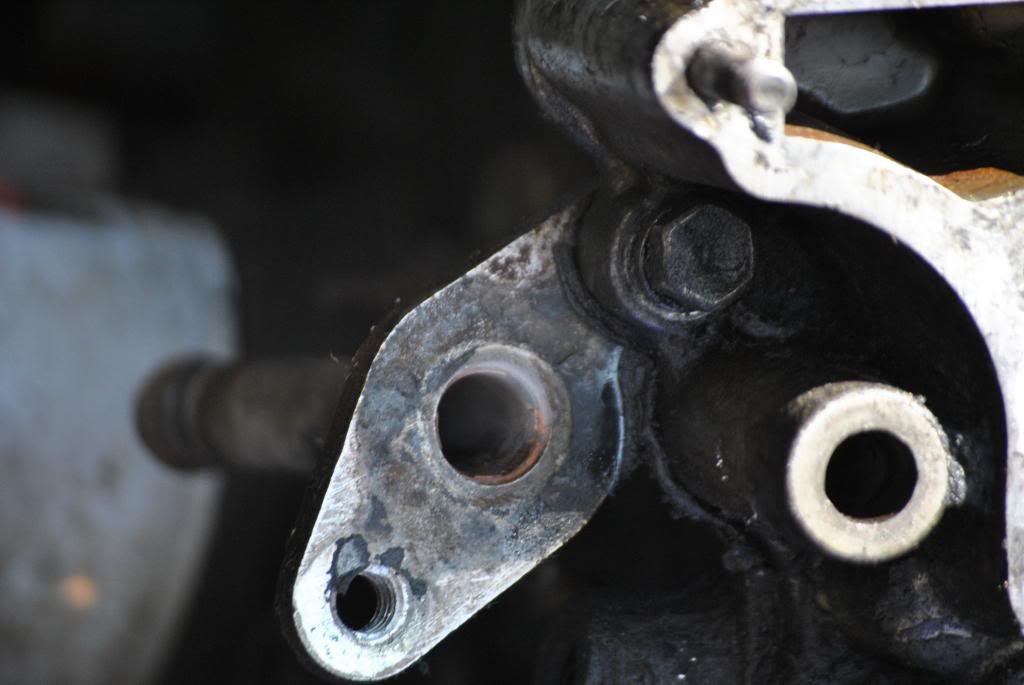
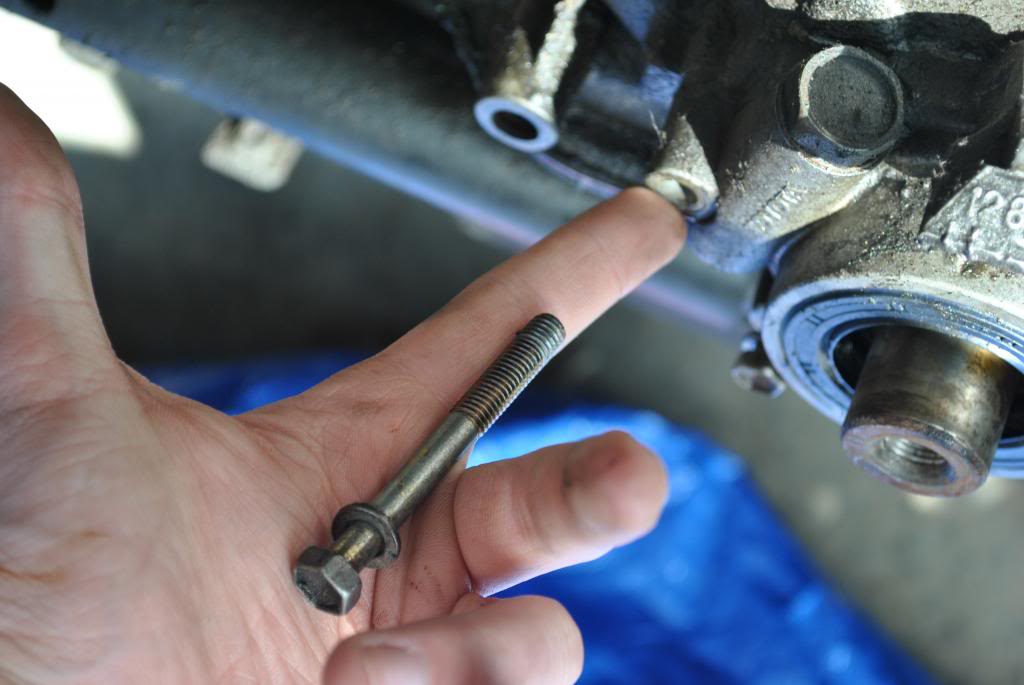
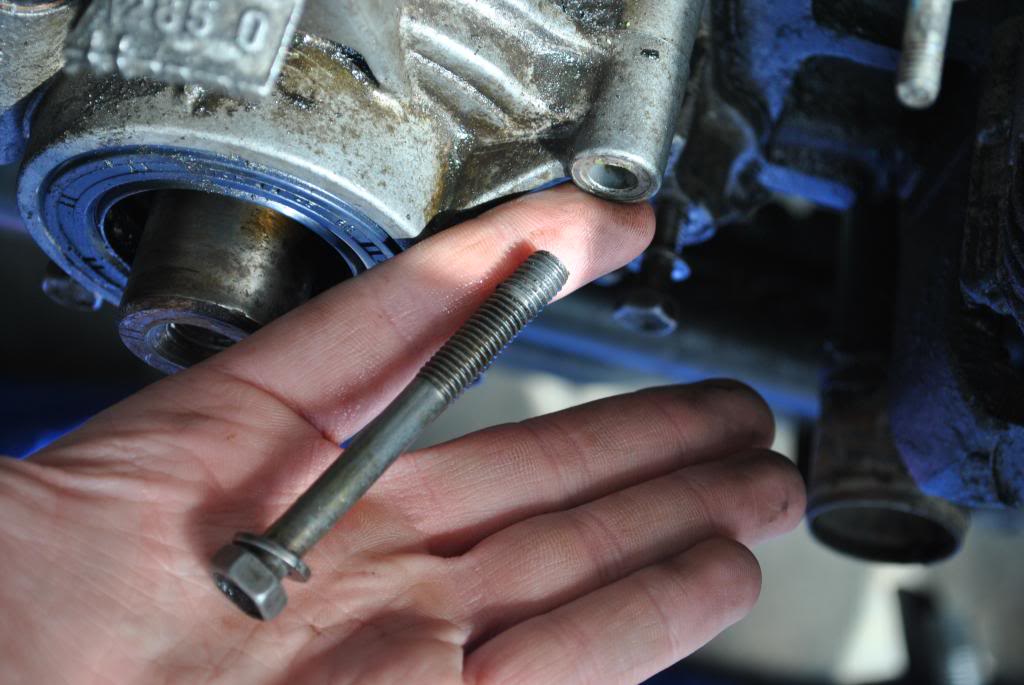
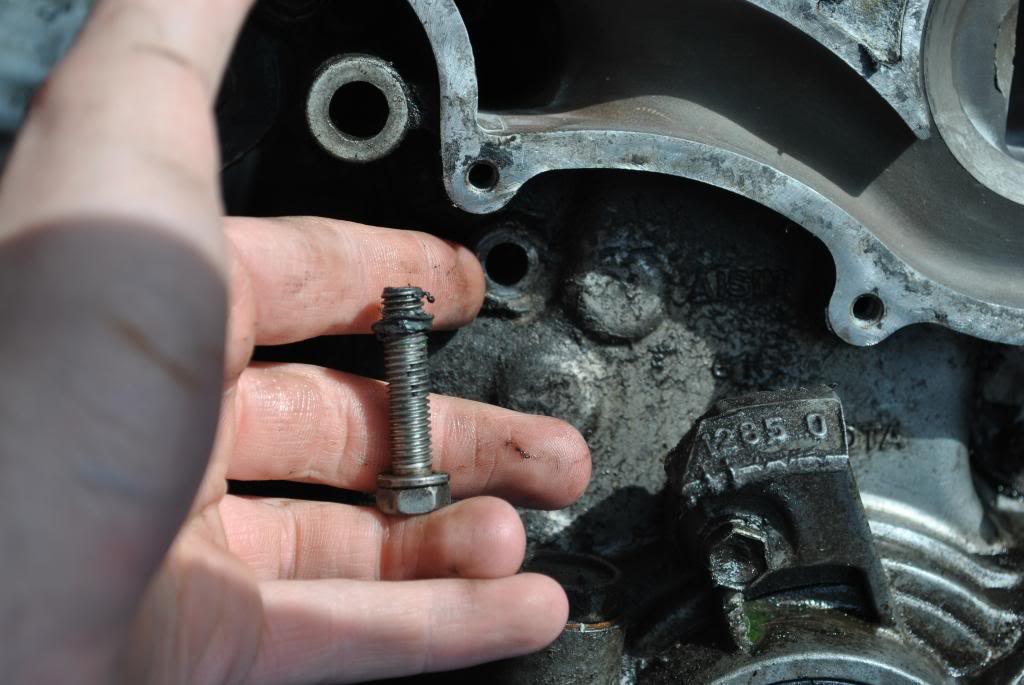
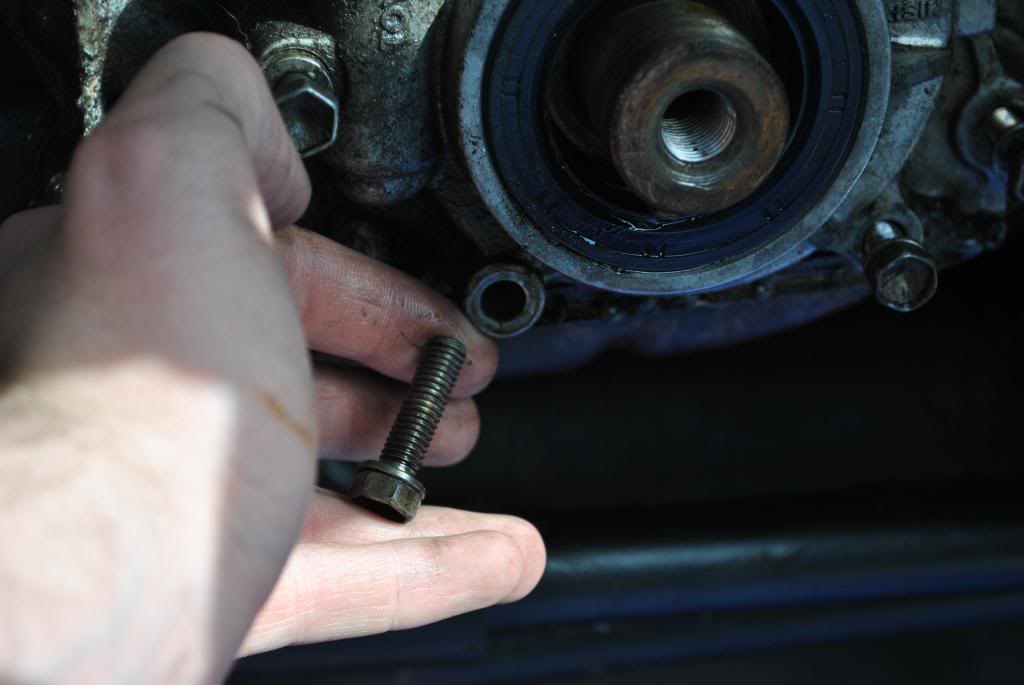
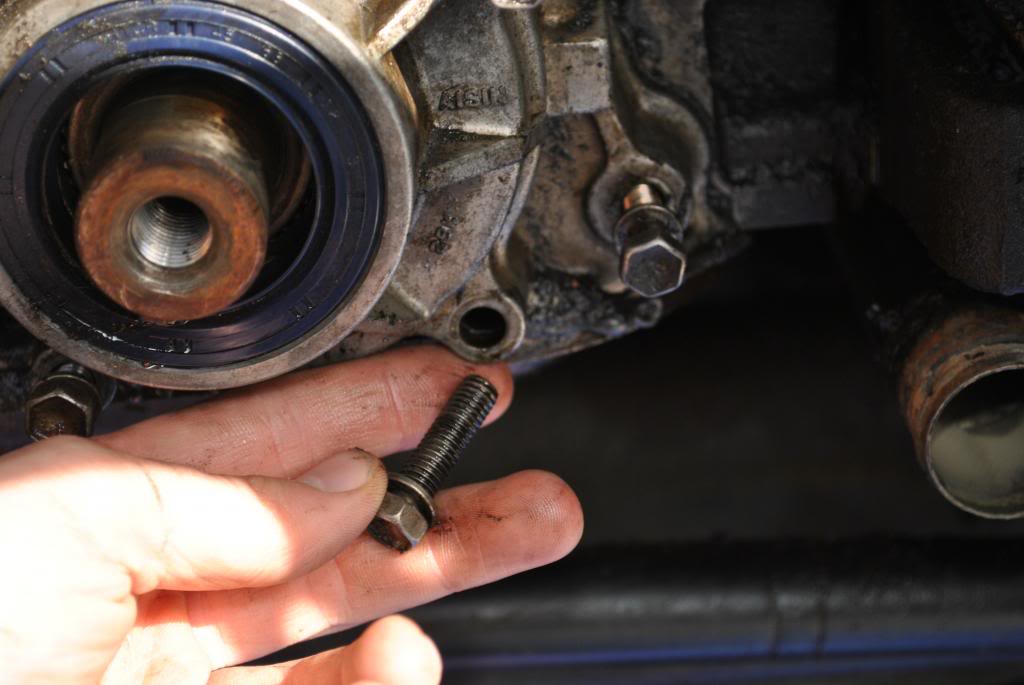

this one is blurry sorry but I'll explain it
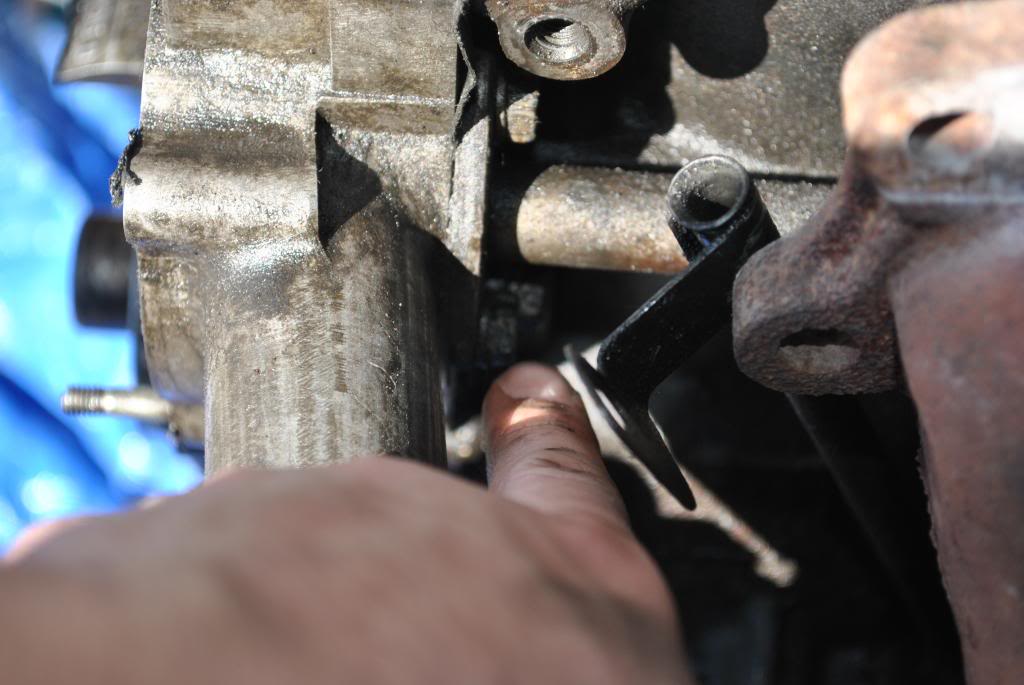
in this photo (above) is the two bolts for the heater tube and at 12 o'clock above my finger is another bolt. I think this is the "hidden" bolt everyone is talking about, not sure though. took me a little while to find it. didn't get the cover off yet. I was worried that I was going to break something and ran out of time today. I'll hit it tomorrow morning.
my helper for today

thanks for tuning in and helping guys! I appreciate all the help!!
crank pulley puller!
plugged in
then on to removing the bolts
these pictures are of which bolts go in which holes. mostly for me but I figured someone could use it.
this one is blurry sorry but I'll explain it
in this photo (above) is the two bolts for the heater tube and at 12 o'clock above my finger is another bolt. I think this is the "hidden" bolt everyone is talking about, not sure though. took me a little while to find it. didn't get the cover off yet. I was worried that I was going to break something and ran out of time today. I'll hit it tomorrow morning.
my helper for today
thanks for tuning in and helping guys! I appreciate all the help!!
Last edited by tinigunner11; 04-04-2013 at 09:01 AM.
03-28-2013, 02:34 AM
#20
Super Moderator
Staff
iTrader: (1)
Join Date: Aug 2008
Location: Anderson Missouri
Posts: 11,788
Likes: 0
Received 21 Likes
on
19 Posts
Glad to see you got the pulley and cover off. Toyota used plenty of different bolt sizes and lengths. I thread the ones in that will go where they belong and the longer ones I have stuck in there hole and wrapped the protruding end in electrical tape.
Another thing I have is some cardboard templates, but the bolts can back them selves out. Looks like a great helper you have there.
Another thing I have is some cardboard templates, but the bolts can back them selves out. Looks like a great helper you have there.


