When you click on links to various merchants on this site and make a purchase, this can result in this site earning a commission. Affiliate programs and affiliations include, but are not limited to, the eBay Partner Network.
It's the master rebuild kit from Tod at engnbldr, and also got a 251 cam. He also did the machine work.
I'll post up an exact parts list with links and stuff for future reference. The actual engine work and parts aren't that expensive really, but you get nickle and dimed to death in all the little stuff, especially in a truck this old. Hoses and gaskets and all the little random stuff have added up to more than the engine kit and machine work. Of course, I decided not to cut corners anywhere either.
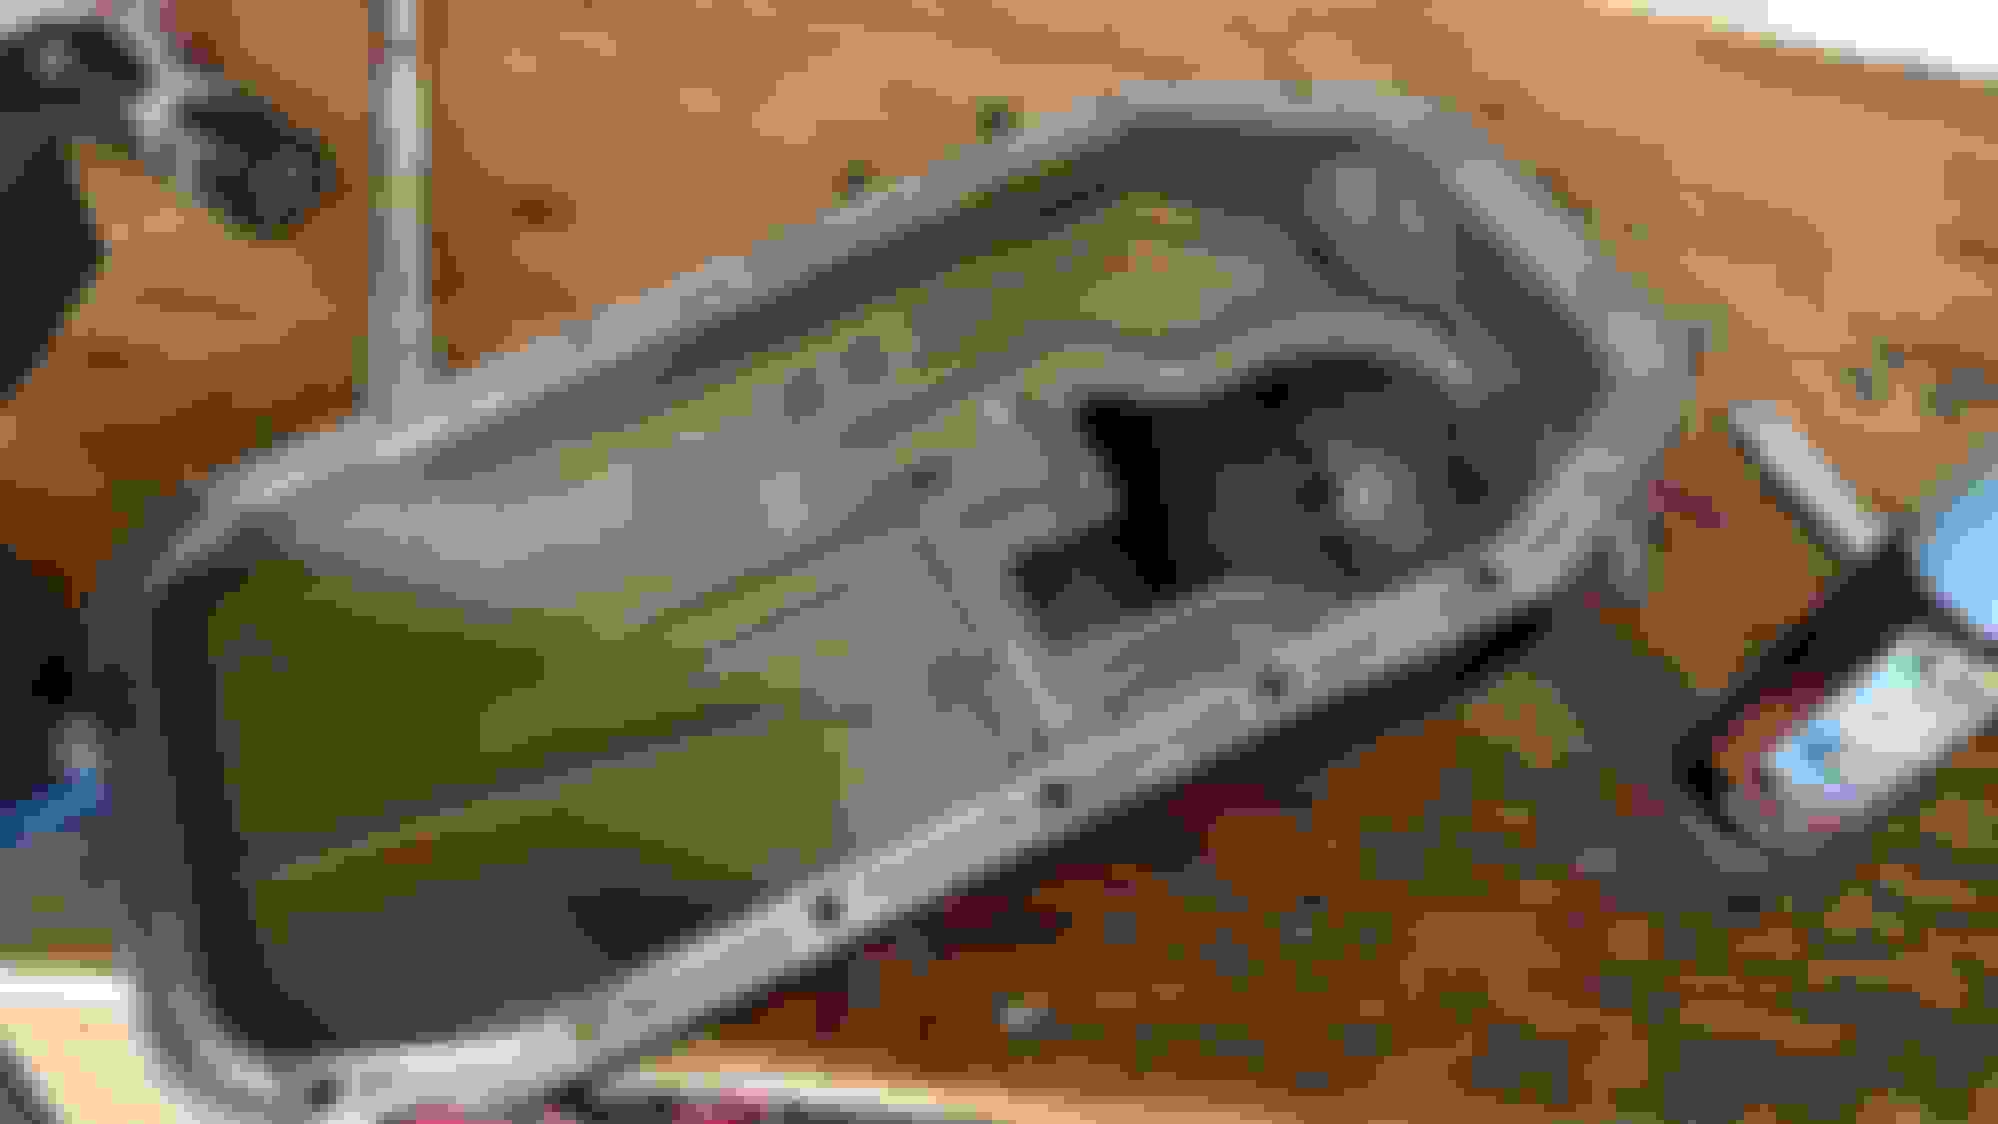
Started on the oil pan. Here's a PSA from me.... to the PO and all of you out there.... more RTV is not the answer! There was so many little pieces of this junk in the oil pan.... had to get my concrete searing pressure washer out to clean up this garbage.... PLEASE DON'T PUT ON MORE RTV THAN YOU NEED!!!
before:
after pressure washer:
Prepped for paint!
Primered (ran out of time to do color coat this afternoon):
Also cleaned the pickup tube with said pressure washer and some brake cleaner, looks good!!
Looks like my engine is bleeding (yes that's a kitchen trash bag)!
Parts prep and cleaning is getting close to complete, except this box of d***s.... this garbage needs to be scrubbed and painted... last but certainly not least..
I feel the pain here. Every time I go out to the truck to grab something, I find more crap that needs painting or cleaning. Looking good so far, tho. Just be glad you didn't decide to paint the bolt heads like I did.......
I embarked on a side quest today. While the engine is out thought it would be easier to get rid of all the ADD stuff for the front differential that I don't need, since I have manual hubs, and prefer to get rid of the failure point.
Also tore apart my power steering pump and got it all cleaned up. Have the new seal kit ready to reassemble just didn't get to it yet. Also pulled the PS reservoir out of the truck and cleaned it really well in the parts washer. I'm 100% certain the PO was using power steering fluid in there instead of ATF so I wanted to get it all flushed out best as possible before I load nice new clean stuff in there.
Also put the new main power wire that goes from the battery to the 80 amp fuse in place. I was going to replace the whole thing, but sort of got cold feet at the end before I cut the stock wire off of the plate there. So what I did was I ended up using the stock wire and cutting it off after the fusible link and crimping in my new wire. Good thing too, the old fusible link looks gross.
Old fusible link:
New wire crimped in:
Also figured out where I'm going to mount the new additional 80 amp fuse for my new 1/0 (overkill....) alternator to battery wire that I'm putting in. This is mostly future-proofing as I have a stock alternator for now, but at some point might end up with a beefy 130amp if I ever get the winch I want. The Blue Sea fuse block I got is pretty sweet, link:
Yeah its definitely easier to do add delete with motor out of the way, at least it is with v6s not sure how much it gets in the way with the 4 bangers.
Derpin super hard tonight. Went to install the timing chain and cover etc.... discovered I'm missing most of the bolts. I keep finding more ways to spend money.
22RE Performance is my go-to on the specific hardware. Not cheap but I want to use the right hardware. Nothing worse than mis-fit bolts...!
Getting close! Dropped the engine in tonight and my buddy came over and we got the exhaust welded up with flanges from LCE so I can take the header out etc. Feeling good to make done headway!
Made some progress tonight. Got all the bell housing bolts tightened snugged up, installed the starter and clutch slave cylinder. Also did some plumbing for the heater lines.
Here's a shot of the exhaust flange and o2 mount.
Heater plumbing.... Nice.
Installed the new pressure line for the power steering... Part is from O'Reillys, seems to fit just right.
Last edited by Reluctanse; 05-05-2016 at 10:24 PM.
New 1/0 battery and alternator wiring done, here's my blue sea 80 amp fuse to the battery. This wire is huge I would never use this size again unless I really needed to, routing it was a real pain. But if I get a huge alternator down the road I'm ready for it!
Last edited by Reluctanse; 05-07-2016 at 10:13 AM.
Making some steady progress... found a water leak on the heater core return line at the back of the timing cover, so I'm going to have to deal with that. Got the fuel system hooked up though. Threw on the intake and timing cover so I have some pretty to look at.... going to be a few weeks before I can touch it again. Family trips and some work on the 'burb' are going to take precedence.... ah well for now.
Truck is running! Still have some work to do and will post up some good pics when I get time, but so far so good, no leaks, oil pressure looks good... 150 miles in and feeling good.
So - about 250 miles in so far... runs pretty good. Valves are a bit noisy, but they were noisy before and nothing really changed there. I'm getting new adjuster nuts because the ones in there are pretty worn and pitted, so I'll swap those and do a hot adjust when they come in. Added some oil last night because it was about a quart low, but I think it was a bit low to start. I know, I should know, but.. anyways going to start monitoring oil consumption. But I think we're in good shape.
650 miles or so on the clock now and running pretty good. Getting about 19mpg right now, which isn't great, but I'm on and off the throttle still constantly for break-in, trying not to keep RPMs steady for very long. Overall seems to run pretty good. Its still a 4cyl though, but it is what it is. And now I'm also reminded of the other ish I was having before parking it last November and tearing the engine apart.
Front end is in some sad sad shape. It wanders all over town at speeds up above 50 or so, pulls to the right, steering wheel is out of alignment and has tons of play, oh, and needs new shocks.
So, OEM balljoints, tierod ends, and pitman are on their way. Ordered the Pro-Forged pitman arm and 4Crawler bronze bushings for it. Also getting a set of ProComp E9000s and the OME steering stabilizer. Went cheap on the shocks because I intend to lift in the next few years. Get everything in and should be in good shape. Then tire time...
Thanks 4Crawler, love your website, rocking the classic look still! I'm always happy to support where I can. Great link on idler arm tech here: http://www.4crawler.com/4x4/ForSale/IdlerArm.shtml Pretty easy project and worth it to beef up your idler arm, especially with the anticipated 33's I'll be running later this year.
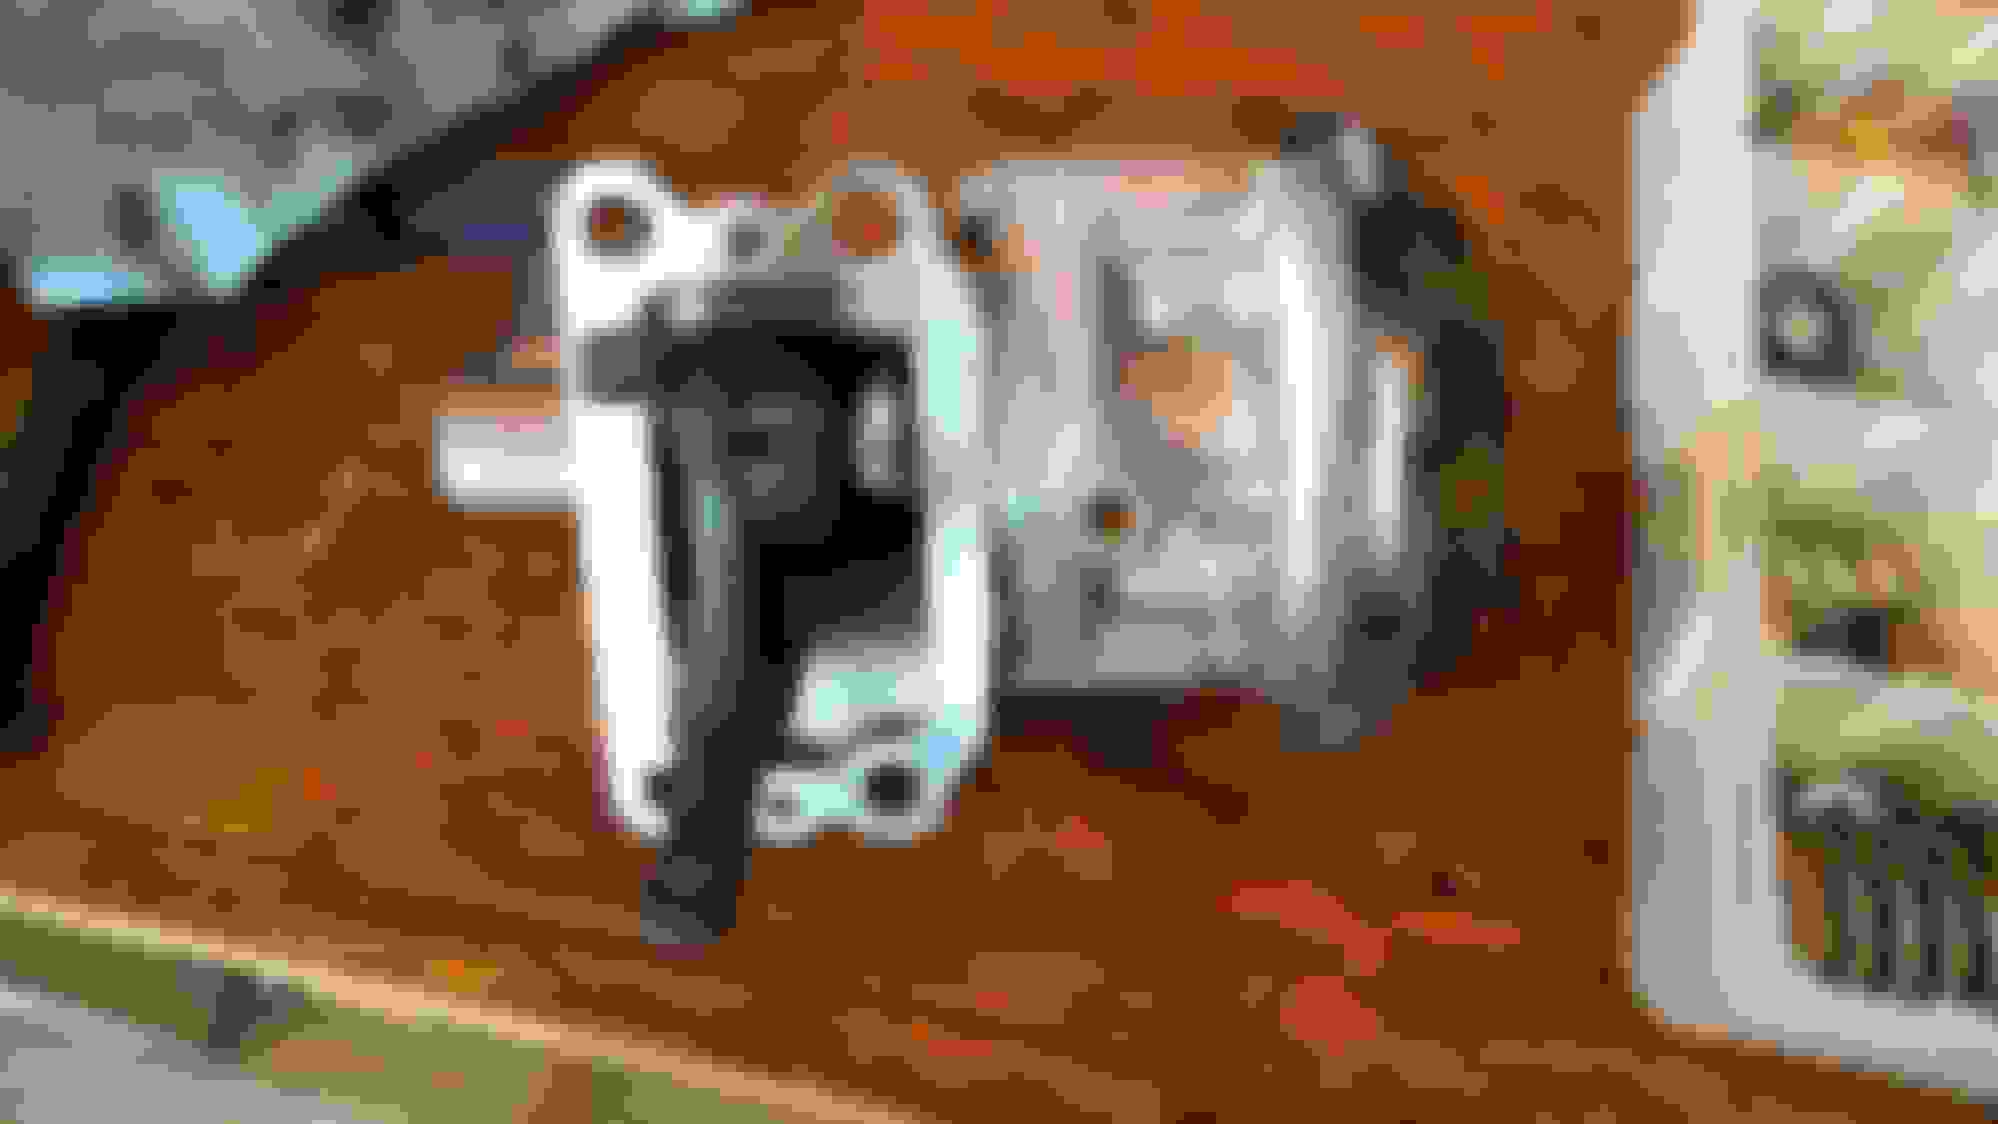
The Pro Forged pitman arm arrived along with 4Crawler bushings.
Torn apart. Only challenge was getting the cap off, and not really a big one, just needed some pounding.
Nylon bushings are stock, bronze from 4crawler. Why they put nylon bushings in a part like this is beyond me. Bushings compared:
'
And reassembled. Its a little tight but I think I'll try running it this way first and see how it does.
 04-03-2016, 08:53 AM


 so I wanted to get it all flushed out best as possible before I load nice new clean stuff in there.


 I keep finding more ways to spend money.