Mrjaron93's 92 pickup build-up thread
 01-31-2012, 08:05 PM
#1
Registered User
Thread Starter
Join Date: Jan 2012
Location: Indiana
Posts: 161
Likes: 0
Received 0 Likes
on
0 Posts
Mrjaron93's 92 pickup build-up thread
After reading through this forum since I got my truck in September, I finally joined the forum and now everyone I know thinks I’m obsessed with this site. haha
I thought I would put my truck’s build up to get other people’s input and get a lot of the many questions I have answered.
My truck is a 92’, 4x4, 22re, 5speed, with 4.10 gears.
My dad bought this off a guy he used to work with for $300. The front passanger side shackle was busted through the frame when we got it.
My dad and little brother patched it up with quarter inch angle iron:
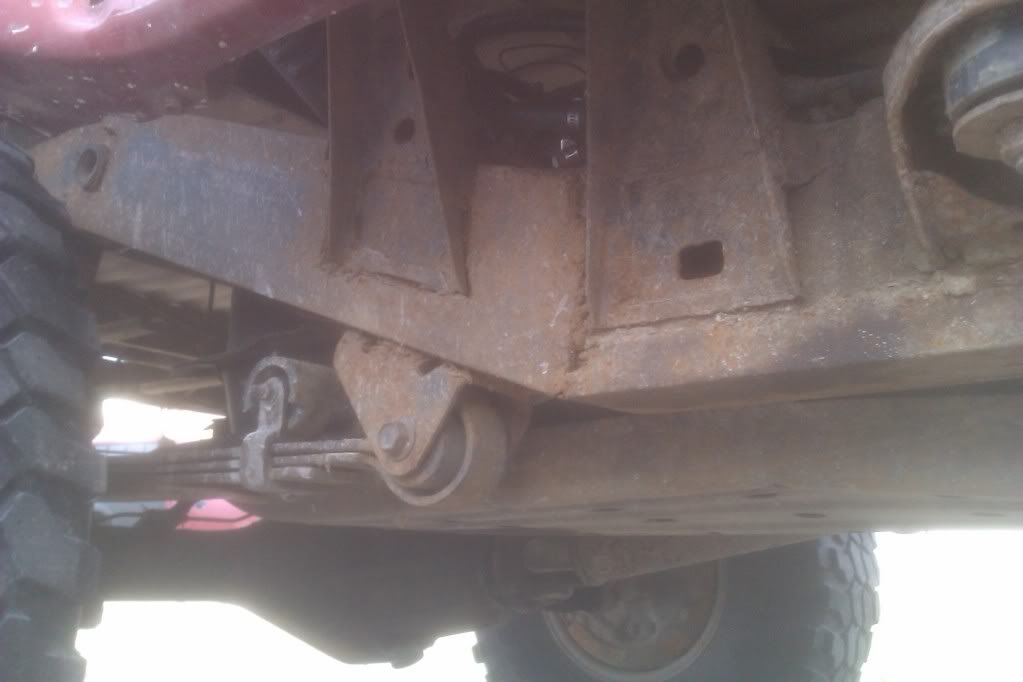
I plan on replacing the whole back half of the frame this spring. I am just waiting for work to pick back up so I can afford to buy the material. Haha
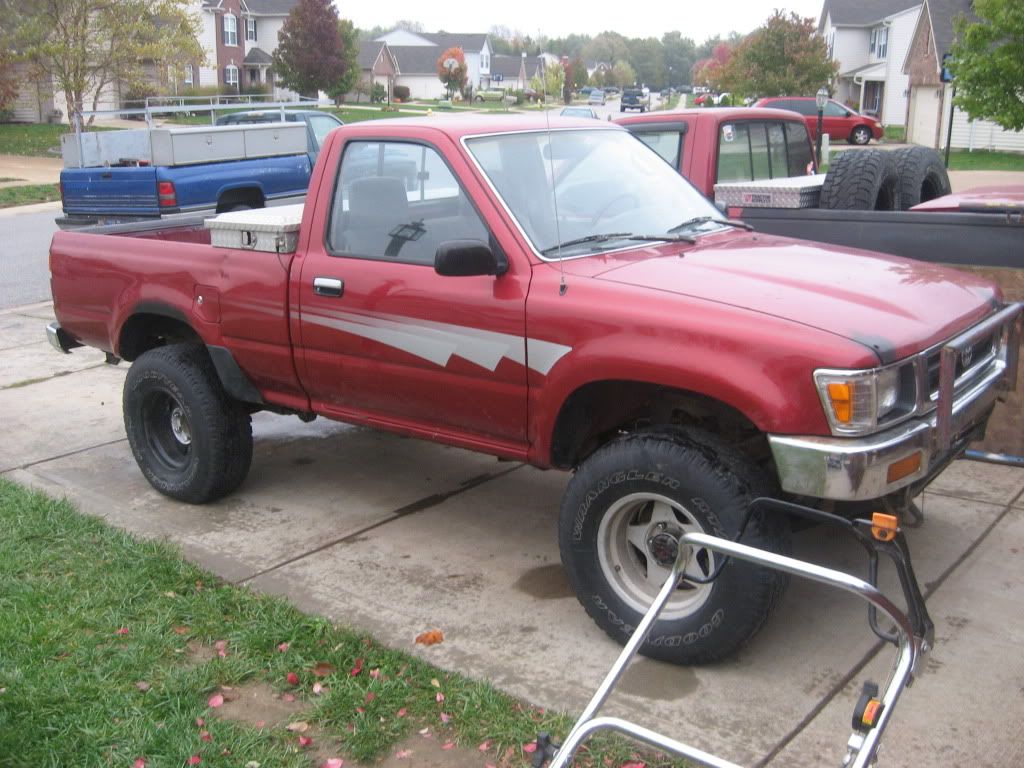
This is what it looked like when he bought it. (We took it out to play after fixing it)
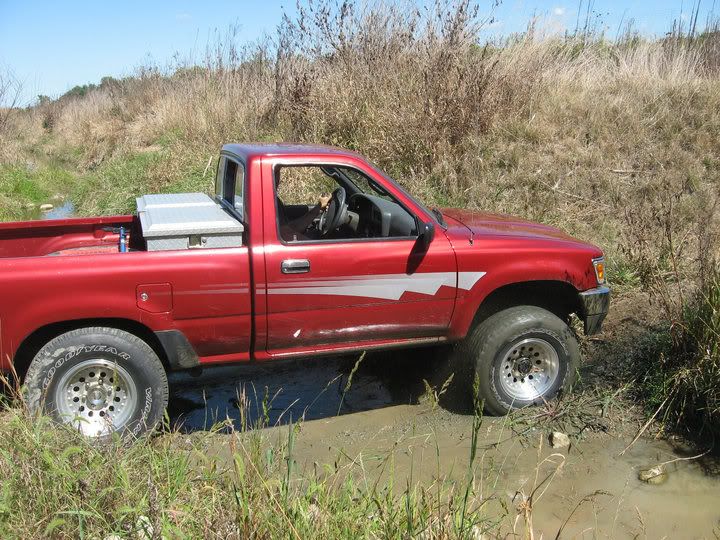
It had 31x10.5’s on it and was otherwise completely stock.
Then a little over a year went by and we swapped tires and rims around on it because he didn’t really want to dump any money into it.
My dad got fed up with it being so small (he is almost 6’3”) and having to shift all the time. So he went back to driving his beloved dodge 1500 and this was more or less an 18th birthday present from my dad.
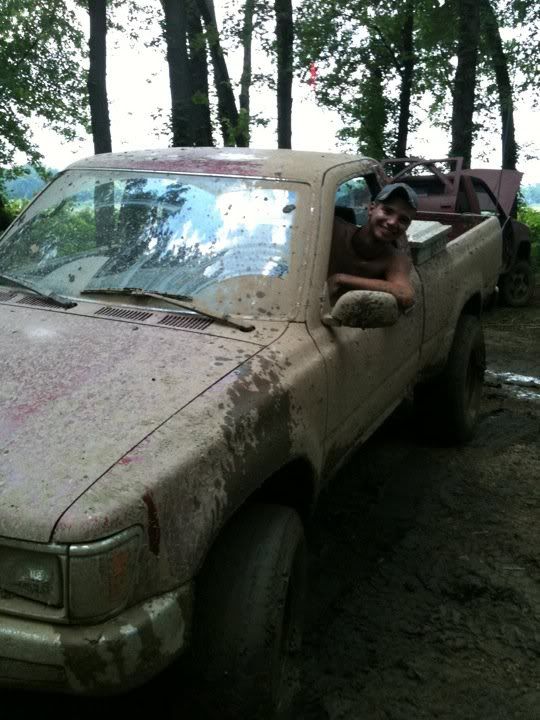
How it looked when I got it (this is our last trip to the badlands for the year):
The chevy in all these is the family trail truck (work in progress)
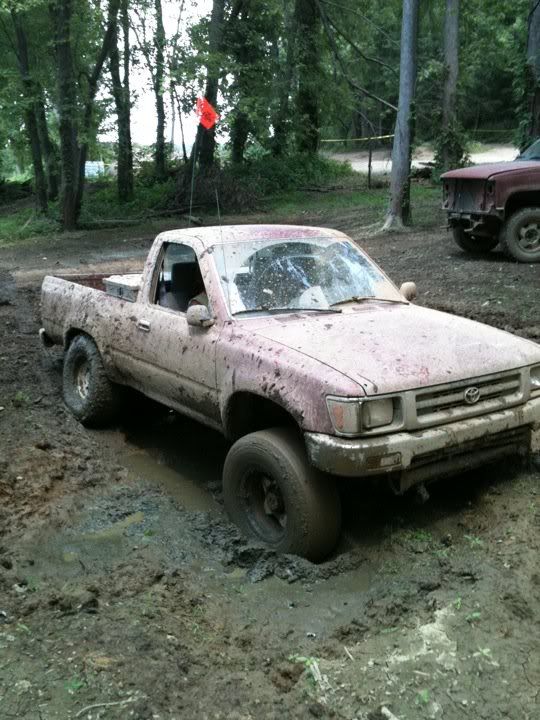
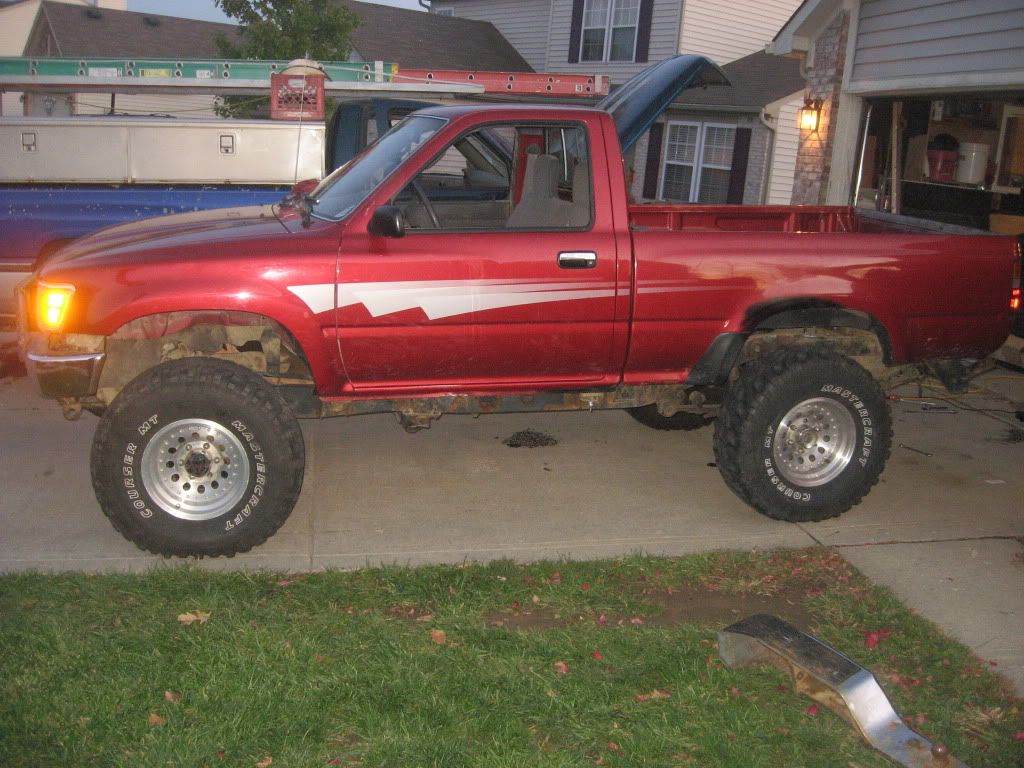
Then I installed a 3” body lift and 33x12.5 mud terrains I picked up for $250.
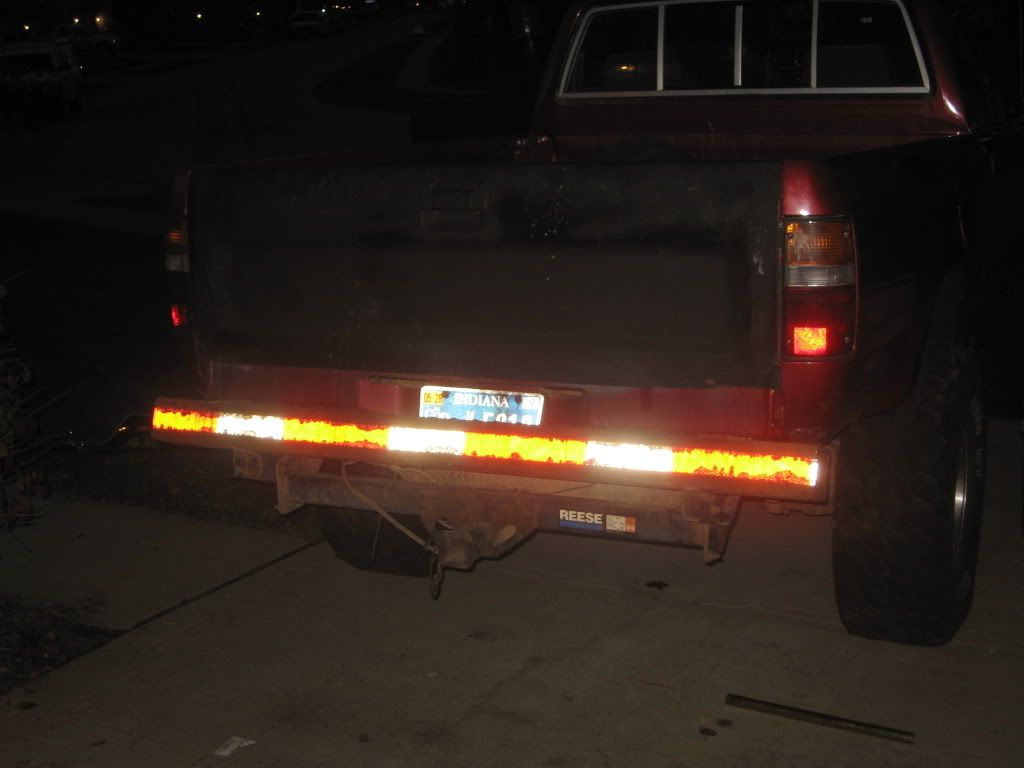
Then I put on a custom rear bumper (an old semi-trailer bumper haha)
The mock up
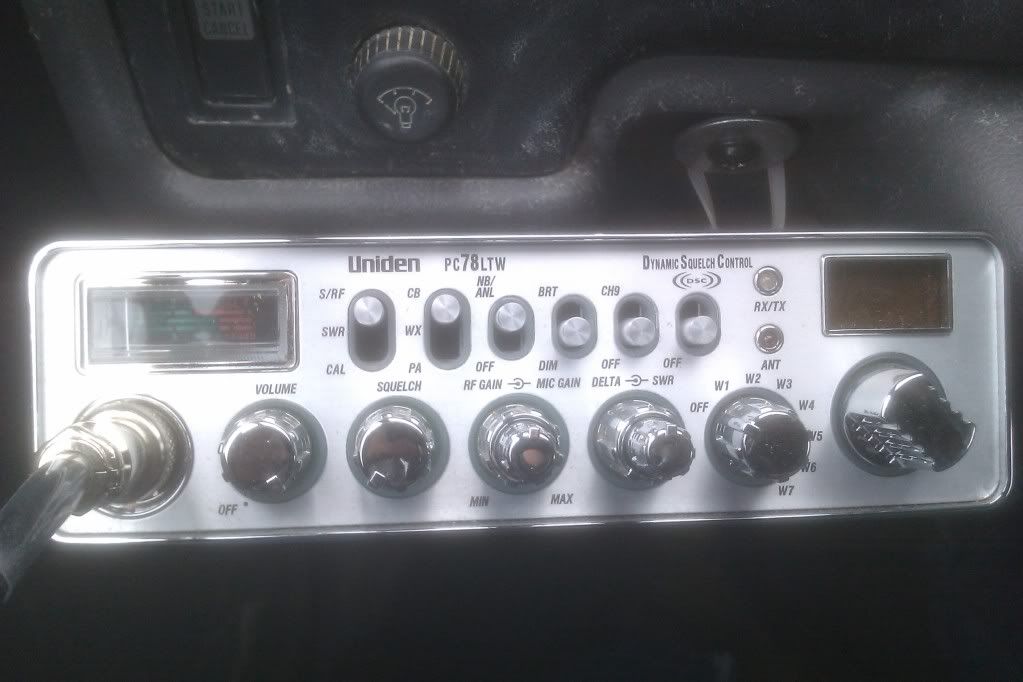
A nice Uniden 78 LTW cb.
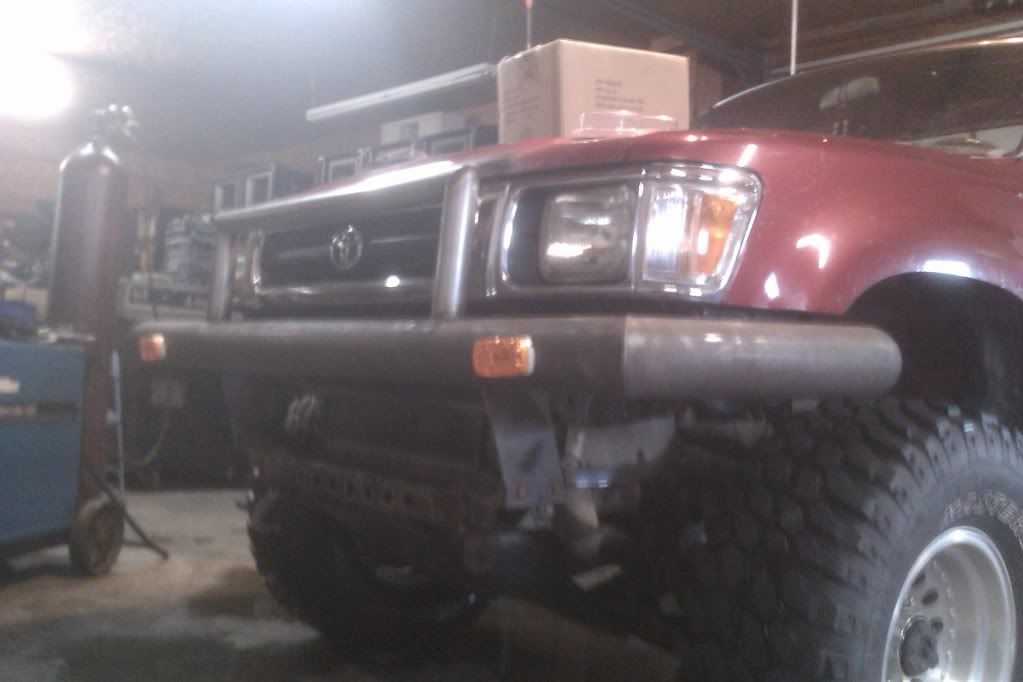
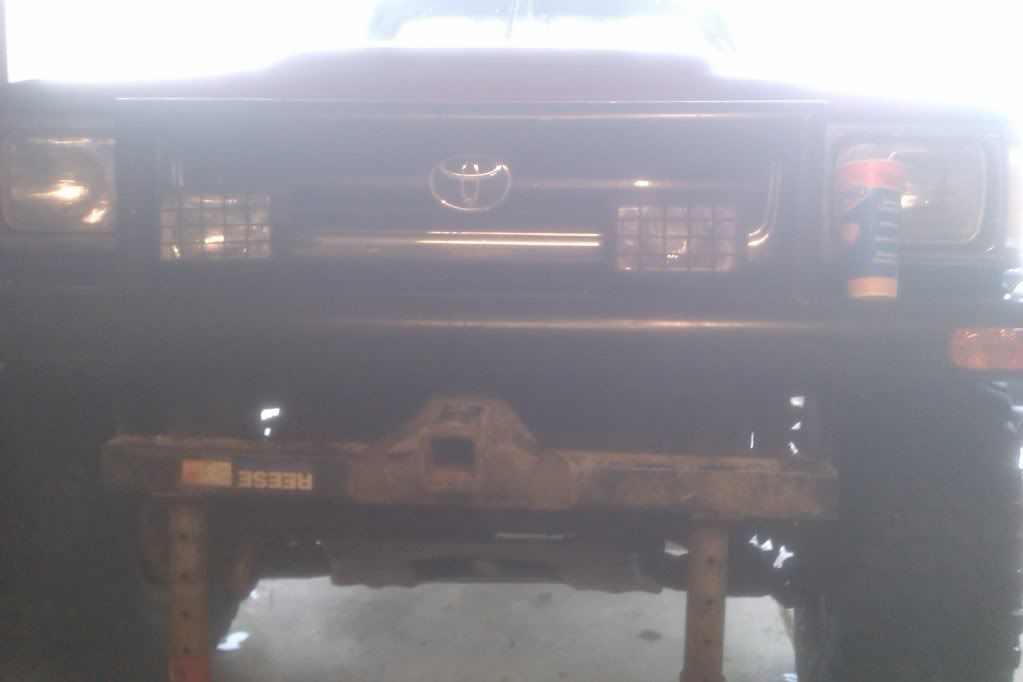
And designed a front bumper, which my girlfriend’s dad helped me build.
Not finished with it yet. Need to cap the ends with metal, and put diamond plate between the headlight and bumper.

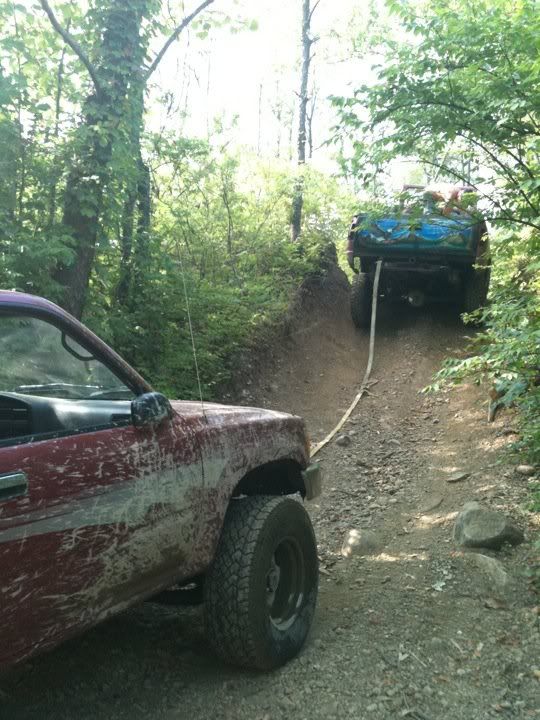
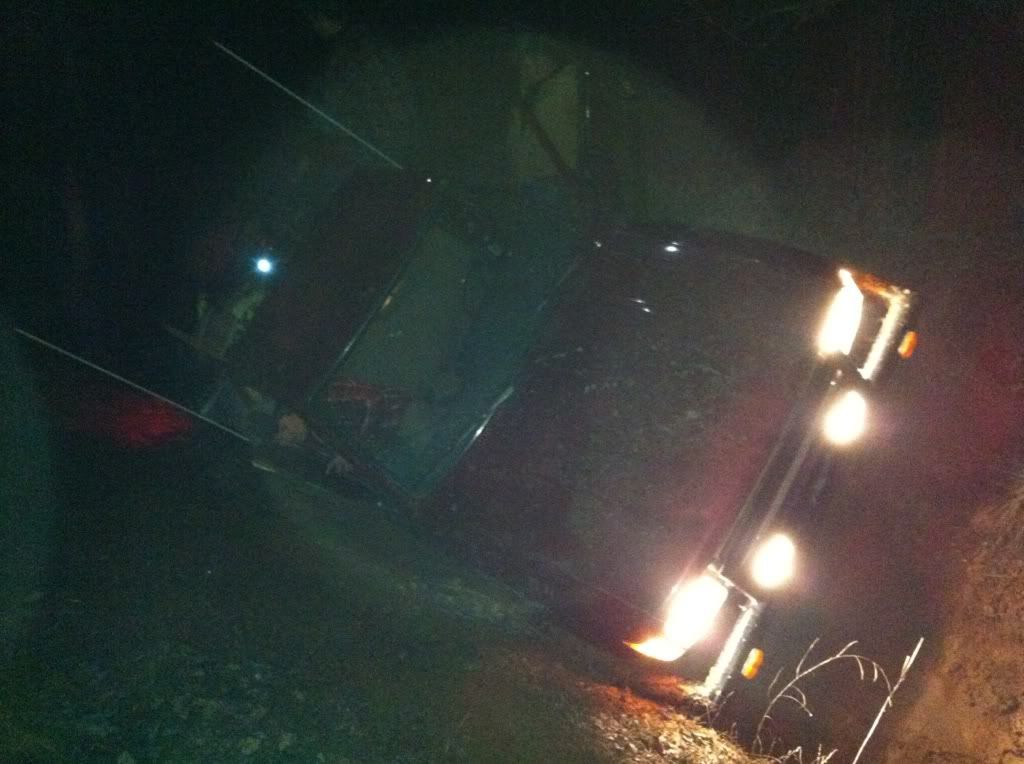
Then I decided to go night wheeling with a couple buddies and almost rolled it over on a climb that was a little out of my league. It took almost five hours to get it out because the only other truck that was with me had to leave to go get another truck to help after failing to do it on its own ( I needed to have one truck hold me from rolling and another one help me back down the hill.)
Now I don’t have a rear bumper and a reese hitch because they both broke from snatching the truck…
This past weekend I was going to build a snorkel for the truck to cut down on dust and water and everything when I’m wheeling, but I found this instead:
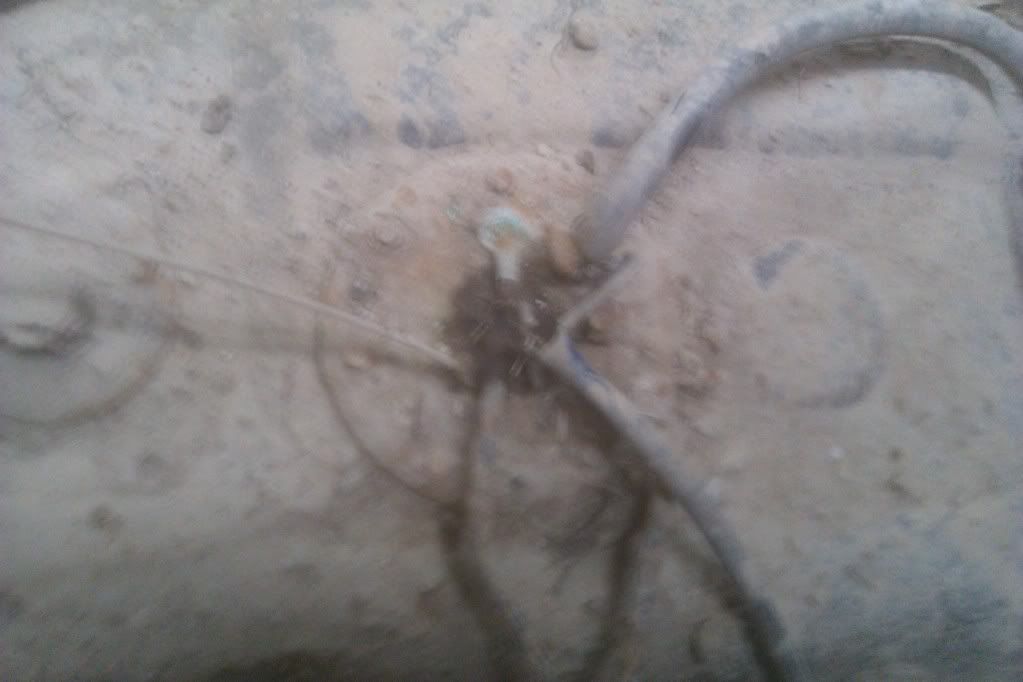
A line rotted and has been dumping out fuel. So I found a sending unit that was brand new out of a 97 in the junk yard, and slightly modified it to fit my truck (a little redneck I know). Haha
Notice the giant gas leak at the front of the tank too.
This is my truck as it sits now (the tow strap runnning down the side is my current spare tire holder)

Here is the full to do list (in no particular order):
- custom rear frame rails w/ integrated hitch.
- yellow paint job w/ bottom rhino lined.
- Replace driver's cab corner
- aussie locker in the rear
- 4.88 gears
- New leaf springs
- sliders
- winch mount for the front [Finished!]
- pillar gauges
- new exhaust (header, no cat, glass pack, tailpipe running all the way to the bumper)
- stereo system
- new reverse lights
- Bucket seat w/ console (maybe)
- Snorkel
- spare tire holder [Finished!]
- new whip & mount [Finished!]
- finish front bumper
- diff breathers
- GM alternator
- replace all tie rods/ball joints [Finished!]
I thought I would put my truck’s build up to get other people’s input and get a lot of the many questions I have answered.
My truck is a 92’, 4x4, 22re, 5speed, with 4.10 gears.
My dad bought this off a guy he used to work with for $300. The front passanger side shackle was busted through the frame when we got it.
My dad and little brother patched it up with quarter inch angle iron:
I plan on replacing the whole back half of the frame this spring. I am just waiting for work to pick back up so I can afford to buy the material. Haha
This is what it looked like when he bought it. (We took it out to play after fixing it)
It had 31x10.5’s on it and was otherwise completely stock.
Then a little over a year went by and we swapped tires and rims around on it because he didn’t really want to dump any money into it.
My dad got fed up with it being so small (he is almost 6’3”) and having to shift all the time. So he went back to driving his beloved dodge 1500 and this was more or less an 18th birthday present from my dad.
How it looked when I got it (this is our last trip to the badlands for the year):
The chevy in all these is the family trail truck (work in progress)
Then I installed a 3” body lift and 33x12.5 mud terrains I picked up for $250.
Then I put on a custom rear bumper (an old semi-trailer bumper haha)
The mock up
A nice Uniden 78 LTW cb.
And designed a front bumper, which my girlfriend’s dad helped me build.
Not finished with it yet. Need to cap the ends with metal, and put diamond plate between the headlight and bumper.
Then I decided to go night wheeling with a couple buddies and almost rolled it over on a climb that was a little out of my league. It took almost five hours to get it out because the only other truck that was with me had to leave to go get another truck to help after failing to do it on its own ( I needed to have one truck hold me from rolling and another one help me back down the hill.)
Now I don’t have a rear bumper and a reese hitch because they both broke from snatching the truck…
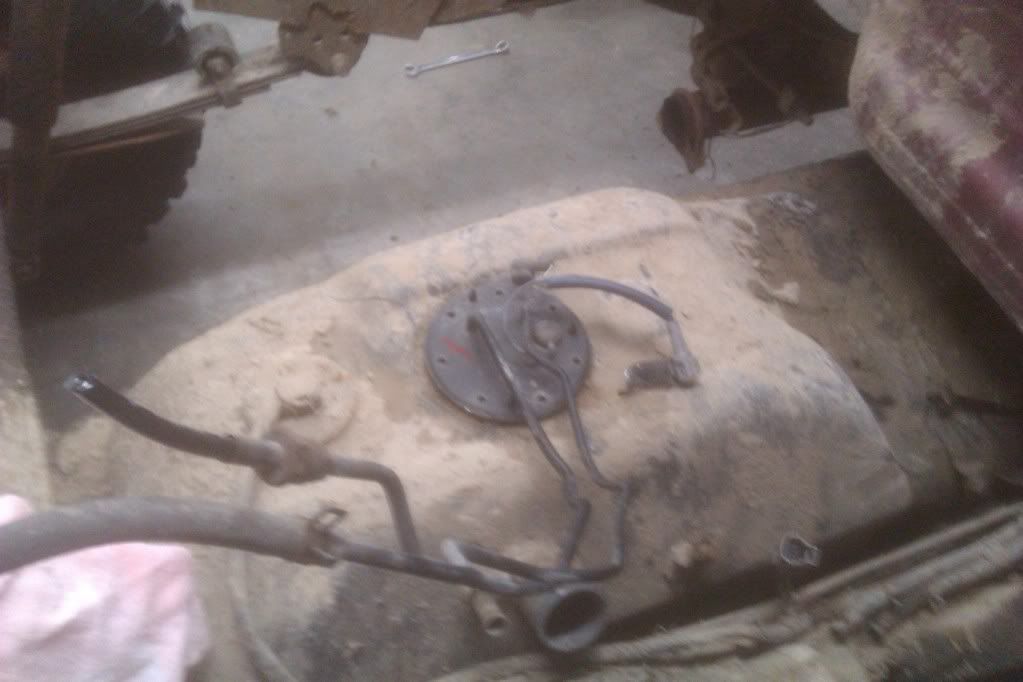
This past weekend I was going to build a snorkel for the truck to cut down on dust and water and everything when I’m wheeling, but I found this instead:
A line rotted and has been dumping out fuel. So I found a sending unit that was brand new out of a 97 in the junk yard, and slightly modified it to fit my truck (a little redneck I know). Haha
Notice the giant gas leak at the front of the tank too.
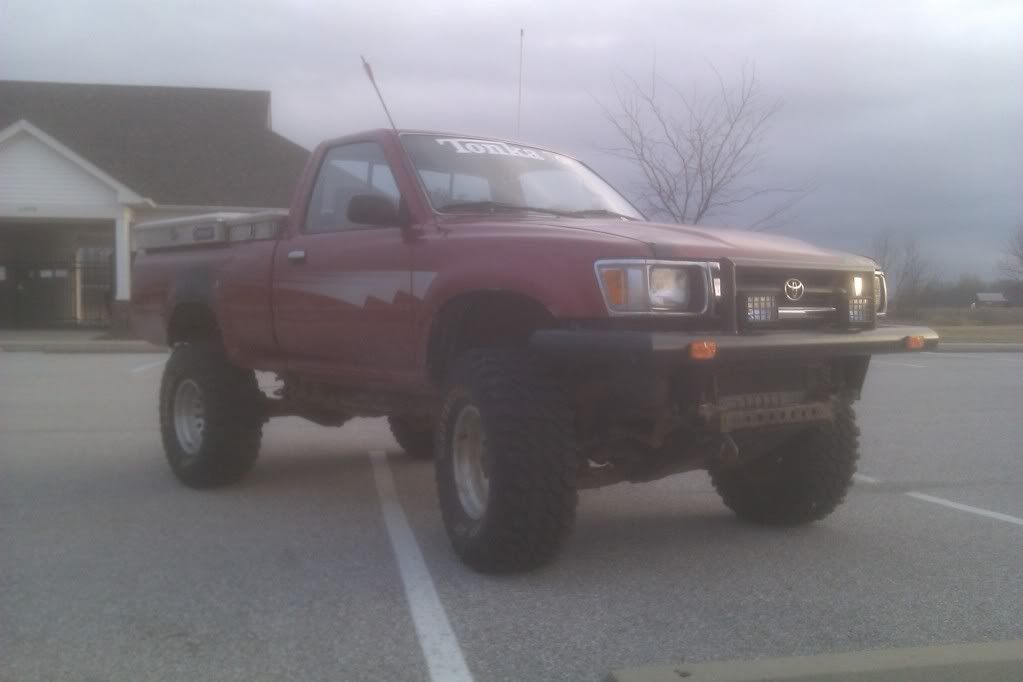
This is my truck as it sits now (the tow strap runnning down the side is my current spare tire holder)
Here is the full to do list (in no particular order):
- custom rear frame rails w/ integrated hitch.
- yellow paint job w/ bottom rhino lined.
- Replace driver's cab corner
- aussie locker in the rear
- 4.88 gears
- New leaf springs
- sliders
- winch mount for the front [Finished!]
- pillar gauges
- new exhaust (header, no cat, glass pack, tailpipe running all the way to the bumper)
- stereo system
- new reverse lights
- Bucket seat w/ console (maybe)
- Snorkel
- spare tire holder [Finished!]
- new whip & mount [Finished!]
- finish front bumper
- diff breathers
- GM alternator
- replace all tie rods/ball joints [Finished!]
Last edited by MrJaron93; 05-01-2012 at 04:44 AM.
 02-01-2012, 03:57 AM
#2
Registered User
Thread Starter
Join Date: Jan 2012
Location: Indiana
Posts: 161
Likes: 0
Received 0 Likes
on
0 Posts
today i cleaned out the truck a little before school...
I realized the carpet is more trashed than i thought.
Does anybody know where i could get the rubber flooring pretty cheap?
I'd like to be able to clean up after wheeling a little easier.
To anyone who has just scrapped carpet completely in favor of rhino-lining:
How much louder is the noise inside the cab now?
02-01-2012, 07:08 PM
#3
Registered User
Join Date: Jul 2011
Location: Louisiana
Posts: 82
Likes: 0
Received 0 Likes
on
0 Posts
Nice truck and we have the same tires.
On the stripping the carpet out, do it. The bed liner is so much easier to clean and looks good.The noise will not be a problem.
On the stripping the carpet out, do it. The bed liner is so much easier to clean and looks good.The noise will not be a problem.
 02-02-2012, 03:29 AM
#6
Registered User
Thread Starter
Join Date: Jan 2012
Location: Indiana
Posts: 161
Likes: 0
Received 0 Likes
on
0 Posts
02-02-2012, 03:30 AM
#7
Registered User
Thread Starter
Join Date: Jan 2012
Location: Indiana
Posts: 161
Likes: 0
Received 0 Likes
on
0 Posts
Trending Topics
02-02-2012, 04:22 AM
#8
Registered User
Thread Starter
Join Date: Jan 2012
Location: Indiana
Posts: 161
Likes: 0
Received 0 Likes
on
0 Posts
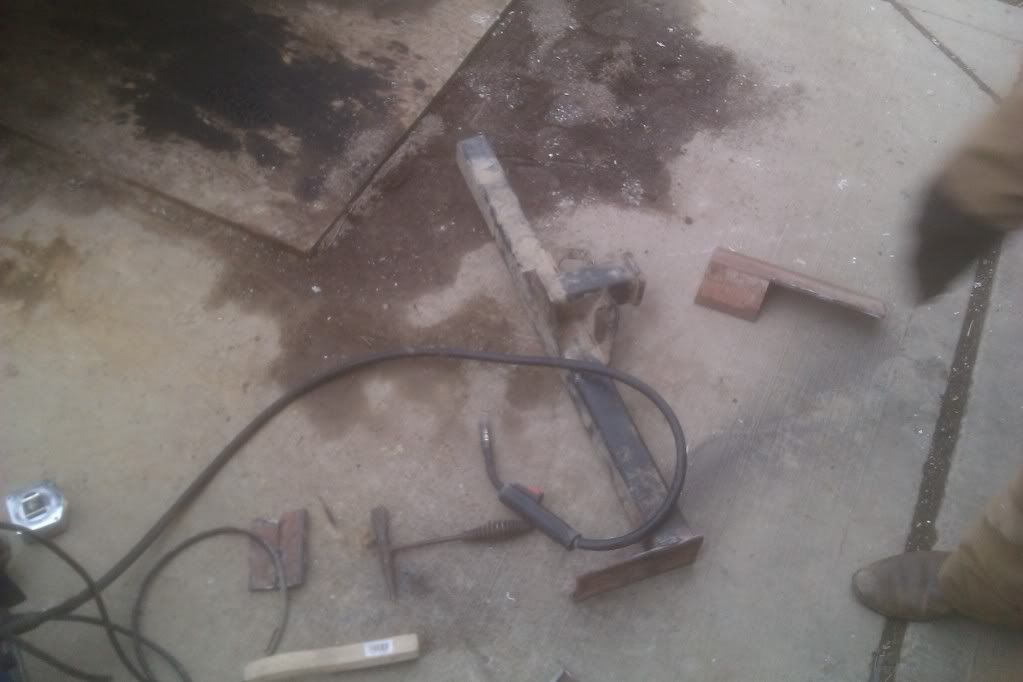
I started cutting up an old reese hitch yesterday to mock up a wench mount for the front. I have a few pictures but sadly i am at school so i can't get to photobucket. Ill have them up later this afternoon!
 02-02-2012, 07:51 AM
#10
Registered User
Thread Starter
Join Date: Jan 2012
Location: Indiana
Posts: 161
Likes: 0
Received 0 Likes
on
0 Posts
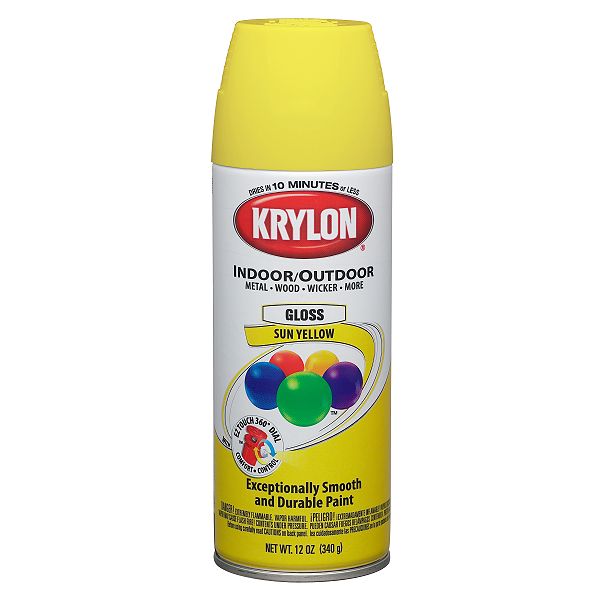
I was thinking about just getting this: http://www.summitracing.com/parts/SUM-CSUMUP305/ Has anybody used it? It isn't that expensive which is what I'm aiming for. ha But if it isn't worth it i would rather spend a little more and get good paint.

 02-03-2012, 08:24 PM
#14
Registered User
Thread Starter
Join Date: Jan 2012
Location: Indiana
Posts: 161
Likes: 0
Received 0 Likes
on
0 Posts
hahaha i showed my girlfriend that at the store. I was seriously thinking about it. She told me she wouldnt step foot in the truck if i rattle canned it...
But thats prolly what will end up happening. hahaha
But thats prolly what will end up happening. hahaha
02-04-2012, 05:39 AM
#16
Registered User
Thread Starter
Join Date: Jan 2012
Location: Indiana
Posts: 161
Likes: 0
Received 0 Likes
on
0 Posts
hahaha yeah.
not doing a whole lot with the truck this weekend. I might go night wheeling tonight after work.
Next weekend my family is going to the badlands for my brothers birthday. So i have to comb through the truck and make sure everything is ready to go.
not doing a whole lot with the truck this weekend. I might go night wheeling tonight after work.
Next weekend my family is going to the badlands for my brothers birthday. So i have to comb through the truck and make sure everything is ready to go.
 02-04-2012, 12:42 PM
#18
Registered User
Thread Starter
Join Date: Jan 2012
Location: Indiana
Posts: 161
Likes: 0
Received 0 Likes
on
0 Posts
thanks man!
yeah i am in the process of building a wench mount in that area. Behind that i am putting expandable metal to fill the voids. I just need time to do all of that. ha
yeah i am in the process of building a wench mount in that area. Behind that i am putting expandable metal to fill the voids. I just need time to do all of that. ha
02-08-2012, 10:54 AM
#19
Registered User
Thread Starter
Join Date: Jan 2012
Location: Indiana
Posts: 161
Likes: 0
Received 0 Likes
on
0 Posts
Finally i have a day that i don't work and can get back to my truck.
Today is all about getting things ready to go to the badlands this weekend.
Things to do:
- spare tire mount.
- finish winch mount
- organize tools
- organize tool boxes
- gather supplies.
Ill take a few pics and try to get them up tonight.
Today is all about getting things ready to go to the badlands this weekend.
Things to do:
- spare tire mount.
- finish winch mount
- organize tools
- organize tool boxes
- gather supplies.
Ill take a few pics and try to get them up tonight.
02-08-2012, 05:01 PM
#20
Registered User
Thread Starter
Join Date: Jan 2012
Location: Indiana
Posts: 161
Likes: 0
Received 0 Likes
on
0 Posts
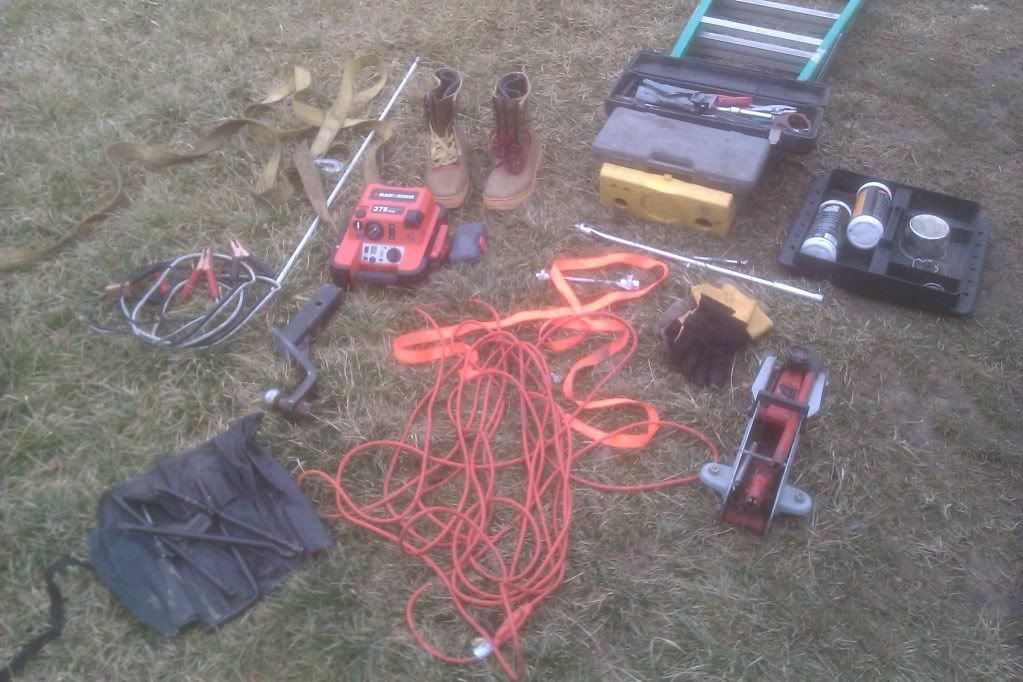
Night recap (sorry for crappy photos they are all cell phone quality)
I got all my gear organized. (just what was in the tool box at the time)
Then i started on finishing my winch mount:
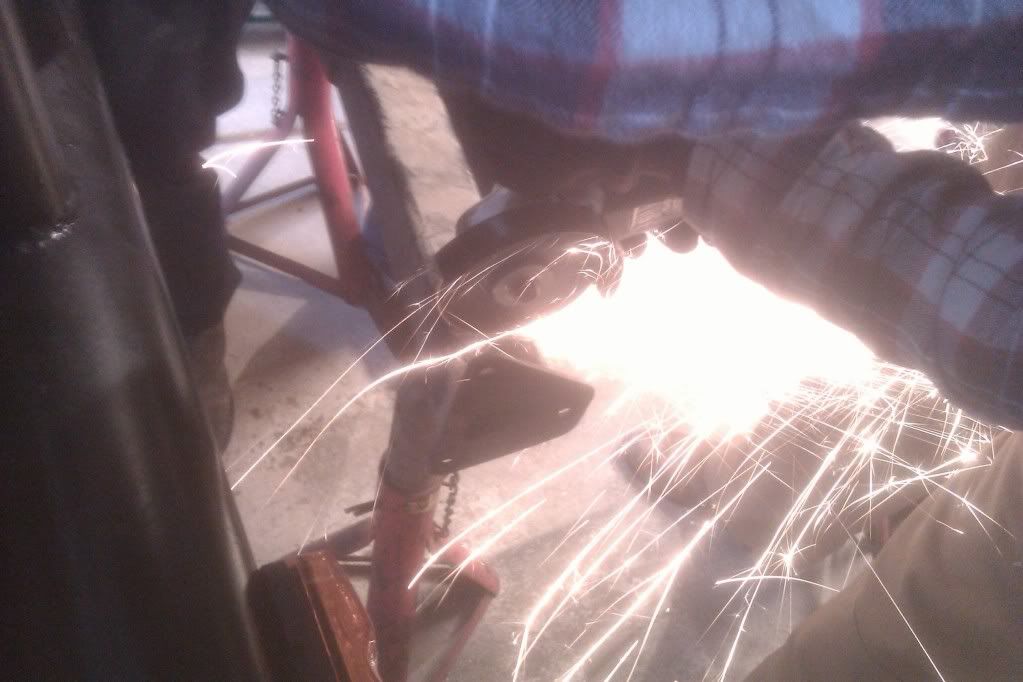
I got one bracket done.
Then i got side tracked and ended up starting the spare tire mount haha:
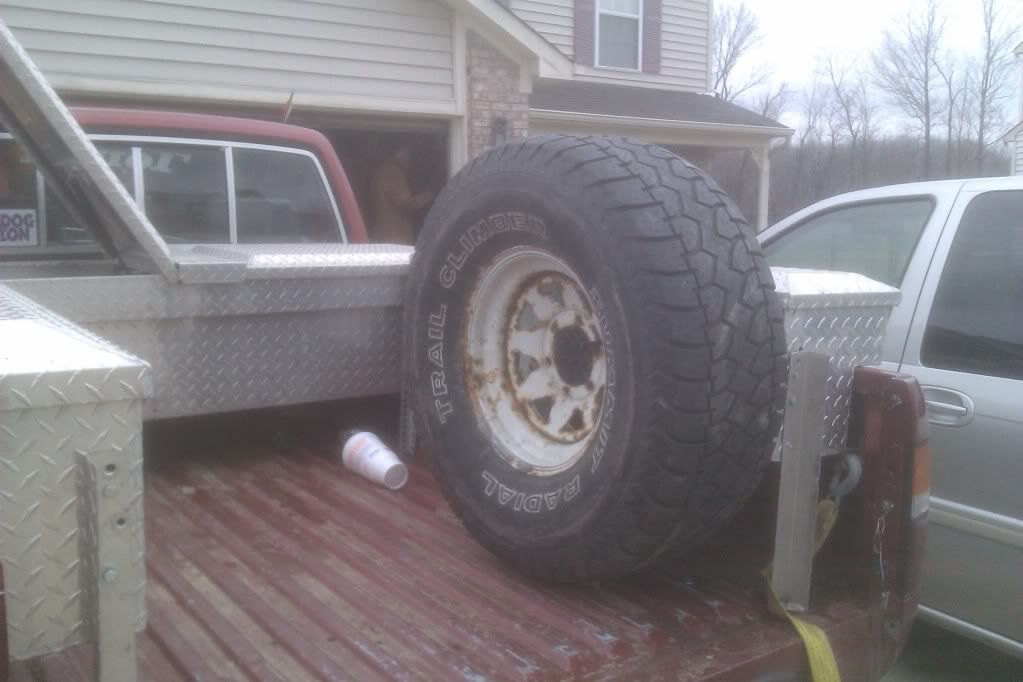
I decided that i wanted it mounted just like that.
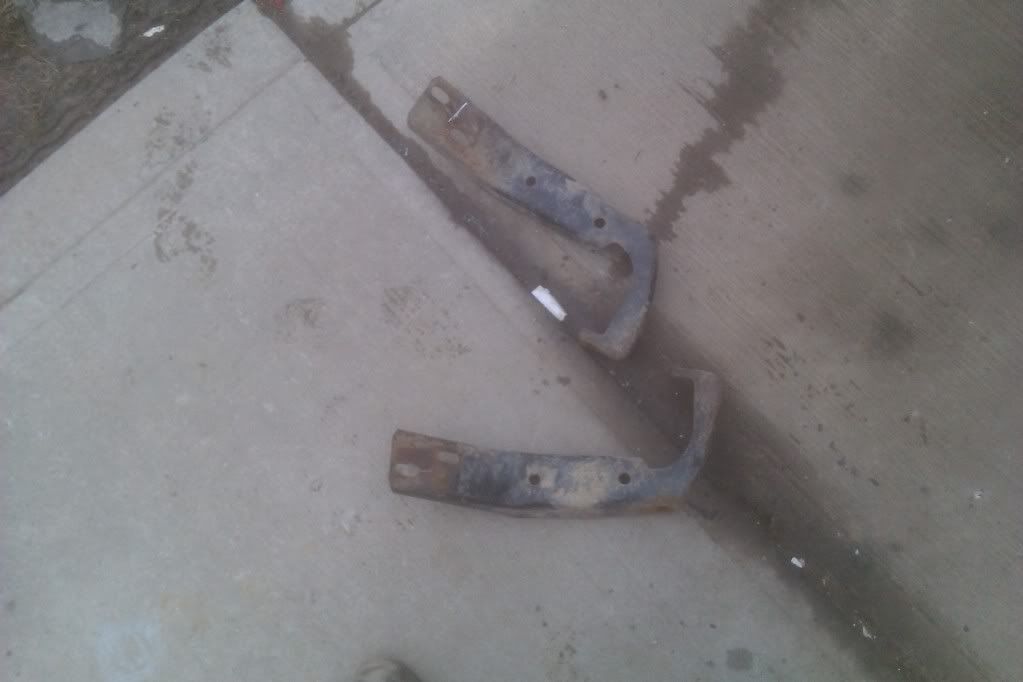
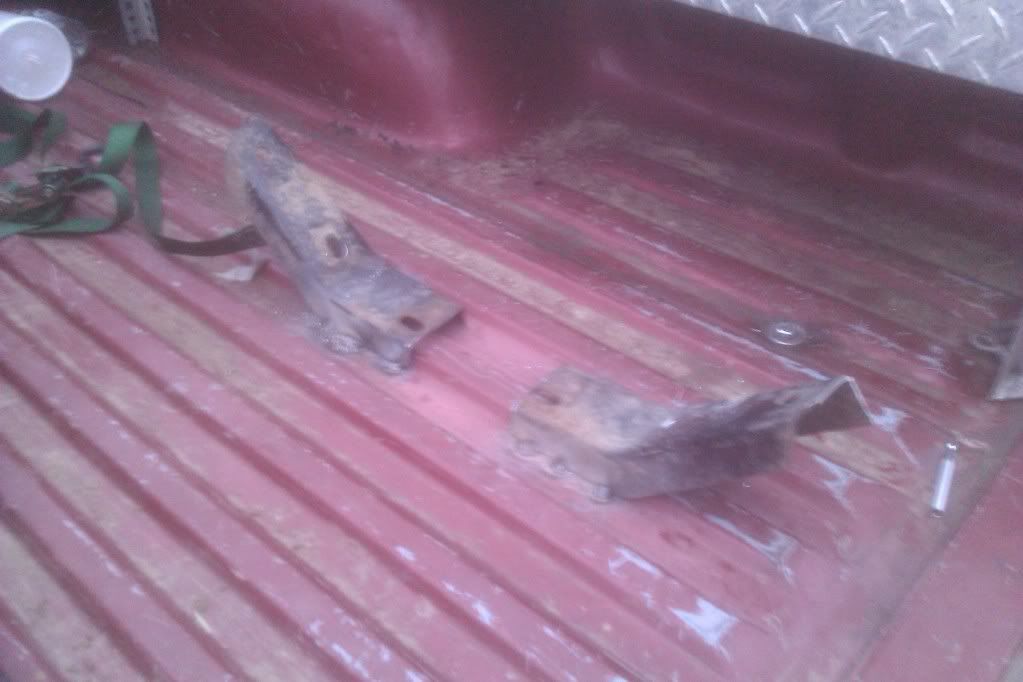
I searched around the garage and found these old very bumper brackets.
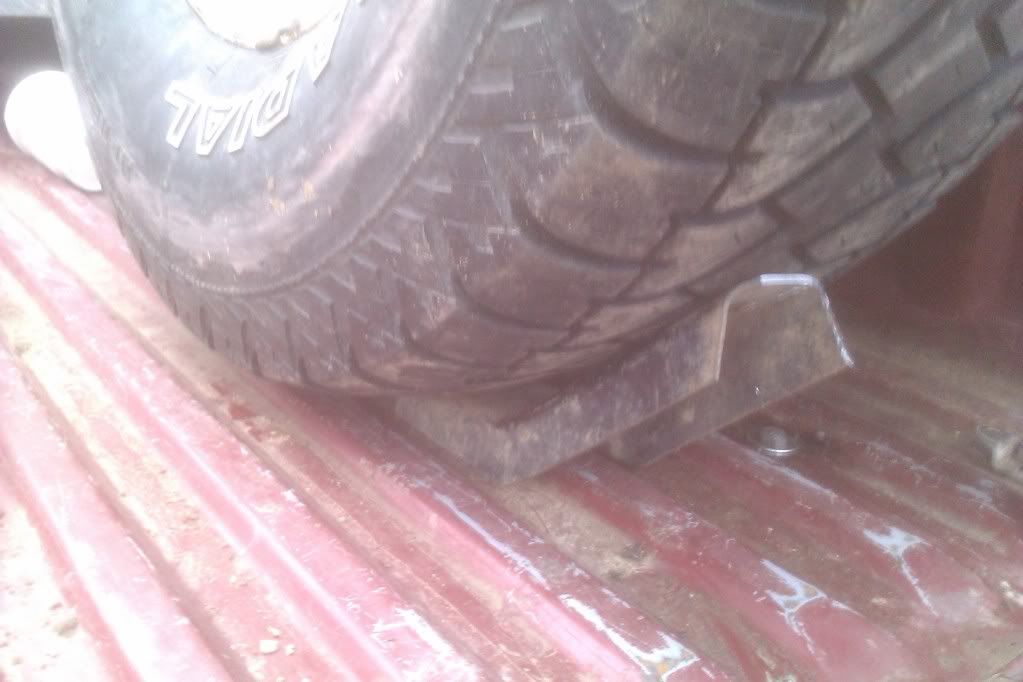
Modified them a little bit and then test fit.
Then welded both in:
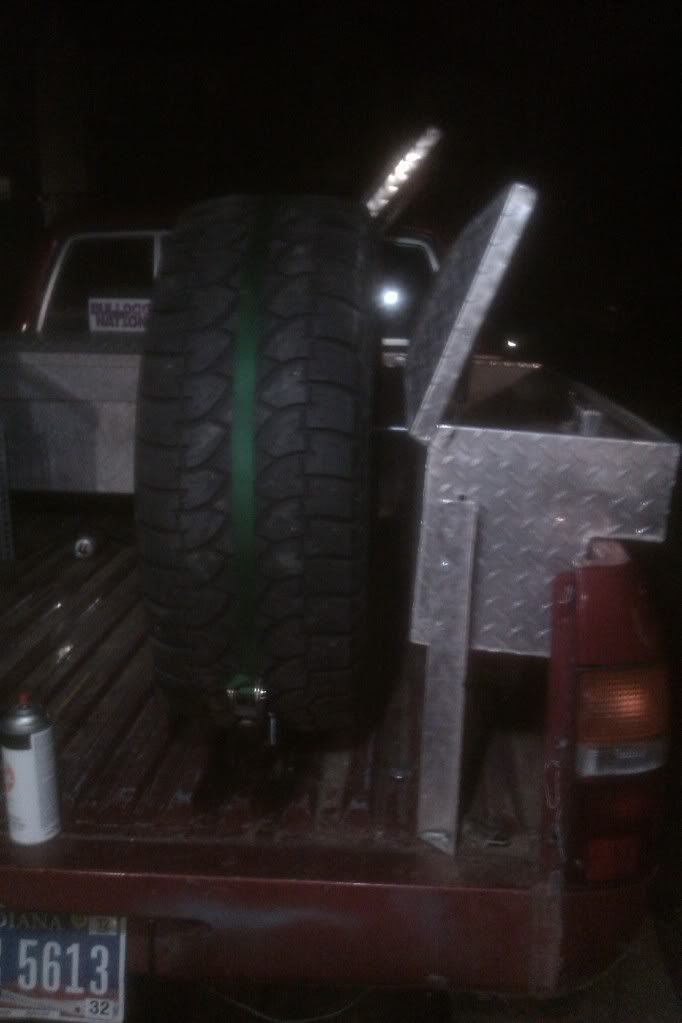
Then i put a bolt in the side of the tool box (with a little reinforcement) and used that to keep the tire from going side to side. And put the ratchet trap around the tire to keep it in place.
Im slowly getting there!!
I got all my gear organized. (just what was in the tool box at the time)
Then i started on finishing my winch mount:
I got one bracket done.
Then i got side tracked and ended up starting the spare tire mount haha:
I decided that i wanted it mounted just like that.
I searched around the garage and found these old very bumper brackets.
Modified them a little bit and then test fit.
Then welded both in:
Then i put a bolt in the side of the tool box (with a little reinforcement) and used that to keep the tire from going side to side. And put the ratchet trap around the tire to keep it in place.
Im slowly getting there!!


