Green Bast 4Runner 7MG-TE SAS build


 05-03-2014, 11:39 AM
#25
Registered User
Thread Starter
Join Date: Oct 2009
Location: sask
Posts: 91
Likes: 0
Received 0 Likes
on
0 Posts
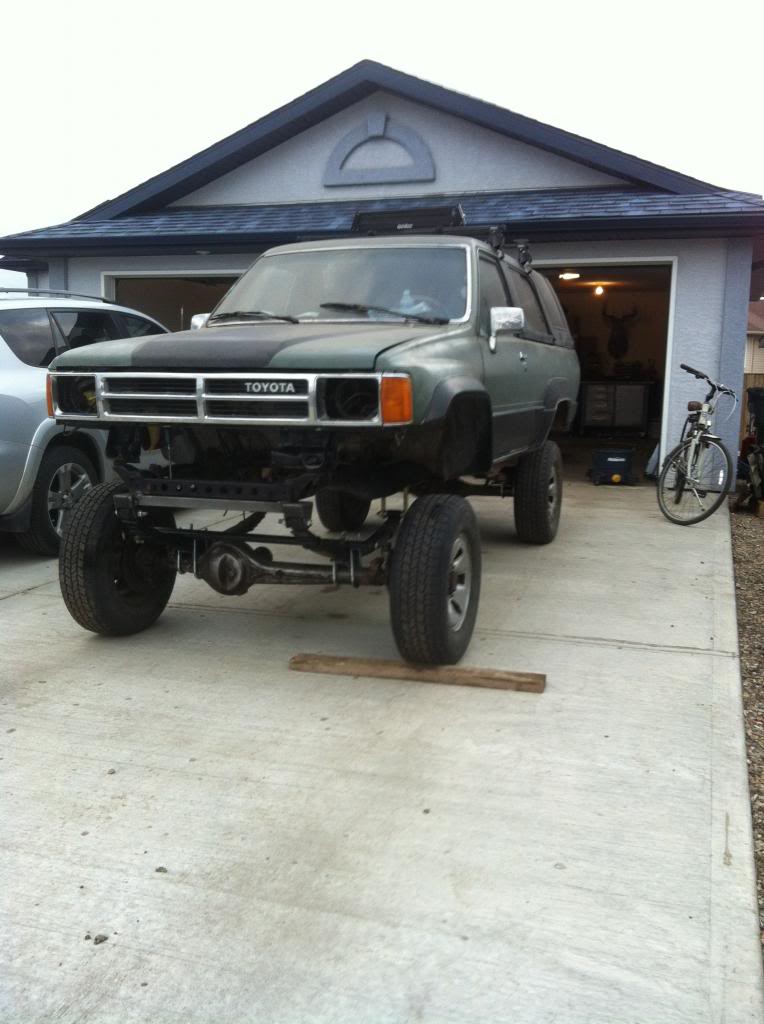
First time she has seen daylight since before winter!
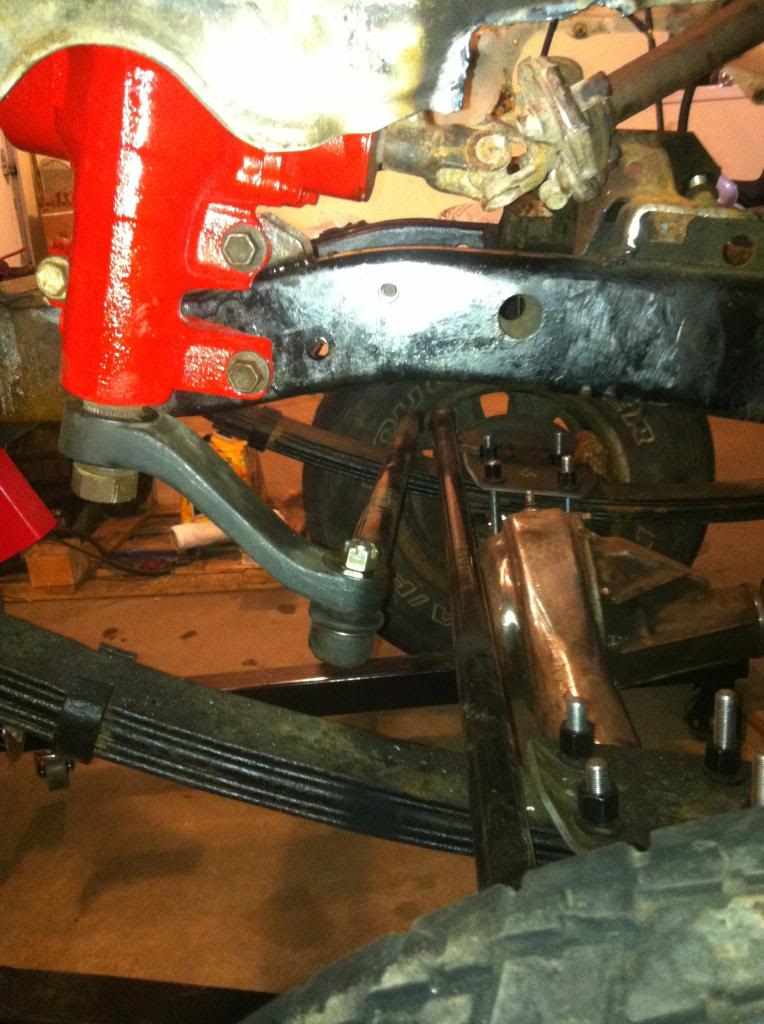
steering box relocation (I know the angle looks bad on the shaft but it turns smooth)
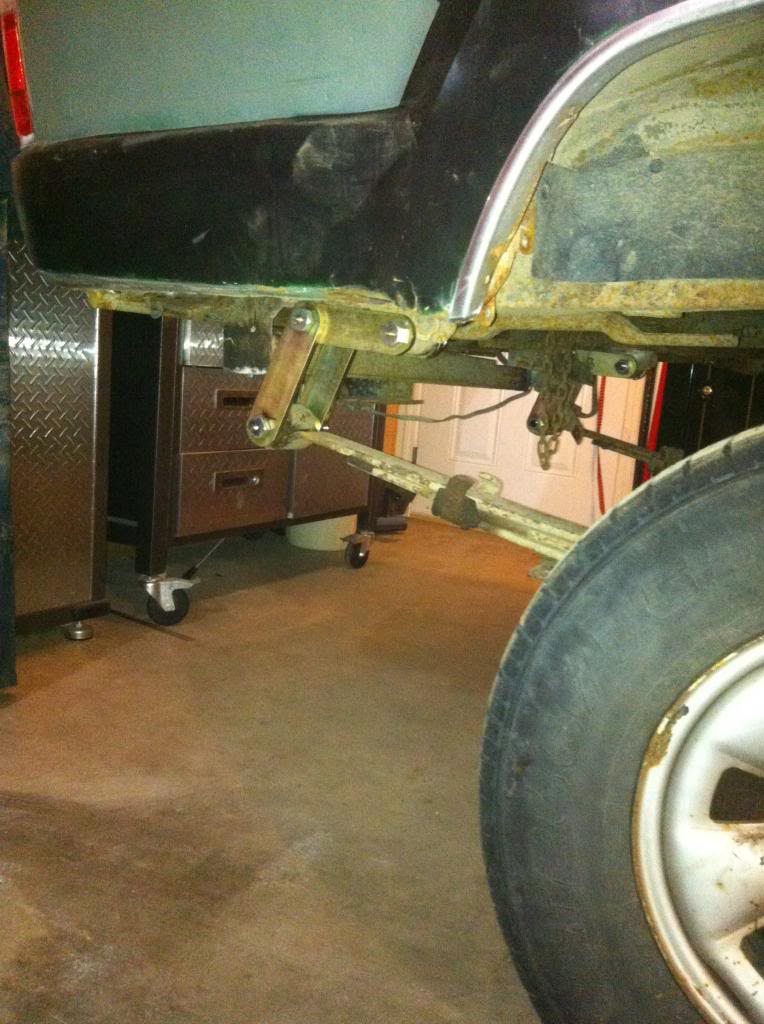
Chevy 63's with double shackle setup

steering box relocation (I know the angle looks bad on the shaft but it turns smooth)

Chevy 63's with double shackle setup
 05-19-2014, 09:55 PM
#29
Registered User
Thread Starter
Join Date: Oct 2009
Location: sask
Posts: 91
Likes: 0
Received 0 Likes
on
0 Posts
no they sure aren't bracketed in that picture haha I was just excited to get the axles underneath and took some pics. I added bump stops for the top shackle and will be doing a brace to stop them from becoming a double jointed death trap shortly.
05-19-2014, 10:02 PM
#30
Registered User
Thread Starter
Join Date: Oct 2009
Location: sask
Posts: 91
Likes: 0
Received 0 Likes
on
0 Posts
waiting on some parts so i figured what better time then now for some half doors. As you can imagine not much room for AC with this swap, so the next best thing!

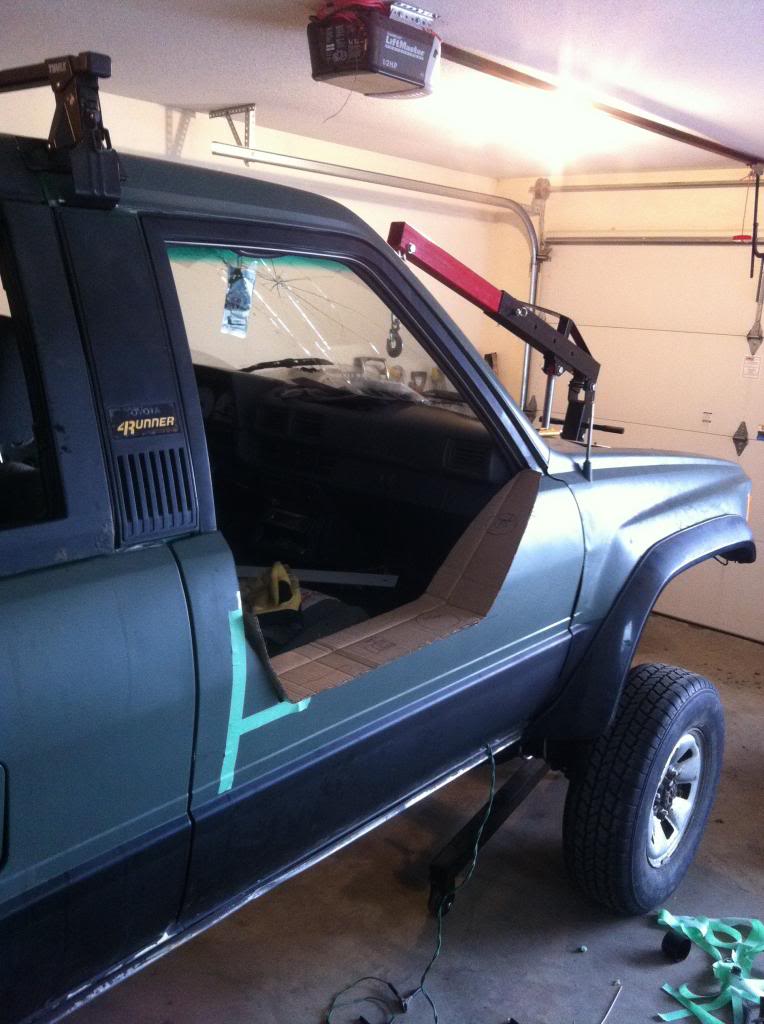
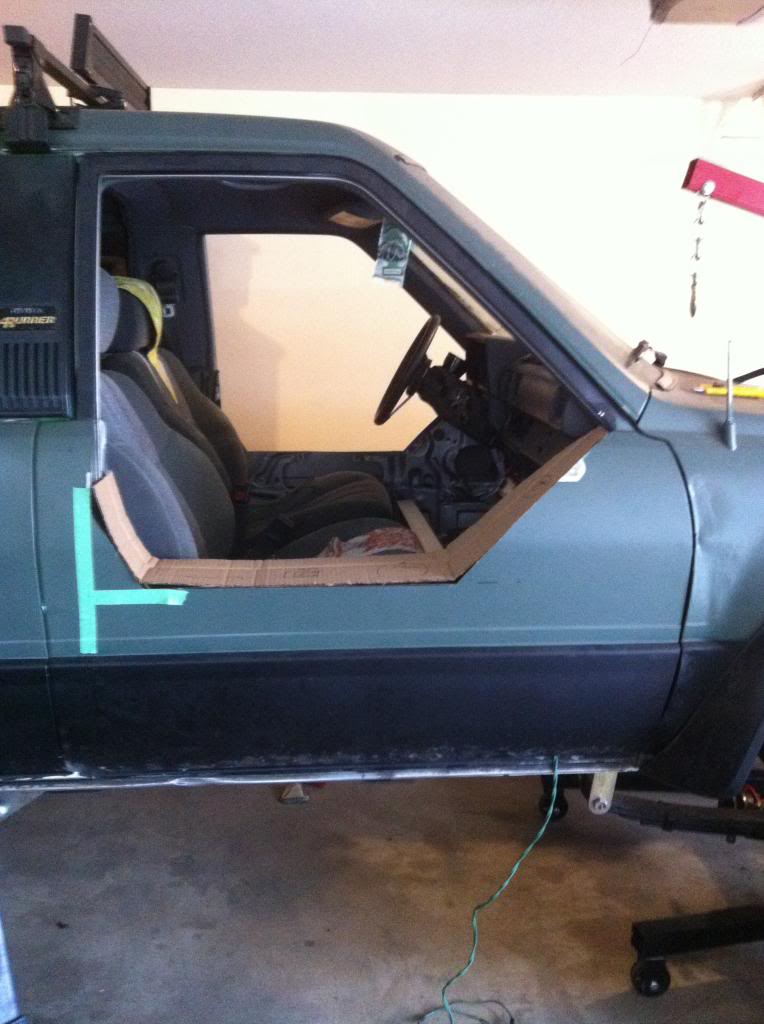
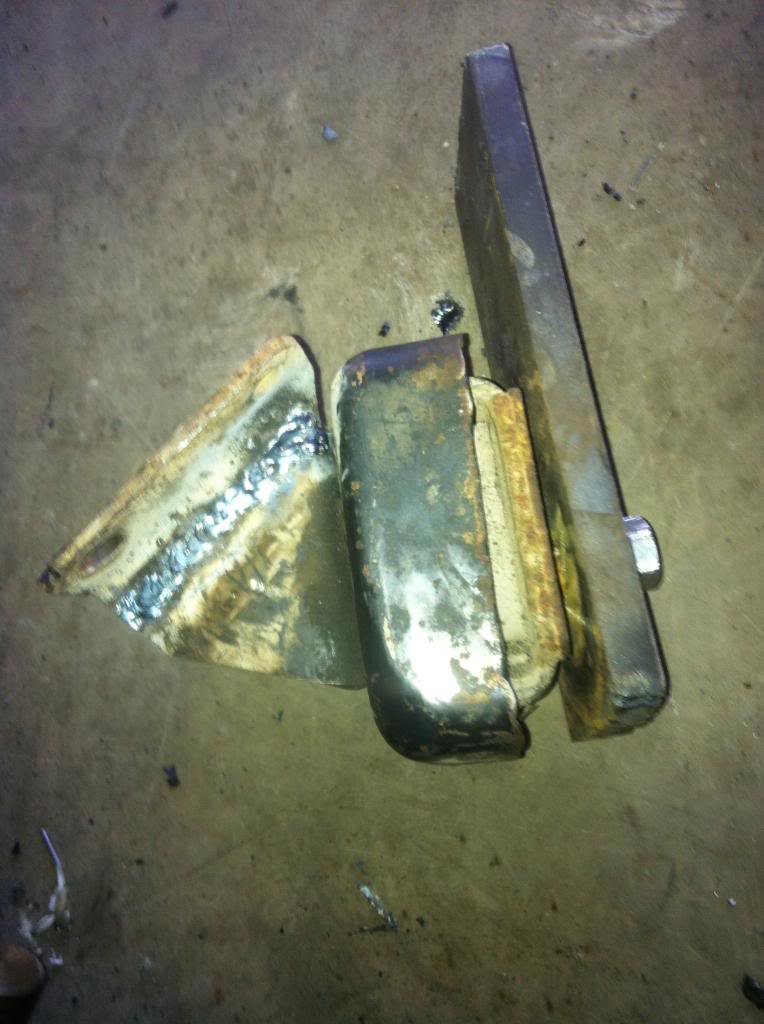
Pick up some sheet metal tomorrow to finish them up


Pick up some sheet metal tomorrow to finish them up
05-20-2014, 06:25 AM
#31
Registered User
Have you flexed your front suspension yet? It seems that the springs would hit the drag link under compression on the driver side with the steering box mounted like that.
06-17-2014, 10:50 PM
#32
Registered User
Thread Starter
Join Date: Oct 2009
Location: sask
Posts: 91
Likes: 0
Received 0 Likes
on
0 Posts
yes it hits, haha when i ordered the steering components i really didnt know how everything would line up and made the mistake of going with the drop pitman arm. Flat one is on order and should be well out of the way
06-17-2014, 11:08 PM
#33
Registered User
Thread Starter
Join Date: Oct 2009
Location: sask
Posts: 91
Likes: 0
Received 0 Likes
on
0 Posts
Had no luck tracking down the 5m mounts so shortened the 7mgte engine mounts and some steel to attach to the old 22re mounts. Dont have to relocate the dipstick which is a bonus? haha
Half doors done
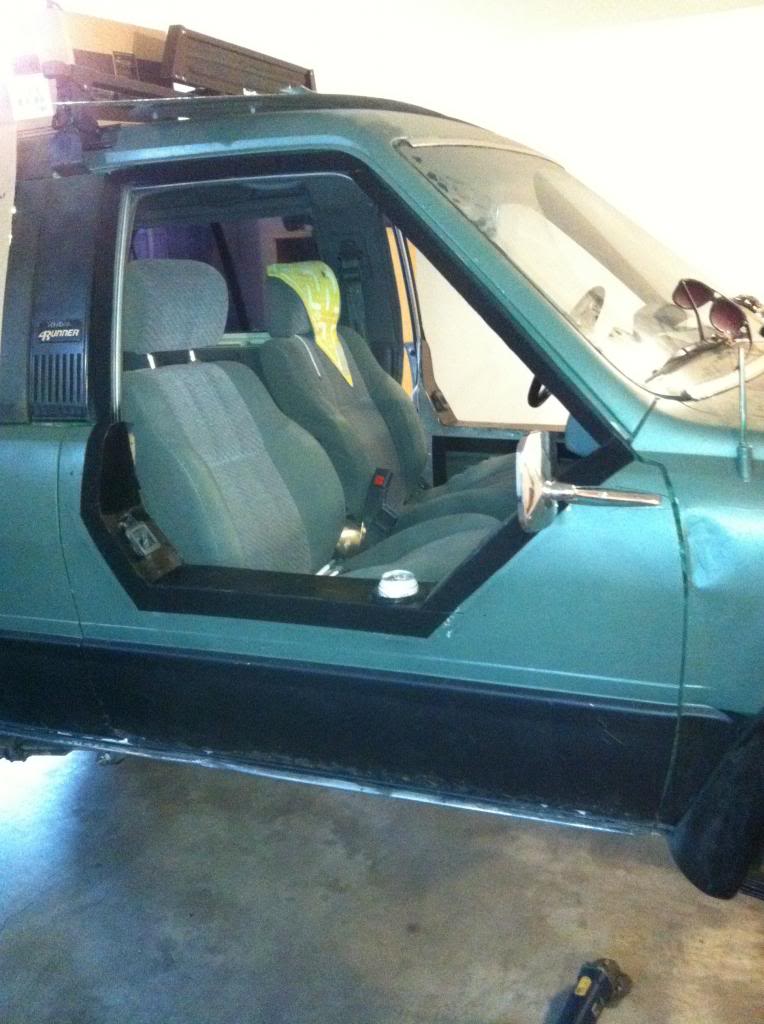
velcro window
Engine and tranny in
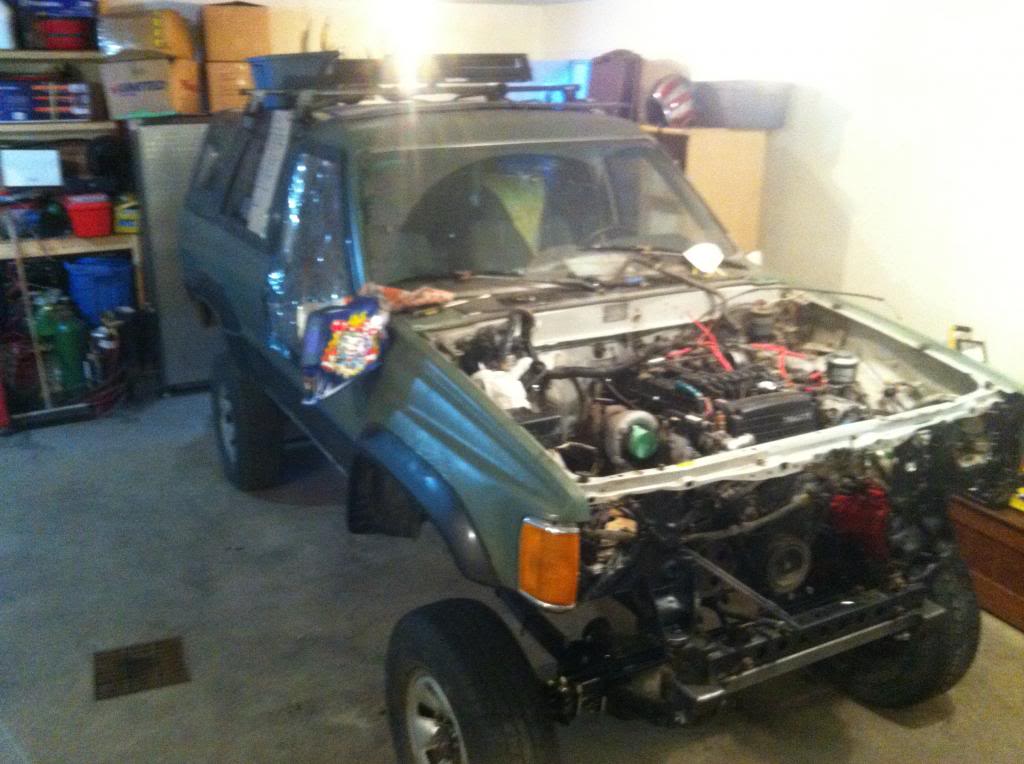

Half doors done

velcro window

Engine and tranny in
 06-18-2014, 09:17 AM
#34
Registered User
But its still a double shackle... Ugh.
I second the axle needing gussets! Dont put all that work into it just to have it bend.
If you rotate the steering box back the other way, youll fix that rag joint angle and still be able to use your drop arm.
Nice work on the 1/2 doors!
Last edited by rattlewagon; 06-18-2014 at 09:19 AM.
06-18-2014, 09:36 AM
#35
^^^I was going to suggest the same thing on the steering box, if you took the top 2 bolts out and pivot the steering box the other way (counter clockwise) it would fix the rag joint, you'd have to relocate your top mounting holes tho, (might think about plating/reinforcing the frame at the steering box also as it will be a high stress area once your running bigger tires, you can make your own or buy TG or others for around $50. Nice work on the half doors, cool build so far, look forward to seeing some more!!!
Last edited by rustED; 06-18-2014 at 10:07 AM.
06-18-2014, 10:54 AM
#36
Registered User
Thread Starter
Join Date: Oct 2009
Location: sask
Posts: 91
Likes: 0
Received 0 Likes
on
0 Posts
Are they the sky shackle? They have a little tab on them to stop them from going the wrong way...
But its still a double shackle... Ugh.
I second the axle needing gussets! Dont put all that work into it just to have it bend.
If you rotate the steering box back the other way, youll fix that rag joint angle and still be able to use your drop arm.
Nice work on the 1/2 doors!
But its still a double shackle... Ugh.
I second the axle needing gussets! Dont put all that work into it just to have it bend.
If you rotate the steering box back the other way, youll fix that rag joint angle and still be able to use your drop arm.
Nice work on the 1/2 doors!
ya Im having second thoughts about the double shackle setup, I dont like the idea of them unloading when you are in a precarious position. they seemed like a good idea when i read about them originally but they might get scrapped.
I will rotate the steering box and see if i can get a better angle and burn some gussets on today!
06-18-2014, 10:59 AM
#37
Registered User
Thread Starter
Join Date: Oct 2009
Location: sask
Posts: 91
Likes: 0
Received 0 Likes
on
0 Posts
^^^I was going to suggest the same thing on the steering box, if you took the top 2 bolts out and pivot the steering box the other way (counter clockwise) it would fix the rag joint, you'd have to relocate your top mounting holes tho, (might think about plating/reinforcing the frame at the steering box also as it will be a high stress area once your running bigger tires, you can make your own or buy TG or others for around $50. Nice work on the half doors, cool build so far, look forward to seeing some more!!!
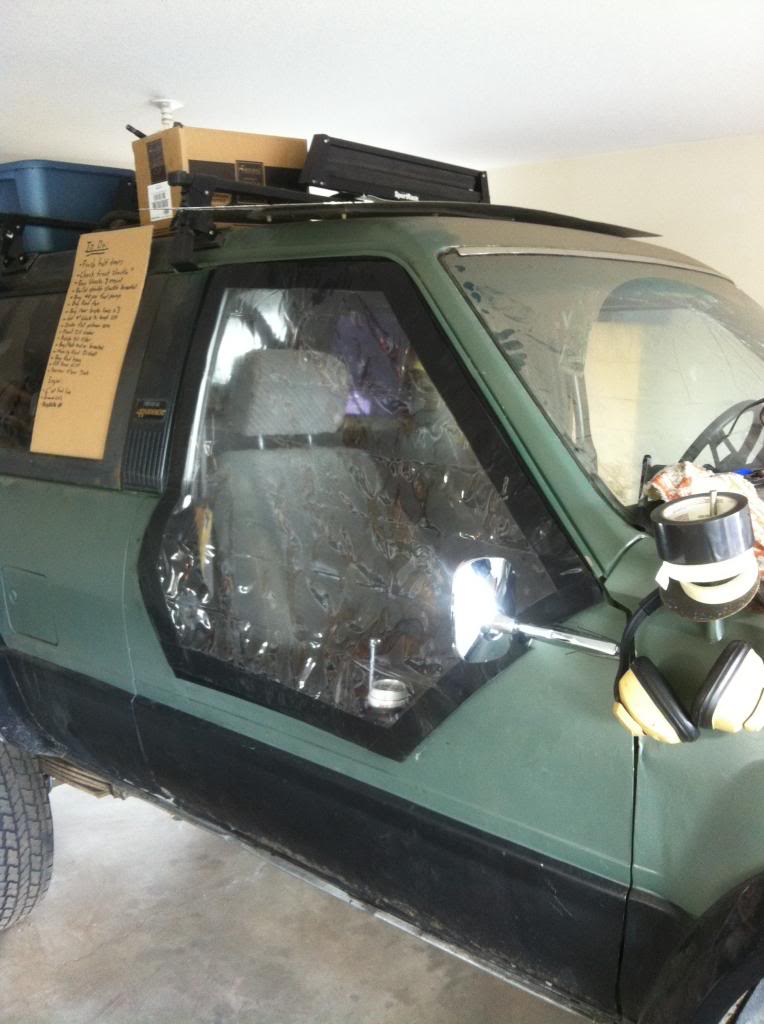
Thanks guys! Im pretty happy with the way the doors turned out.


 06-21-2014, 09:54 AM
#39
Registered User
Join Date: Jul 2009
Location: Rocky Mtn. House AB, Canada
Posts: 727
Likes: 0
Received 1 Like
on
1 Post
I was thinking about doing that with my steering box too. but I'm might just go with a flat arm instead of the drop arm. Sounds like you ordered the flat arm but ended up rotating the box instead, want to sell the flat arm?
How much room do you have in between your rad/fan and the balancer on the crank?
With my front mount intercooler, rad and electric pull fan I have 1/2" of room from the fan to balancer...and your intercooler is much farther back than mine is.
How much room do you have in between your rad/fan and the balancer on the crank?
With my front mount intercooler, rad and electric pull fan I have 1/2" of room from the fan to balancer...and your intercooler is much farther back than mine is.
06-25-2014, 11:14 PM
#40
Registered User
Thread Starter
Join Date: Oct 2009
Location: sask
Posts: 91
Likes: 0
Received 0 Likes
on
0 Posts
I was thinking about doing that with my steering box too. but I'm might just go with a flat arm instead of the drop arm. Sounds like you ordered the flat arm but ended up rotating the box instead, want to sell the flat arm?
With my front mount intercooler, rad and electric pull fan I have 1/2" of room from the fan to balancer...and your intercooler is much farther back than mine is.
With my front mount intercooler, rad and electric pull fan I have 1/2" of room from the fan to balancer...and your intercooler is much farther back than mine is.
I probably have 1"maybe a bit more I will measure tomorrow. did you use the original transmission mounts or did you move everything back when you did your swap?
that pic with the intercooler was before i had the engine in and realized just how little room i was dealing with, no way it would fit like that. as of right now its looking like i will go with a top mount intercooler. I hear of some guys running straight off the turbo but i cant see that heat helping the longevity of your engine.


