cr@ves4wheelin's 1991 Hilux Build-Up Thread
 04-30-2011, 06:13 PM
#61
Registered User
Thread Starter
Blazeland Shock Hoops
So today was a perfect day to go behind the dorm and work on my truck.
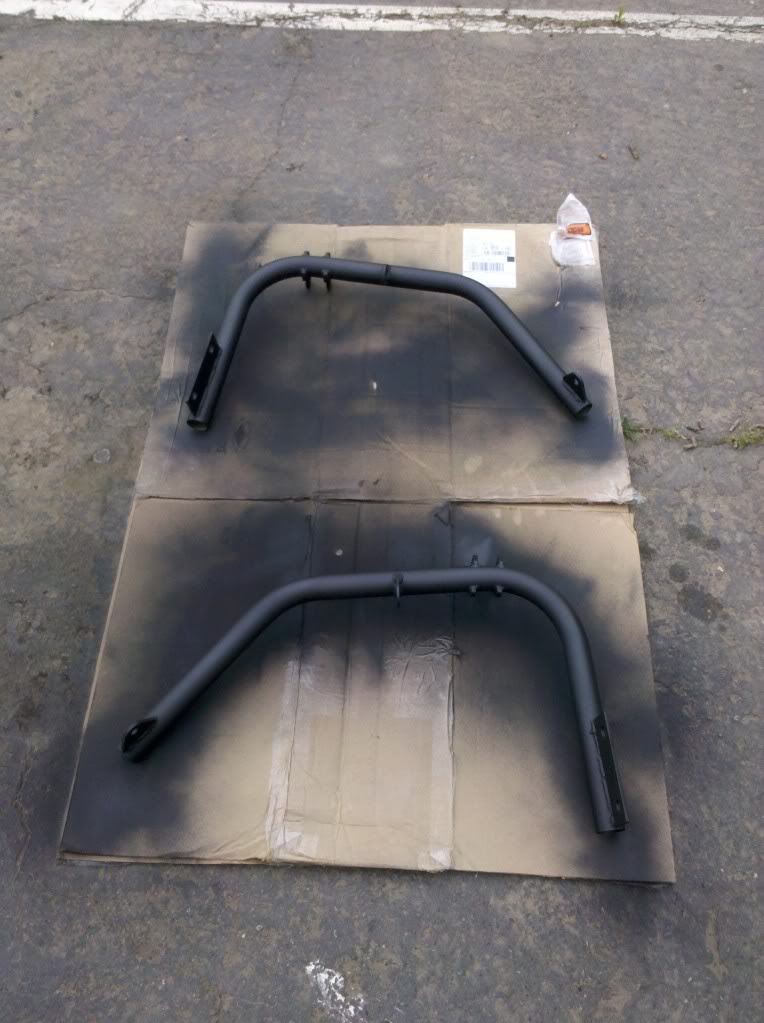
Here are the Blazeland Shock hoops that I will use for my coilover conversion
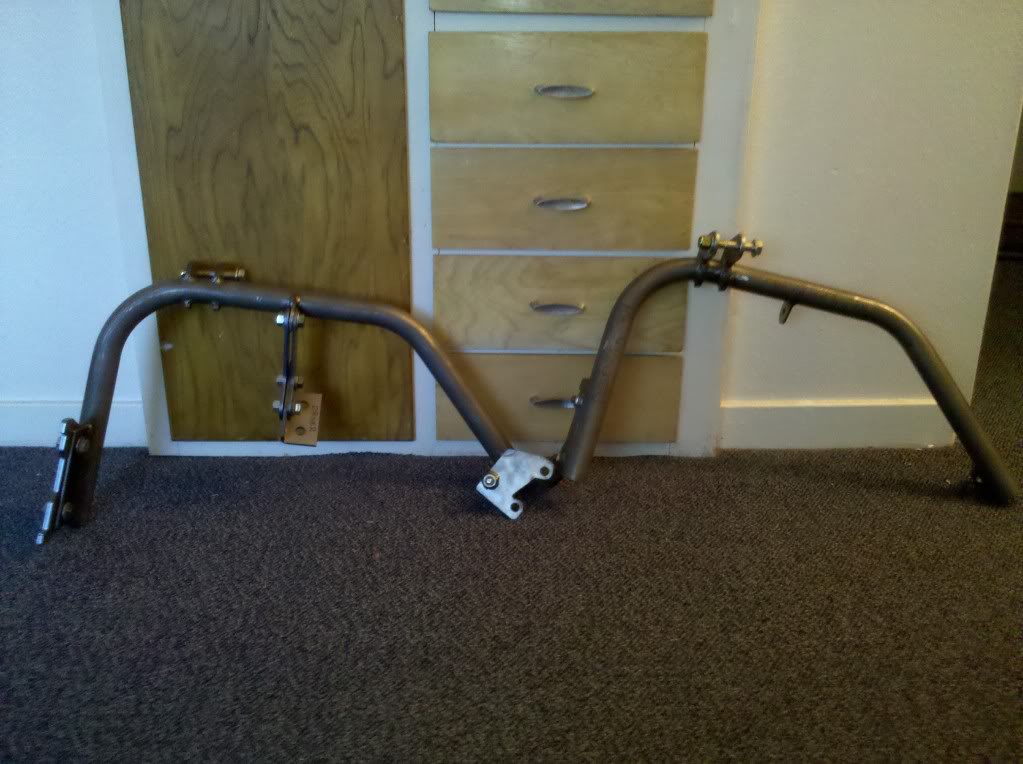
This Shock hoops are 3/4 bolt on.
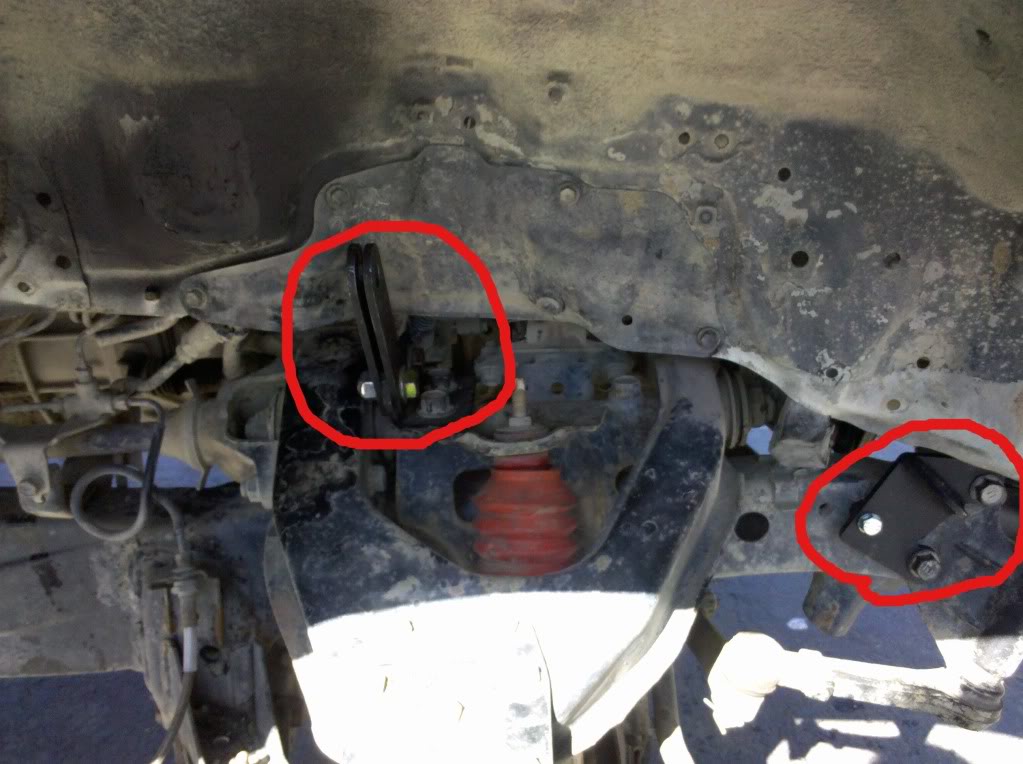
I installed the pieces the shock hoops bolted on too. Everything torqued to specs and thread locked of course.
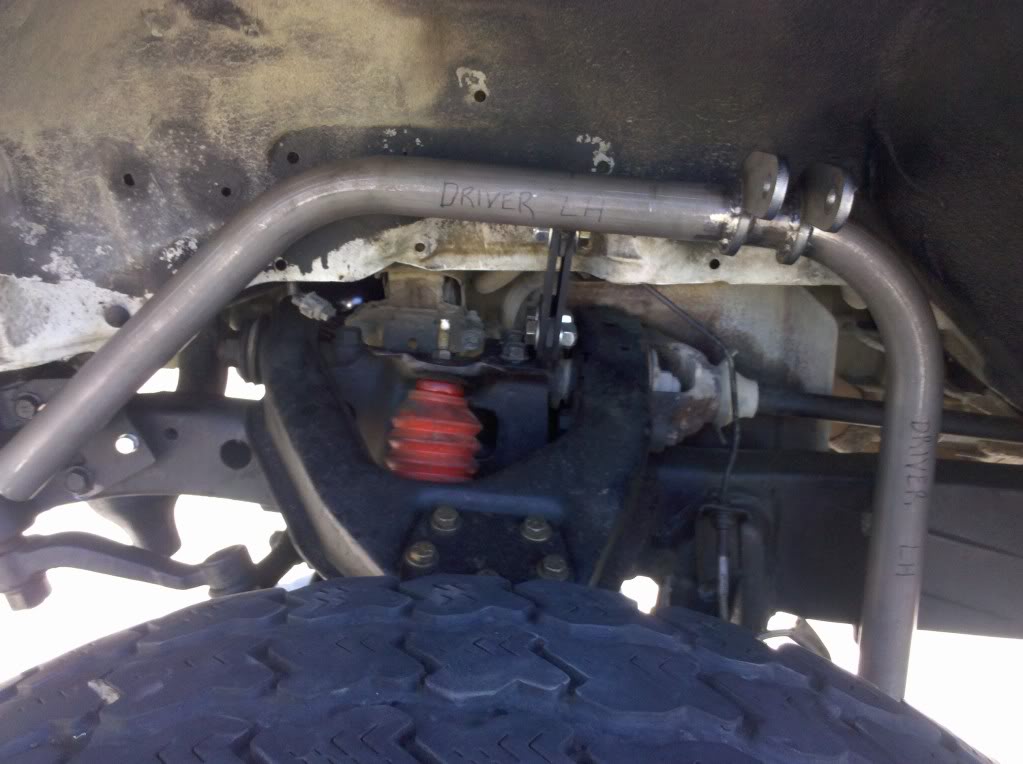
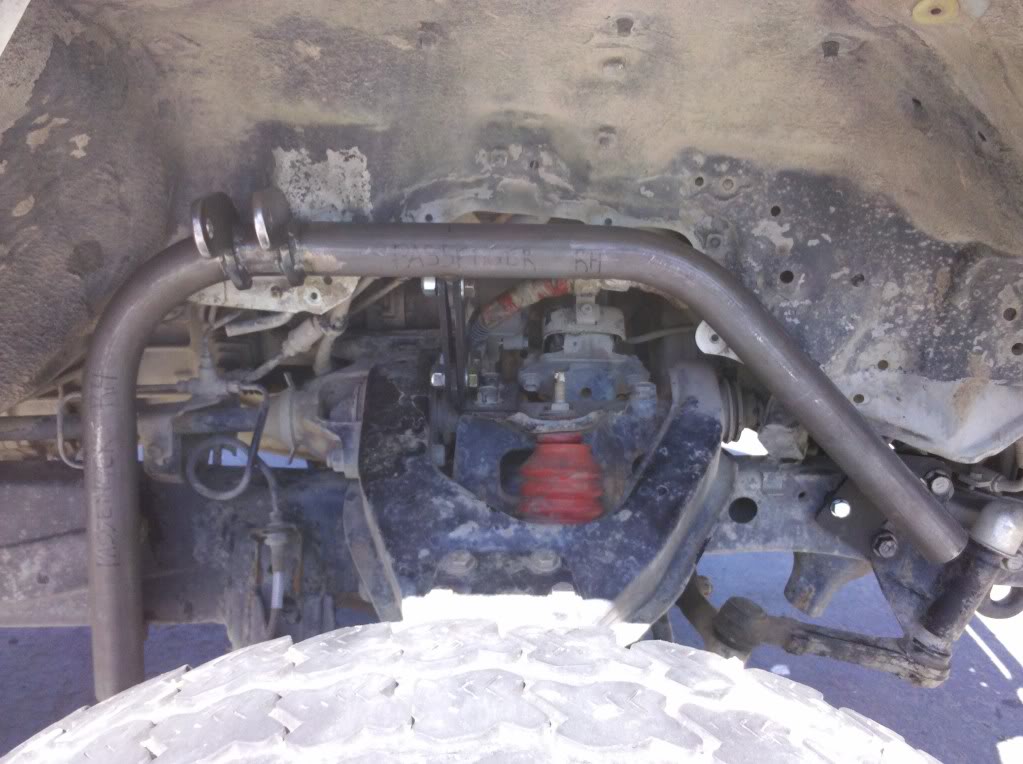
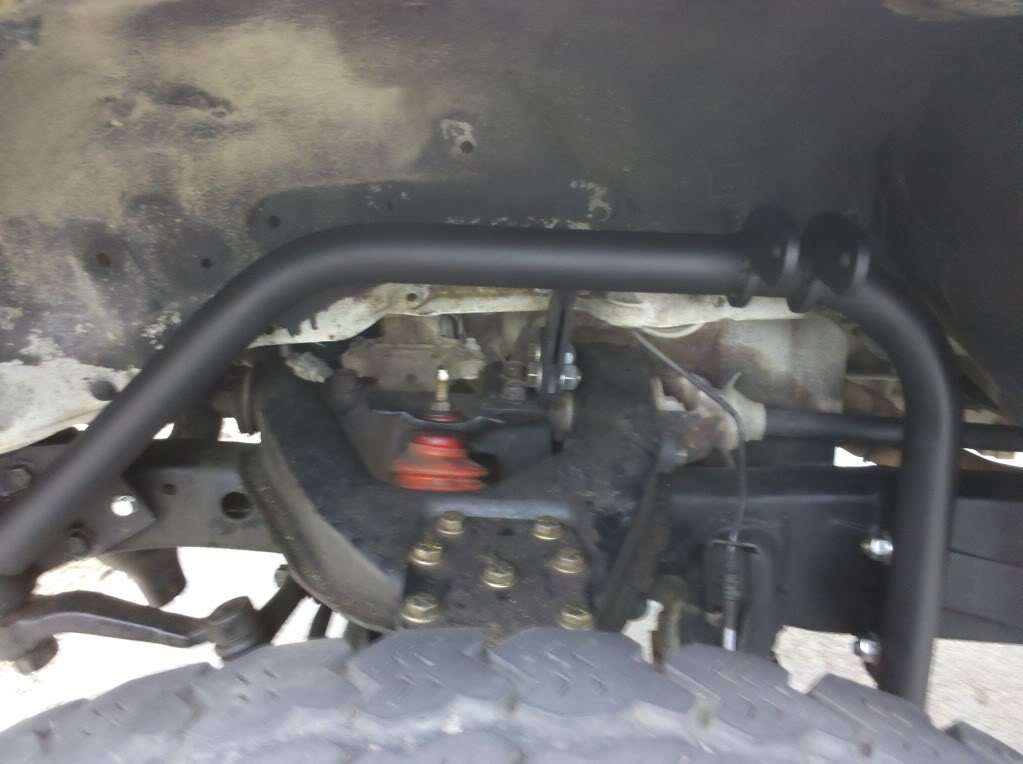
Here is a mock up of what they'll look like on the truck
Driver side
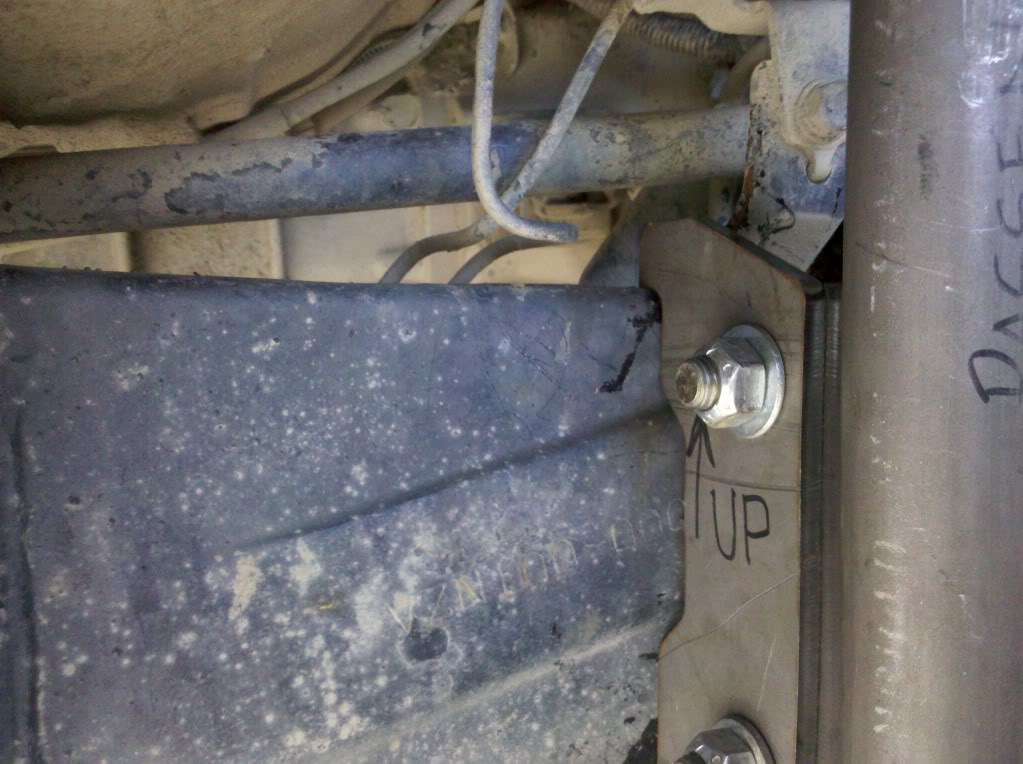
The Passenger side fender well has a bulge that is under the "charcoal canister? " (i I think). But there is enough room to hammer it in to fit the shock hoop.
Passenger side
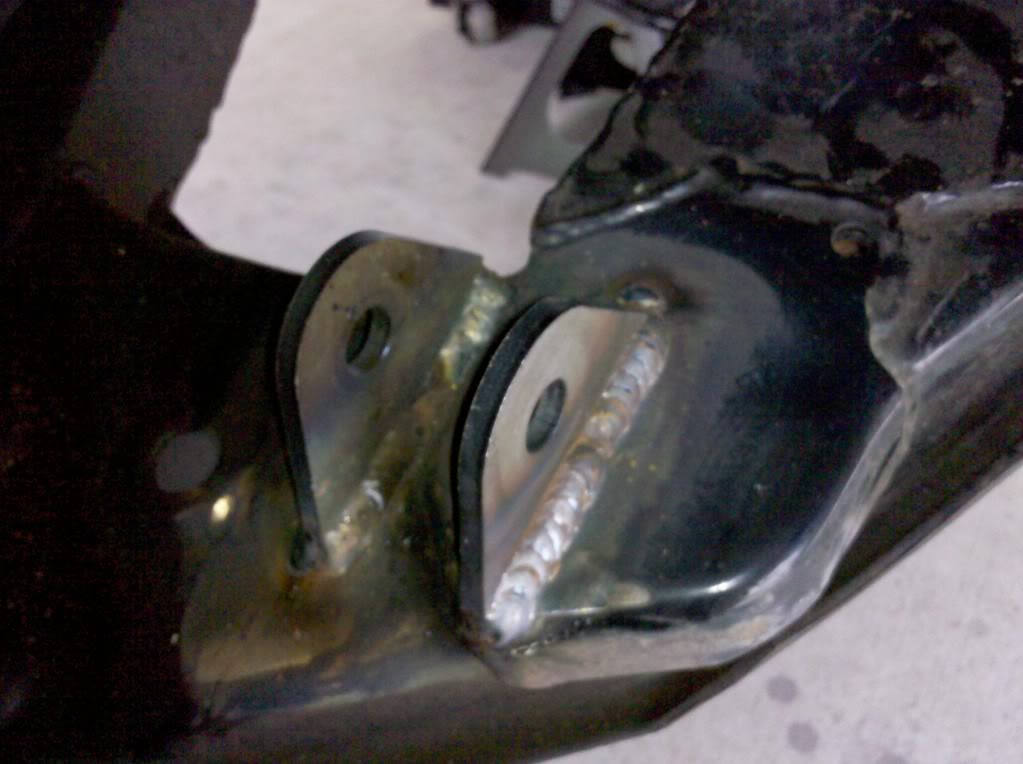
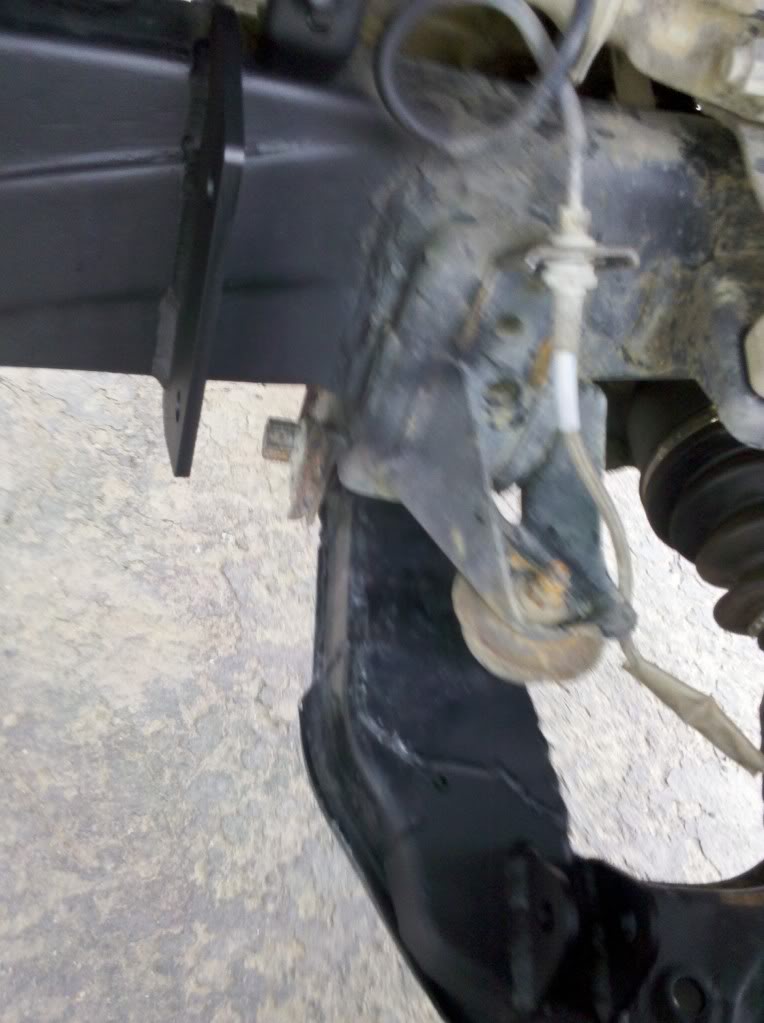
Here is what needs to be welded on to the frame. (after sanding the frame of course)
That's all for today, I'm seeing if a friend on another forum who also live in Chico can help me out. I would do it, if I didn't have just a Harbor Freight welder, and if my angle grinder didn't break. May or may not be done soon, but we'll see.
Here are the Blazeland Shock hoops that I will use for my coilover conversion
This Shock hoops are 3/4 bolt on.
I installed the pieces the shock hoops bolted on too. Everything torqued to specs and thread locked of course.
Here is a mock up of what they'll look like on the truck
Driver side
The Passenger side fender well has a bulge that is under the "charcoal canister? " (i I think). But there is enough room to hammer it in to fit the shock hoop.
Passenger side
Here is what needs to be welded on to the frame. (after sanding the frame of course)
That's all for today, I'm seeing if a friend on another forum who also live in Chico can help me out. I would do it, if I didn't have just a Harbor Freight welder, and if my angle grinder didn't break. May or may not be done soon, but we'll see.
Last edited by cr@ves4wheelin; 04-30-2011 at 06:15 PM.
 05-05-2011, 11:35 AM
#67
Registered User
Join Date: Oct 2010
Location: Huntington Beach, CA
Posts: 65
Likes: 0
Received 0 Likes
on
0 Posts
The reason why they could not align the truck is because they did not know how to setup the alignment machine. Since the track width is wider in the front, the wheels sensors they put on will not see each other, front to back and this is the problem that they most likely would have had. All they had to do is select your truck and go under two wheel alignment instead of 4 wheel alignment and they would only have to use the front sensors. I know this because I used to work as a mechanic and I had a two wheel drive Toy with the Fabtech Ivan Dan lift kit and I did my own alignments and that is what I had to do to set up the alignment machine. I hope the other place did your alignment with the factory specs. No reason whey they could not use the factory alignment specs. Also I HIGHLY recommend investing into an adjustable shock with that long travel suspension.
James
James
I belive even with the differnce you can still use all four head cuz the heads can see when toes out 3 deg.
Or you can do what I did and use 3" spacers on the back and it's square again
05-08-2011, 08:38 AM
#68
Registered User
Thread Starter
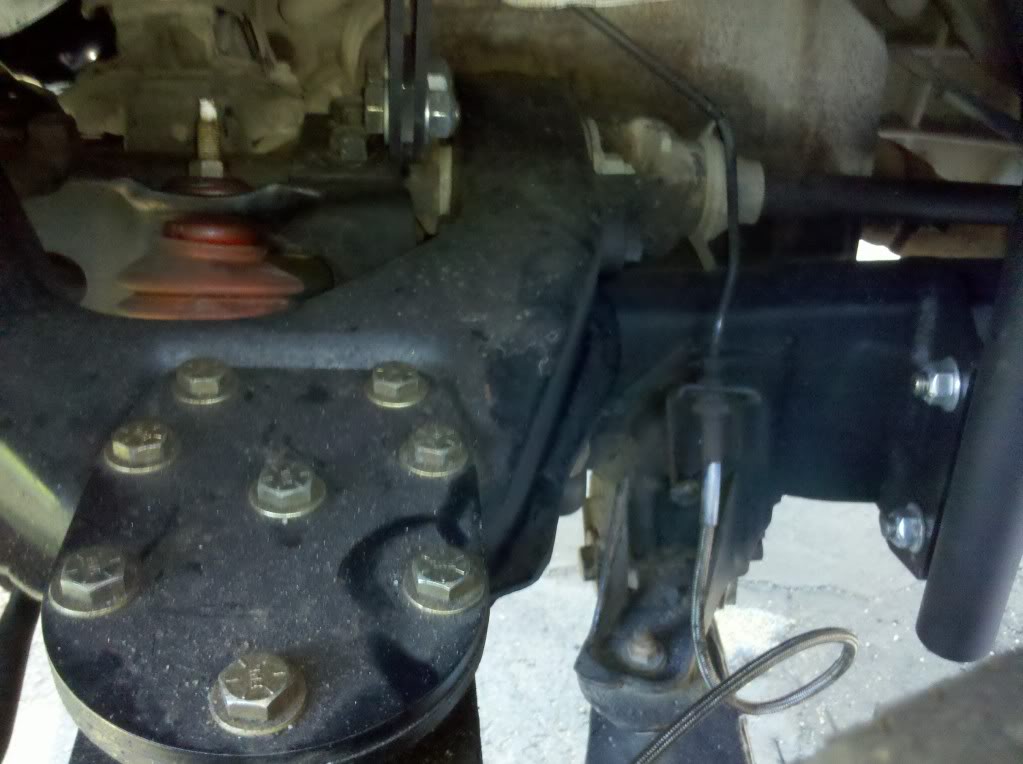
Welded
Thanks to my friend, the shock hoops and tabs have been welded up like a pro.

So, I would be done, but I ordered the wrong coils for my coilover. It looks like it'll be a close fit, I may have to grind the upper control arm, but i don't know yet.
So, I would be done, but I ordered the wrong coils for my coilover. It looks like it'll be a close fit, I may have to grind the upper control arm, but i don't know yet.
05-08-2011, 09:15 AM
#69

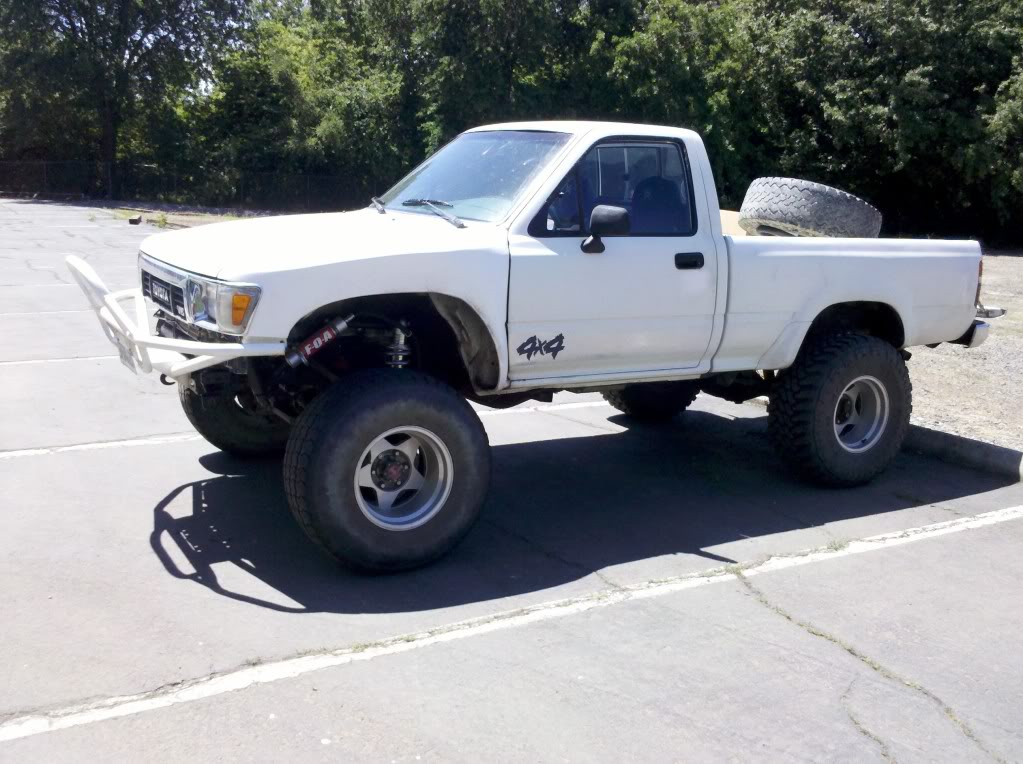
This is looking sick.
Love the fenders and the blazeland conversion.
How much did it cost you?
Not something im typically interested in doing with my truck, im more of an SAS guy, But i love your rig!
Love the fenders and the blazeland conversion.
How much did it cost you?
Not something im typically interested in doing with my truck, im more of an SAS guy, But i love your rig!
05-08-2011, 09:54 PM
#71
Registered User
Thread Starter
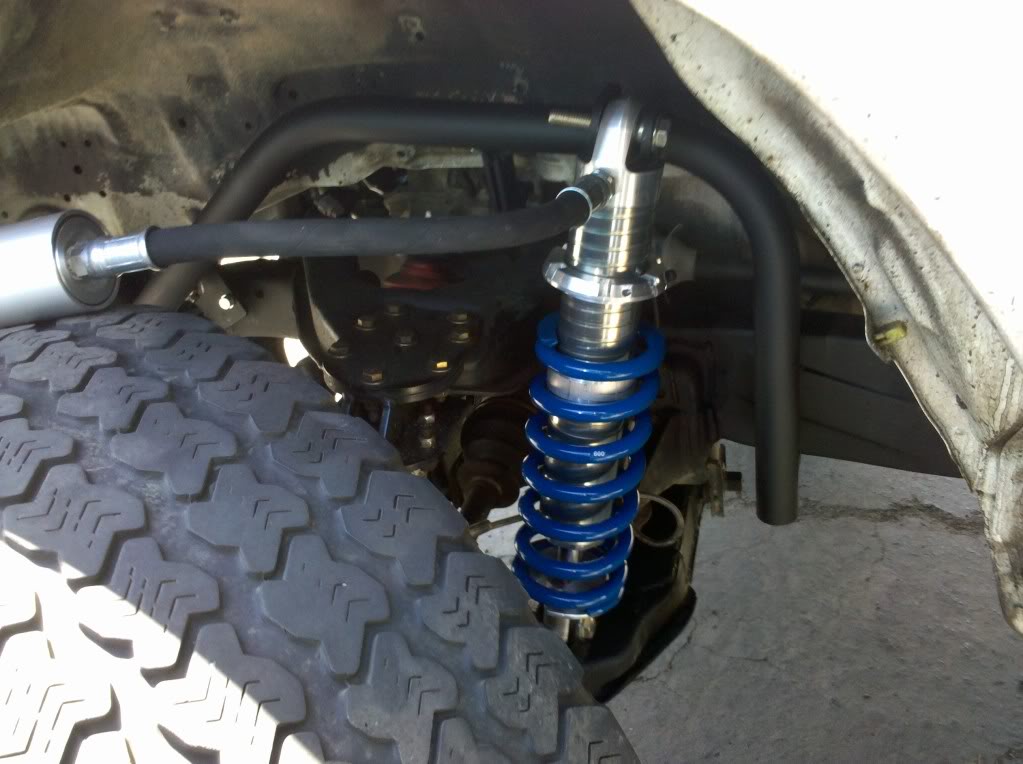
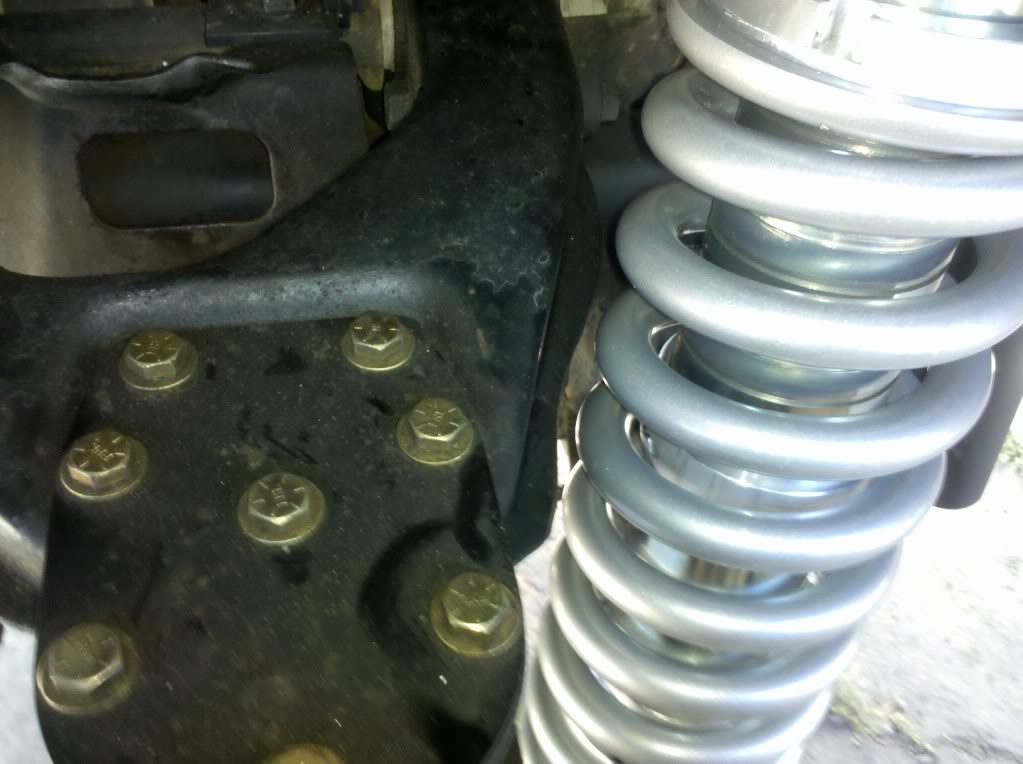
Mock up
Even though I have the wrong coils I decided to put them in to see if anything would obstruct them. It's really close to the upper control arm, I could get away with not grinding it, but I'll probably grind it a little bit. The coilover looks like it'll almost bottom out even with bump stops, but I won't know until I cycle it all the way when the torsion bars are out.
05-08-2011, 10:38 PM
#73
Registered User
Thread Starter
They are FOA 8" coilovers.
For the coil springs I could go either
3" OD x 16" x 500-600 lbs coil
or I could go dual rate since I have the hardware
Upper Spring
3" OD x 6" x 400 lbs
Main Spring
3" OD x 10" x 600 lbs (which I currently have)
For the coil springs I could go either
3" OD x 16" x 500-600 lbs coil
or I could go dual rate since I have the hardware
Upper Spring
3" OD x 6" x 400 lbs
Main Spring
3" OD x 10" x 600 lbs (which I currently have)
05-09-2011, 09:52 AM
#75
Registered User
Looks good! The clearance between the coil spring and the UCA does look really close. I would suspect that at full stuff things are going to hit. I built your hoops off a fixture that cleared with the Sway-A-Way Shocks! Anyway, if you find something does hit when you cycle the suspension let me know and I will make some adjustments. You can trim the UCA yourself or I can do it for you and send you an exchange set of clearanced UCAs.
Example: One configuration I trimed off the excess material from the UCA so I could use a stock SR-5 15x7 rim with a 4-5/8" backspace and a 33x12.50R15 tire. This setup had acceptable tire and coil spring clearance at full stuff with steering wheel turned to full lock left or right. This shouldn't be a problem with your aftermarket rim / tire combo.
Example: One configuration I trimed off the excess material from the UCA so I could use a stock SR-5 15x7 rim with a 4-5/8" backspace and a 33x12.50R15 tire. This setup had acceptable tire and coil spring clearance at full stuff with steering wheel turned to full lock left or right. This shouldn't be a problem with your aftermarket rim / tire combo.
05-13-2011, 05:30 PM
#76
Registered User
Thread Starter
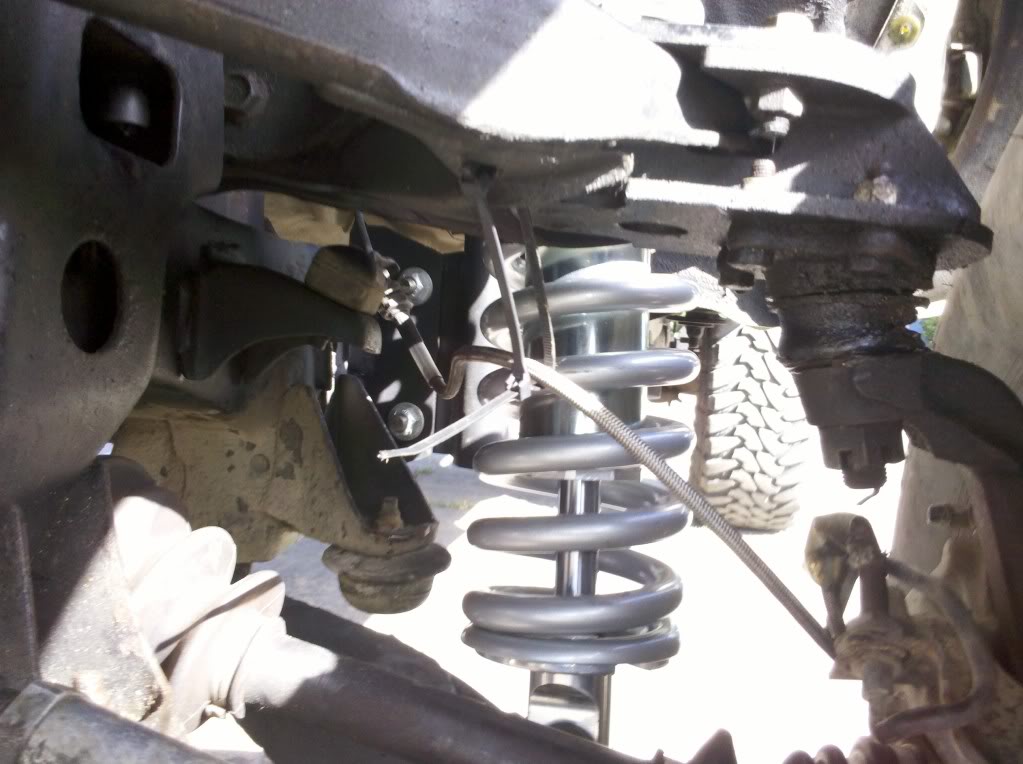
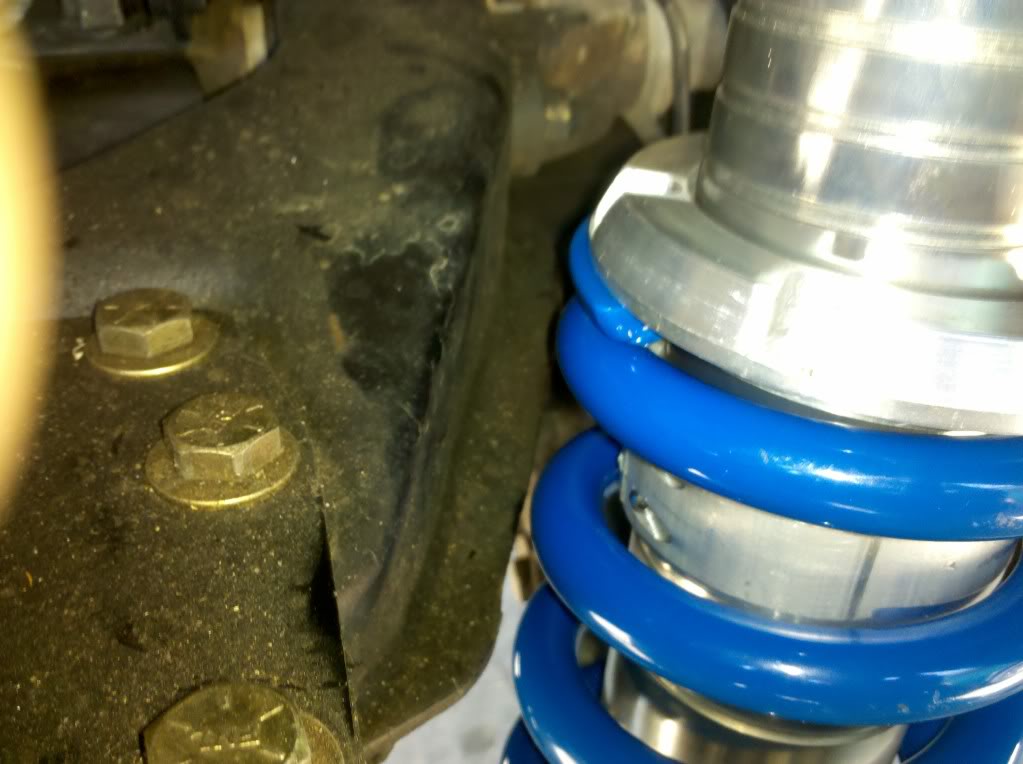
Got my new coils today! They are Eibachs 3" OD 16" x 600lbs. So I went and bought myself a Dewalt angle grinder to grind down the A-arms to fit the coilover. Surprisingly, the coil as more space when the arm is drooped down, not when it's up.
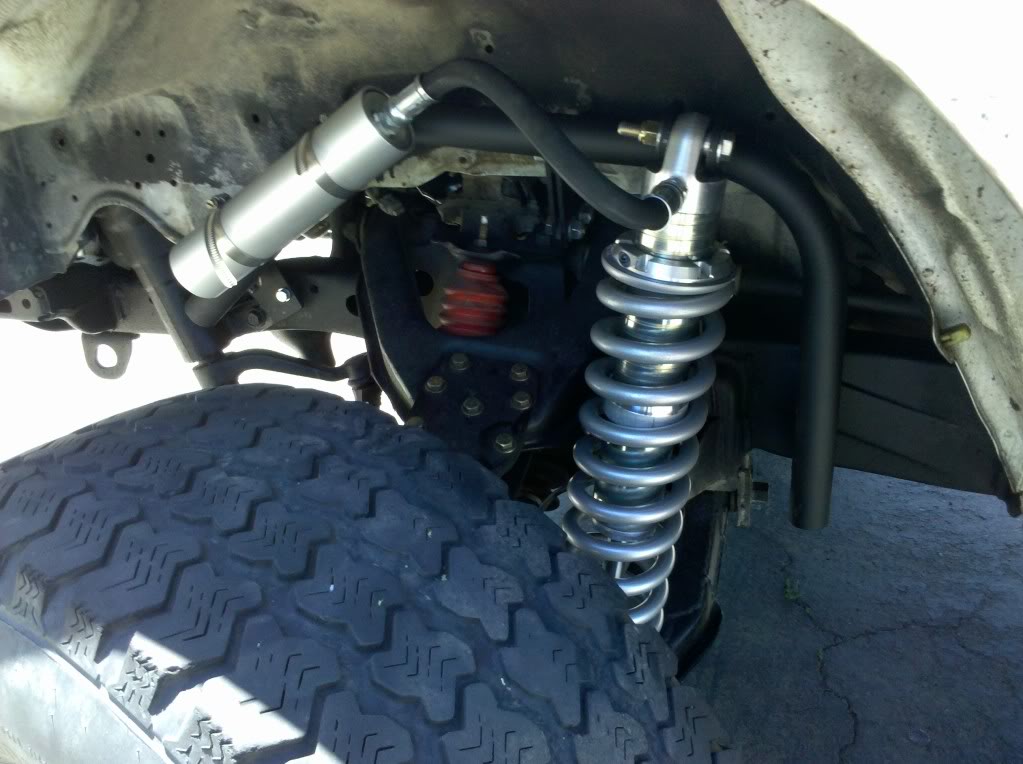
Then I jacked the truck up and put the coilovers in.
Control arm clearance
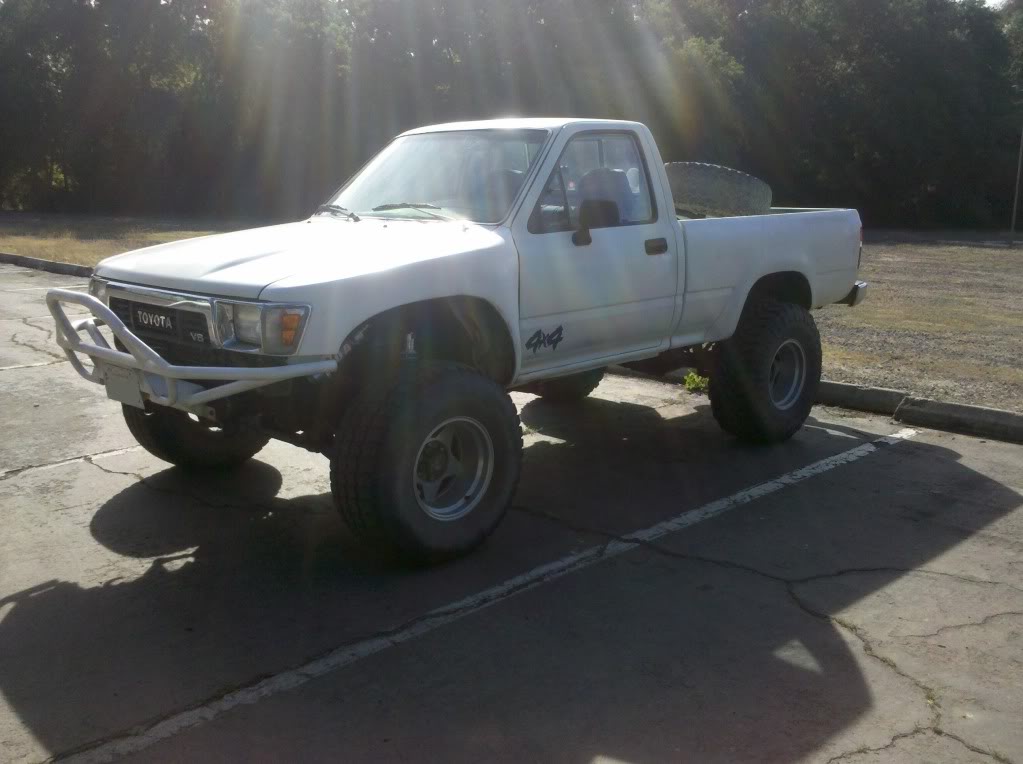
Ride height with coilover and torsion bars still in lol. Truck is not jacked up.
After that, called some places til I found a shop to fill my shocks with nitrogen. I drove very carefully trying not to damage the new shocks over to Honda motorcycles where they filled for $10 per shock. When I got back, I removed the old shocks then went on to the PITA torsion bars. As if removing the bolts weren't hard enough, taking out the torsion bars out of the control arm is just as bad. I had to wiggle (a.k.a shake the crap out of them while pulling) till they finally came out. So now my truck is currently sitting at the pretty much the same ride height as it was, which I was hoping for.

Reservoir held in with hose clamps
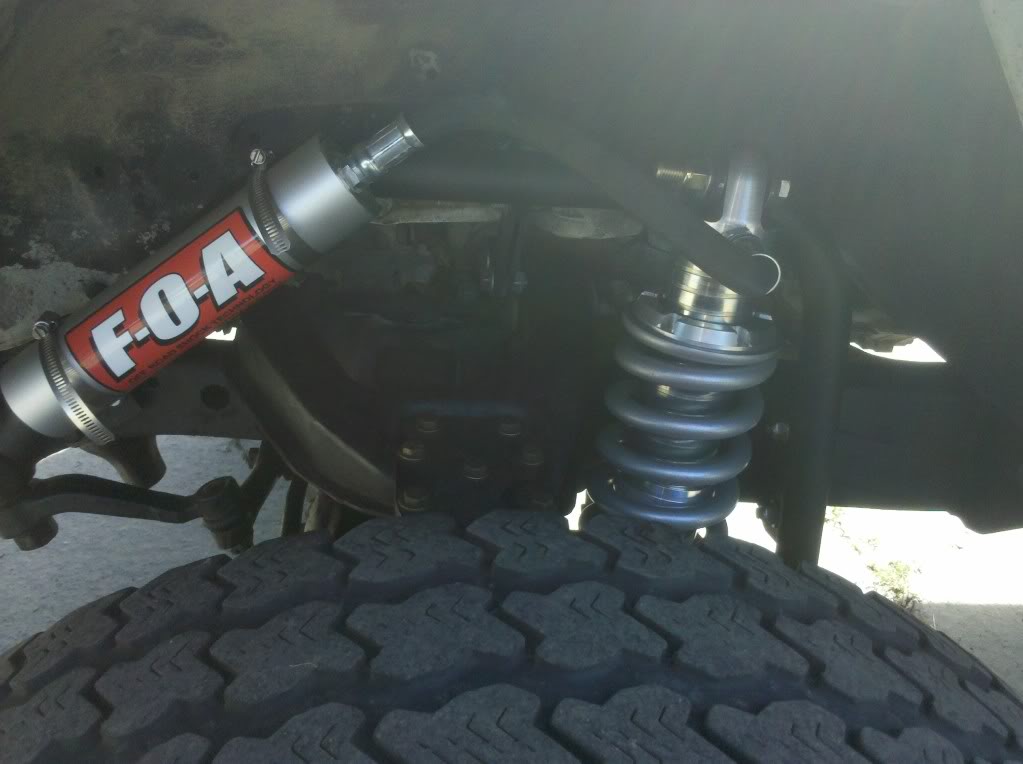
One thing that you guys who might be doing the same thing is you should opt for the 90 degree hose fitting to the reservoir. At full turn, if your tires get enough up-travel they will hit the hose. As for the brake lines, I zip-tied them to the control arm to keep them away from the coil. Since the arms go down with the rotor, so will the the brake lines. It may not be necessary, but gave me peace of mind. I think that's about it. No more of the back breaking work of adjusting torsion bars. No more, oh dang, the adjusting bolt for the torsion bars broke on a Sunday when no stores are open. NO MORE, drawing pictures of what my truck would look like with coilovers on the front lol. Thanks to everybody who helped me with this build. BlazeN8, my friend Ryan for welding, ORW and FOA for shipping all the stuff I needed so fast. Also my Dad who started it all by handing the truck down to me. I've learned so much and it's not over yet haha.
Then I jacked the truck up and put the coilovers in.
Control arm clearance
Ride height with coilover and torsion bars still in lol. Truck is not jacked up.
After that, called some places til I found a shop to fill my shocks with nitrogen. I drove very carefully trying not to damage the new shocks over to Honda motorcycles where they filled for $10 per shock. When I got back, I removed the old shocks then went on to the PITA torsion bars. As if removing the bolts weren't hard enough, taking out the torsion bars out of the control arm is just as bad. I had to wiggle (a.k.a shake the crap out of them while pulling) till they finally came out. So now my truck is currently sitting at the pretty much the same ride height as it was, which I was hoping for.
Reservoir held in with hose clamps
One thing that you guys who might be doing the same thing is you should opt for the 90 degree hose fitting to the reservoir. At full turn, if your tires get enough up-travel they will hit the hose. As for the brake lines, I zip-tied them to the control arm to keep them away from the coil. Since the arms go down with the rotor, so will the the brake lines. It may not be necessary, but gave me peace of mind. I think that's about it. No more of the back breaking work of adjusting torsion bars. No more, oh dang, the adjusting bolt for the torsion bars broke on a Sunday when no stores are open. NO MORE, drawing pictures of what my truck would look like with coilovers on the front lol. Thanks to everybody who helped me with this build. BlazeN8, my friend Ryan for welding, ORW and FOA for shipping all the stuff I needed so fast. Also my Dad who started it all by handing the truck down to me. I've learned so much and it's not over yet haha.
Last edited by cr@ves4wheelin; 05-13-2011 at 07:44 PM.