Bump's '90 4Runner Build-Up

 04-27-2014, 06:52 PM
#83
Registered User
Thread Starter
Sorry but I'm not sure what your talking about. Only thing I've done to the frame so far is cut off the ifs brackets and cut holes for the shackle tubes.
04-27-2014, 07:10 PM
#85
Registered User
Thread Starter
Thanks. Yea I'm glad I used the emt. Mine would have been way off if not lol. I can also see how setting the tubes in the correct spot side to side would have been a little tricky. Nothing a little math and some marks on the emt couldnt handle tho lol
04-28-2014, 03:33 AM
#87
Registered User
Thread Starter
The shackle tubes are a pain to weld, especially the outside. The inside was only bad for me because of the height of the yota.
04-30-2014, 04:18 AM
#88
Registered User
Thread Starter
Well I finally stopped being lazy and this happened...
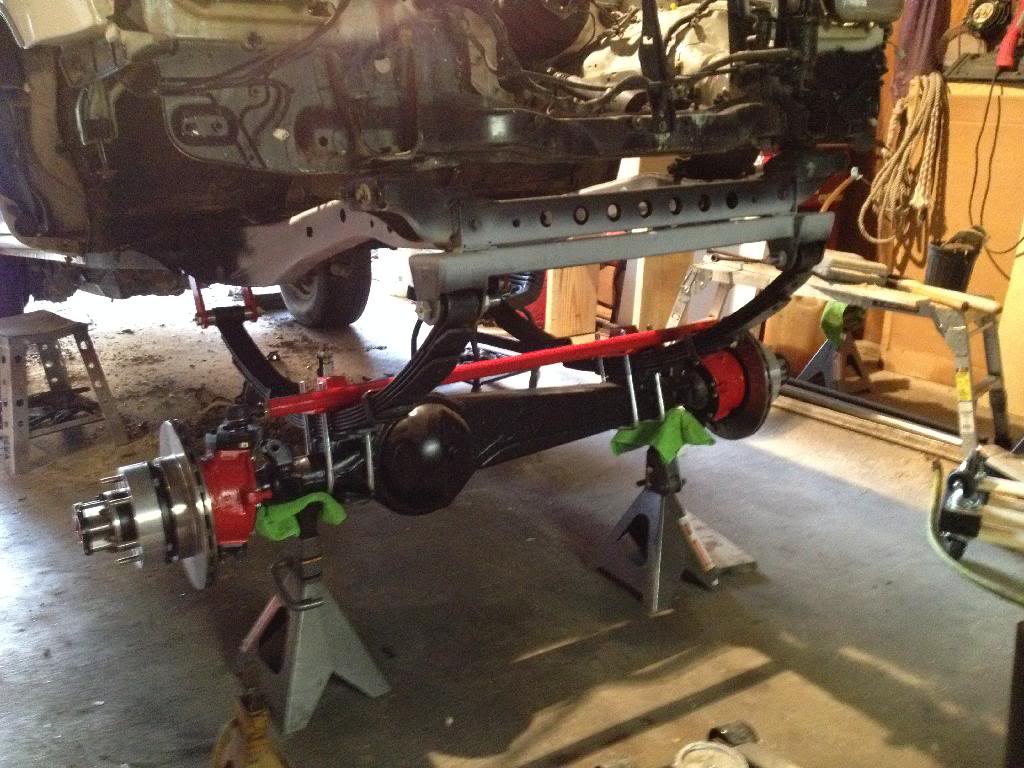
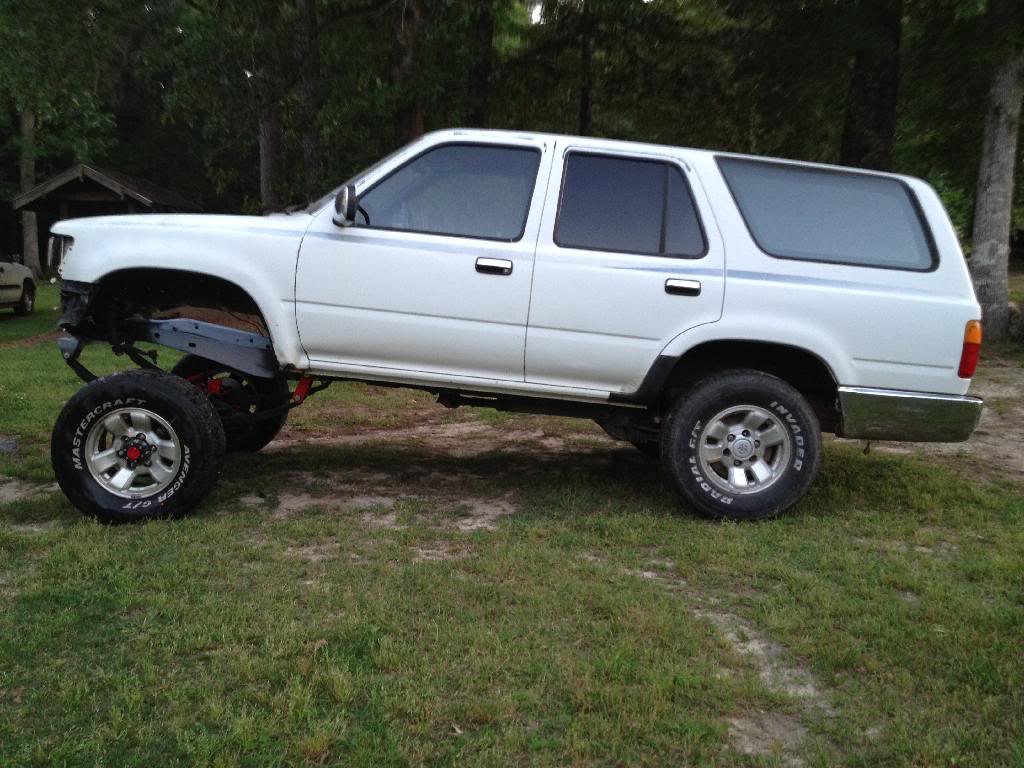
Its finally sitting on all fours again. Its really tall in the front right now mainly cause there isnt any weight up there. After I get the drivetrain in, I will be able to set the front hanger to its correct position. Next is the gettin the new motor/trans out of the donor rig and prepping it to go in. Id like to get the drivetrain set, then finish welding the front spring hanger, then do the back suspension. After that will come the fun part of wiring the 4.3 lol.


Its finally sitting on all fours again. Its really tall in the front right now mainly cause there isnt any weight up there. After I get the drivetrain in, I will be able to set the front hanger to its correct position. Next is the gettin the new motor/trans out of the donor rig and prepping it to go in. Id like to get the drivetrain set, then finish welding the front spring hanger, then do the back suspension. After that will come the fun part of wiring the 4.3 lol.
04-30-2014, 05:17 AM
#90
Registered User
Thread Starter
Thanks. Yea I cant wait to be able to drive this thing. Ive had it for a year now and havent really drove it much because of the dieing 3.0.
04-30-2014, 10:48 AM
#91
Registered User
Maybe my eyes are playing up.
04-30-2014, 12:08 PM
#92
Registered User
Thread Starter
Other good news, I just found out the aluminum wheels from the 36" swampers just sold, so now I can buy some wheels that will fit the yota.
05-07-2014, 04:54 AM
#93
Registered User
Thread Starter
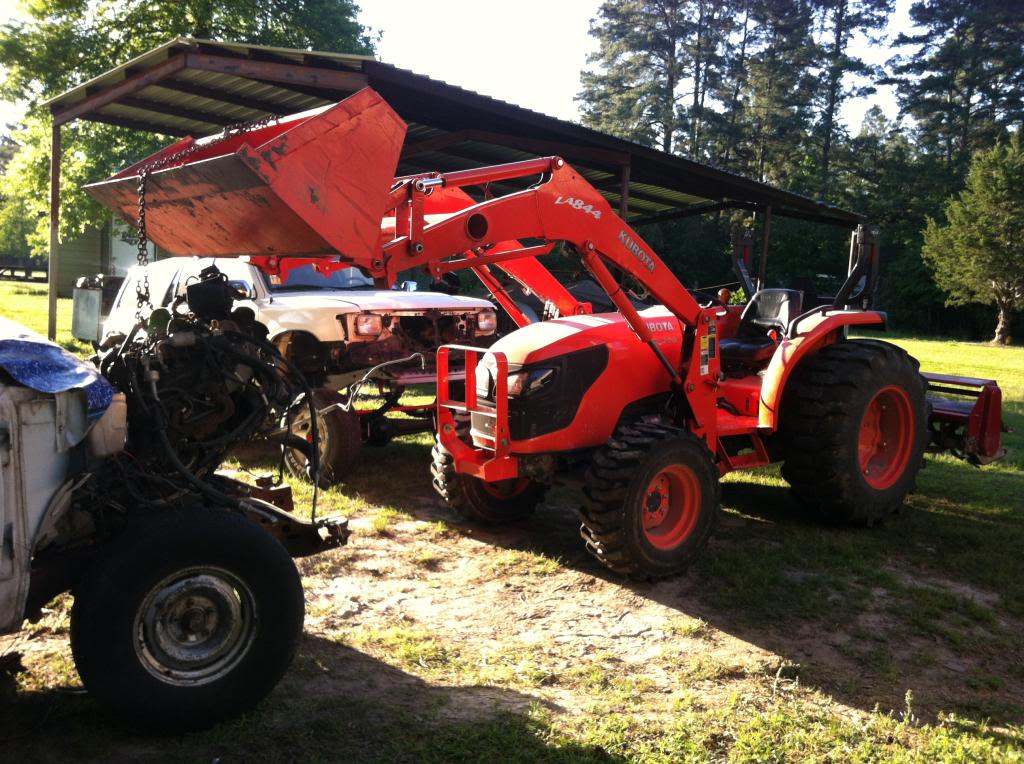
Well the 4.3/4l60e is finally in the shop. Me and buddy pulled it yesterday.

I also dropped my tires and wheels off yesterday to be mounted. I went to pick them up afte work and he was closed already (after telling me he would still be open). And just because I like pics...
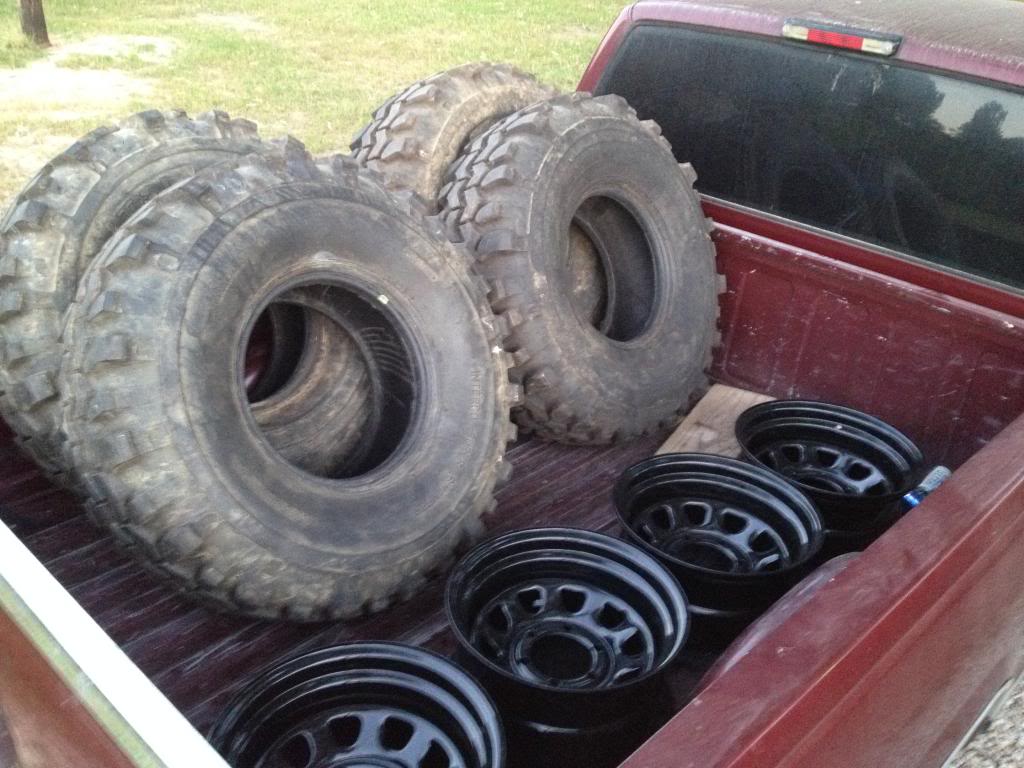
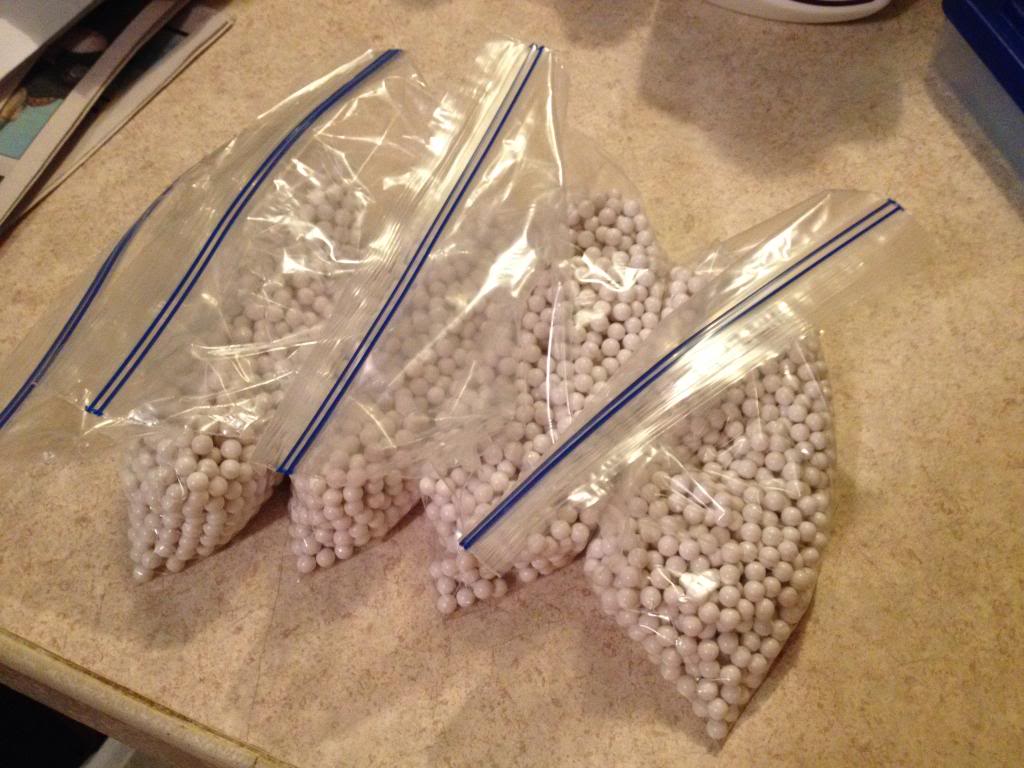
This is 8.75oz of BBs for each tire for balancing(Thats a 5000 pack split evenly between the 4)


I also dropped my tires and wheels off yesterday to be mounted. I went to pick them up afte work and he was closed already (after telling me he would still be open). And just because I like pics...

This is 8.75oz of BBs for each tire for balancing(Thats a 5000 pack split evenly between the 4)
 05-08-2014, 04:26 AM
#94
Registered User
Thread Starter
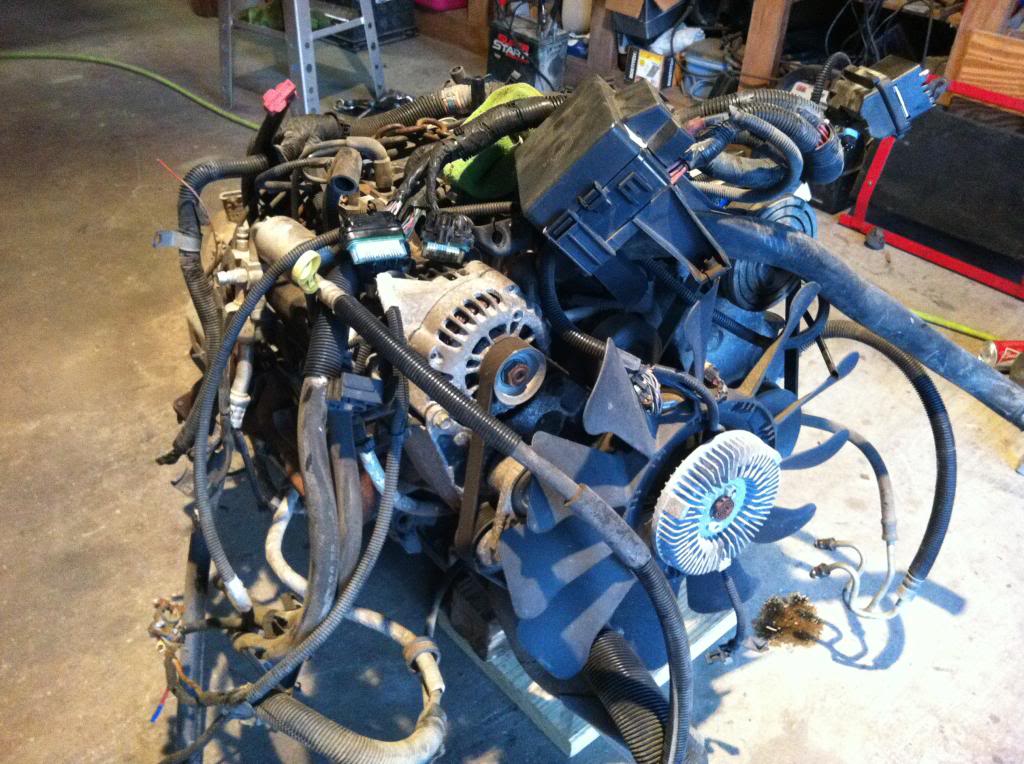
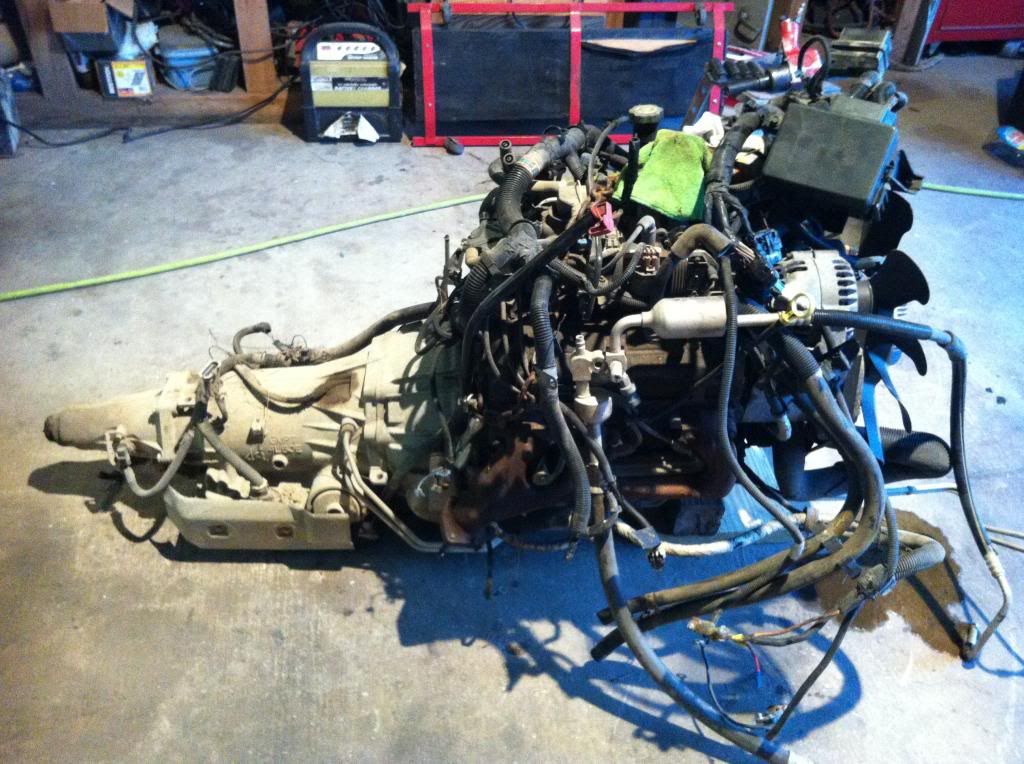
Pulled the harness off the motor and trans yesterday evening.

Motor looks a little less cluttered

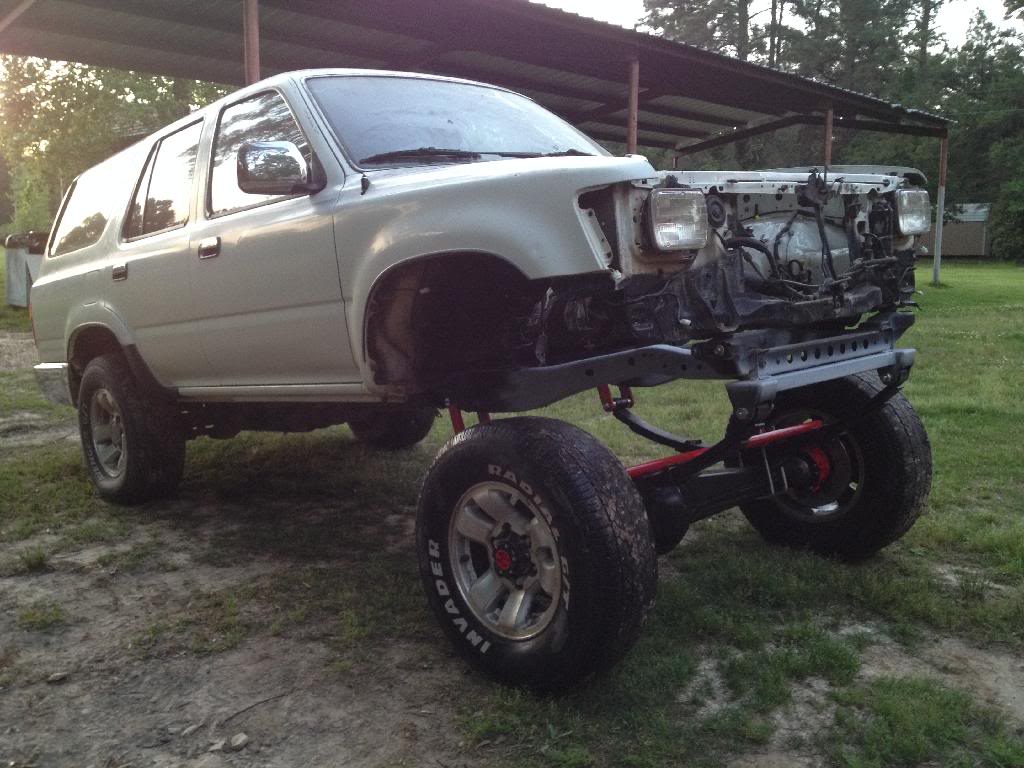
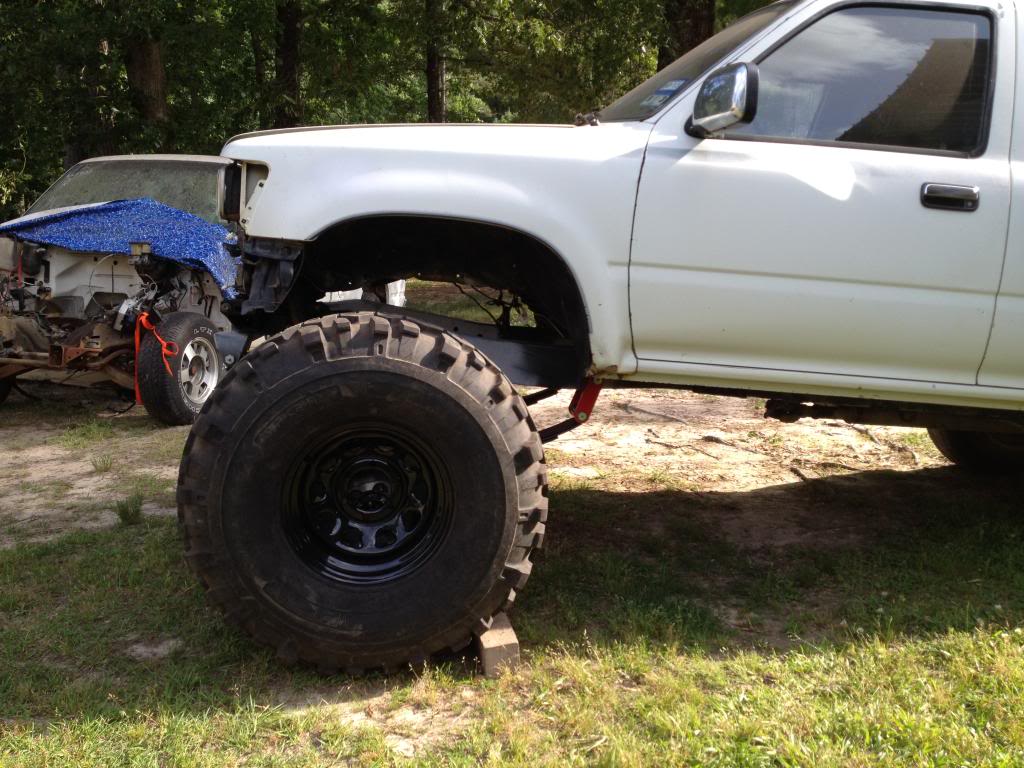
Got my wheels and tires back from being mounted and I mocked one of them up in front of the 4runner

Motor looks a little less cluttered

Got my wheels and tires back from being mounted and I mocked one of them up in front of the 4runner
 05-08-2014, 01:52 PM
#96
Registered User
Thread Starter
This will be my first experience with balancing tires like this. I've seen it done a lot over on pirate. Most use the chart on this link to figure out how much to use.
http://innovativebalancing.com/mobile/chart_spec.php?4x4=1
The beads I got are just airsoft BBs from Walmart. I'm hoping it works out good but I won't know for a couple more months lol
Last edited by bump530; 05-08-2014 at 01:54 PM.
05-16-2014, 04:43 AM
#97
Registered User
Thread Starter
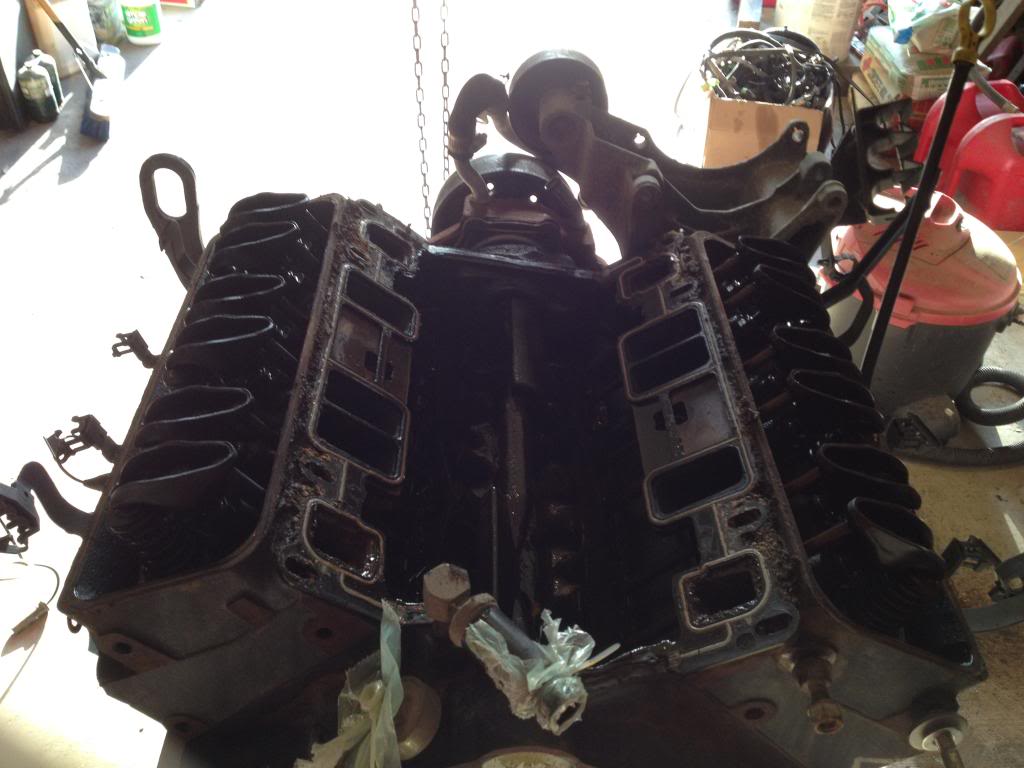
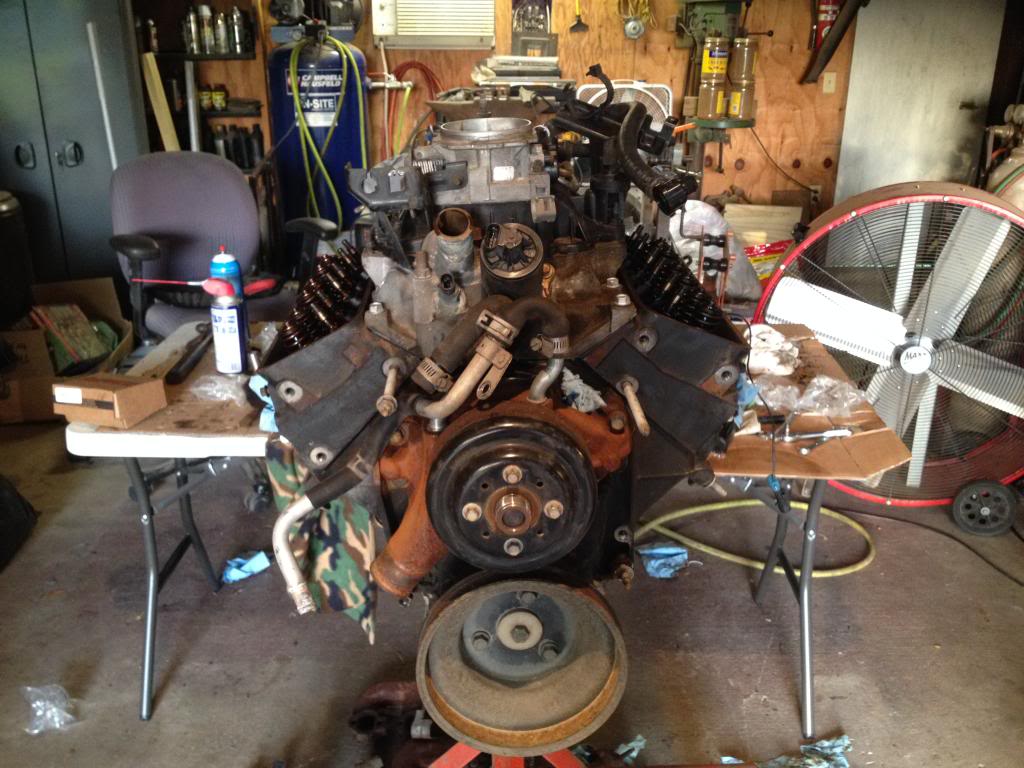
I got the motor cleaned up pretty good and I tore the intake manifold and heads off of it. I hadnt planned on doing head gaskets but I figured I might as well since I was that close. Heres a pic of the motor before I pulled the heads off.
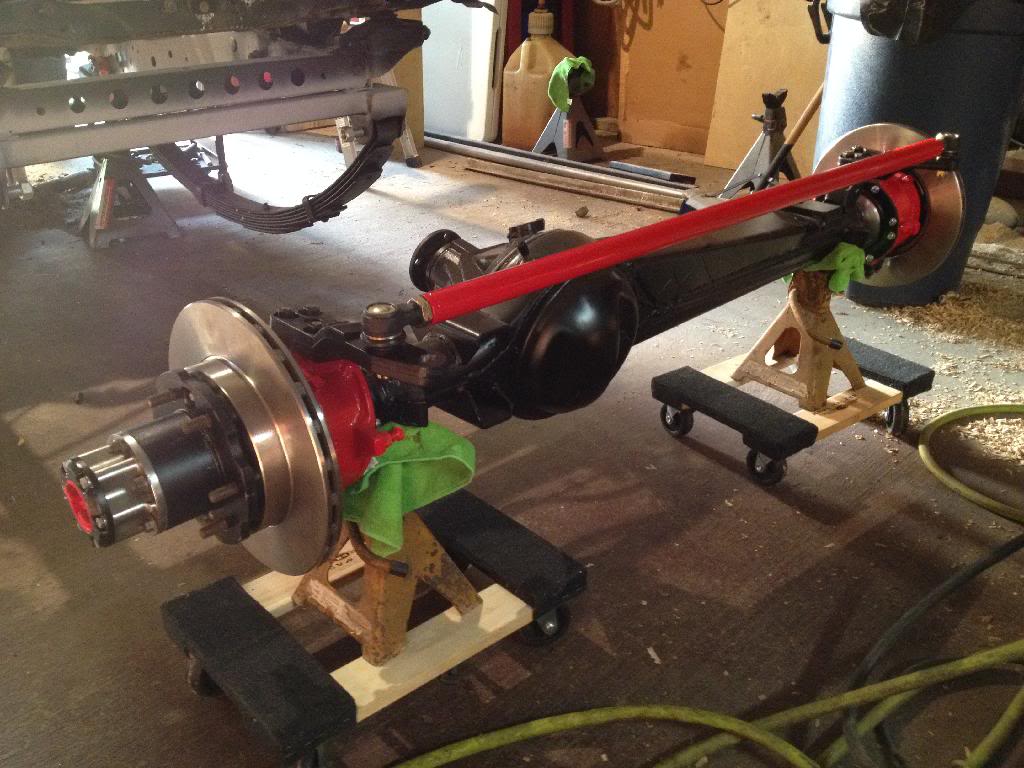
Decided not to work on the motor yesterday since Im waiting for a little tool to help with head gasket removal (that stuff is on there). I did decide to break out the grinder and work on the rear axle. I got all the welds from the several link brackets off. Now I just need to patch up a couple spots where I hit the housing with the torch and it will be ready.
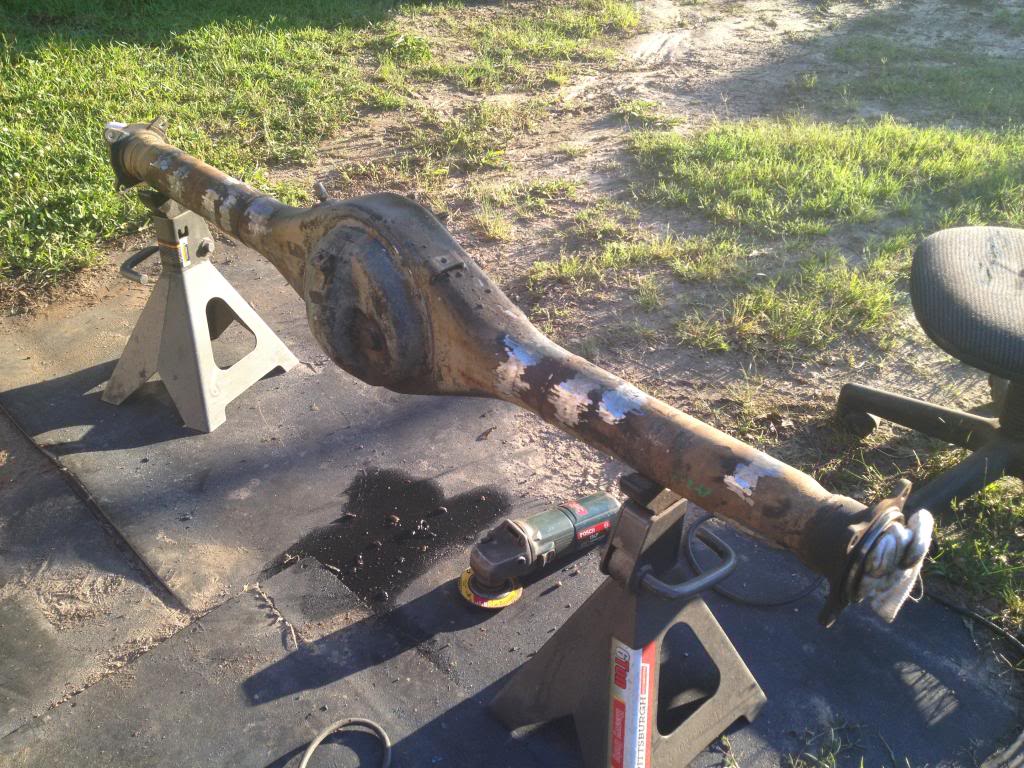

Decided not to work on the motor yesterday since Im waiting for a little tool to help with head gasket removal (that stuff is on there). I did decide to break out the grinder and work on the rear axle. I got all the welds from the several link brackets off. Now I just need to patch up a couple spots where I hit the housing with the torch and it will be ready.
 05-21-2014, 05:43 AM
#98
Registered User
Thread Starter
Well the heads and intake are back on. Just have to install push rods and rocker arms now. Then I can move on to the main seals.
Progress is slow, but Im still moving forward lol

Progress is slow, but Im still moving forward lol
05-28-2014, 05:36 AM
#99
Registered User
Thread Starter
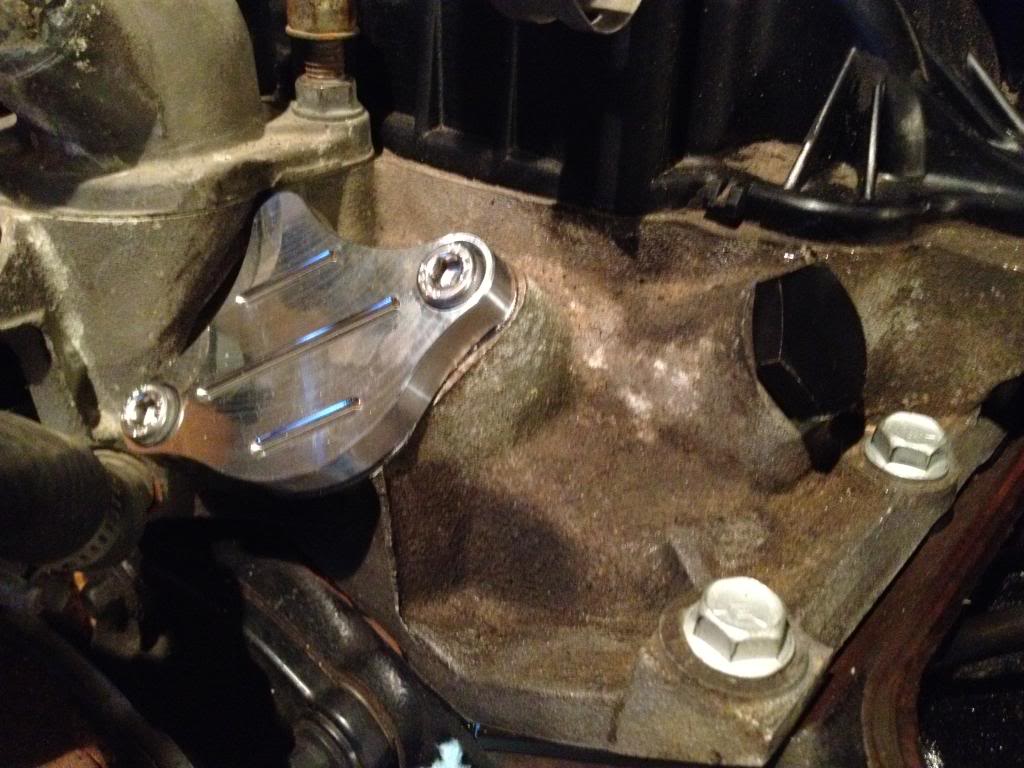
I installed the push rods, rocker arms, valve covers, egr delete, and new front main seal on Saturday.
EGR block plate and plug
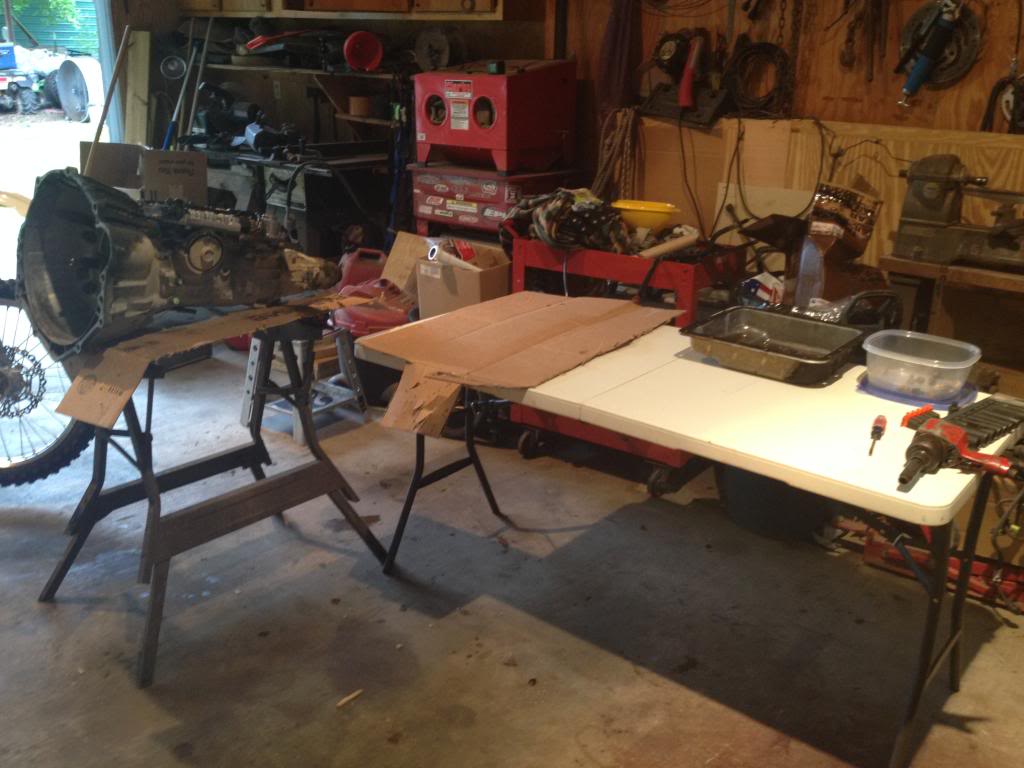
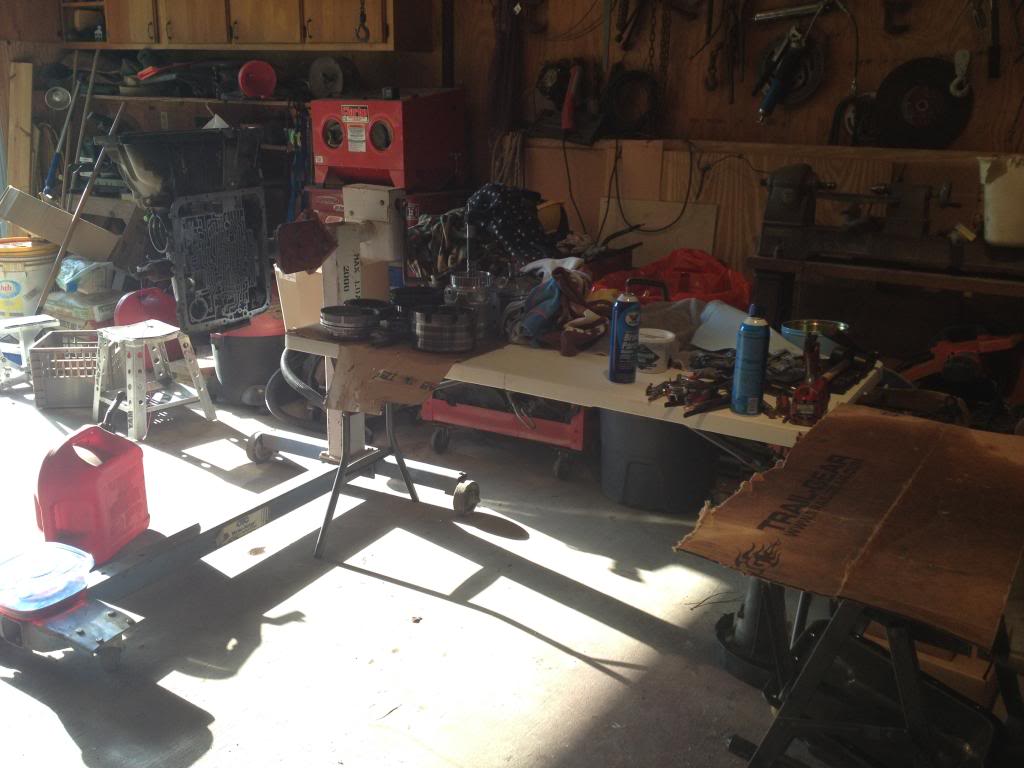
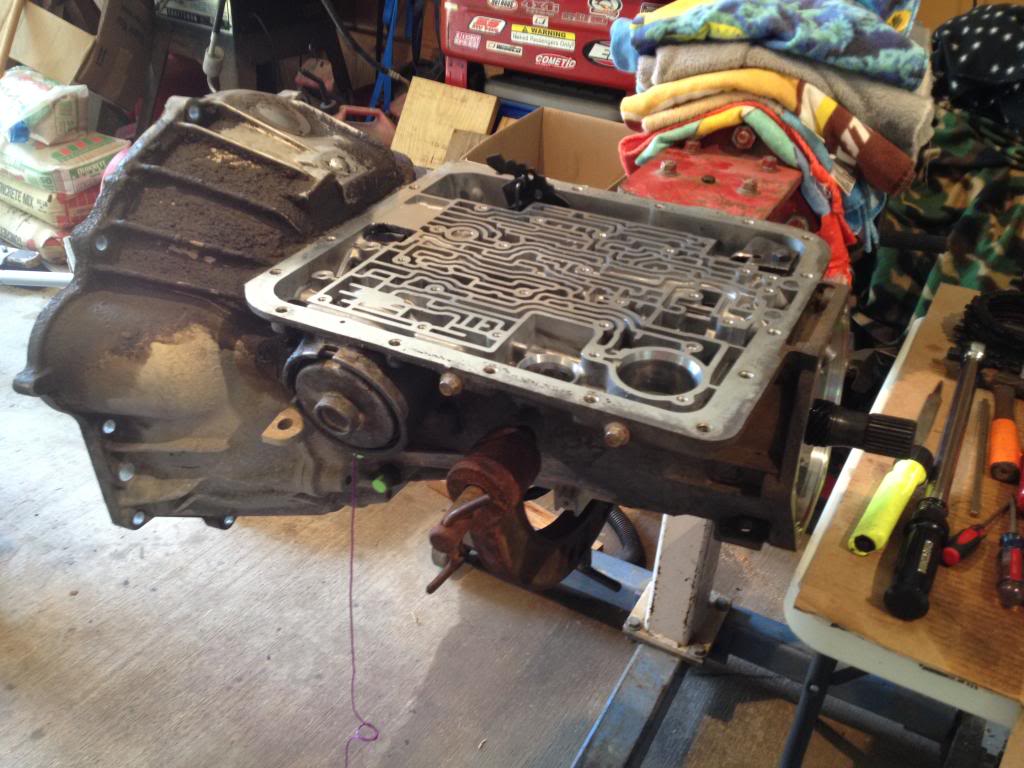
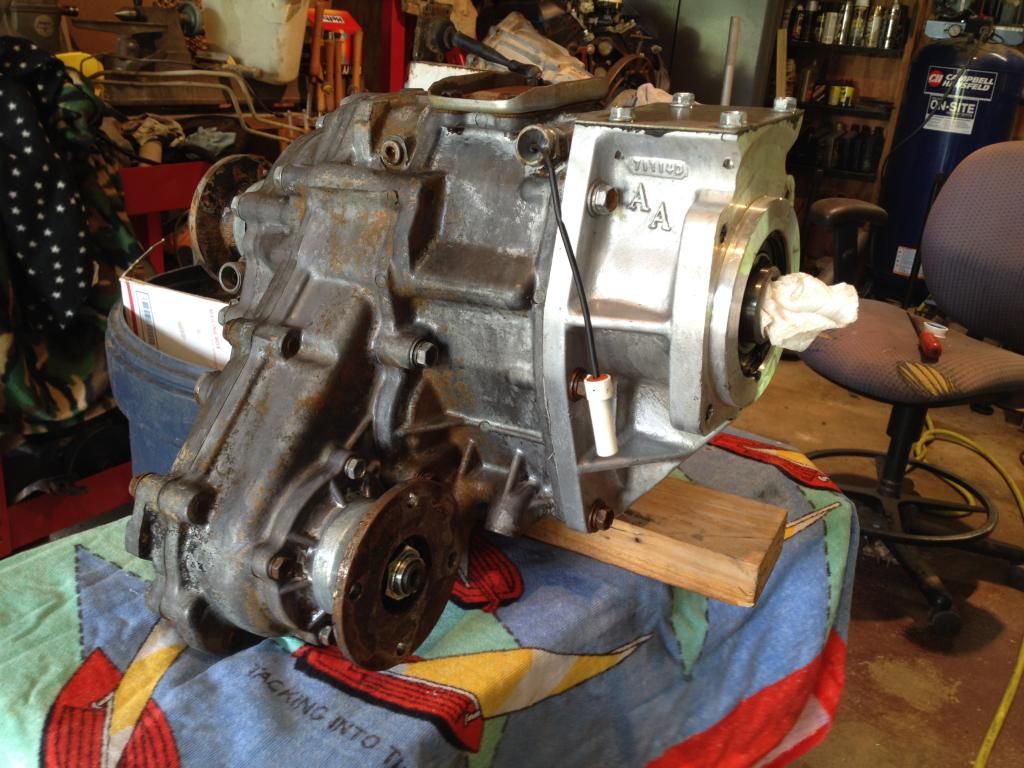
Yesterday I decided to tear into the transmission finally to change the output shaft. I got the new output shaft installed and then realized my clutches were no good. So hopefully picking up a rebuild kit today from a guy at work and I can finish the trans up tomorrow.
Trans work station
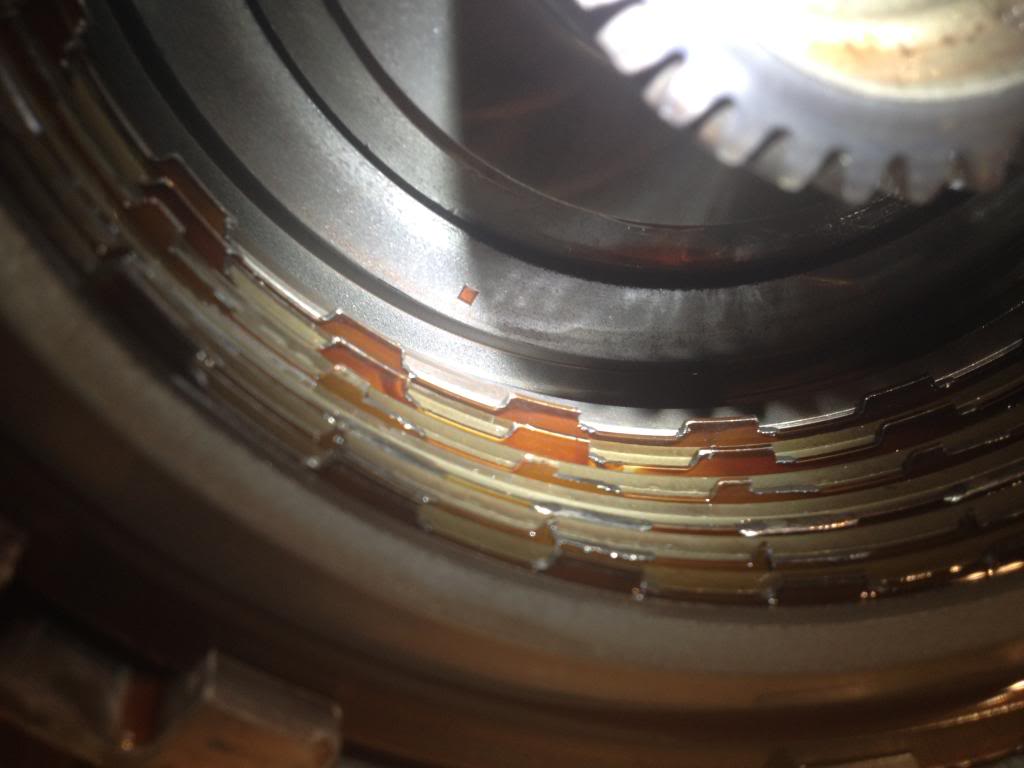
Bad Clutch Teeth
EGR block plate and plug

Yesterday I decided to tear into the transmission finally to change the output shaft. I got the new output shaft installed and then realized my clutches were no good. So hopefully picking up a rebuild kit today from a guy at work and I can finish the trans up tomorrow.
Trans work station

Bad Clutch Teeth
 06-29-2014, 06:12 PM
#100
Registered User
Thread Starter
Well I've got a small update. I got the trans rebuilt and both trans/tcase adapters installed. Now I just gotta work on getting it all installed in the 4runner. I sold one of my dirt bikes so I have some extra money to help finish this thing. Now my hold up is time, not time and money lol
Here are some pics of progress
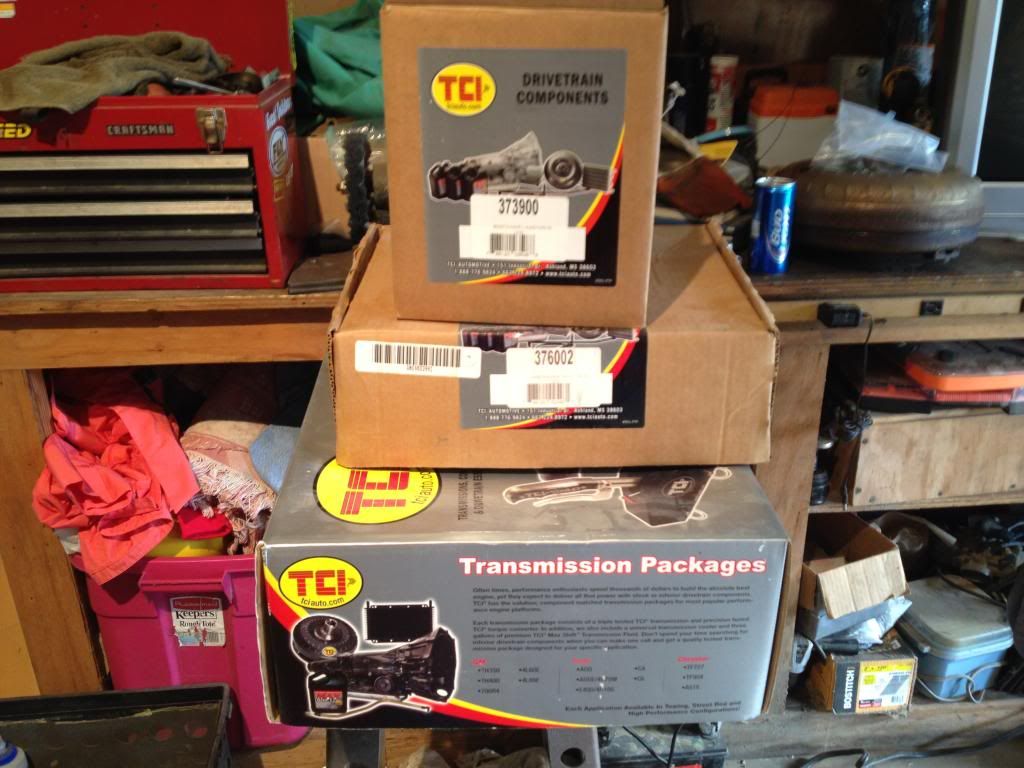

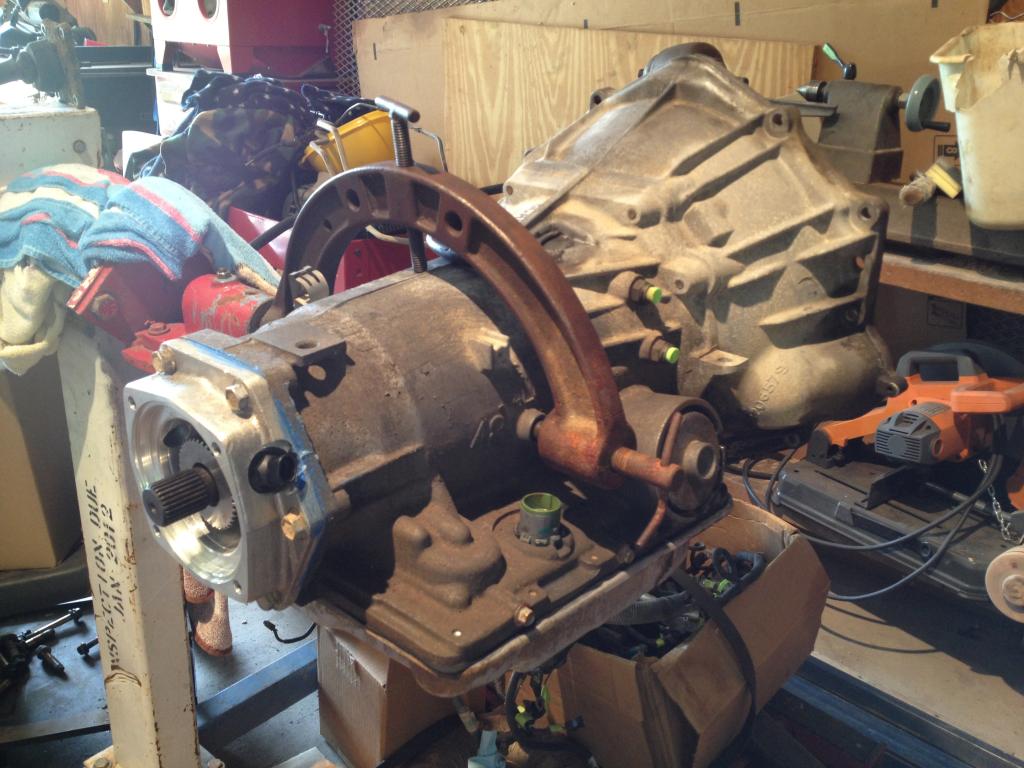
Here are some pics of progress


