Bump's '90 4Runner Build-Up
 04-02-2014, 04:51 AM
#61
Registered User
Thread Starter
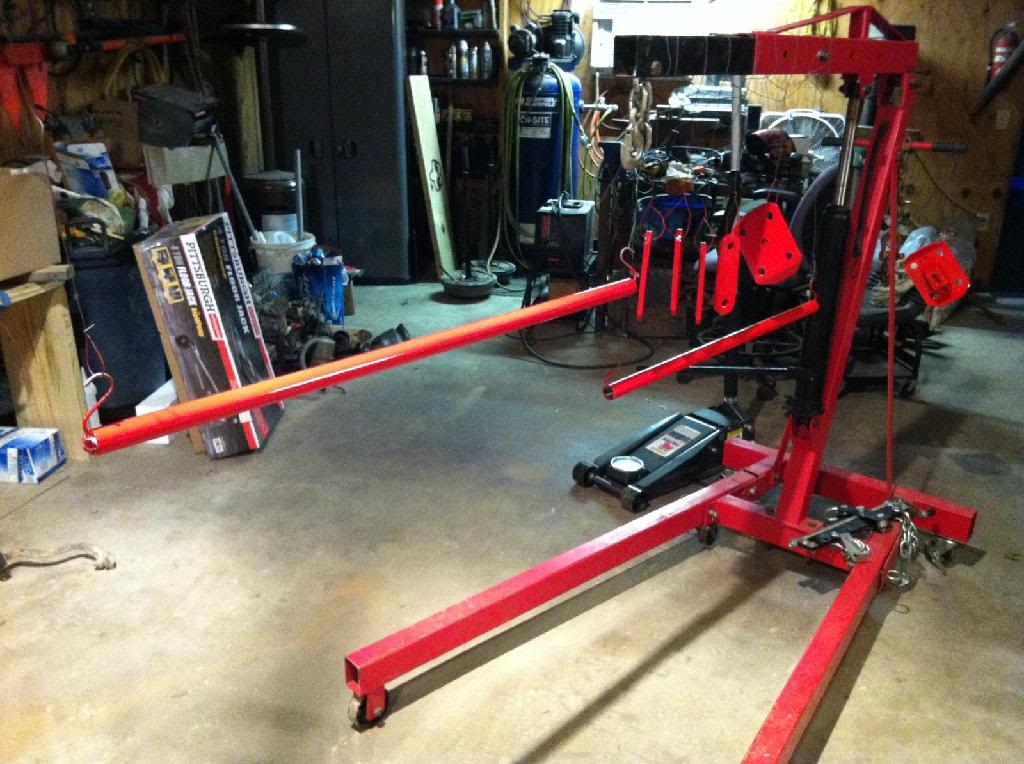
Well the tear down of the 4runner has begun. I cleaned the shop up a little yesterday and pulled it in. I think I only have the bell housing bolts and starter left to pull before the motor will come out. I didnt take many pictures, but here is what I have.
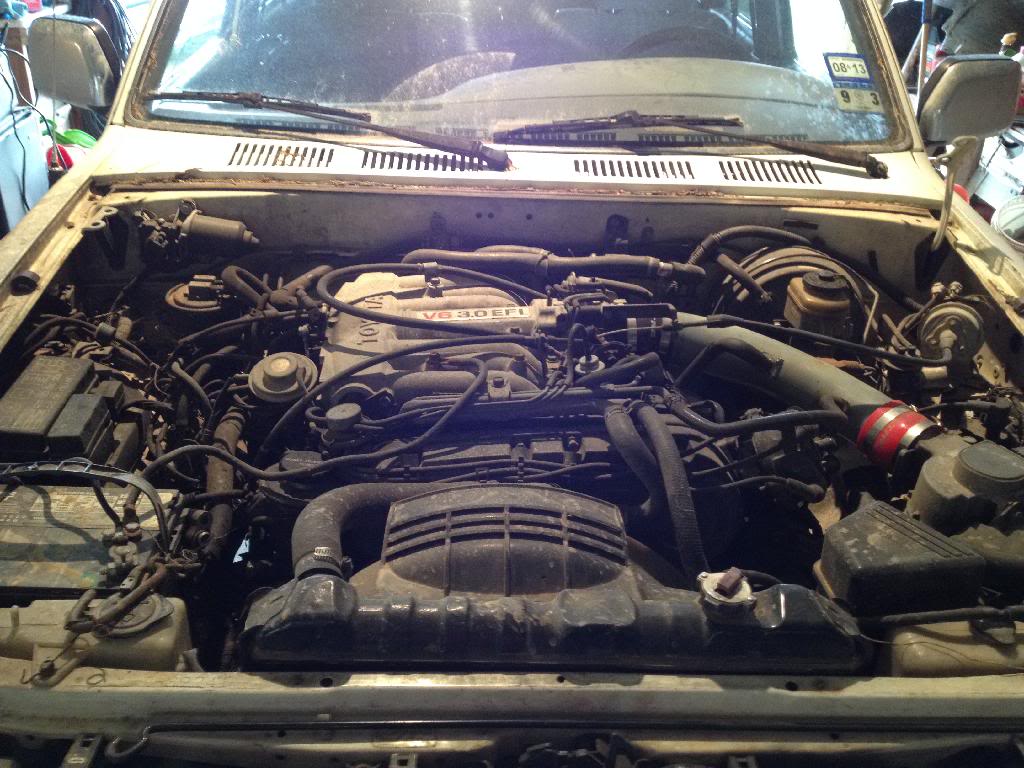
The last pic of a complete running 3.0 in this 4runner
Heres were we stopped.
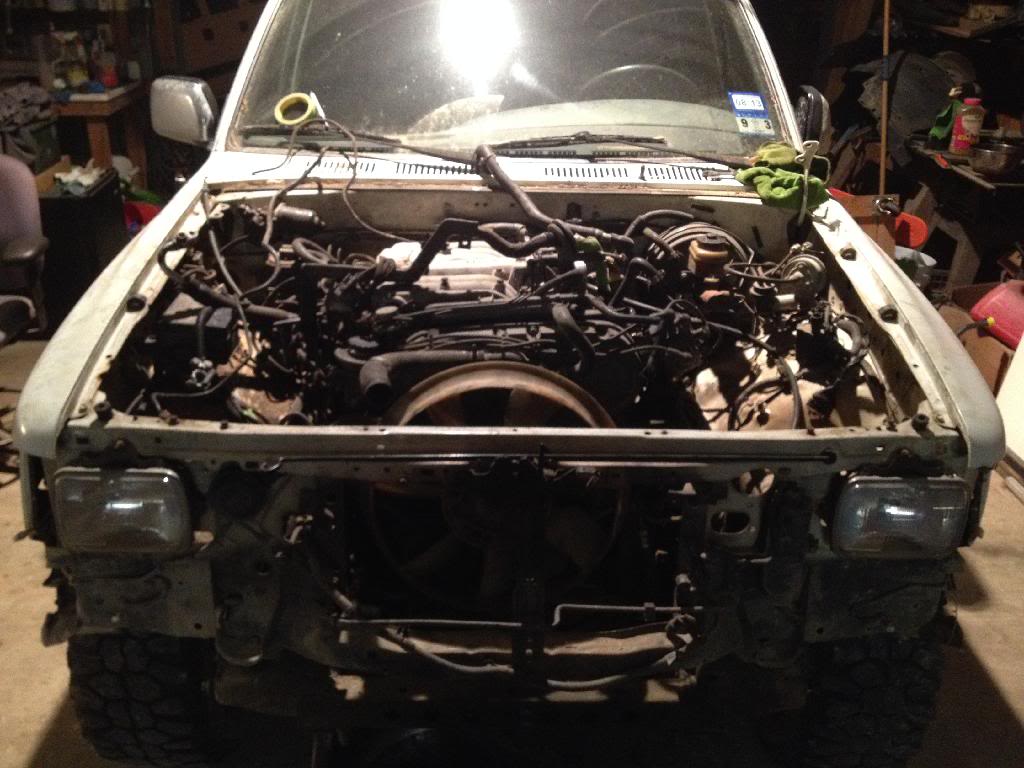
Im so glad I dont have to worry about hooking all those vacuum lines back up. It was nice to just pull them loose and not worry about them lol.
The last pic of a complete running 3.0 in this 4runner

Heres were we stopped.

Im so glad I dont have to worry about hooking all those vacuum lines back up. It was nice to just pull them loose and not worry about them lol.
 04-02-2014, 06:17 AM
#63
Registered User
Thread Starter
I hope this build doesnt drag out too much longer from this point, but with the medical bills racking up from my sons last surgery, it will prolly take alot longer than Id like. Thats just part of life tho.
Last edited by bump530; 04-02-2014 at 06:18 AM.
04-04-2014, 04:52 AM
#64
Registered User
Thread Starter
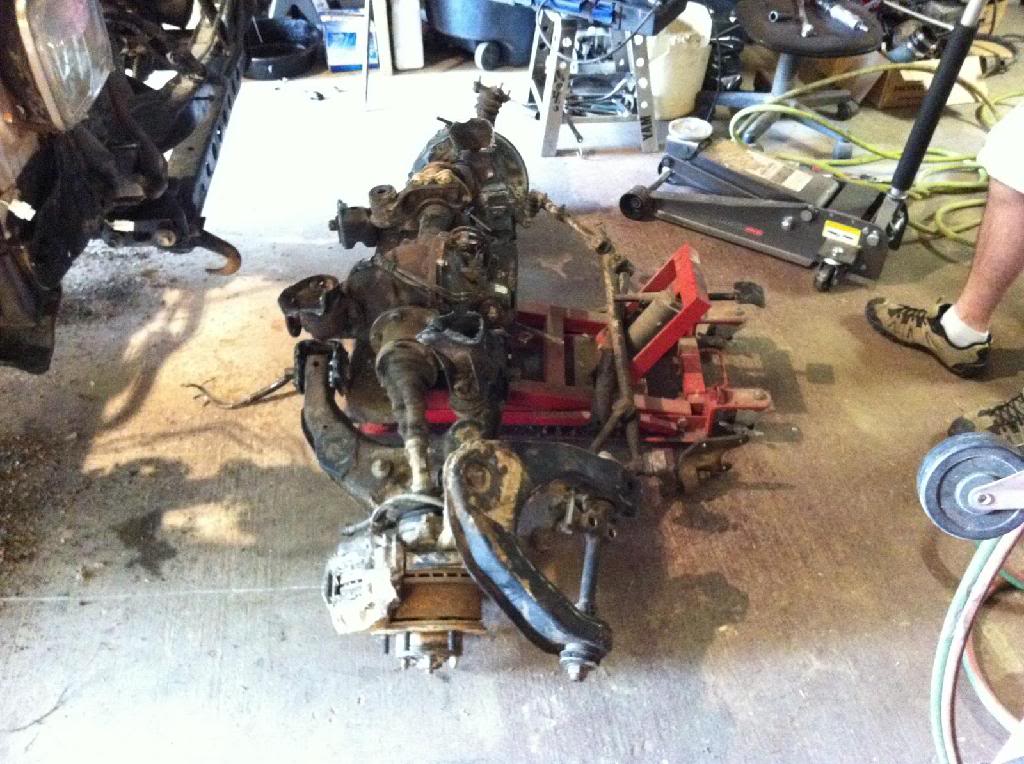
Well I had another successful night in the shop.
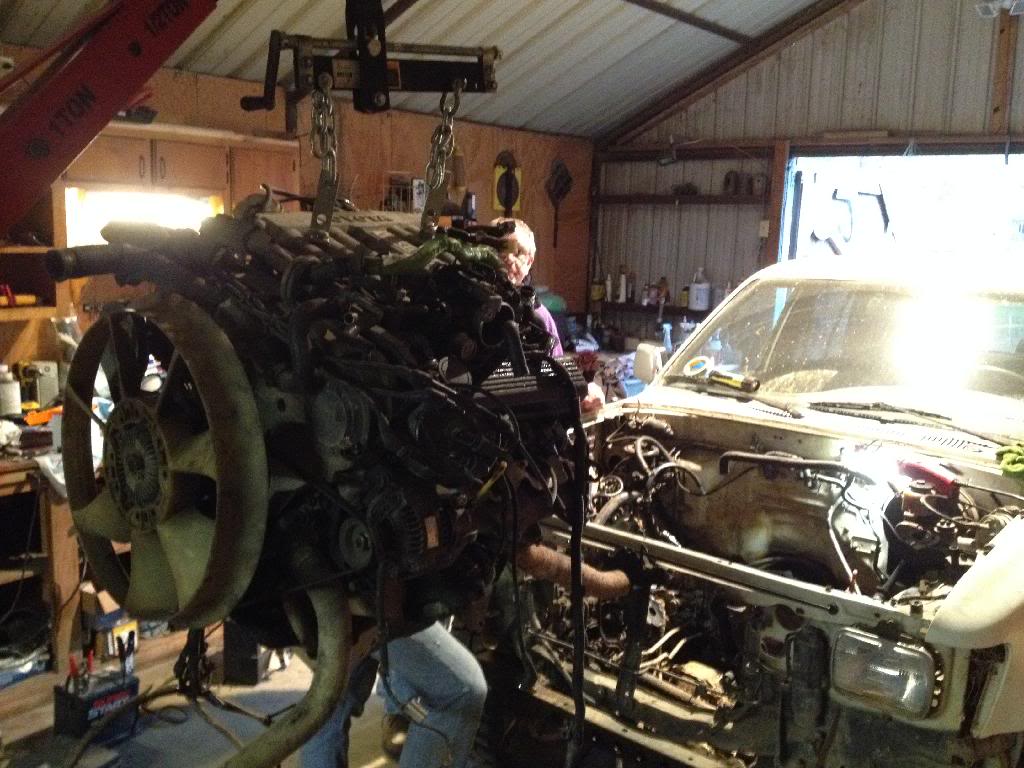
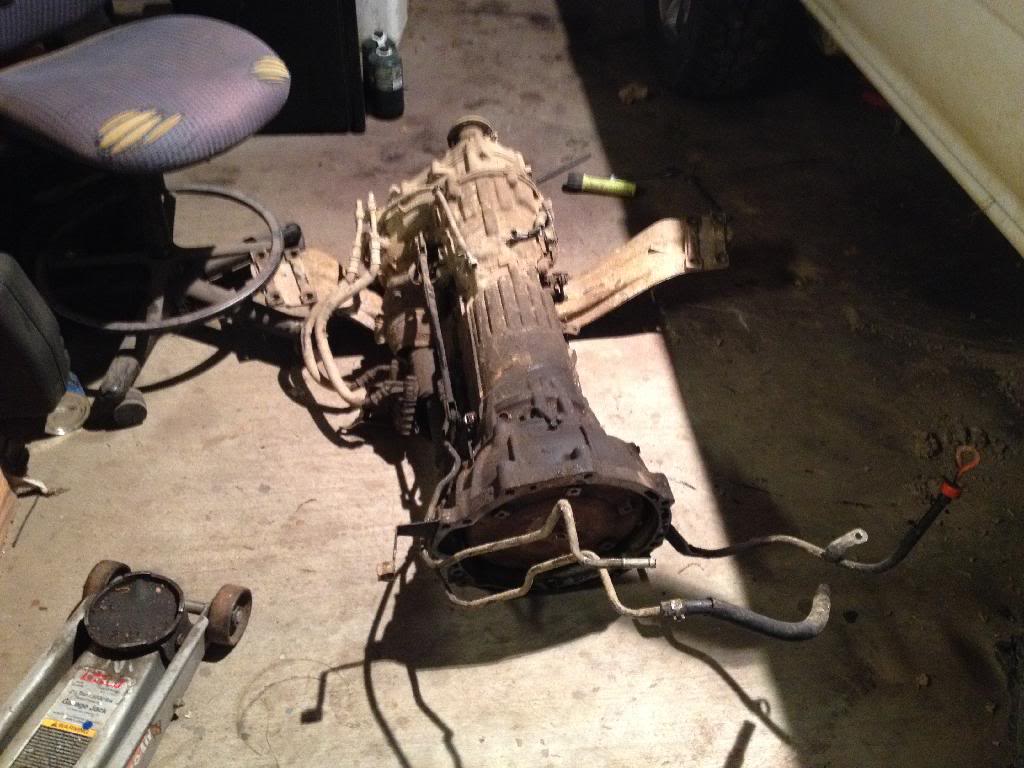
The motor/trans/tcase is finally out. My next move is to clean up the 4runner and then start of the suspension swap.


The motor/trans/tcase is finally out. My next move is to clean up the 4runner and then start of the suspension swap.
04-04-2014, 05:21 AM
#66
Registered User
Thread Starter
Thanks. It feels good to finally start working on the 4runner itself. Ive been collecting parts and working on the axles for 9 months now. Actually I bought the 4runner a year ago this month. So the planning has been going on for a while now lol.
04-10-2014, 10:30 AM
#67
Registered User
Thread Starter
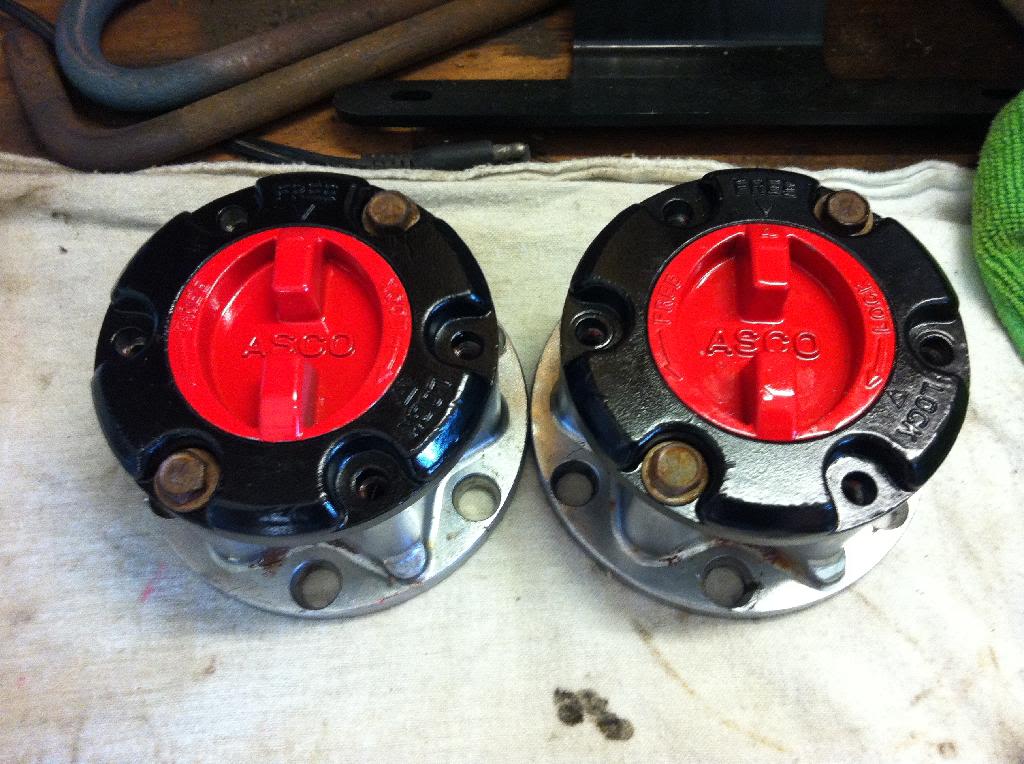
I dont really have much to update, but I did at least get my locking hubs rebuilt. Just need to install them. Other than that, Ive just been doing some studying of the 3.0 wiring to see what I need to cut out of the motor harness and cleaning up the 4runner a little.
My plan to is to some more this evening after work. I MAY pull the 4runner back into the shop this weekend and start on the SAS.
Heres a pic of the hubs for those interested, I plan to get some stainless bolts for the hub face...
My plan to is to some more this evening after work. I MAY pull the 4runner back into the shop this weekend and start on the SAS.
Heres a pic of the hubs for those interested, I plan to get some stainless bolts for the hub face...
 04-11-2014, 04:57 AM
#69
Registered User
Thread Starter
Yup. My axle only had one hub on it when I got it and the inner hub gear was broke in some areas where the clip holds it on. So i got these from a axle my buddy picked up. I almost painted them back to the original blue, but decided to keep with my red theme lol.
Well I cut of the 2 engine-body wiring connectors off the engine wiring and moved the 3.0/trans/tcase out of the shop yesterday. I just cut eat wire as long as I could and I will sort out which ones are needed later. Im borrowing a pressure washer today after work to try to clean up the frame. The front portion is coated in oil/grease from years of the 3.0 and power steering leaking. There might also be some mud lol.
Well I cut of the 2 engine-body wiring connectors off the engine wiring and moved the 3.0/trans/tcase out of the shop yesterday. I just cut eat wire as long as I could and I will sort out which ones are needed later. Im borrowing a pressure washer today after work to try to clean up the frame. The front portion is coated in oil/grease from years of the 3.0 and power steering leaking. There might also be some mud lol.
04-12-2014, 05:45 PM
#70
Registered User
Thread Starter
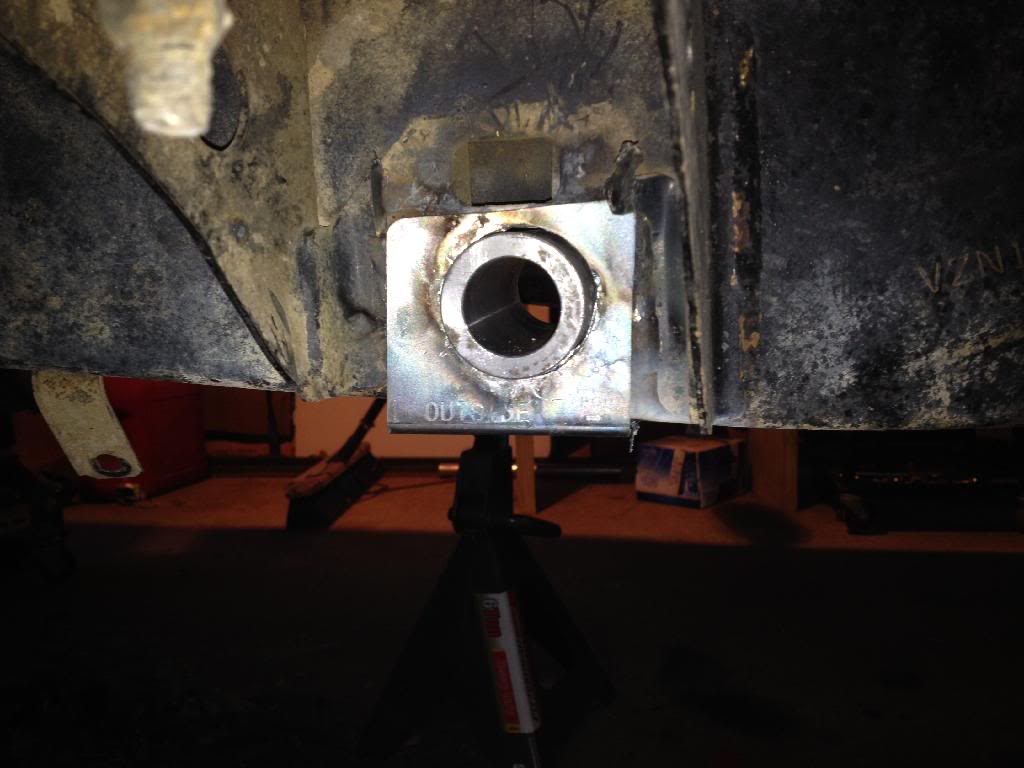
I got the 4runner cleaned up and some parts painted. I should be pulling it into the shop tomorrow and start the SAS. Plan for tomorrow is to get the IFS cut out and grind frame smooth.
Here's a pic of the painted parts
Here's a pic of the painted parts
 04-14-2014, 04:18 AM
#71
Registered User
Thread Starter
Well I didnt get everything done, but here is a pic of what happened...
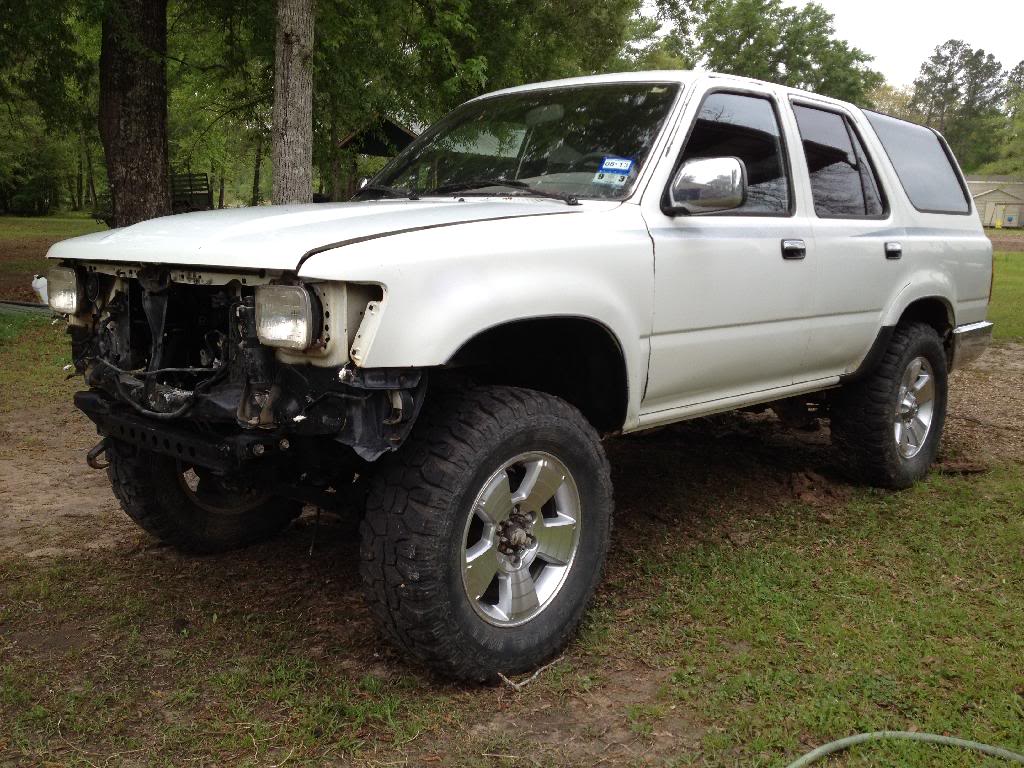
The IFS fell out lol. I still have the frame to clean up tho. Also here is pic of the clean 4runner right before surgery.
Hope to have it sitting on its own weight again by Friday. Then work can start on the rear leaf swap.

The IFS fell out lol. I still have the frame to clean up tho. Also here is pic of the clean 4runner right before surgery.

Hope to have it sitting on its own weight again by Friday. Then work can start on the rear leaf swap.
04-14-2014, 06:09 AM
#73
Registered User
Thread Starter
It did fall out, but it was assisted by Victor (the torch) and a BFH lol. Im definitly ready to see this thing sitting on the front axle. I ordered the SAS kit back in October. Ive had it way too long lol.
04-16-2014, 04:33 AM
#74
Registered User
Thread Starter
Well me and a buddy went at the front frame rails last night. We got the passenger side about 95% done. The driver side still needs alot. I ran out of acetylene on my torch so I could finish torching the brackets off that side. This part of the build sucks lol. Im glad I have the motor out so I can clean all the brackets off at one time tho. I doubt I have time to do anything this evening, but Ill be back on it Thursday evening. Hope to get this part done lol.
Here is a picture of my buddy grinding on the passenger side
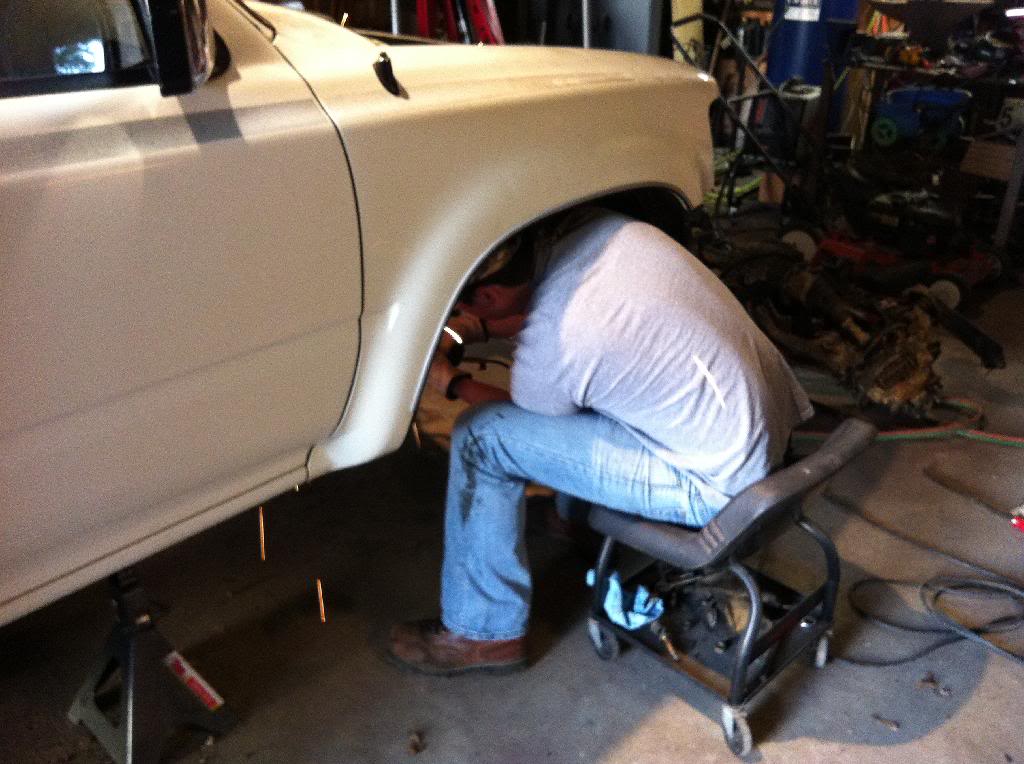
Here is a picture of my buddy grinding on the passenger side
 04-23-2014, 04:49 PM
#75
Registered User
Thread Starter
Well I'm almost done grinding the brackets off the frame. Plan is to finish that tomorrow and hopefully get the axle under it.
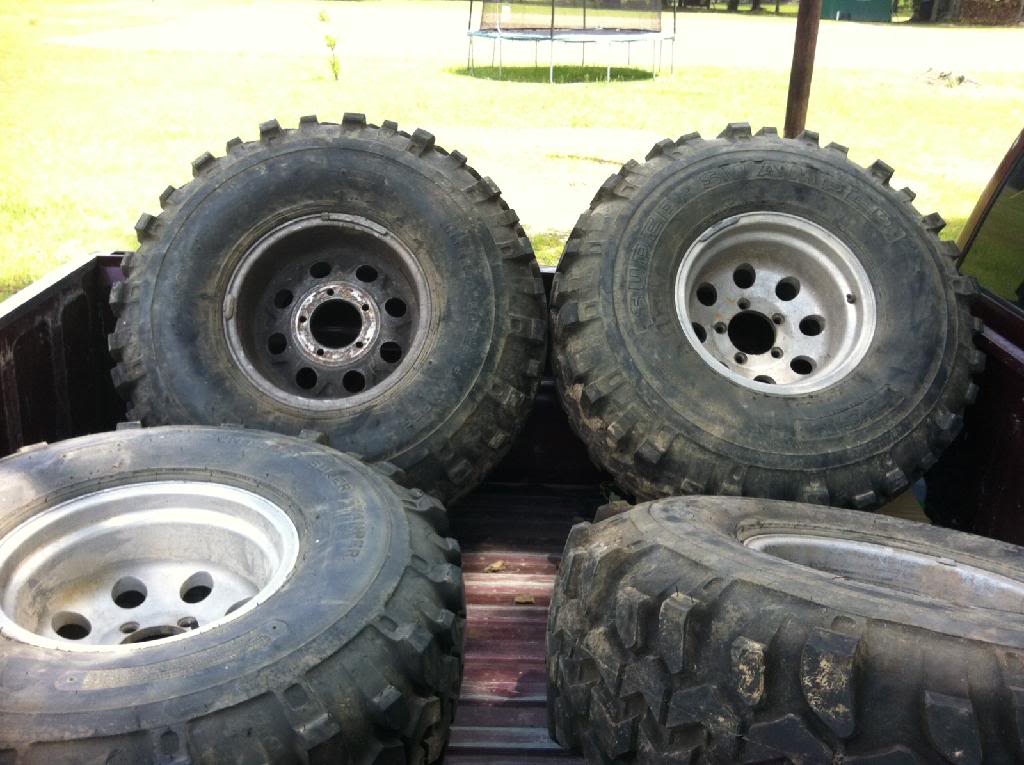
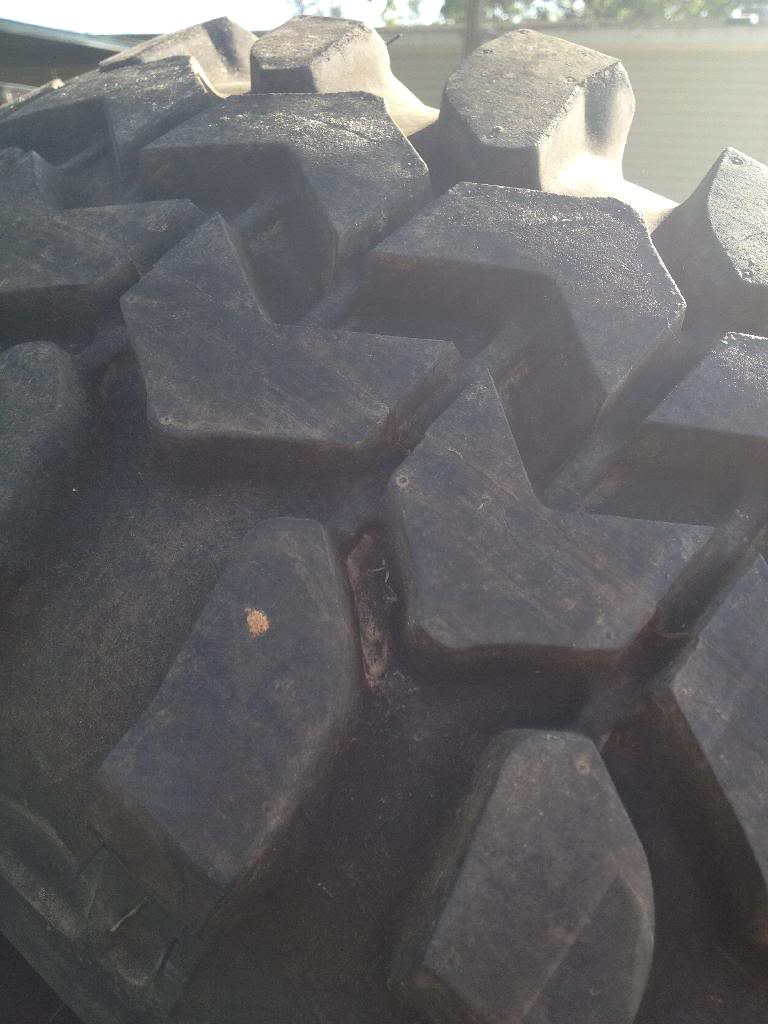
I did pick up something for the 4r today... TIRES!!! I picked up a set of like new 36x12.5x15 TSL Super Swampers. I wasn't looking to spend the money right now but it was a really good deal that a friend posted on Facebook this morning, so I jumped on them. The wheels aren't right bolt pattern but they should sell easy and for more than enough to buy some steel wheels. Here are a couple pics.
Hopefully I'll have something good to report.
I did pick up something for the 4r today... TIRES!!! I picked up a set of like new 36x12.5x15 TSL Super Swampers. I wasn't looking to spend the money right now but it was a really good deal that a friend posted on Facebook this morning, so I jumped on them. The wheels aren't right bolt pattern but they should sell easy and for more than enough to buy some steel wheels. Here are a couple pics.


Hopefully I'll have something good to report.
04-23-2014, 04:57 PM
#76
Making good progress!! The grind in and cutting of the ifs is the worst of it. I recommend using a hole saw to cut out the holes for the frame tubes. I just used those on the SAS I'm doing for a friend. Made life a lot easier.
That's a nice score on the tires. I love deals like that. Especially when you can sell the rims to offset the cost of another rim purchase.
That's a nice score on the tires. I love deals like that. Especially when you can sell the rims to offset the cost of another rim purchase.
04-23-2014, 05:06 PM
#77
Registered User
Thread Starter
Making good progress!! The grind in and cutting of the ifs is the worst of it. I recommend using a hole saw to cut out the holes for the frame tubes. I just used those on the SAS I'm doing for a friend. Made life a lot easier.
That's a nice score on the tires. I love deals like that. Especially when you can sell the rims to offset the cost of another rim purchase.
That's a nice score on the tires. I love deals like that. Especially when you can sell the rims to offset the cost of another rim purchase.
04-27-2014, 05:39 PM
#80
Registered User
Thread Starter
Well I got the frame rails cleaned up and then...
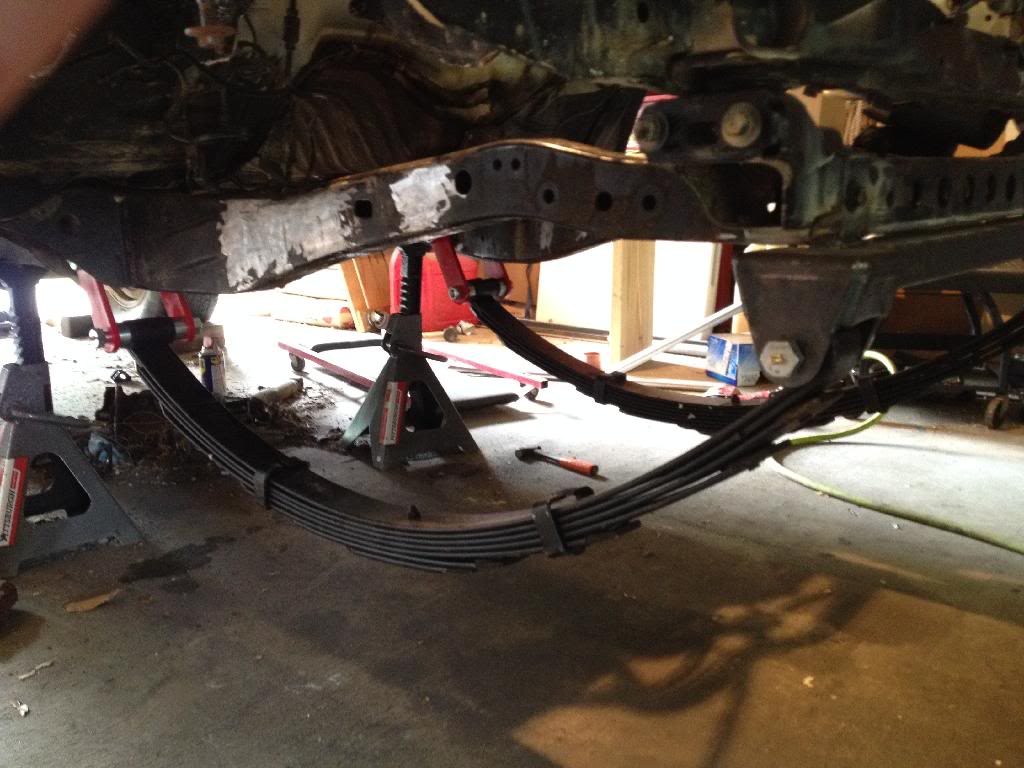
The springs are hung. I used a piece of 1" EMT to square the frame tubes with one another and get the in the right spot. It's slow progress but it's progress lol.


The springs are hung. I used a piece of 1" EMT to square the frame tubes with one another and get the in the right spot. It's slow progress but it's progress lol.


