When you click on links to various merchants on this site and make a purchase, this can result in this site earning a commission. Affiliate programs and affiliations include, but are not limited to, the eBay Partner Network.
Thanks Les! Still plenty more to come, I have yet to share. Next will be the exhaust and Replacing the rear main seal and how the PO decided to stop; slow the leak 😂😂
I am getting my Pacesetter header ceramic coated, anyone have any experience with ceramic coating their headers? I've only done it on my YFZ 450's header to reduce heat.
Hey man yr builds great I'm in Portland and have a little girl now too!! Just read yr whole build I've been keeping my 2nd generation runner just stock for now I have a bunch of crap to do on my 1st gen I got a axle in the garage and a hysteer now. Just gotta get rest of parts. I have a fabricator buddy out in mollolla who will put together some jigs and front hangers for pretty cheap. Love to meet up some time and go over some yota stuff with another enthusiast. I've never done a sas before so I'm trying to drain everyone of their knowledge. What part of town are u in? I'm in inner south east might moving out to the coast of the owner decides to sell the property for condos! Any ways see ya around man can't wait to see some more
Let's see. First off, driving home last week the header fell off. Then the distributor vacuum advance went out. I tested it with a mightyvac and the manifold advance was toast.
Most likely where all of my idle and acceleration woes came from.
I removed my header from the exhaust and sent it to be ceramic coated yesterday; Oregon Powder Coaters got the job. Purchased a brand new distributor, $60 for new Vac advance or $100 for a new one off amazon.
Bought the seals for the rear main and recently purchased a new Miller. Summer should be a good time to start wrenching and with good whether lately it will be nice to work outside.
I also added some boom, boom. To the rig. I really just was sick of them sitting in my garage taking up space. It's what was in my 90' 4Runner when I was in my early 20's.
I might sell the subs and just run additional speakers and maybe a small 10" behind the seat.
My next project will be cleaning up my wiring and adding a fuse block. Doing the big 3 mod was very simple and my headlights don't dim when idling. Steady 13-14v now.
Last edited by BlackStone; 05-25-2016 at 10:12 PM.
Decided to remove my intake manifold and valve cover to send in for PC. Purchased more block off plates from LCE, unfortunately I snapped 2 bolt heads off. Hopefully I can find a machine shop to extract them for me.
I guess I will be purchasing a new timing cover kit and new head gasket. I figured I'm half-way there with the header and I take off the motor, and save myself the peace of mind.
I found my model number on the carb after the sonic clean. It's a "DGAV" with electronic choke? Possible the PO put the Electric choke on it?
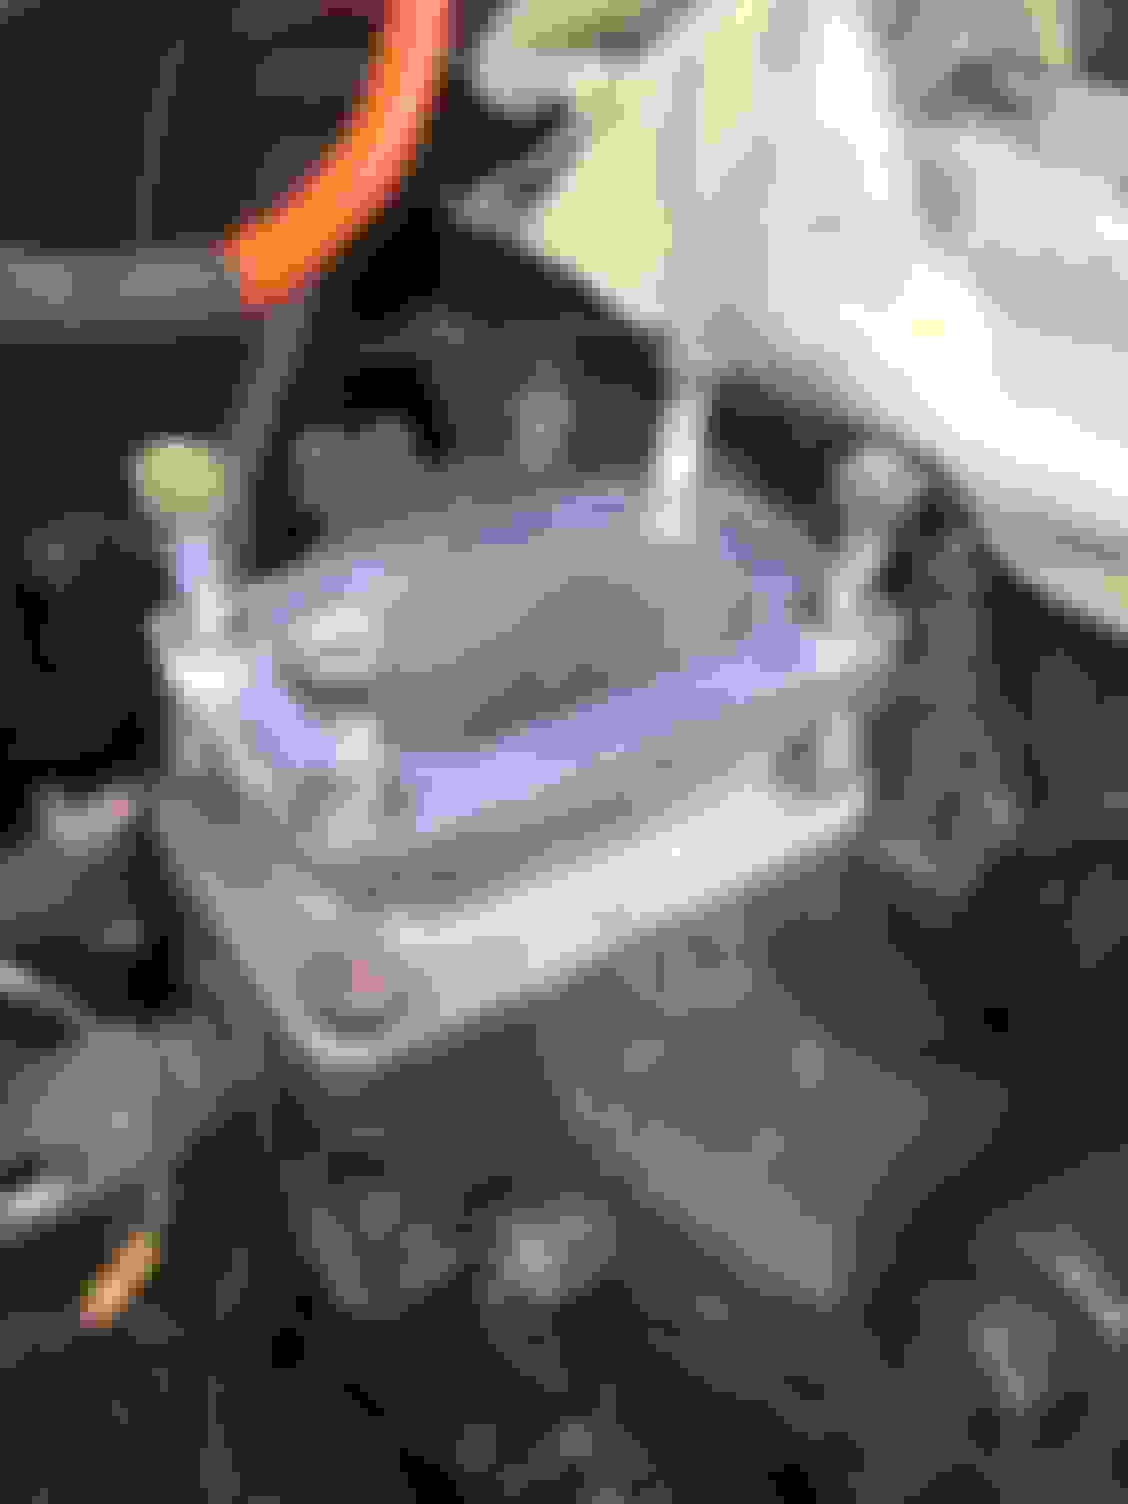
New plate! The quality of LCE's parts are amazing.
Went to my buddy's work and we both did some major carburetor overhauling.
Many mismatched screws some even the wrong thread.
On the right you can see the PO used black RTV for a gasket. Nearly all of the jets were clogged with RTV....SMDH
I want to do the Weber mod, but need some JB weld, will be doing it this weekend.
Removing EGR plugs...
Plugs pile
Solvent bath
Sonic cleaning the carburetor
Replaced all my flathead screws with allen heads. We do this to all our carbs, less chance of stripping them.
Just read through your whole thread. I love the 2nd gen body style. Looks like you have your hands full fixing all of the PO's crazy work. The exhaust pipe shock extension was pretty interesting.
Too bad on the gear box. At least you can get it all taken off and plate the frame for an IFS box when you do High steer.
Sometimes I think about swapping a 2nd gen body on my 85 frame. I just so desperately want a 2nd gen 22re.
Keep up the good work. Cant wait to see more of this build.
Installing the LCE EGR crossover plate took a lot longer than expected, what a PITD! It did help having a 1" body lift. Still was very afraid of snapping off one of the bolts, luckily it didn't happen. Waiting for the water block off plates to arrive from LCE.
Back at it again, I need to get it running. I don't like driving my Tacoma back and forth to work.
Pulled the dizzy, removing the carburetor today; Weber mod and rebuild. Painting the valve cover, just purchased the delete plate from LCE for the Intake manifold.
Does anyone have experience painting the Intake manifold? Does it need VHT high-temp paint or can I just use rustoleum and self etching primer for a base coat?
Need to check valve clearances, timing chain and guides looked good though.
Bad dizzy. Vacuum advance is toast and the plates are rusty.
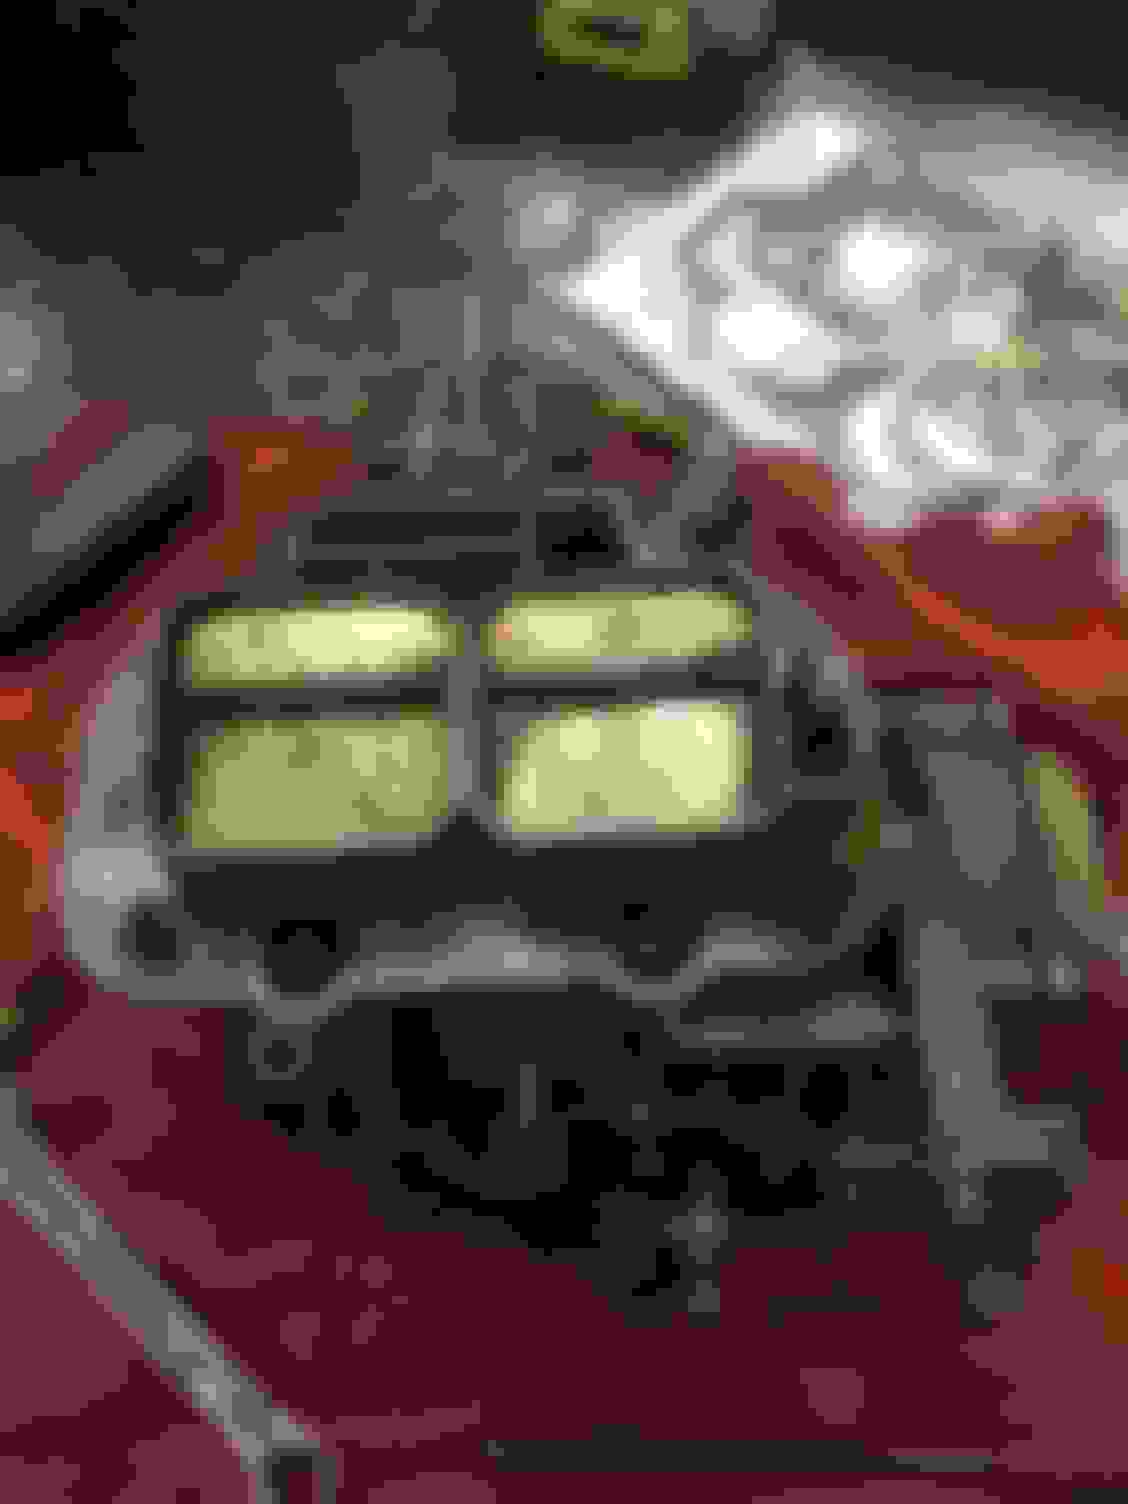
This hard line; cannot be deleted? I have the crossover block-off plate.
Hard line below the manifold removed, was just hanging there for no reason. As wel the base gasket is leaking and why I opted to buy the official delete plate from LCE
Removed the intake and carburetor today. Everything went wel, but I broke off two bolts on the underside of the manifold, SOB!
I don't think my accelerator pump has been working well either, the spring was so clogged with dirt, I had trout moving the arm.
At least the PO out a Transdapt on there!
My way of not spilling coolant and having to drain the whole radiator. Going to buy new hoses, these are shot.
You can see the shiny studs where the heads of the bolts snapped off! Should be able to get them out with vice grips and some heat. As well need to remove all of the plugs that are still on it from the EGR stuff.
I just realized that some of my pictures and information was replied to a auburn ected thread! LOL!! I've been wondering why some of my photos and info. Never made it to my thread, scrolling down by accident revealed what I did. D'oh!
 03-27-2016, 08:59 AM