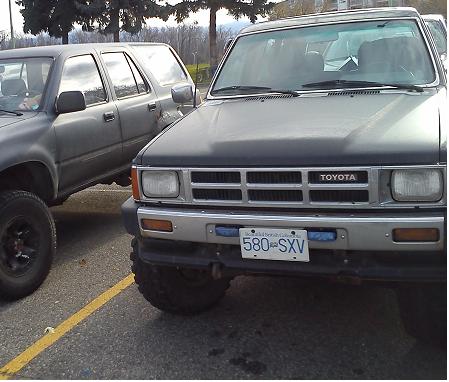
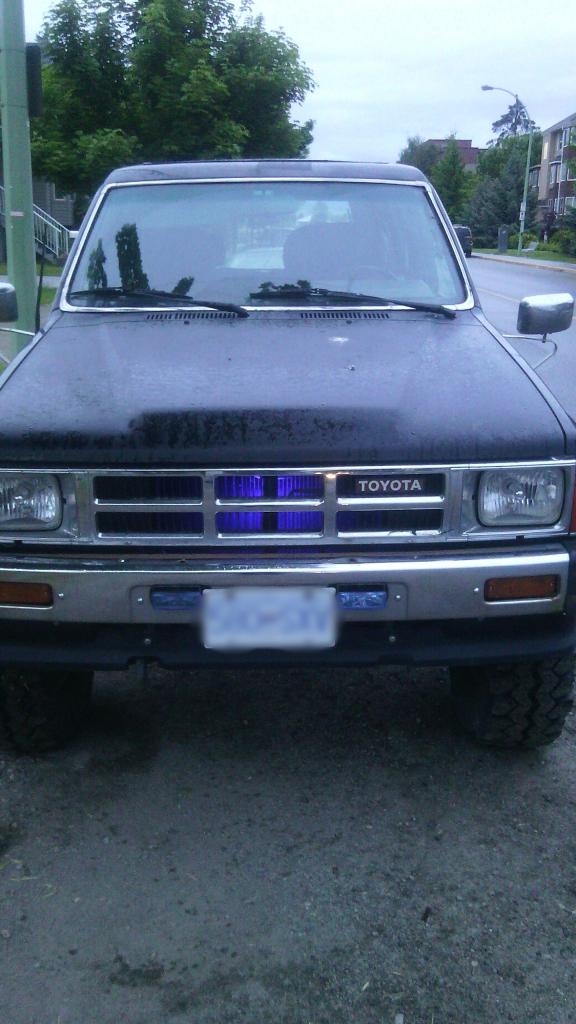
betty. our 86 4runner
 03-24-2014, 08:43 PM
#1
Registered User
Thread Starter
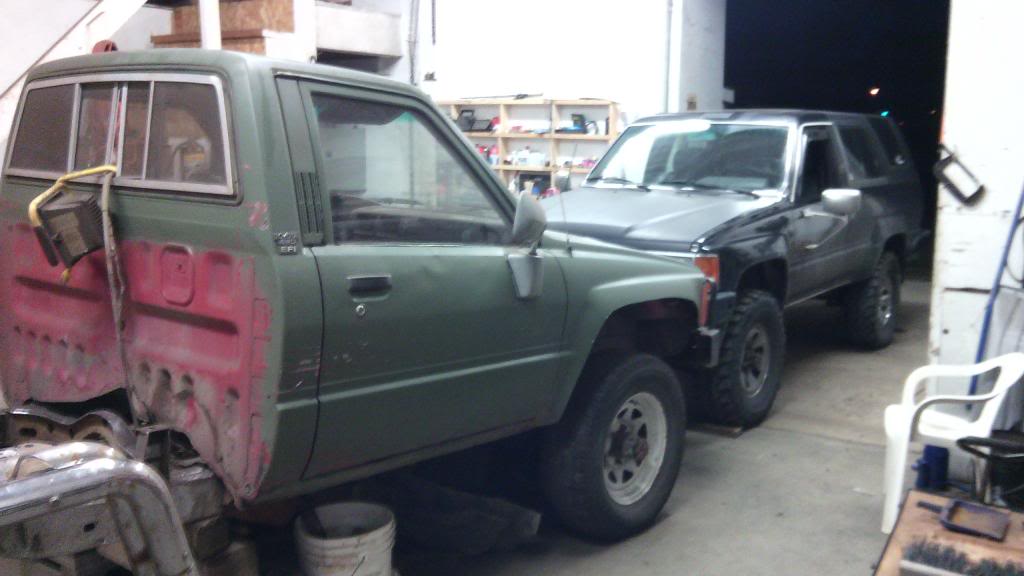
betty. our 86 4runner
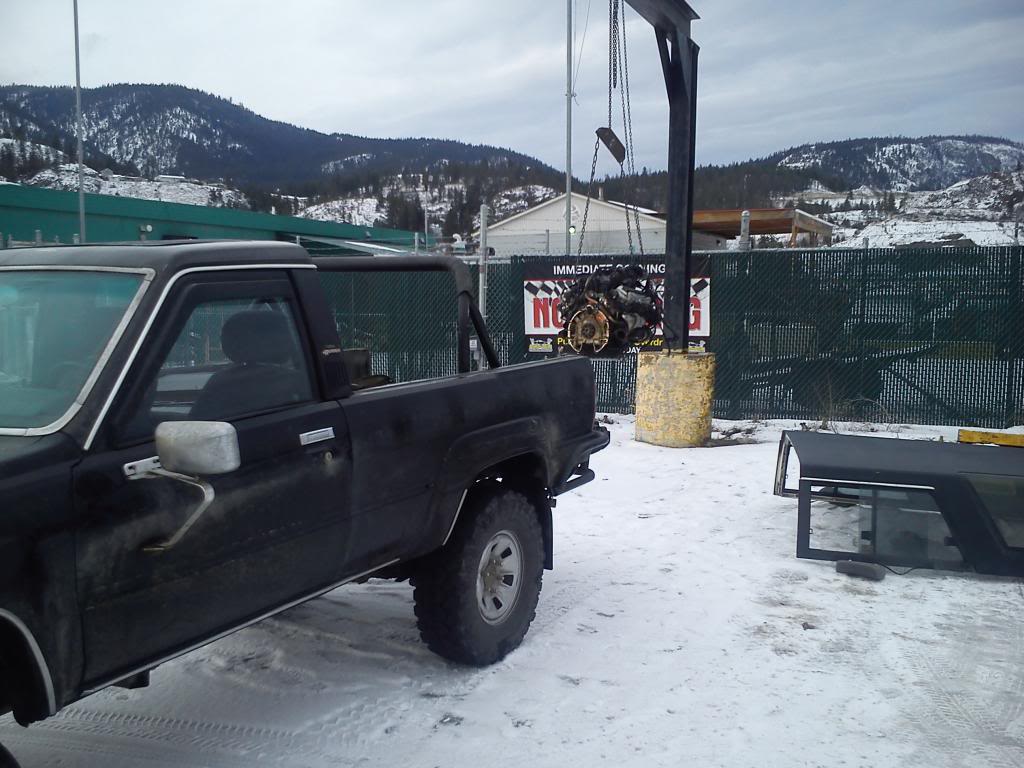
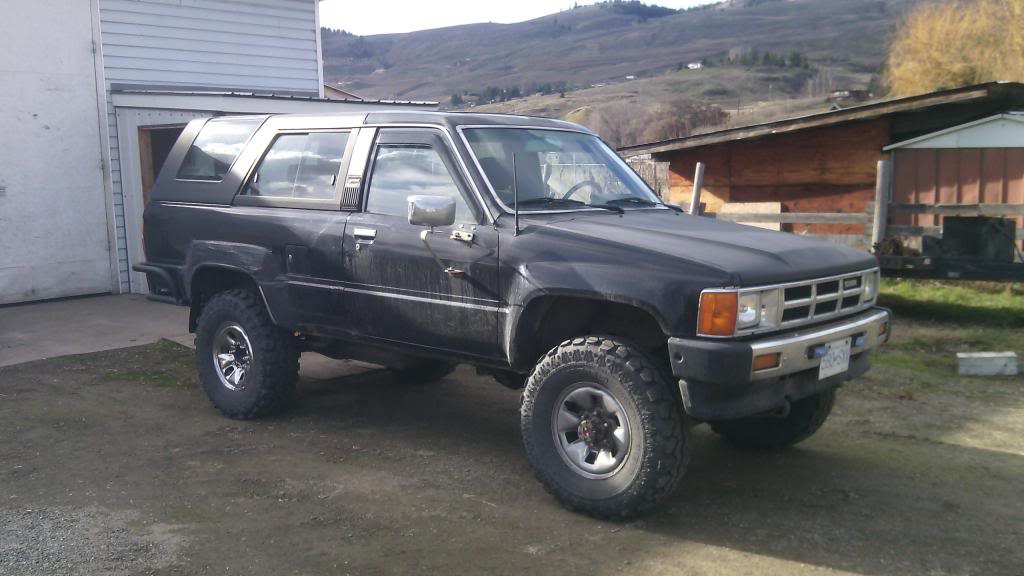
this is betty.
my gf's dd.
The first real issue/ repair not just boredom mod,
she was driving betty to langley from kelowna (350 km.. not sure what it is in miles lol oh, canada...)
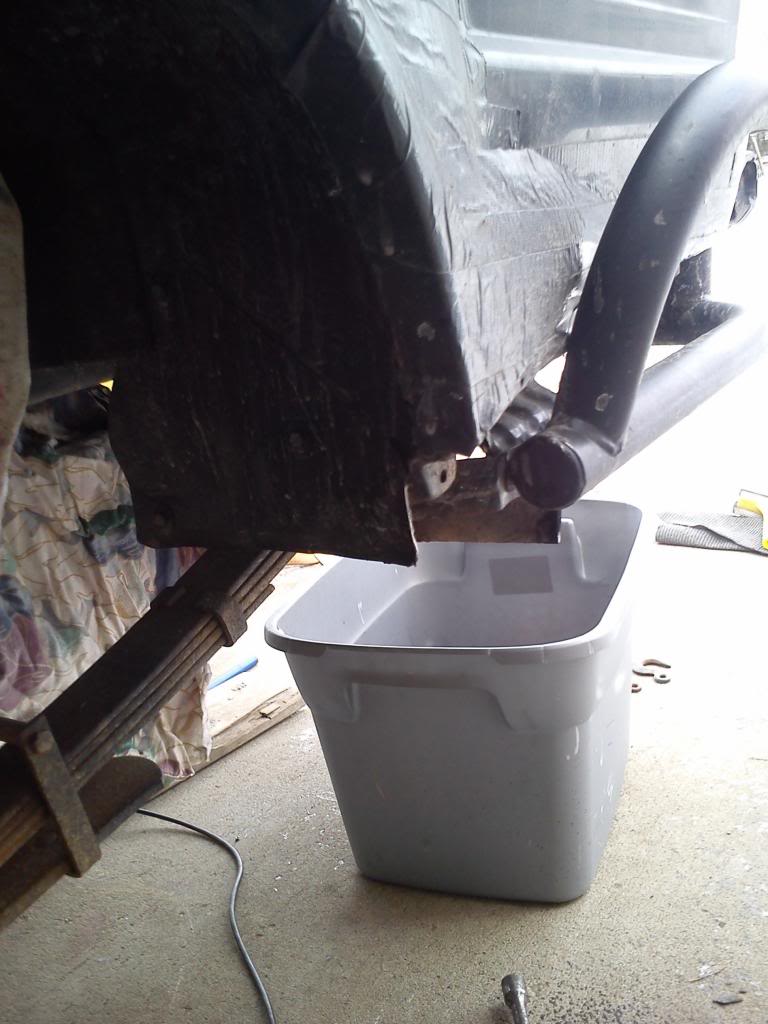
and right as she got to the exit to get onto the Connector(main hwy) it just... wouldnt stop. she had to gear it down and pumped basically all the brake fluid out trying to slow down, but shes safe, i brought her our car and got the truck picked up and hauled home.
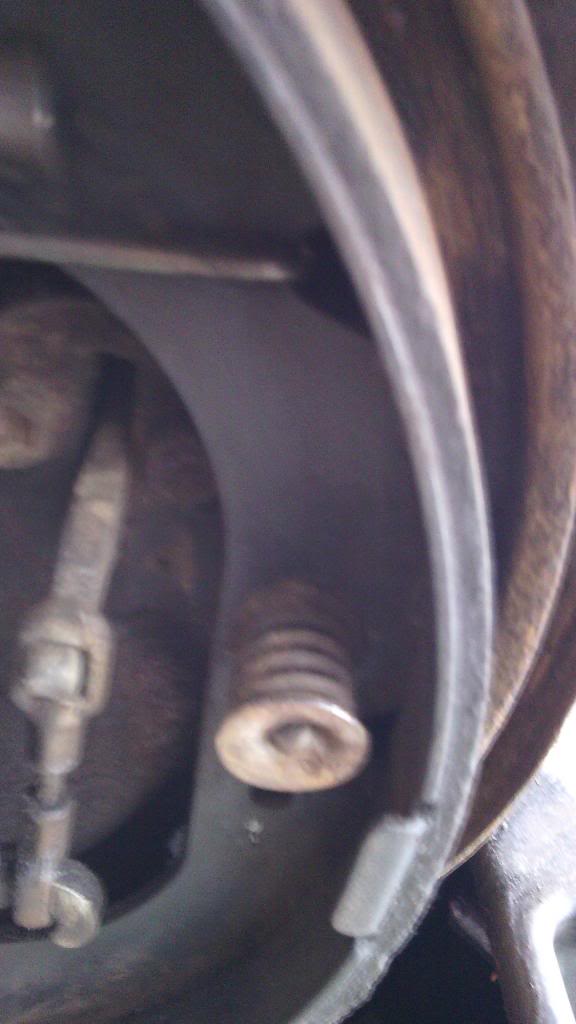
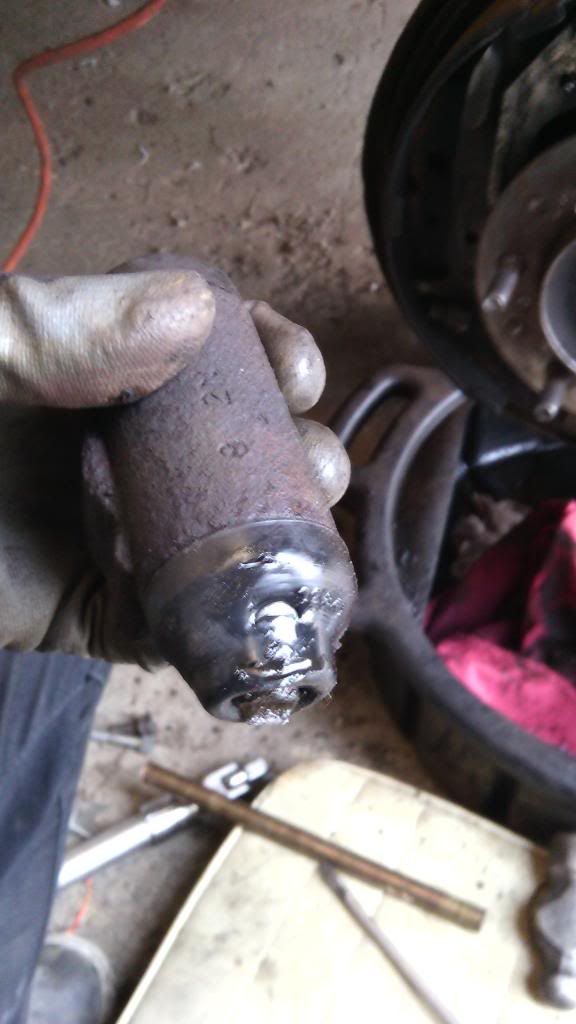
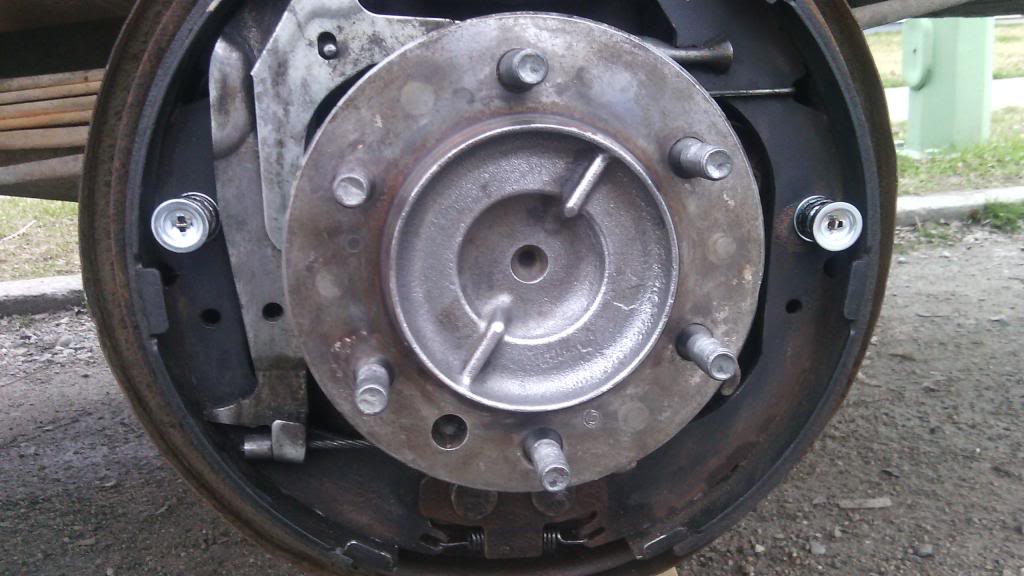
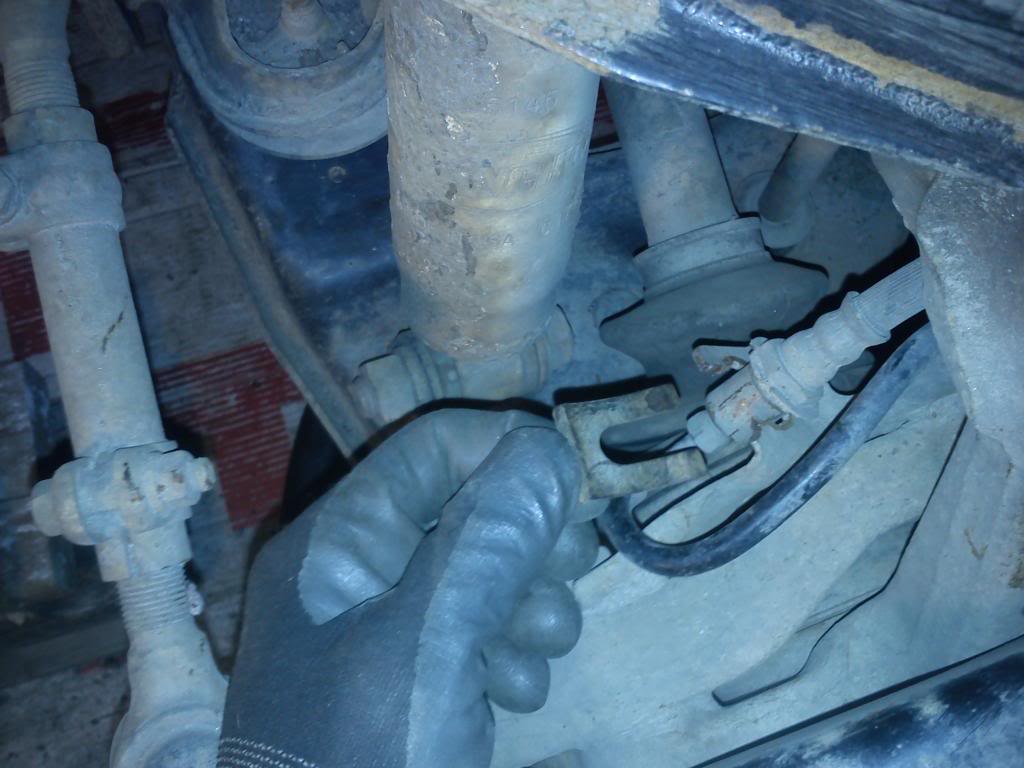
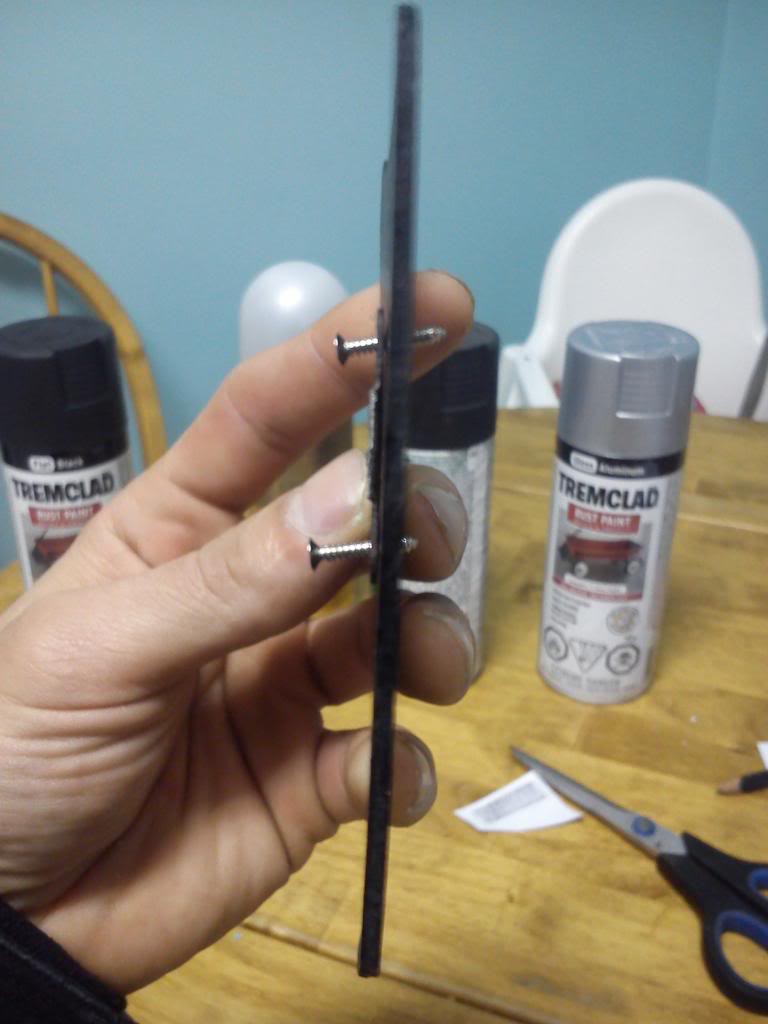
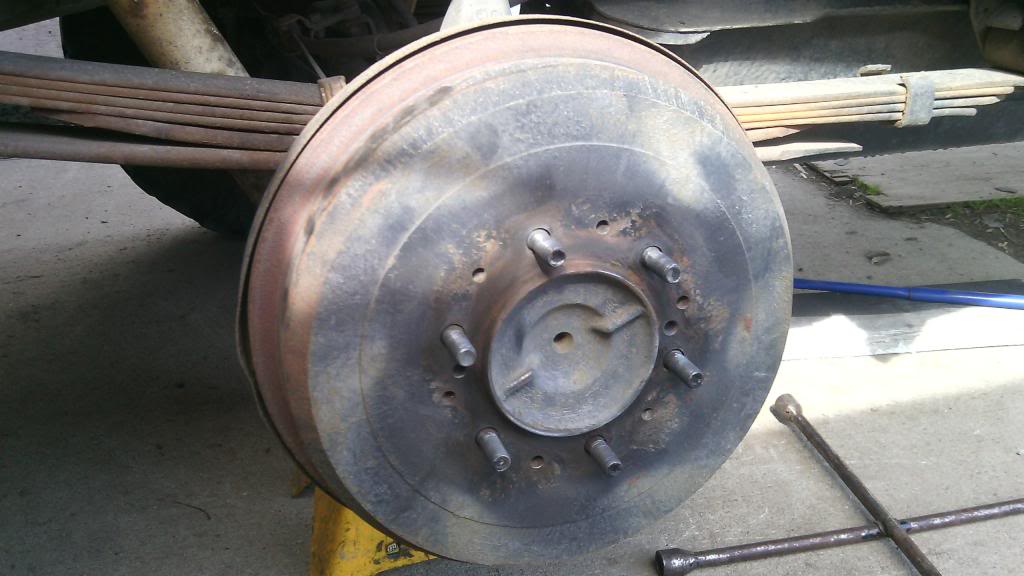
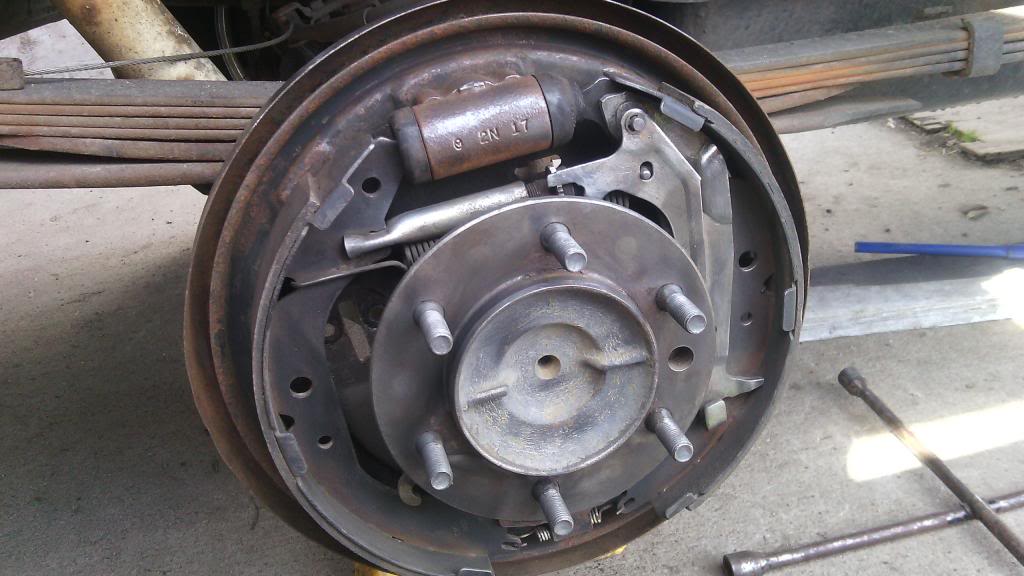
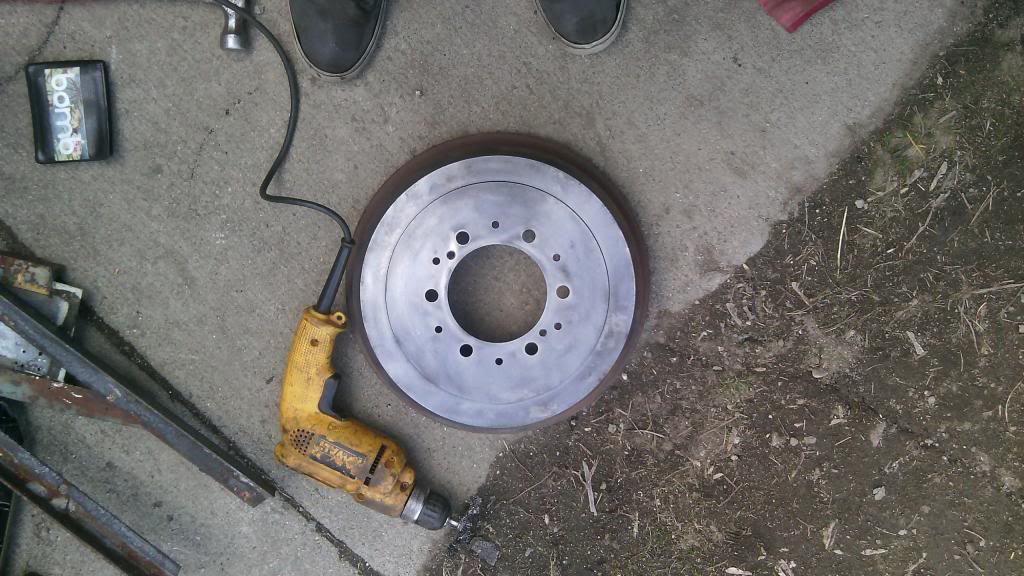
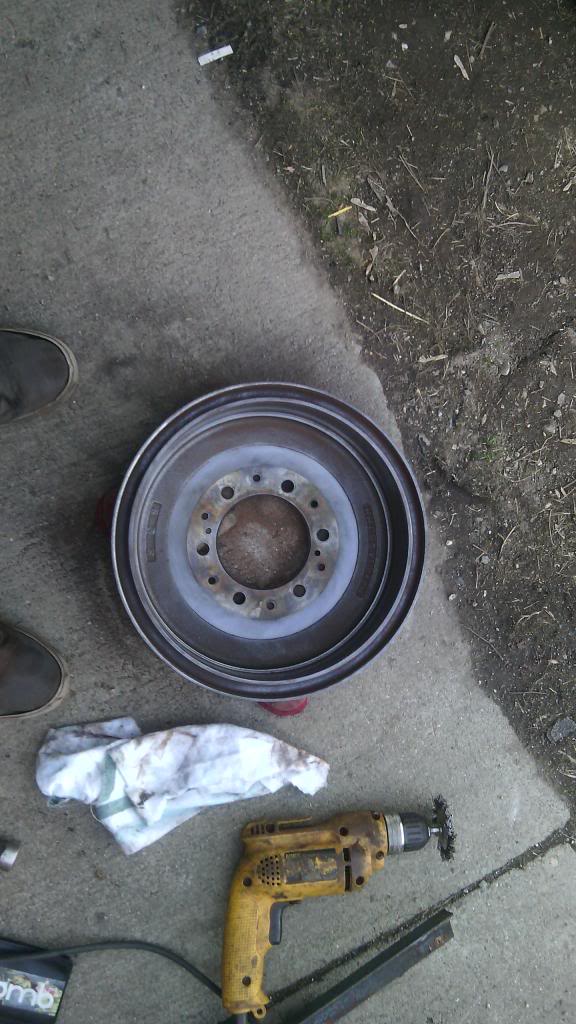
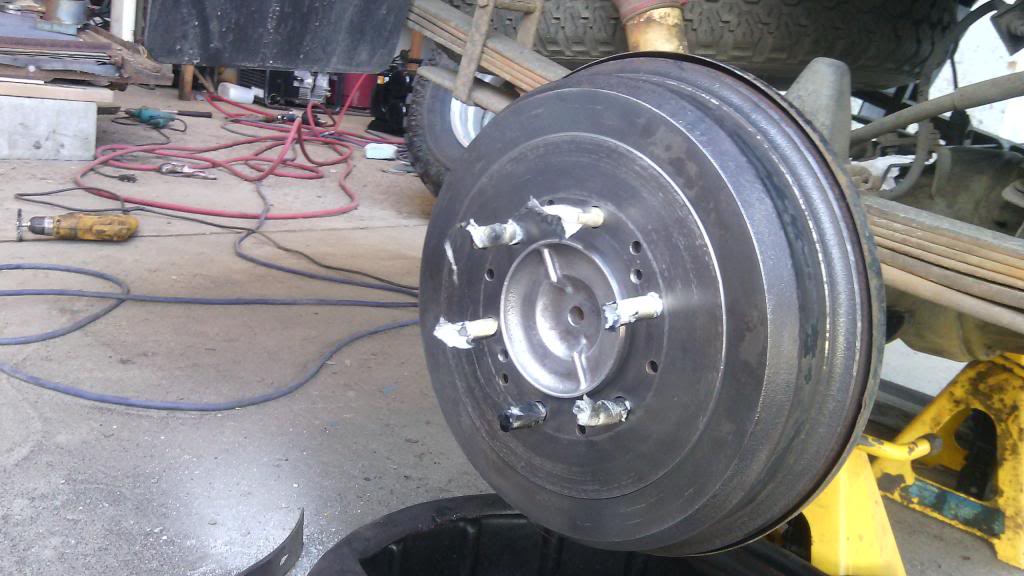
this is After wrestling it apart this is what i had to deal with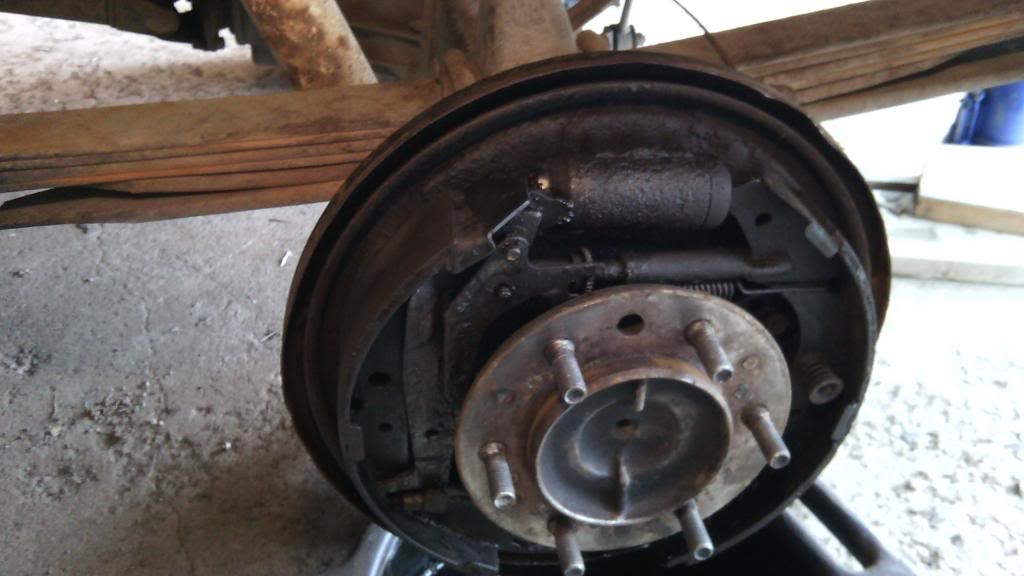
notice how the left isn't touching like the right.
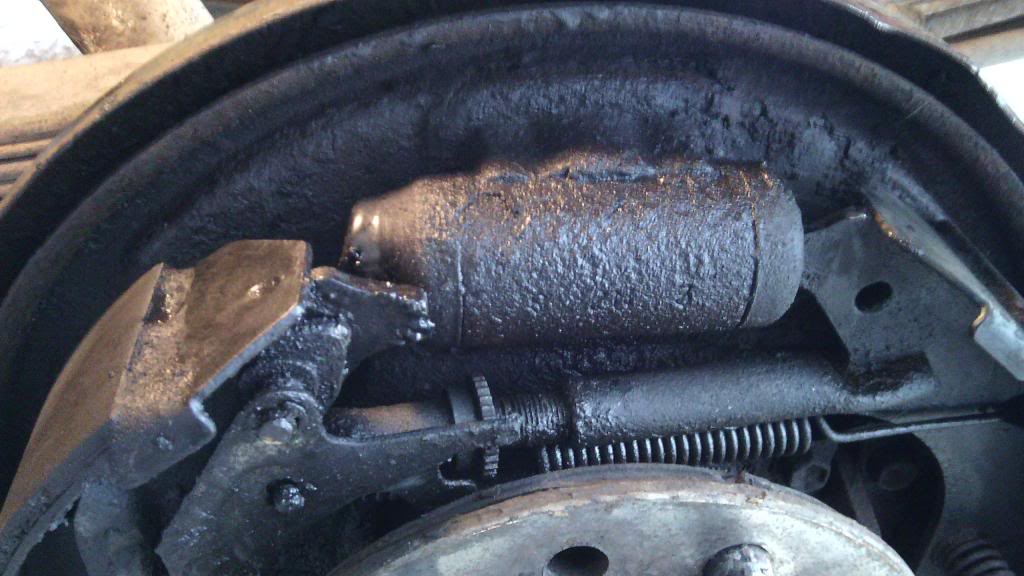
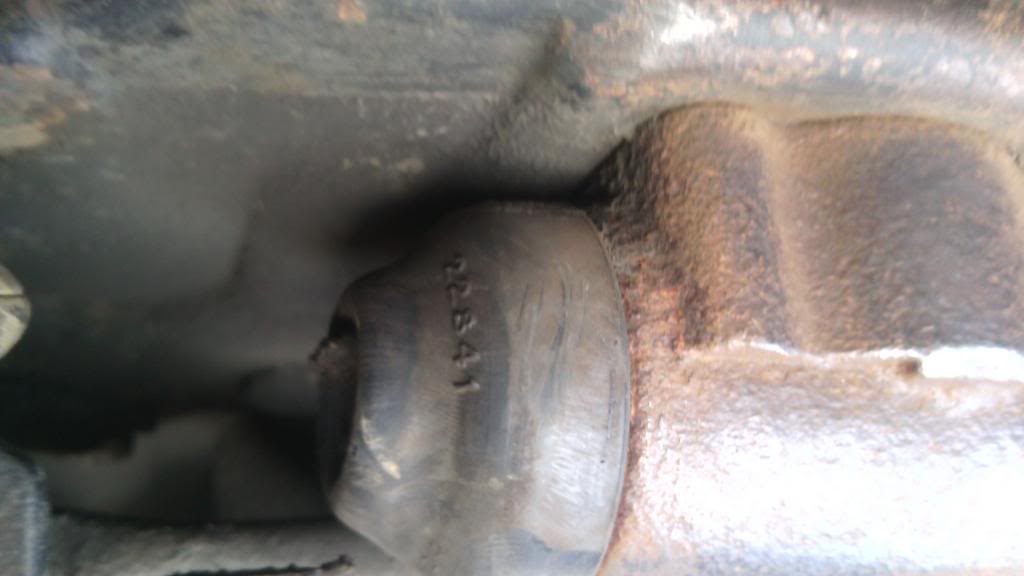
after tons of brake cleaner and penetrating lube i got around to taking the old cylinder out. brake line nut wasnt to rusty.
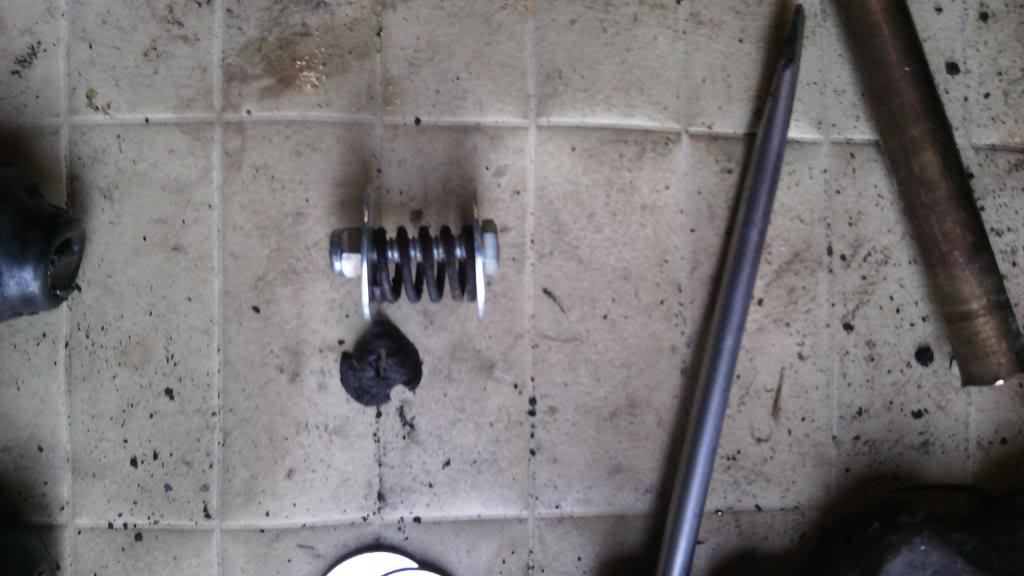
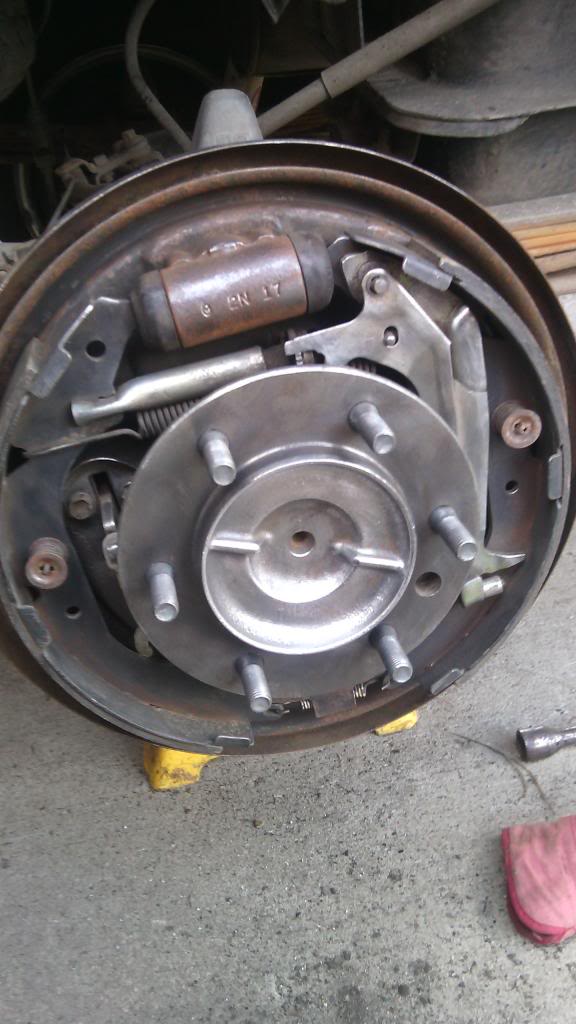
How the spring should look
How the front one looked
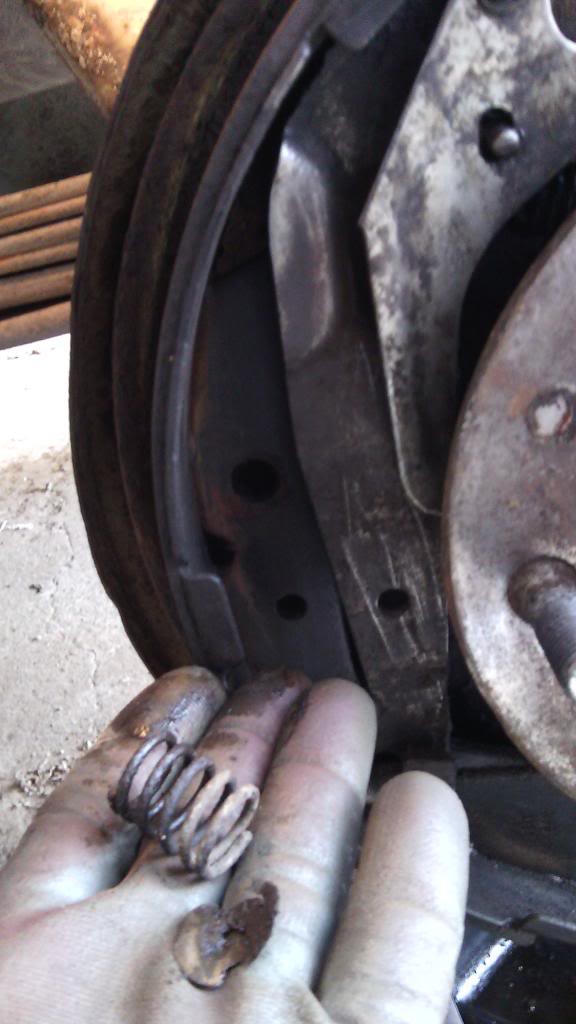
AND THAT let the shoe flop around
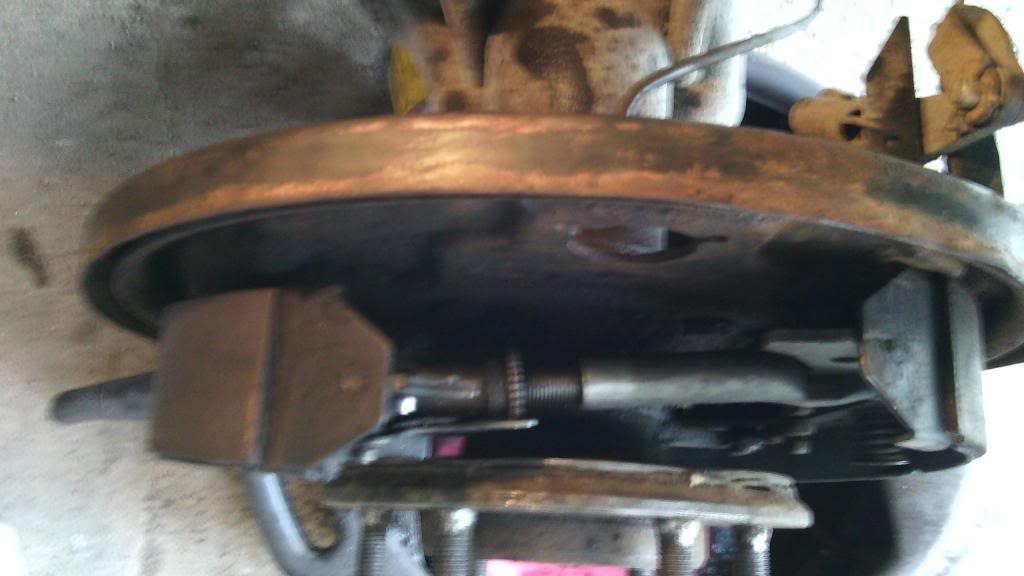
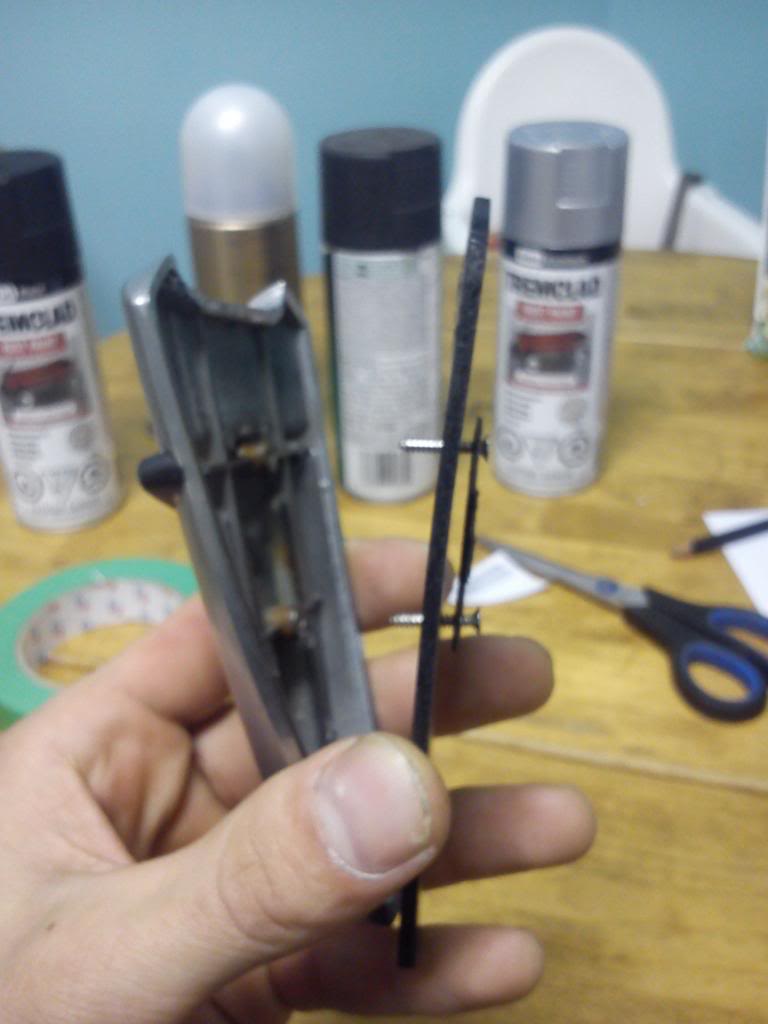
INSTEAD of sitting like this
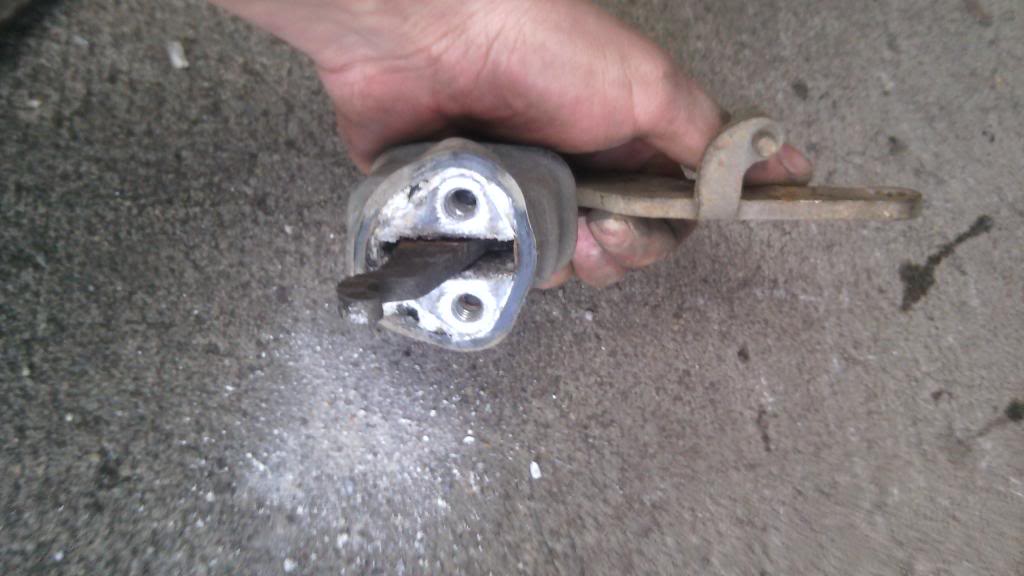
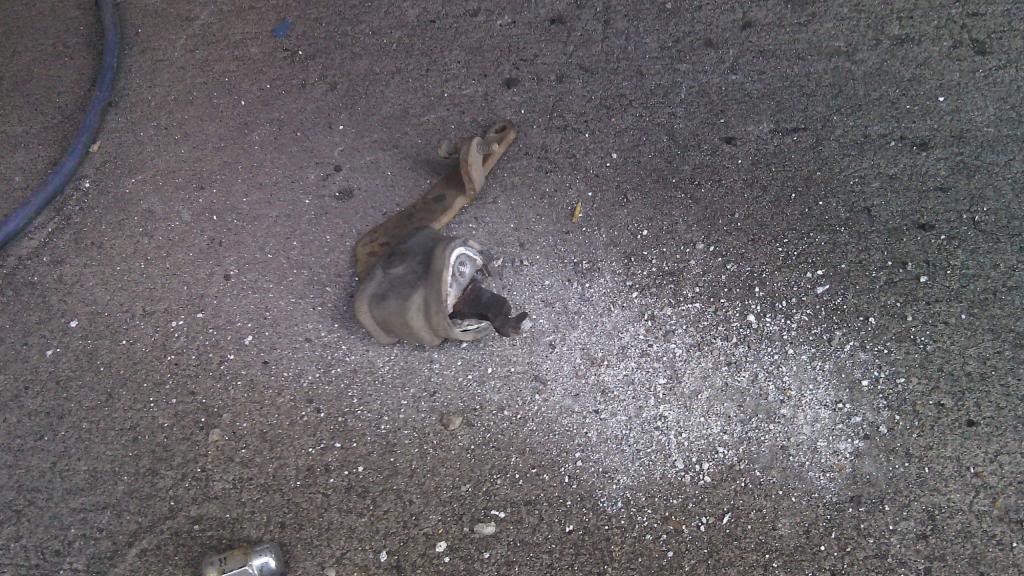
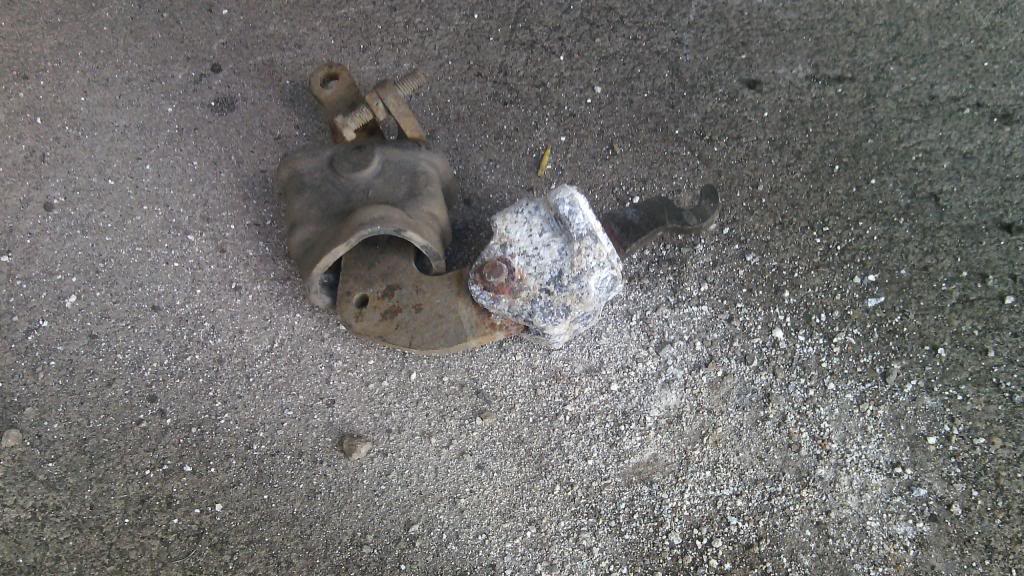
Where the pivot gouged the boot and broke the tooth off
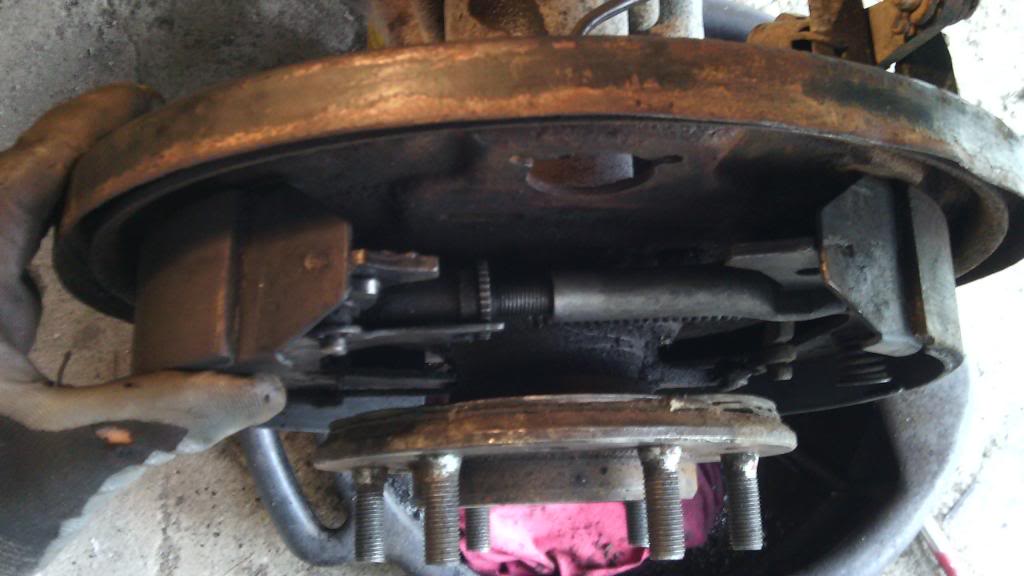
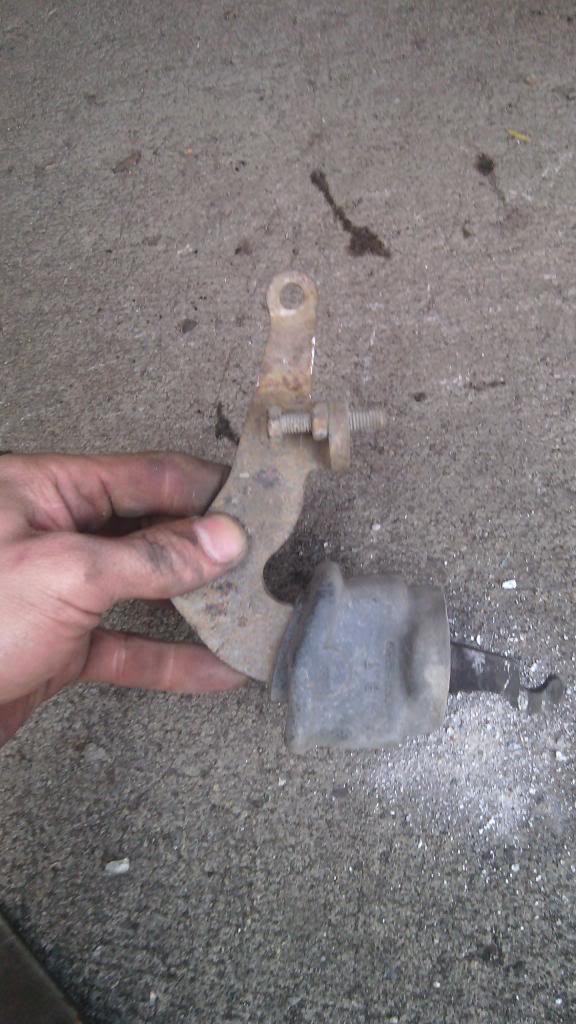
my new solution and the old rusty bent up washer. the pin was gone totally.
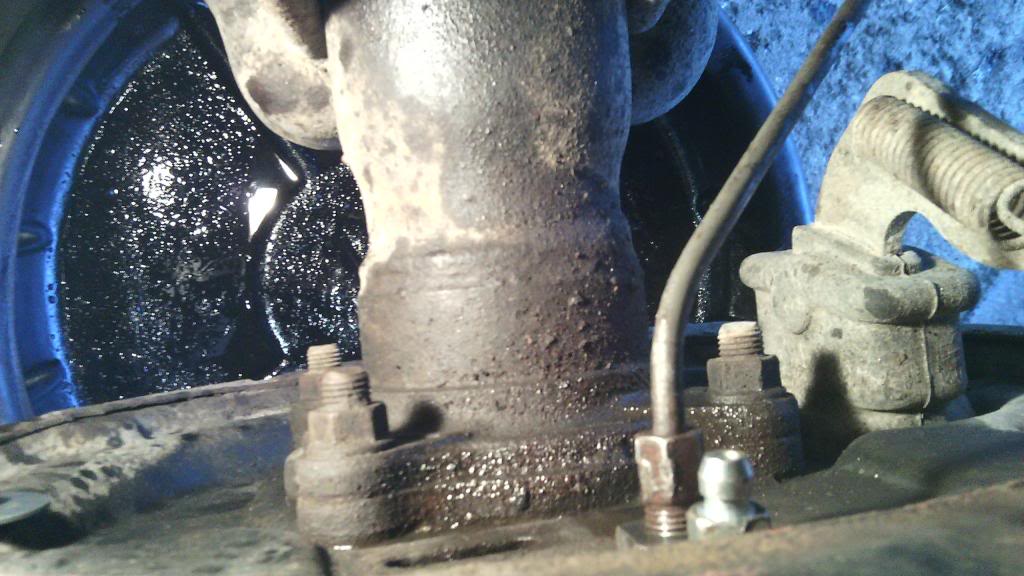
BACK TOGETHER [ edit- i used a longer bolt than in above pic]
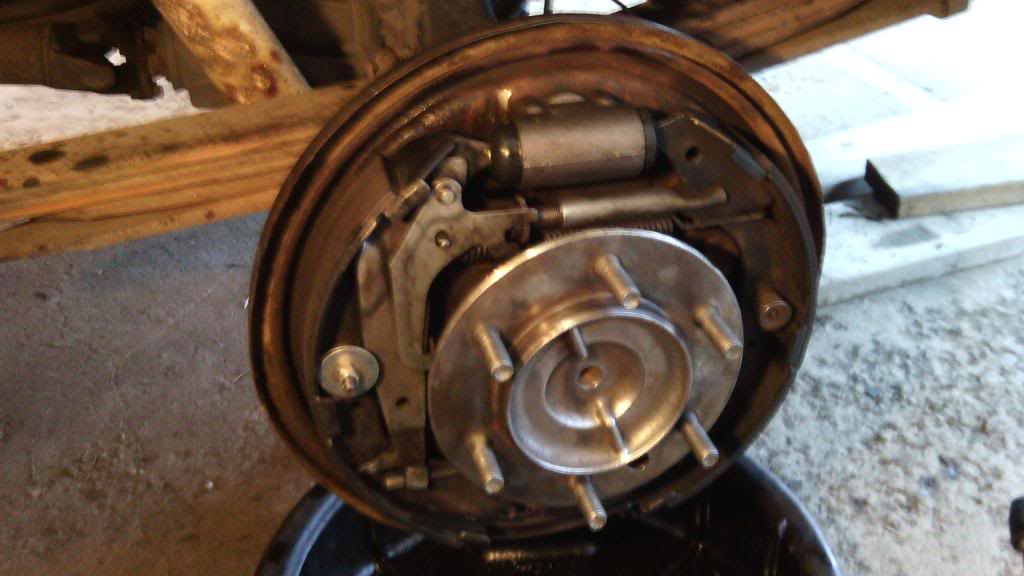
hooked up and bled
ALL DONE!.... FOR TODAY...
my gf's dd.
The first real issue/ repair not just boredom mod,
she was driving betty to langley from kelowna (350 km.. not sure what it is in miles lol oh, canada...)
and right as she got to the exit to get onto the Connector(main hwy) it just... wouldnt stop. she had to gear it down and pumped basically all the brake fluid out trying to slow down, but shes safe, i brought her our car and got the truck picked up and hauled home.
this is After wrestling it apart this is what i had to deal with
notice how the left isn't touching like the right.
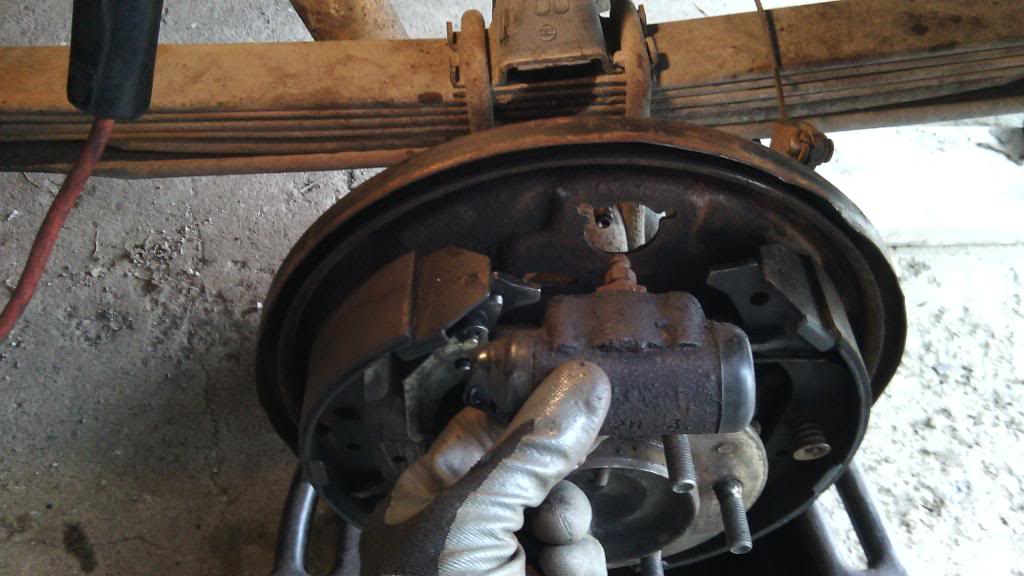
after tons of brake cleaner and penetrating lube i got around to taking the old cylinder out. brake line nut wasnt to rusty.
How the spring should look
How the front one looked
AND THAT let the shoe flop around
INSTEAD of sitting like this
Where the pivot gouged the boot and broke the tooth off
my new solution and the old rusty bent up washer. the pin was gone totally.
BACK TOGETHER [ edit- i used a longer bolt than in above pic]
hooked up and bled
ALL DONE!.... FOR TODAY...
Last edited by Yota; 06-10-2016 at 08:25 PM.
 03-25-2014, 06:05 AM
#2

Did you get it all adjusted into place? Also, I just did all this work on both rear tires but got a spring set, super cheap $13 from parts store! Worth it  Unfortunately I have to take the wheels off and grease some things I didn't grease
Unfortunately I have to take the wheels off and grease some things I didn't grease
03-25-2014, 06:57 PM
#3
Registered User
Thread Starter
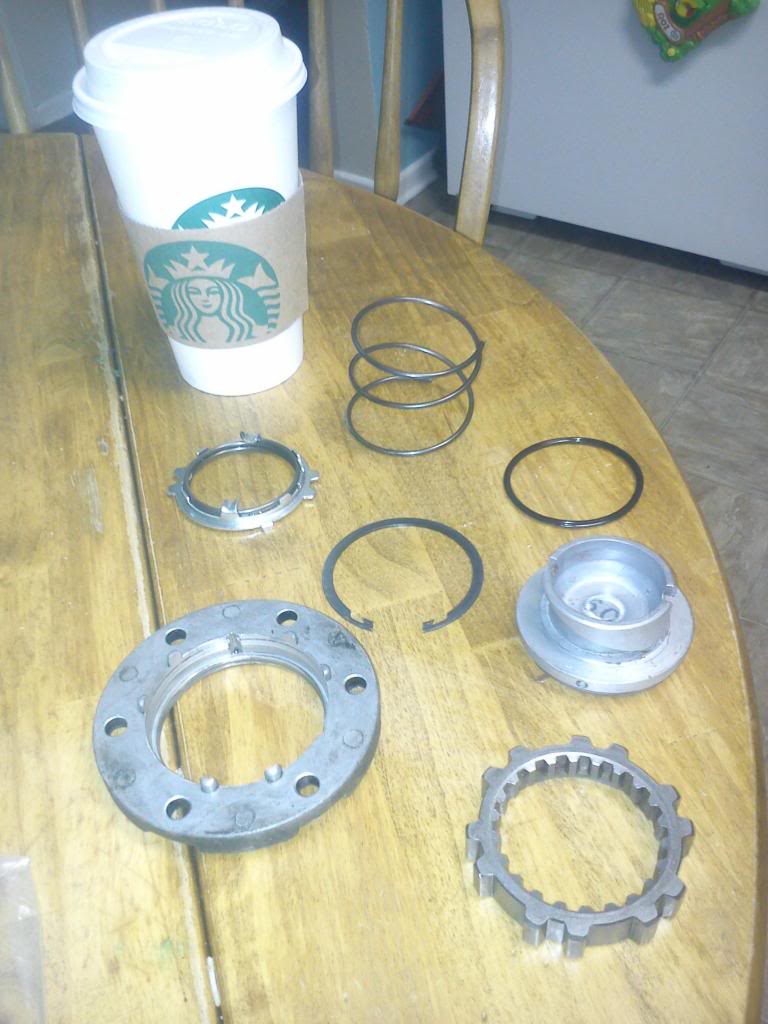
got a hardware kit, replaced my quick fix and the other oldie, and the bottom spring.
the big center spring seemed good, and is beefier than the replacement. so i left it.
and put in the rubber plug for the back.
the big center spring seemed good, and is beefier than the replacement. so i left it.
and put in the rubber plug for the back.


 03-25-2014, 08:31 PM
#6
Registered User
Thread Starter
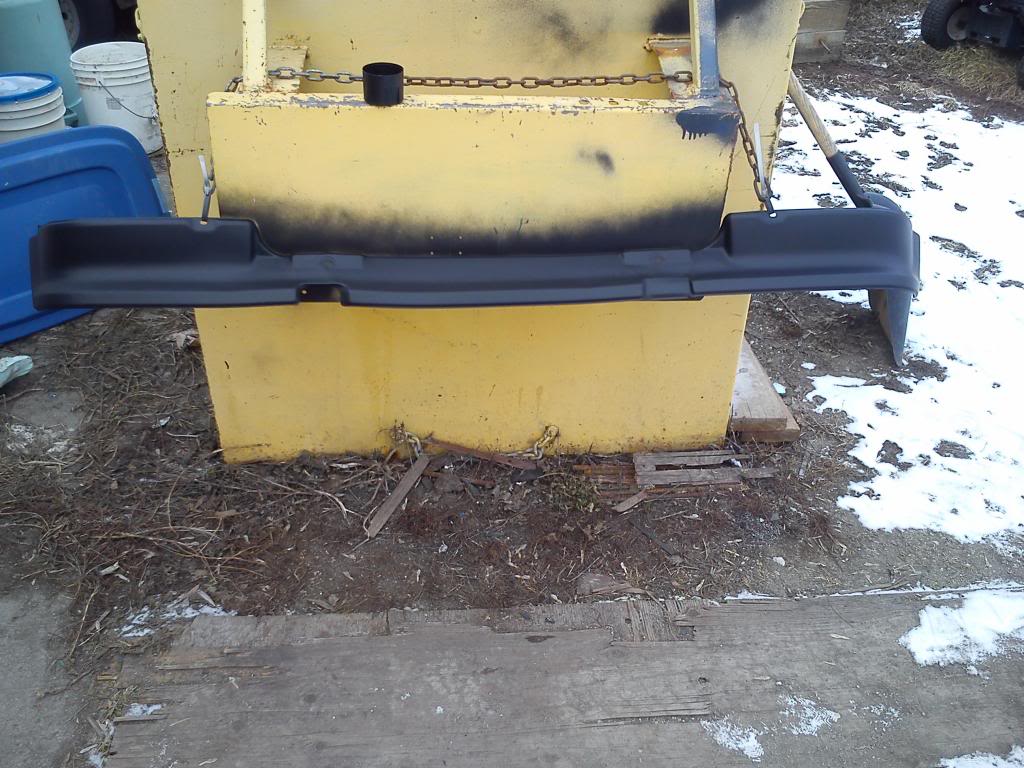
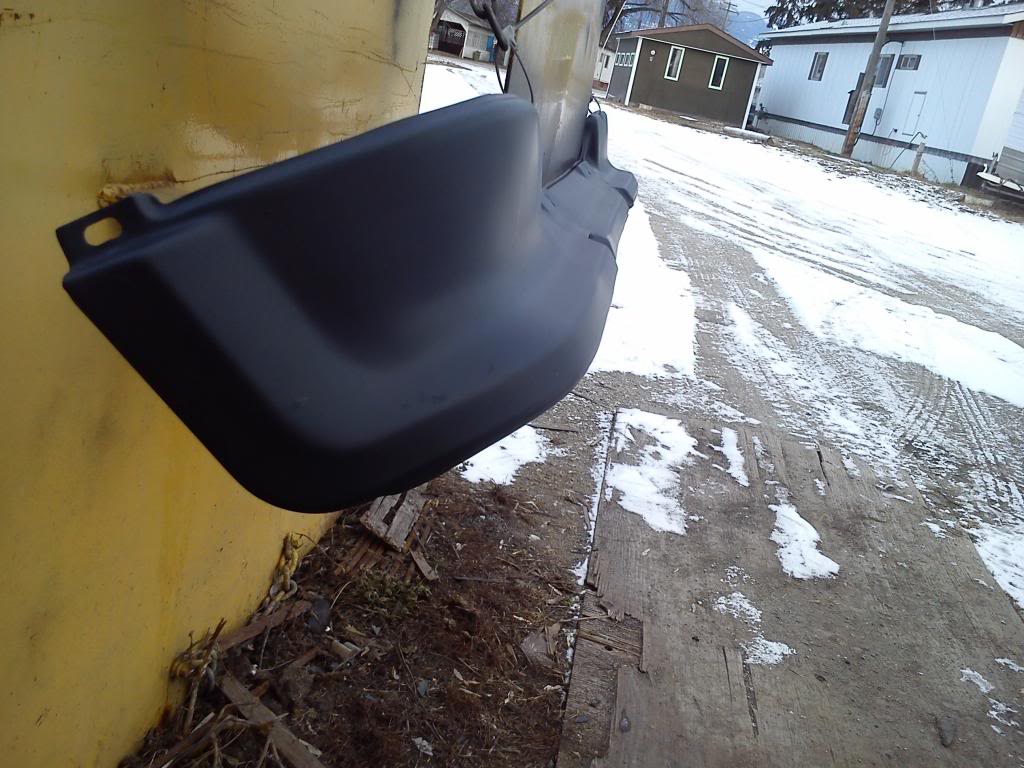
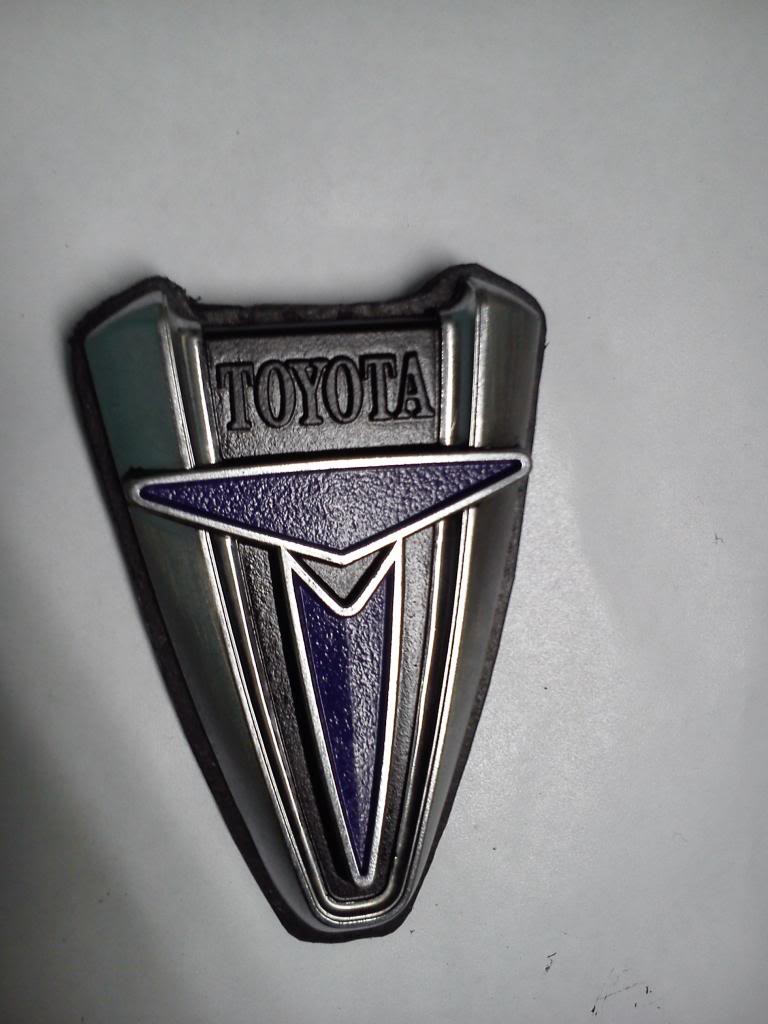
I got a grill badge and refinished it, but not sure where to put it
Got this from ebay,
decided it needed to go on betty.
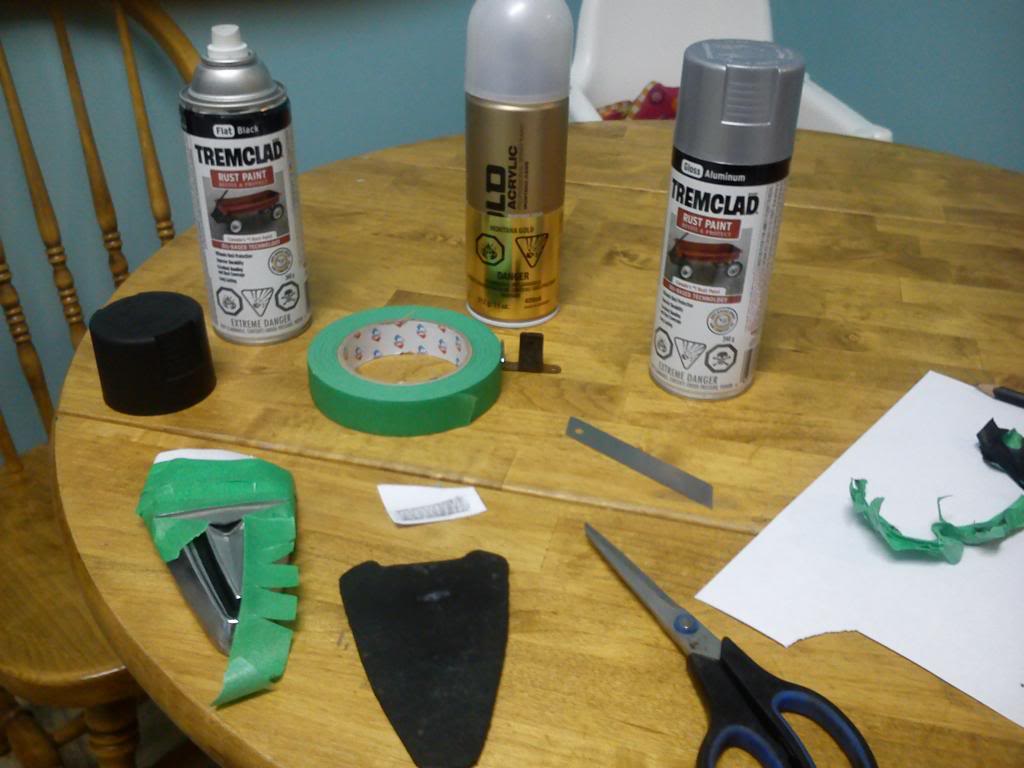
taping and painting after i sanded it lightly
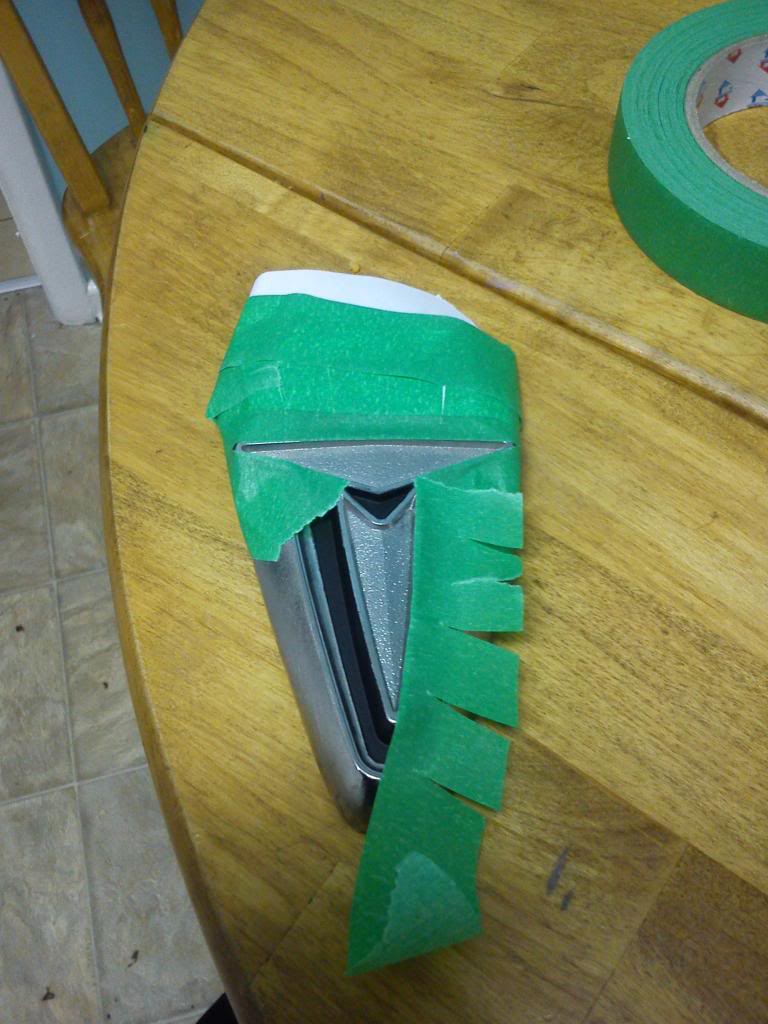
tadda

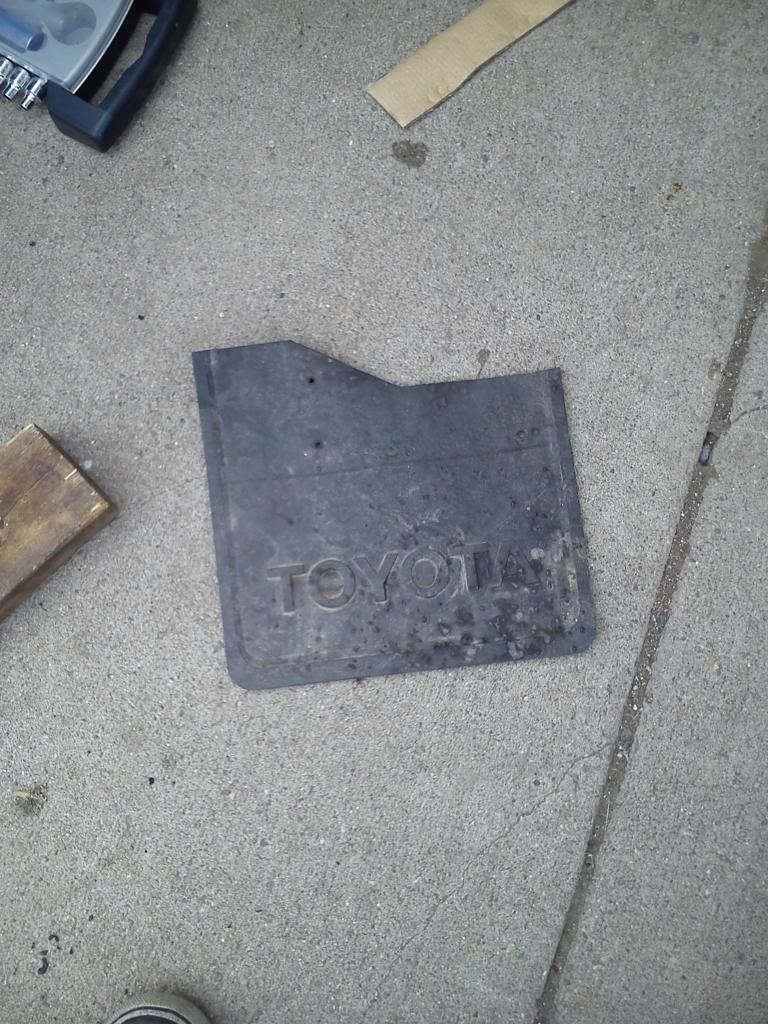
used the holes from the old grill clip to mark holes in the riser i made from the cropped mud flaps
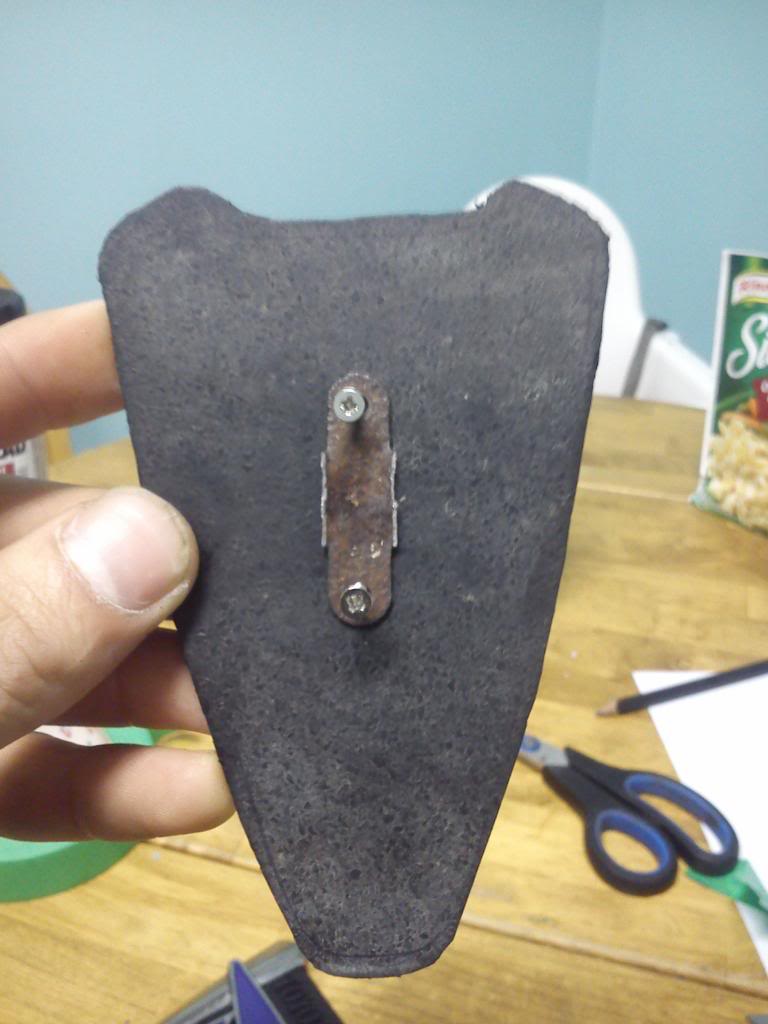
all done
just need to put it on the truck. .. somewhere. might put it in the grill. might put it on the hood. or might put it on the tailgate.
not sure.
decided it needed to go on betty.
taping and painting after i sanded it lightly
tadda
used the holes from the old grill clip to mark holes in the riser i made from the cropped mud flaps
all done
just need to put it on the truck. .. somewhere. might put it in the grill. might put it on the hood. or might put it on the tailgate.
not sure.
Last edited by Yota; 03-25-2014 at 08:33 PM.
03-25-2014, 08:40 PM
#7
Registered User
Thread Starter
oh dont forget this day
The first time me and my friend ben took the hubs apart to replace the bearings (both sides) we put something back together wrong. oops...
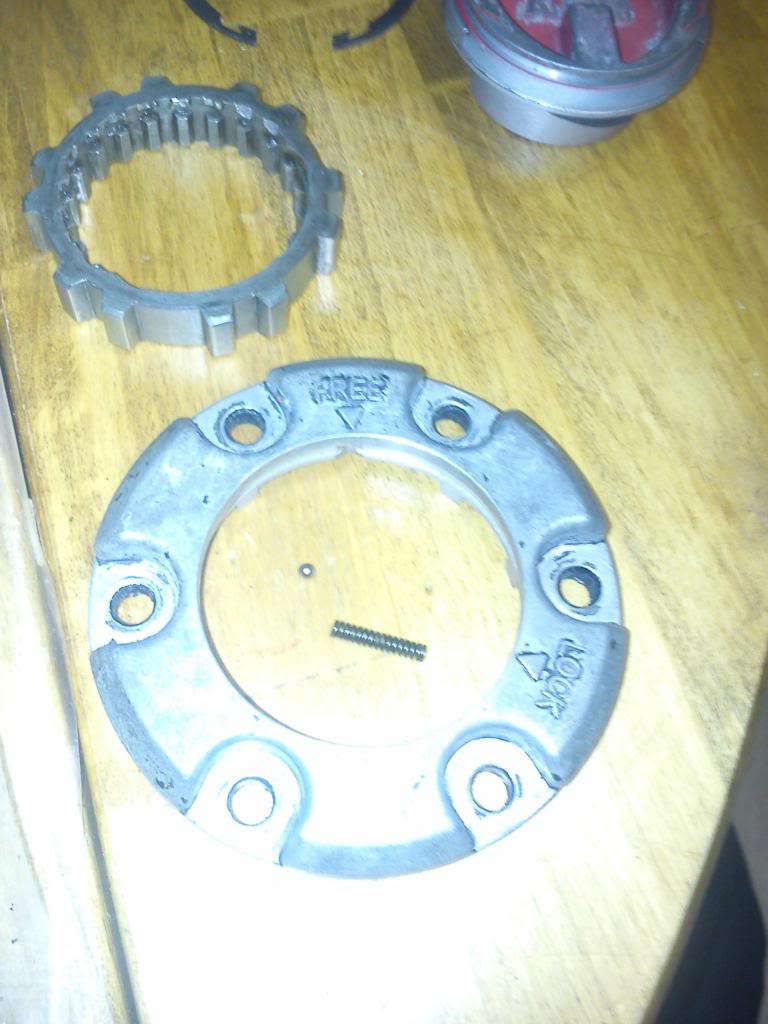
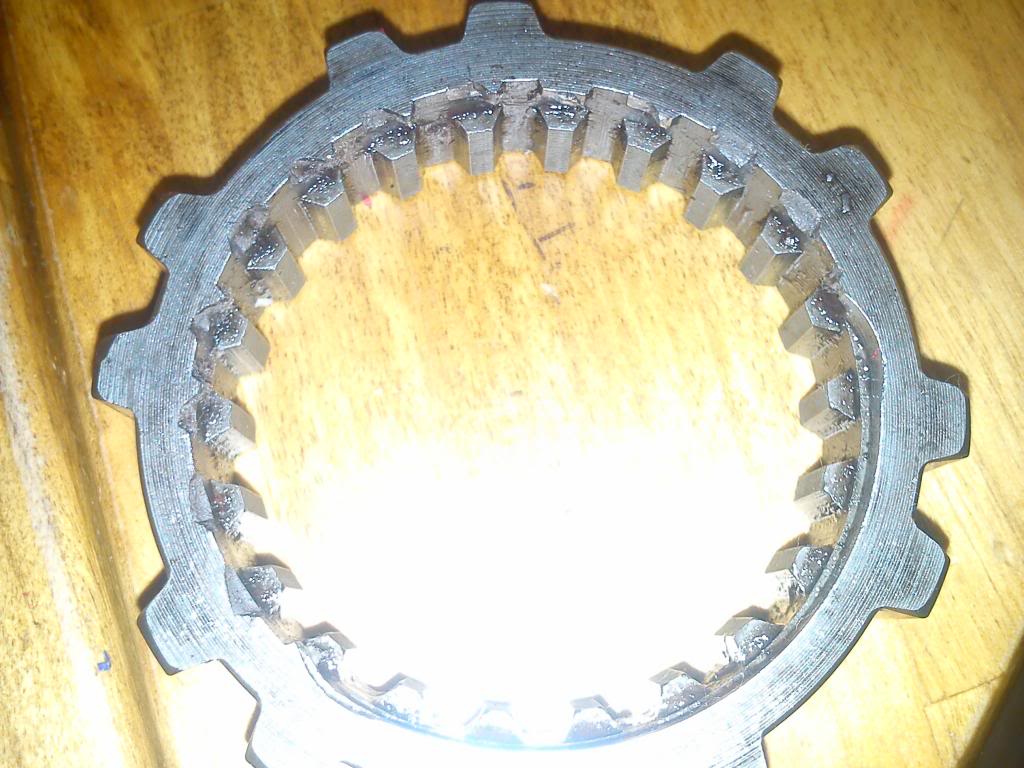
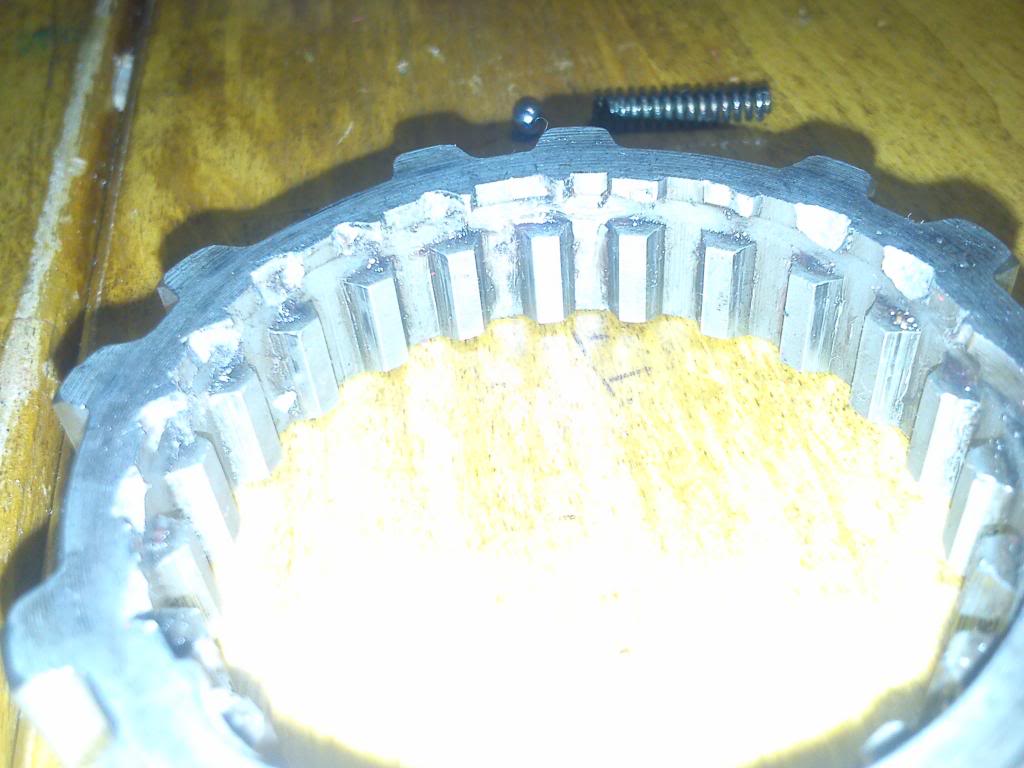
i got a new gear from Tyson, (toyotaking)
guy is awesome and has alot of sweet rigs and lots of parts for sale.
(in kelowna)
http://classifieds.castanet.net/userads.php?id=818
i got a new gear from Tyson, (toyotaking)
guy is awesome and has alot of sweet rigs and lots of parts for sale.
(in kelowna)
http://classifieds.castanet.net/userads.php?id=818
Trending Topics
03-26-2014, 06:07 AM
#9
03-26-2014, 06:54 AM
#10
Registered User
Thread Starter
ya i wasnt sure if i had enough to start a build thread. turns out. i think i do. ill turn this into a build thread tonight.
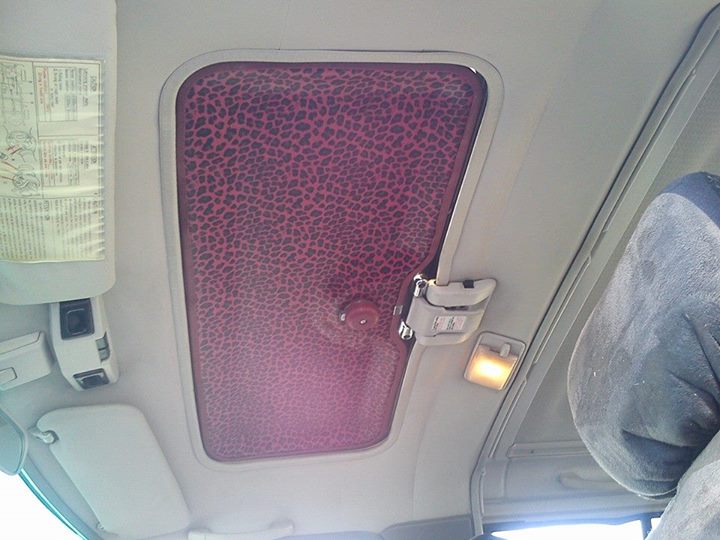
i used polyester and spray on elmers glue. because it was really stretchy for the contours of the plastic and the glue was clear, not yellow like upholstery glue.
gf was out of town that weekend and she was pretty happy about it.
i used polyester and spray on elmers glue. because it was really stretchy for the contours of the plastic and the glue was clear, not yellow like upholstery glue.
gf was out of town that weekend and she was pretty happy about it.
03-26-2014, 07:04 PM
#11
Registered User
Thread Starter
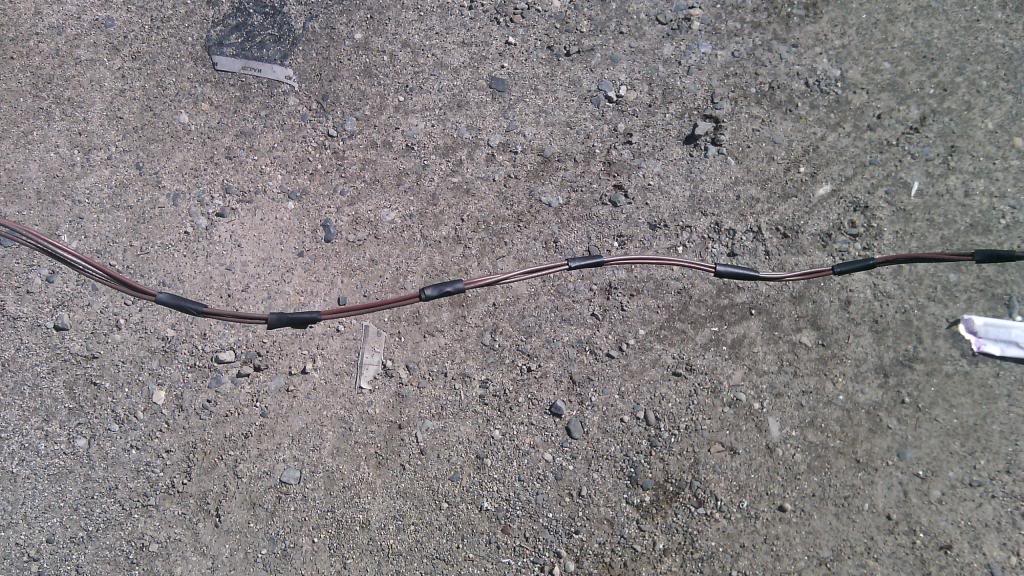
i replaced the weather strip on the outside of the drivers window and all the broken clips that where doing a horrible job of, ... working at all without the strip flapping in the wind. picture soon. to dark to take pics.
03-30-2014, 06:52 PM
#12
Registered User
Thread Starter
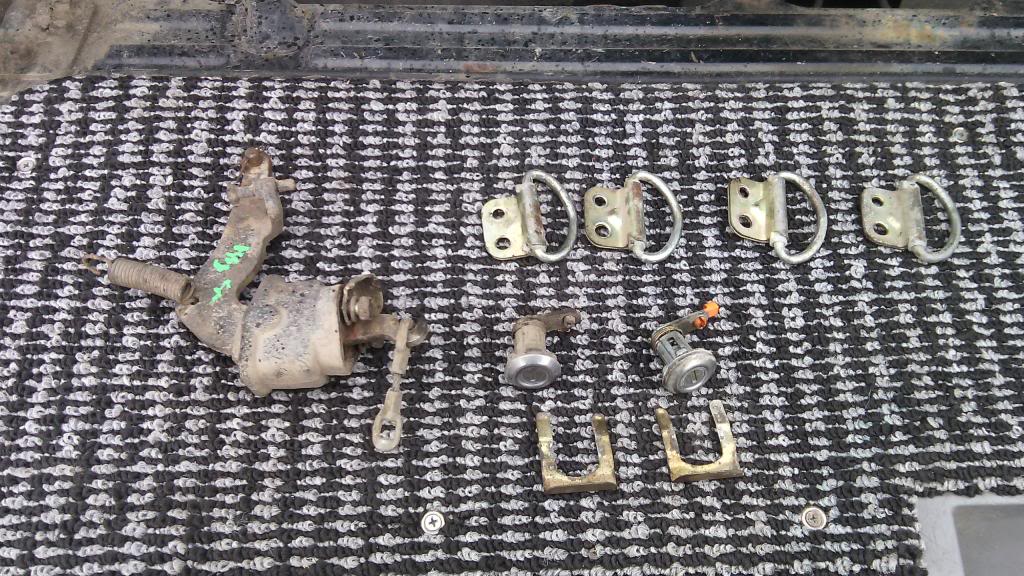
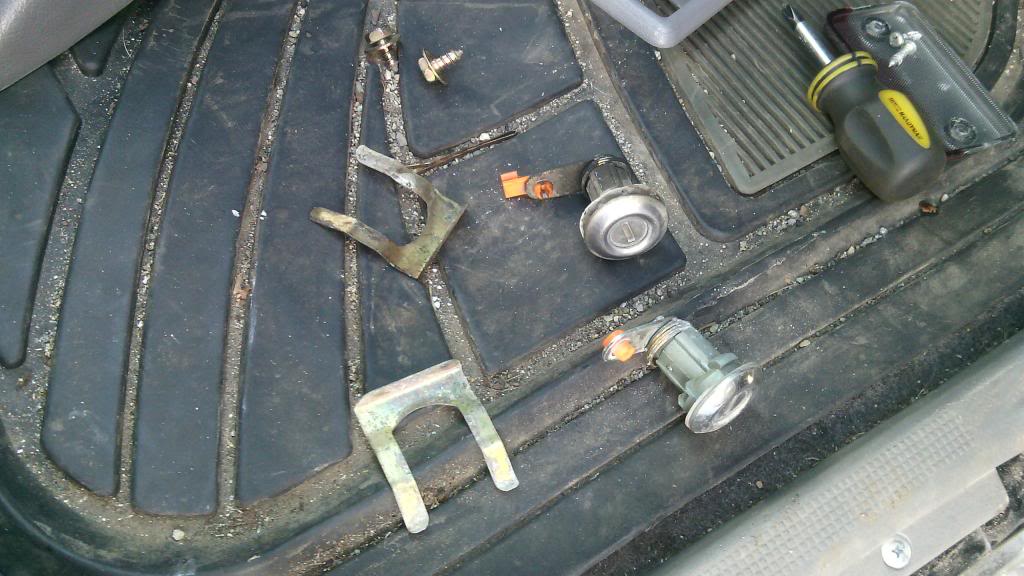
seized parking brake lever replaced and door lock
while at pick n pull i got these for 15 bucks
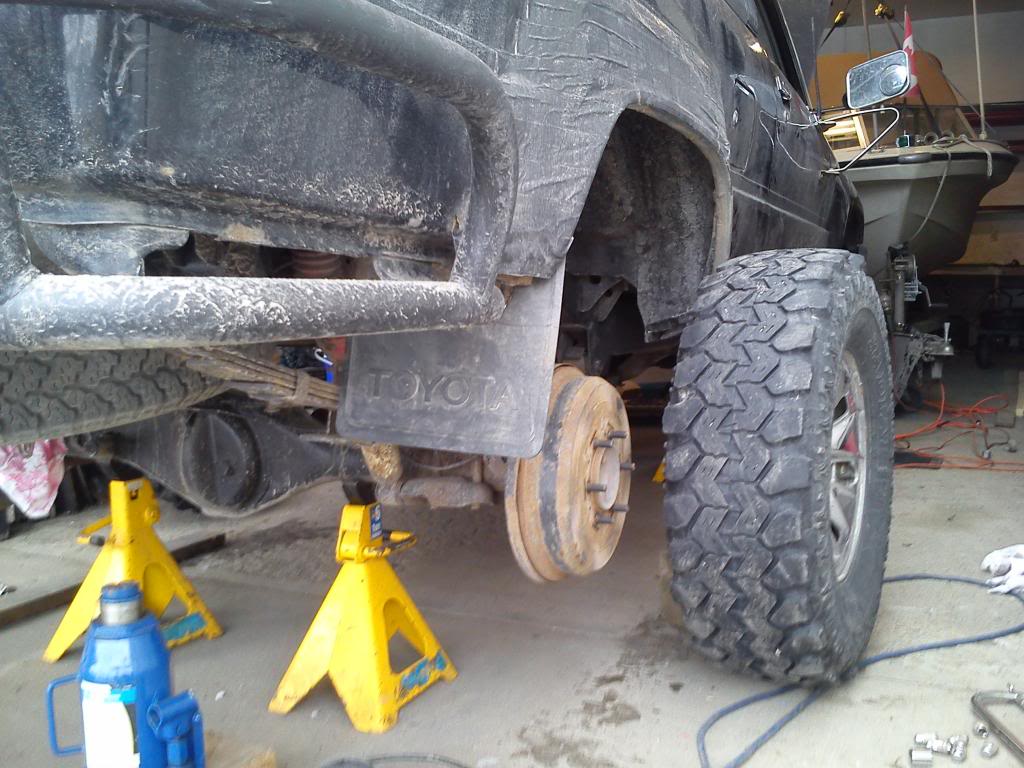
took the wheel off.
took the boot off, in my collection i found a bolt that said "sr5 88" for the boot release holes.
worked like a charm.

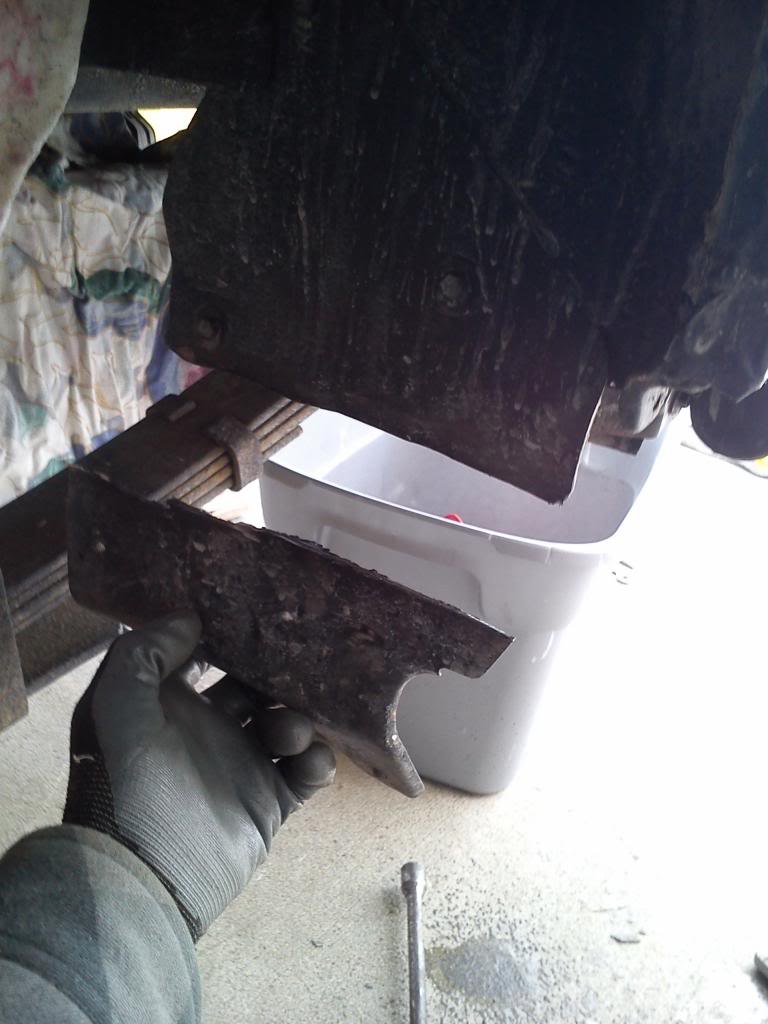
the teeth on this cylinder are pretty worn down too, so these will get replaced soon too.
got the ebrake lever off. was super corroded, and rusted solid. even banging it with a hammer didnt even move
cleaned this up a bit
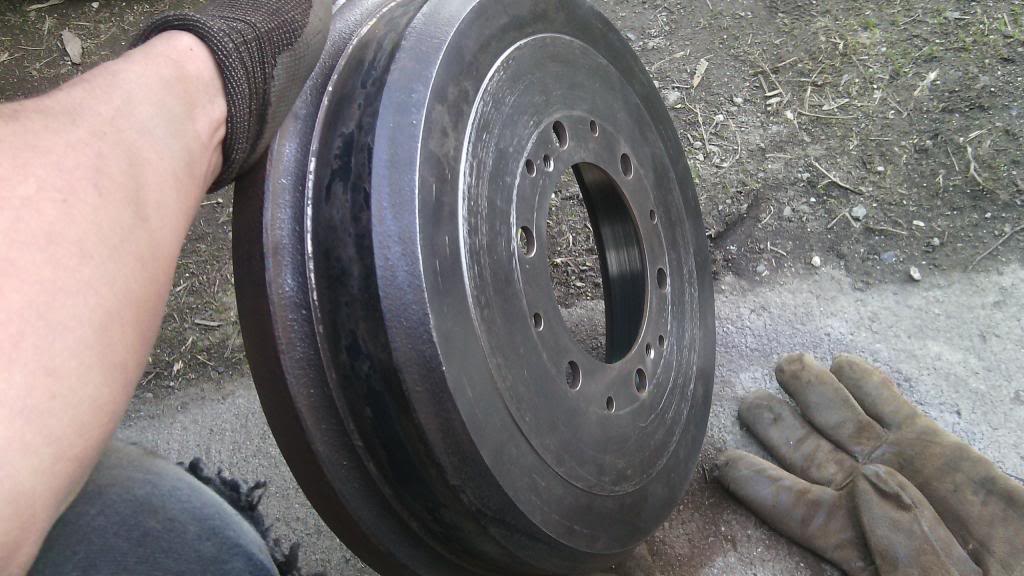
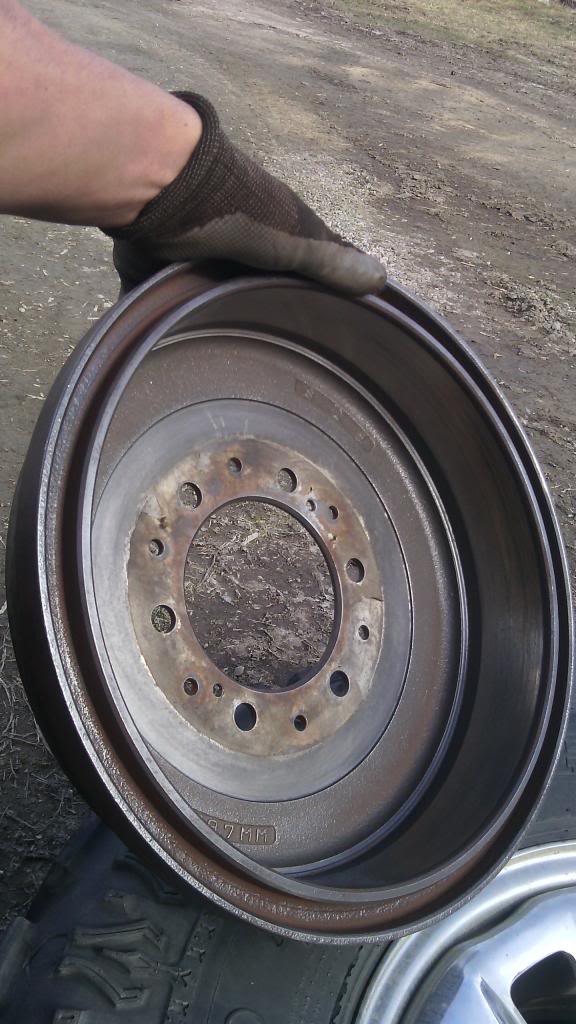
wanted to see just how bad this was
was pretty bad.
27 yrs old and can still clean up pretty good.
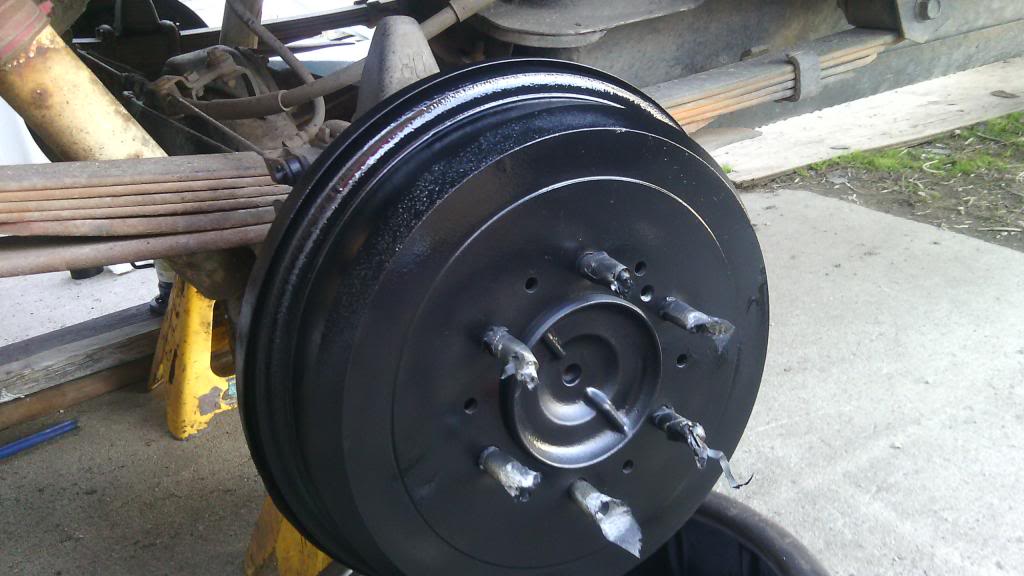
back together and (already painted the other side)
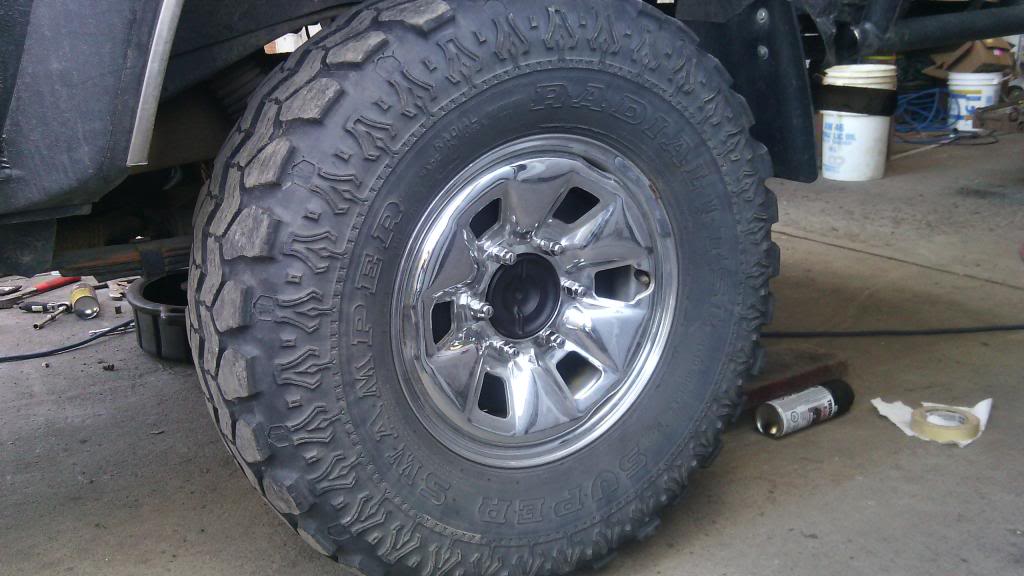
wired the rim and lugs on both sides, looks a lot better for now
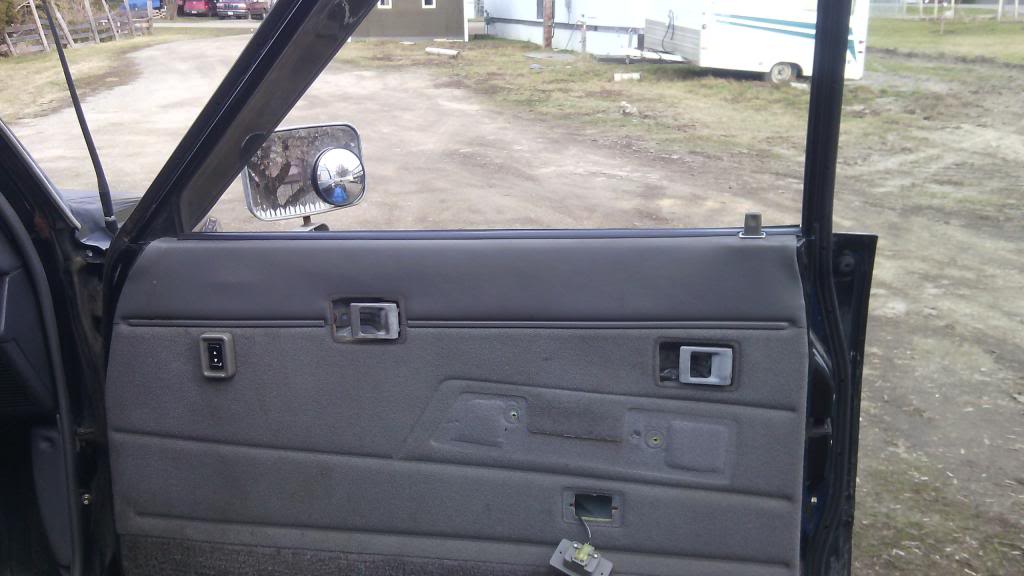
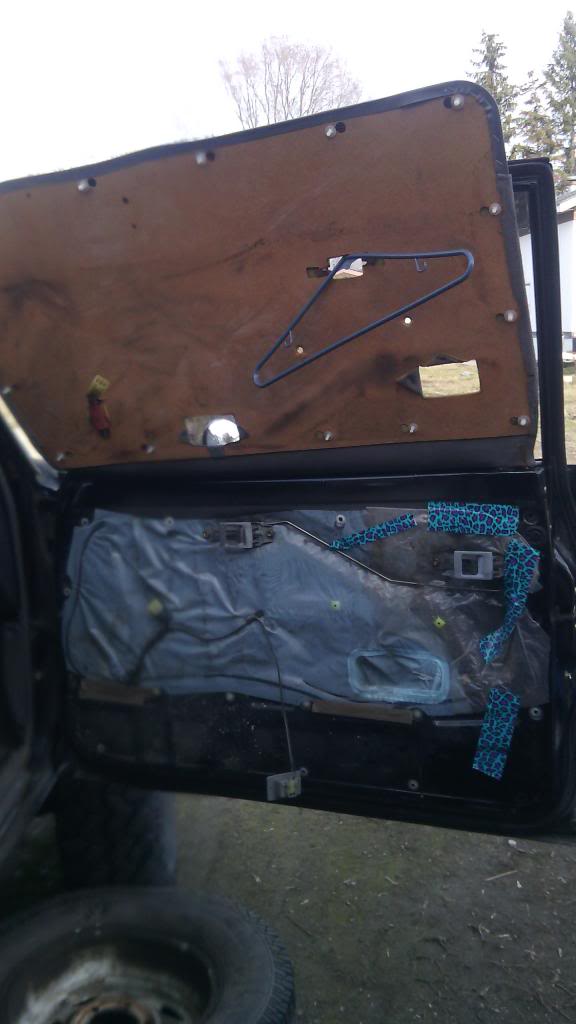
took the door things off
happend to have a coat hanger, worked pretty good.
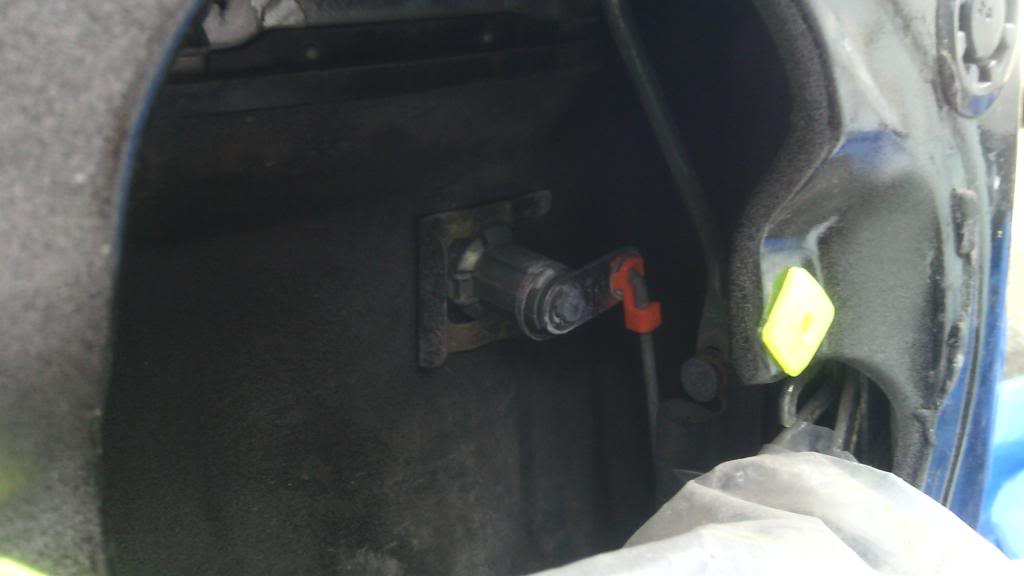
found it, popped the orange clip, popped the metal clip
found some at pick n pull that matched my key. so took out the spare one that matched machines key
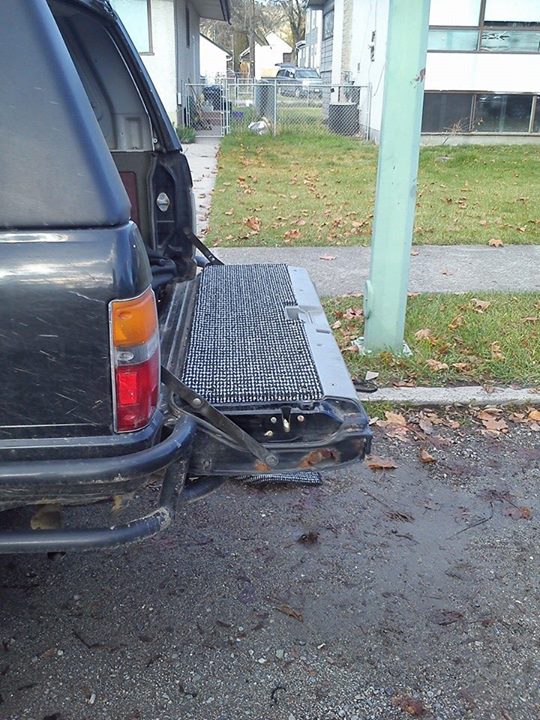
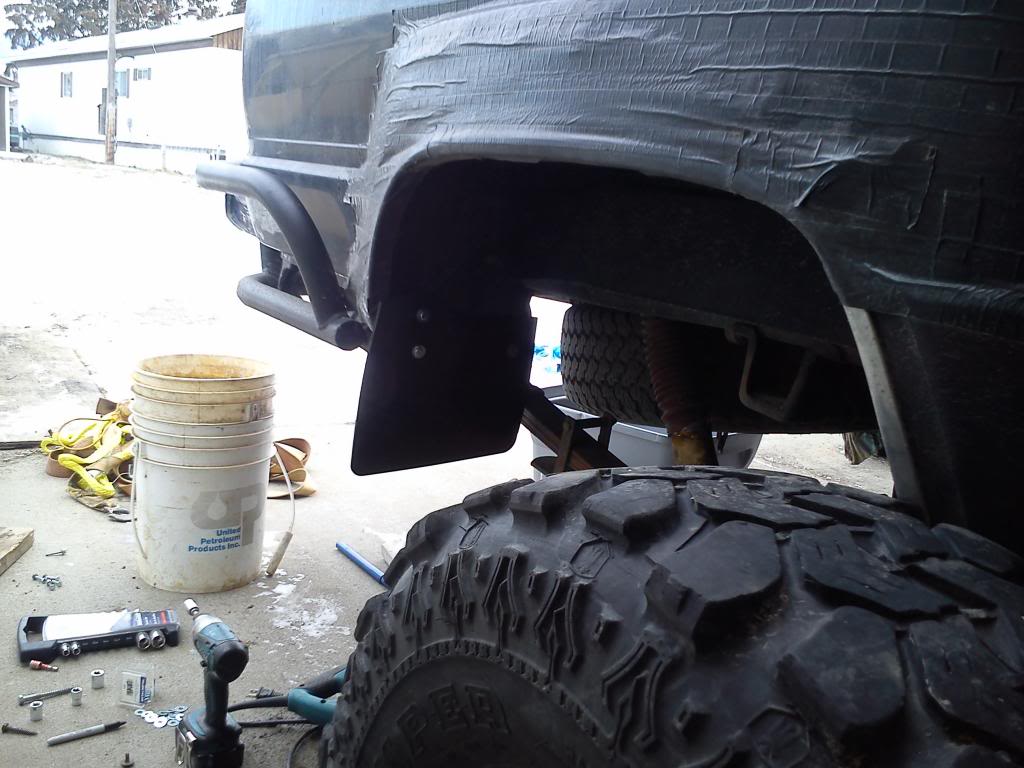
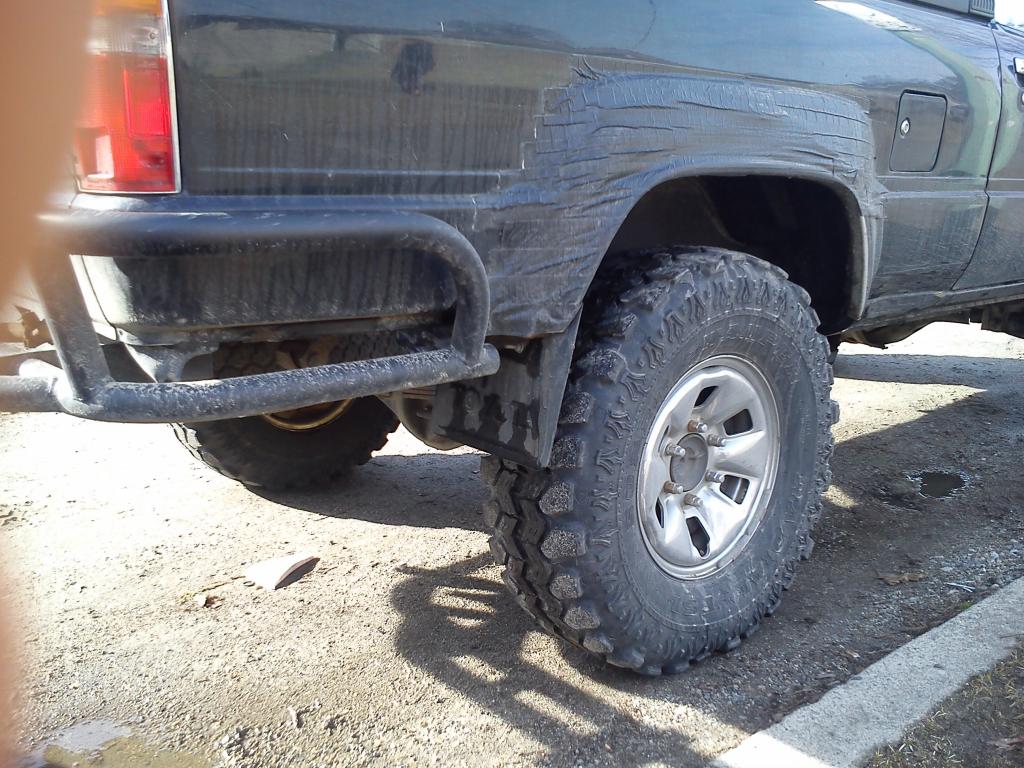
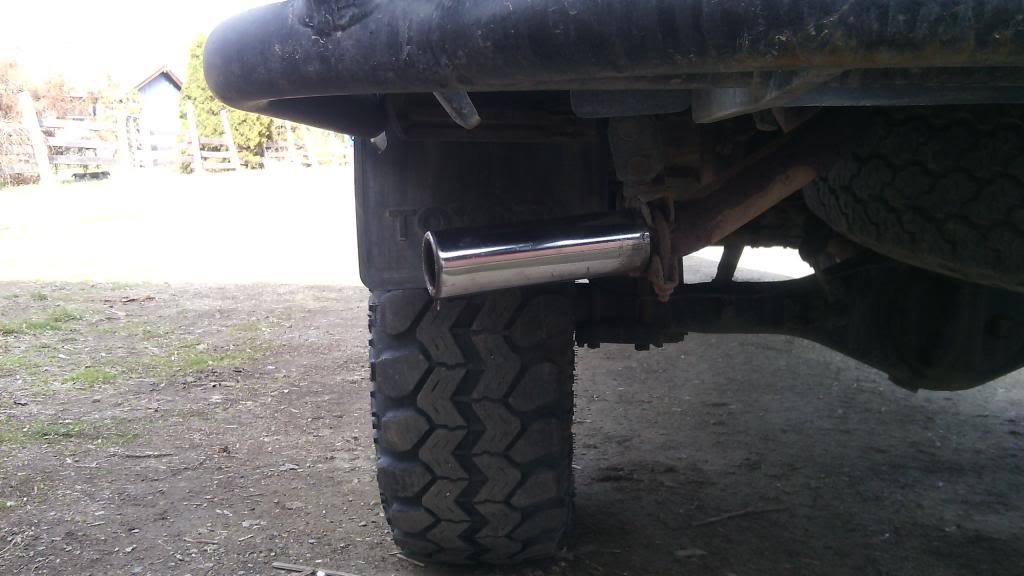
helped a friend move this morning and found this on the road in front of her house, so i cleaned it up and slapped it on for fun.( see how long it takes jenna to notice it)
and heres betty all done for today
took the wheel off.
took the boot off, in my collection i found a bolt that said "sr5 88" for the boot release holes.
worked like a charm.
the teeth on this cylinder are pretty worn down too, so these will get replaced soon too.
got the ebrake lever off. was super corroded, and rusted solid. even banging it with a hammer didnt even move
cleaned this up a bit
wanted to see just how bad this was
was pretty bad.
27 yrs old and can still clean up pretty good.
back together and (already painted the other side)
wired the rim and lugs on both sides, looks a lot better for now
took the door things off
happend to have a coat hanger, worked pretty good.
found it, popped the orange clip, popped the metal clip
found some at pick n pull that matched my key. so took out the spare one that matched machines key
helped a friend move this morning and found this on the road in front of her house, so i cleaned it up and slapped it on for fun.( see how long it takes jenna to notice it)
and heres betty all done for today
Last edited by Yota; 04-01-2014 at 07:43 PM.
04-26-2014, 07:49 PM
#13
Registered User
Thread Starter
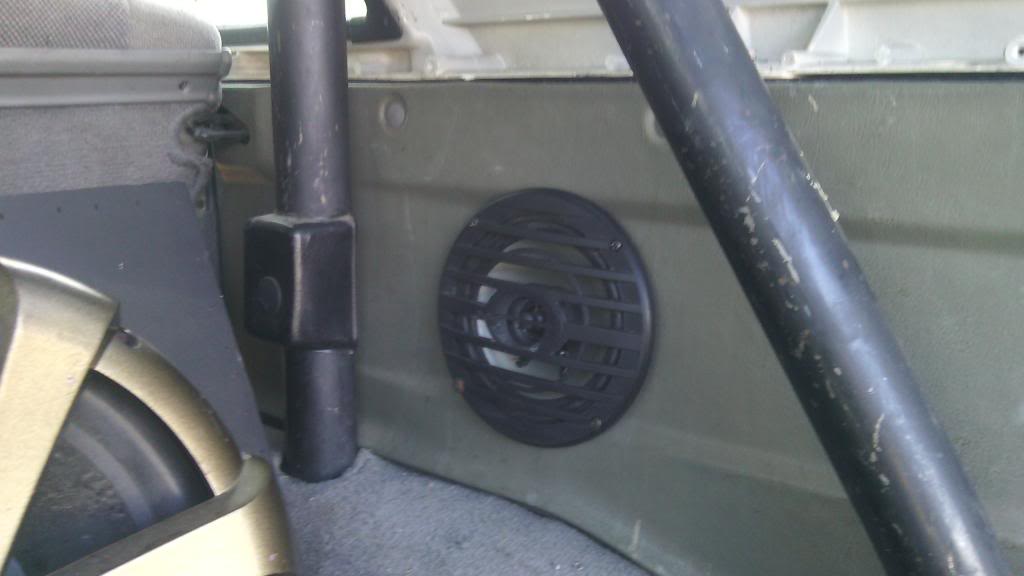
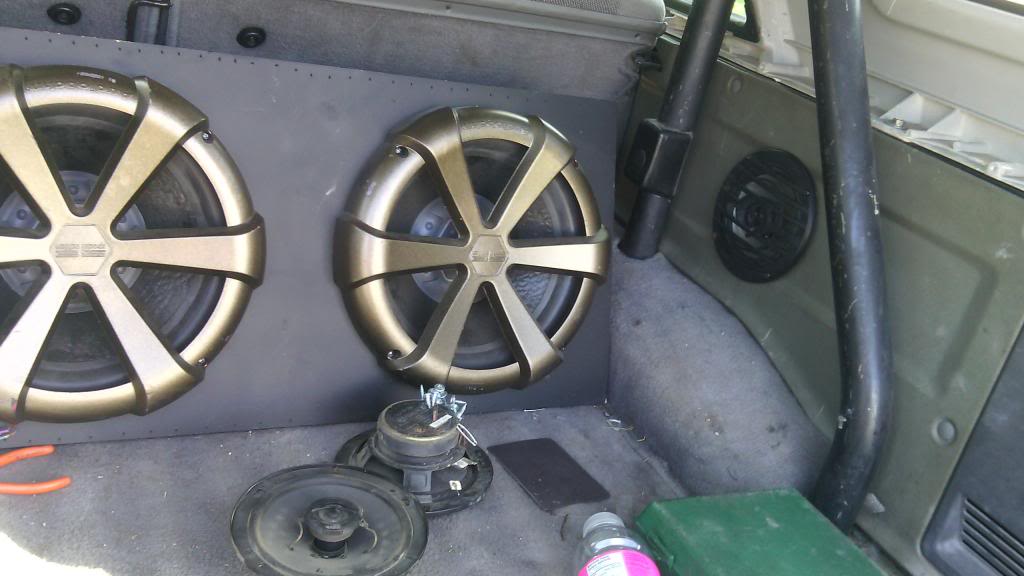
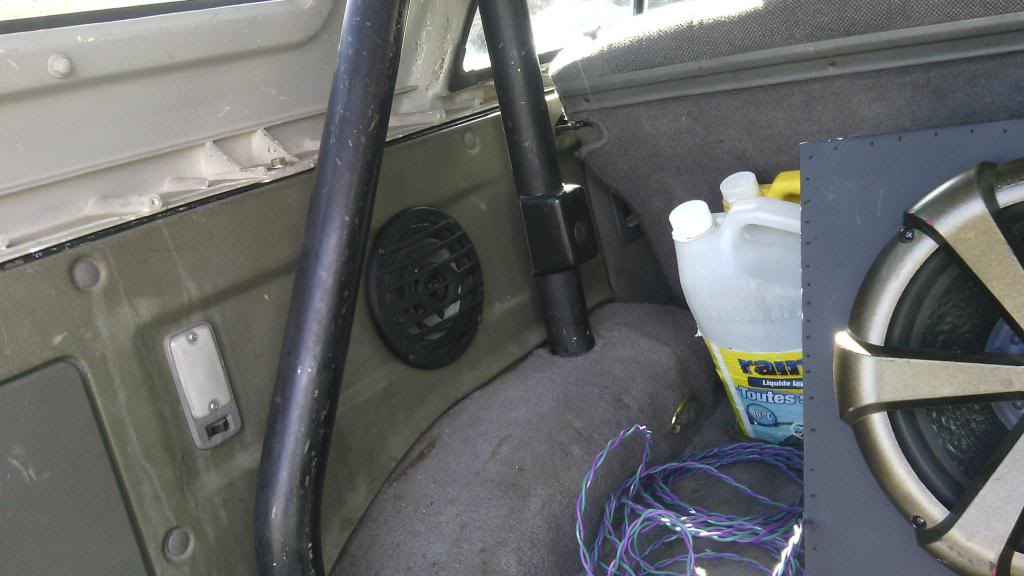
so the cheap exhaust tip fell off and jenna backed over it lol, but i did get some other things done. got some marine speakers for the back got them cut in and i finally wired in my cargo light.
So this is what i started with
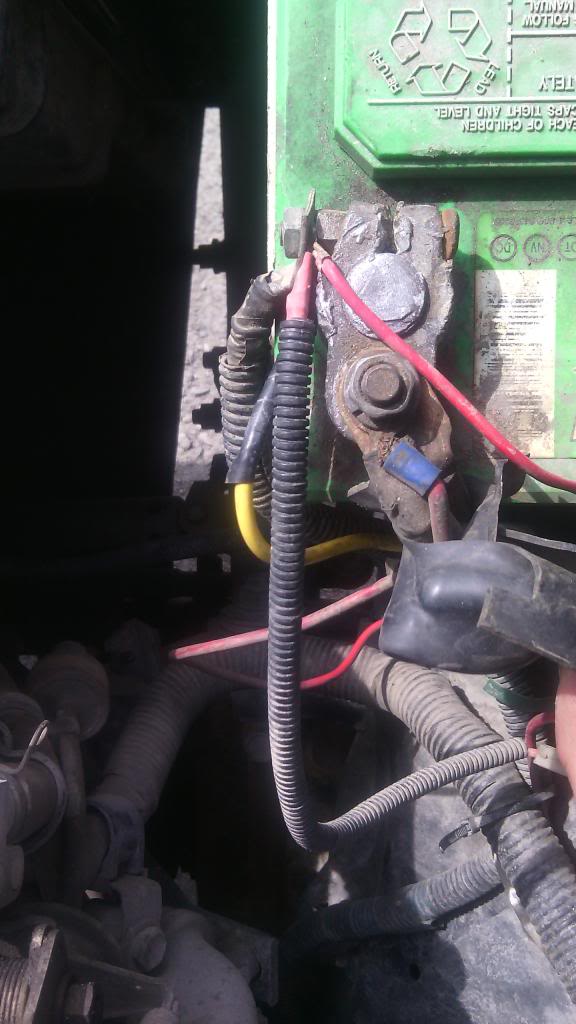
i added this to the mix (in time i will wire everything to this block and another one like it)
put these in today (got them from a garage sale for 10 bucks)
with the subs and old crackley ˟˟˟˟s
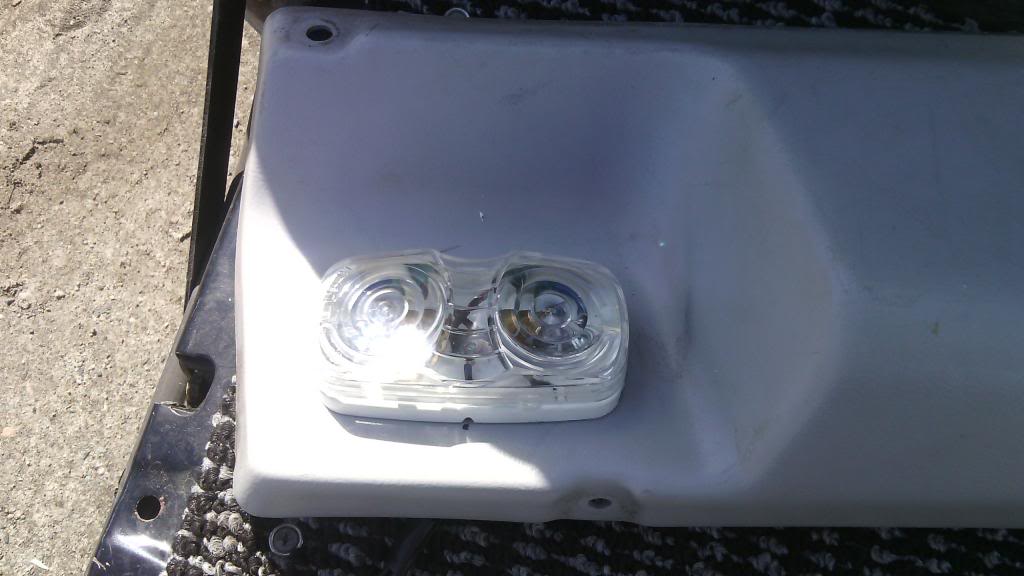
the original cargo light works too
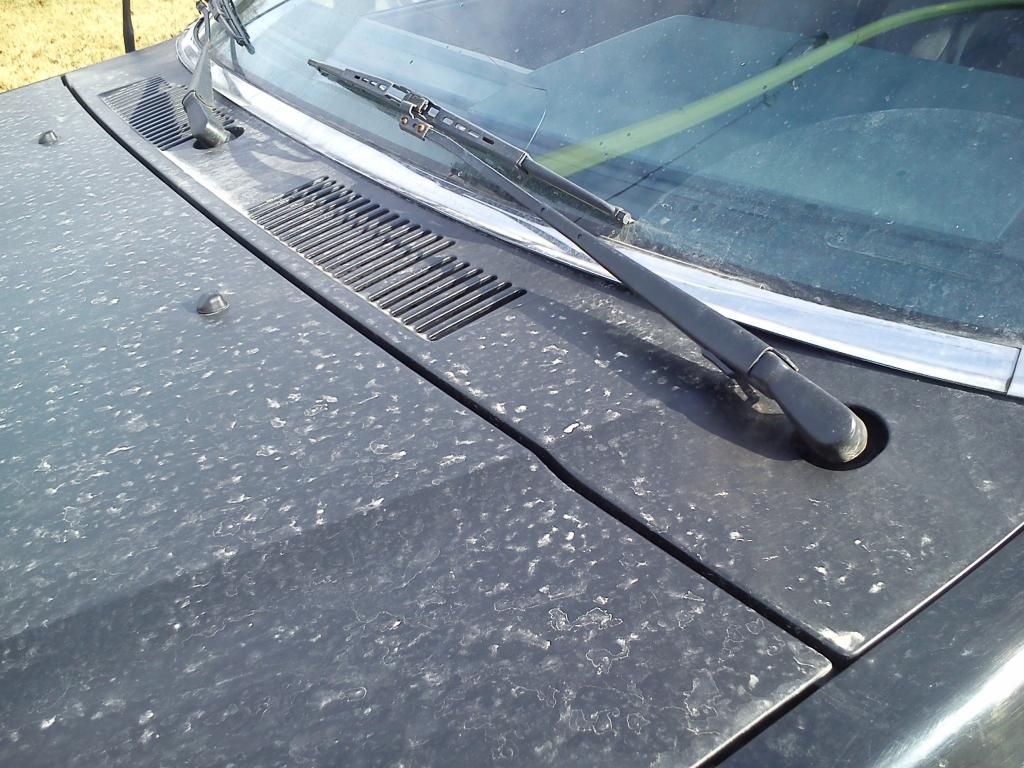
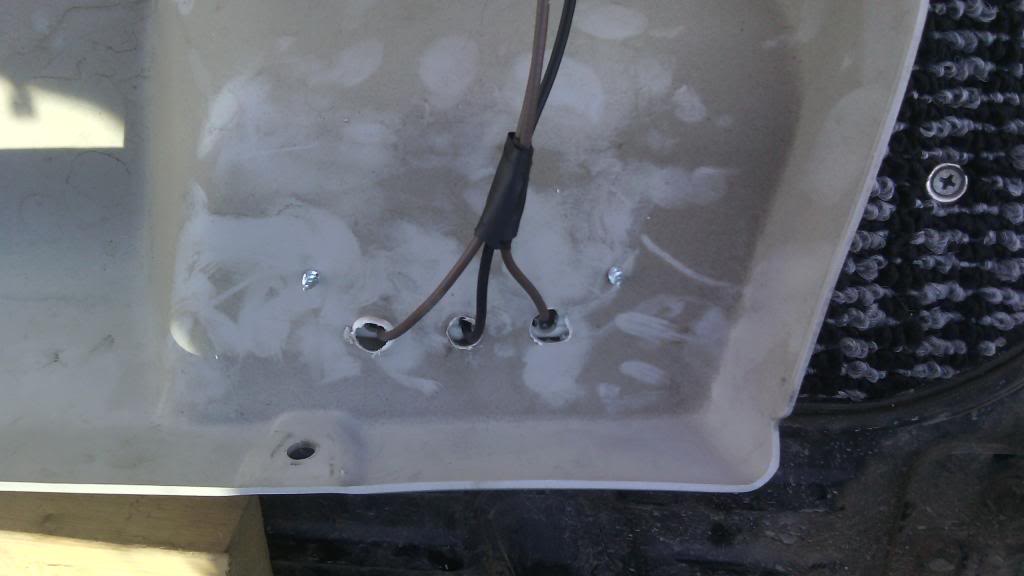
wired in the cargo light to the wiper motor housing
some wires
quick connects so the top can still come off

need to cut out the switch housing but im tired
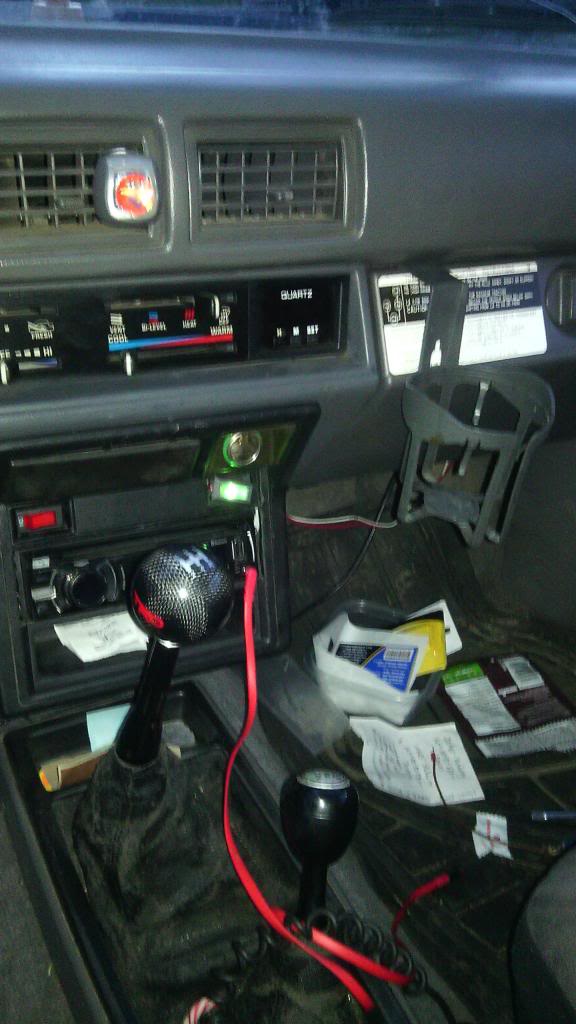
all lit up

So this is what i started with
i added this to the mix (in time i will wire everything to this block and another one like it)
put these in today (got them from a garage sale for 10 bucks)
with the subs and old crackley ˟˟˟˟s
the original cargo light works too
wired in the cargo light to the wiper motor housing
some wires
quick connects so the top can still come off
need to cut out the switch housing but im tired
all lit up
 05-09-2014, 10:10 AM
#15
Registered User
Thread Starter
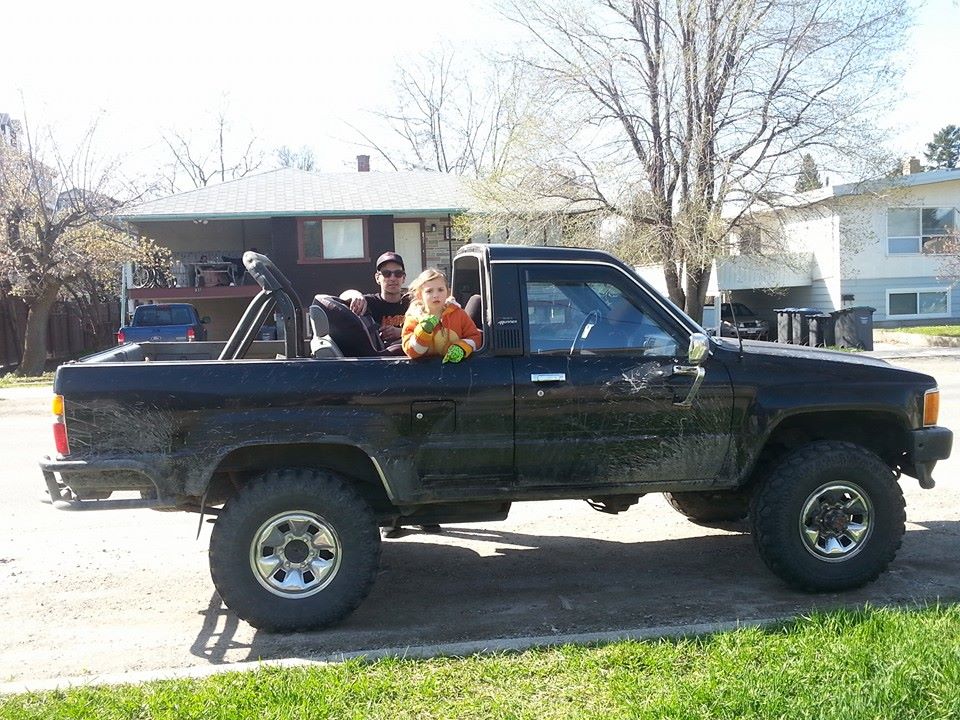
took the top off for a day got back on before it rained. was a good day. aurora was complaining it was too windy, but she'll get used to it. haha
05-20-2014, 09:42 PM
#17
Registered User
Thread Starter
picked up an ac compressor. turns out its the wrong one. got the 10pa17a (ribbed belt)instead of the 10pa15a (v-belt) guess huffing freon was enough for me to not notice the grooves on the pulley... DOH!
p.s. if anyone has good advice on this subject, it would be greatly appreciated
p.s. if anyone has good advice on this subject, it would be greatly appreciated
Last edited by Yota; 05-20-2014 at 09:45 PM.
05-21-2014, 11:18 AM
#18
Registered User
Join Date: Feb 2014
Posts: 173
Likes: 0
Received 0 Likes
on
0 Posts
Dude, looking great!
I'm always curious about the 1st gens and kids. It was a no-go with the wife (2 doors) and I can definitely understand. I would have preferred to start with a solid axle, but I'm still excited about driving the '90.
Are the 2 doors that bad in practice with kids or is it more of a non-issue? Interested to hear your thoughts.
05-21-2014, 05:26 PM
#19
Registered User
Thread Starter
^^not a prob in the summer. lol and as long as your seats still slide back n forth. its not an issue for me. sure its a bit of a compromise compared to having the back doors, but. i wasn't giving up the topless for extra doors.
05-25-2014, 08:25 PM
#20
Registered User
Thread Starter
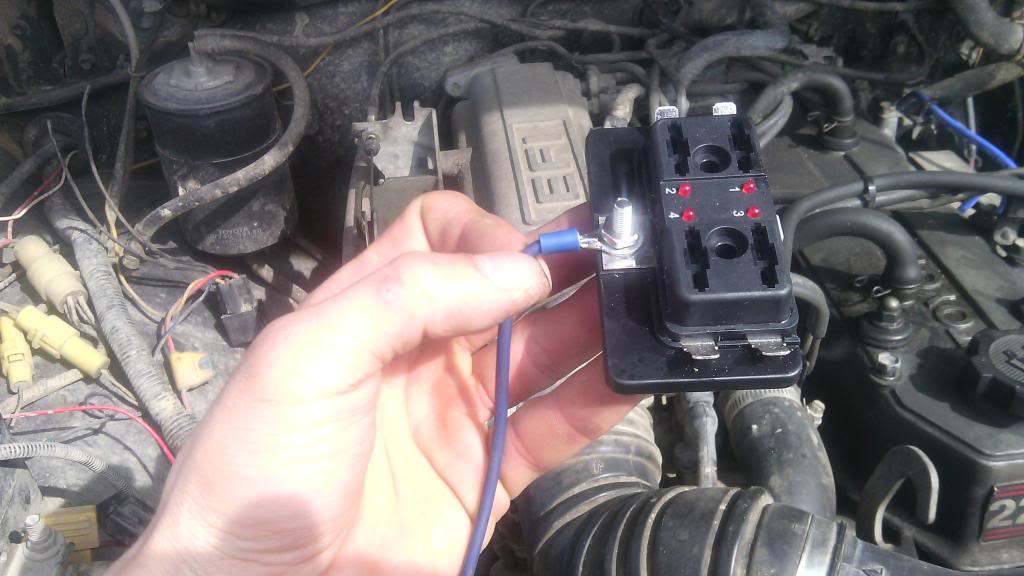
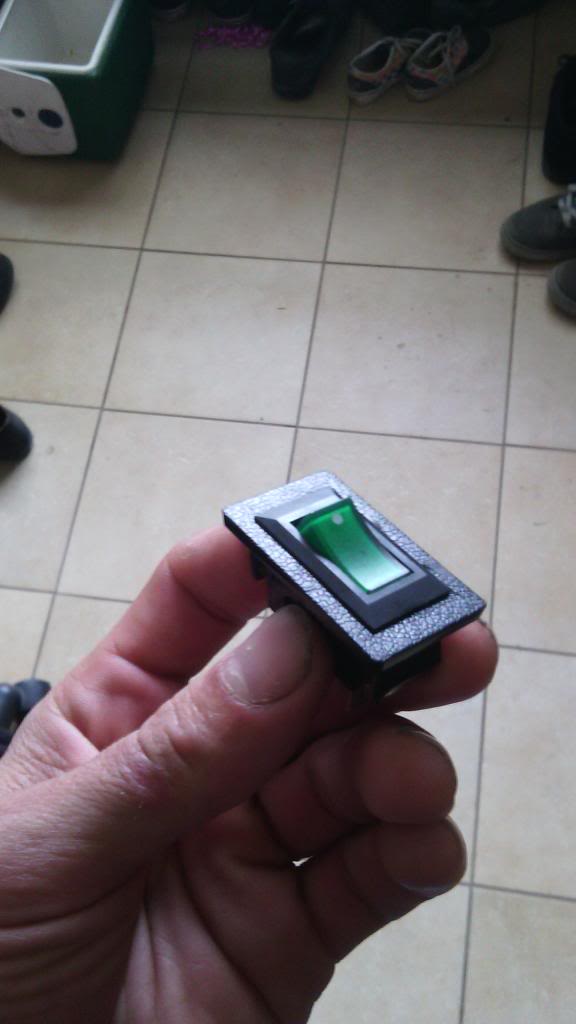
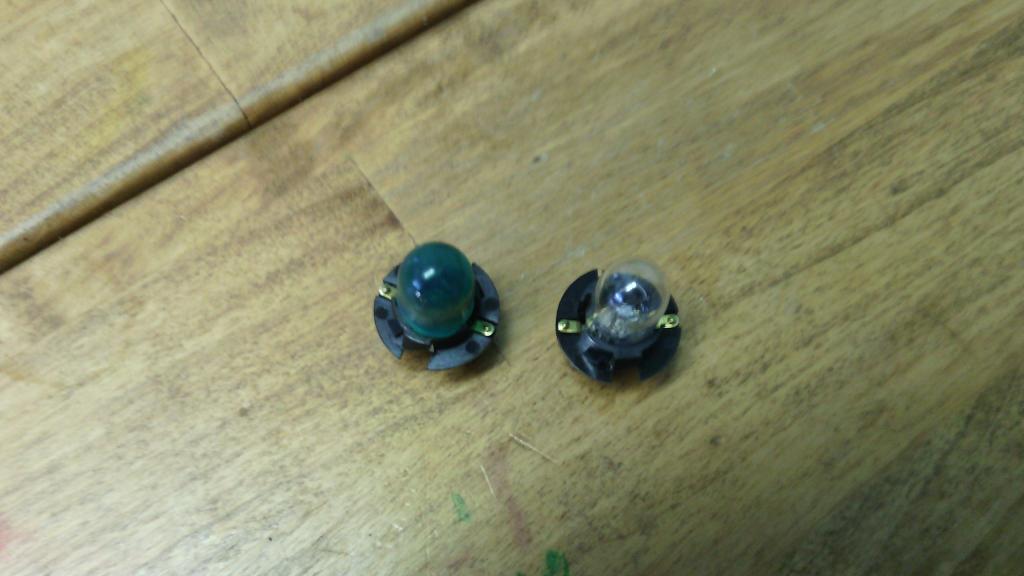
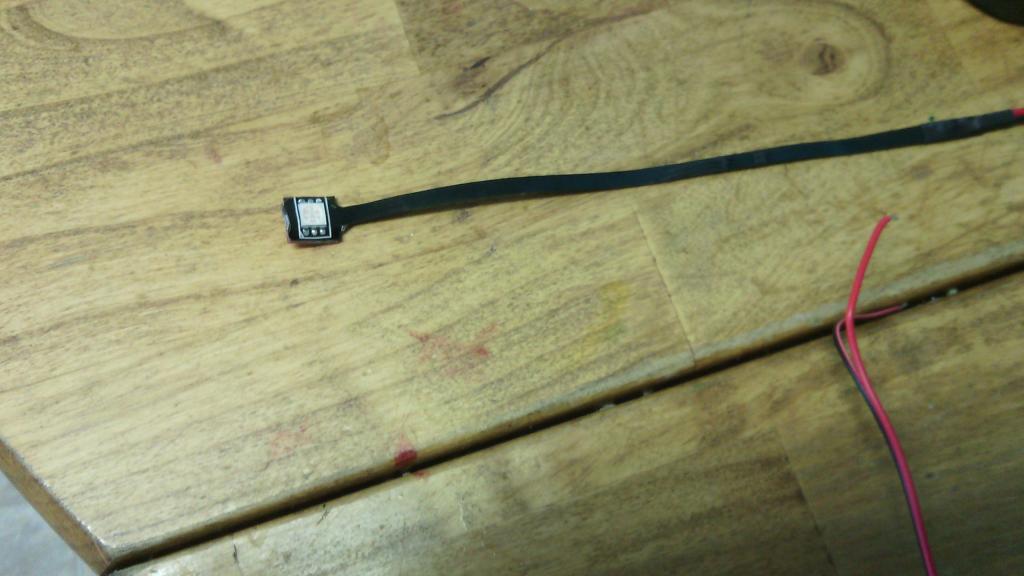
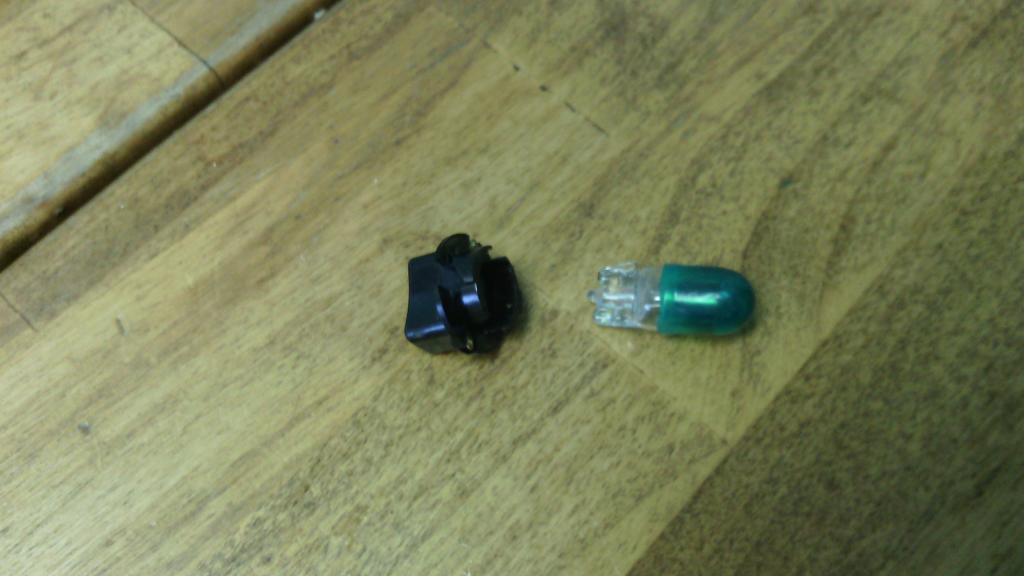
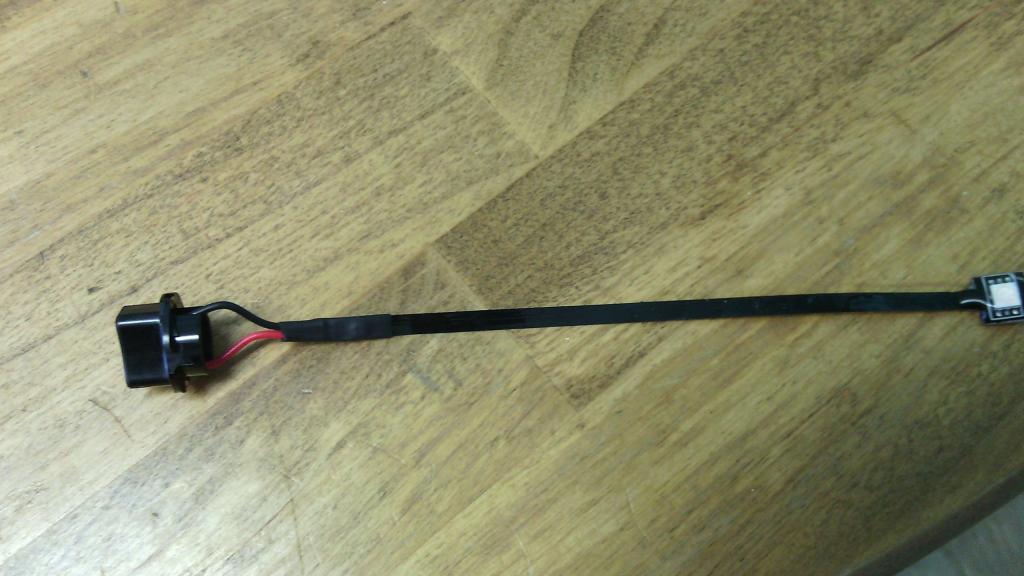
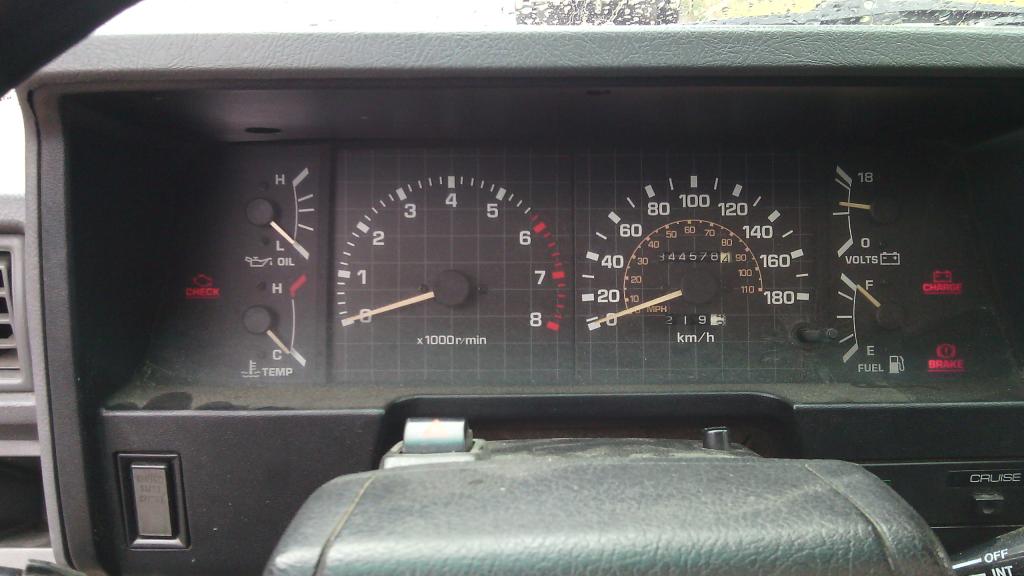
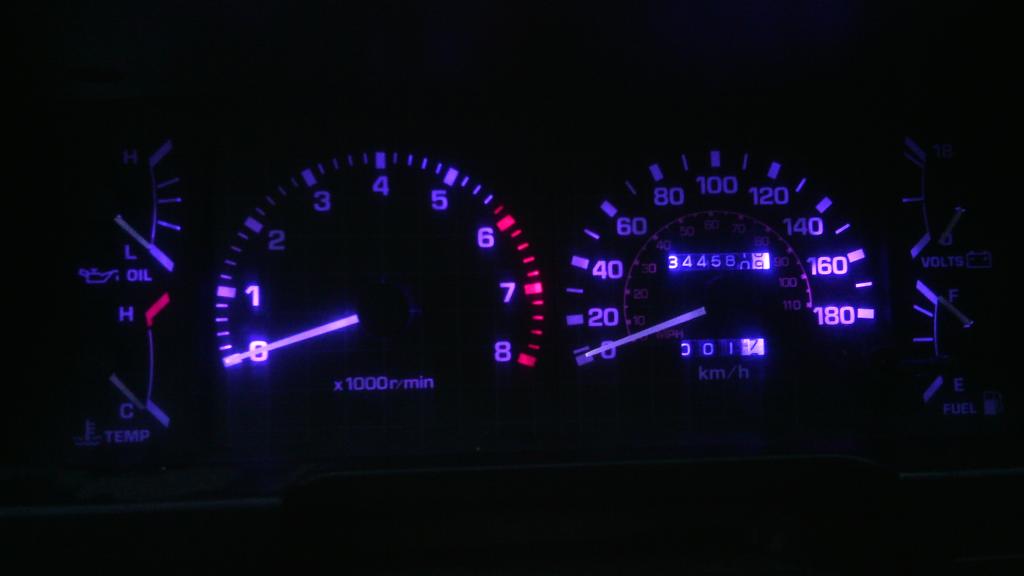
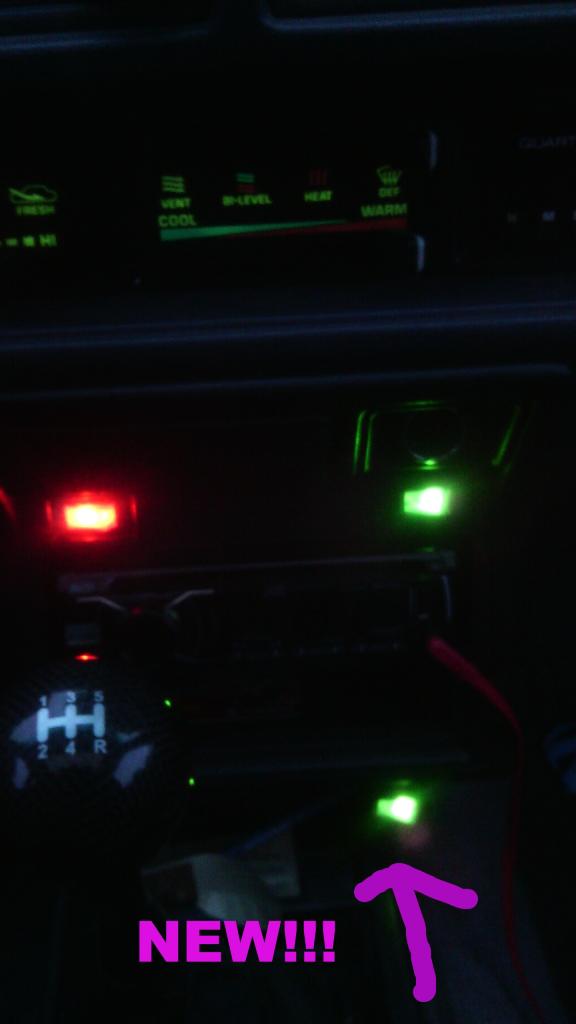
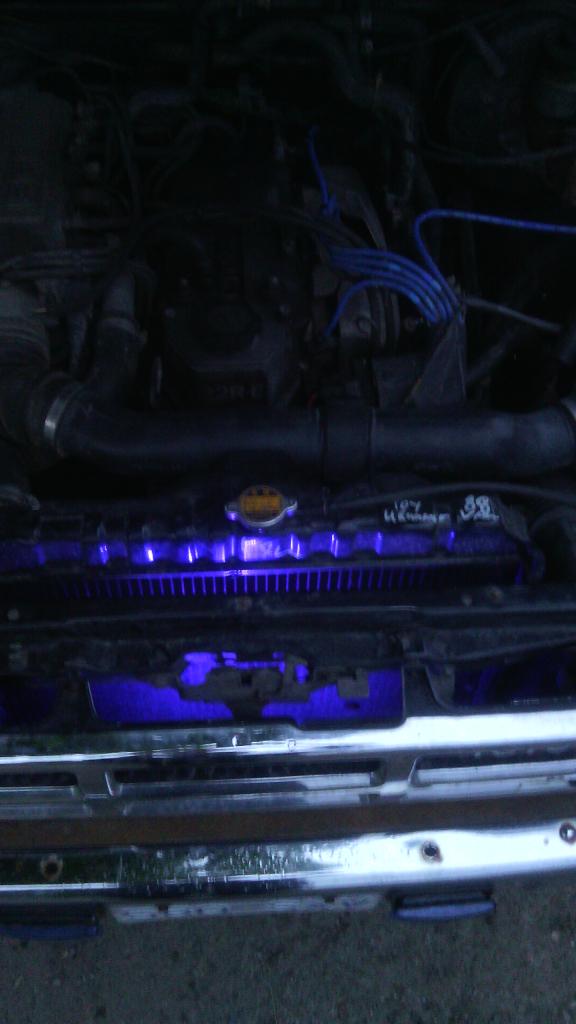
purple led dash lights and grill light
i did this today with some leds i got from ebay for 7 bucks. and a rocker switch from princess auto for 3. (plus some quick connects and wire i had laying around. and some fuses that made their way home with me from p&p)
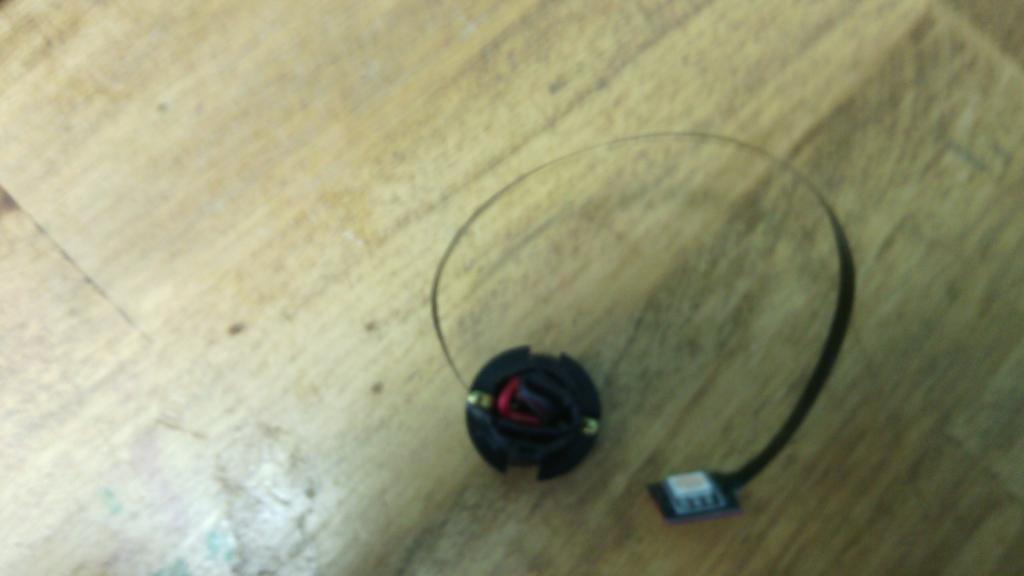

my phone died or i would have taken more pics for a write up
but this write up is good too.
https://www.yotatech.com/forums/f116...10-mod-218638/
my phone died or i would have taken more pics for a write up
but this write up is good too.
https://www.yotatech.com/forums/f116...10-mod-218638/
Last edited by Yota; 05-26-2014 at 12:53 PM.


