When you click on links to various merchants on this site and make a purchase, this can result in this site earning a commission. Affiliate programs and affiliations include, but are not limited to, the eBay Partner Network.
wow, yours is in much better shape than mine was. great build! wish i had the room to have taken my cab off, but im happy im almost done.
By the way, a good way to save your blasted frame, water resistant, air resistant filler foam.
Thanks gamble! Yah I see you did a good job on yours! I was just fortunate to have bought mine in CO. Had this been an original WI truck the thing would be in a junk yard I'm sure of it. Hell my brother-in-law has a newer Chevy, mid 2000's I think, and the thing is rustier than mine.
I've heard mixed reviews on the filler foam. Some say go for it, others say don't cuz if you miss a spot and water gets in there it just sits and can't drain. My inner channels are actually still ecoated which is a good and bad thing for me. It's great because there's nearly no rust in there.... It's bad because I was going to take this thing to get hot dip galvanized. I was quoted around $400 to get it done but I would have to drive 4 hours one way with a week turn around time. Had I been closer to the place and my inner channel wasn't painted I would have done it.
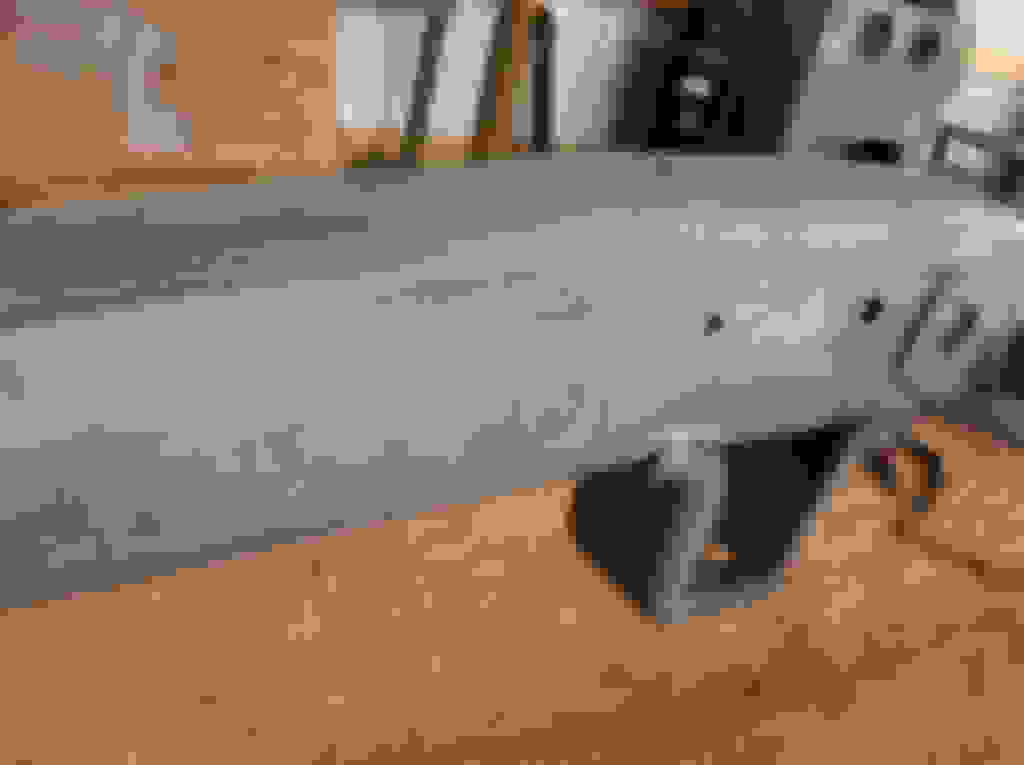
Been at a snails pace here but the tube is in! $10 at a local weld shop. I ended up going with 1 3/4" tubing because that's what he had. I did have thick walled pipe in 1 7/8" which would have been closer to stock but the tubing worked out fine... Just had to fill in with weld in spots especially on the outside.
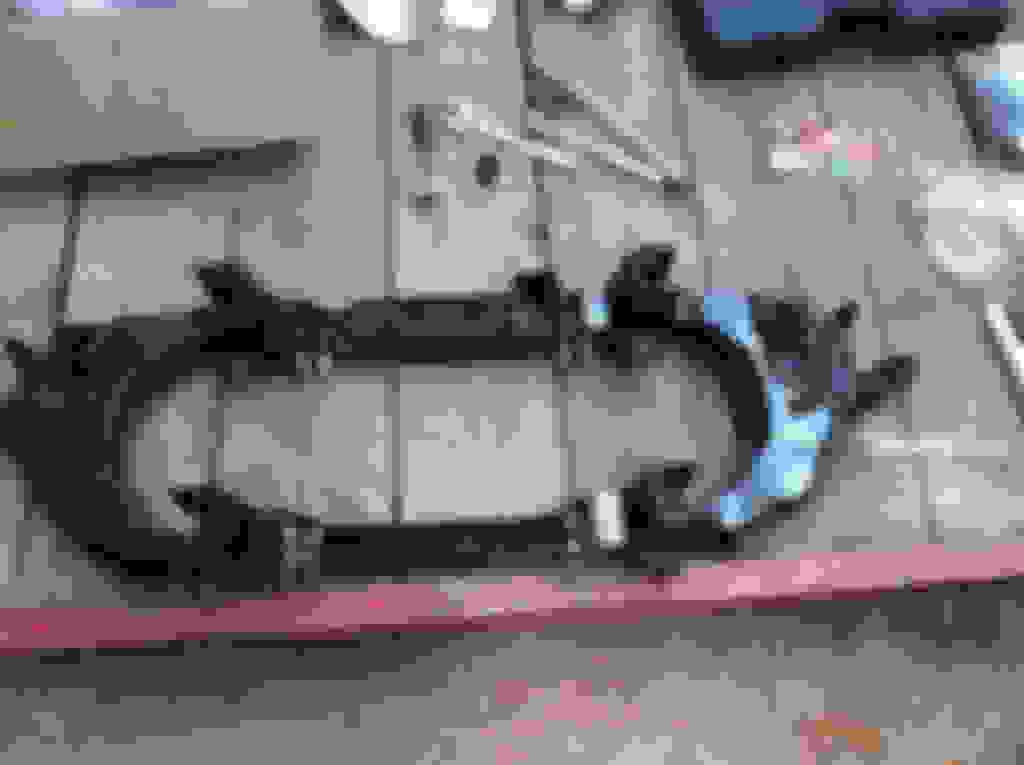
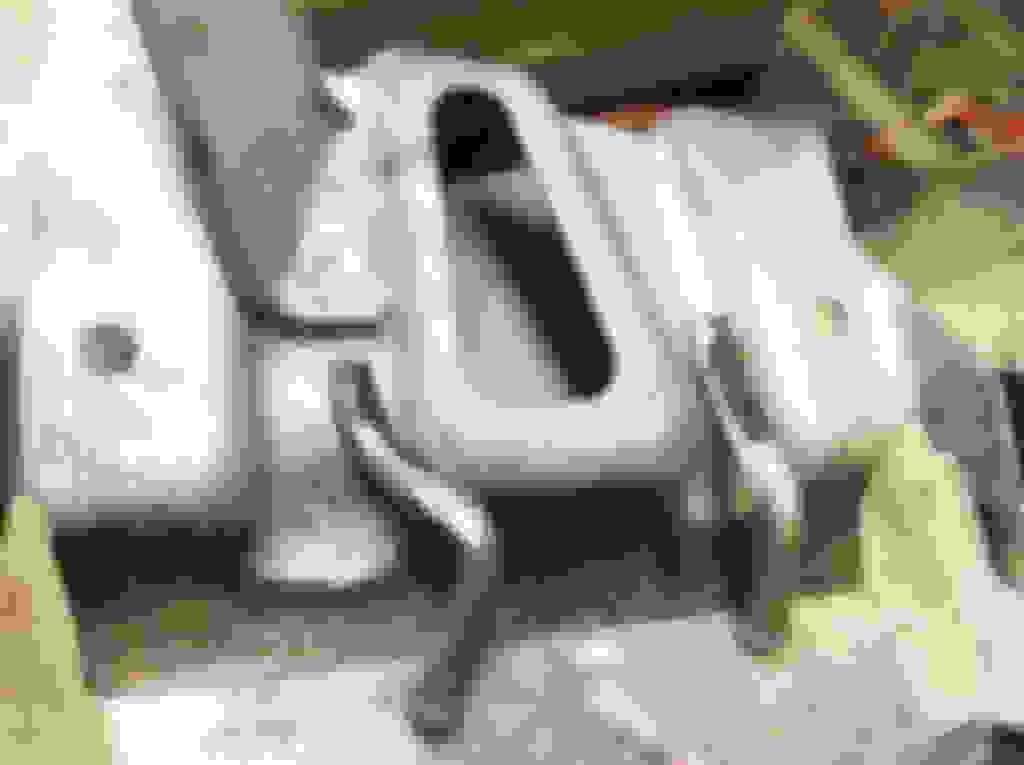
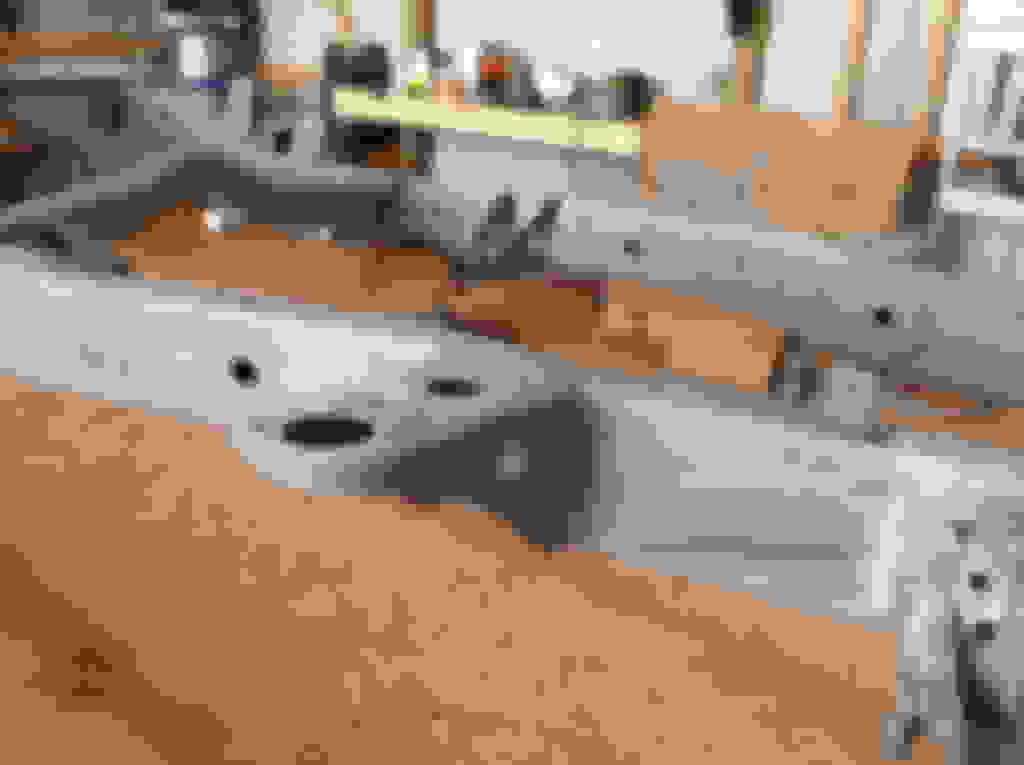
I mainly used a cutting wheel to get the muffler mounts off. Pretty easy and then just pounded them off. The gas tank mound was a bit trickier. There were 3 welds on the long side. I took a cutting wheel and cut it down the entire length which you can see in the picture which is the side in the vice. The ends would have been a pain so I cut the tubing off a little beyond the weld. For the little support "wings" I took a die grinder and cut from behind the weld to try and get as much of it as I could (remember using smaller tubing).
Relatively painless and they all came off.
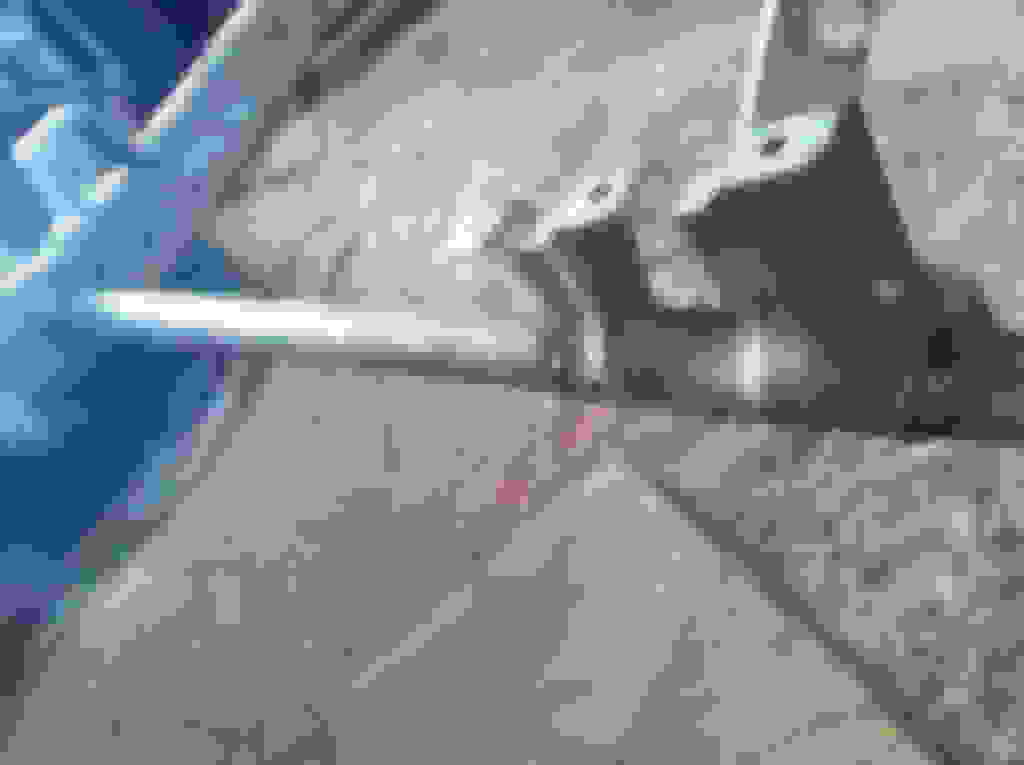
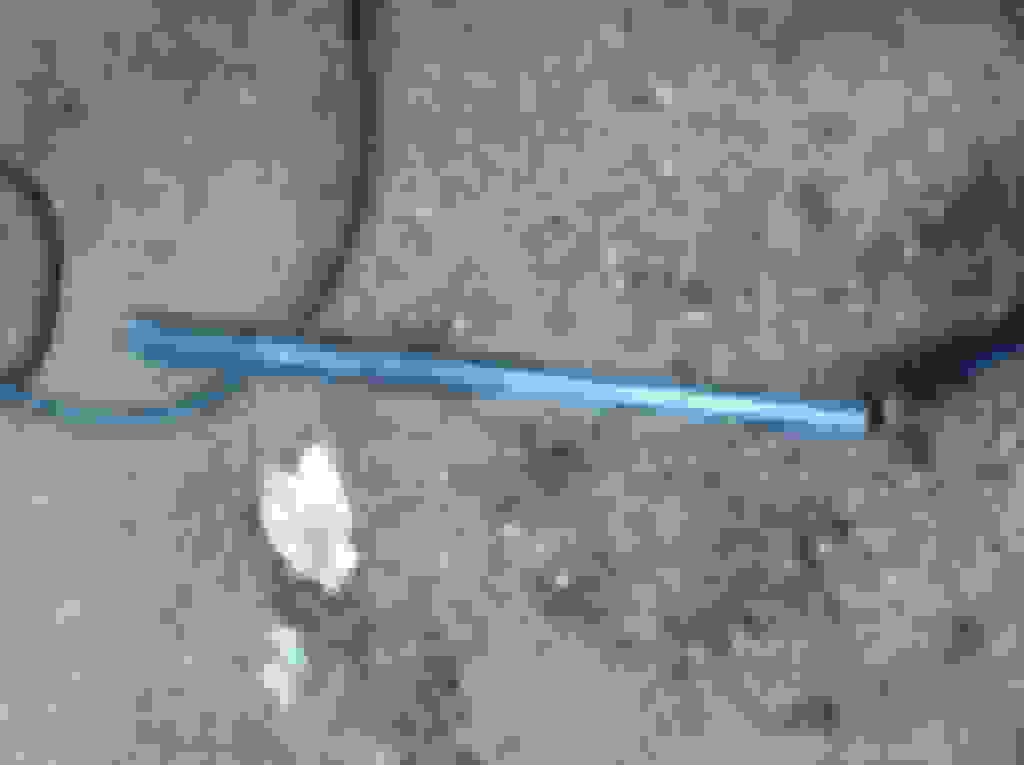
And this is a shot of the tubing just to show the difference in wall thickness around the pipe. I'm really glad I did it this way because a patch job would have resulted in more holes a couple years down the road.
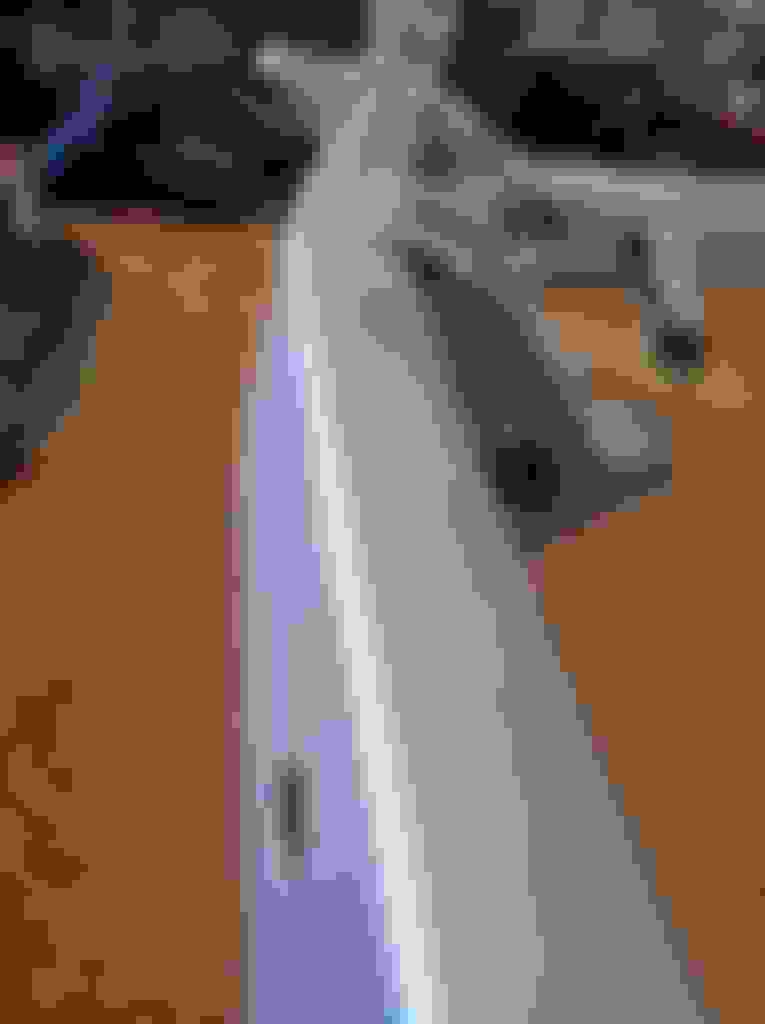
As good as new!!!!!
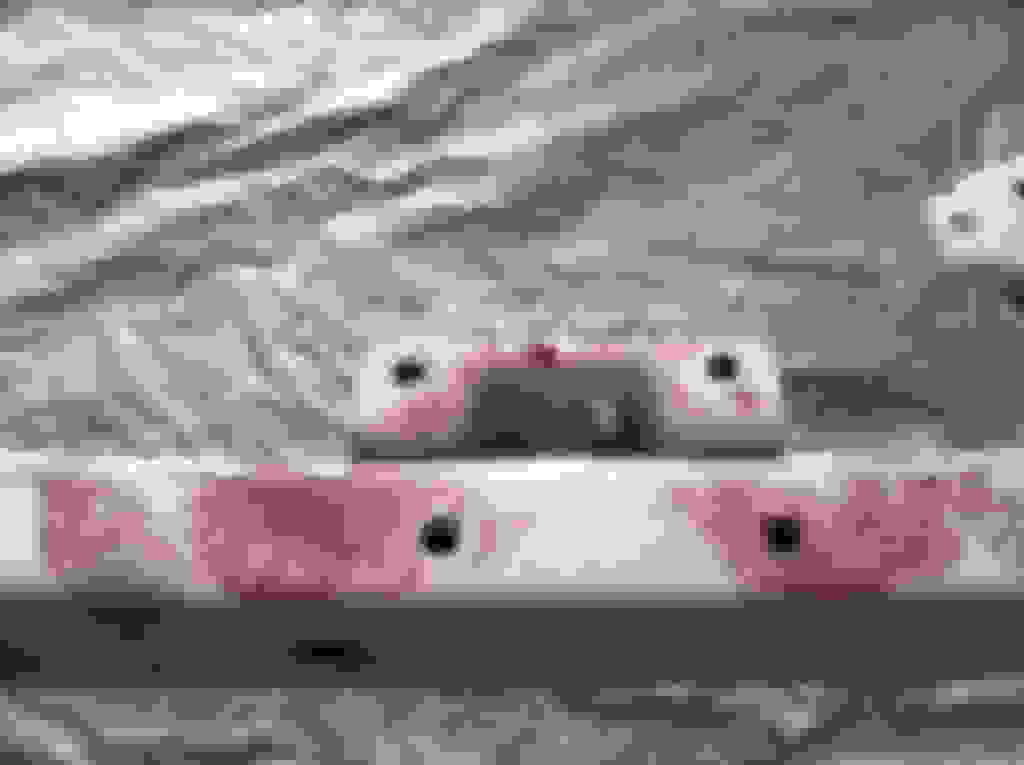
The 2x4 method I used to lay on top of the frame I mentioned earlier didn't work all that well for me. In the bottom picture it rested against the front side of the tank mount but when it was tac'd up the holes didn't line. It was a good ballpark but woulda been a baaaad experience putting things together in the end. Very good idea to test alignment before welding it
After the failed 2x4 method I bolted the front end of the gas tank in and then lined up the mount. Tac'd the mount in it's place with the gas tank there. If you do this be careful!
All I got for now... Called the place I'm going to get my transmission done at for a quote on rebuilding the differential. Just new bearings and such as I don't have any mechanical problems that I'm aware of. Between 3-400 was the quote No experience there so looks like I'll be leaving it as is. Need the money for other parts...
Last edited by duckhead; 07-05-2017 at 07:14 PM.
Reason: Fix photobucket pics
The holiday and hay season got me distracted here but hopefully begin to start moving again...
As a warning if you blast your frame... Don't touch the frame with bare hands. I didn't expect the rust prints from greasy paws but it happens apparently.
I was also surprised how fast those pits bring the cancer back to life. I know it could be seen from the previous pictures where the tube was welded in but here's another showing the rear end and what a couple weeks of fresh air will do to steel.
So I blasted it again But it wasn't bad touching everything up. I hauled the frame outside and took a page out of slacker's book and raised the nose up to try and drain out the sand from the inner channel.
Then I ran water through it until it came out clean and washed the whole frame. Then degreased with some free Extreme Green Automotive degreaser that was laying around. Here it is soaking in the degreaser.
Washed off degreaser and strung it back up from the rafters. Low humidity today here in WI so I plan on shooting it. Hope to finally close this chapter today.
Last edited by duckhead; 07-05-2017 at 07:18 PM.
Reason: Fix photobucket pics
Heard alot of people have pretty bad flash rust on their frames after they degreased or washed their frames mine didn't look too bad. This was the extent of mine with it showing up here and there...
I know alot of people use POR but I decided to go with masterseries for my paint.
And this is a warning for all of you people that have no experience with painting or the prep work like myself... When they say you can spray the metal etch, don't go overboard. The packaging says spray, wipe, etc. and I figured... Why waste the time wiping???? I thought spraying would be easier and this screwed me pretty hard. I used a spray bottle to put it on. If your frame looks like this after you etch... DON'T PAINT!!!
It took a long time to dry for obvious reasons but this is the first time I've ever used any of these products. Those runs were wet after 12 hours. Received e-mail from Masterseries statingI used way to much and I should scrub it down with scotch brite pad but when I got back to it the following morning everything was dry. Called someone at Masterseries and told them it was dry and was given the green light to paint. So I shot it! Looks good right???
Good from far but far from good
After starting the second coat, a simple scrape with my fingernail has all of those runs coming right off
Gentleman from Masterseries is adamant I should just scotch brite them off but I'm afraid I'll miss some and just end up with a rusty frame in these places. SO... I'm gonna blast it AGAIN and start over. Pretty big hit on time and a little bit of money here but lesson learned. Should have did a bit more research with metal etch but hopefully my bad experience can help someone else out there in my shoes trying to tackle their rebuild.
Last edited by duckhead; 07-05-2017 at 07:22 PM.
Reason: Fix photobucket pics
Wow you are taking on quite the project. I love to see when people take the time to revive such a great vehicle.
Sorry about the Etch troubles. But judging by the previous work you have displayed, I think that you will have this ironed out in no time.
Definitely nice that you have such a large work space.
Thanks Gizler. I couldn't think about having to reblast with my little 5hp compressor again. Took me 3 days last time... It couldn't keep up. I thought I did good at $30 cost for the media alone but I started calling around to local sandblasting shops after this mix up. I was quoted between $100 and $300 to redo the frame. I found a place that said between 80-100 and I took em up on their offer. They had it done in 15 minutes and it cost me $40. So for all others... Once again don't be like me . I assumed commercial blasters are too expensive. Call around and you might find a deal as I did and it'll save you tons of time and mess.
Problem now is I gotta wait for the humidity to settle down. I won't post updates until the frame is painted. Could be a few days to a week though. Weather is not in my favor. Was hoping to have this done by August....
Well I said I wouldn't post until I got the frame painted. Had 2 beautiful days up here in Northern WI but the hay came first so I'll have to wait for my next window.
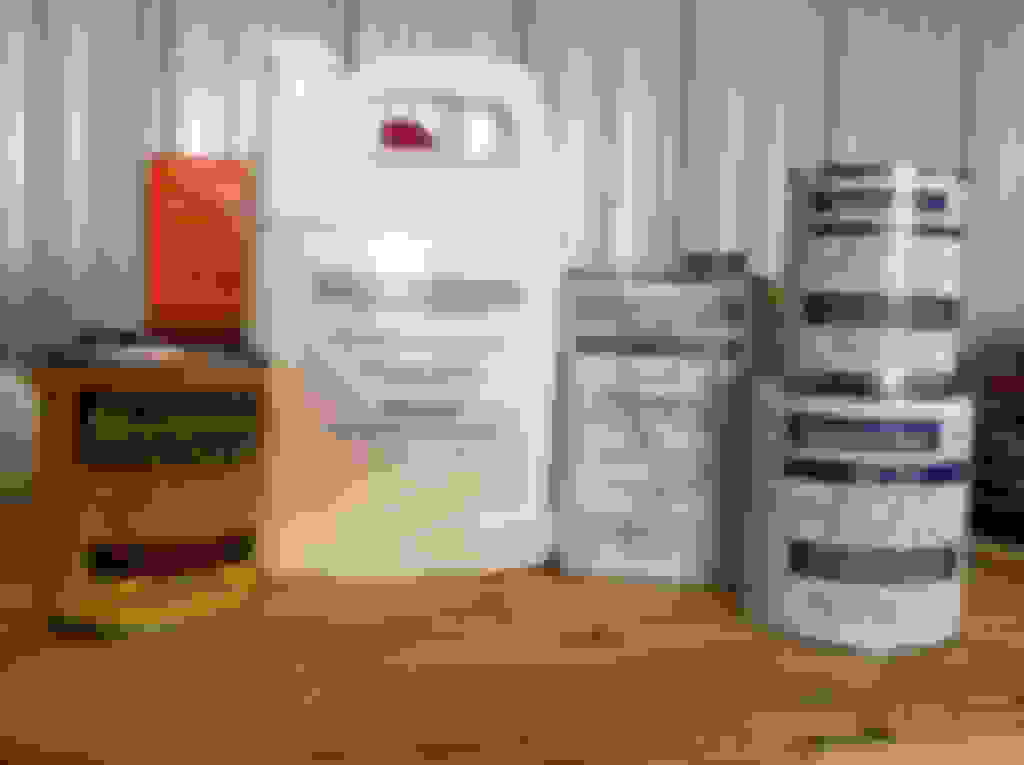
Reason why I'm posting is because I had a little surprise sitting in front of the door from a delivery. Marlin Crawler website says 6-8 weeks on transmissions but I ordered on 14Jul and it was at the door on the 20th!!! Maybe I'm lucky but I'll take it!!! Wish I could work on getting this thing goin!
Last edited by duckhead; 07-05-2017 at 07:23 PM.
Reason: Fix photobucket pics
Tired of sitting around and waiting on this humidity to pass. Wanted to do things in sections but probably makes sense to paint as much as possible in one shot. Started tearing down smaller components.
I know alot of people say they would rather buy new c-arms than take the time to tear out the ball joints and bushings. I priced them out on rock auto and it would cost roughly 70$ to do a single control arm as opposed to $135 for a new one. Maybe if you're only going to do one that wouldn't be bad but replacing all 4 seems way too expensive to buy all new. So I ripped them out.
I couldn't figure out a way to tear out the lower arm's bushings with my press. Need to push them out from the inside. Best idea I came up with was to use a bottle jack and it worked surprisingly well on both sides. Like a ball joint, use a hammer when your pressing to try and break that rust loose. These didn't shoot out too violently... Just hopped out maybe 6"
The uppers were a different story. The 93 fsm; http://personal.utulsa.edu/~nathan-buchanan/93fsm/
Was a little confusing for me as to what they wanted me to do. Looks like they use a pitman puller for the front bushing and just a press for the rear. I didn't have a pitman tool so I used a small gear puller.
The nuts are staked on each end. Bit of a PITA but if you rock it back and forth a bit with a wrench there should be enough clearance to use a small center punch to lift it up more. I pinched mine in a press in order to hold everything in place.
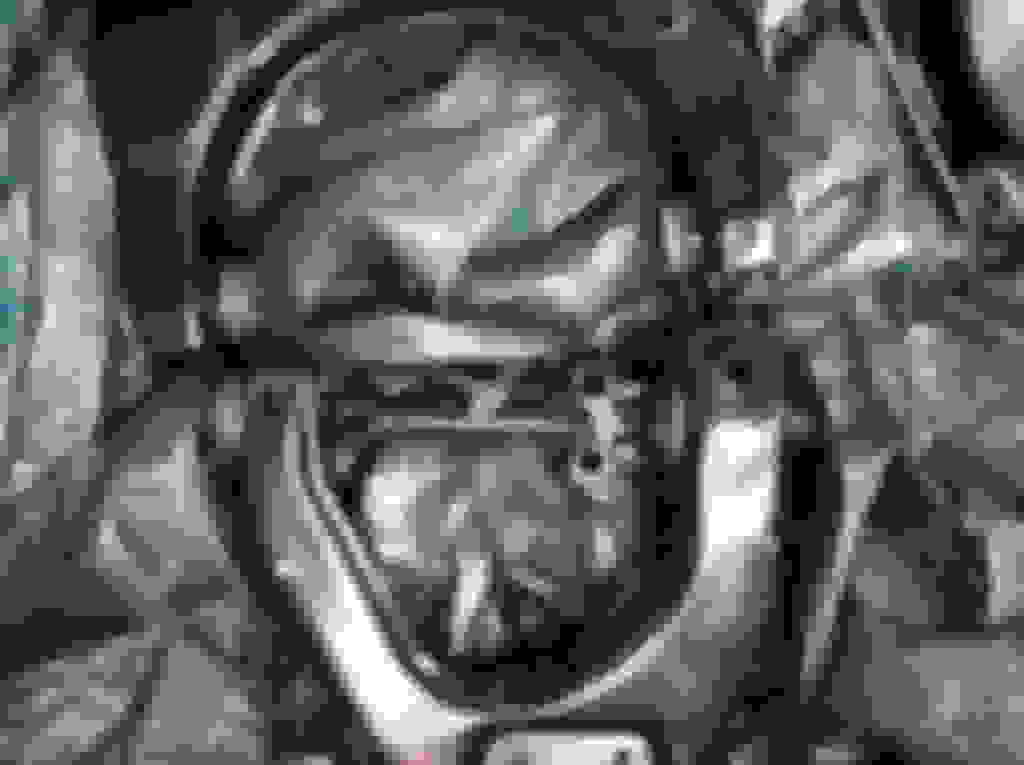
There's gonna be a lot of travel on the control arm before it even comes close to coming free. Don't give up and like the lowers, when you get enough pressure beat that thing like it owes you money. I sprayed PB blaster on it but began yanking after 5-10 min. Maybe if you soaked it over night it would come out easier... This picture shows how far the control arm pulled before the bushing finally broke loose. You can also see my hammer marks...
For the rear bushing a press would be best. If you don't have one I'm sure there's a creative way to push it out similar to the way I pushed out the rest of the crossmember I replaced in an earlier post.
I didn't have a piece of rod big enough to push through the control arm so I used the threaded shaft with hesitation but it worked great. Just be sure to hold onto the control arm or it will fall and you might damage the threads. Also watch your feet. Thing shoots out like a cannon.
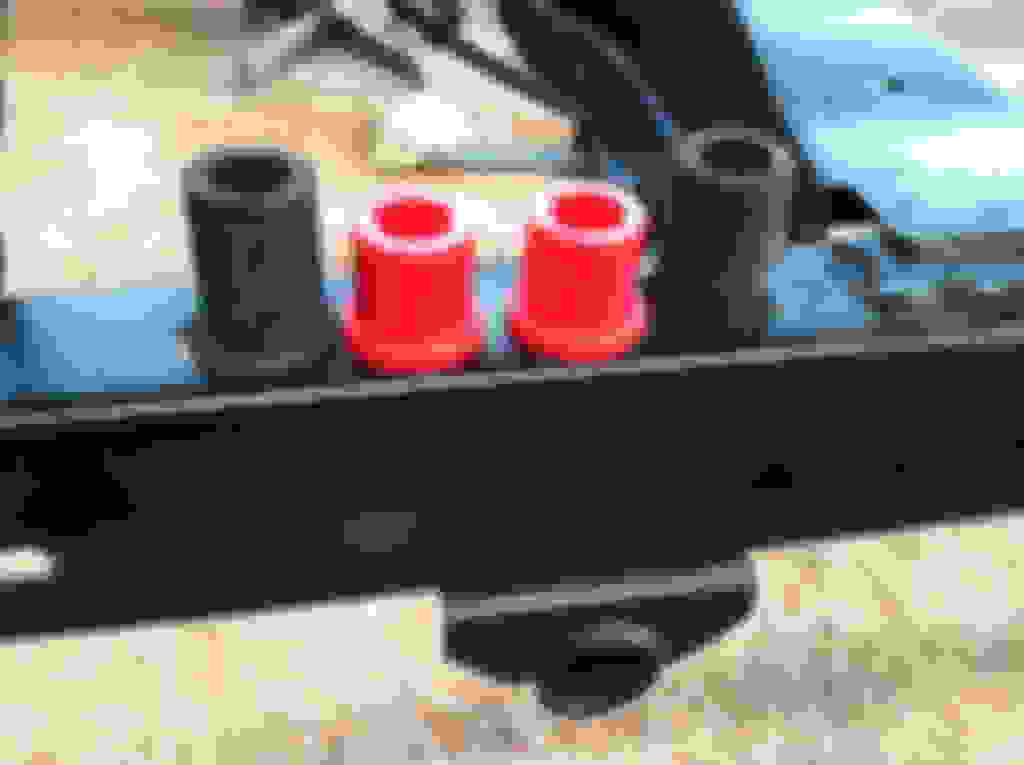
And surprisingly enough... the bushings were all in relatively good shape. Everything is easy to do now so I'm just going to replace it all anyway.
Sway bar bolts were rusted in bad. Bolts seemed off too haha. Something doesn't seem lined up.
Used a breaker bar, slid it over the bolts, and just snapped them off.
Picked up my front differential off the frame and dropped it on the dirt so I could do the control arms from above. Tore the damn boot in the process. I'm replacing the CV axles anyway but it's nice to not have that grease everywhere I would highly recommend you break all of the bolts loose while it's on the truck before you pull it off. Hard to keep everything still when wrenching.
Thought you guys might like this scab job that was attempted while everything was on the truck couple years ago. There was no room to weld so this is what transpired Be nice to get this welded up properly...
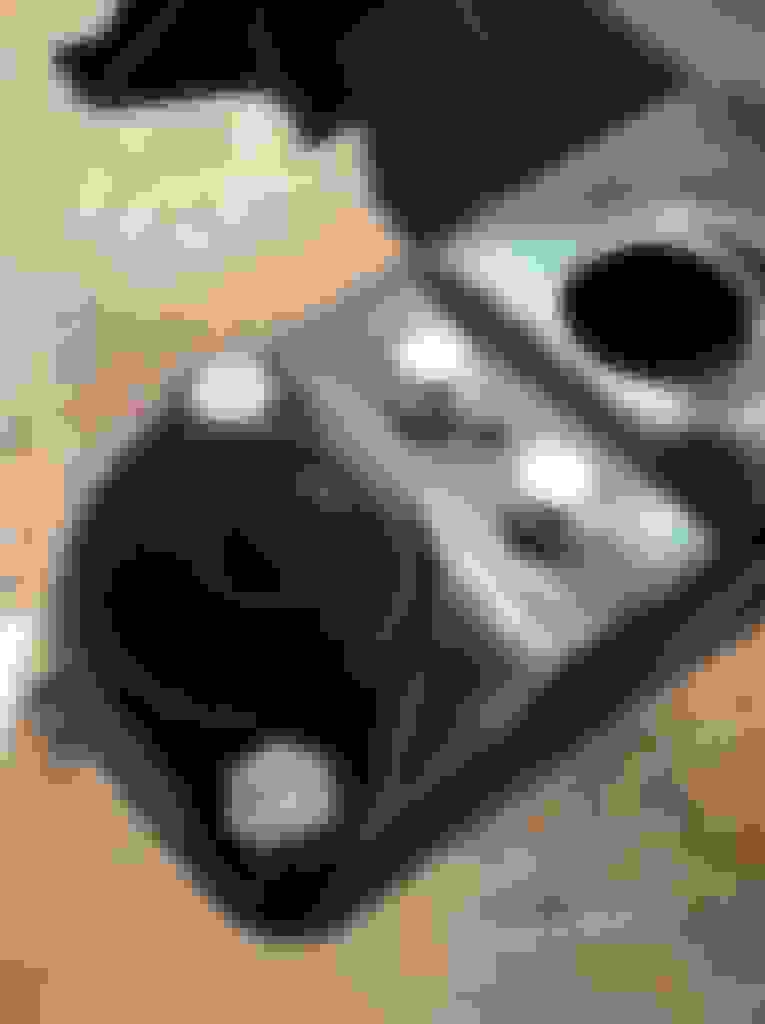
Picture of the front end supports to take note of the c-arm bolt positions. Did this on both sides...
Last edited by duckhead; 07-05-2017 at 07:29 PM.
Reason: Fix photobucket pics
Finally got it painted!!!! The weather and hay really set me back. I needed to get this done this month otherwise it's likely I won't be able to work on it the rest of the year Looks like this is gonna be a longgggg build
This is what your parts should look like after the masterseries metal prep. I used a scotchbrite pad but wished I wouldn't have. Alot of the little fibers were left behind so I do have them scattered where I used it at. I switched to a foam brush and that worked alot better/cleaner...
Rust in the pits converted and black
Anyway.... This is a shot of the masterseries rust sealer... Nice and chunky starting out before being stirred.
I sprayed it and recommend it to everyone! It was very fast and easy. I did reduce it 5-10%ish... I then used a sponge brush to take the left over in the mixing cup to get some hard to spray areas. 1 quart did my frame and part of the inside. I did crack open another quart to do my control arms, cross member, sway bar, etc. and used some of it to coat the inner channel (used maybe half of it). Thanks to slacker he put me on track with a Protek pressure pot with a wand for the inner channels. Admittedly, I couldn't get it to spray smooth so I had to be careful where I sprayed with this. Otherwise I used an LVLP gun for everything else. Worked great with nearly no overspray and my 5hp compressor handled it great.
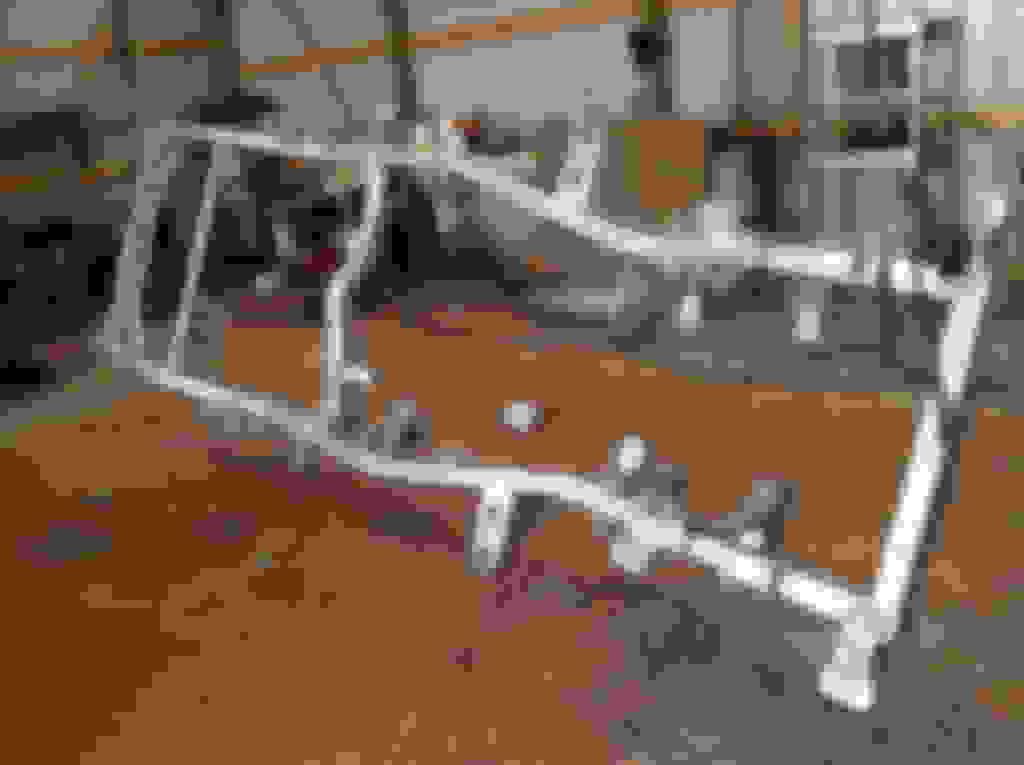
Here's the frame... Silky smooth!!!
And here's the frame with the AG111. Turned out pretty good. So far I'm pretty happy with it. The quart did my frame and the extra parts.
I used some old pipe from a sandpoint well and hung it from the rafters with some straps.
To break up the black under there I painted the sway bar red with some rattle can metal exterior paint over the masterseries silver. Should match some other parts I plan for red... (Calipers, shock boots, etc.) Not sure how it'll look under there but we'll see once things start going back together.
All I got for now. Can't wait to actually start putting this back together! I do need to blast the rear and front differentials and get them painted though. Gotta head to Ohio for a week so I don't have much time. Hopefully I can at least get a rolling chassis by the end of the month.
Last edited by duckhead; 07-05-2017 at 07:35 PM.
Reason: Fix photobucket pics
Alright... got in last night from Ohio. Got a little done today.
New hardware came in while I was gone!
So I began putting things together but I forgot alot of little stuff that needed to get painted in order to put a majority of the frame back together.
I had some OME springs, CS019r, delivered a few weeks ago. My old springs were just too rough. They were 3 or 4" lifted HD skyjackers. I dunno why I went HD... Probably because I was 19 and thought, "HD...? Hell yeah lets get em." Ride was terrible after that. I did put Procomp ES3000's on there too though. Who knows... I tossed the whole works and went a different route. Anyway I also ended up going with marlin crawler for the rear shackle, greasable bolts, and the bushings.
Had some problems with the Marlin setup so hopefully they can get me setup properly on Monday. They said the 120mm bolts would be fine and I wouldn't need any spacers for the bottom bolt because the bushings compensate for the difference. Well...... Warning to others going this route for this kind of setup on similar rigs, you will need some spacers and go with the 140mm bolts. I think 140mm would be perfect but it looks like the options are 130 or 150. 150 seems a bit long but 130 with some loctite could be the answer.
The gear
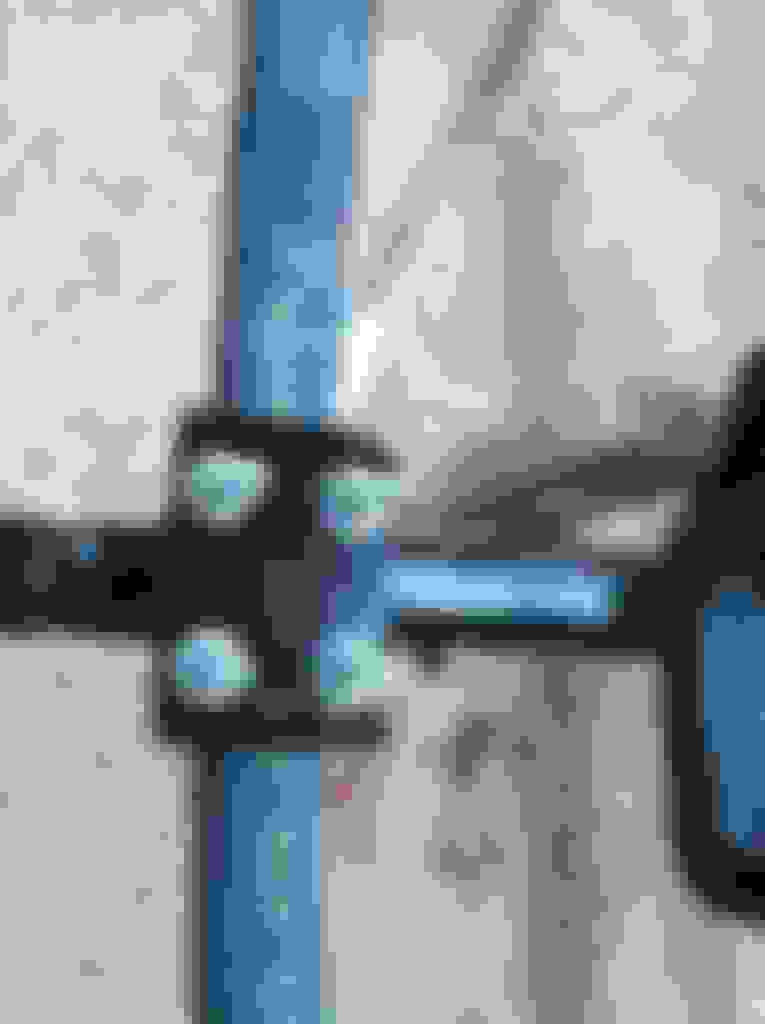
Installed with the gap on the lower. Need two 3/8" spacers...
Short bolts Second picture is all the way tightened without over torquing and bending anything. The crimp part of the nut isn't even engaged. I can loosen with my fingers.
Need longer springs... Look at that shackle angle!!! Even with weight on it the shackle angle is gonna be pretty terrible. It was with my skyjackers too. Be nice if someone would make springs for a yota that had maybe 3 more inches of length.
Marlin's 91 pickup bushings didn't fit the OME springs so they used a different model truck to get things in a complete package. The rear most upper bushings could probably be the extended or longer ones they offer. Not sure if the gap is something to worry that much over though.
Gap inbetween the two
Was hoping to grease everything up and get ready for the next step so a bit of a bummer to have the wrong parts. With that said no ill feelings towards Marlin. Customer service there is by far some of the best I've dealt with on this build. Far better than 4wheelparts but that's another story and I wanna stay on topic...
Last edited by duckhead; 07-05-2017 at 07:42 PM.
Reason: Fix photobucket pics
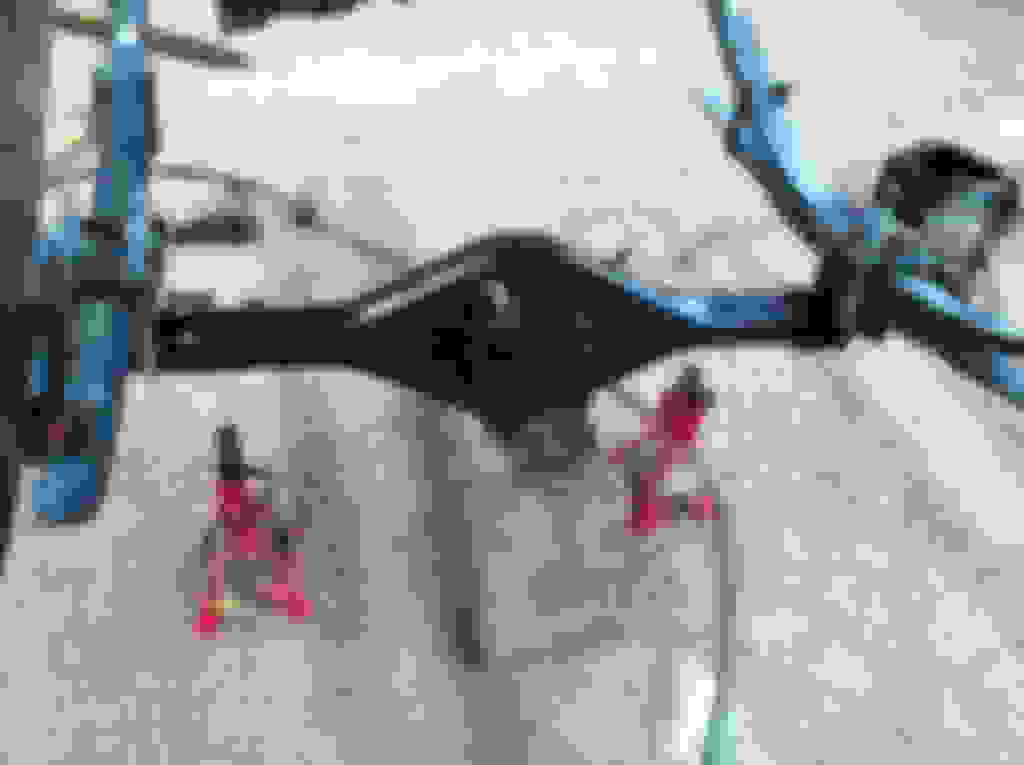
I ended up getting lazy with my rear shock mounts for the U bolt flip kit so I bought Trail gear's kit for $20 or whatever it was. I put the stock U bolt plates on the bottom and tac'd on the trail gear mounts where the factory shocks kind of went. Did a mock up with the rear axle and the shocks and everything was good. Welded it up... Something to be aware of with the TG mounts is that there will be a gap on one side due to the shape of the rear axle. Fill it in...
Mock up
The gap before and after
I should mention I bought the U-bolt flip kit from.... you guessed it... Marlin Crawler Only issue seems to be with the proximity of the shock for the driver side. Seems too tight so I'll probably grind off the corner
I went with Rancho RS9000XL shocks after reading some pretty good things about em. That and I do like the idea of adjusting for when I'm hauling something heavy in the back. Problem is... Their 3" lifted shocks are goofy or something. They're only around 22" extended. I had no idea this was the case. In other words these shocks are about 3-4" short without moving the stock shock mounts lower on my frame but even then, I'd worry about blowing these things doing anything. Another phone call I'll be making on Monday to see if they offer anything else that would work.
Here's a picture of the RS9000xl fully extended and too short even for the moved shock mount
Control arm bushings from RockAuto came in too. Lowers were Moog...
And I pressed them in...
For pressing them in, 3/4" drive sockets are your friend. I can't remember the exact sizes I used to create a cup for pressing but worked pretty slick. You can see in the above picture a couple chips in the paint. I dropped the damn thing off the press. 4 foot drop on metal angle iron overpowered the masterseries paint I'll hafta do a touch up on that. I know not everyone has a press but I could see someone using a vice to do this if you have one big enough. Otherwise instead of paying a shop $60 to remove and install em, buy a cheap 12 ton press from harbor freight for that price and get a tool in your garage you could use. Just my take Oh and for the upper c-arms. Don't forget to put that bolt on the inside before you press both bushings in. Ask me how I know this
Last edited by duckhead; 07-05-2017 at 07:47 PM.
Reason: Fix photobucket pics
I just got a set of Trail Gears shackles and put them on last night they're great.
Yah they aren't too bad. I do wish they were a bit bigger so I could fit a larger bolt through it. For my shocks I'm gonna hafta pick up a sleeve to put in the loop. Everything is done for ya so none of the grinding to get em to shape or anything
Well it's the weekend but I did make it over to my truck for about an hour or so today. Got this together. I've always been a big fan of lathering everything in neversieze....
Caked up both sides of my bushings and then put em in their place...
I reused the control arm cam bolts due to the cost on the 4 new ones... They weren't in bad shape anyway... This is everything back together;
And that's a Saturday
Last edited by duckhead; 07-05-2017 at 07:48 PM.
Reason: Fix photobucket pics
I called Rancho and they were really helpful. Apparently the shocks I received, part 144, is for 3-4" lifted *rancho lifts*. They told me that the 143 for the older model pickups are identical but 3-4" longer. Waiting to get those in the mail.
As expected Marlin Crawler customer service is awesome. Tried to send me the right bolts but they sent me 130mm zerkless bolts. The zerked bolts are on backorder so waiting on those.
I had some knuckle fun... The steering stop bolts are pretty jacked. This one was bent over.
Of course I tried to remove it and of course I snapped
Another bolt was snapped off on the other knuckle. I don't know why but I tried to use an easy out. Of course it snapped even after heating them.
Drilled out both bolt revealing old threads. Referenced a tap chart for the correct drill size.
Threads look good so hit it with the tap
And just like new
Used a little crowbar to pop out seal. Will be putting a new one in.
The bolt was seized up on top of the knuckle where the ball joint would normally go. Pressed it out but the damn bushing came out with it. Called dealer but they have no idea what it is. Might use a larger bolt.
I taped it up to keep it clean from sand blasting
Here they are painted
Last edited by duckhead; 07-05-2017 at 08:04 PM.
Reason: Fix photobucket pics
My body mount bushings were pretty rusty but the rubber is in pretty decent shape. I want to keep the rubber for the absorption factor compared to the poly ones. I called the dealer on new ones but when I looked online they were $$$$$$ Besides the cost, all the dealers I talked to said they were discontinued and not available despite the ability to add them to my cart online. I didn't investigate them further due to the cost. Here they are preblasting
post blast and painted
I still dunno what these are but I painted them anyway and put them back. Almost seem like a counterweight but I dunno what they would be used for. They're not that heavy. One has an 8 and another has a 10 stamped on the bottom.
And all of them mounted up
Last edited by duckhead; 07-05-2017 at 08:08 PM.
Reason: Fix photobucket pics
Looks really good. Theres time I wish I would have pulled the body off mine. After all the work I did, there isn't much frame that was cleaned and painted with the body on lol.
 06-30-2015, 04:19 AM


 No experience there so looks like I'll be leaving it as is. Need the money for other parts...


 But it wasn't bad touching everything up. I hauled the frame outside and took a page out of slacker's book and raised the nose up to try and drain out the sand from the inner channel.
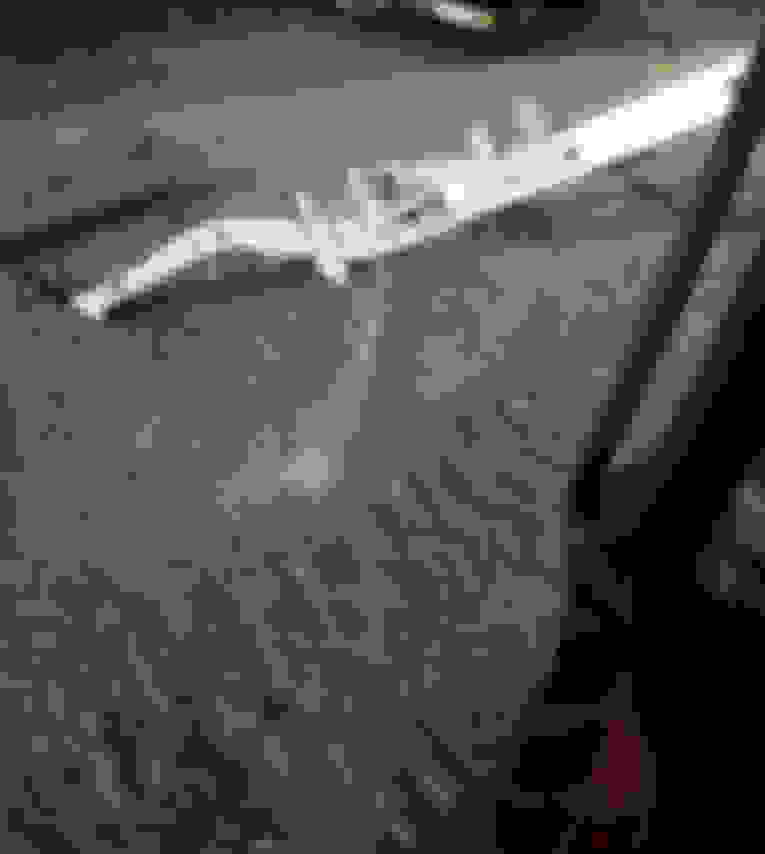


 I would highly recommend you break all of the bolts loose while it's on the truck before you pull it off. Hard to keep everything still when wrenching.
 Be nice to get this welded up properly...


 Looks like this is gonna be a longgggg build


 We'll see how it turns out