Yota's 85 (blown 22re auto) longbed single cab build
 02-26-2014, 07:12 PM
#1
Registered User
Thread Starter
Yota's 85 (blown 22re auto) longbed single cab build
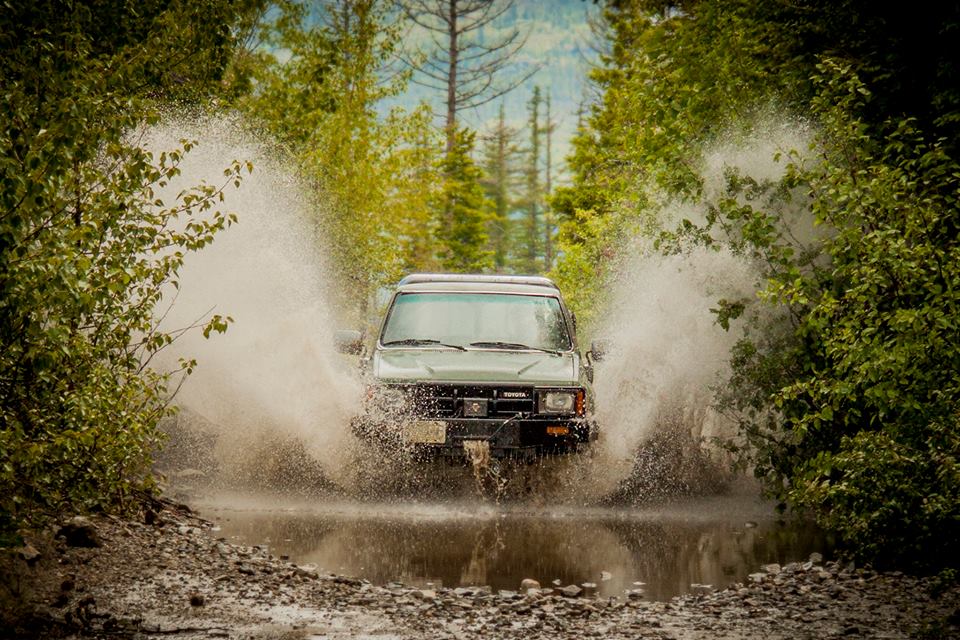
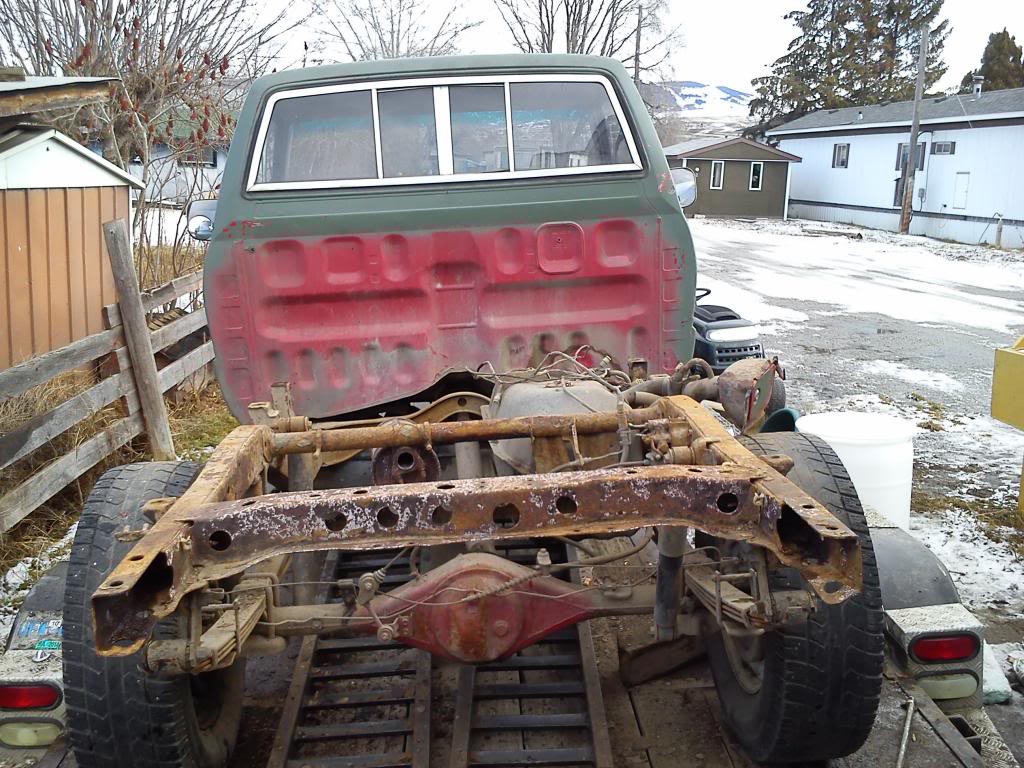
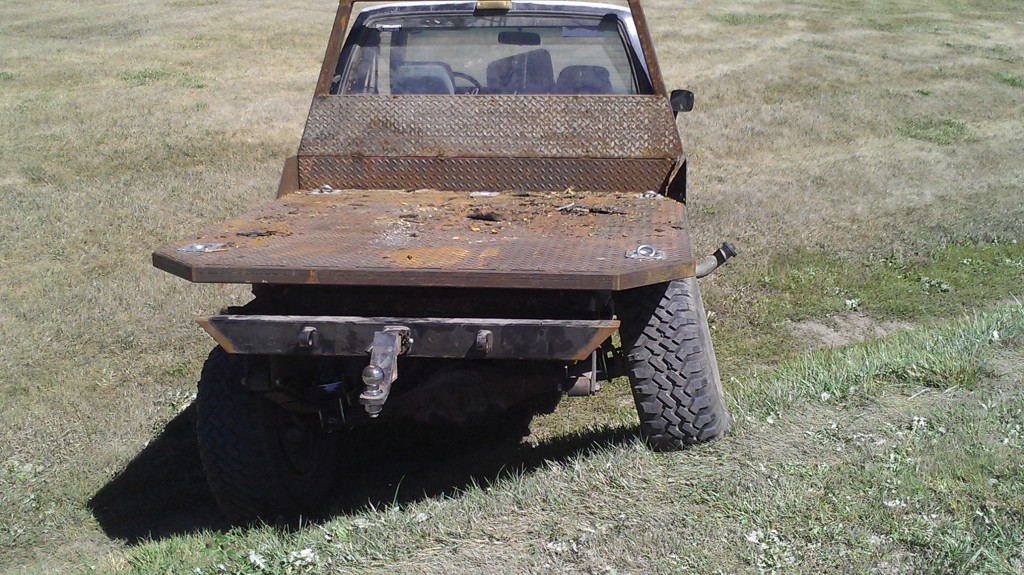
my dad and I got this truck about 7 yrs ago to use as a hunting truck, it turned into his "get me to work for him" truck. then i lost my liscense and it took a few years to get back, and just about that time my brother was rat bagging this truck as a roofing company transport and the motor blew. while it's been lying in wait I acquired a gf, ( who came with a baby girl) and we got an 86 4Runner and my quest of toyota knowledge Truly began, and now i have some not only free time, but some funds to put into fixing it up,
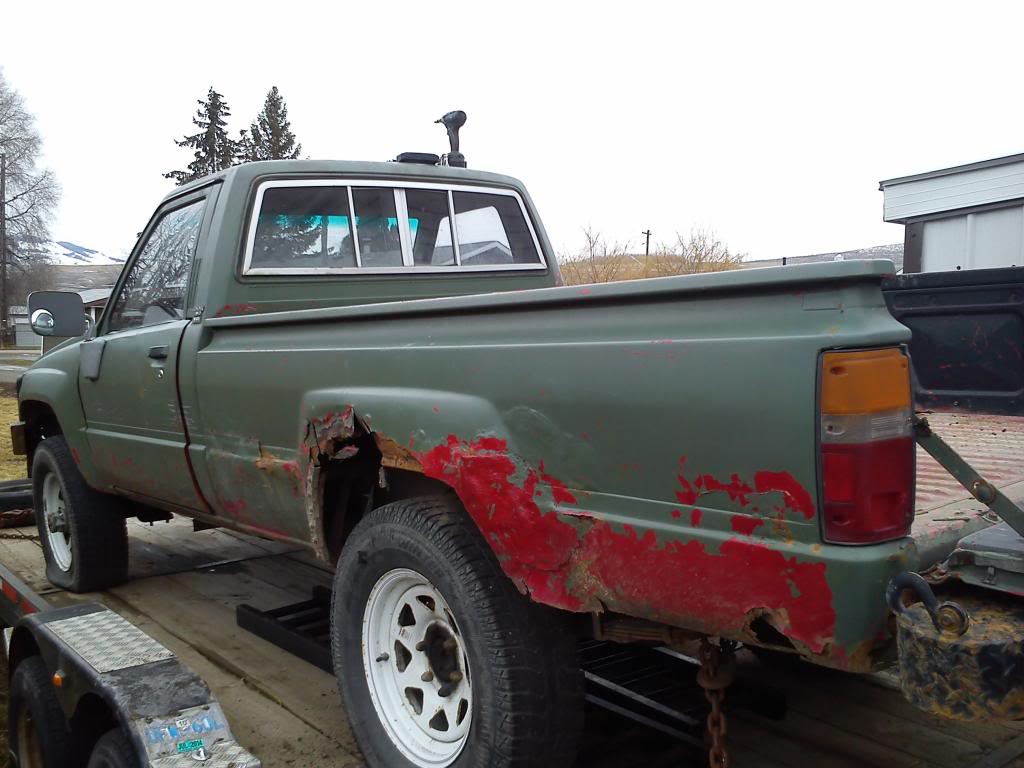
this is what it looked like after we got it and put on a roll bar.

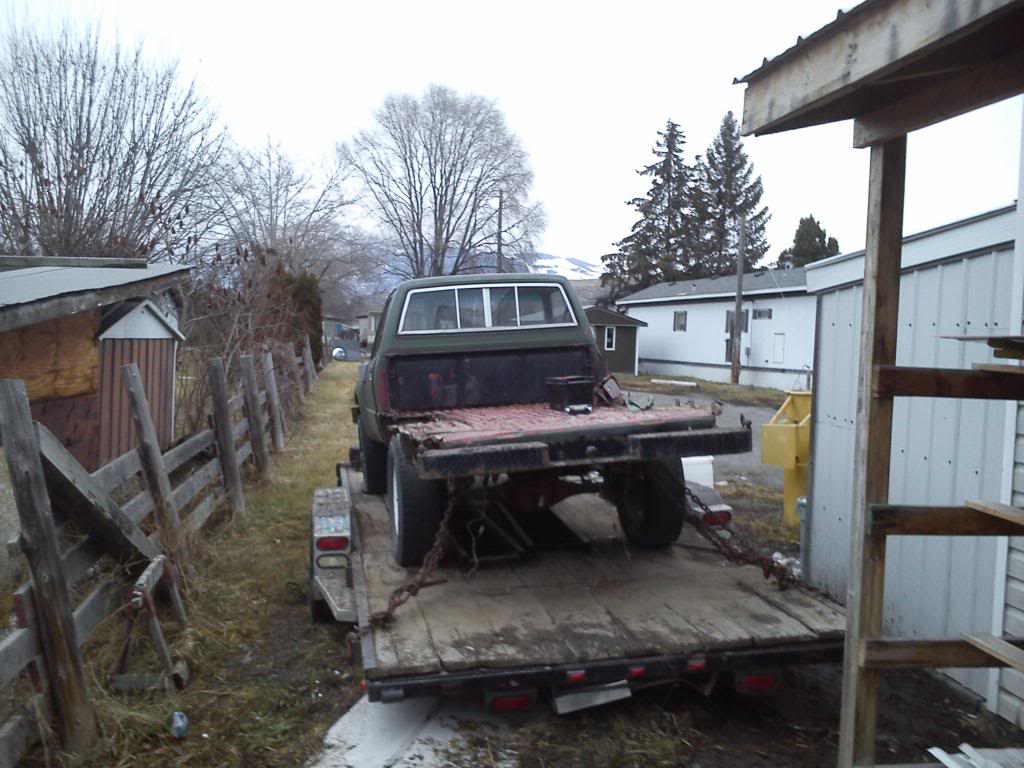
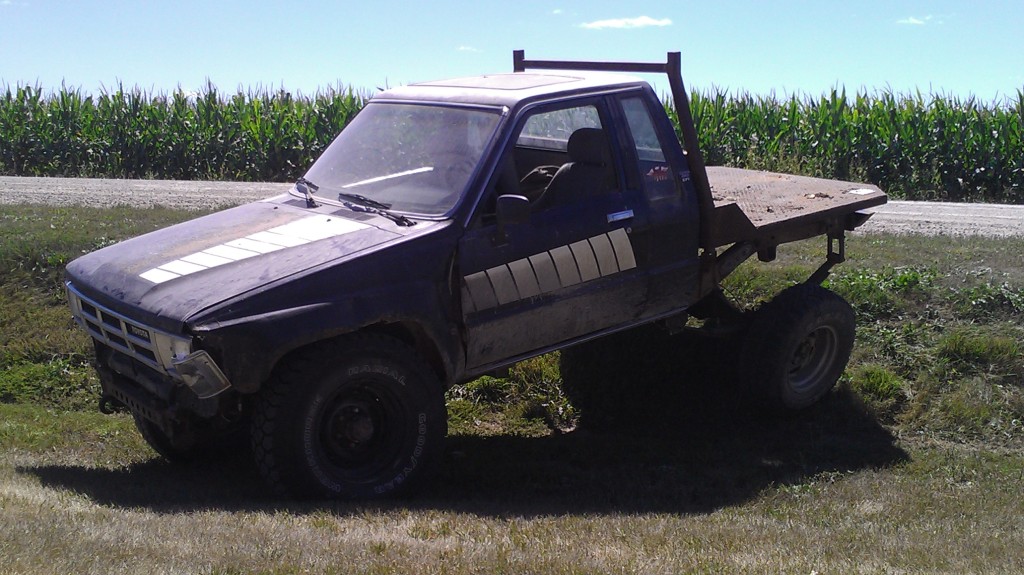
this is a year ago a week before the motor blew (gf took the pic)
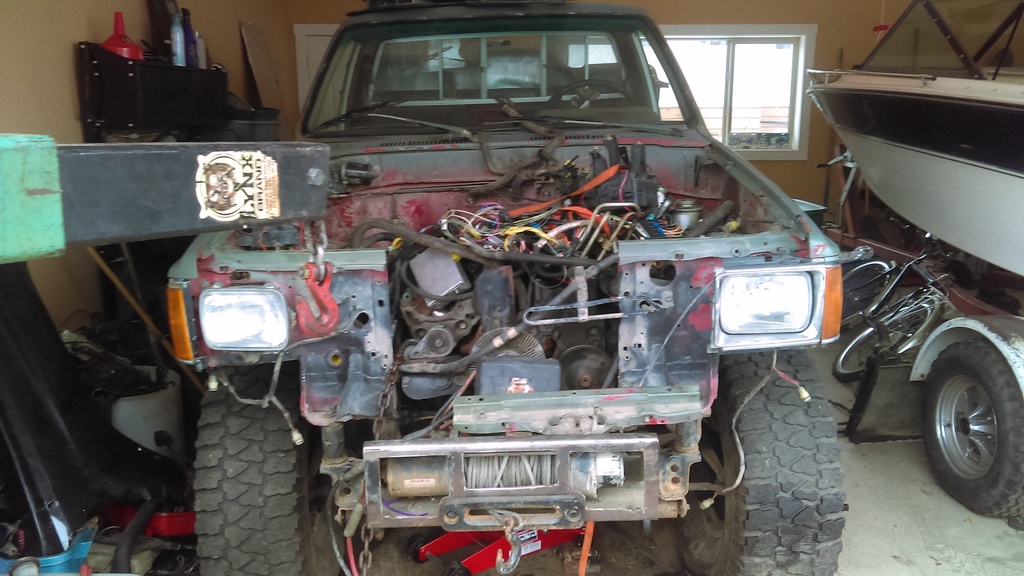
currently getting some love. vortec 350 sbc
When my dad owned this truck it had gotten:
brakes
22re replaced.
new tires
roll bar
Since I got it.
painted it green
Blew up the motor
installed chev mirrors
installed accord buckets
trimmed the front fenders
& bumper.
removed the bed
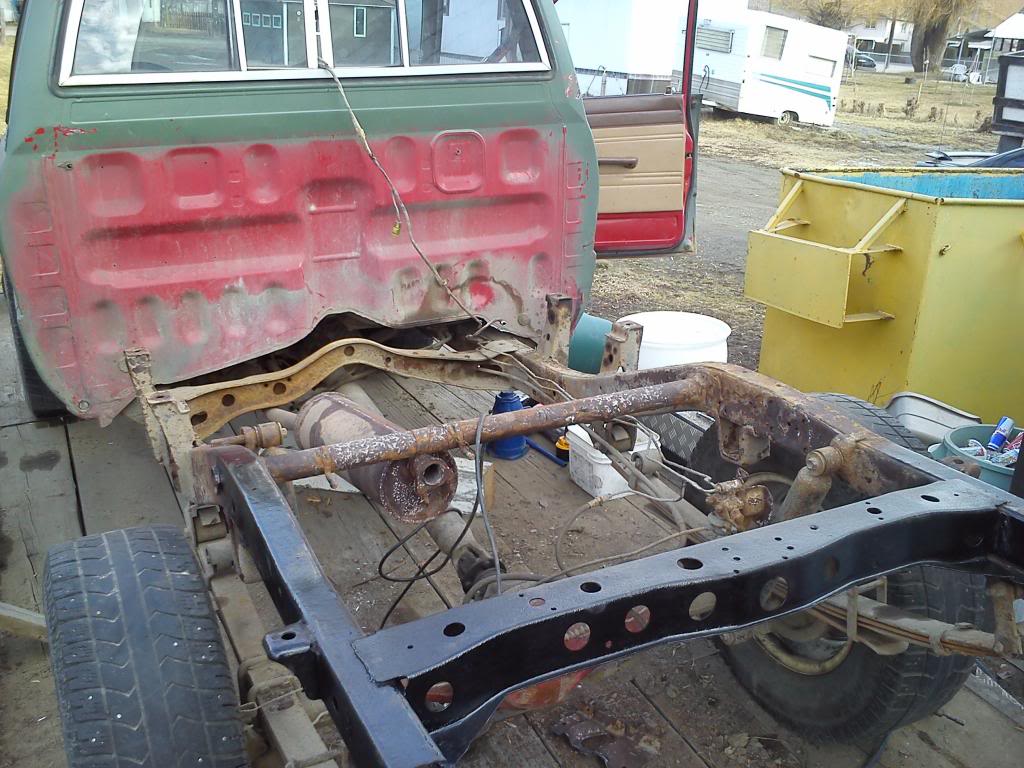
cleaned the back half of frame
removed the gas tank,
removed spare tire carrier & x-member,
removed shock and spring mounts.
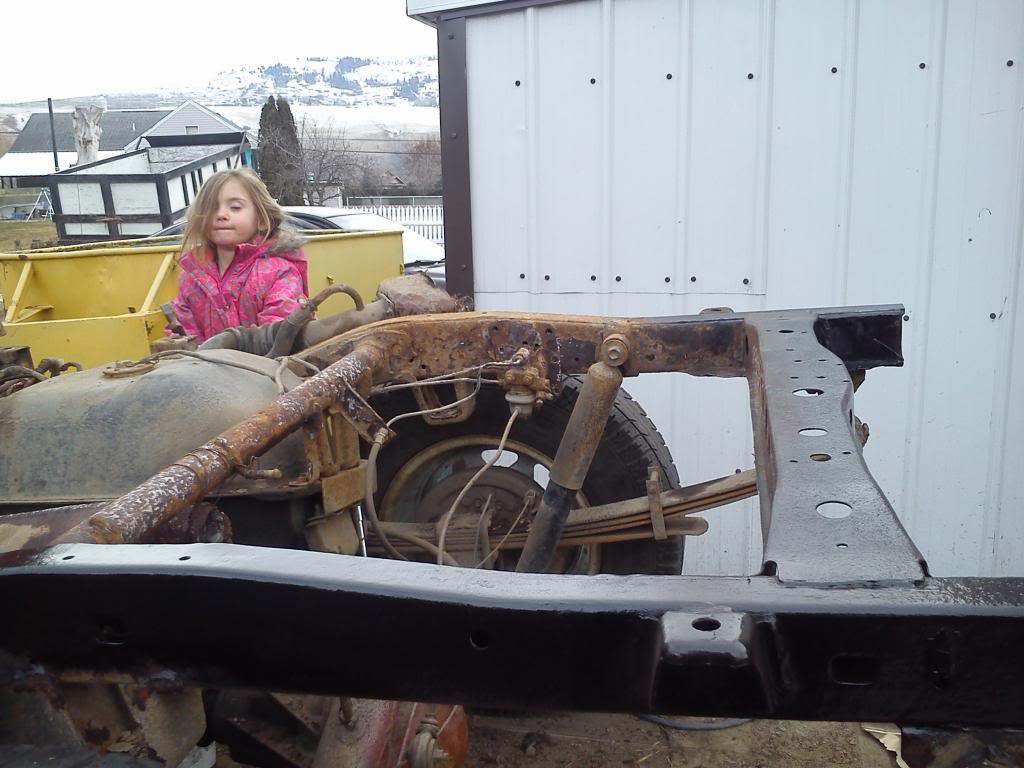
trimmed the end of frame
boxed it in
cut off all the rear brake lines
removed lspv
removed the big (faux ARB) bumper
Trimmed the winch plate
vortec 350 sbc
transdapt motor mounts
2" wheel spacers all around
Aluminium 15/8.5 rims
35's
Parts i have waiting to install:
chev 63s w/
energy susp bushings
ifs steering box
new brake lines
chev gas tank
new ranchos all around
and still need,
spring and shock mounts for rear,
pick which chev manual trans and transfercase to use....
this is what it looked like after we got it and put on a roll bar.
this is a year ago a week before the motor blew (gf took the pic)
currently getting some love. vortec 350 sbc
When my dad owned this truck it had gotten:
brakes
22re replaced.
new tires
roll bar
Since I got it.
painted it green
Blew up the motor
installed chev mirrors
installed accord buckets
trimmed the front fenders
& bumper.
removed the bed
cleaned the back half of frame
removed the gas tank,
removed spare tire carrier & x-member,
removed shock and spring mounts.
trimmed the end of frame
boxed it in
cut off all the rear brake lines
removed lspv
removed the big (faux ARB) bumper
Trimmed the winch plate
vortec 350 sbc
transdapt motor mounts
2" wheel spacers all around
Aluminium 15/8.5 rims
35's
Parts i have waiting to install:
chev 63s w/
energy susp bushings
ifs steering box
new brake lines
chev gas tank
new ranchos all around
and still need,
spring and shock mounts for rear,
pick which chev manual trans and transfercase to use....
Last edited by Yota; 01-13-2016 at 08:26 PM.


 02-28-2014, 05:09 PM
#6
Registered User
Thread Starter
not sure what to do to clean up the inside of the frame. other than cut out the thinner inside wall and grind it down and weld on a new wall. any idea's?
02-28-2014, 10:19 PM
#7
Registered User
Thread Starter
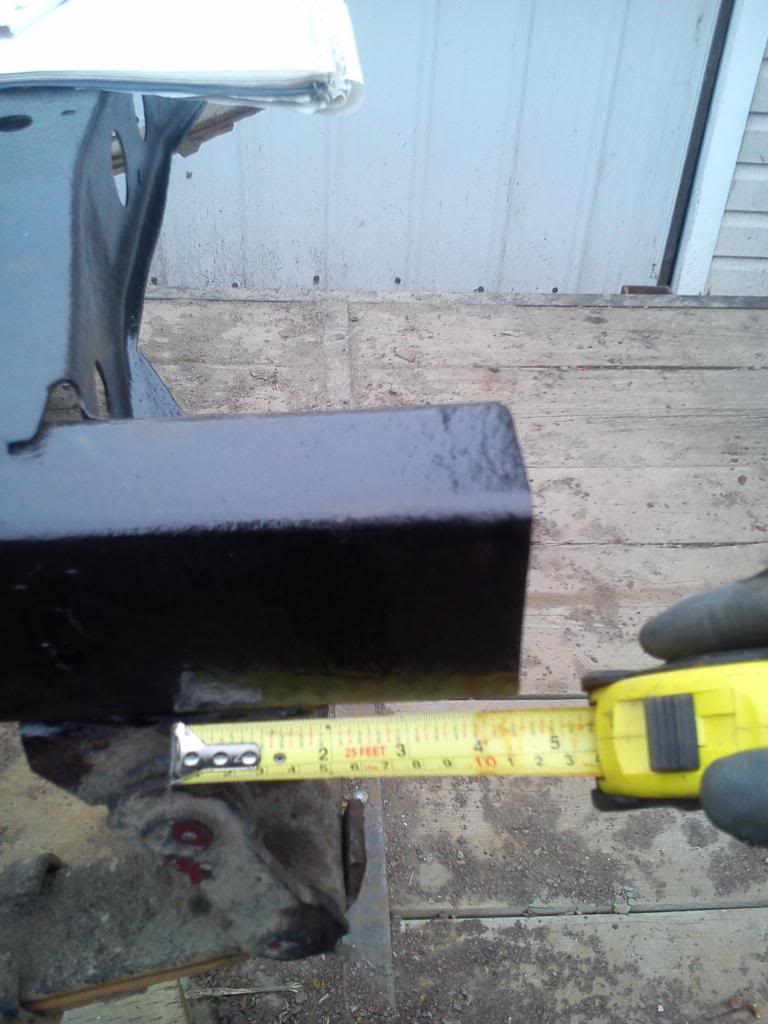
turns out i might have chopped off to much ...
http://www.pirate4x4.com/forum/toyot...-swap-faq.html
any ways, did some reading. all 38 pages in one sitting. my back and eyes hurt. and im going to do this, im not worried about huuuge ride height, as im moving the gas tank, and will deal with t-case xmember when i get there, and honestly the very last thing im going to worry about before this truck drives anywhere is the rear drive shaft length. ill find something to fill the gap when the time comes lol (dual t-case . losing the auto tran and maybe changing motors)
more pics tomorrow, who knows what ill get done.
http://www.pirate4x4.com/forum/toyot...-swap-faq.html
any ways, did some reading. all 38 pages in one sitting. my back and eyes hurt. and im going to do this, im not worried about huuuge ride height, as im moving the gas tank, and will deal with t-case xmember when i get there, and honestly the very last thing im going to worry about before this truck drives anywhere is the rear drive shaft length. ill find something to fill the gap when the time comes lol
(dual t-case . losing the auto tran and maybe changing motors)more pics tomorrow, who knows what ill get done.
Trending Topics
03-01-2014, 09:54 AM
#9
Registered User
Thread Starter
thnx for the imput. i was thinking about maybe just moving the front hangers waaaay forward, putting the axle where ever it lands and then find/fab the drive shaft to fit, but, i have some time to consider lots of options before i even get to the putting things back together part. (motor tranny tcase (s)) and .. on and on
03-01-2014, 11:23 AM
#10
Registered User
How much frame is left after the shackle mount ? You really only need to slide it back a few inches if you want to run a laid back shackle angle (35-50*) Which I find works great with 63s cause it softens up the spring rate. Those are 1/2 ton springs after all. Most people don't bother cutting off the stock shackle mount and just weld up a new one directly behind the stock one.
03-01-2014, 11:45 AM
#11
Registered User
Join Date: Sep 2012
Location: iowa
Posts: 618
Likes: 0
Received 0 Likes
on
0 Posts
U can use the factory rear shackle mounts if u use 56" ford springs. I cut my frame off rite behind the mounts. Flip the springs around so the long side is forward and add a new front mount 11" forward (if I remember correctly) and ur in business. Rear axle stays in the same location.
 03-01-2014, 05:53 PM
#13
Registered User
Thread Starter
U can use the factory rear shackle mounts if u use 56" ford springs. I cut my frame off rite behind the mounts. Flip the springs around so the long side is forward and add a new front mount 11" forward (if I remember correctly) and ur in business. Rear axle stays in the same location.
 would i be losing alot of the droop im trying to attain?
03-01-2014, 06:00 PM
would i be losing alot of the droop im trying to attain?
03-01-2014, 06:00 PM
#14
Registered User
Thread Starter
How much frame is left after the shackle mount ? You really only need to slide it back a few inches if you want to run a laid back shackle angle (35-50*) Which I find works great with 63s cause it softens up the spring rate. Those are 1/2 ton springs after all. Most people don't bother cutting off the stock shackle mount and just weld up a new one directly behind the stock one.
03-03-2014, 05:25 PM
#15
Registered User
Thread Starter
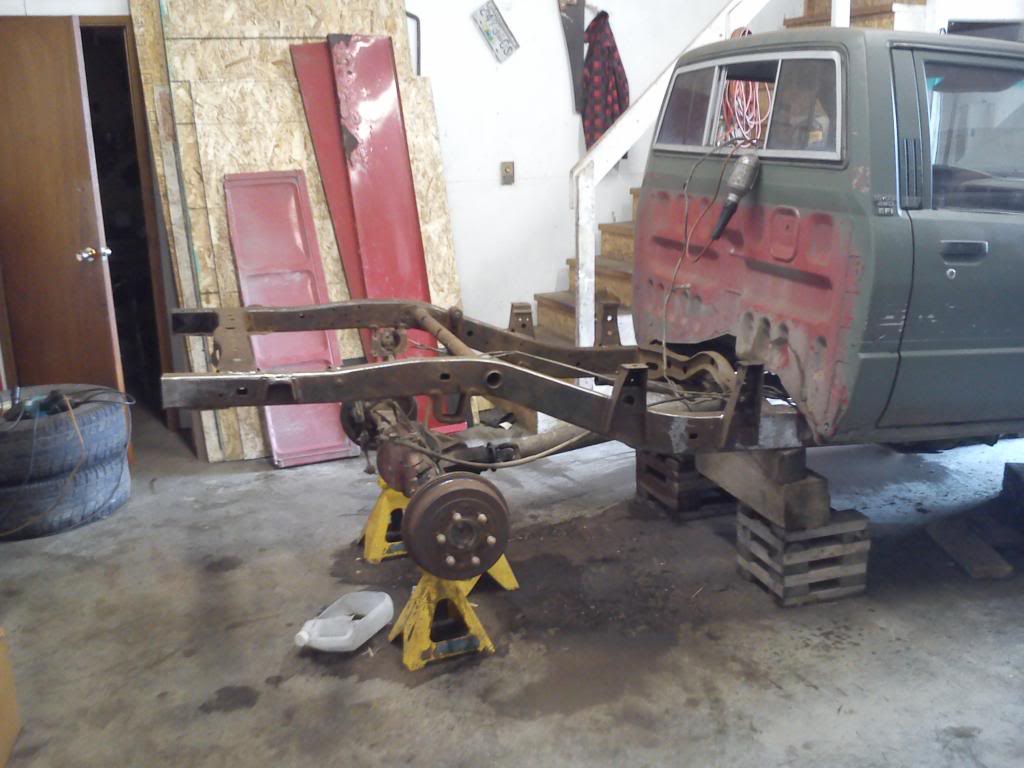
moved into the shop!!!
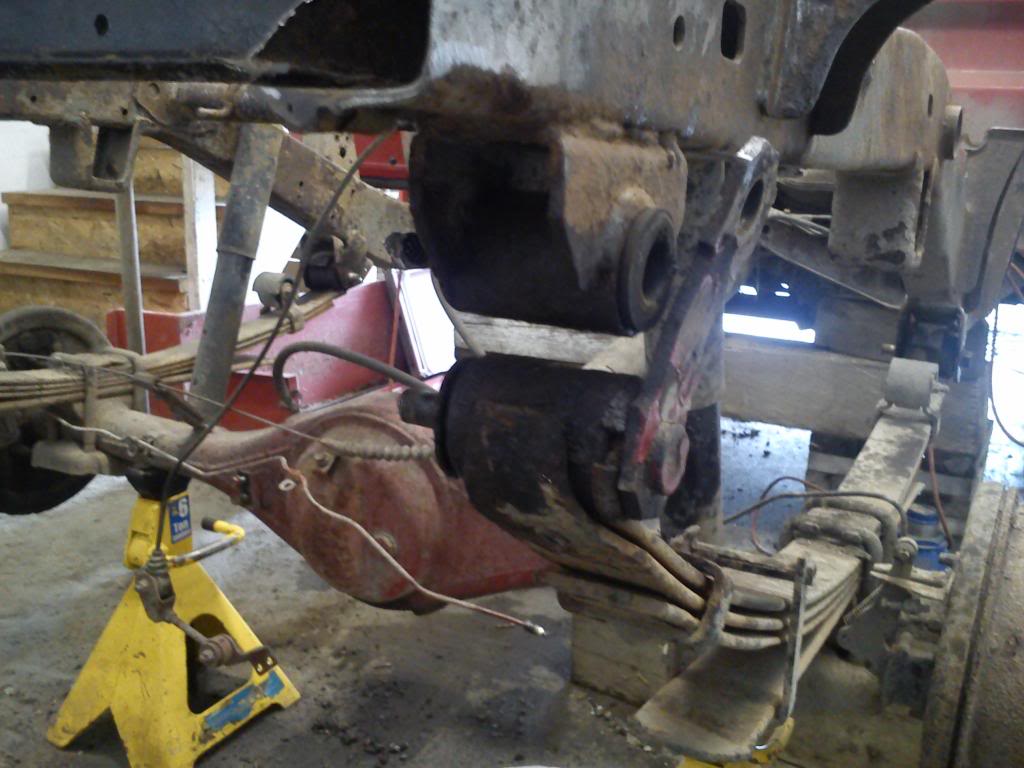
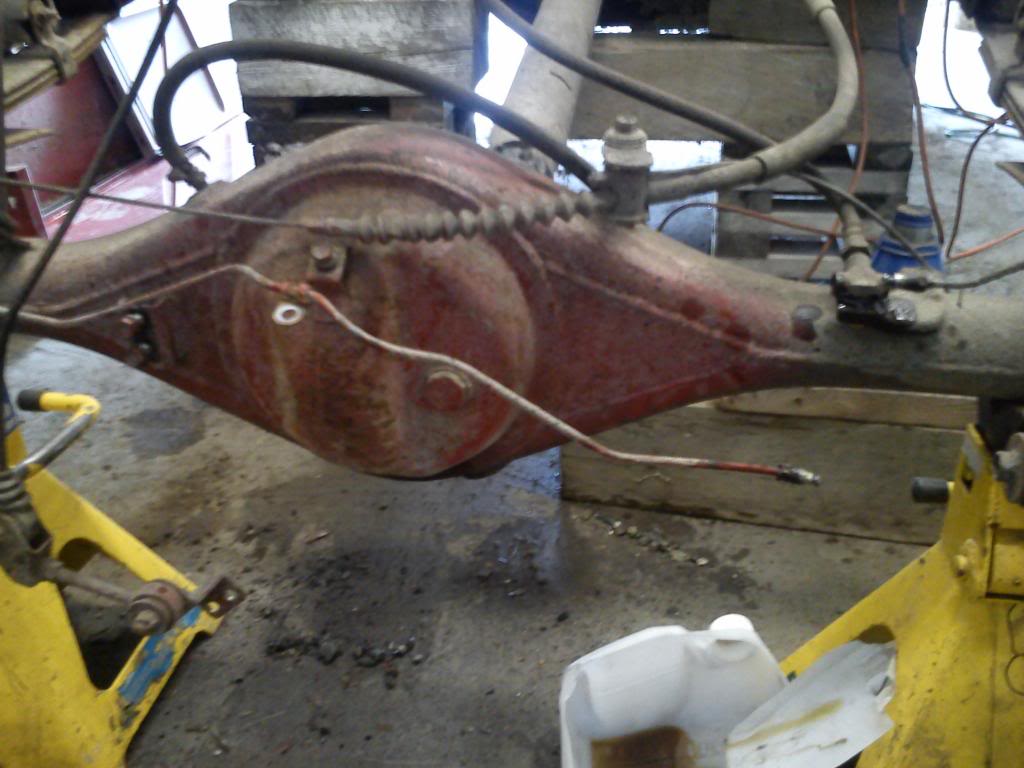
it snowed and was really cold, so we got the big truck and hooked up the flat deck and rolled the yota into the shop, nice n dry and warm and good lighting 
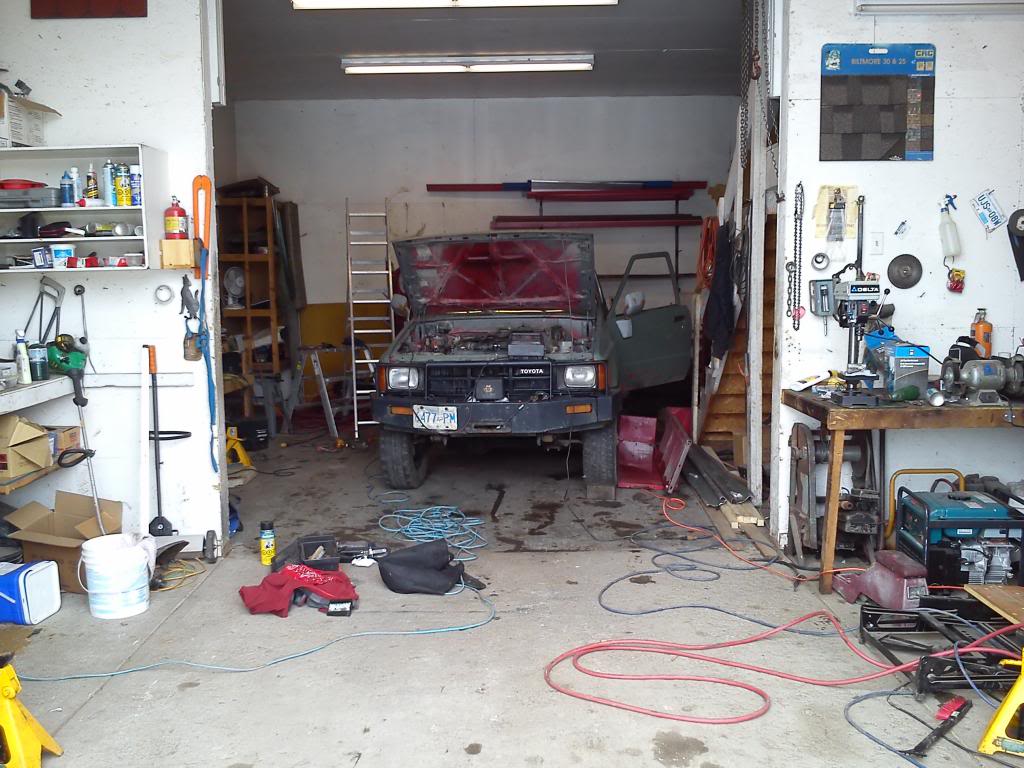
Got a bigger grinder, and a bigger wheel, went much better this time, and took the tires off, ghetto blocked up the rear to get ready to drop the axle and leafs
Got a bigger grinder, and a bigger wheel, went much better this time, and took the tires off, ghetto blocked up the rear to get ready to drop the axle and leafs
Last edited by Yota; 12-24-2015 at 03:58 PM.
03-03-2014, 09:33 PM
#17
Registered User
Join Date: Sep 2012
Location: iowa
Posts: 618
Likes: 0
Received 0 Likes
on
0 Posts
 03-04-2014, 05:07 PM
#18
Registered User
Thread Starter
^ cool, i like that flat deck i want to use the checker plate on mine but im going to put sides on the bed so i can use it for work.i'm thinkin ill just beef up the end of the frame and over hang the mount a half inch past the frame, and if i have to i can allways adjust my spring perches.
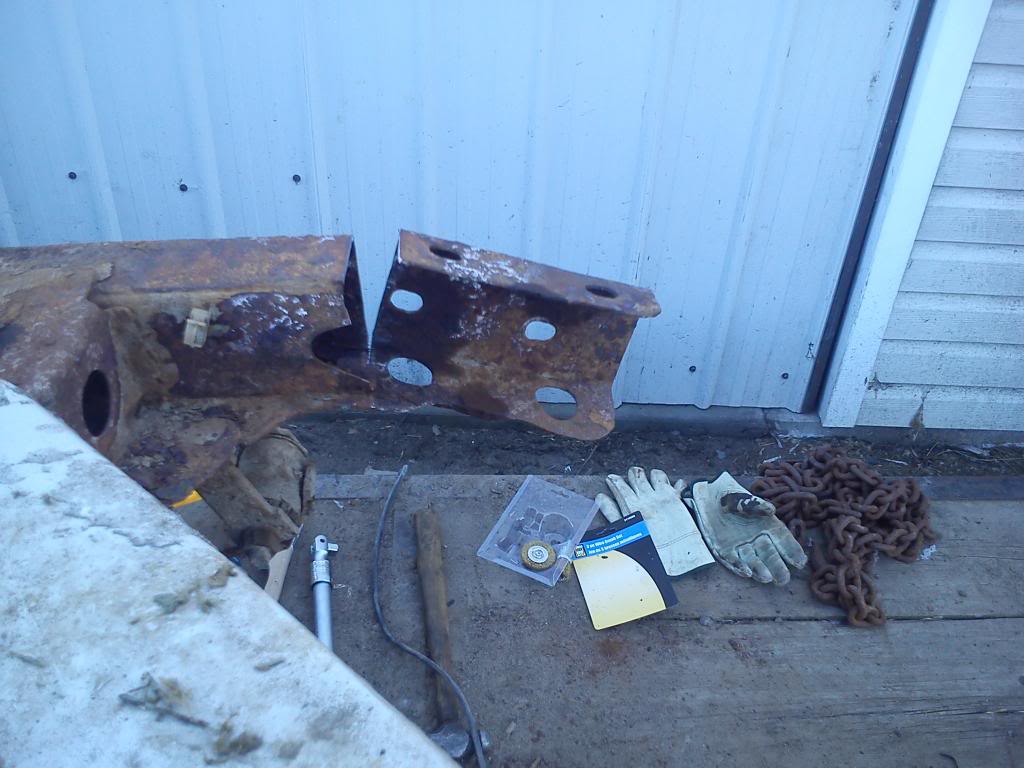
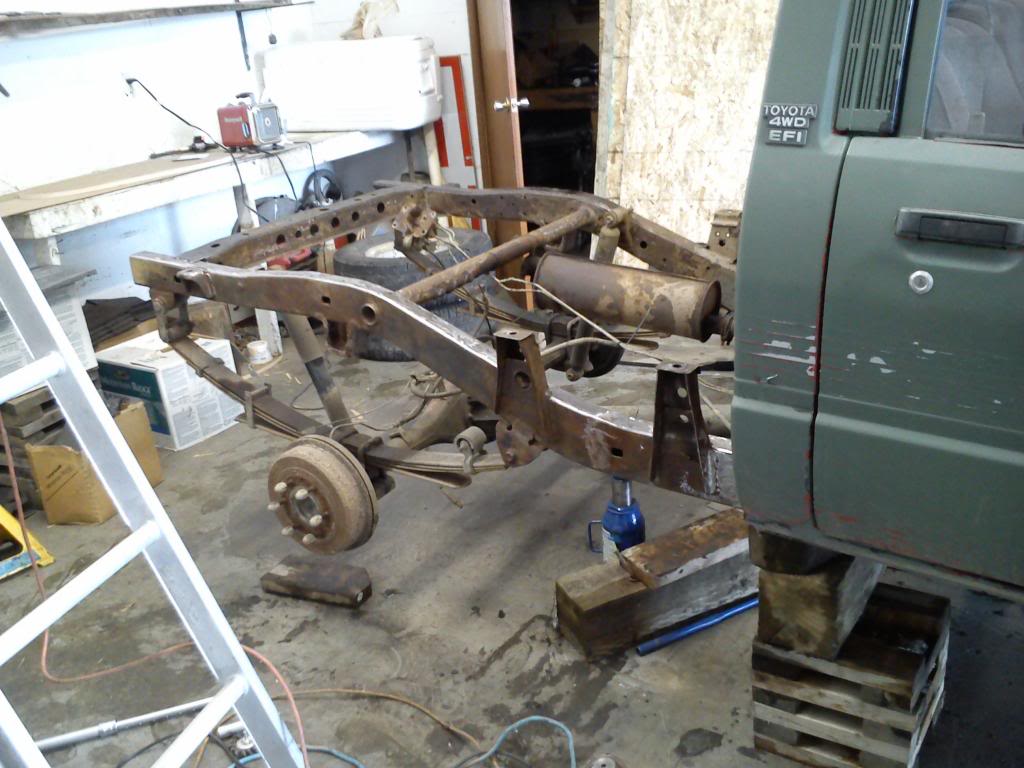
Had a fight with these, got fed up, grabbed a big hammer.
Took some of the lines that weren't rusted to dust apart
nice little pile today
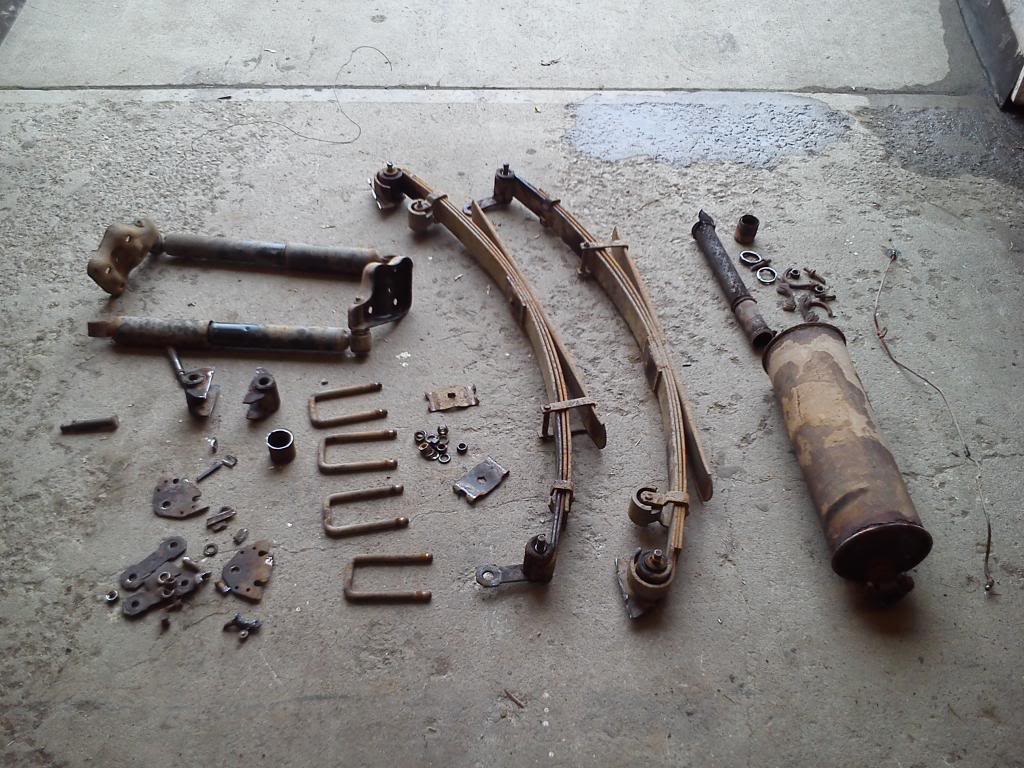
she lost a lot of weight today, wire wheeled the whole frame (enough to clean the scale and old paint/undercoating.
Had a fight with these, got fed up, grabbed a big hammer.
Took some of the lines that weren't rusted to dust apart
nice little pile today
she lost a lot of weight today, wire wheeled the whole frame (enough to clean the scale and old paint/undercoating.
Last edited by Yota; 12-24-2015 at 04:00 PM.


