RSWORDS 85 Pick-up - Project Southern X-Posure
 07-30-2012, 03:48 PM
#1
Registered User
Thread Starter
Join Date: Jul 2005
Posts: 124
Likes: 0
Received 0 Likes
on
0 Posts
RSWORDS 85 Pick-up - Project Southern X-Posure
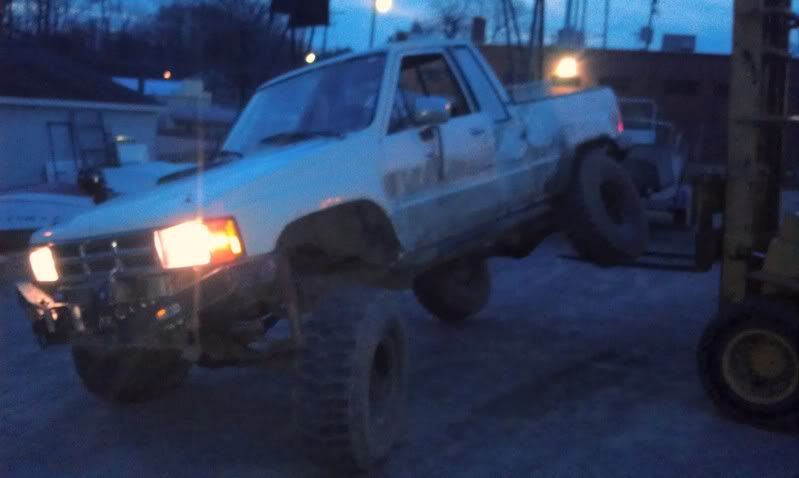
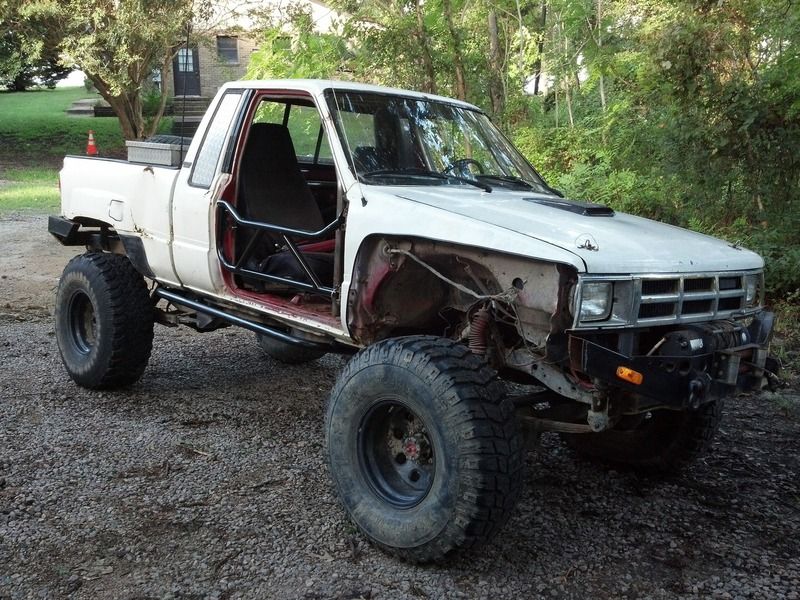
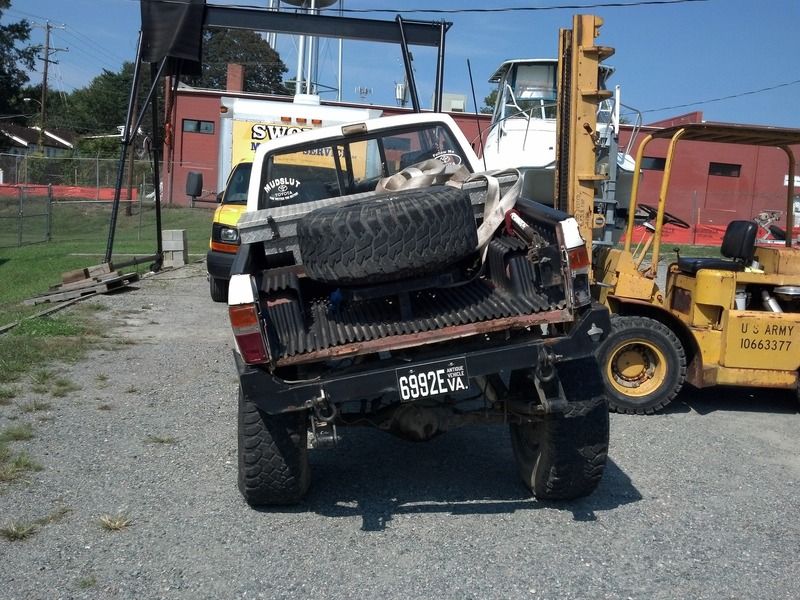
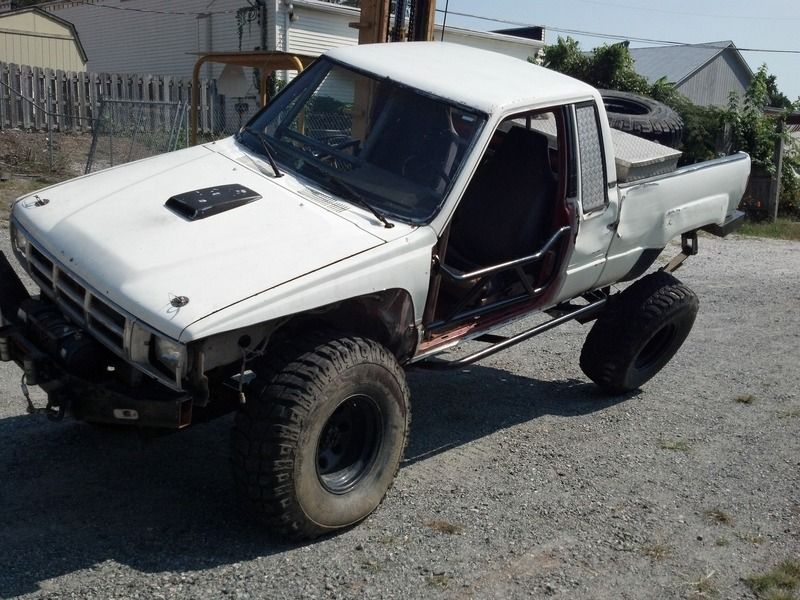
It's been about 6 years since I've had a play toy so when a buddy offered up this 85 he just picked up I jumped on it.
85
305 SBC
TH350
NP205
Bed bobbed 14"
Welded rear
detroit in the front
rear springs up front and Chevy leafs in the rear
8k winch
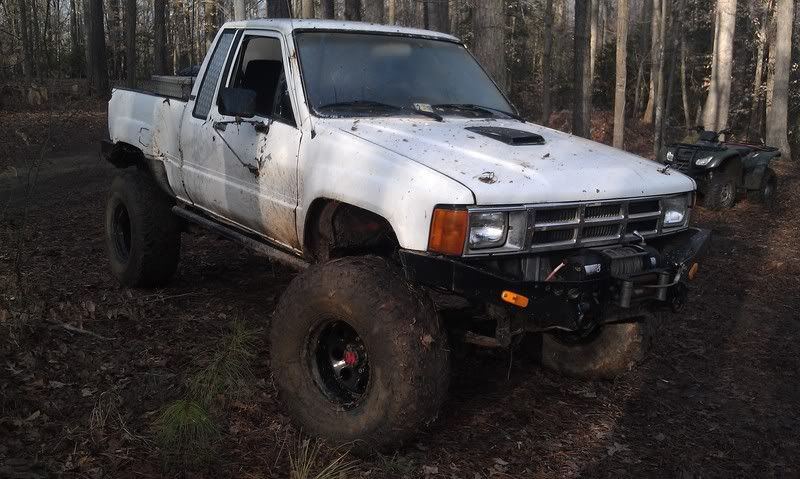
I'm hoping set of 30 spline longfields will help the front axle live with the small block and a set of 36" Iroks. Also going to convert to TBI to get the truck to run on the hills around here.
Gotta get some decals made up...

Playing at our property the day I picked it up, broken front shaft, and the Detroit is toasted, the quadra jet hates the angles and the clay is WET.... All add up to getting denied...
http://www.youtube.com/watch?v=WFX5VBMeksM
http://www.youtube.com/watch?v=uELfb...feature=relmfu
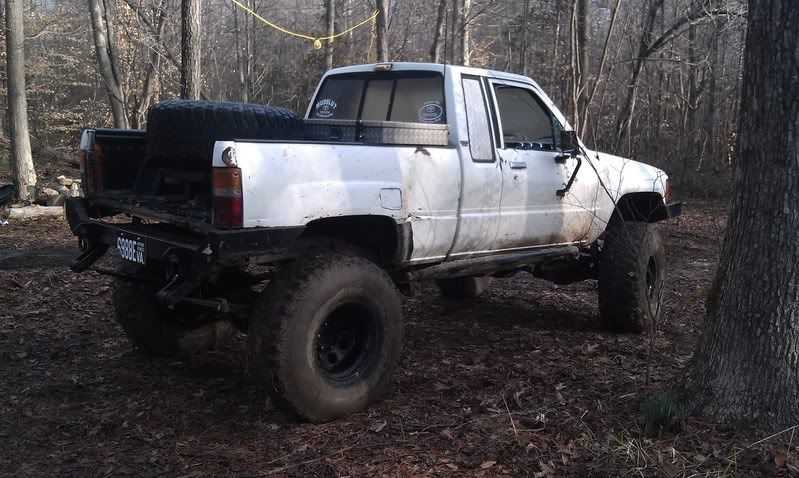
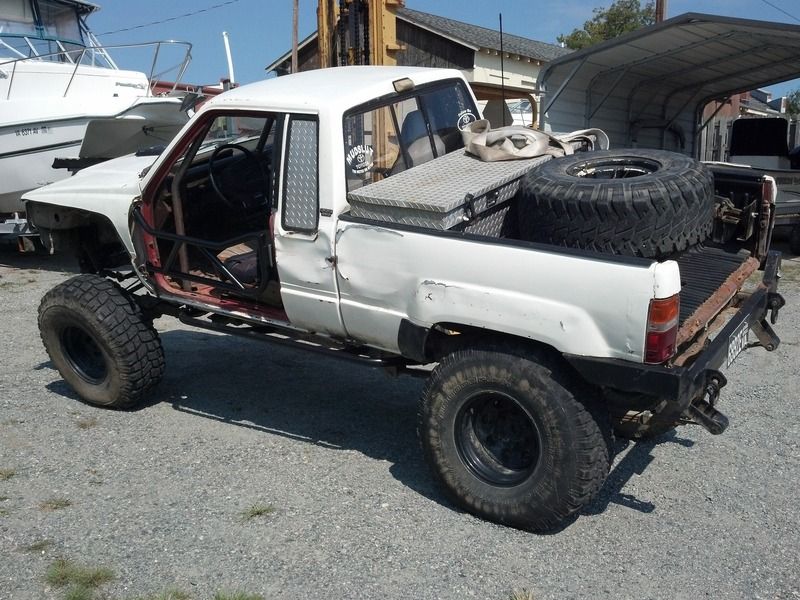
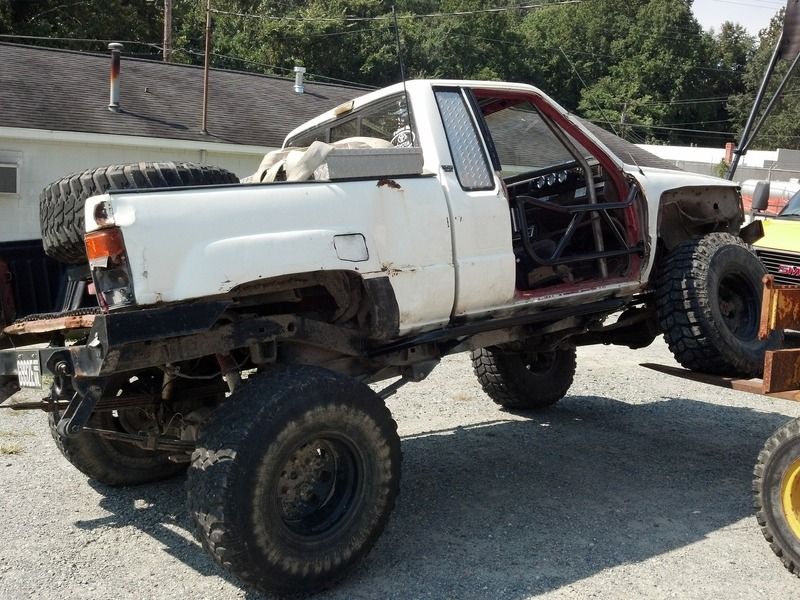
And some poser flex shots... Need to take the overload out the rear springs and the front needs longer shocks.
85
305 SBC
TH350
NP205
Bed bobbed 14"
Welded rear
detroit in the front
rear springs up front and Chevy leafs in the rear
8k winch
I'm hoping set of 30 spline longfields will help the front axle live with the small block and a set of 36" Iroks. Also going to convert to TBI to get the truck to run on the hills around here.
Gotta get some decals made up...
Playing at our property the day I picked it up, broken front shaft, and the Detroit is toasted, the quadra jet hates the angles and the clay is WET.... All add up to getting denied...
http://www.youtube.com/watch?v=WFX5VBMeksM
http://www.youtube.com/watch?v=uELfb...feature=relmfu
And some poser flex shots... Need to take the overload out the rear springs and the front needs longer shocks.
 07-30-2012, 03:50 PM
#2
Registered User
Thread Starter
Join Date: Jul 2005
Posts: 124
Likes: 0
Received 0 Likes
on
0 Posts
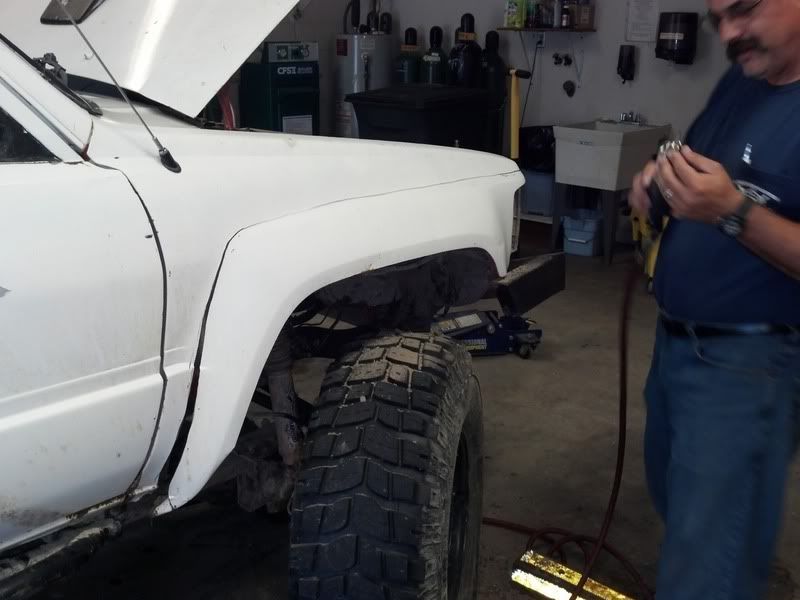
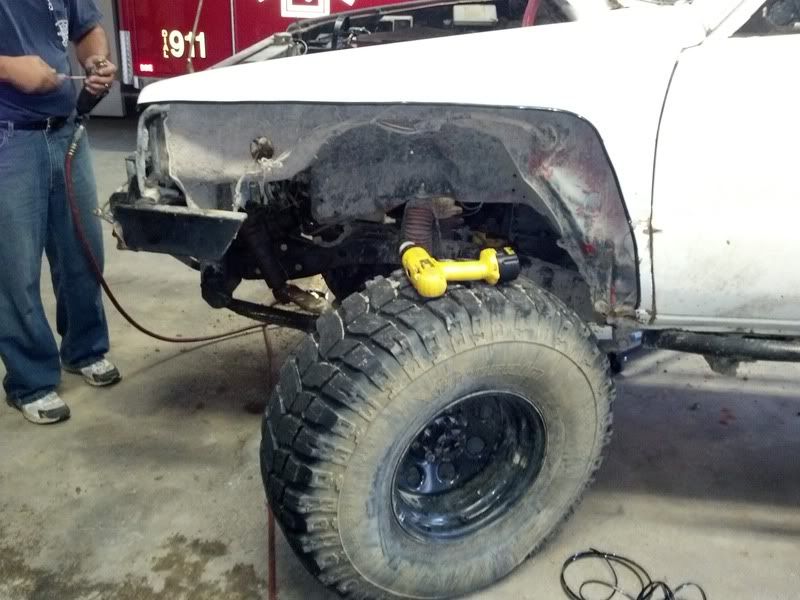
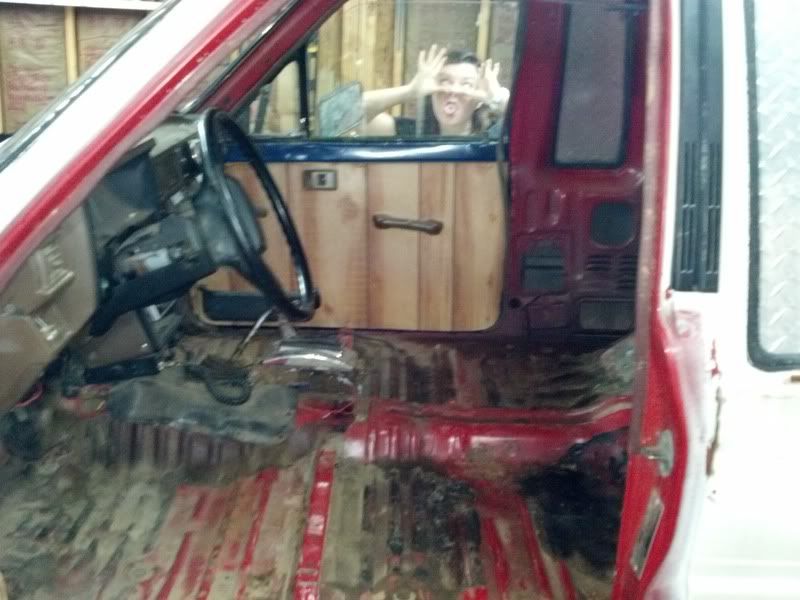
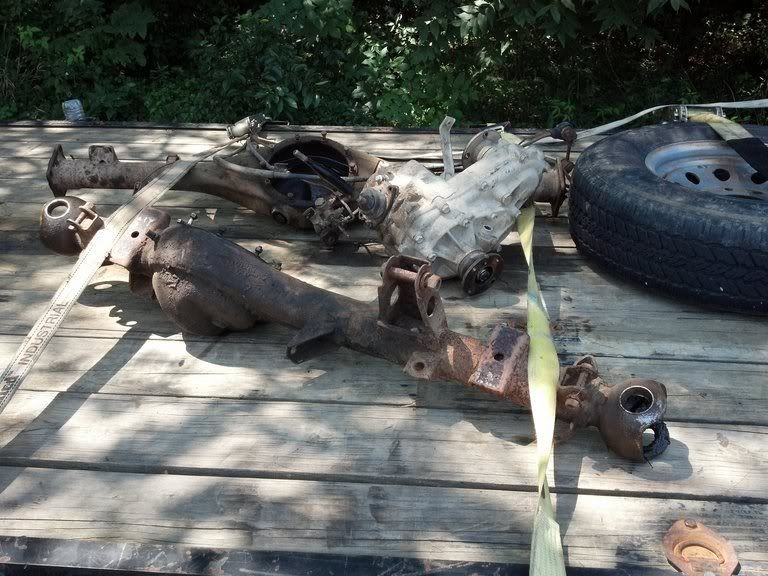
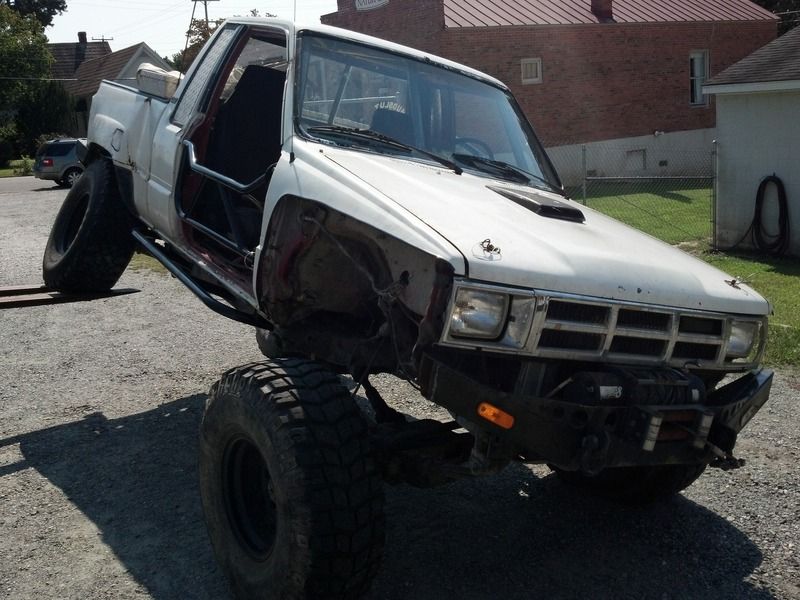
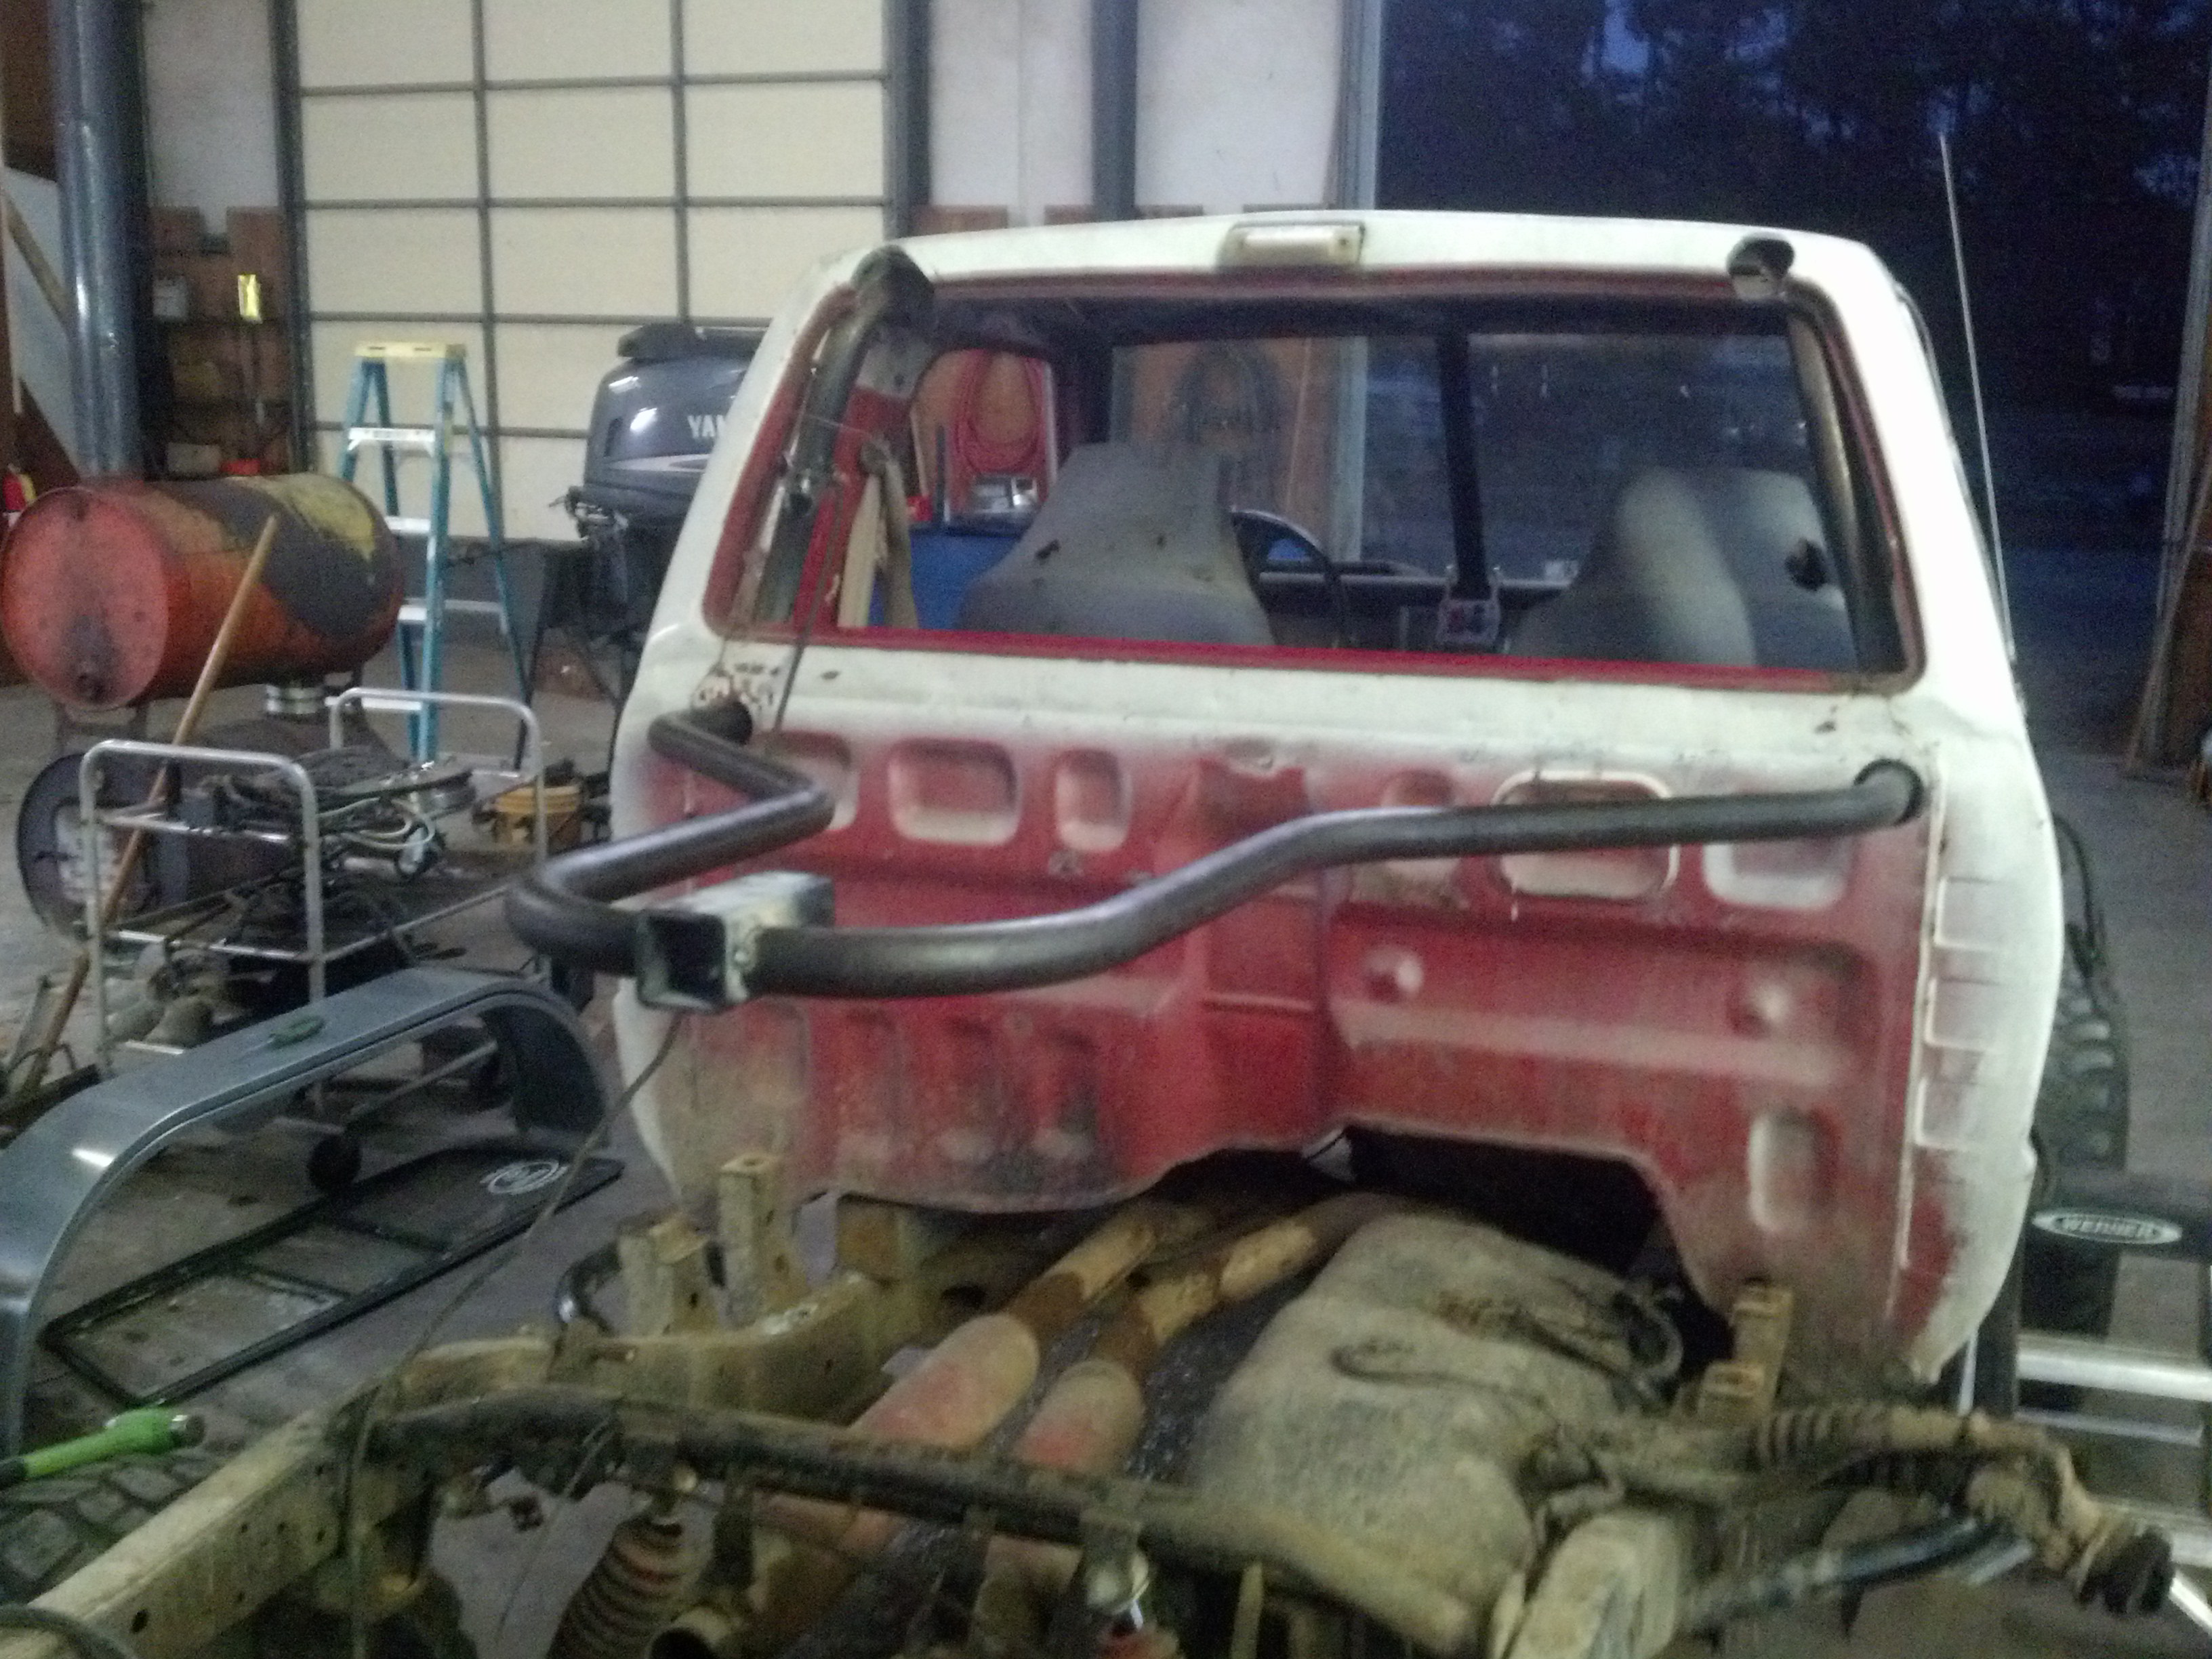
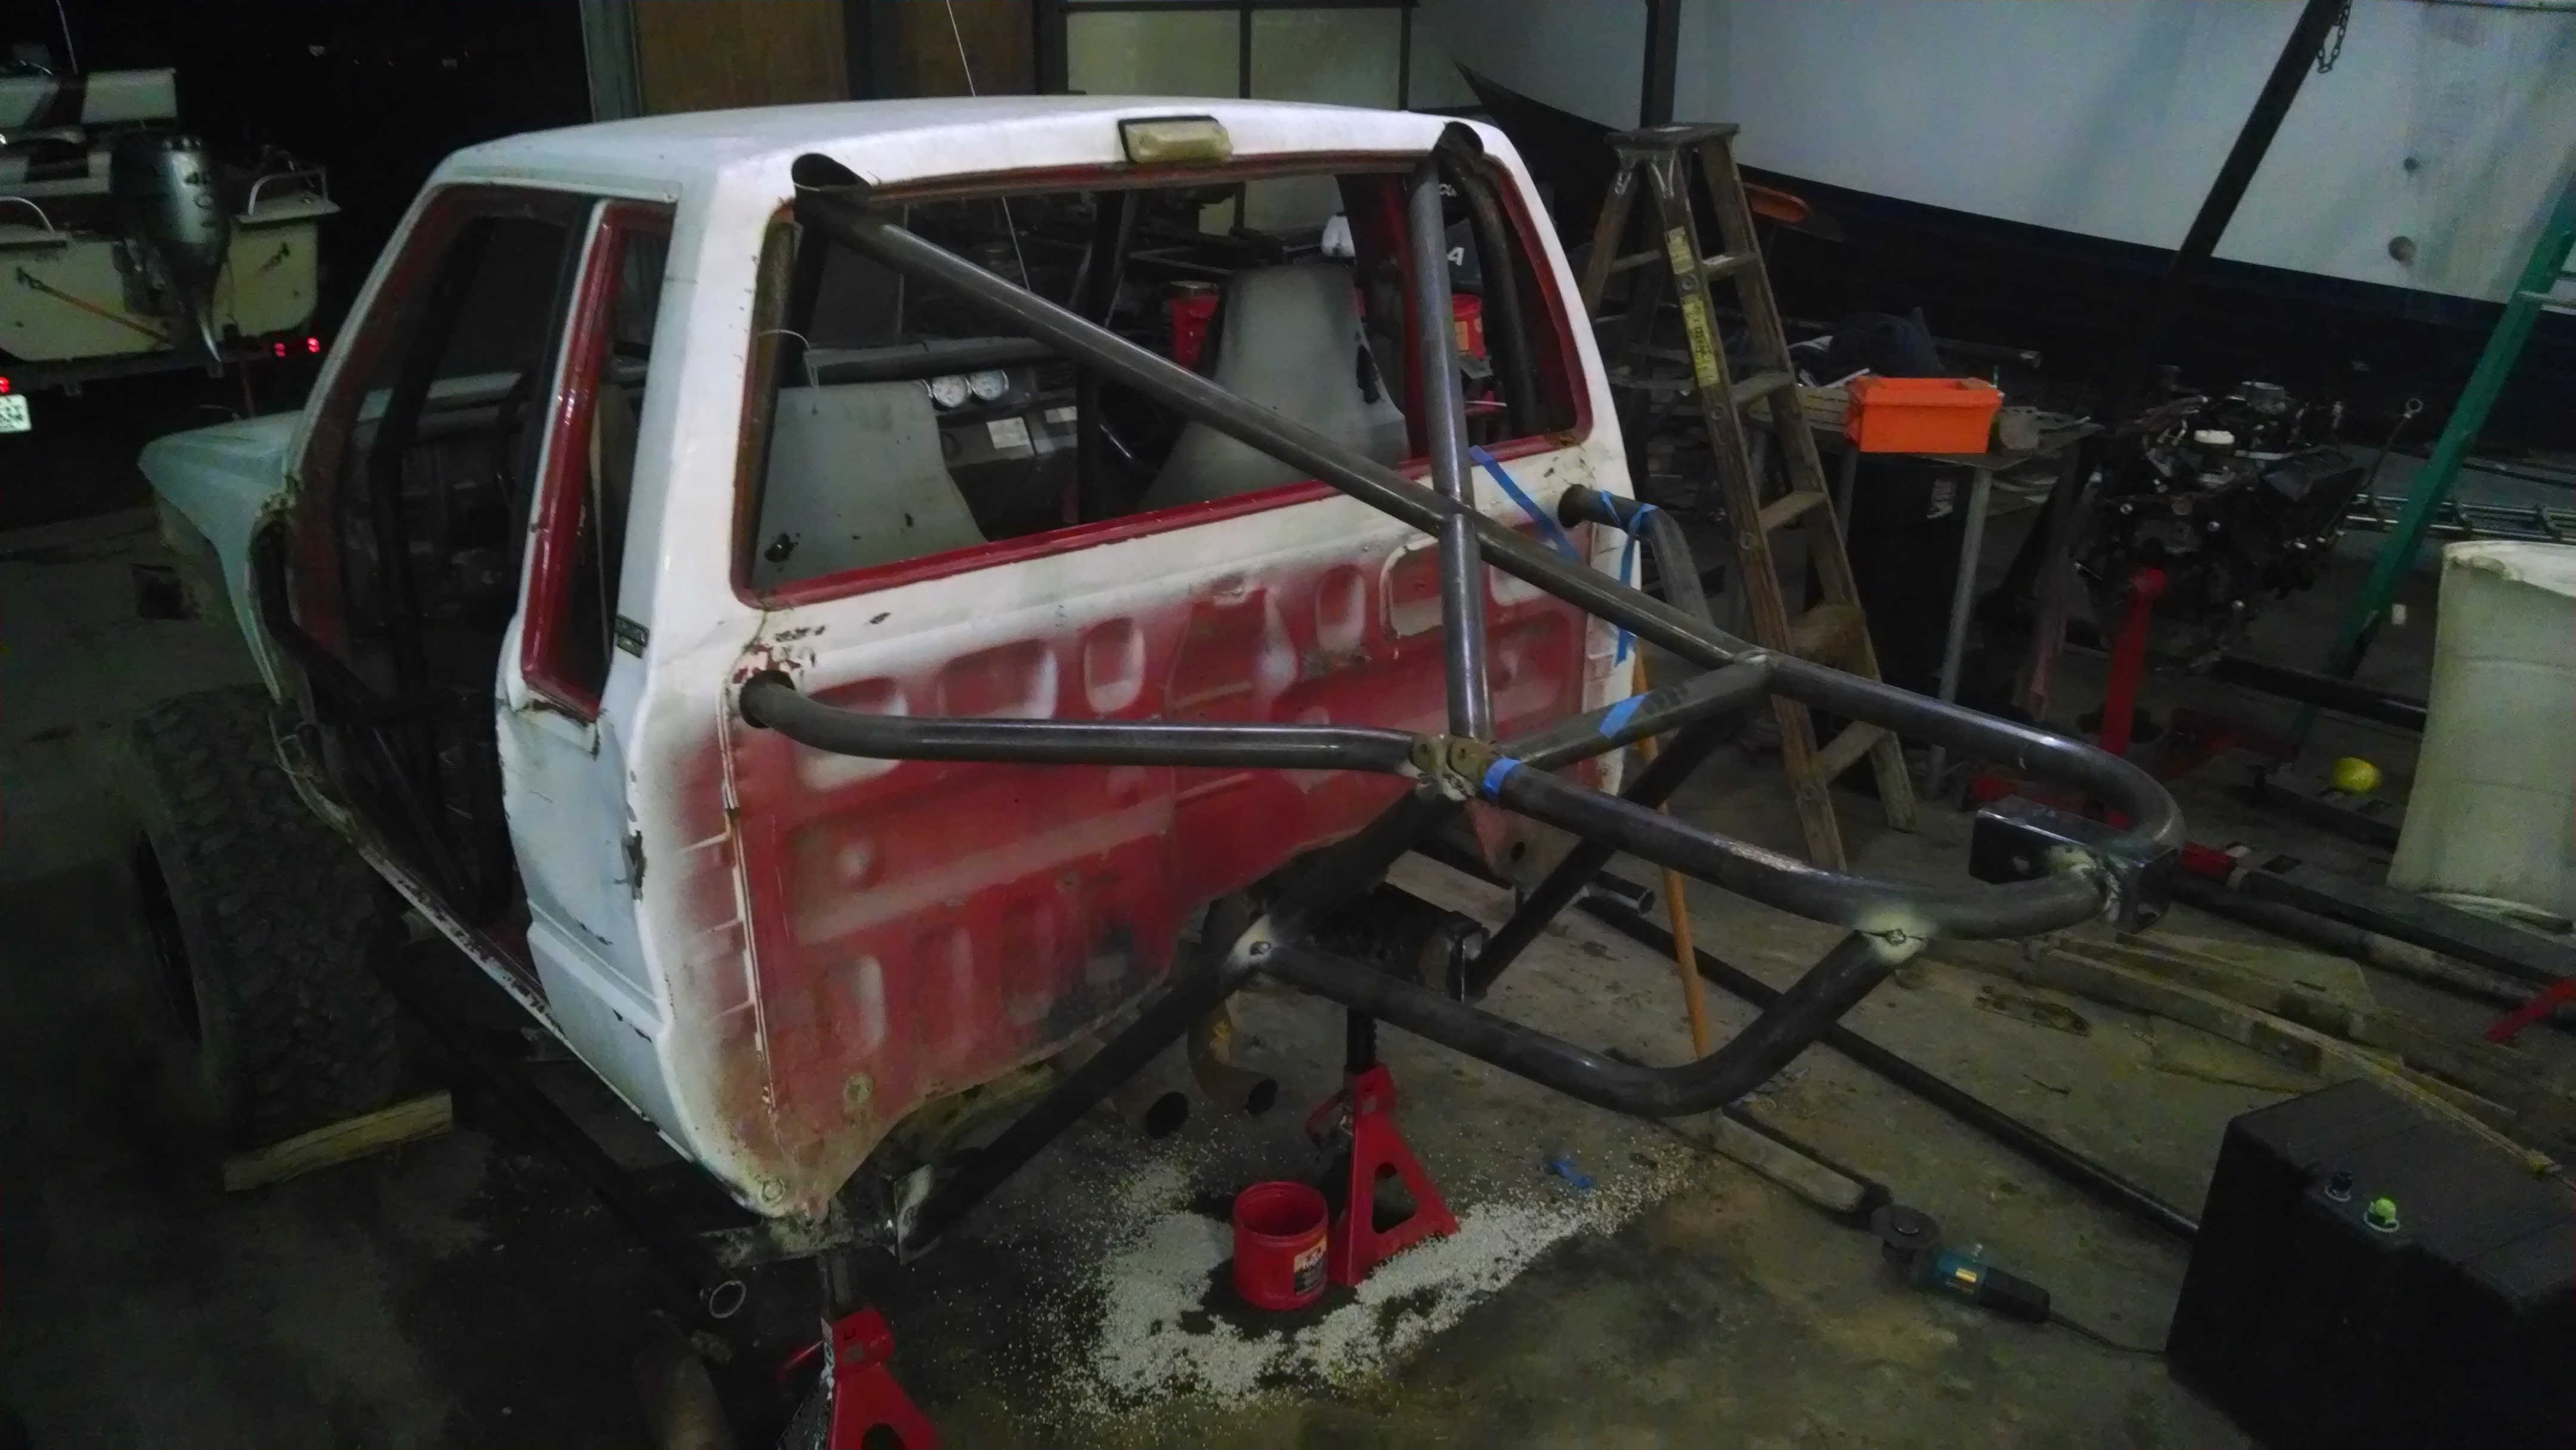
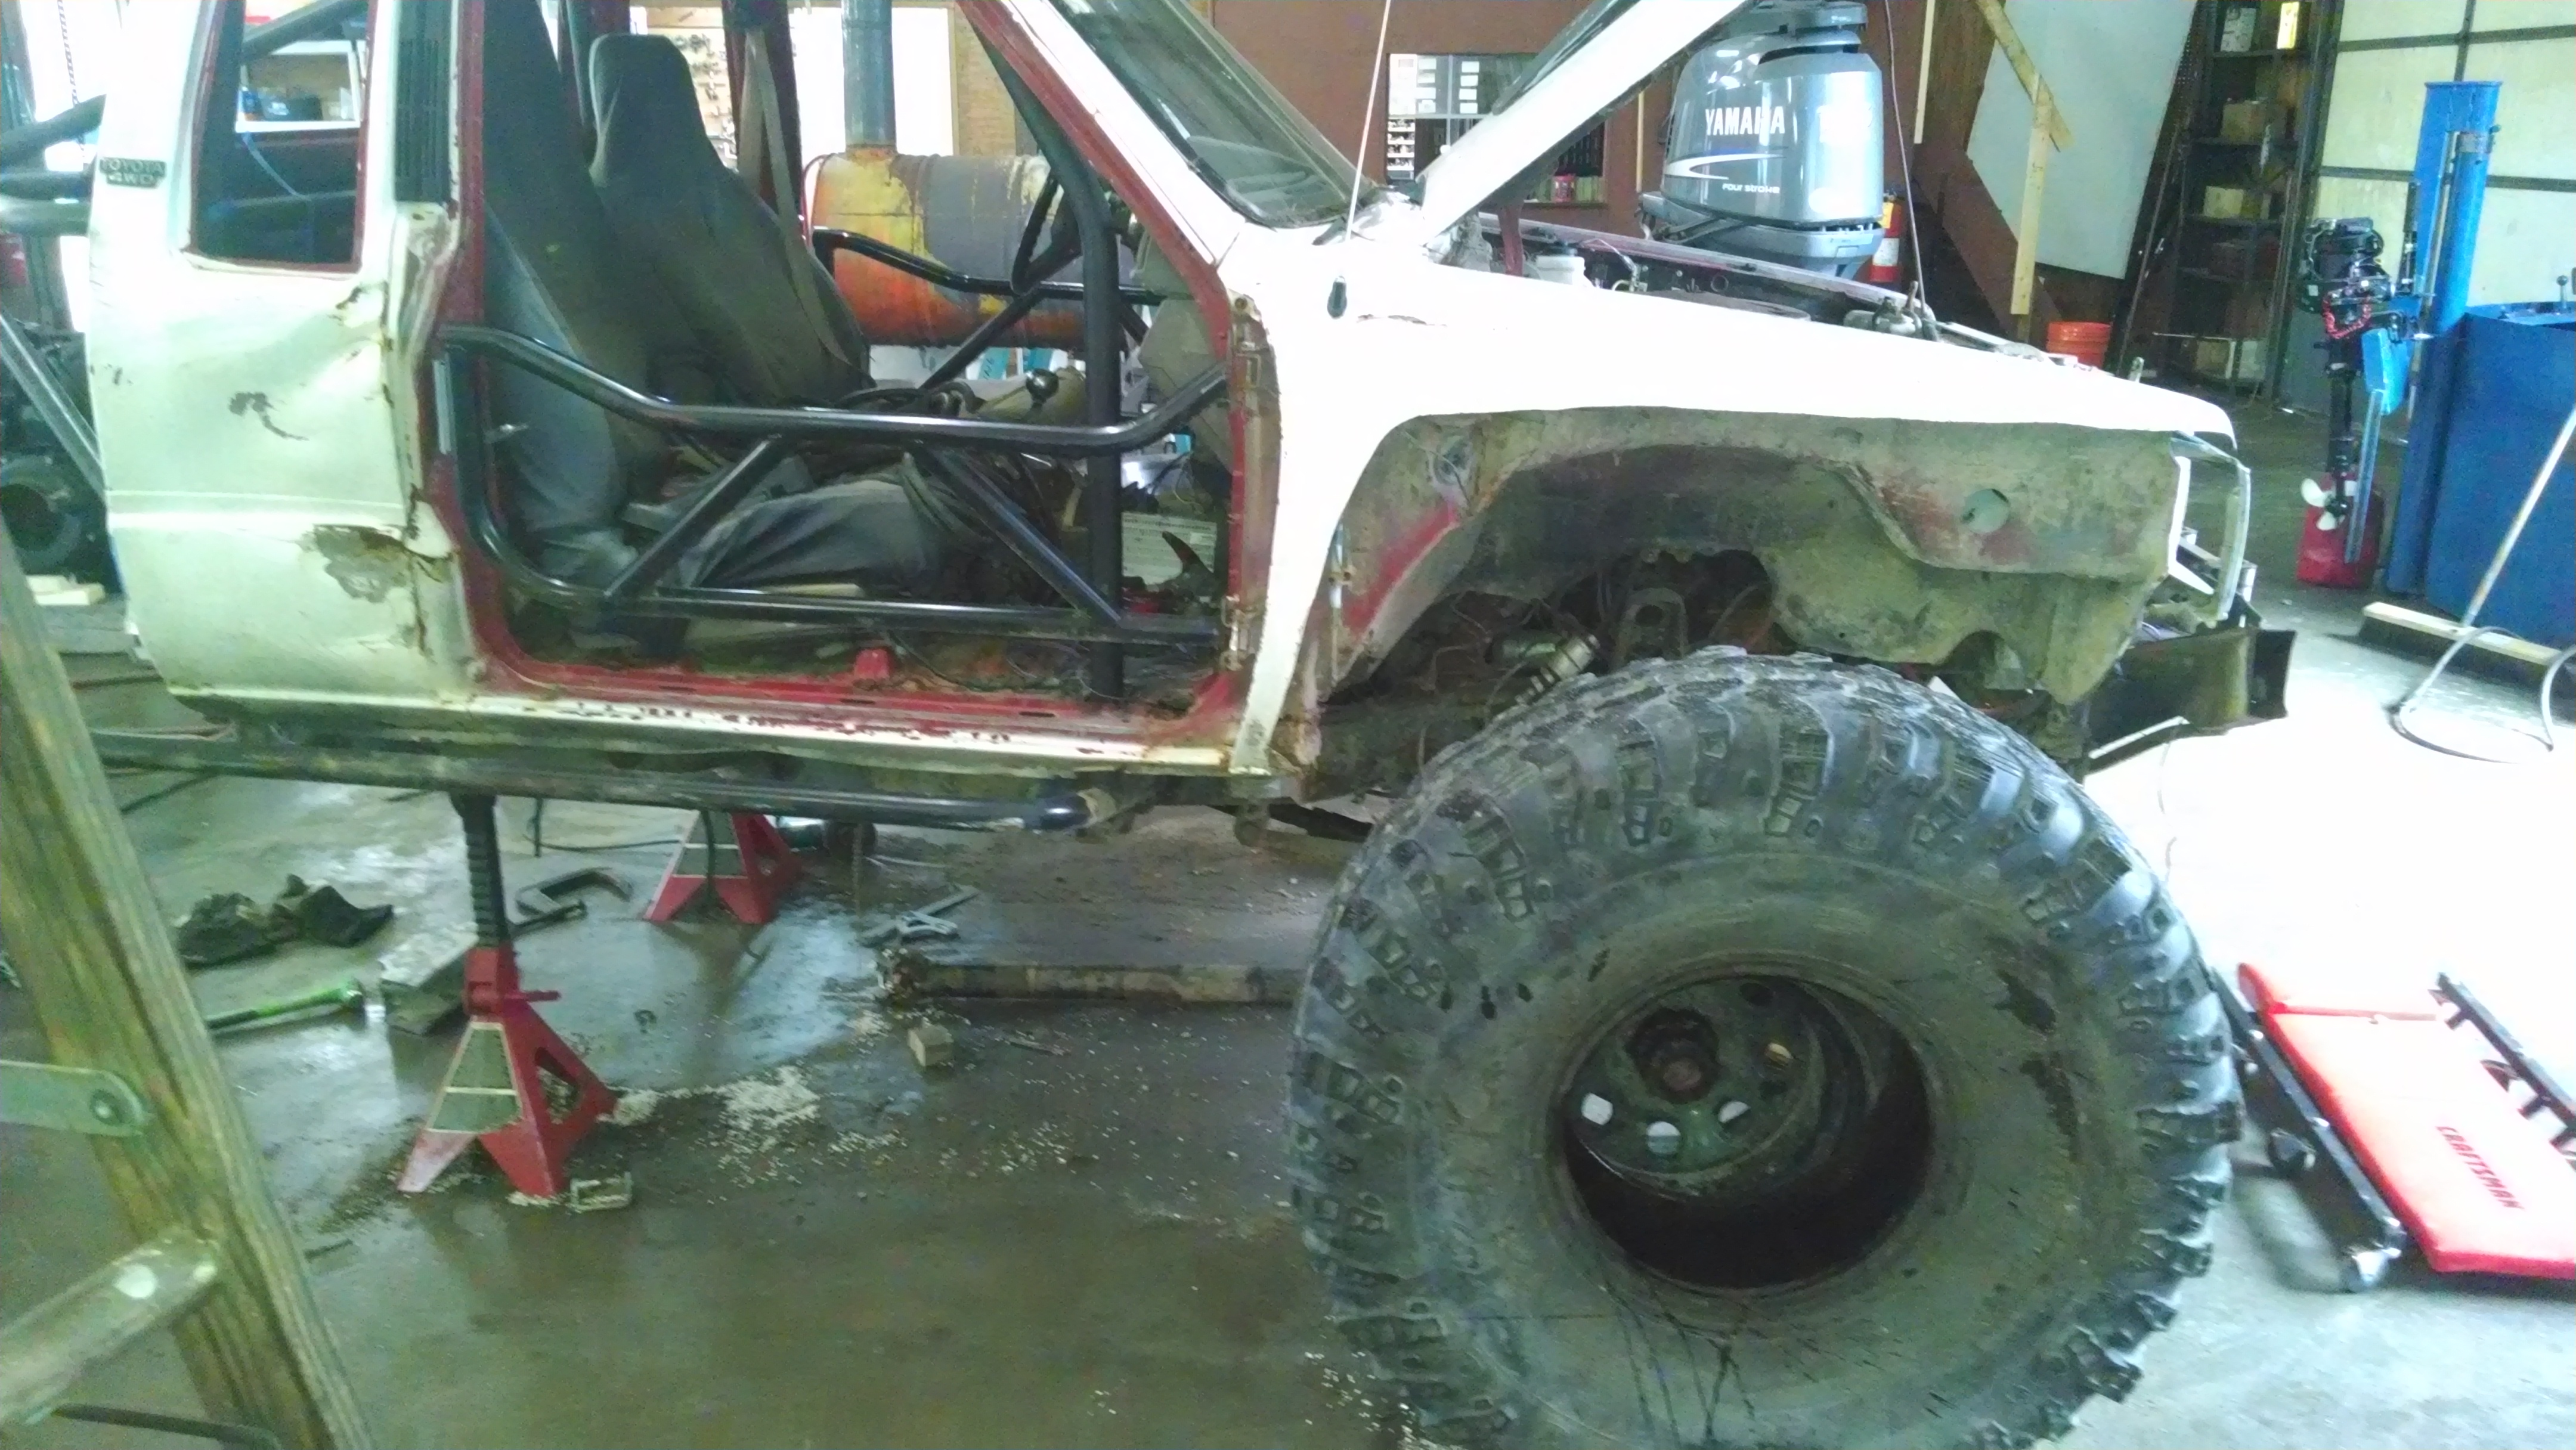
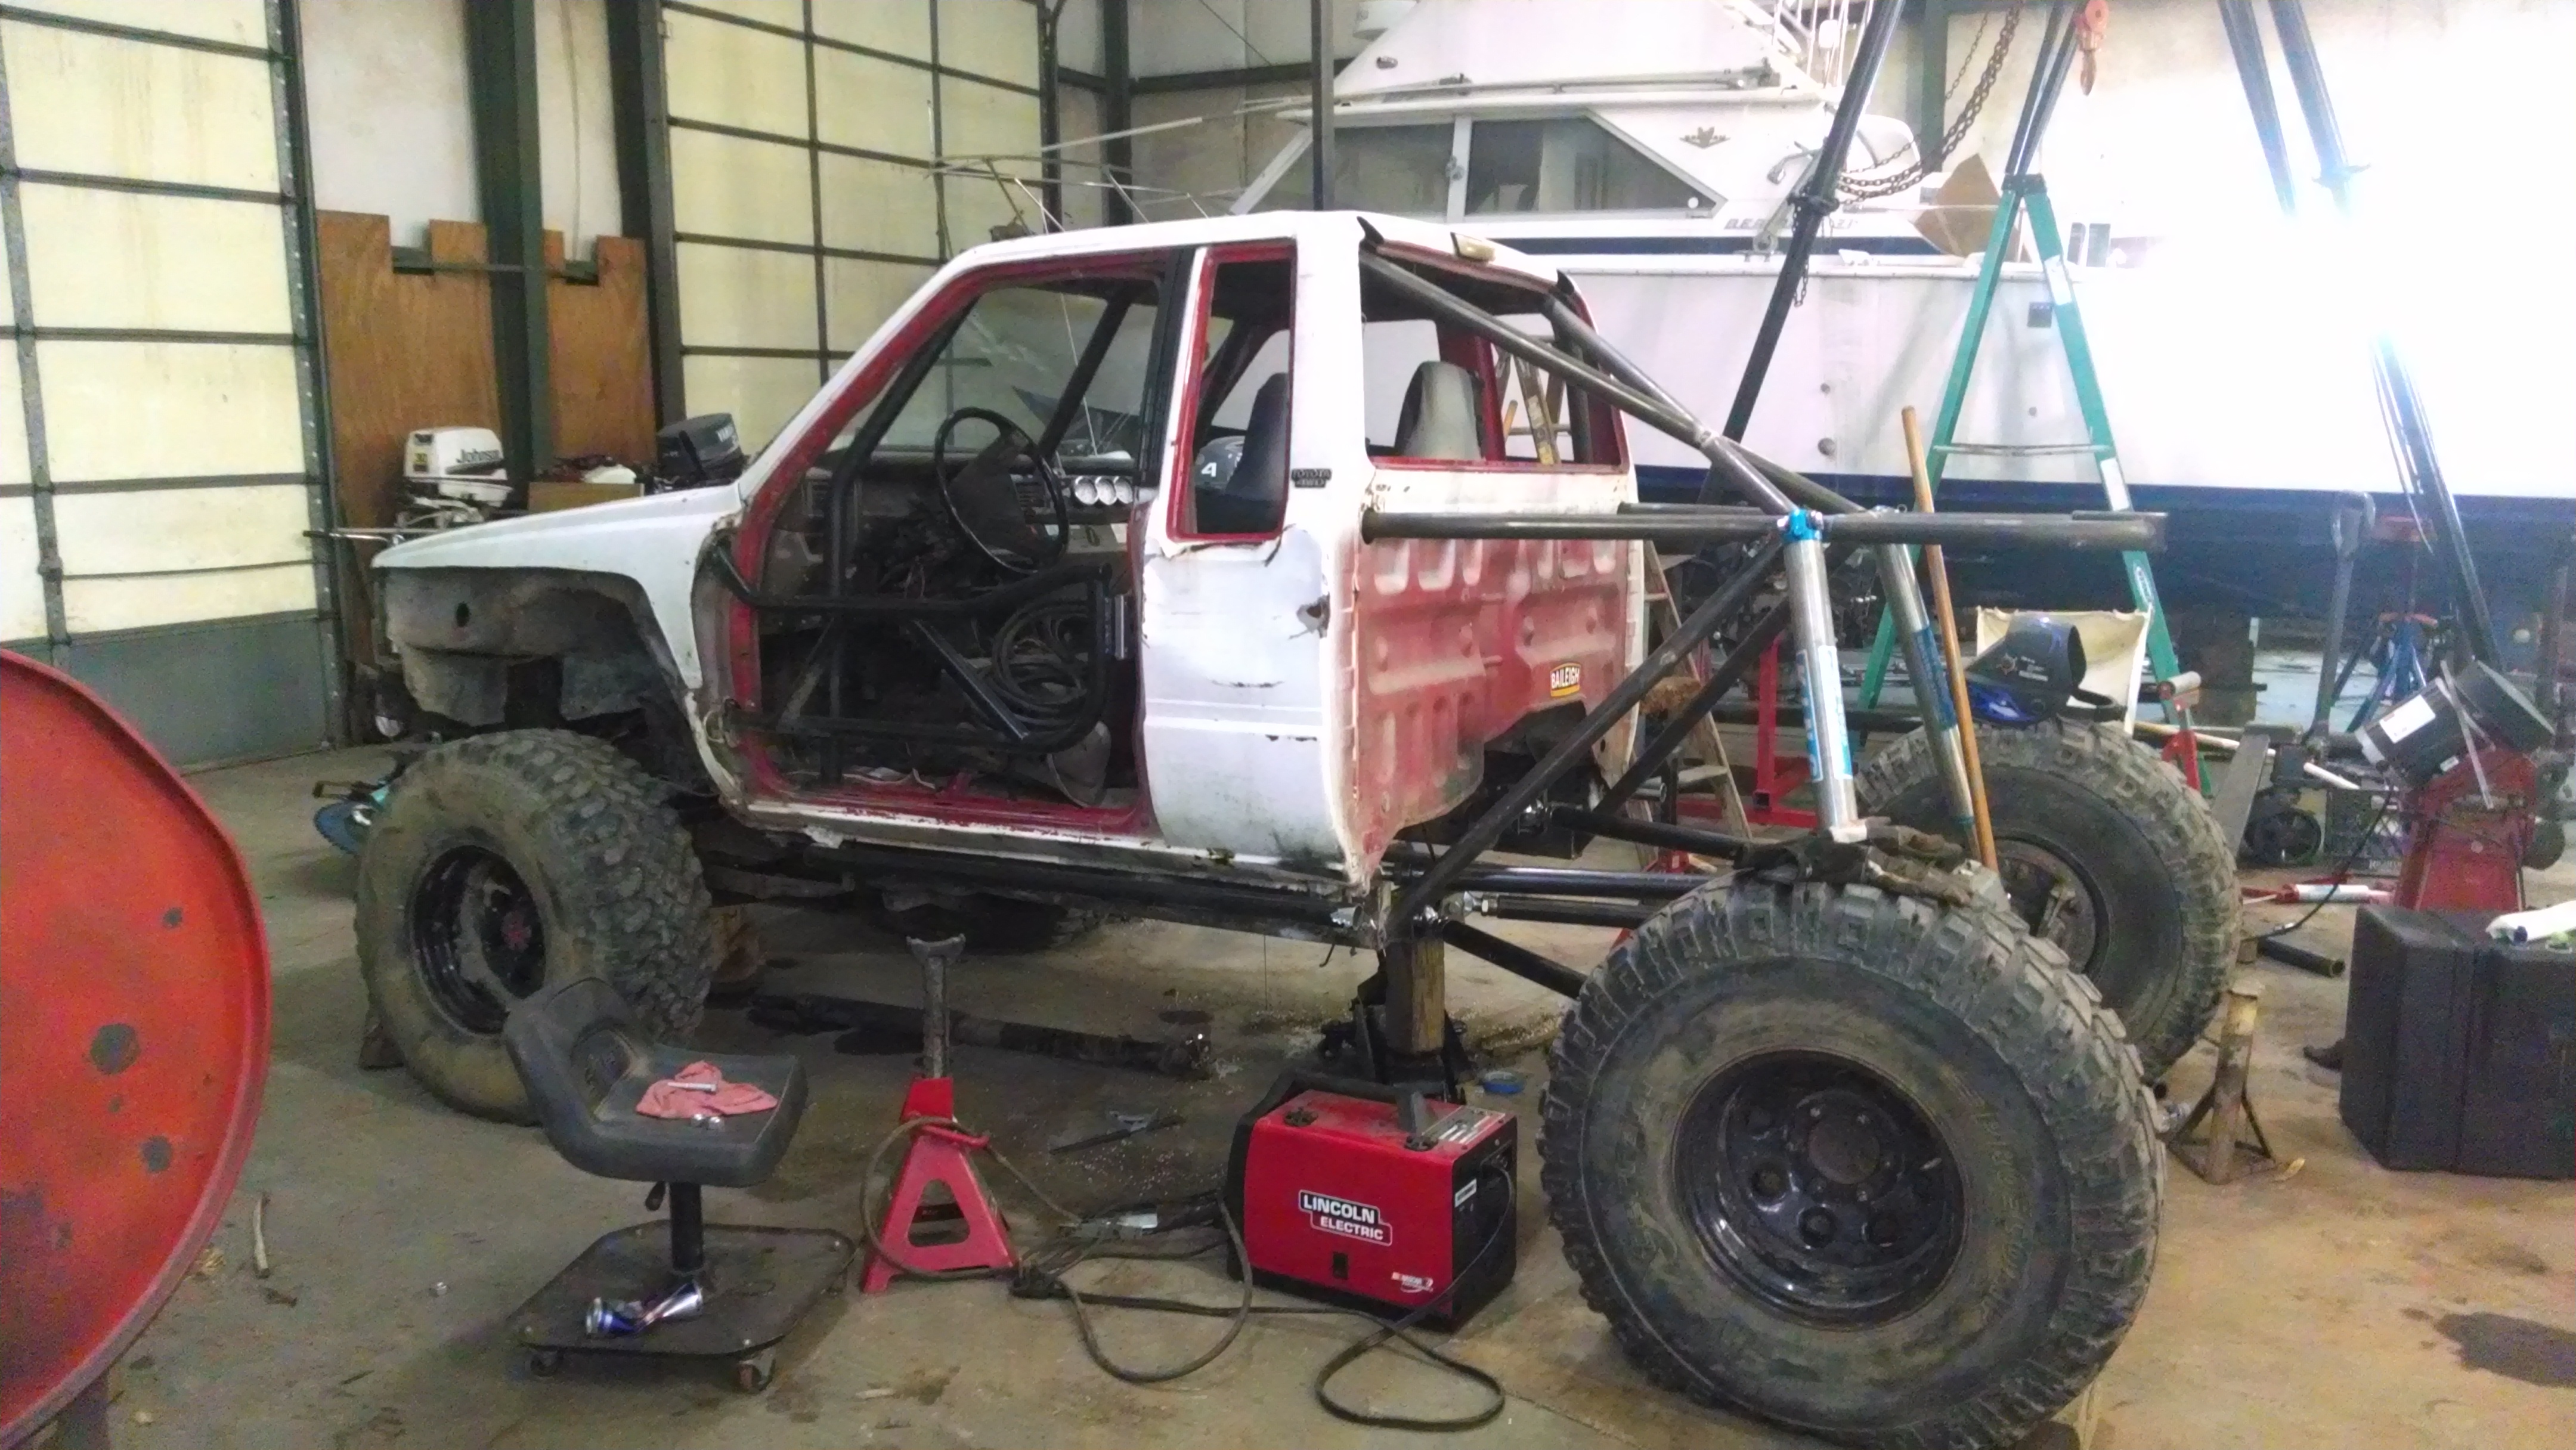
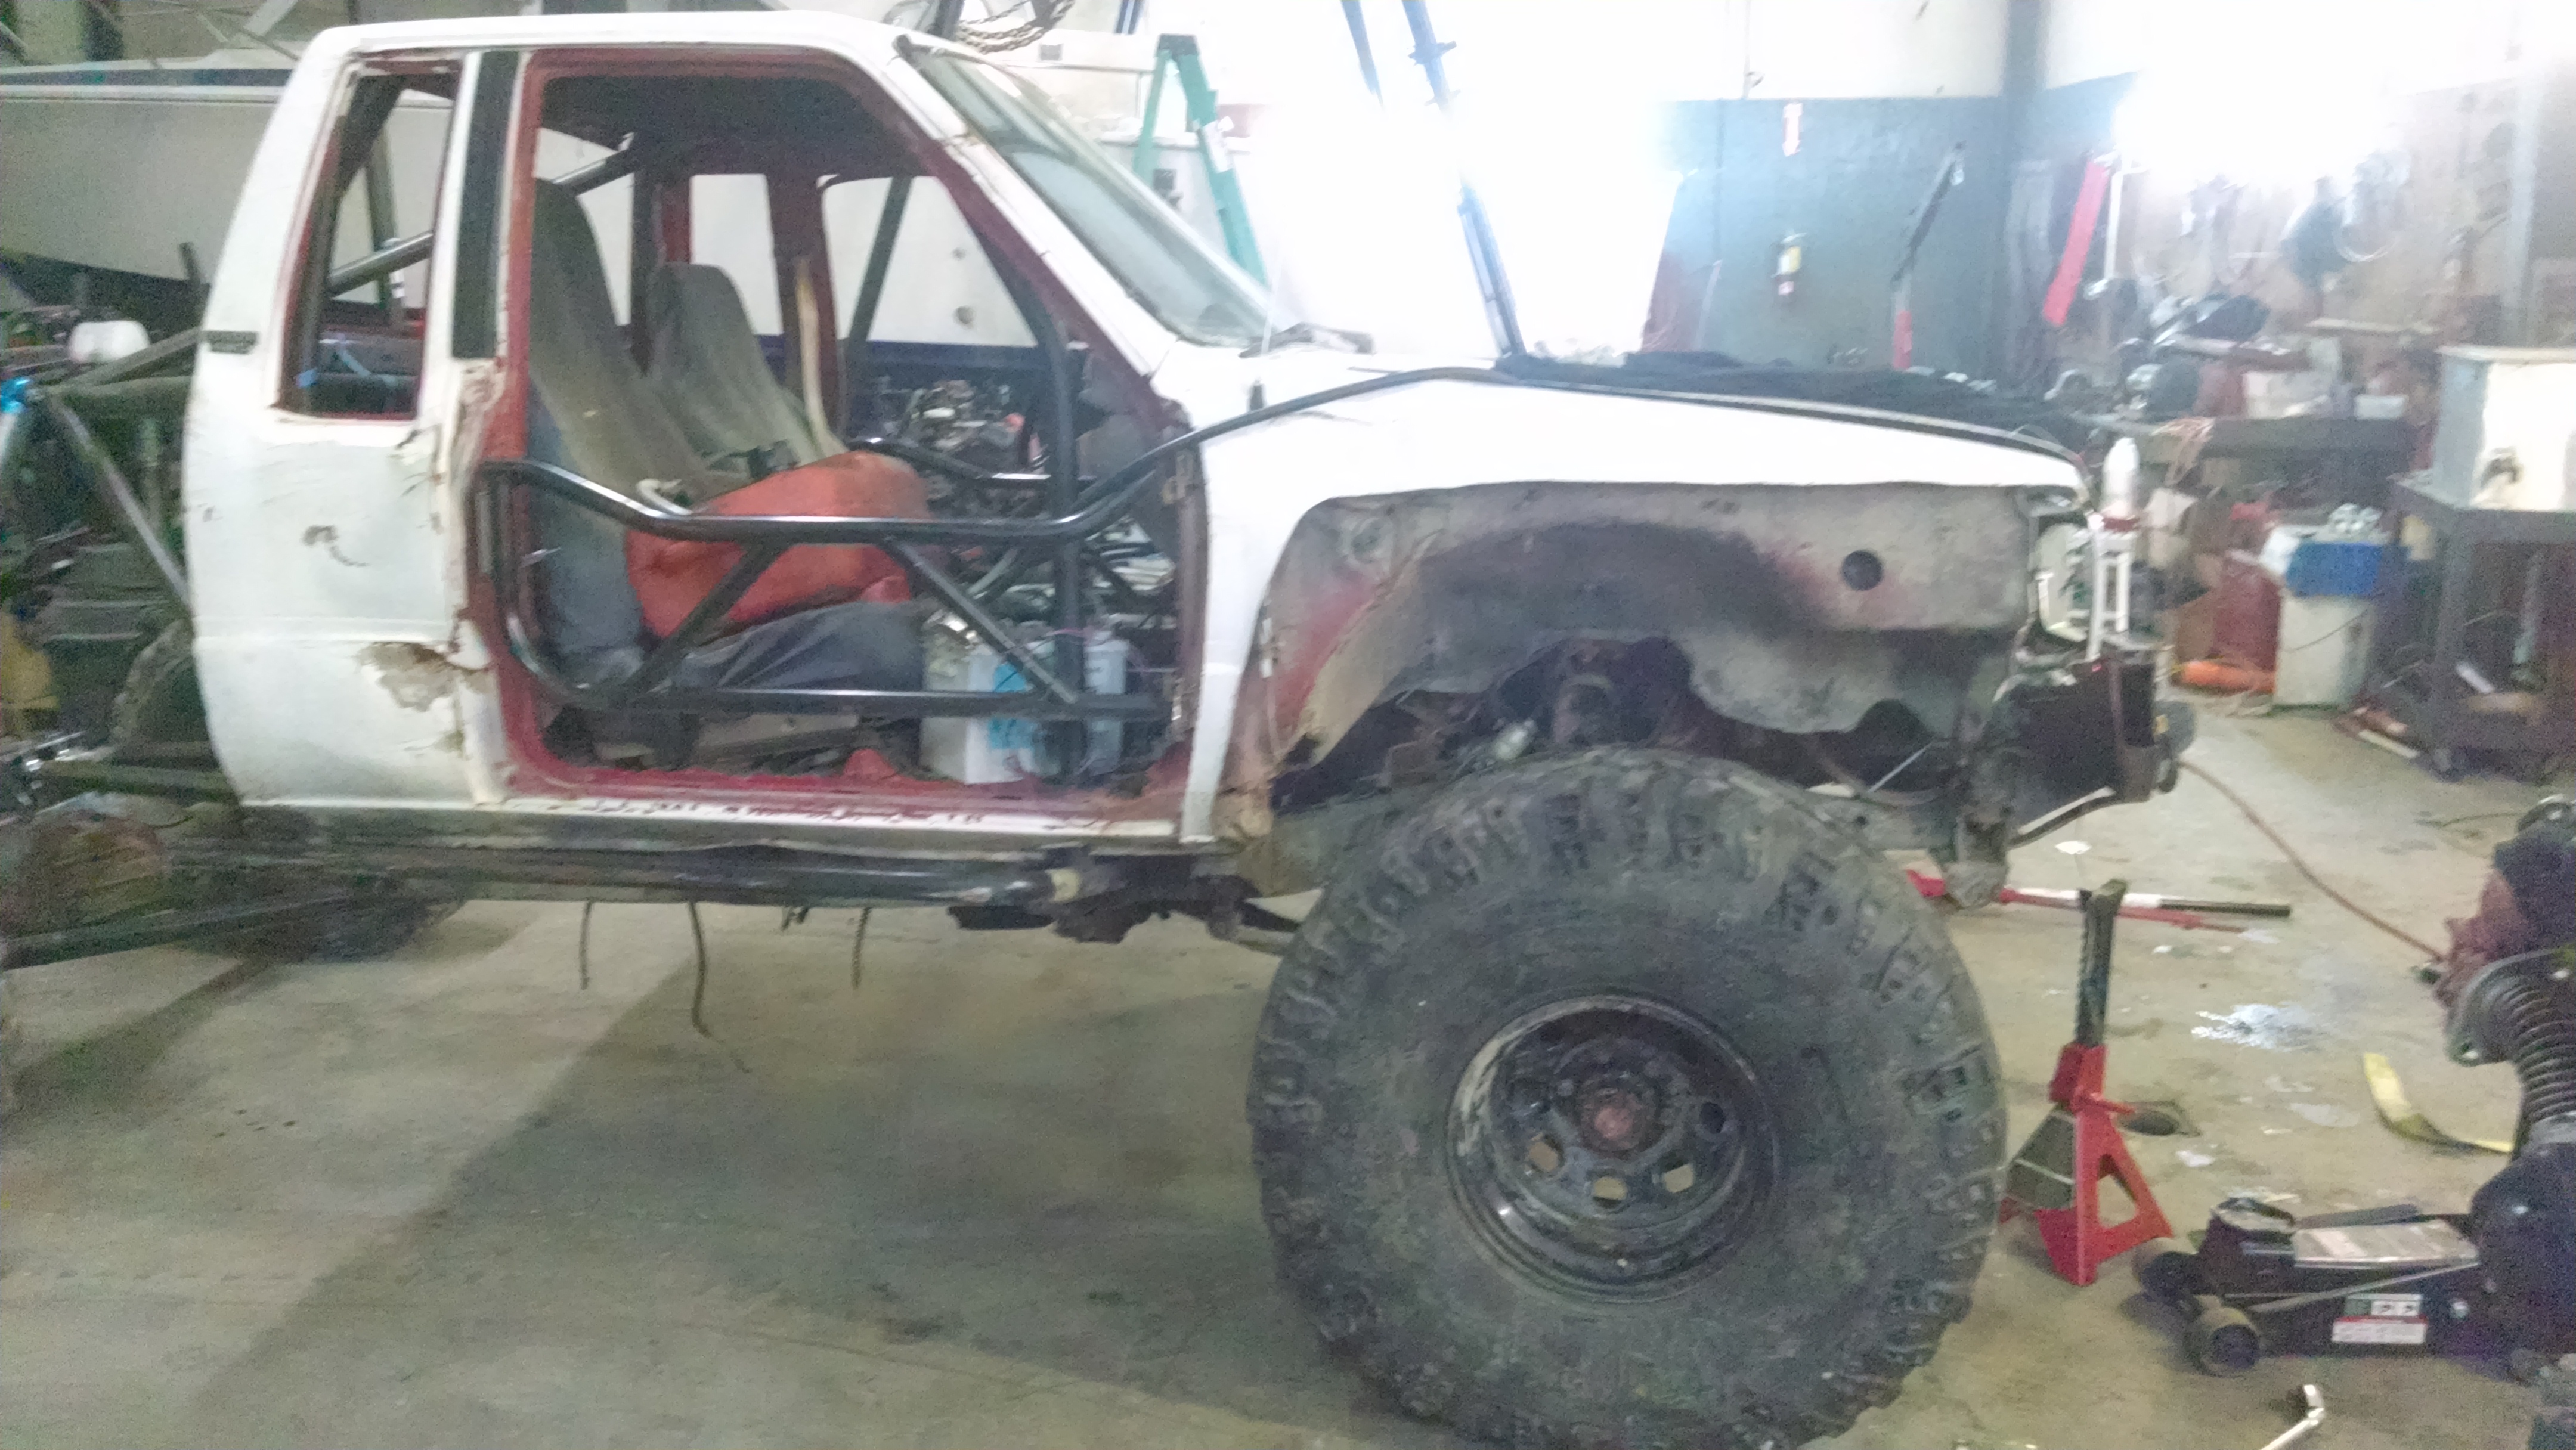
Cut the fenders and made some quickish release door hinges. Axle parts should show up soon, I have a spare housing sitting in the shop that is gonna get the full treatment.


And got the cab gutted to put the cage in. 1.75" DOM going through the dash.
Got the GF to help out...
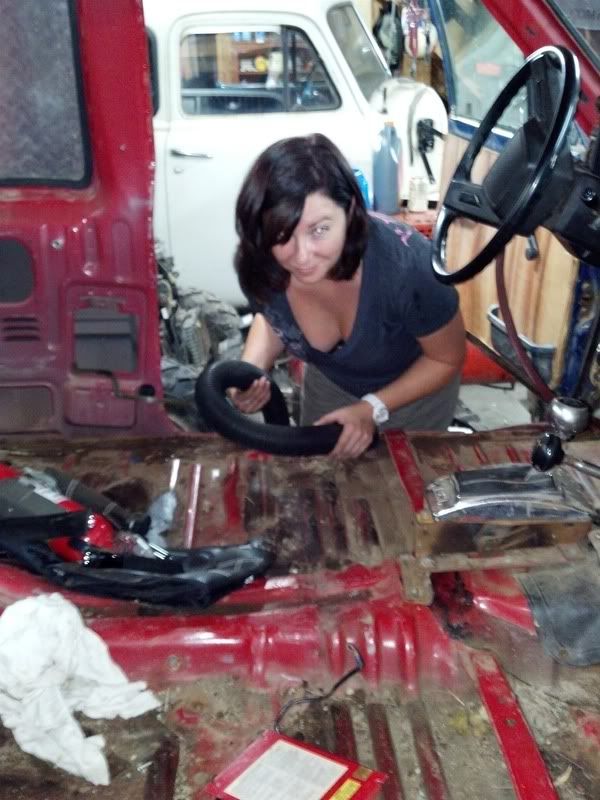
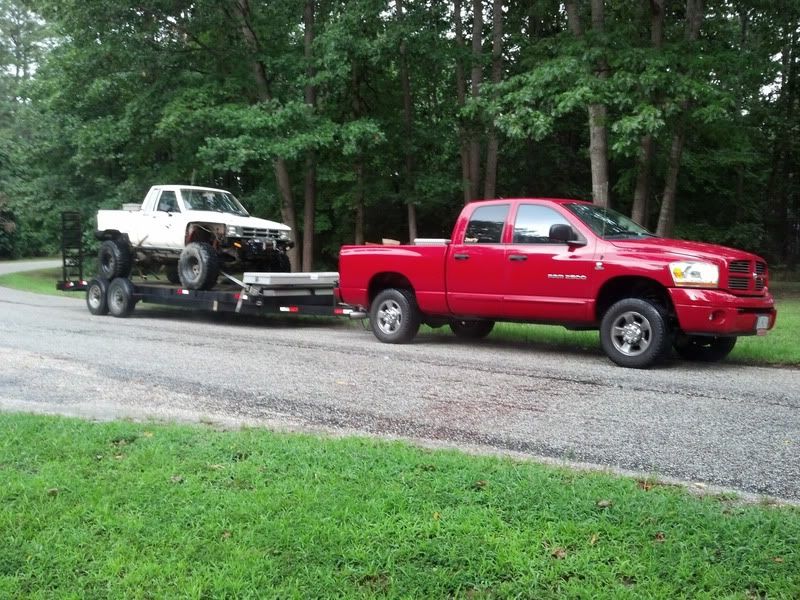
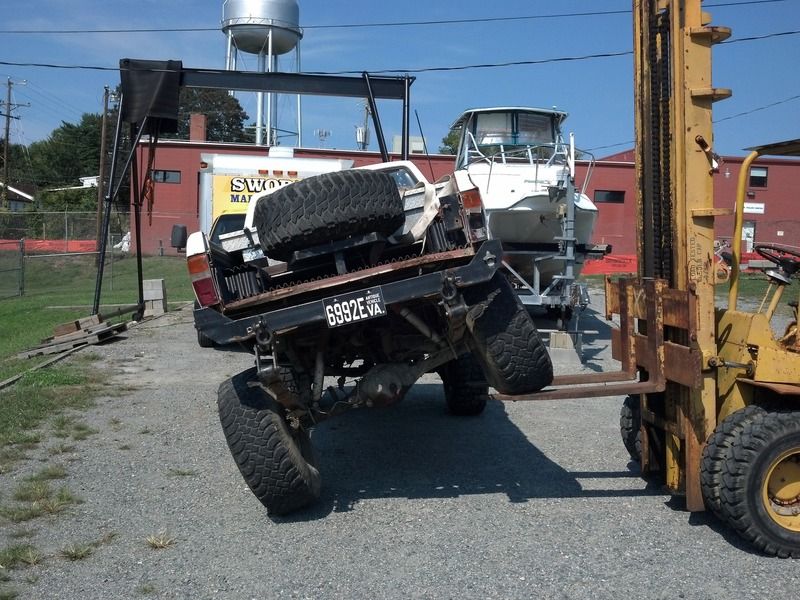
All loaded up and ready to head out to Chris at RockWorks Fab to get the Cage, CorbeauSuspension Seats, and 4 point Harnesses.
And got the cab gutted to put the cage in. 1.75" DOM going through the dash.
Got the GF to help out...
All loaded up and ready to head out to Chris at RockWorks Fab to get the Cage, CorbeauSuspension Seats, and 4 point Harnesses.
 08-05-2012, 11:08 AM
#5
Registered User
Thread Starter
Join Date: Jul 2005
Posts: 124
Likes: 0
Received 0 Likes
on
0 Posts

 09-13-2012, 05:17 PM
#7
Registered User
Thread Starter
Join Date: Jul 2005
Posts: 124
Likes: 0
Received 0 Likes
on
0 Posts
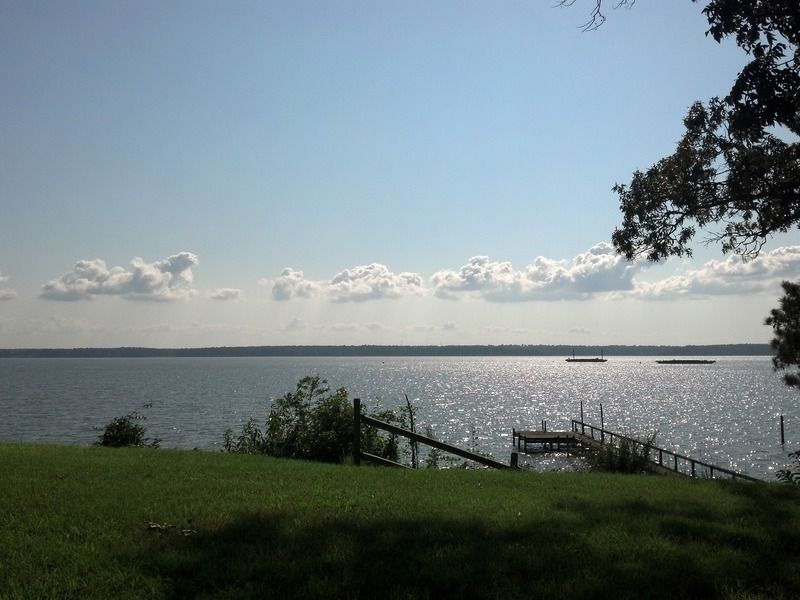
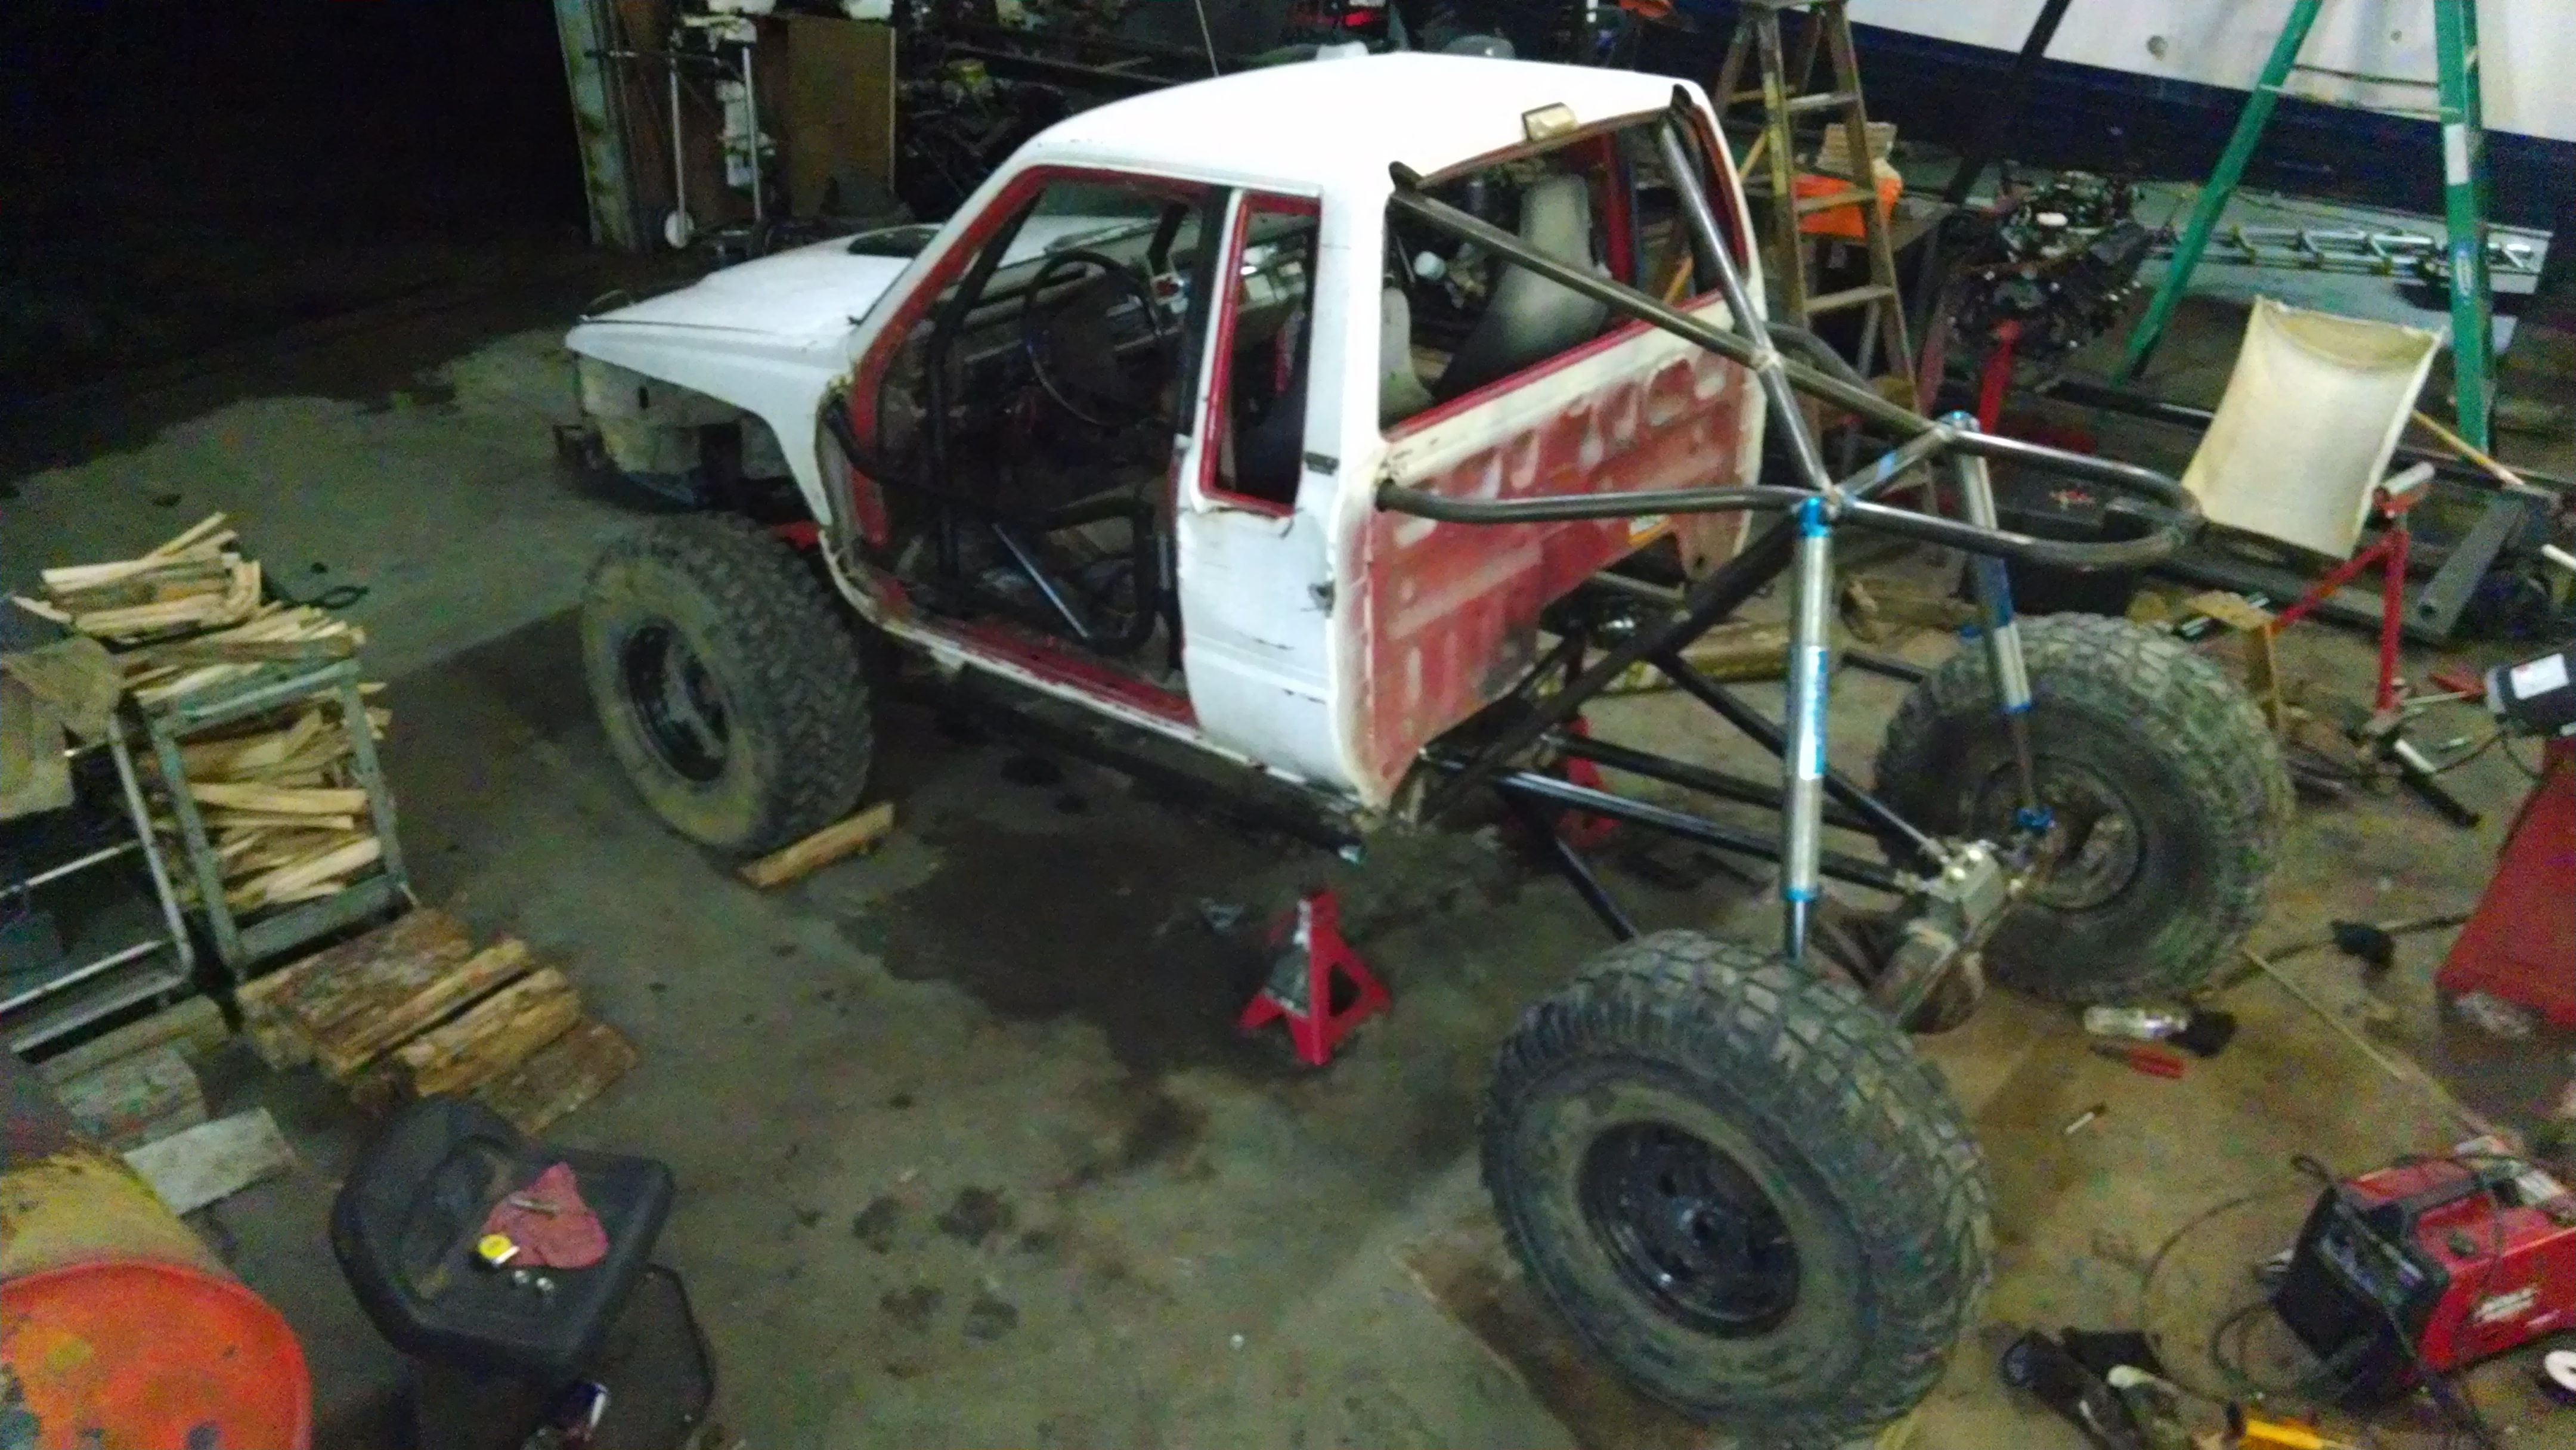
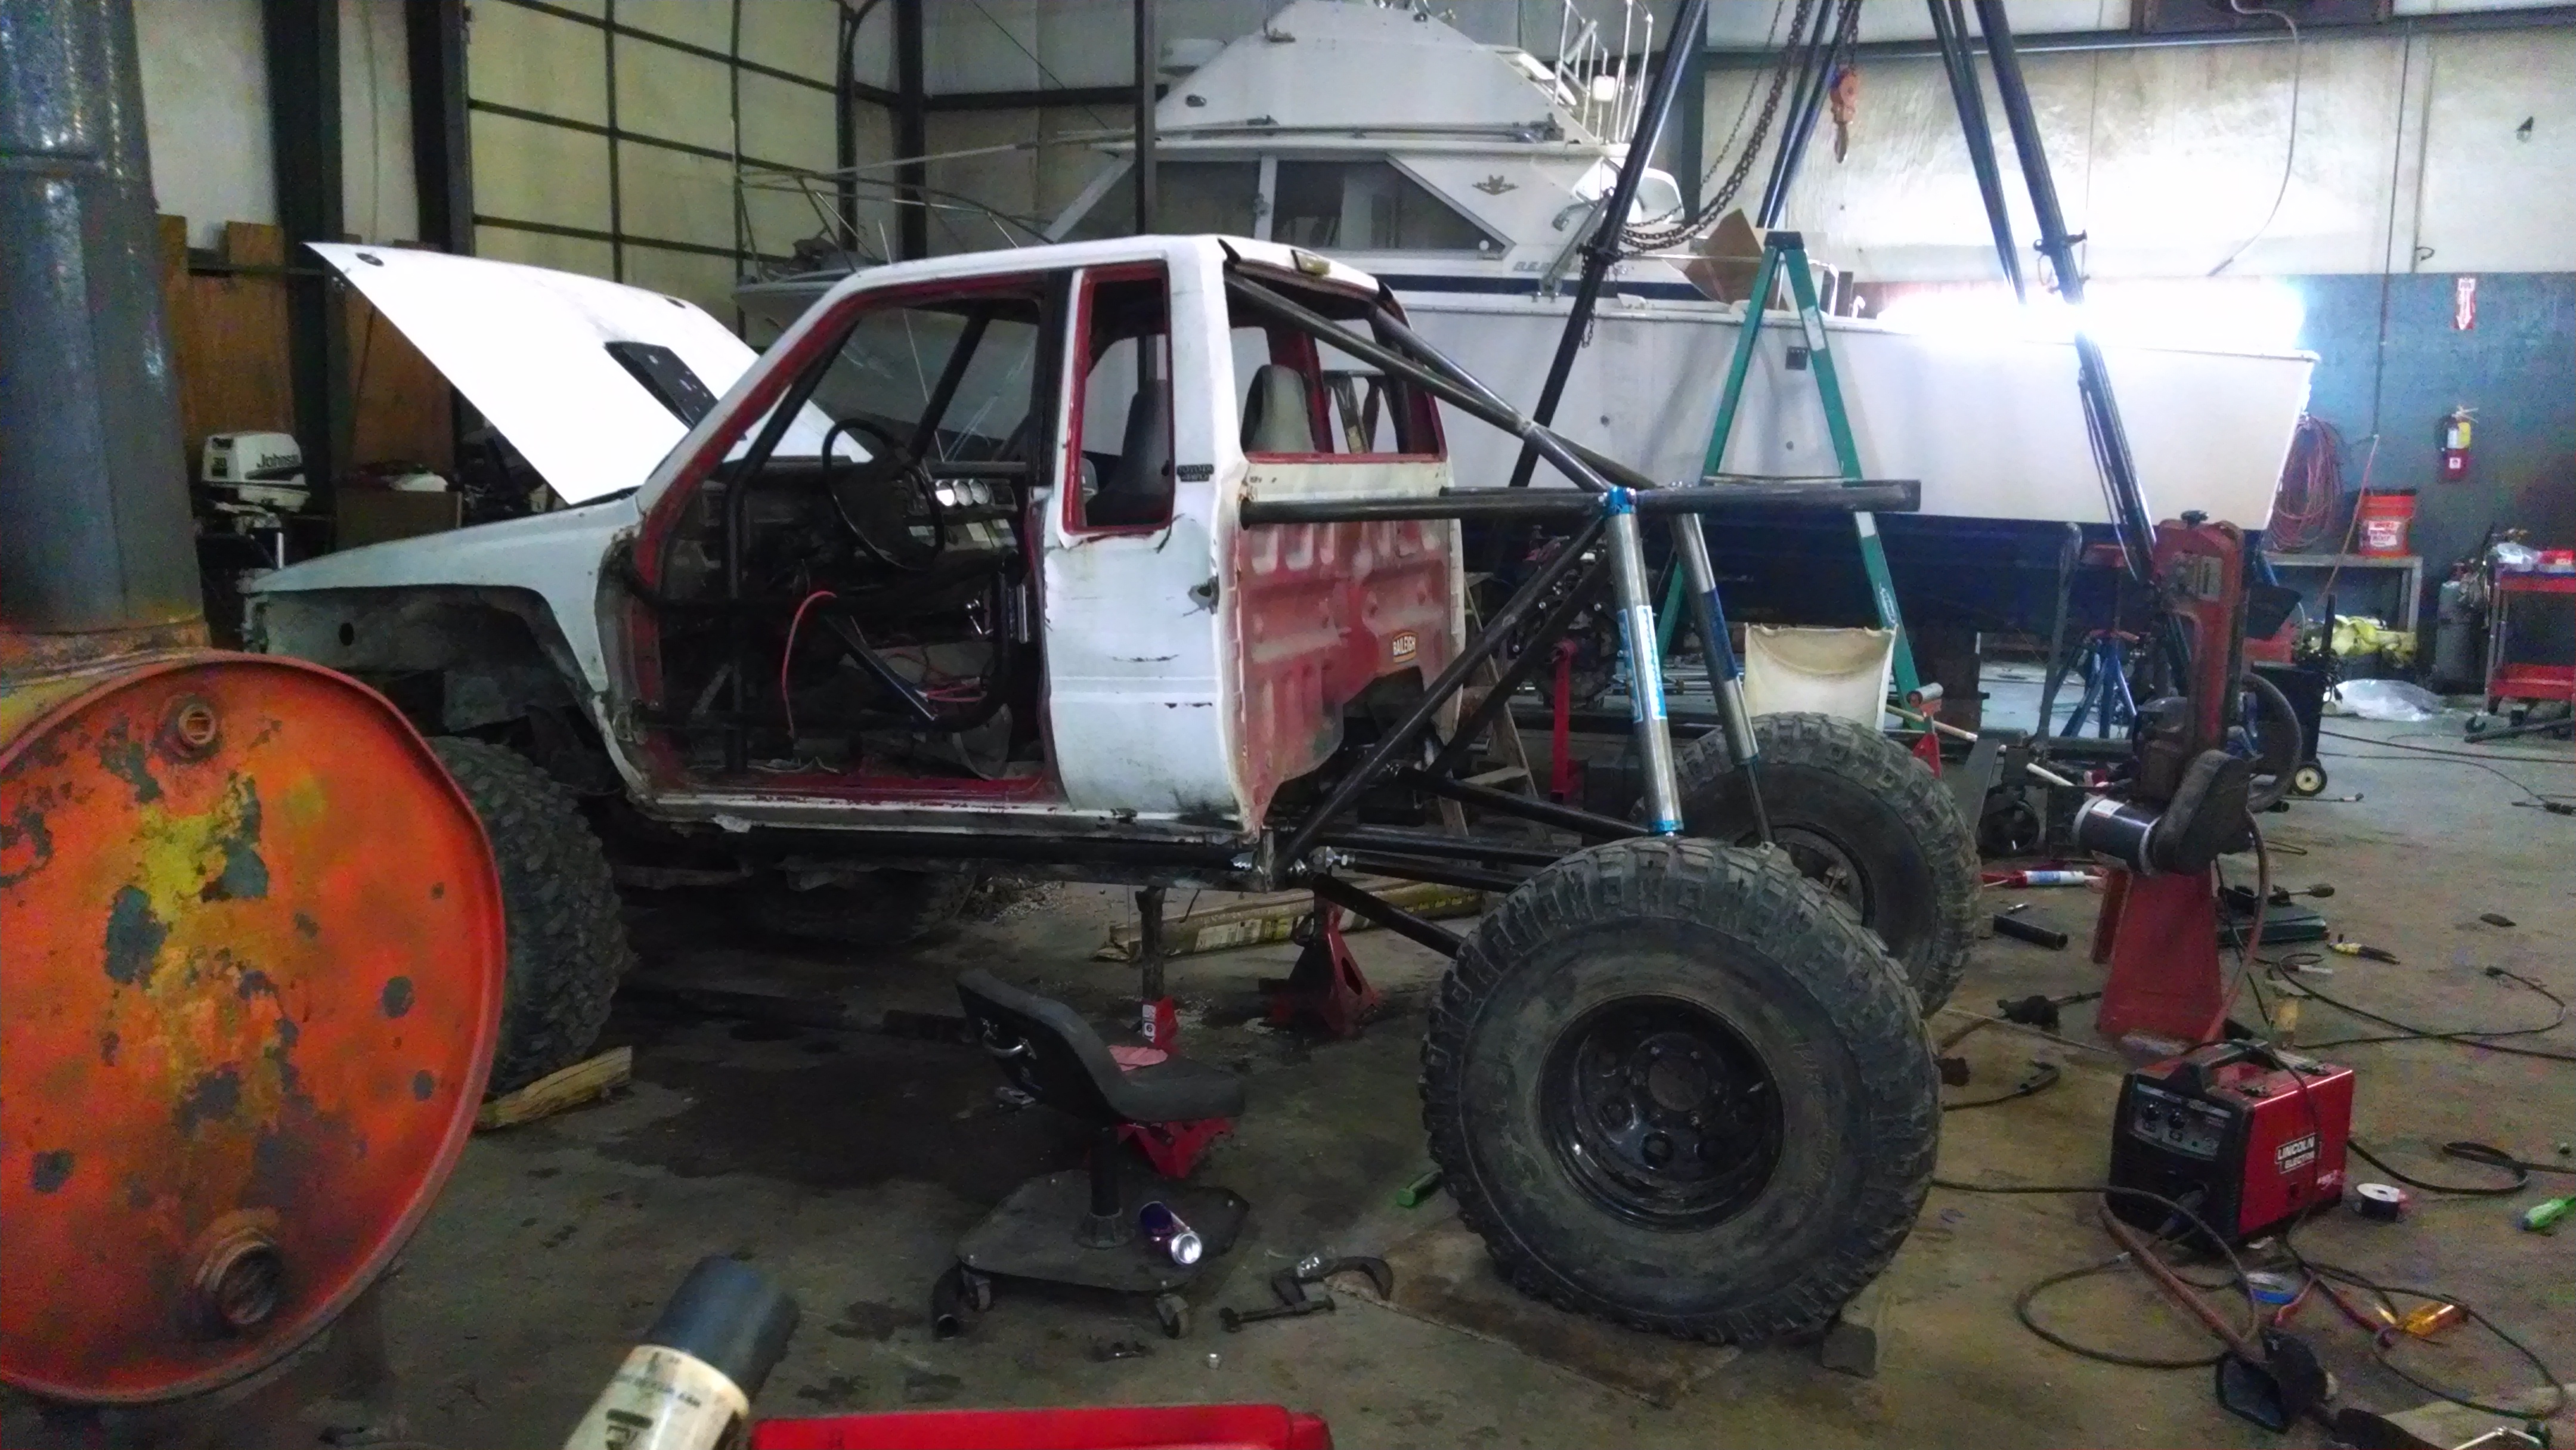
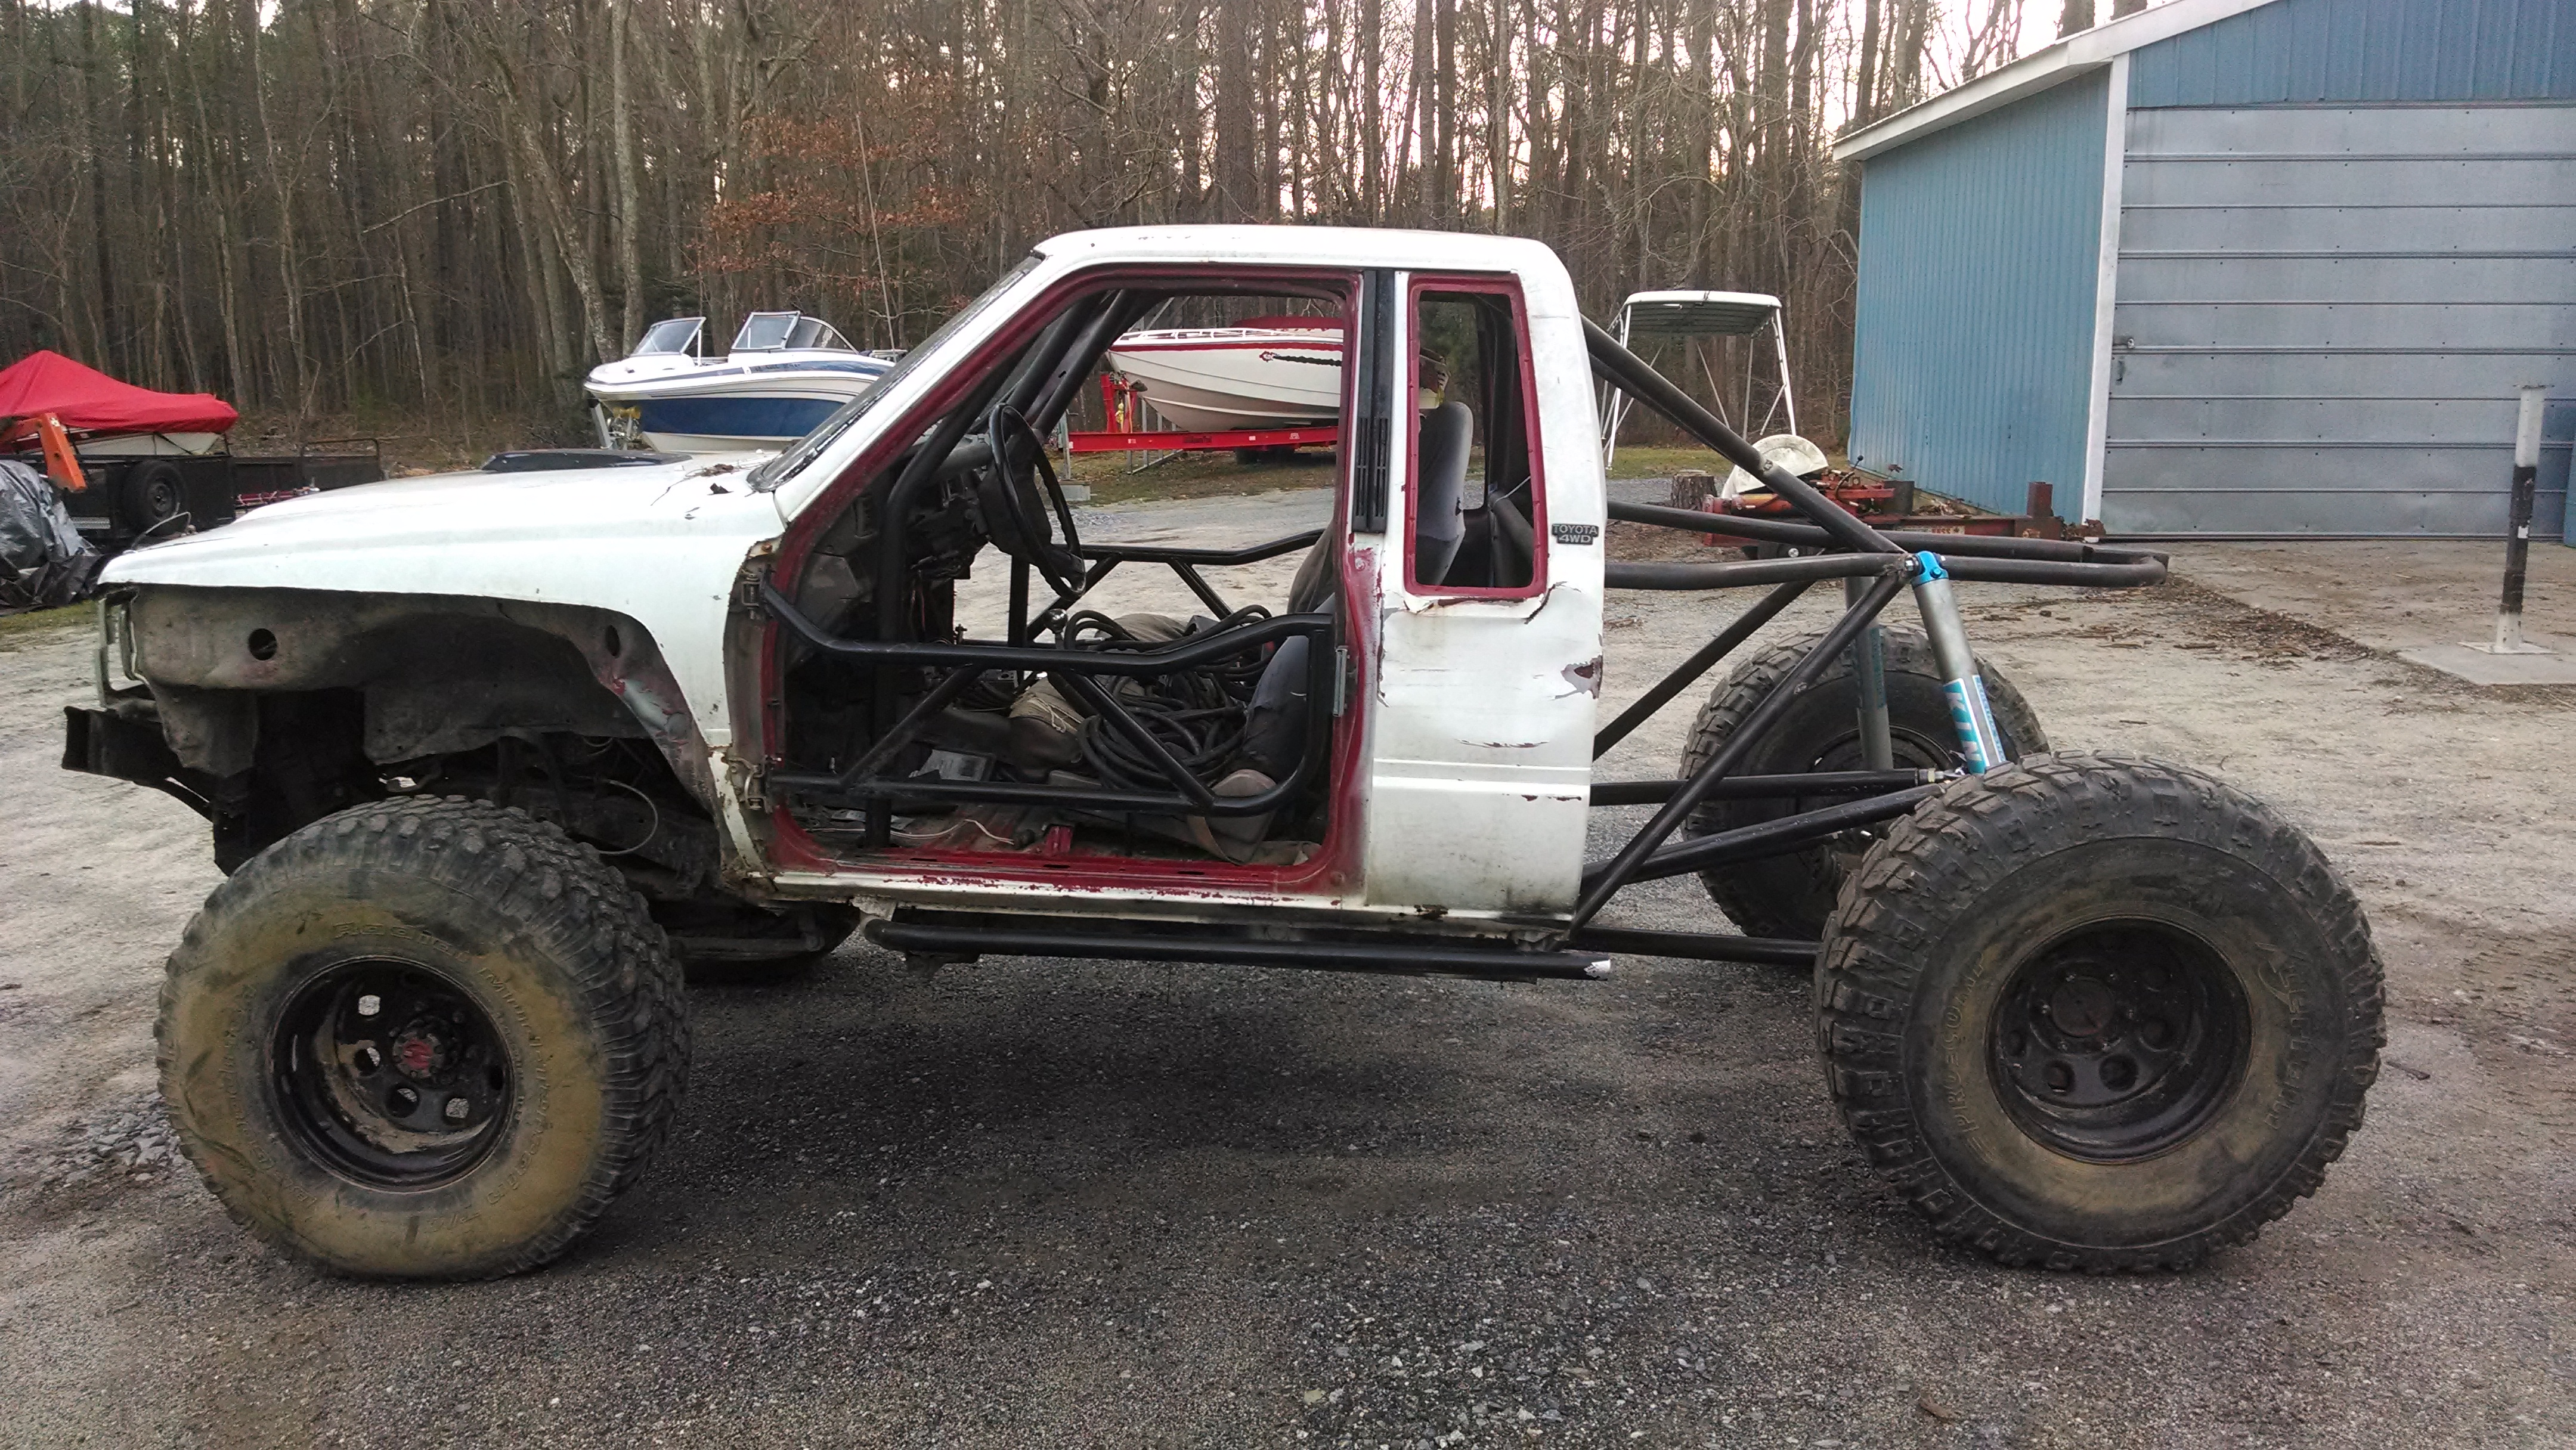
Been slow going, working alot, messes up my knee, and moving in a new house. Good news is the new house has a small garage/shop better news is this is the view from the back porch...
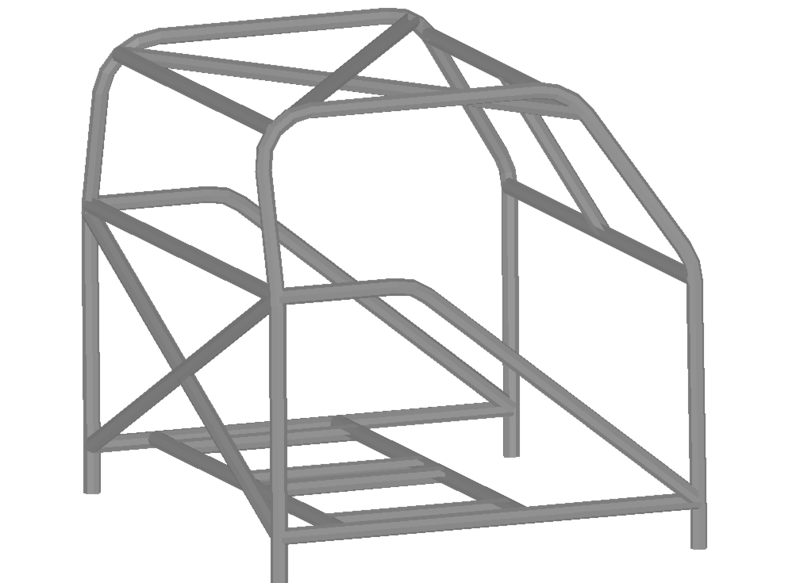
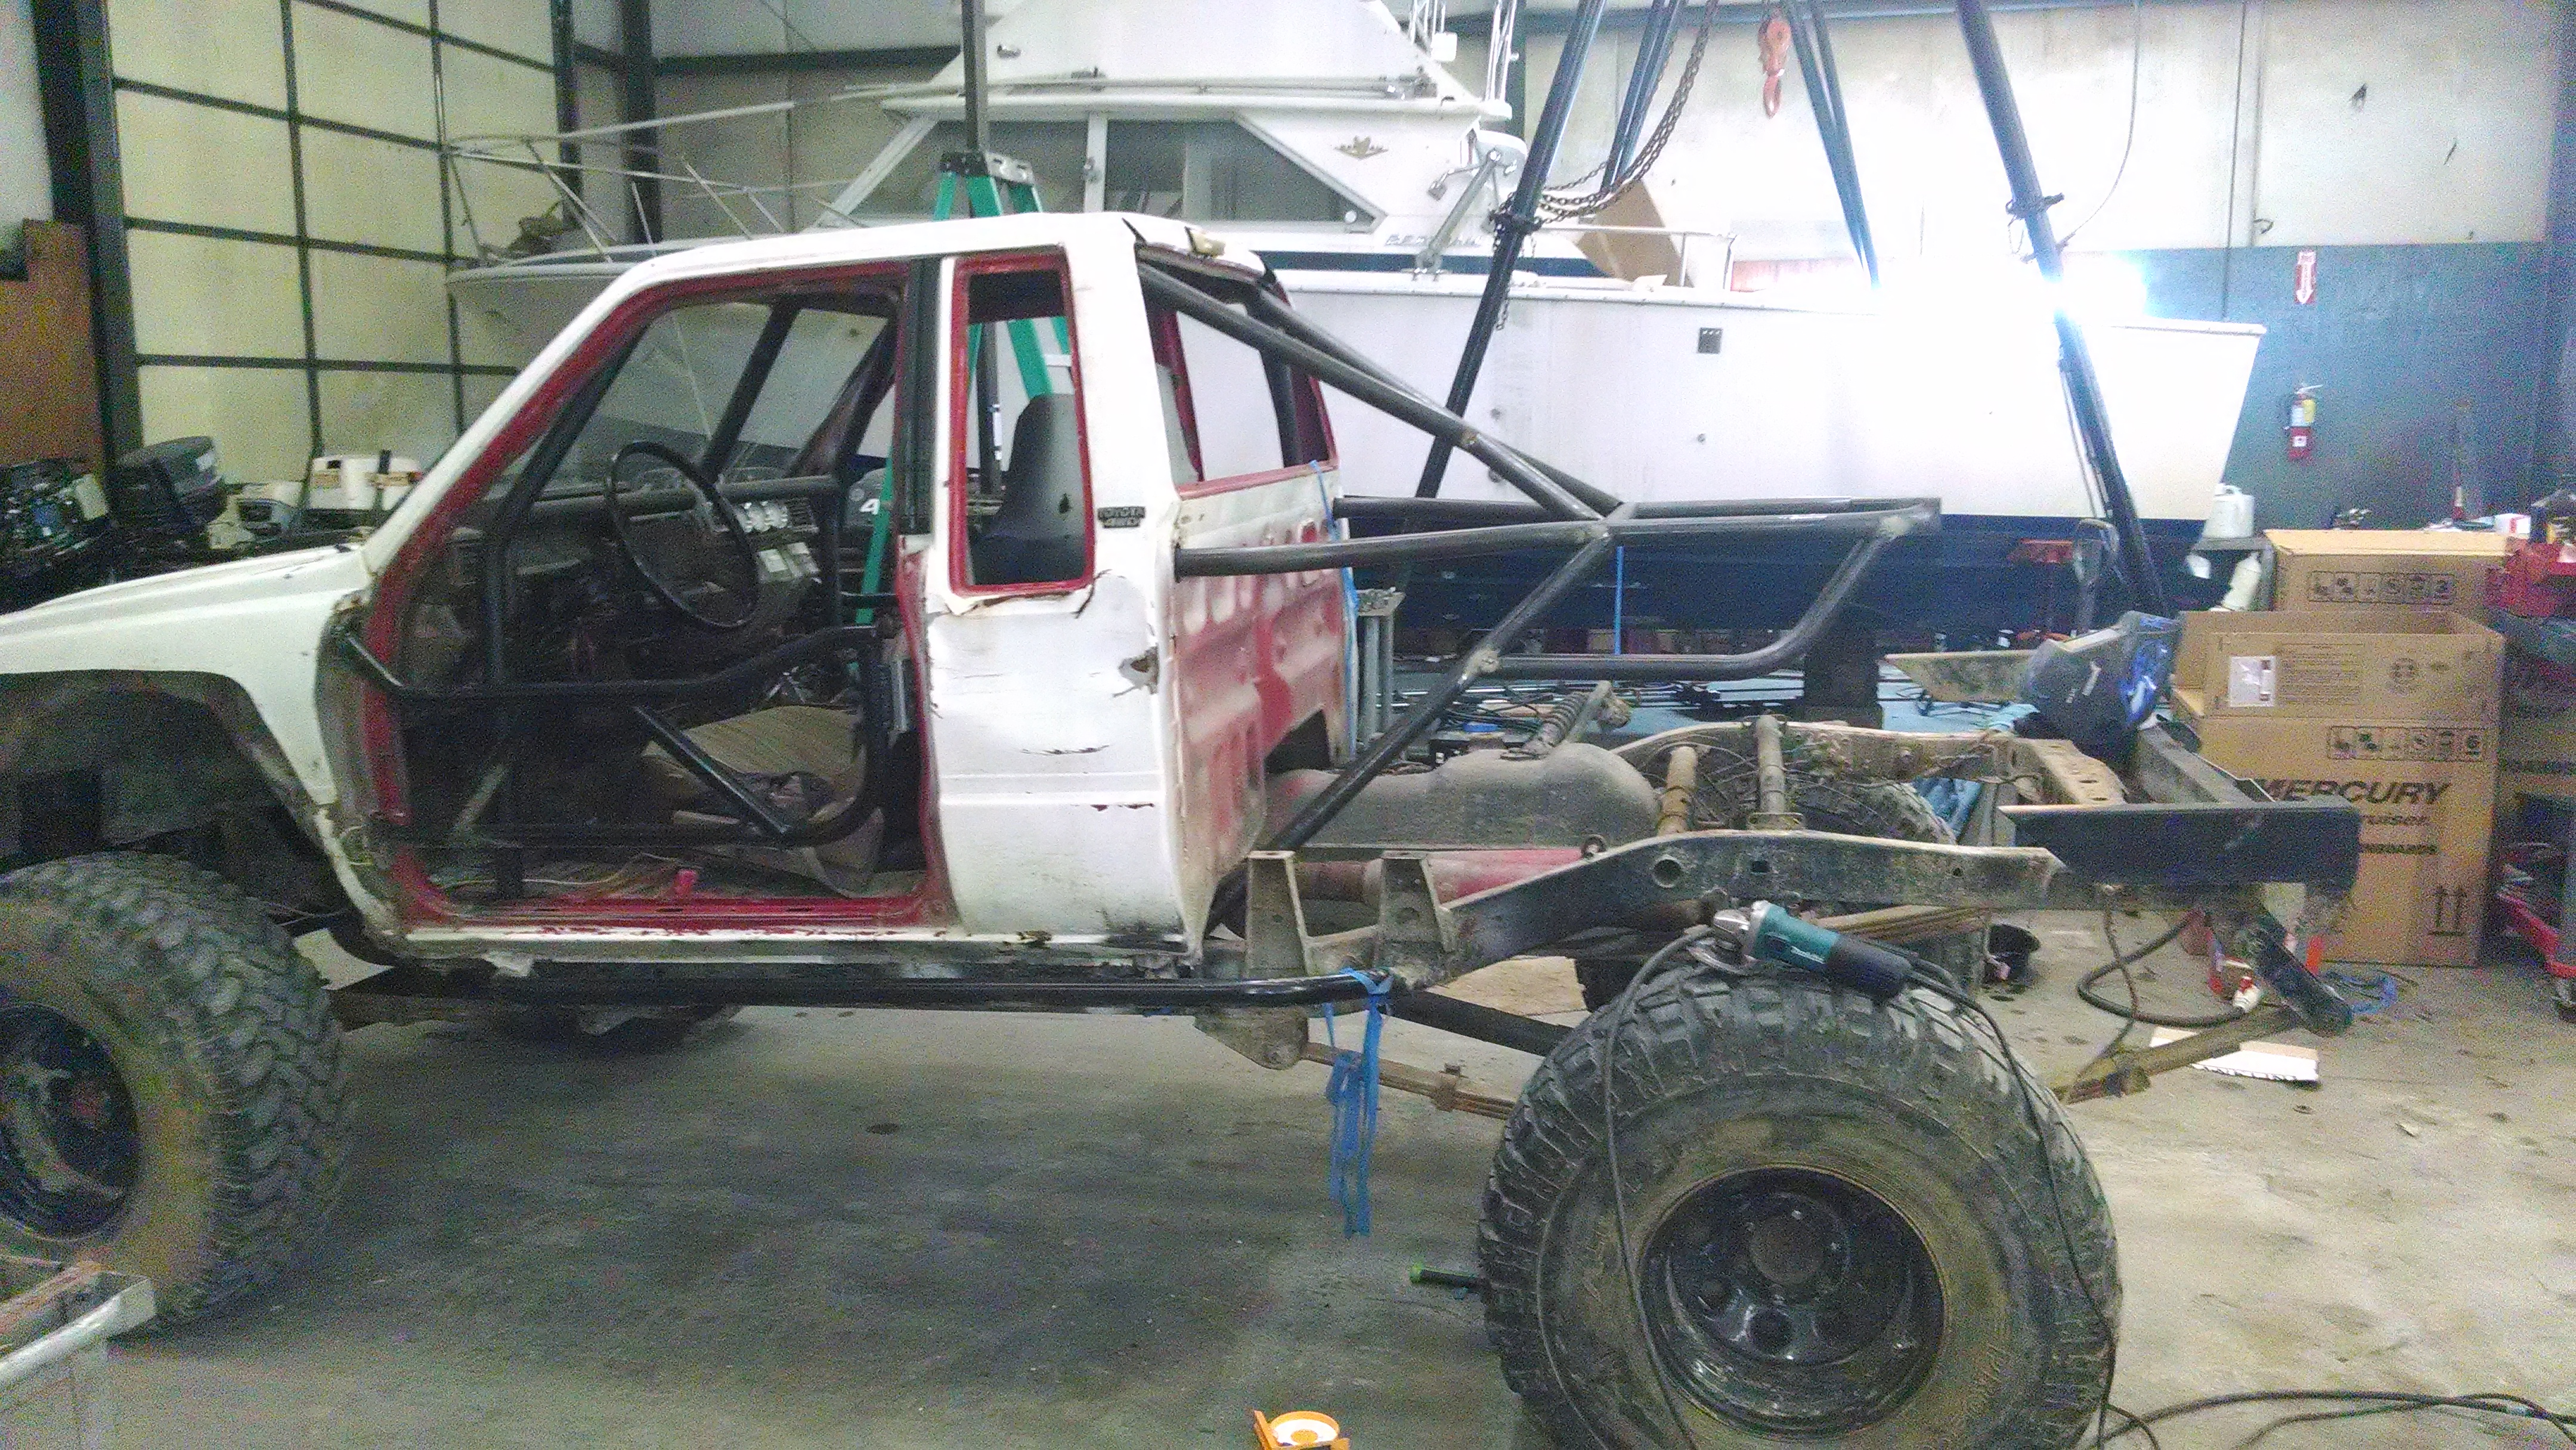
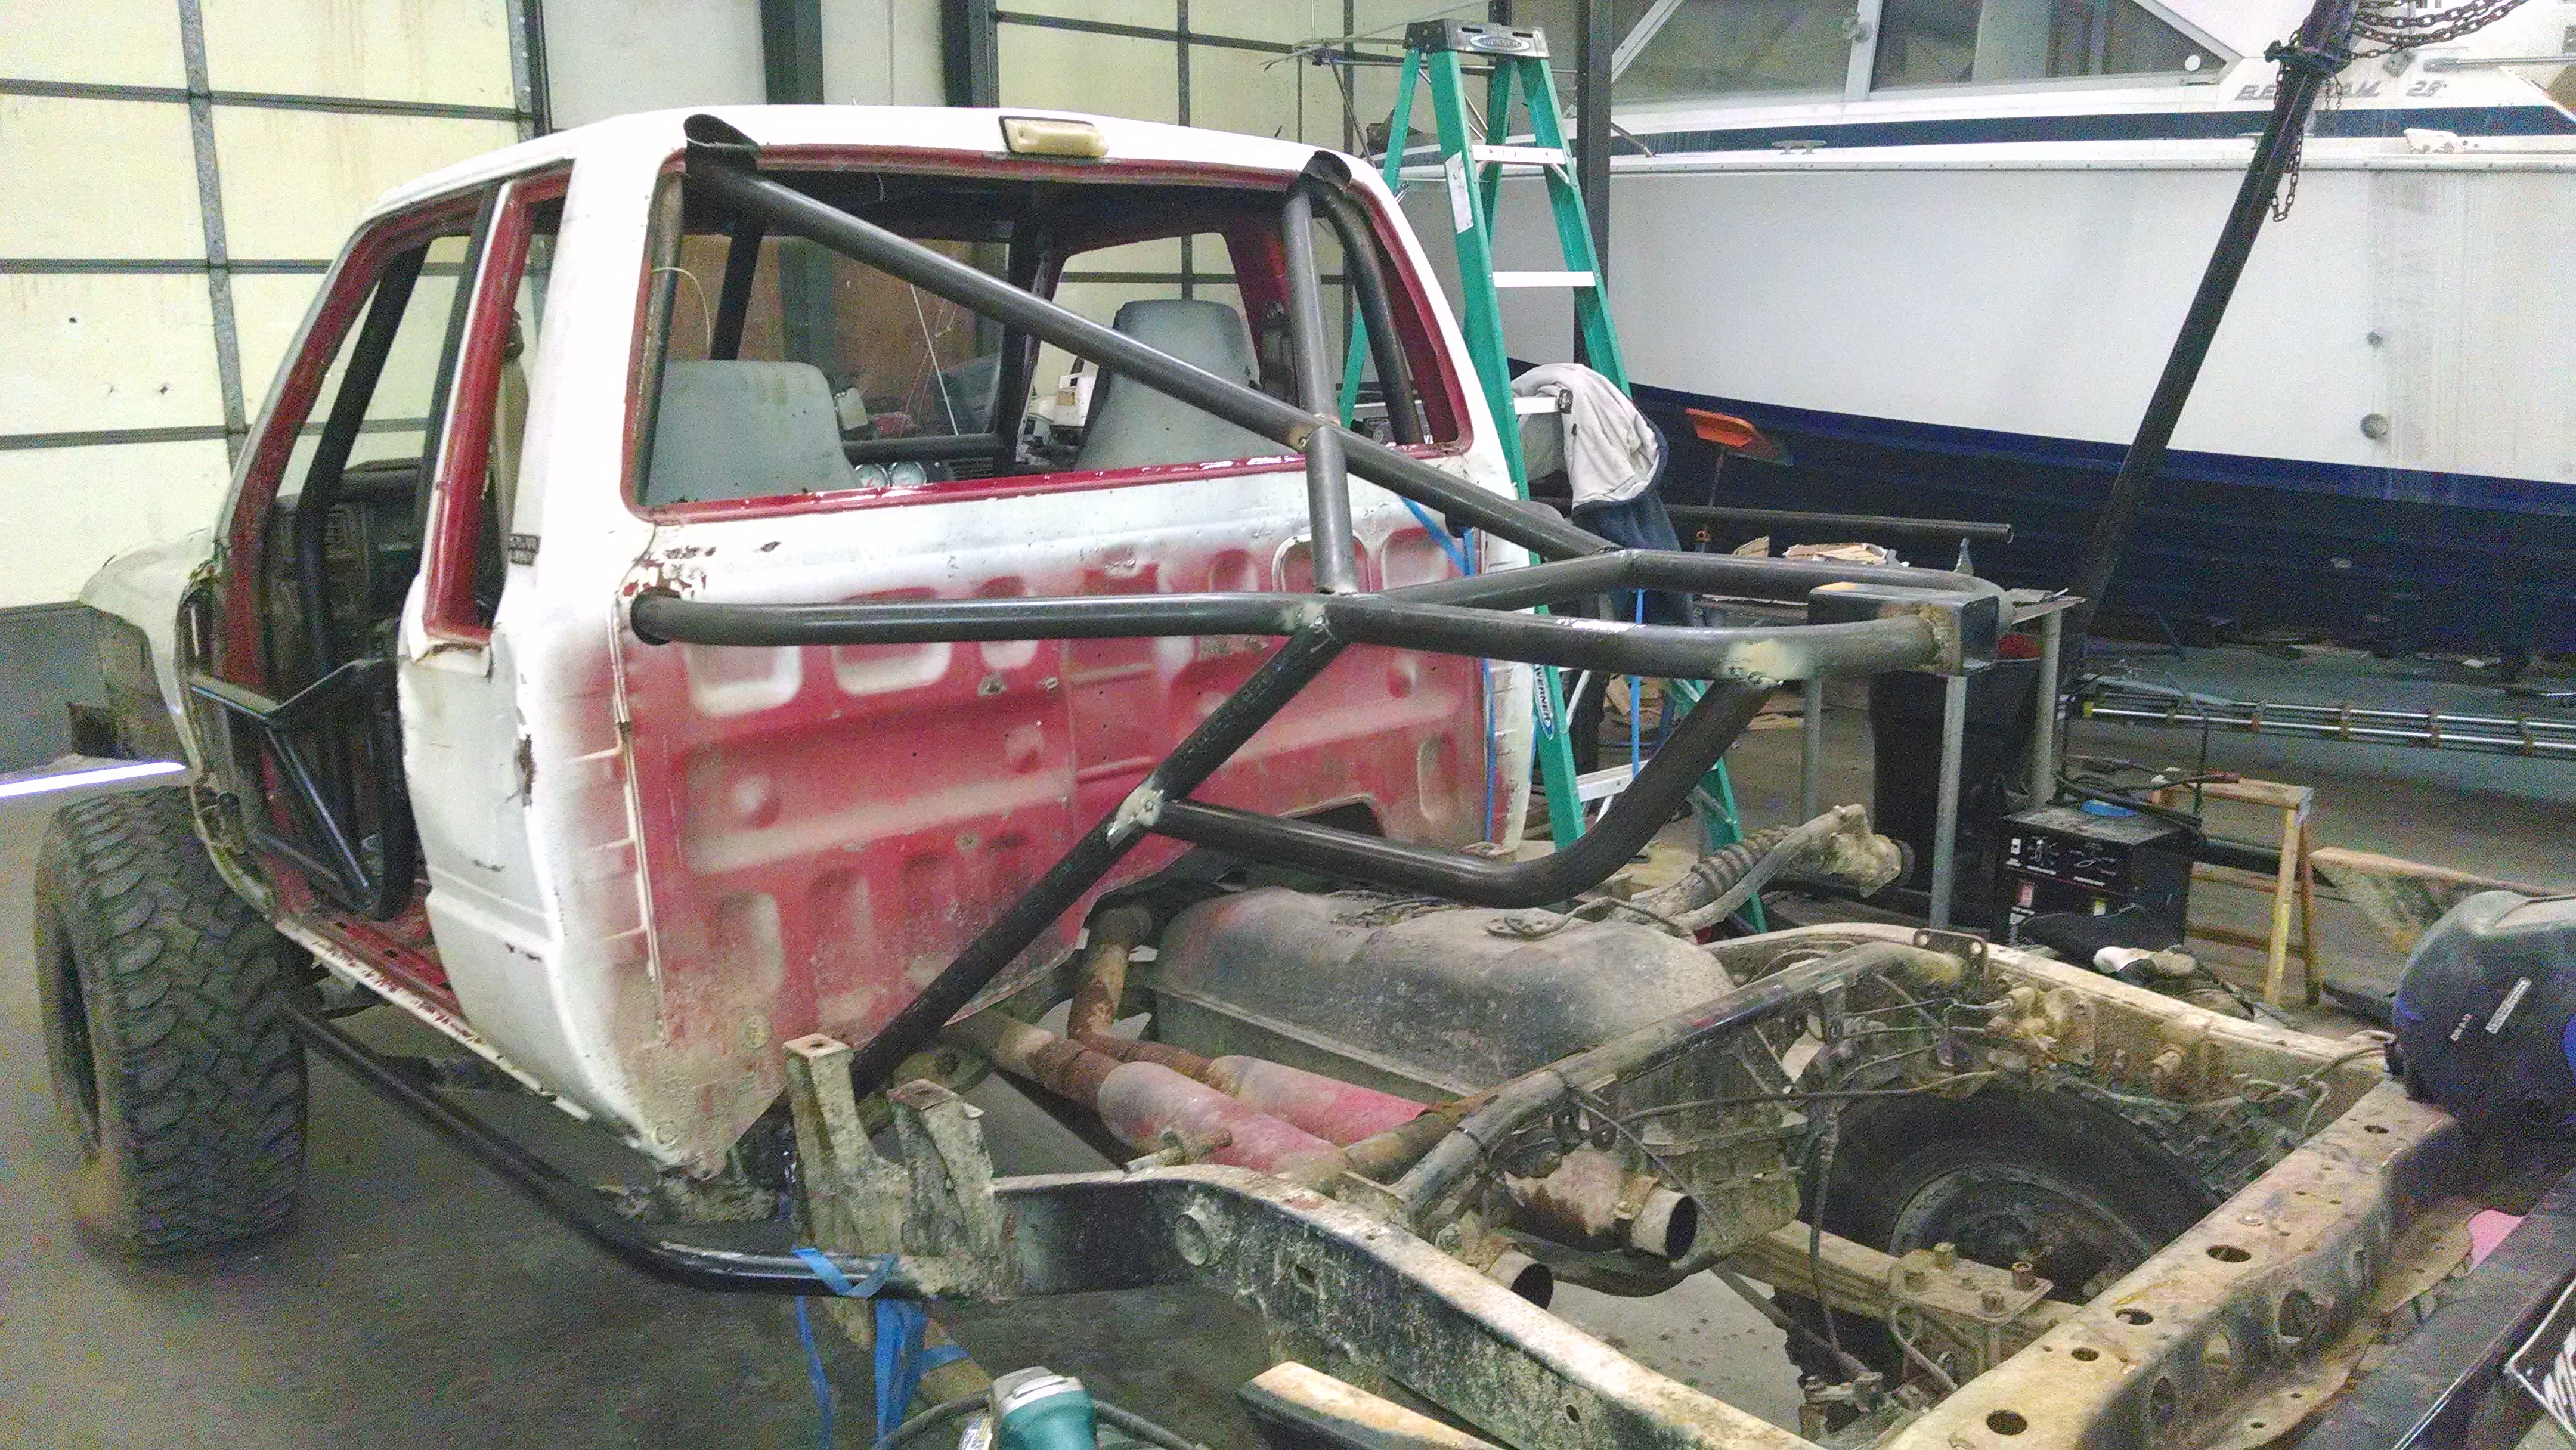
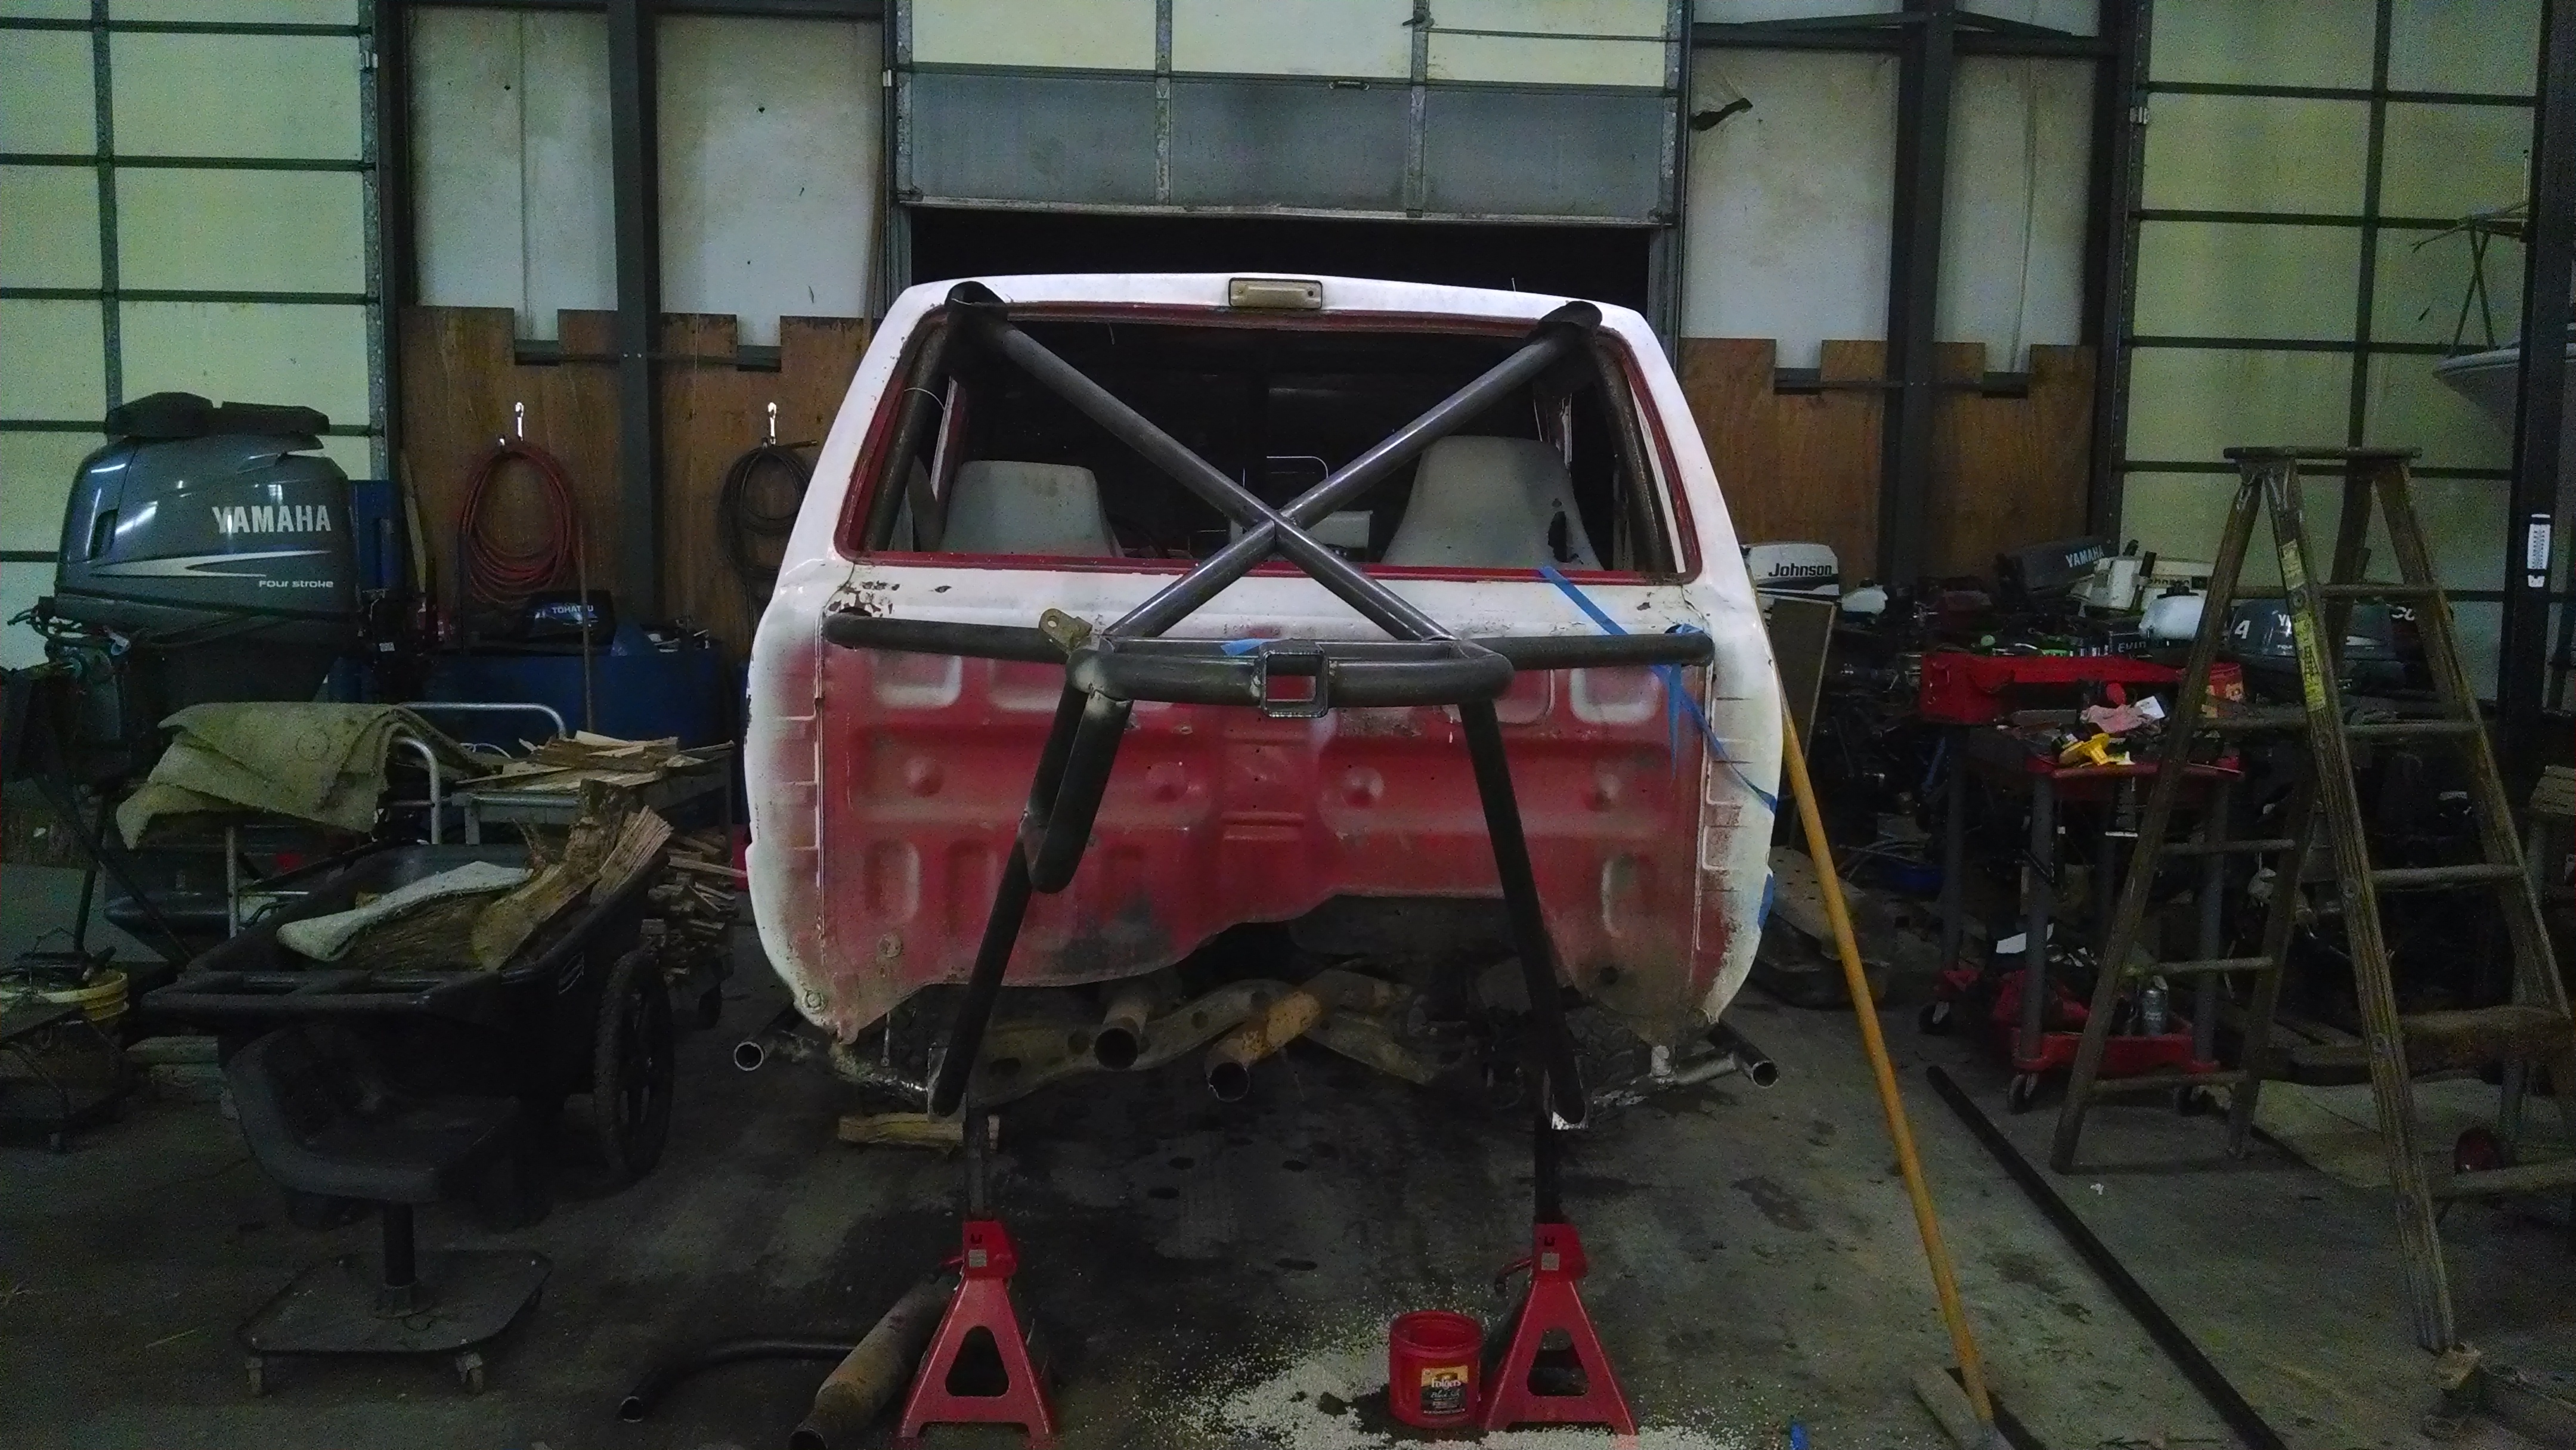
Chris got the cage in and I got my doors on. Now to get some front shock mounts, seats, and harnesses mounted...
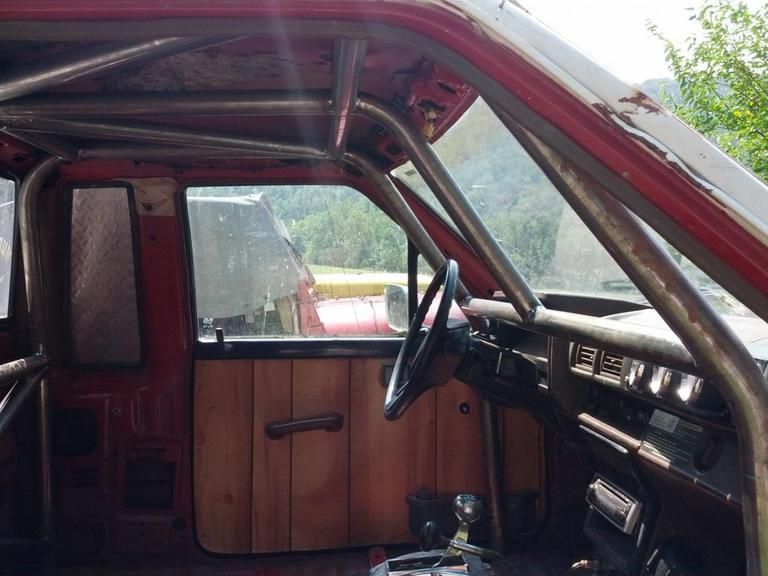
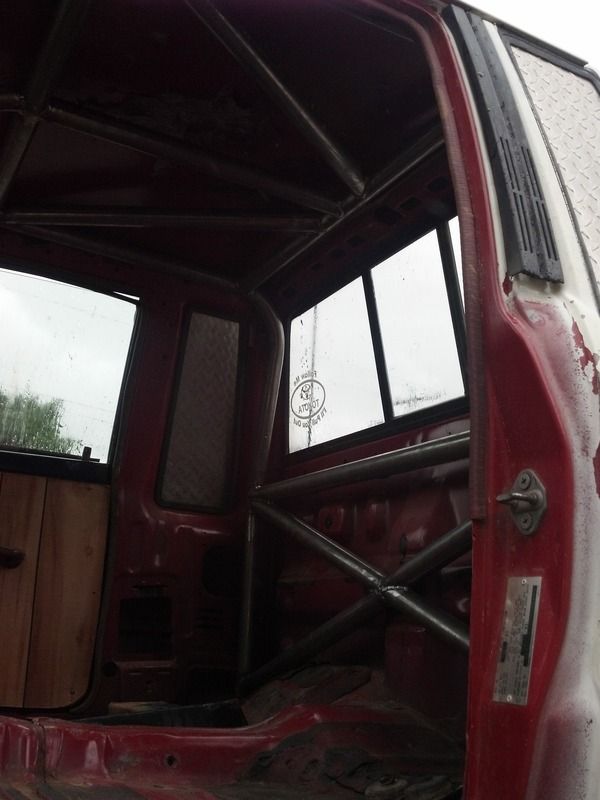
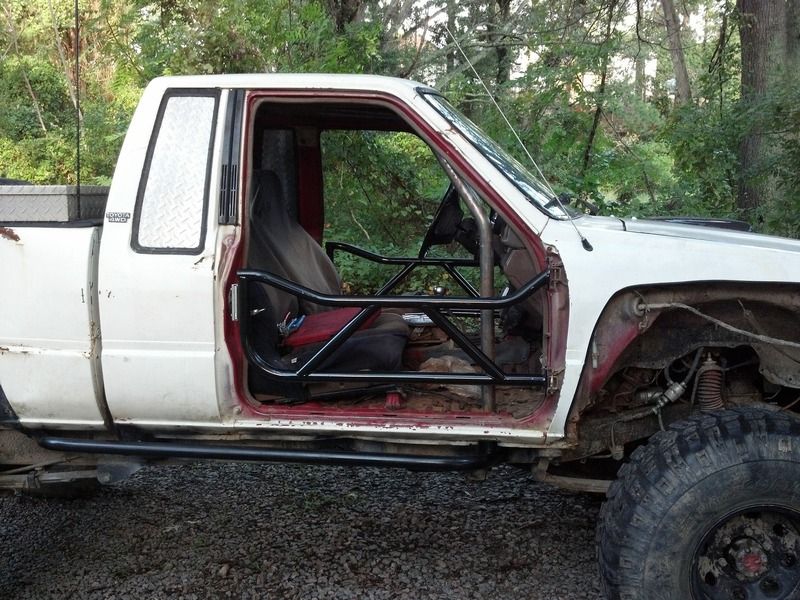
Chris got the cage in and I got my doors on. Now to get some front shock mounts, seats, and harnesses mounted...
Last edited by rswords; 09-13-2012 at 05:18 PM.
Trending Topics
09-14-2012, 02:54 AM
#8
Registered User
Thread Starter
Join Date: Jul 2005
Posts: 124
Likes: 0
Received 0 Likes
on
0 Posts
I like the rear springs. The flex pretty good not the best in the world but for the price you can't beat them.the cut fender flares for probably 1 of my favorite mod so far. I love the look and canstuff the tires as much as I want without rubbing.
Last edited by rswords; 09-14-2012 at 03:39 AM.
09-17-2012, 06:51 AM
#9
Registered User
Thread Starter
Join Date: Jul 2005
Posts: 124
Likes: 0
Received 0 Likes
on
0 Posts
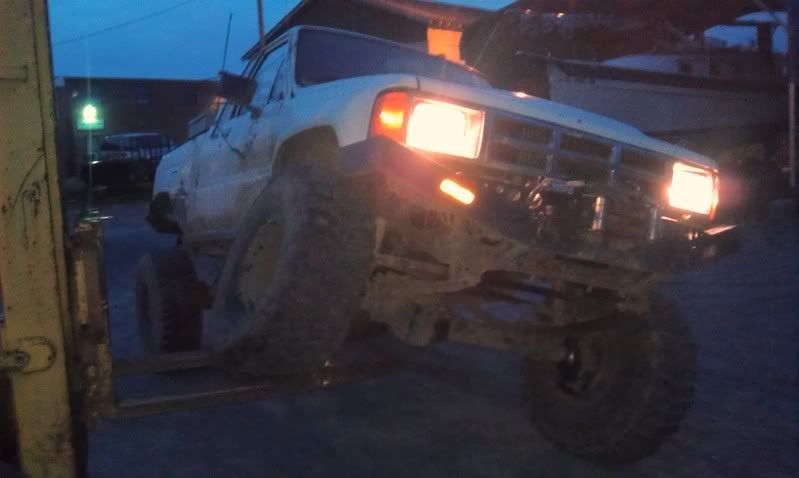
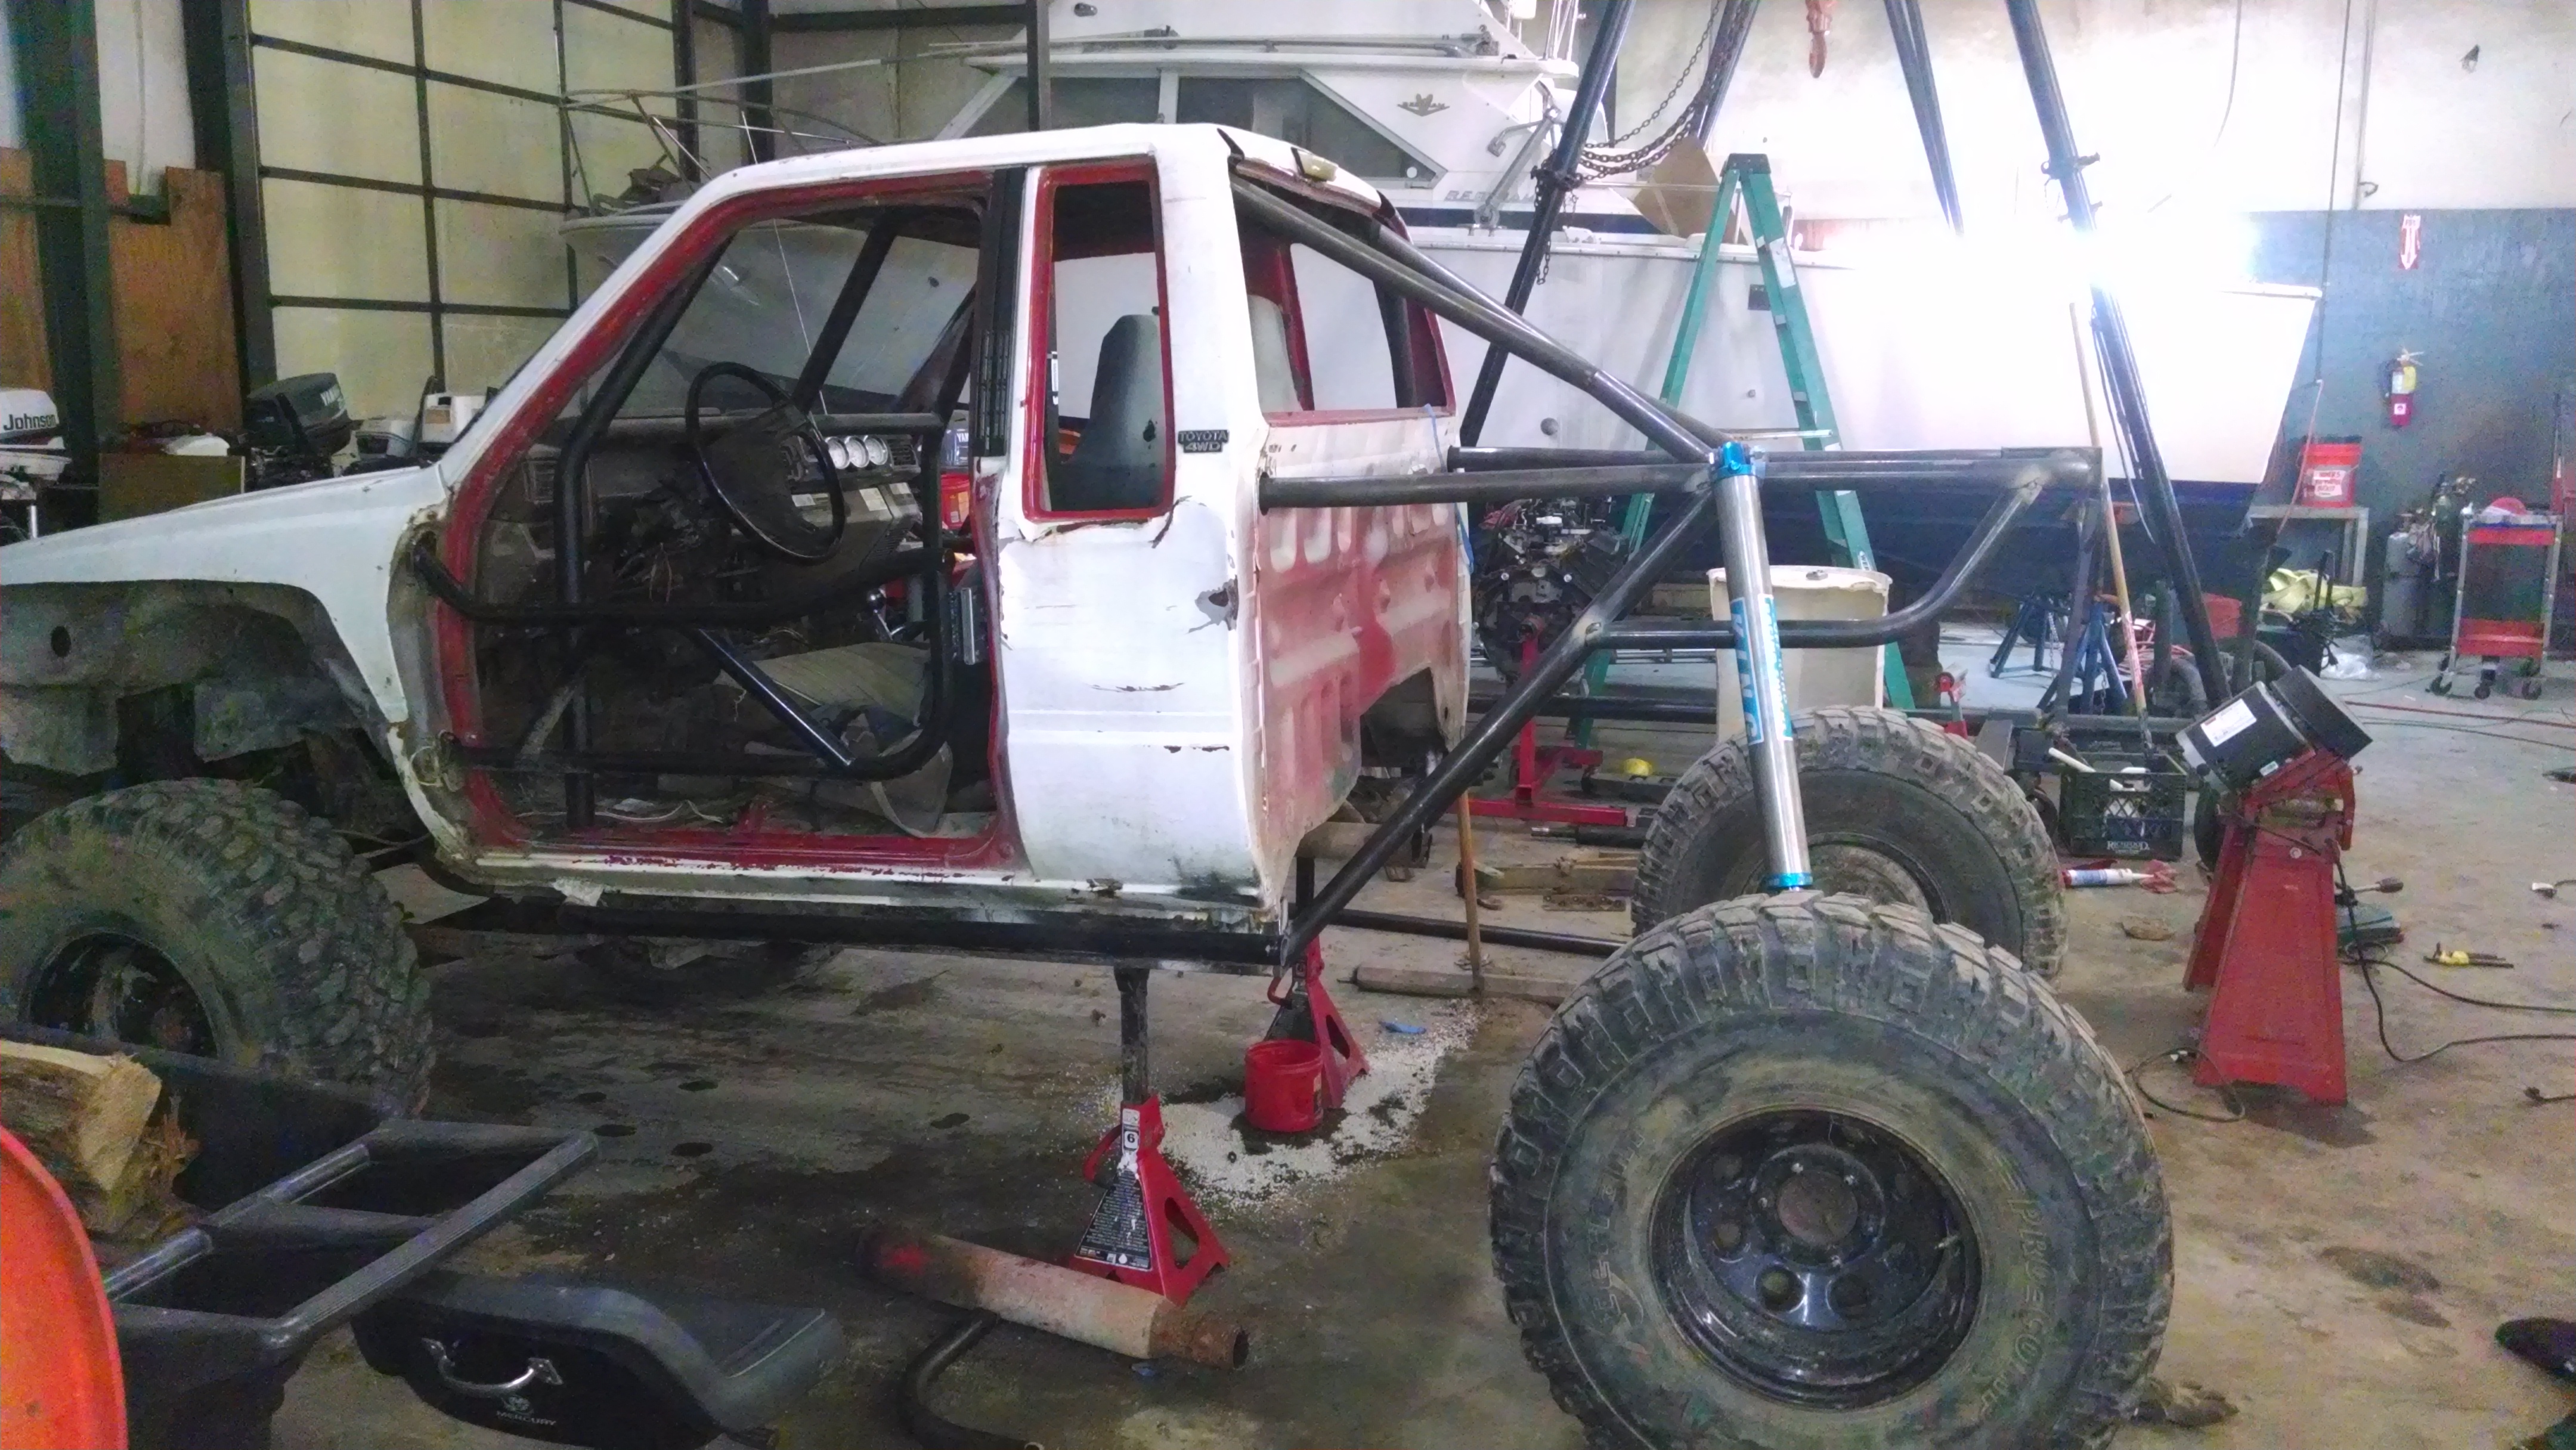
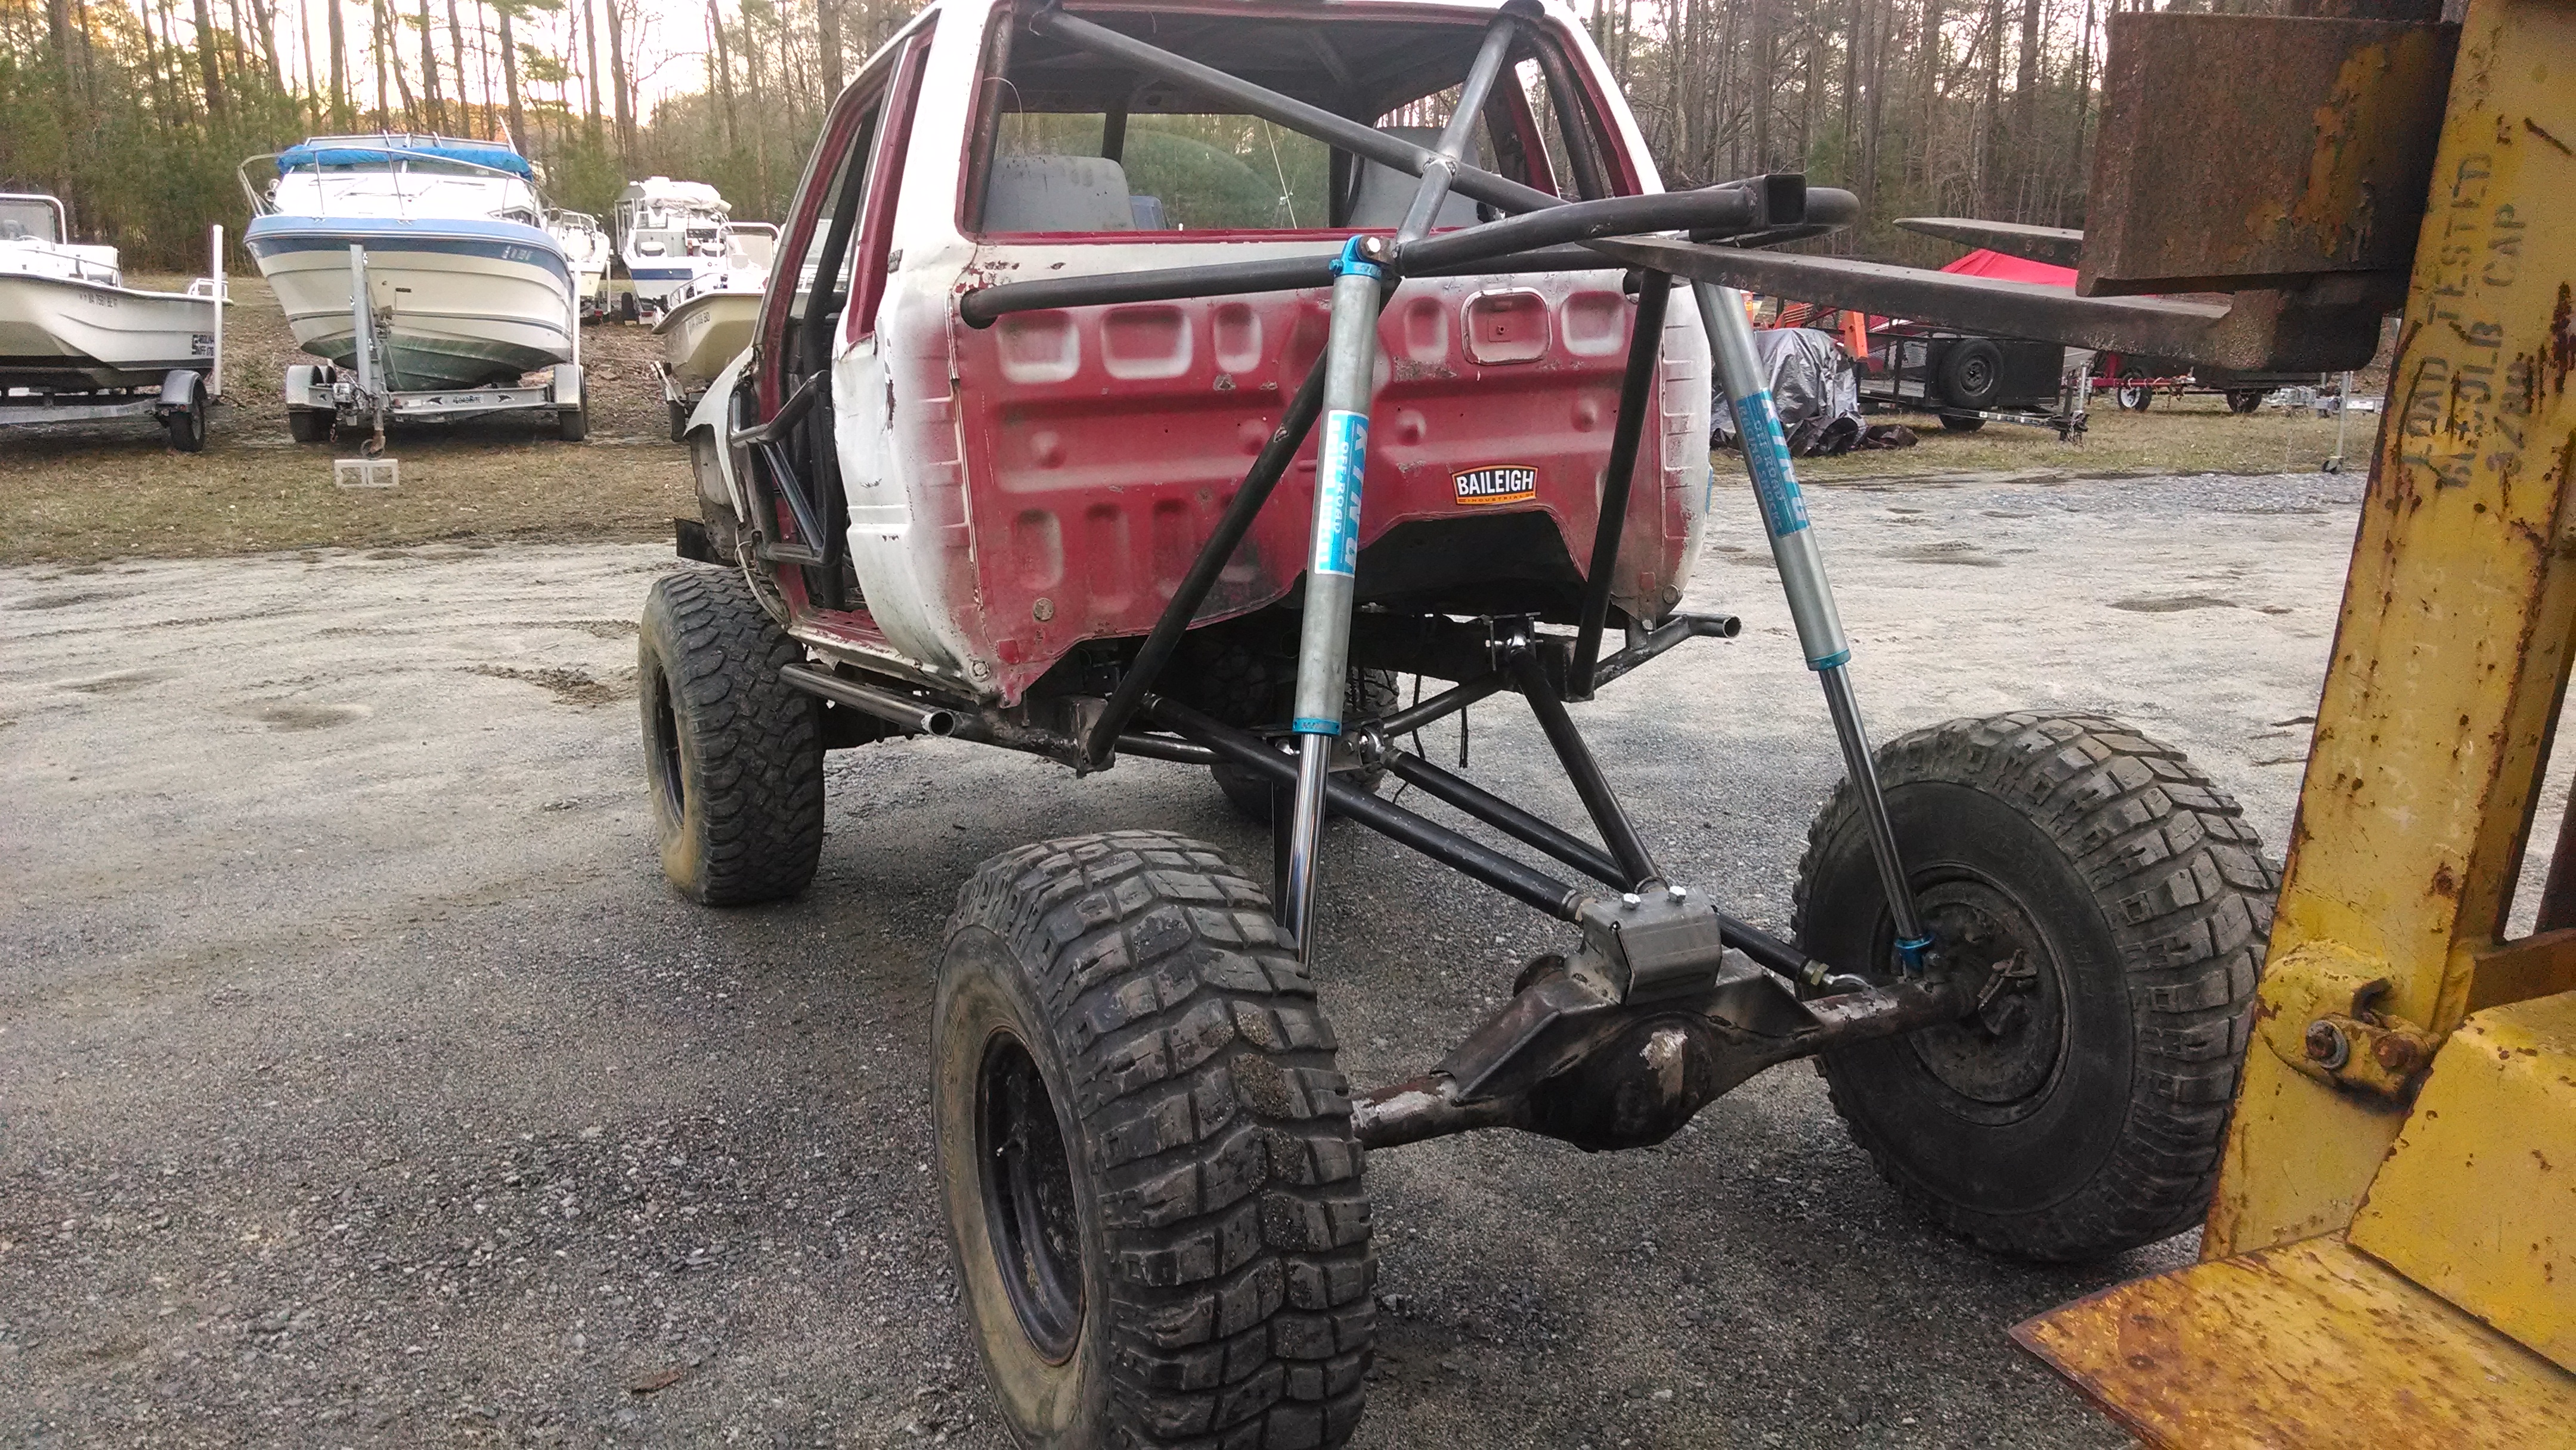
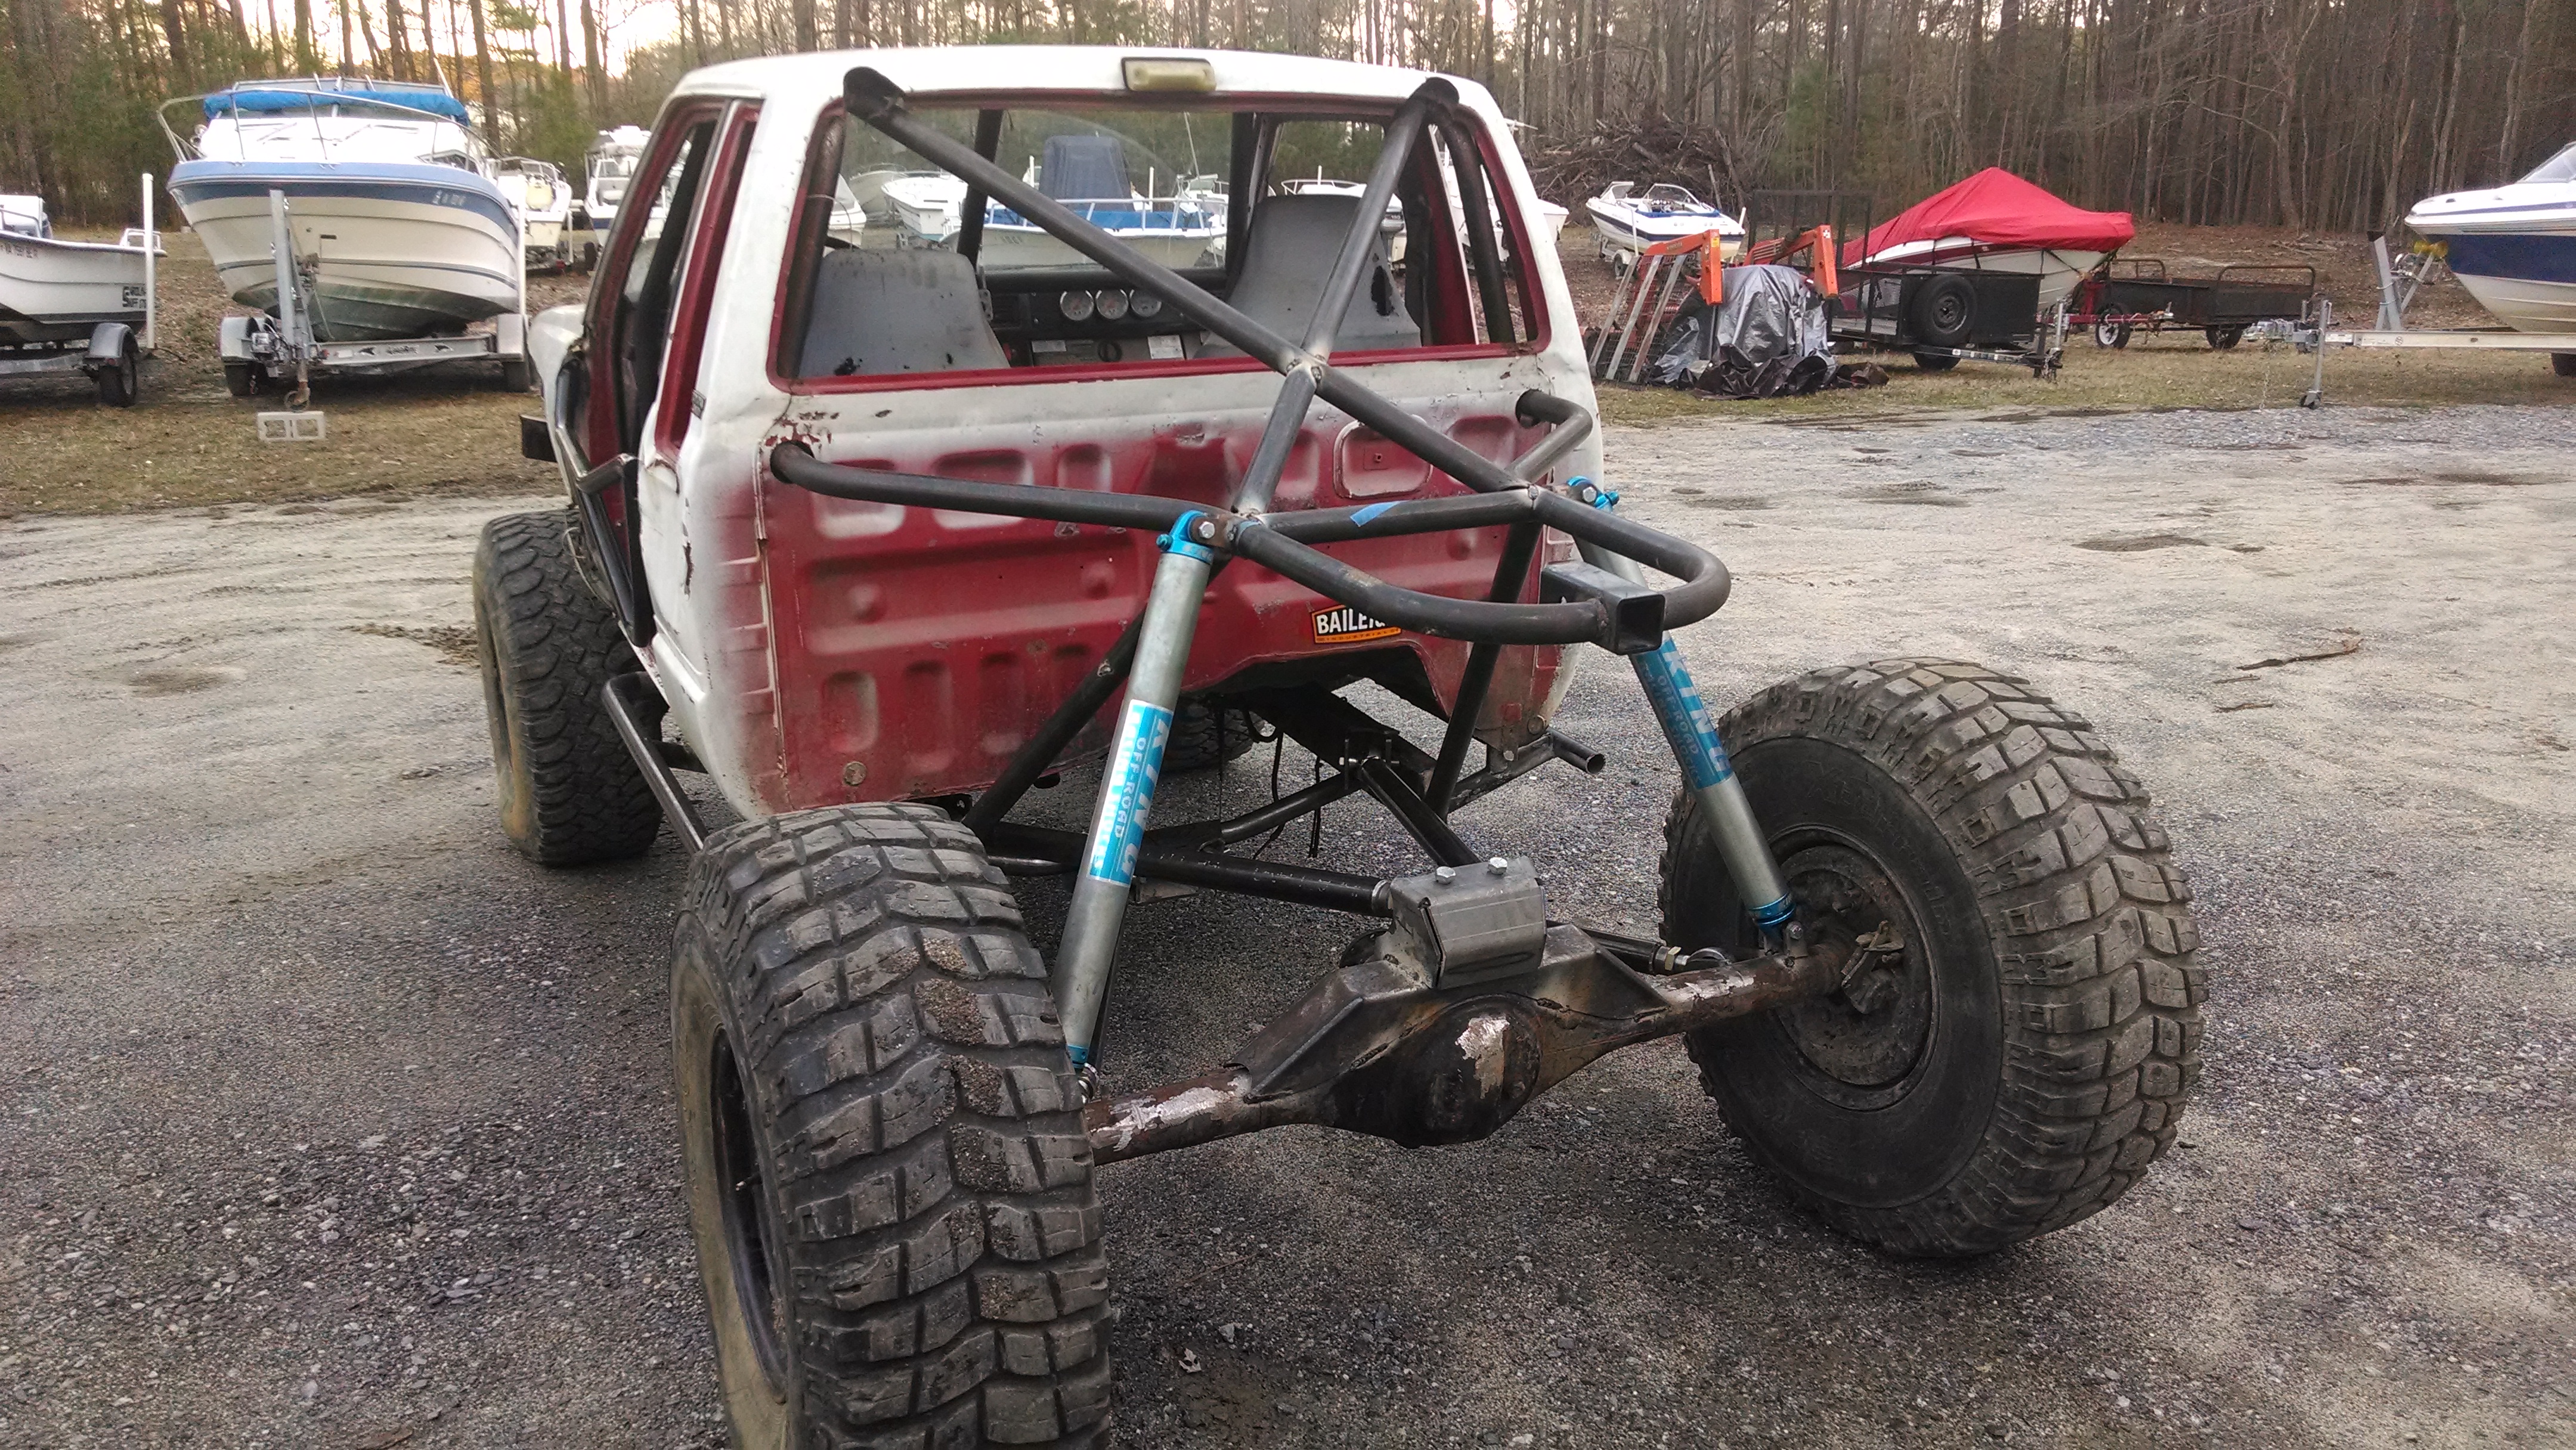
So took the truck to the shop to use the forklift to get some measurements for the front shocks. big flex.... like 7" total travel... :laughing:
Also found out that the RUF's are not really rear springs... Who knows what they are so that gets added to the list to do. Here are some poser flex pics. The rear seams to be working well but the front sucks...
Front springs go negative pretty quick...

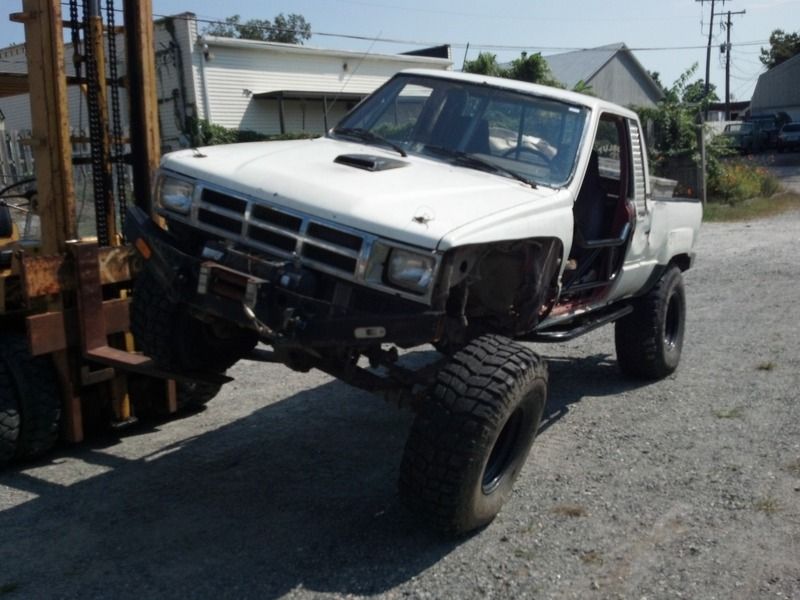
Also found out that the RUF's are not really rear springs... Who knows what they are so that gets added to the list to do. Here are some poser flex pics. The rear seams to be working well but the front sucks...
Front springs go negative pretty quick...
09-22-2012, 02:48 PM
#10
Registered User
Thread Starter
Join Date: Jul 2005
Posts: 124
Likes: 0
Received 0 Likes
on
0 Posts
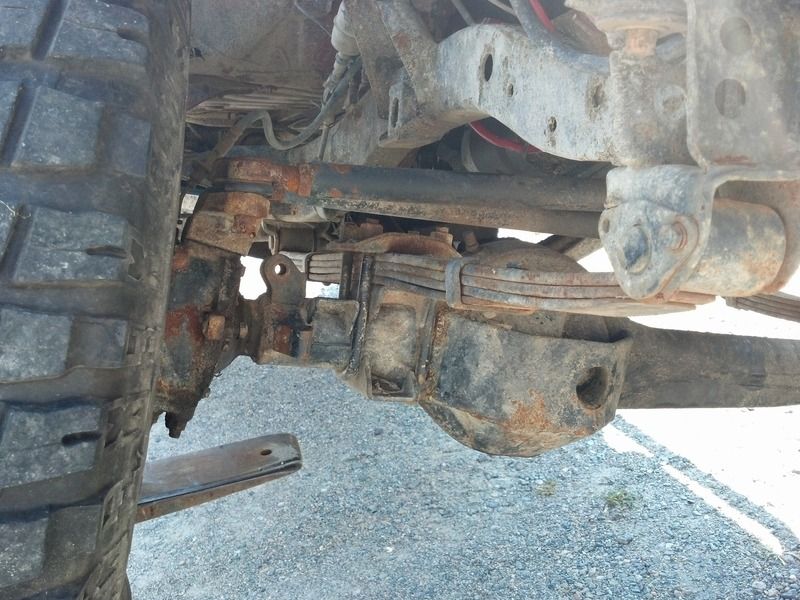
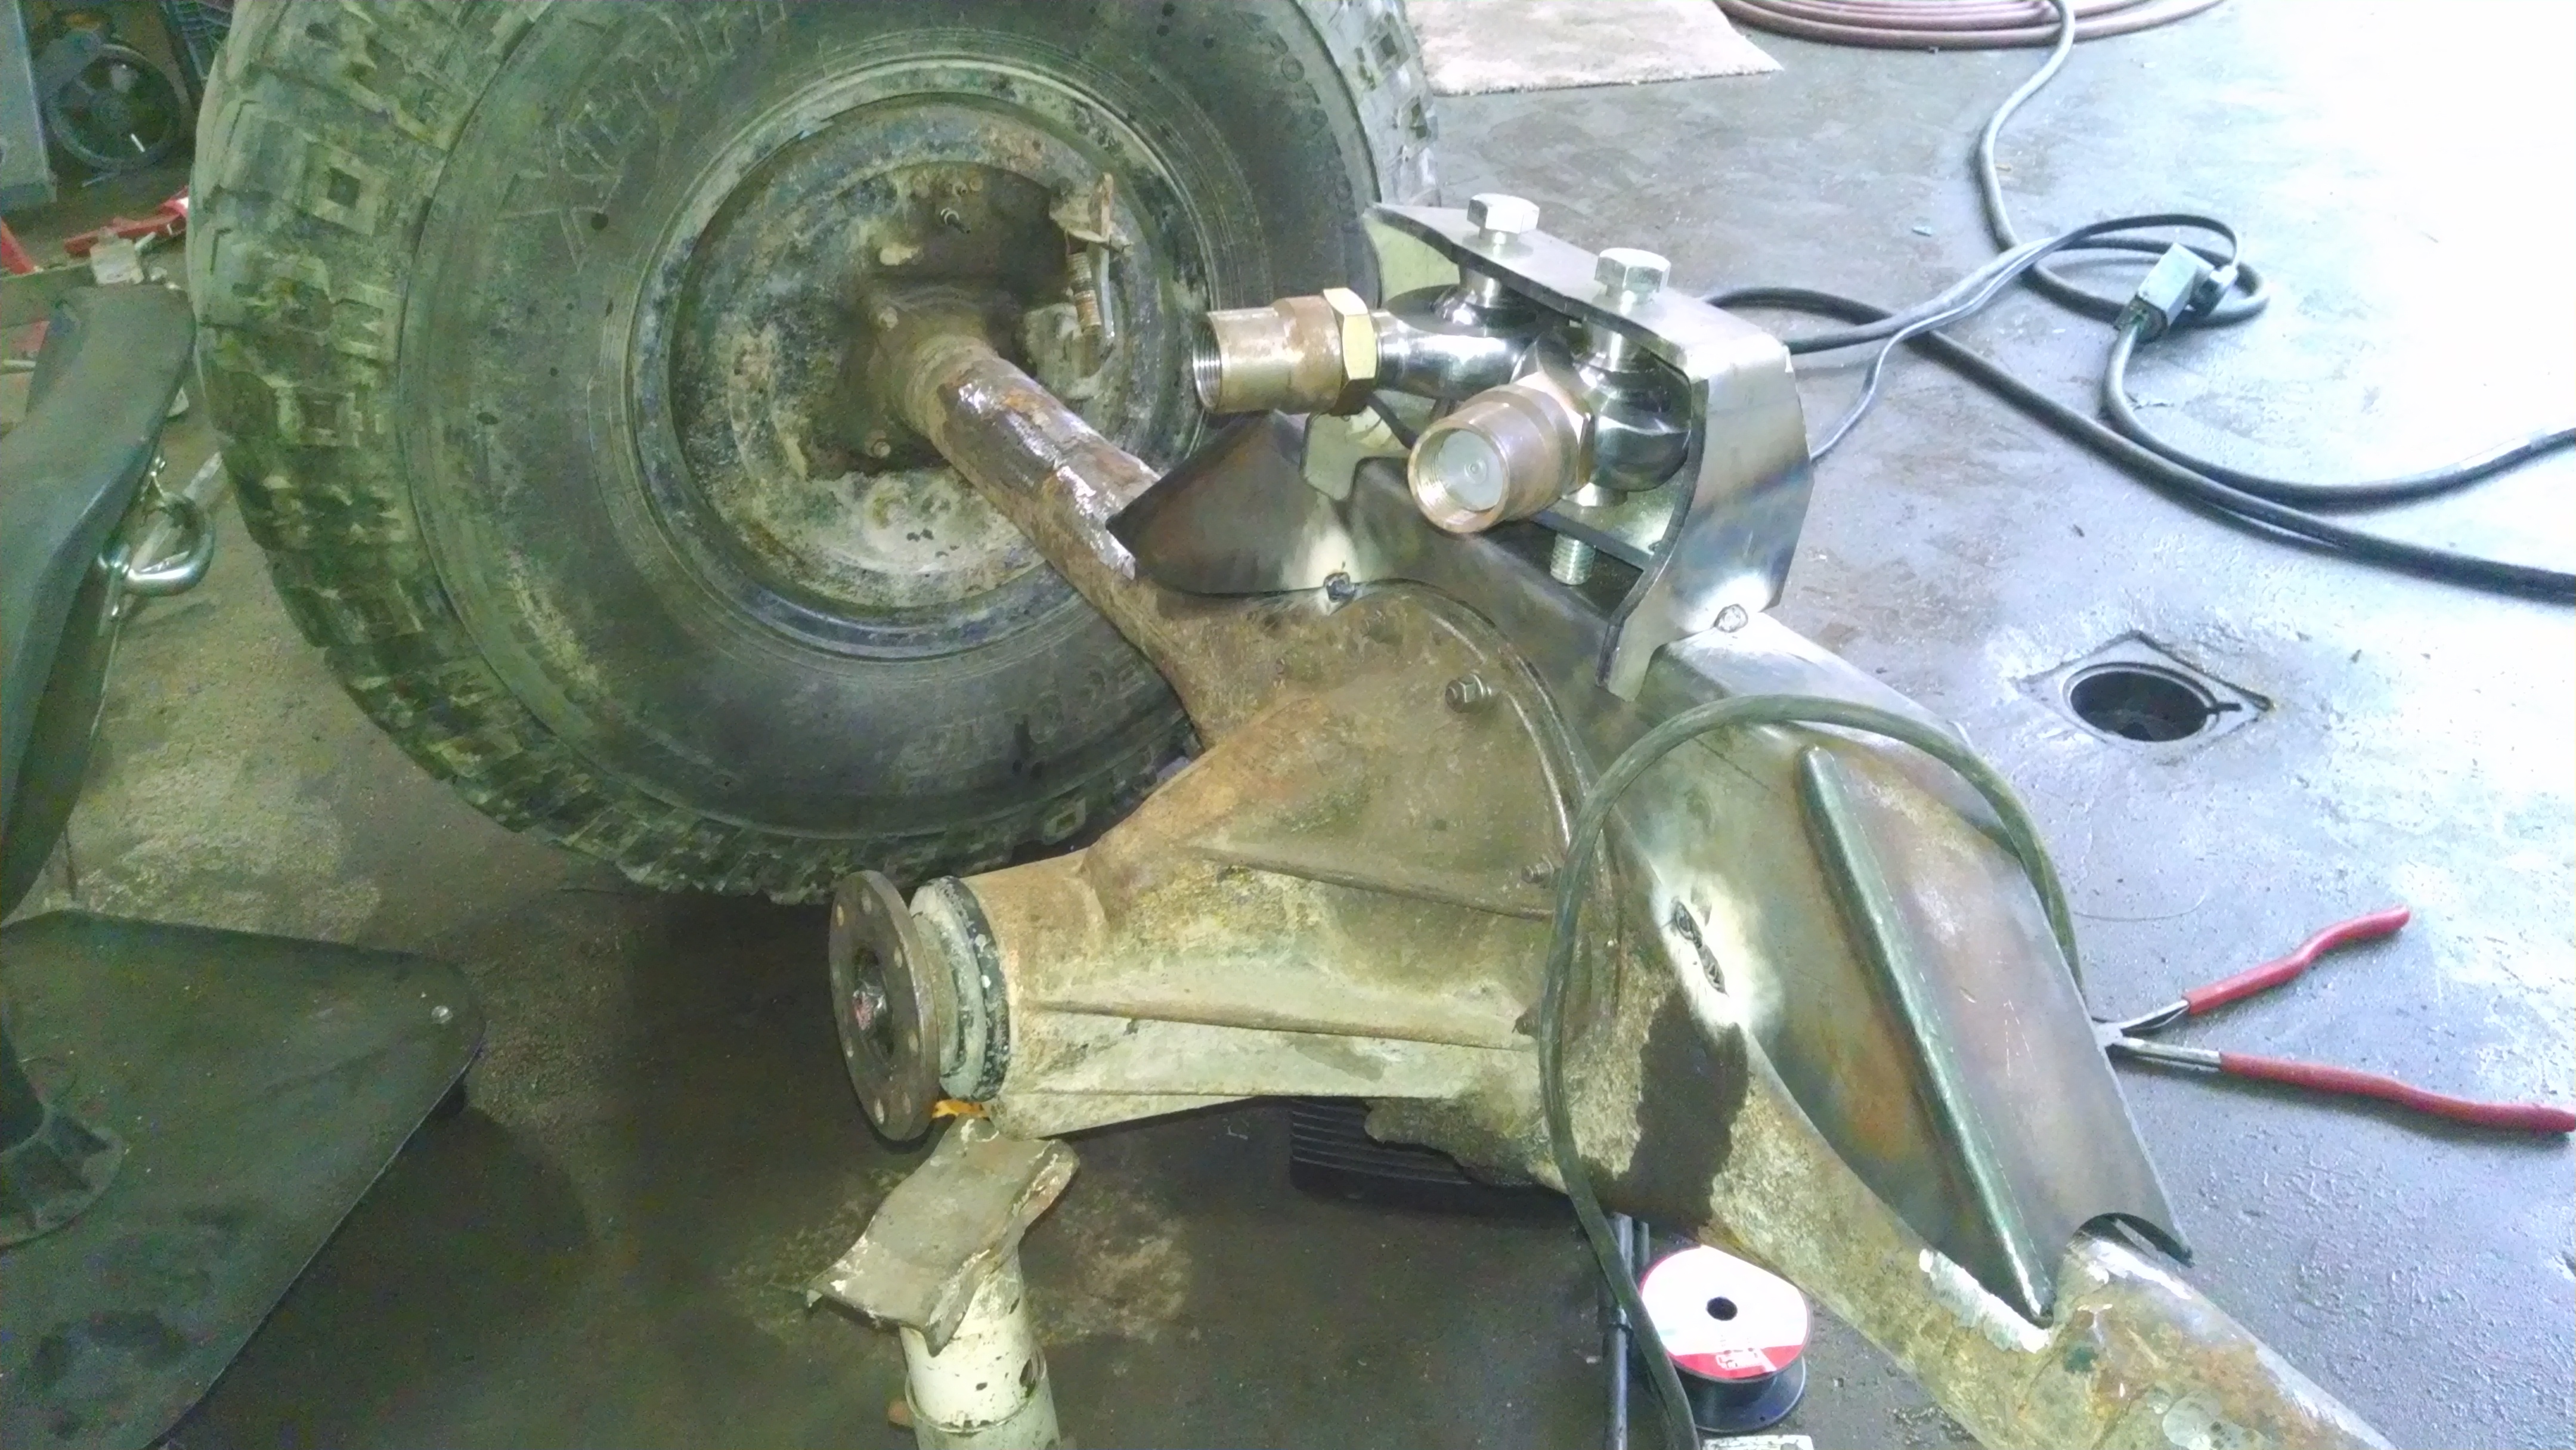
Got Marlin Crawlers new Heavy Duty Knuckle Bracing Kit installed. Very nice kit, required minimal grinding to the axle housing. I really need to practice my welding more...


11-26-2013, 04:10 PM
#11
Registered User
Thread Starter
Join Date: Jul 2005
Posts: 124
Likes: 0
Received 0 Likes
on
0 Posts
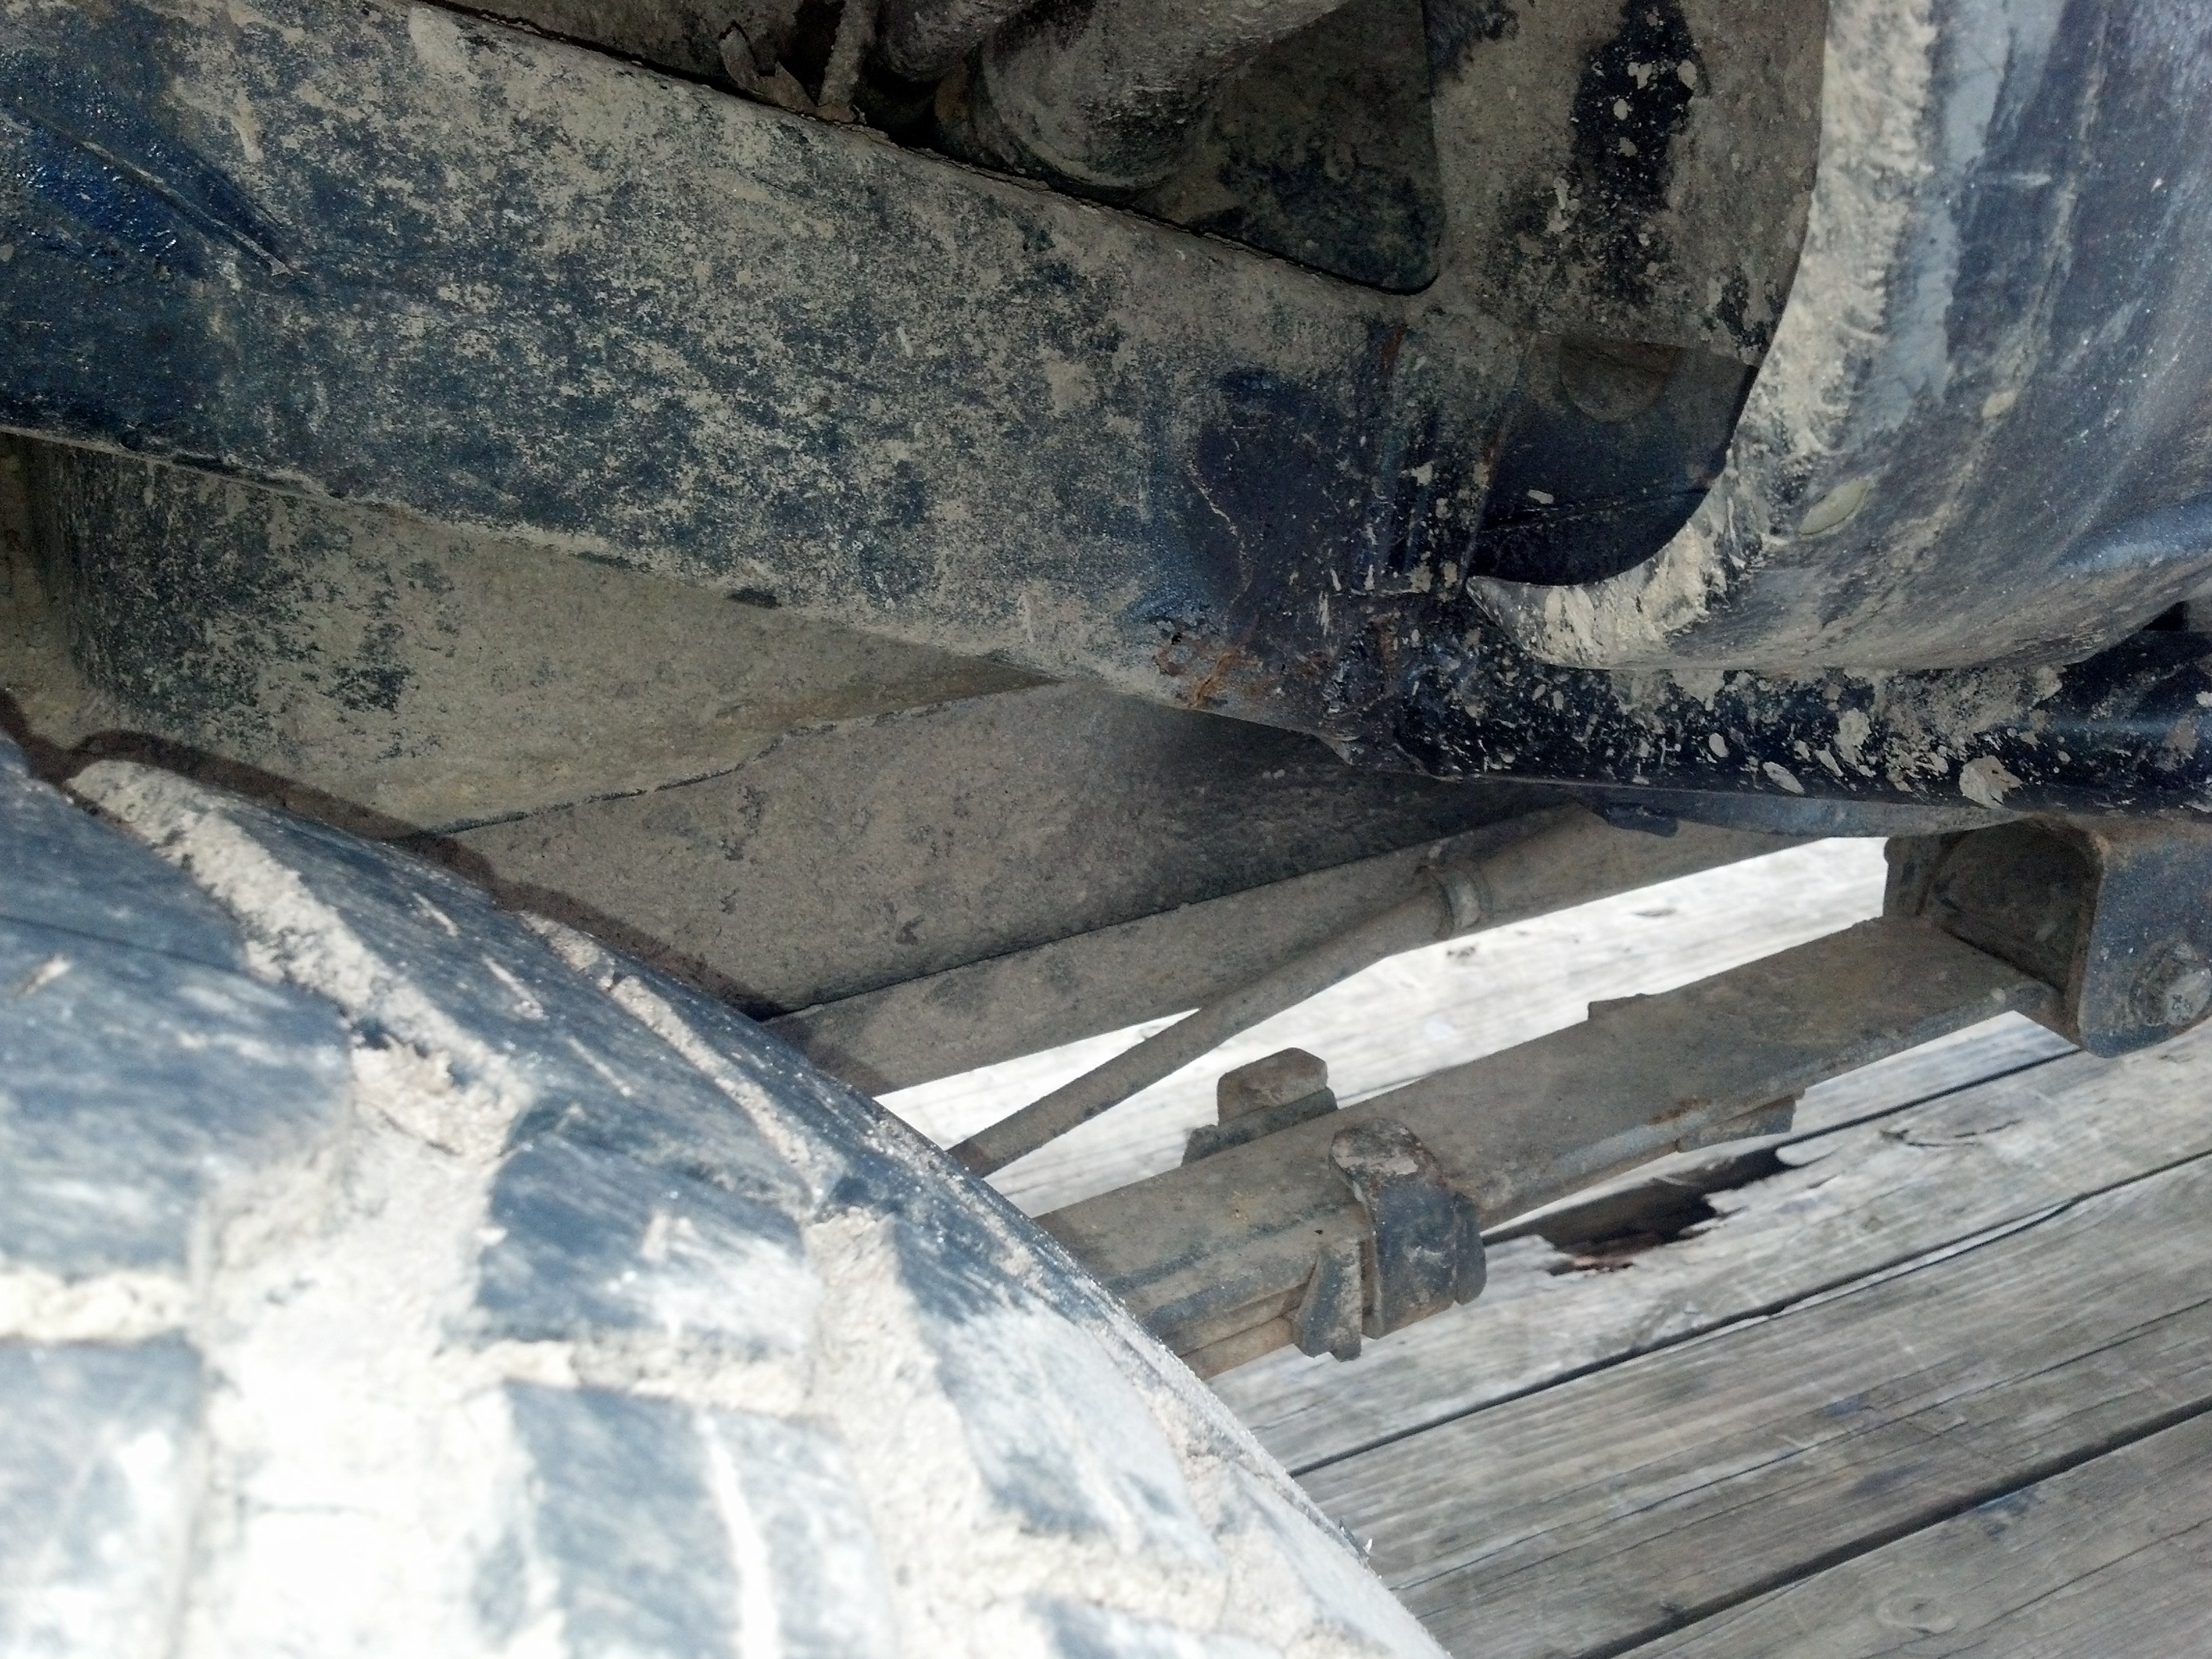
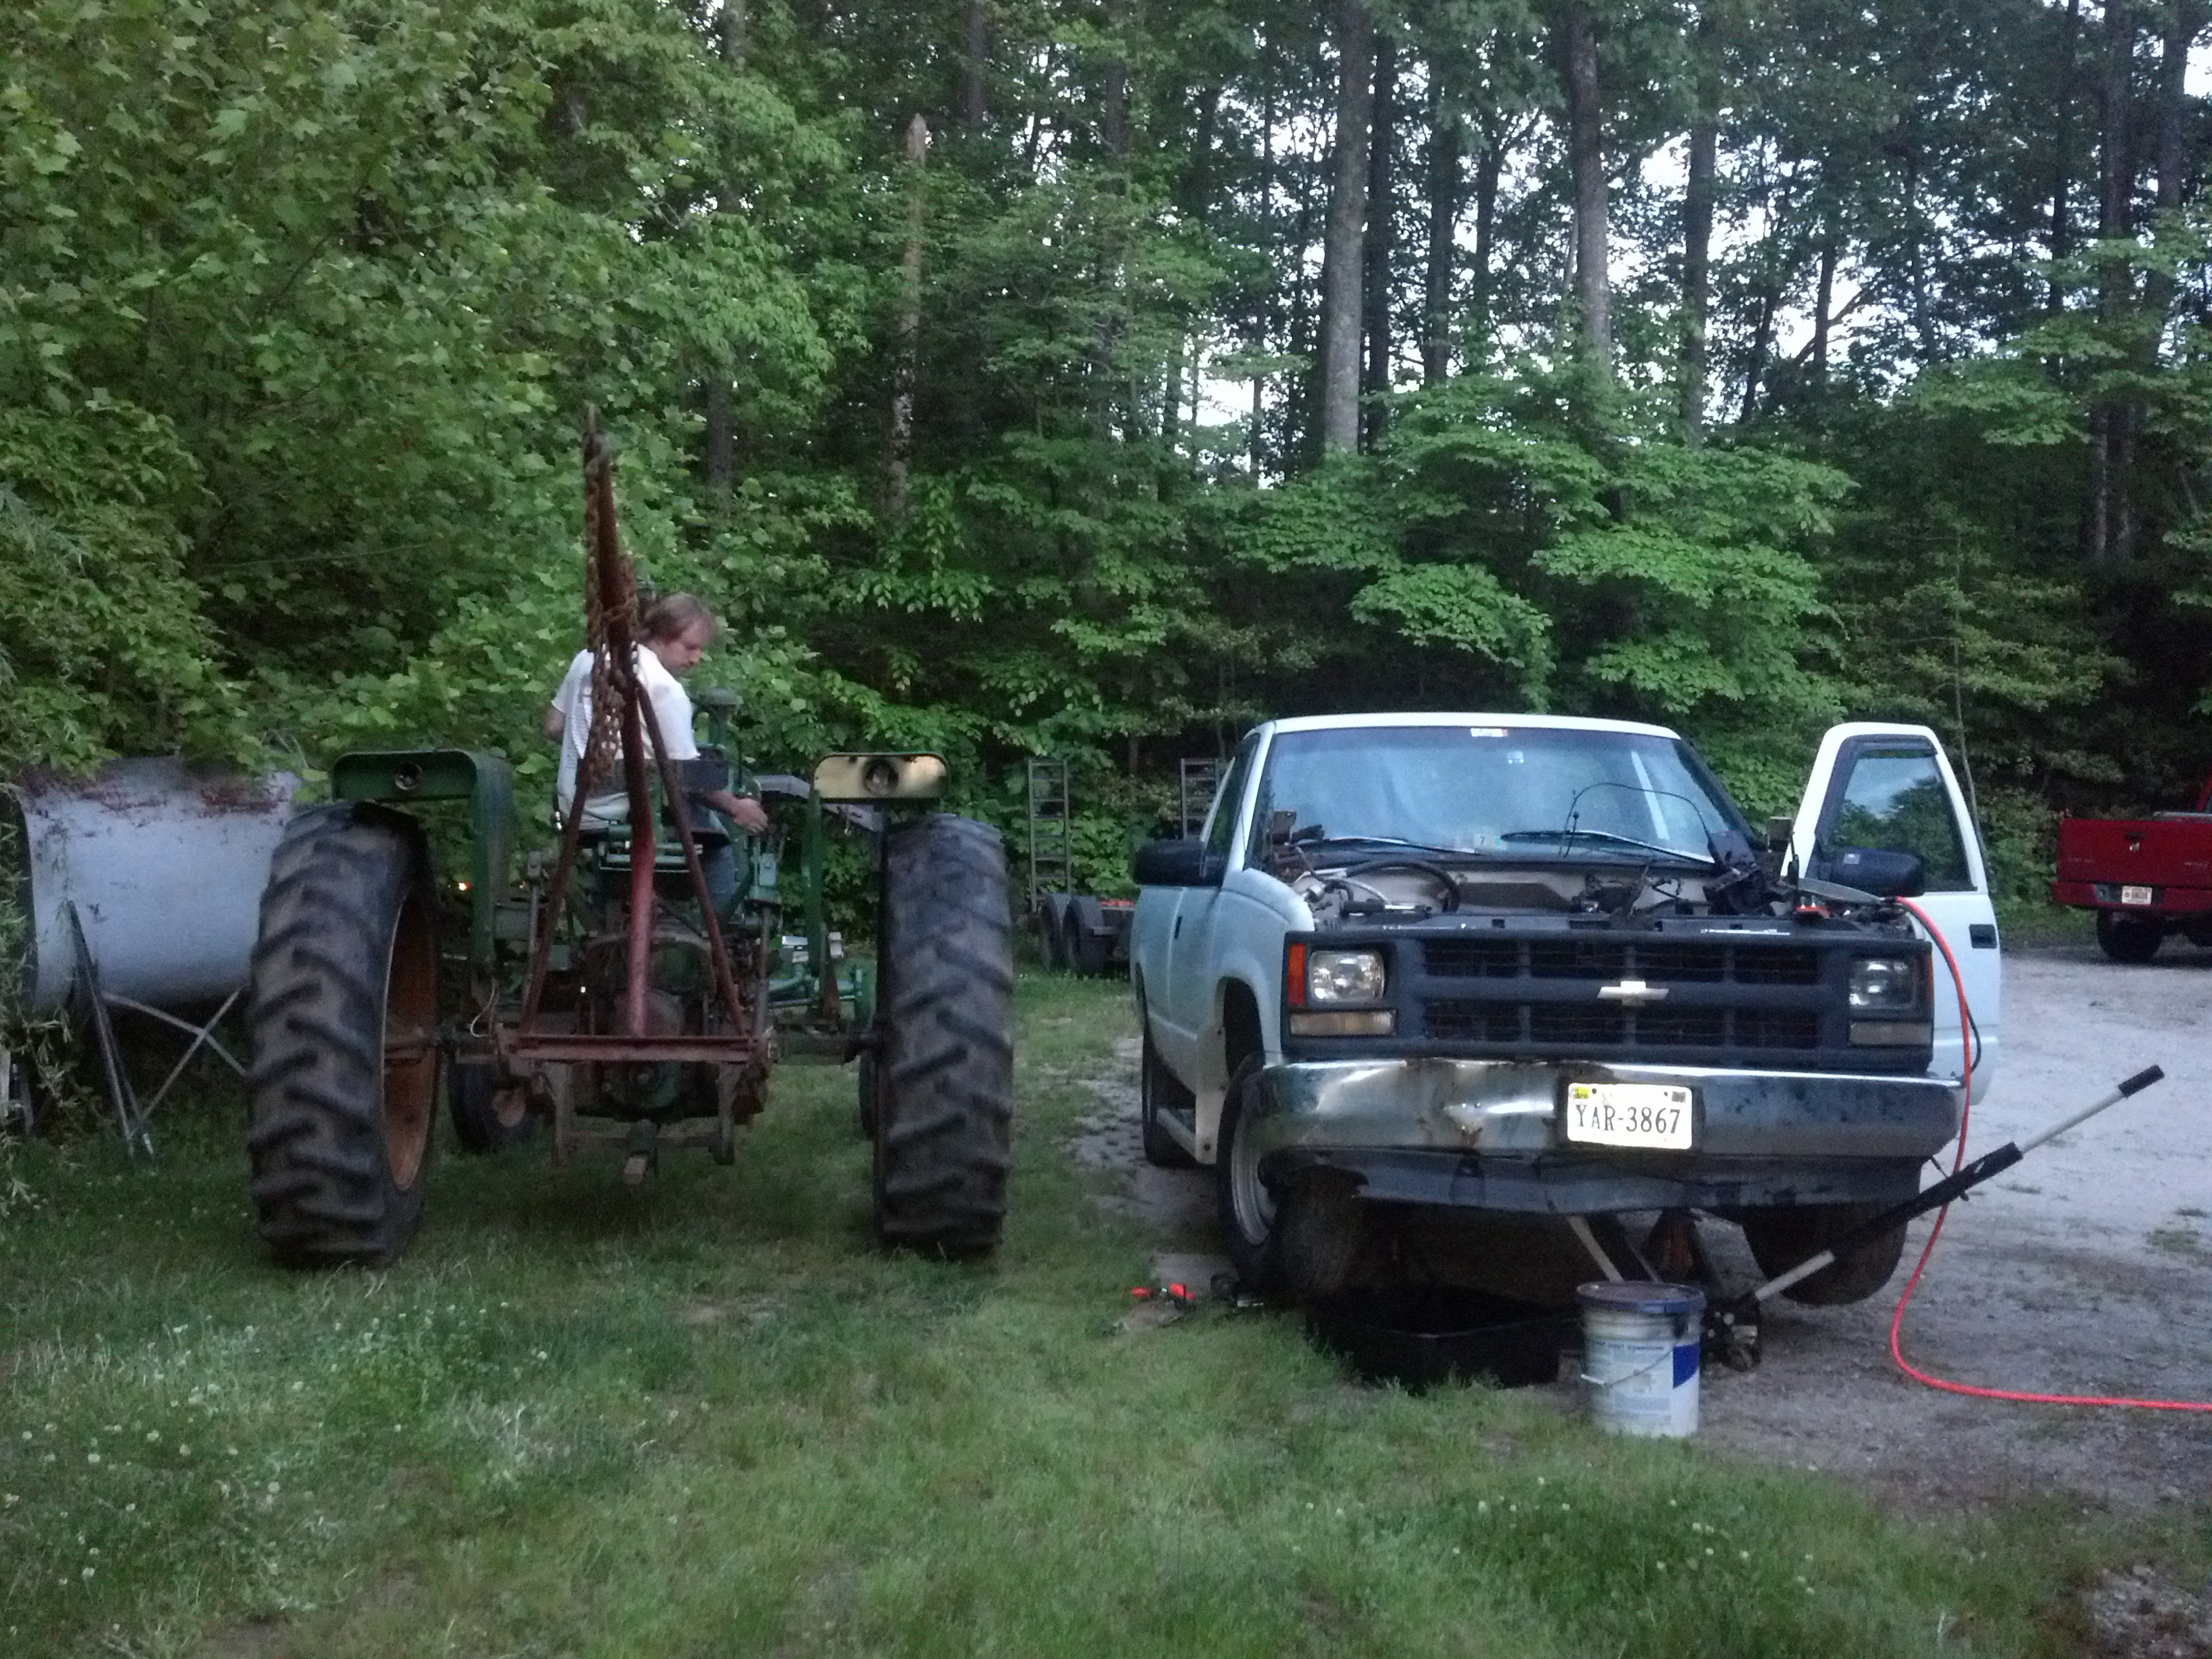
Well after the last trip It has come about that a back half is needed....
Cracked frame, I knew it was rusted but was hoping it would last a bit longer...

Also need to do something about these silly gears....
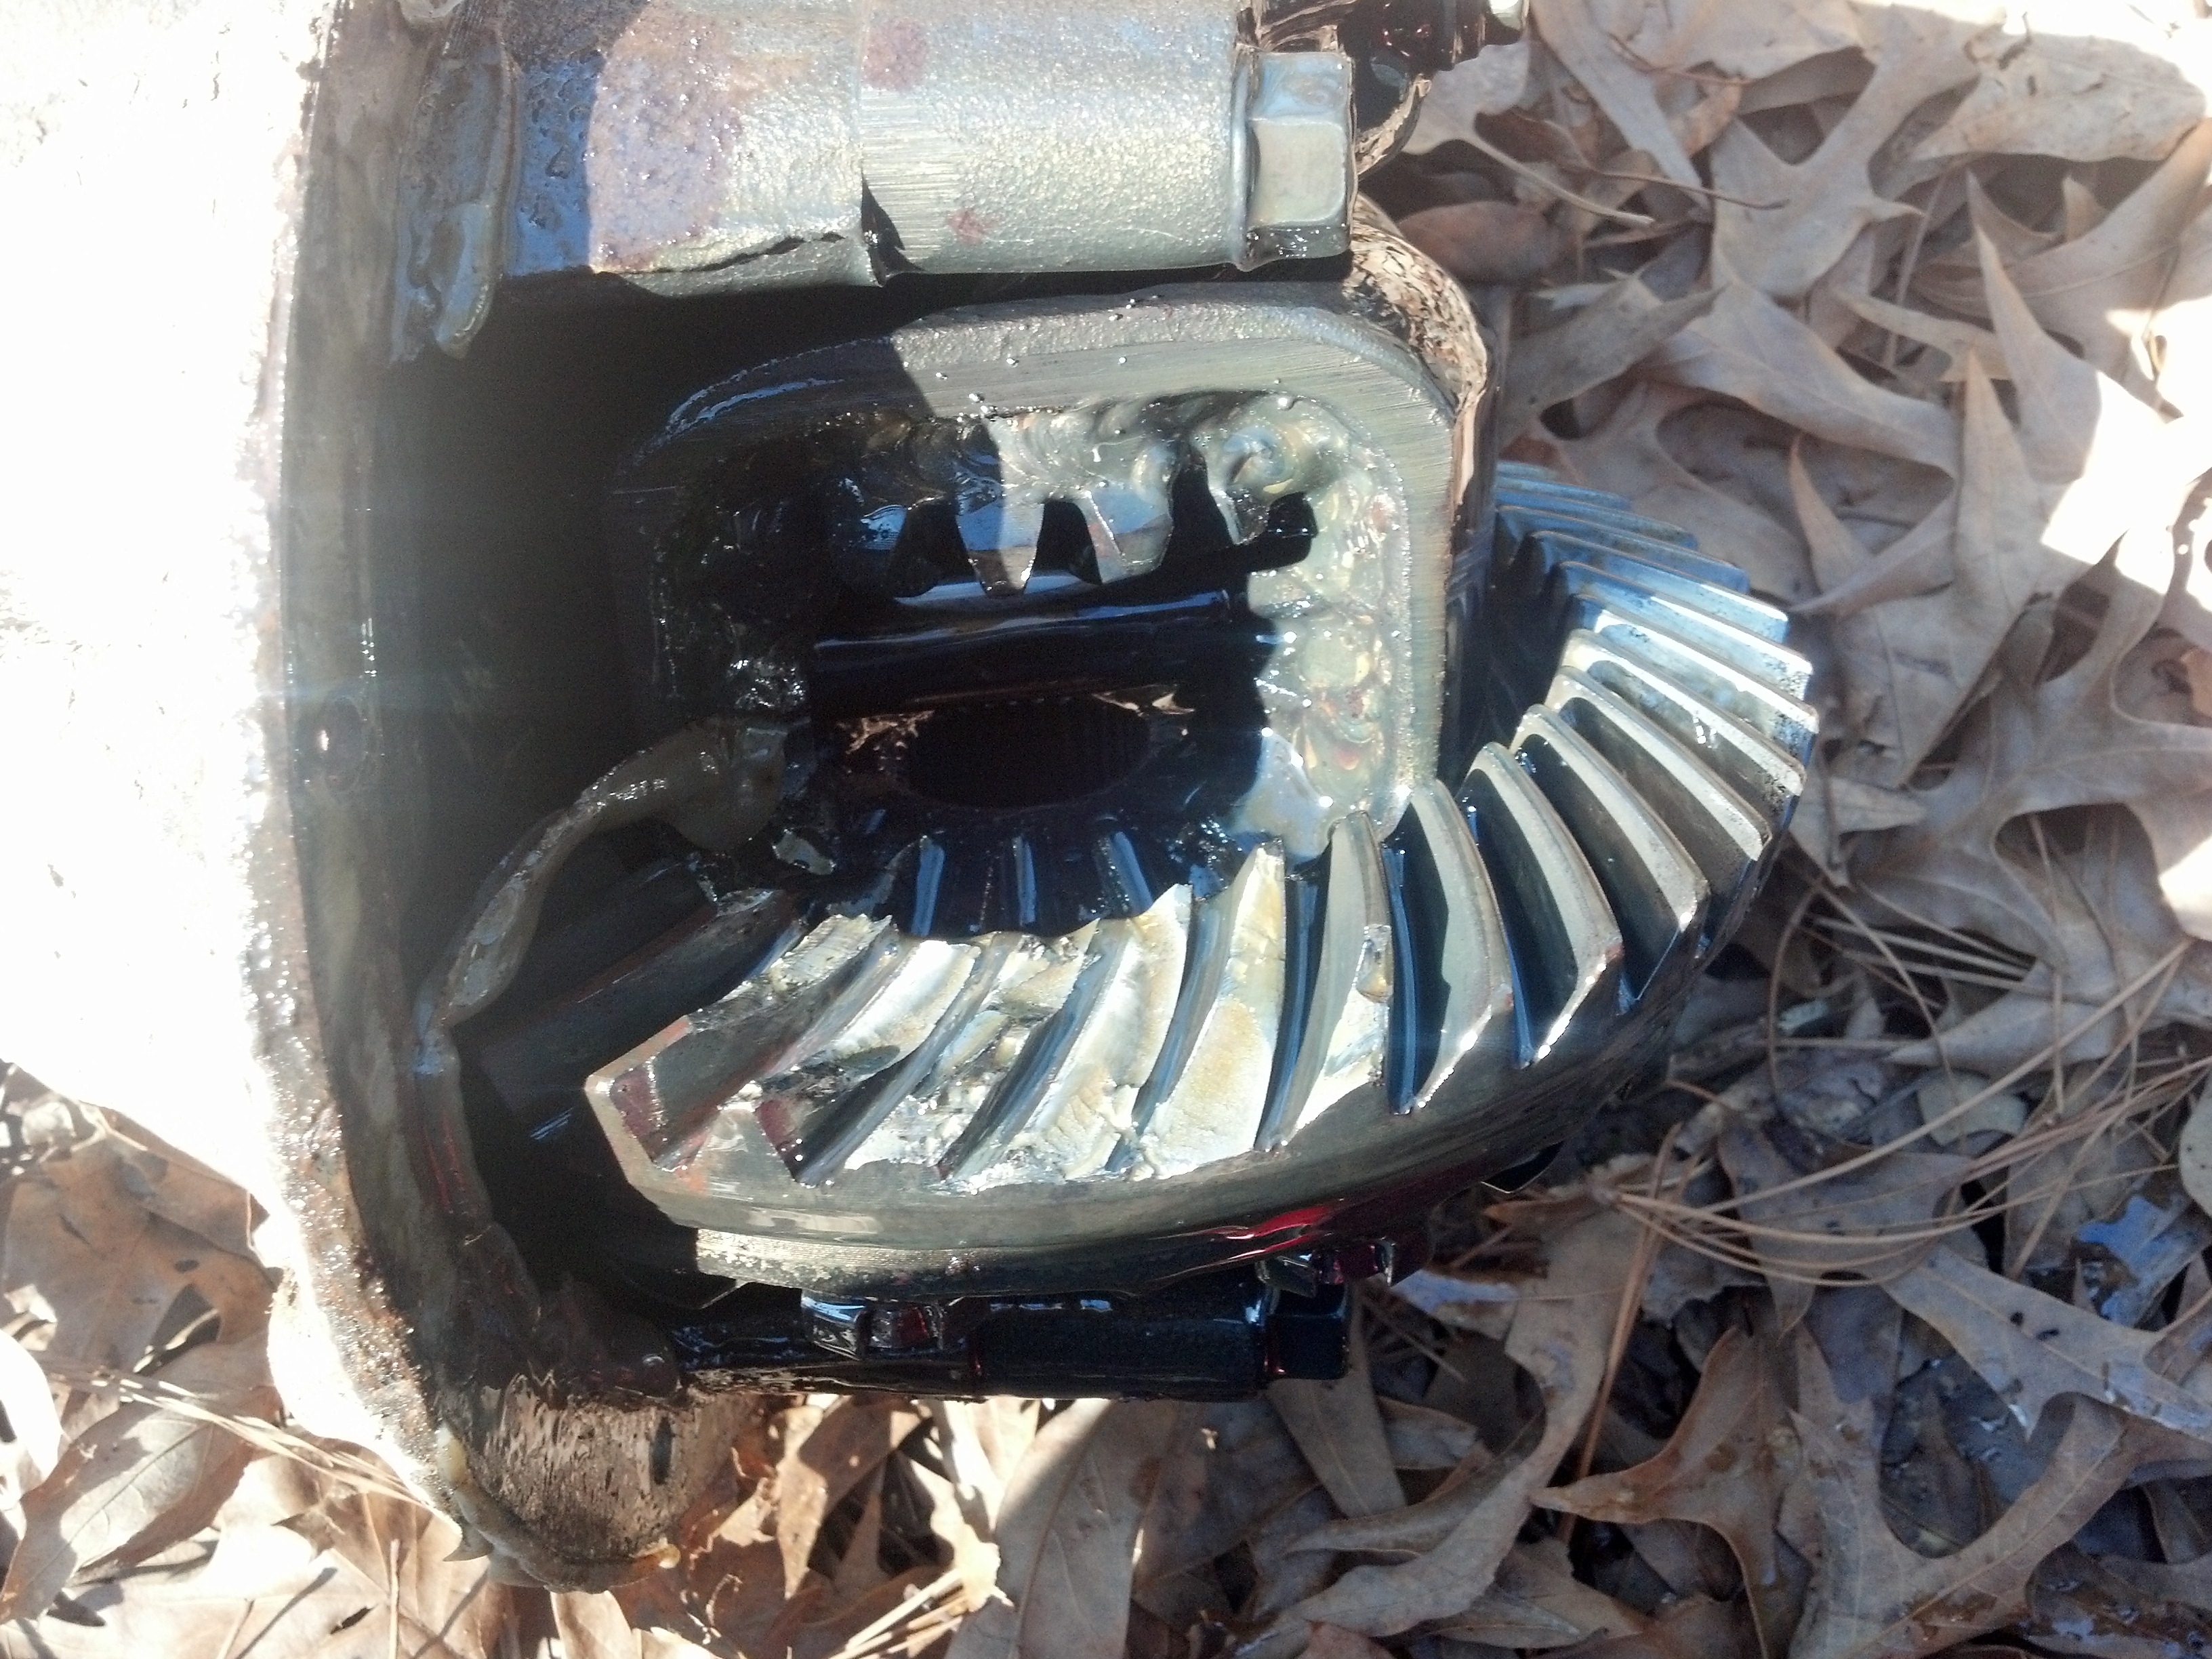
I thought I busted some teeth off when I broke the u-joint... Confirmed....
Pallet of fun to fix the frame issue
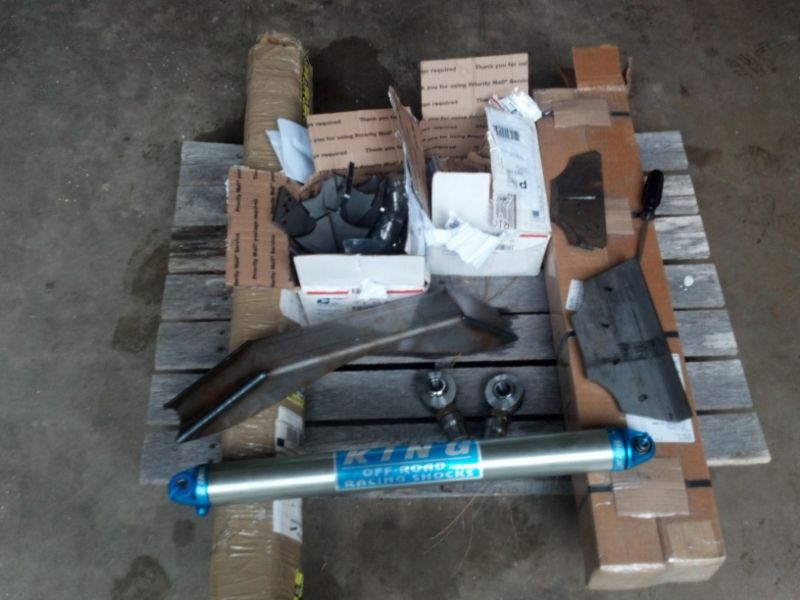
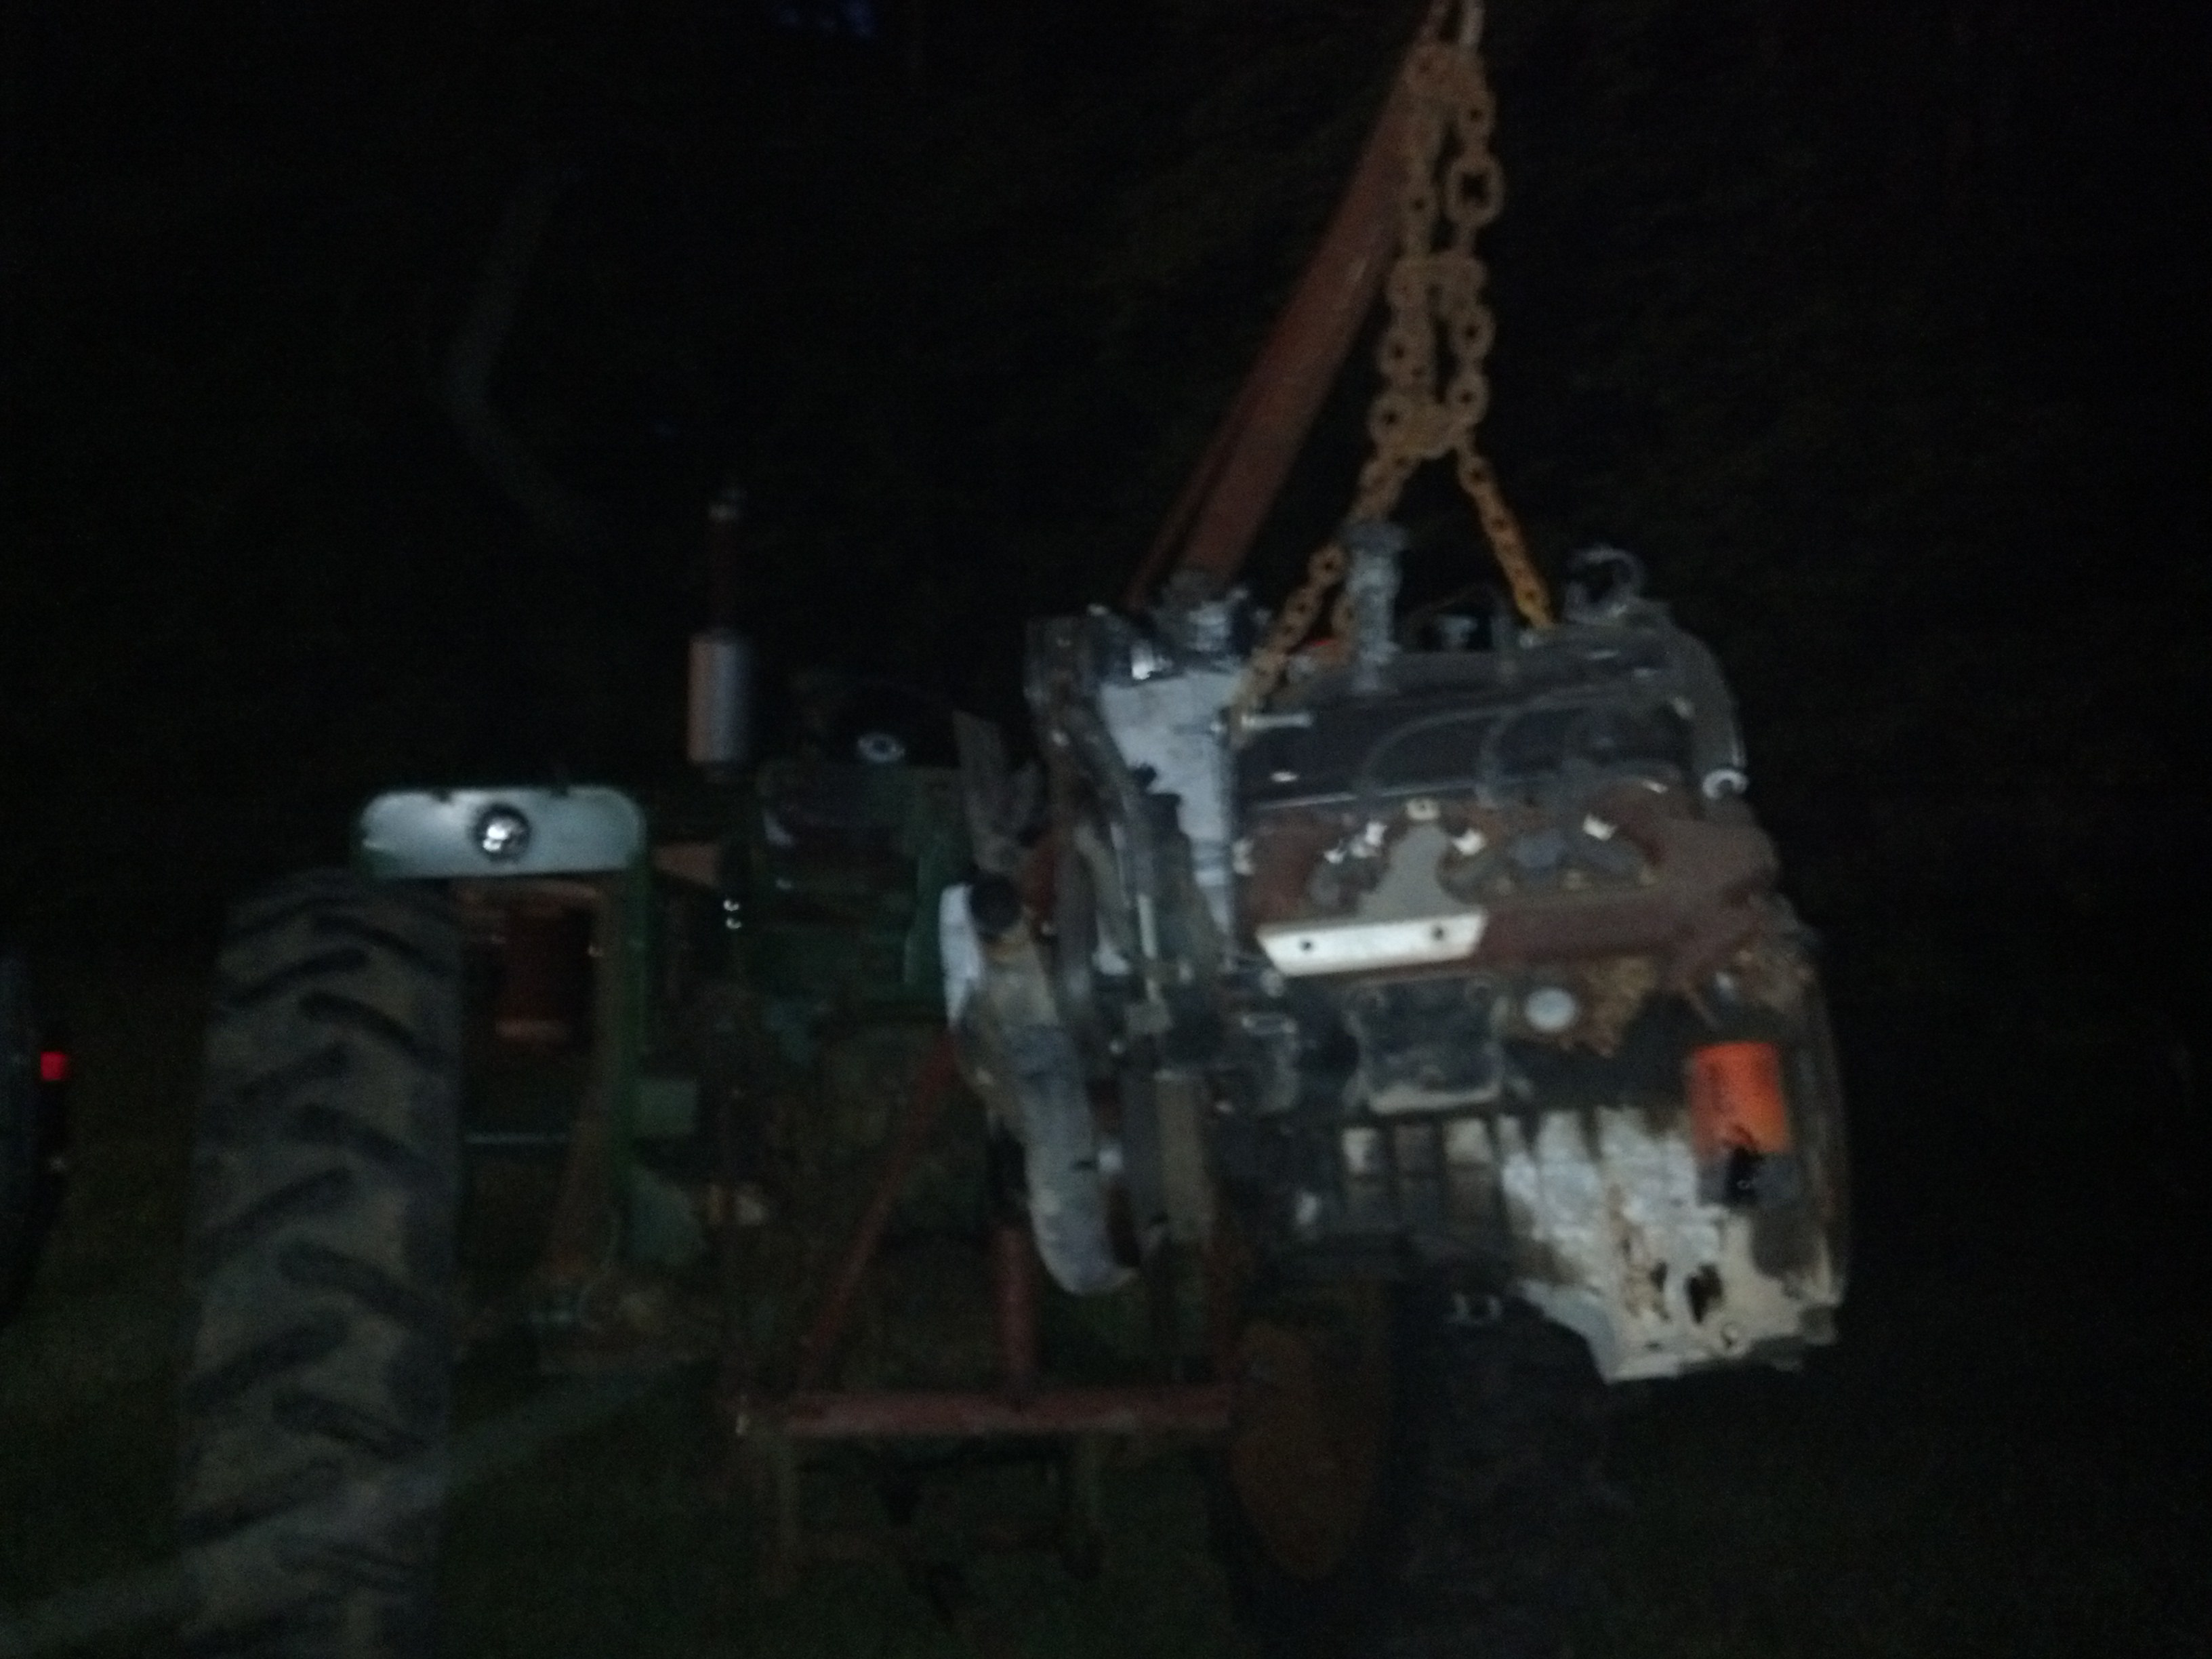
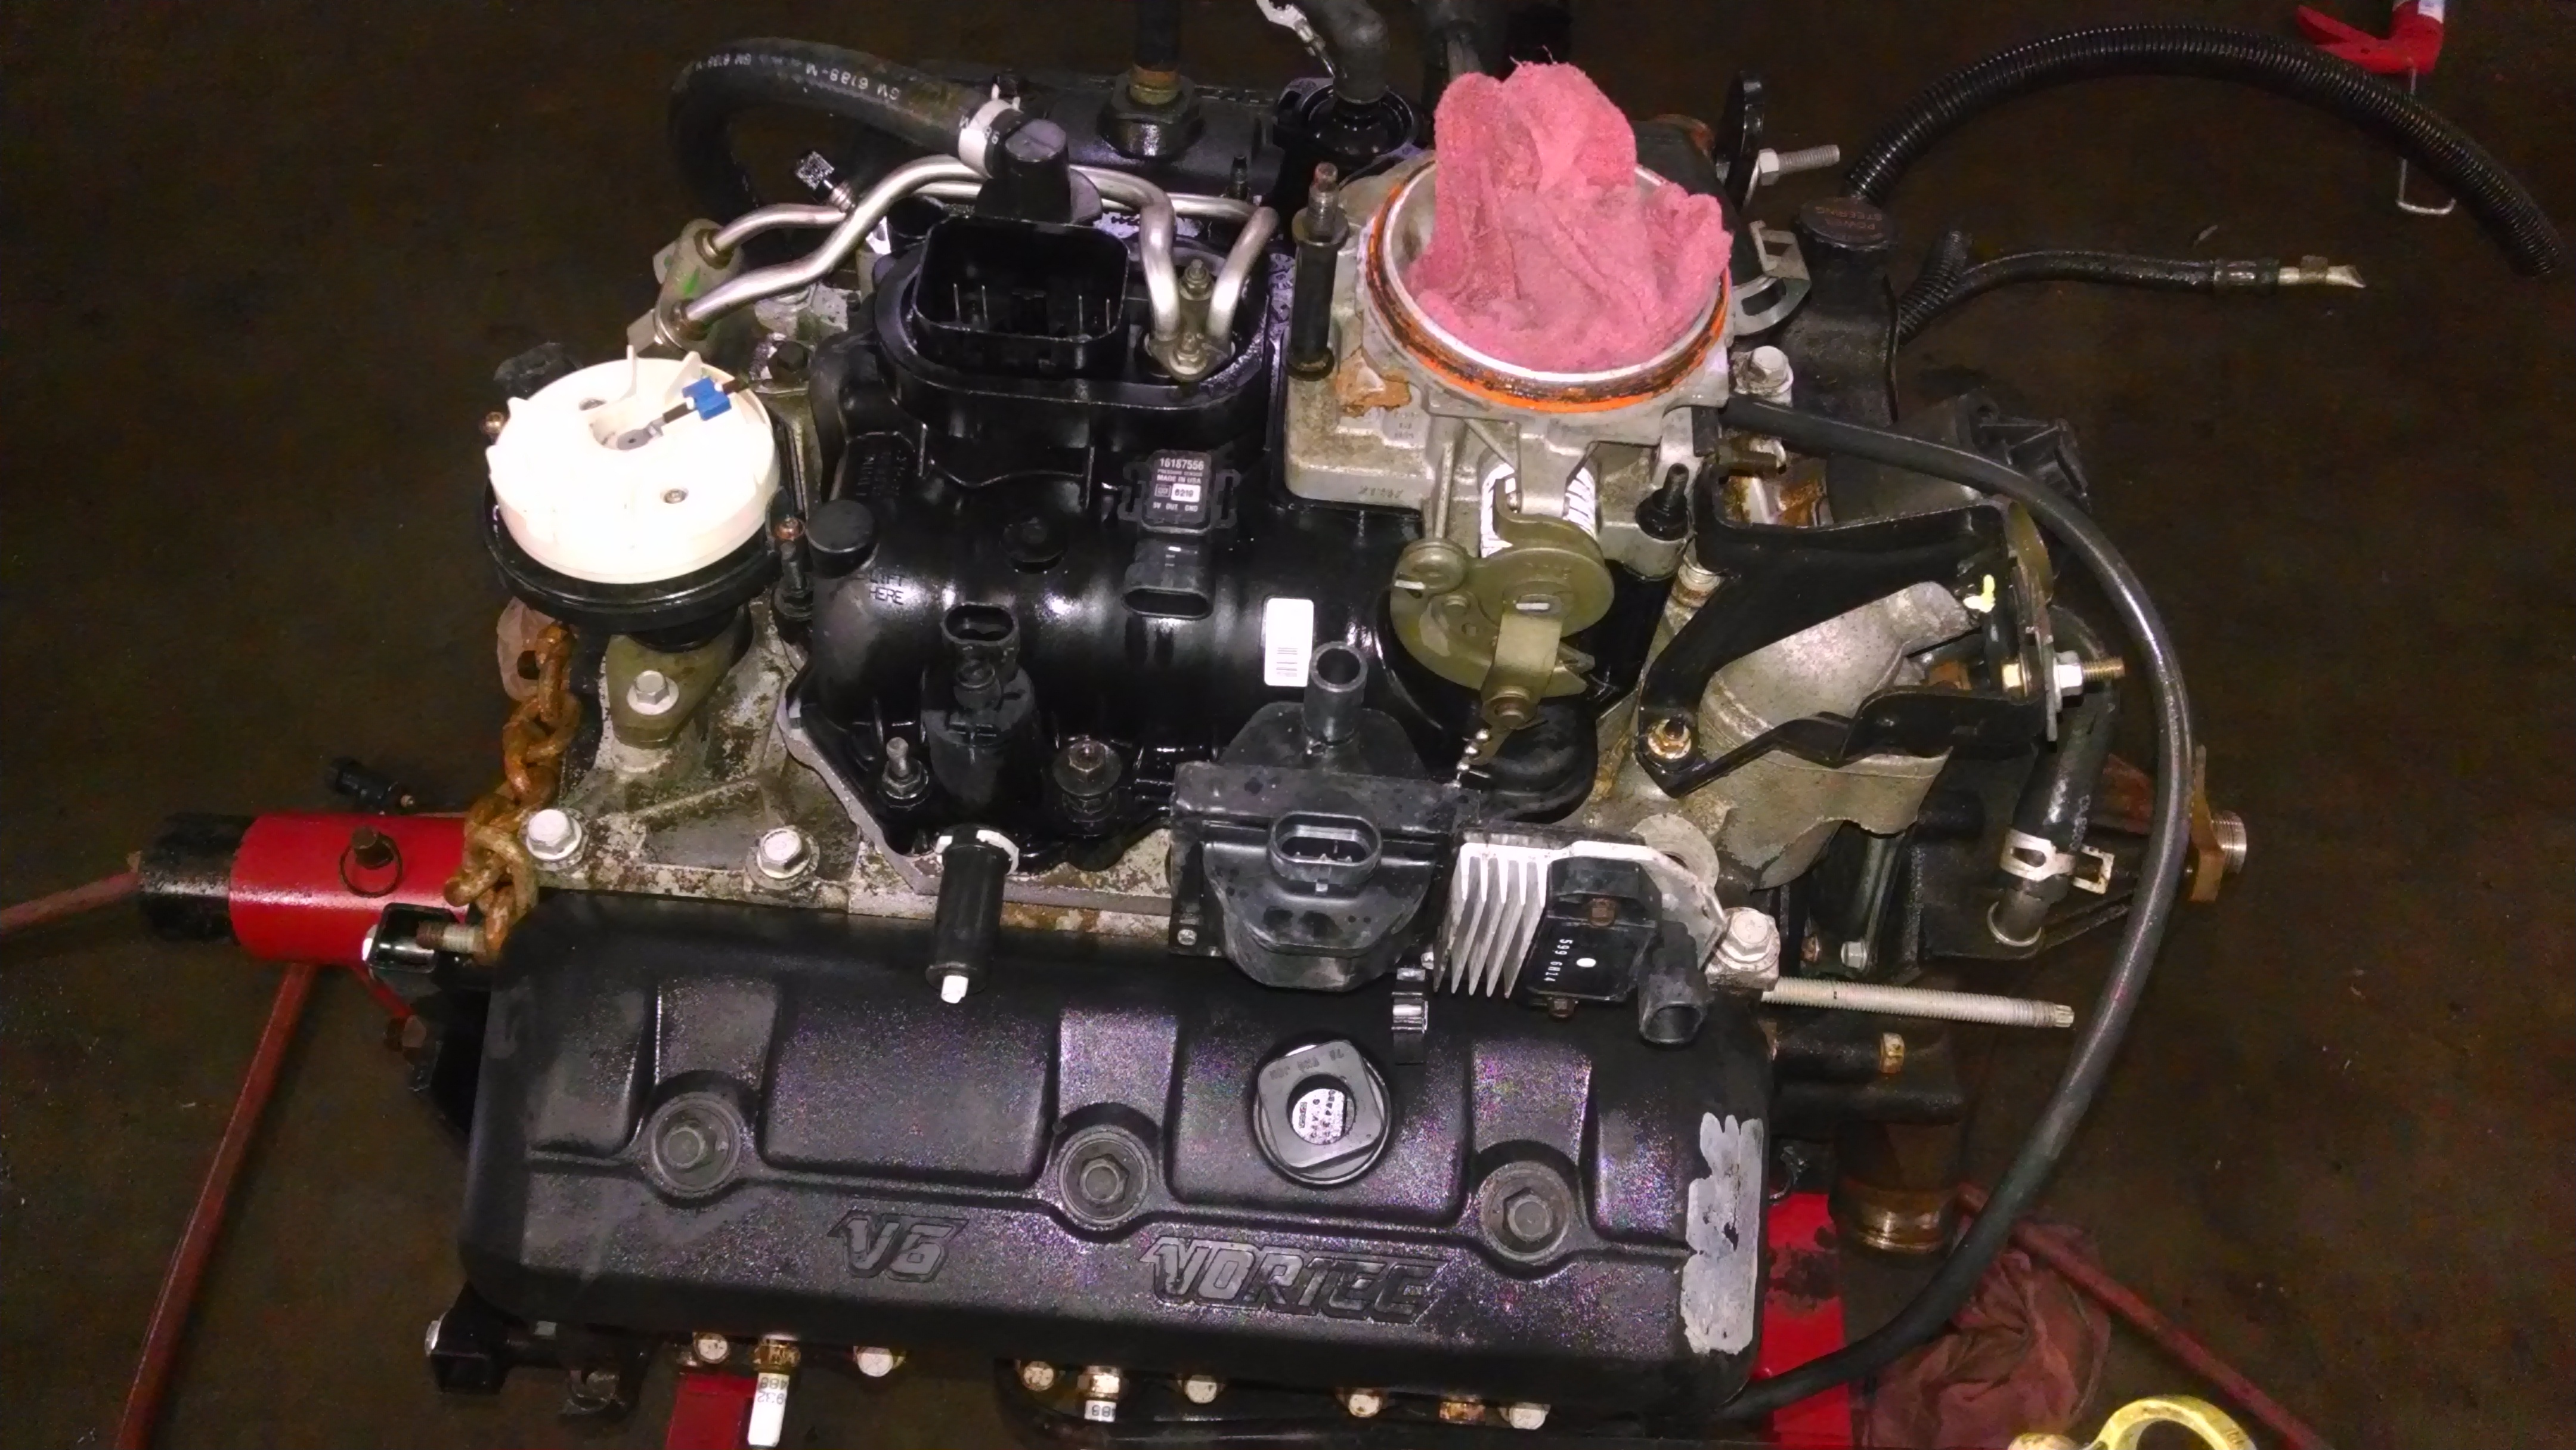
Also while starting a project why not just go full bore on it. Got a 4.3 out of a 97 1500. Bought truck for $400, sold the tailgate for $50 and scrapped the truck for $300.... $50 4.3

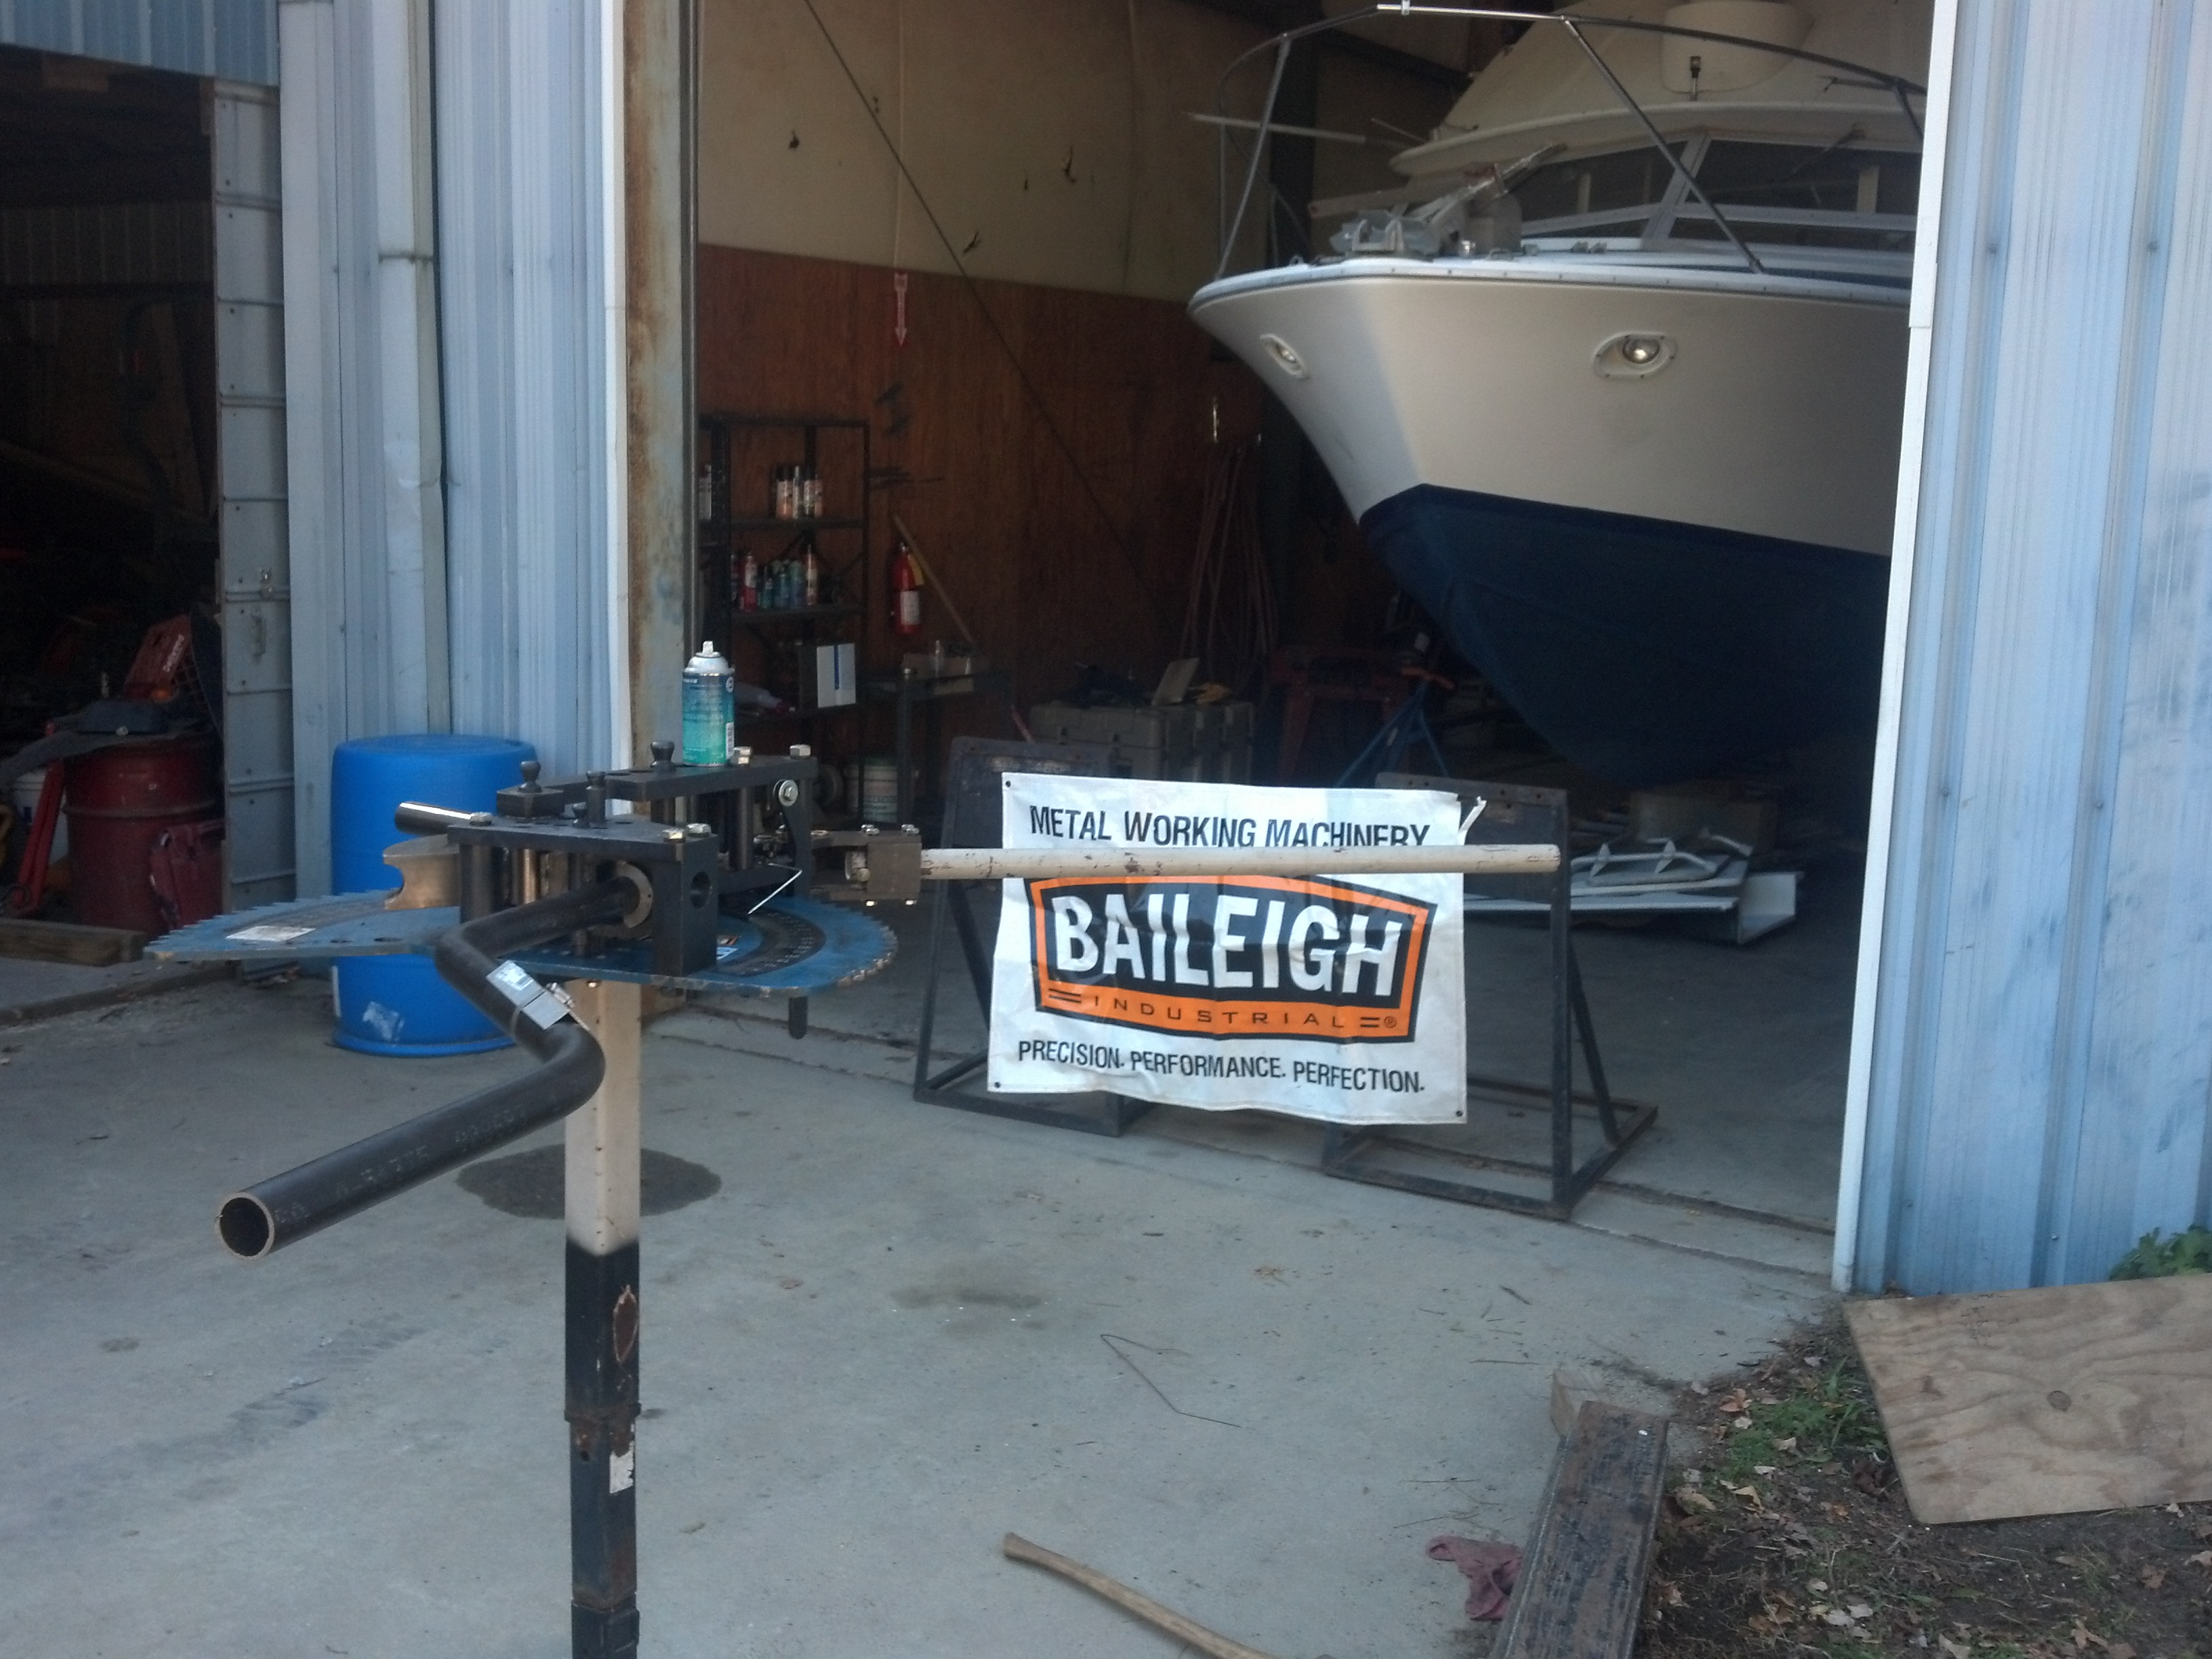
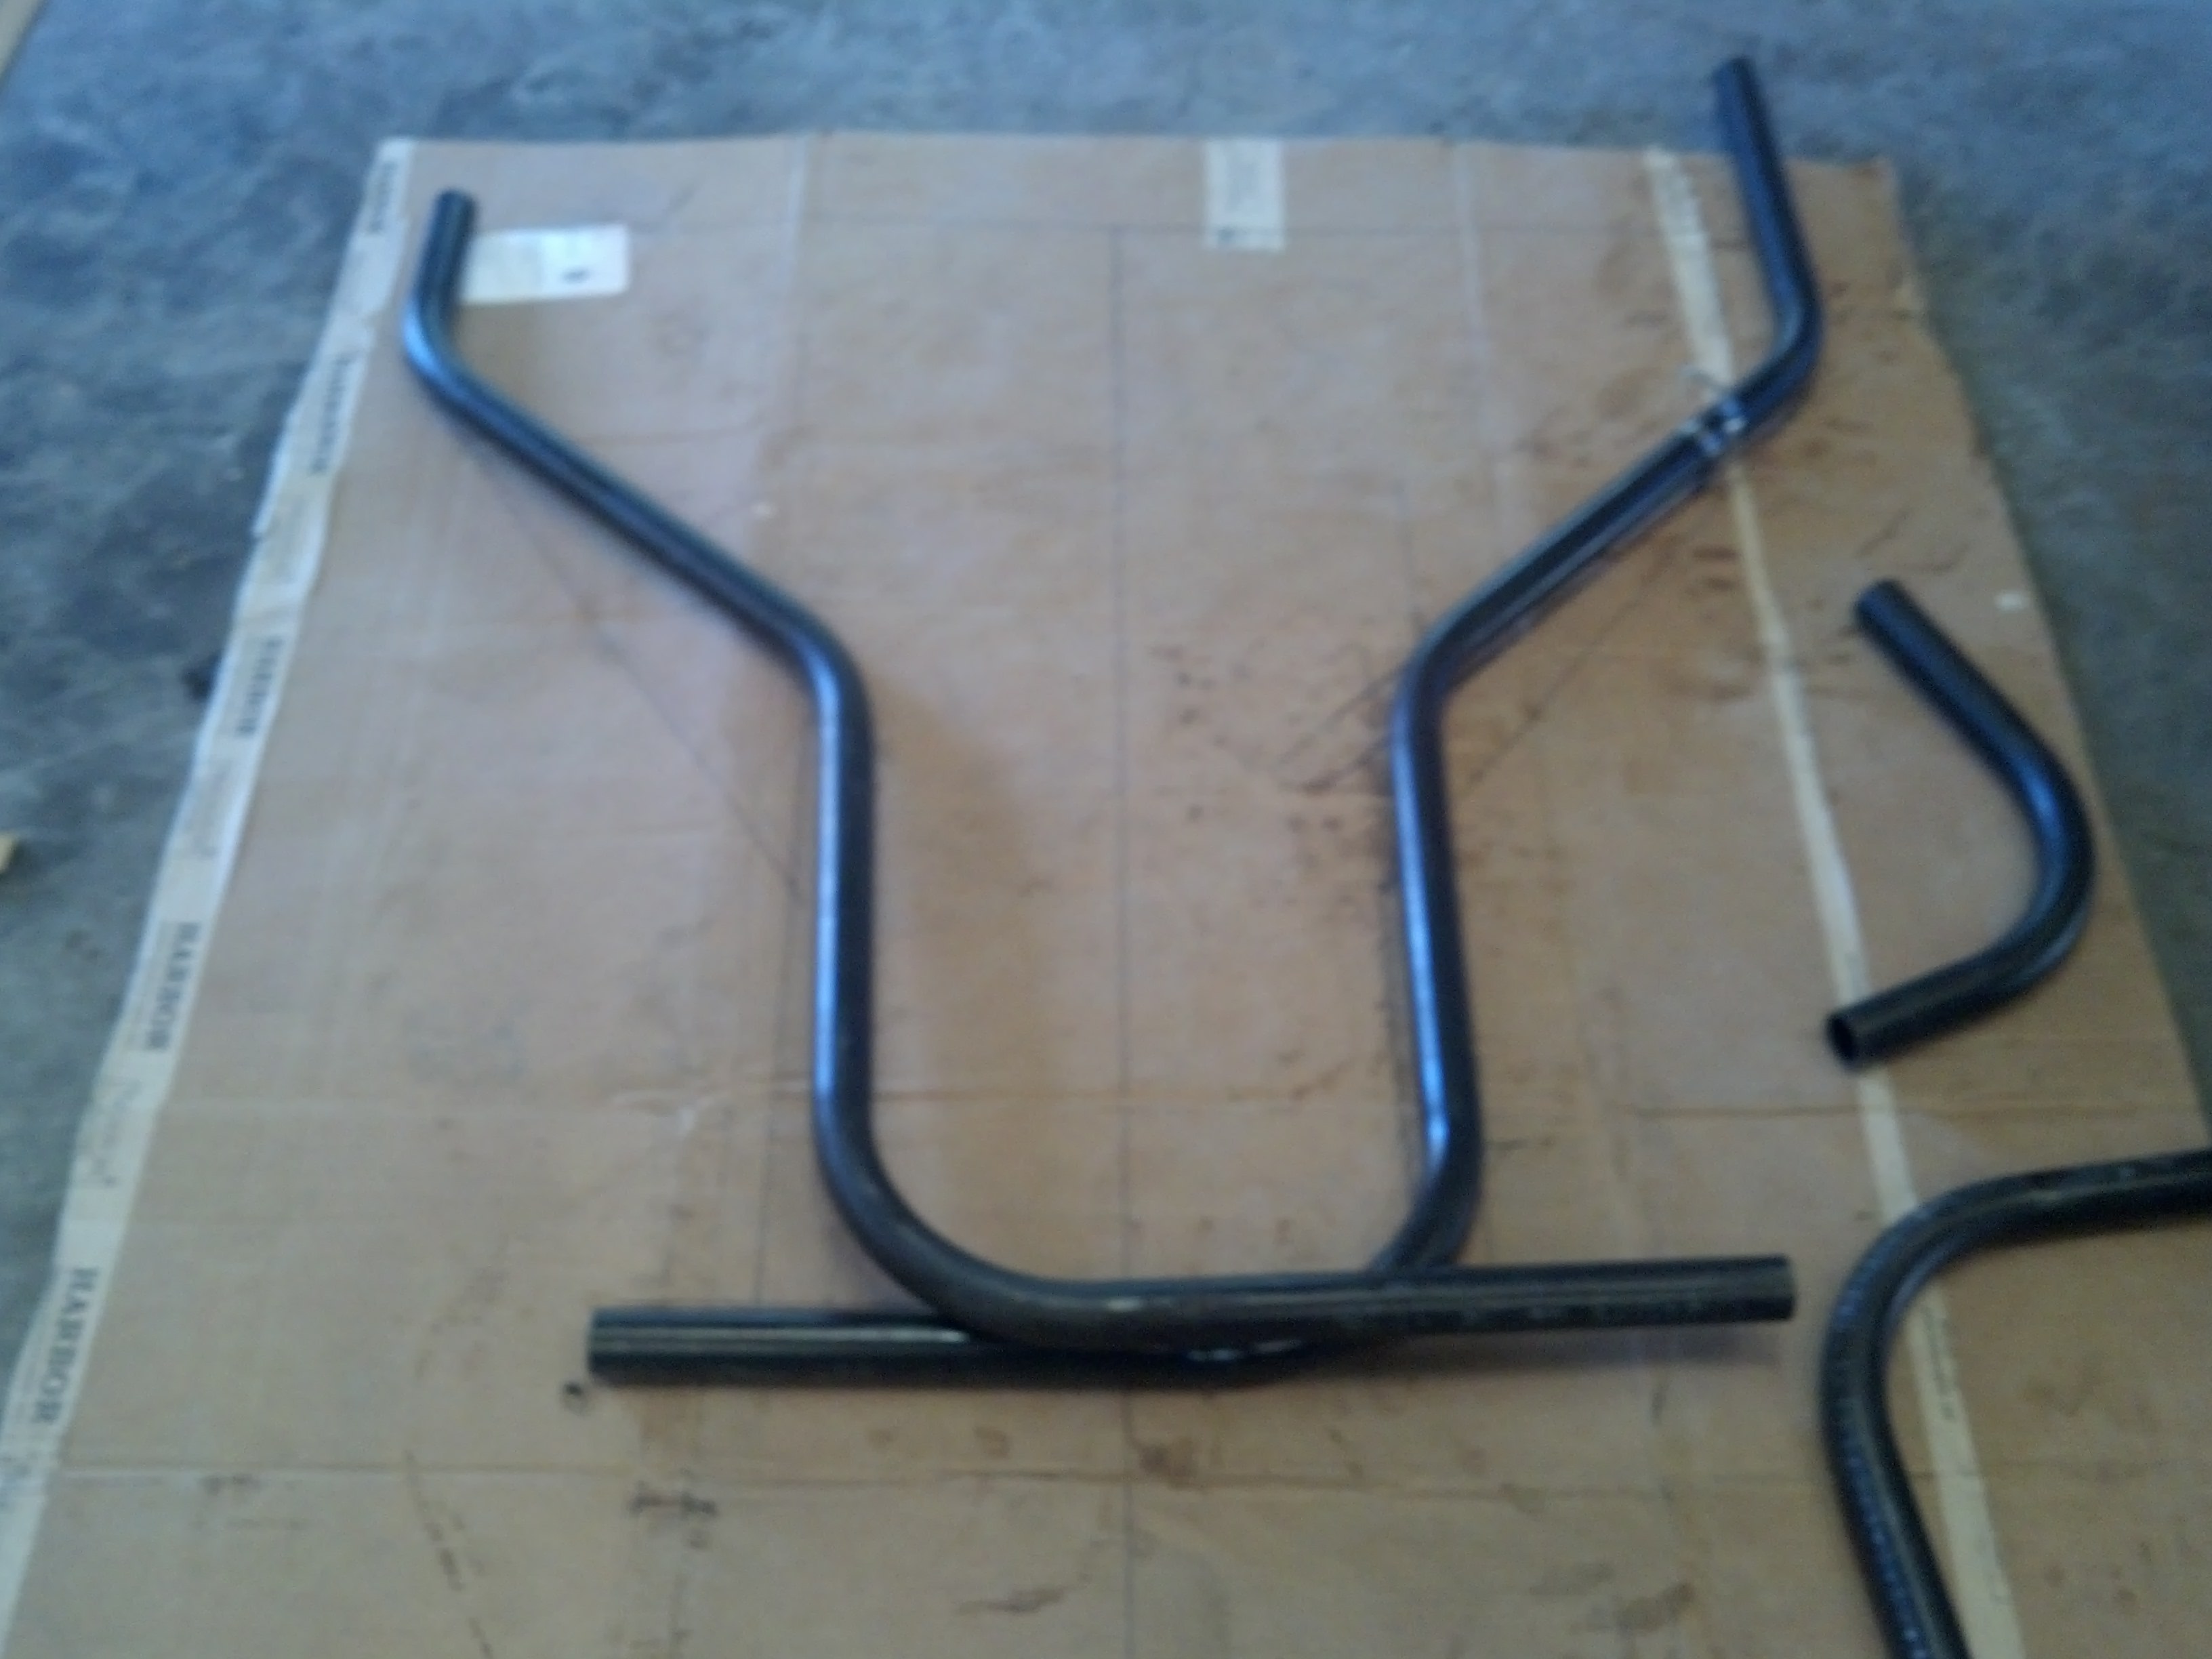
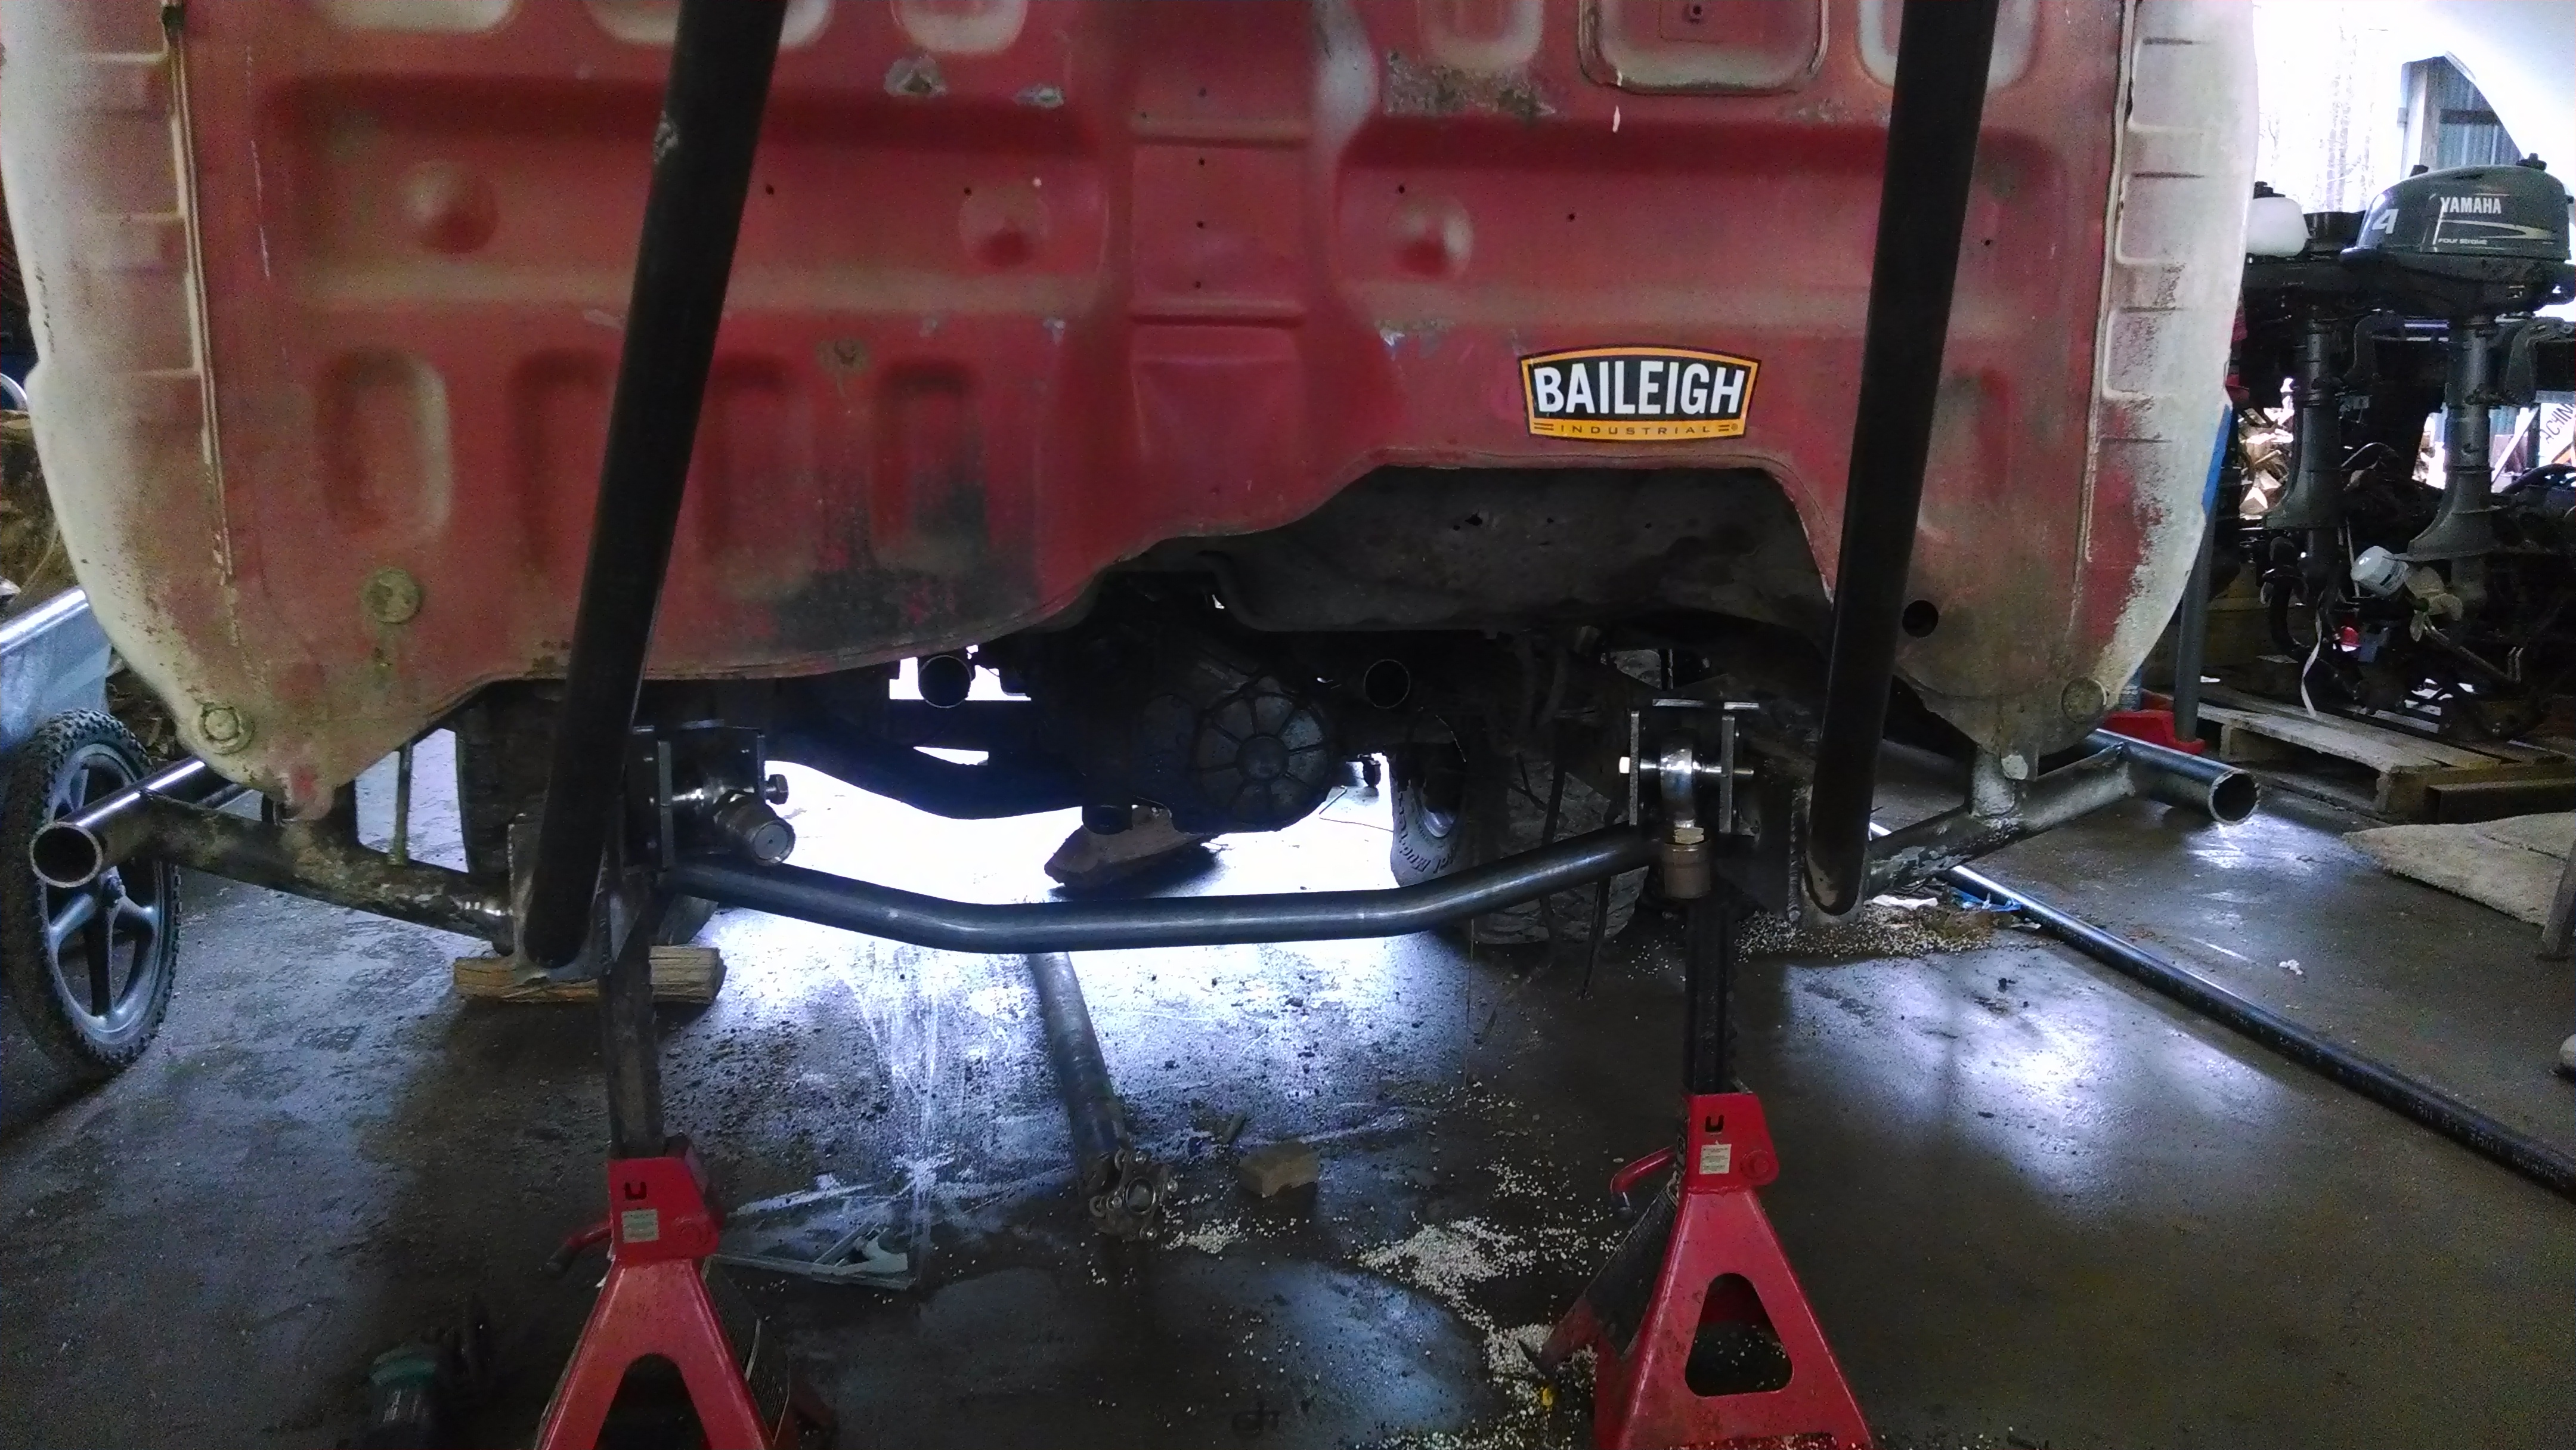
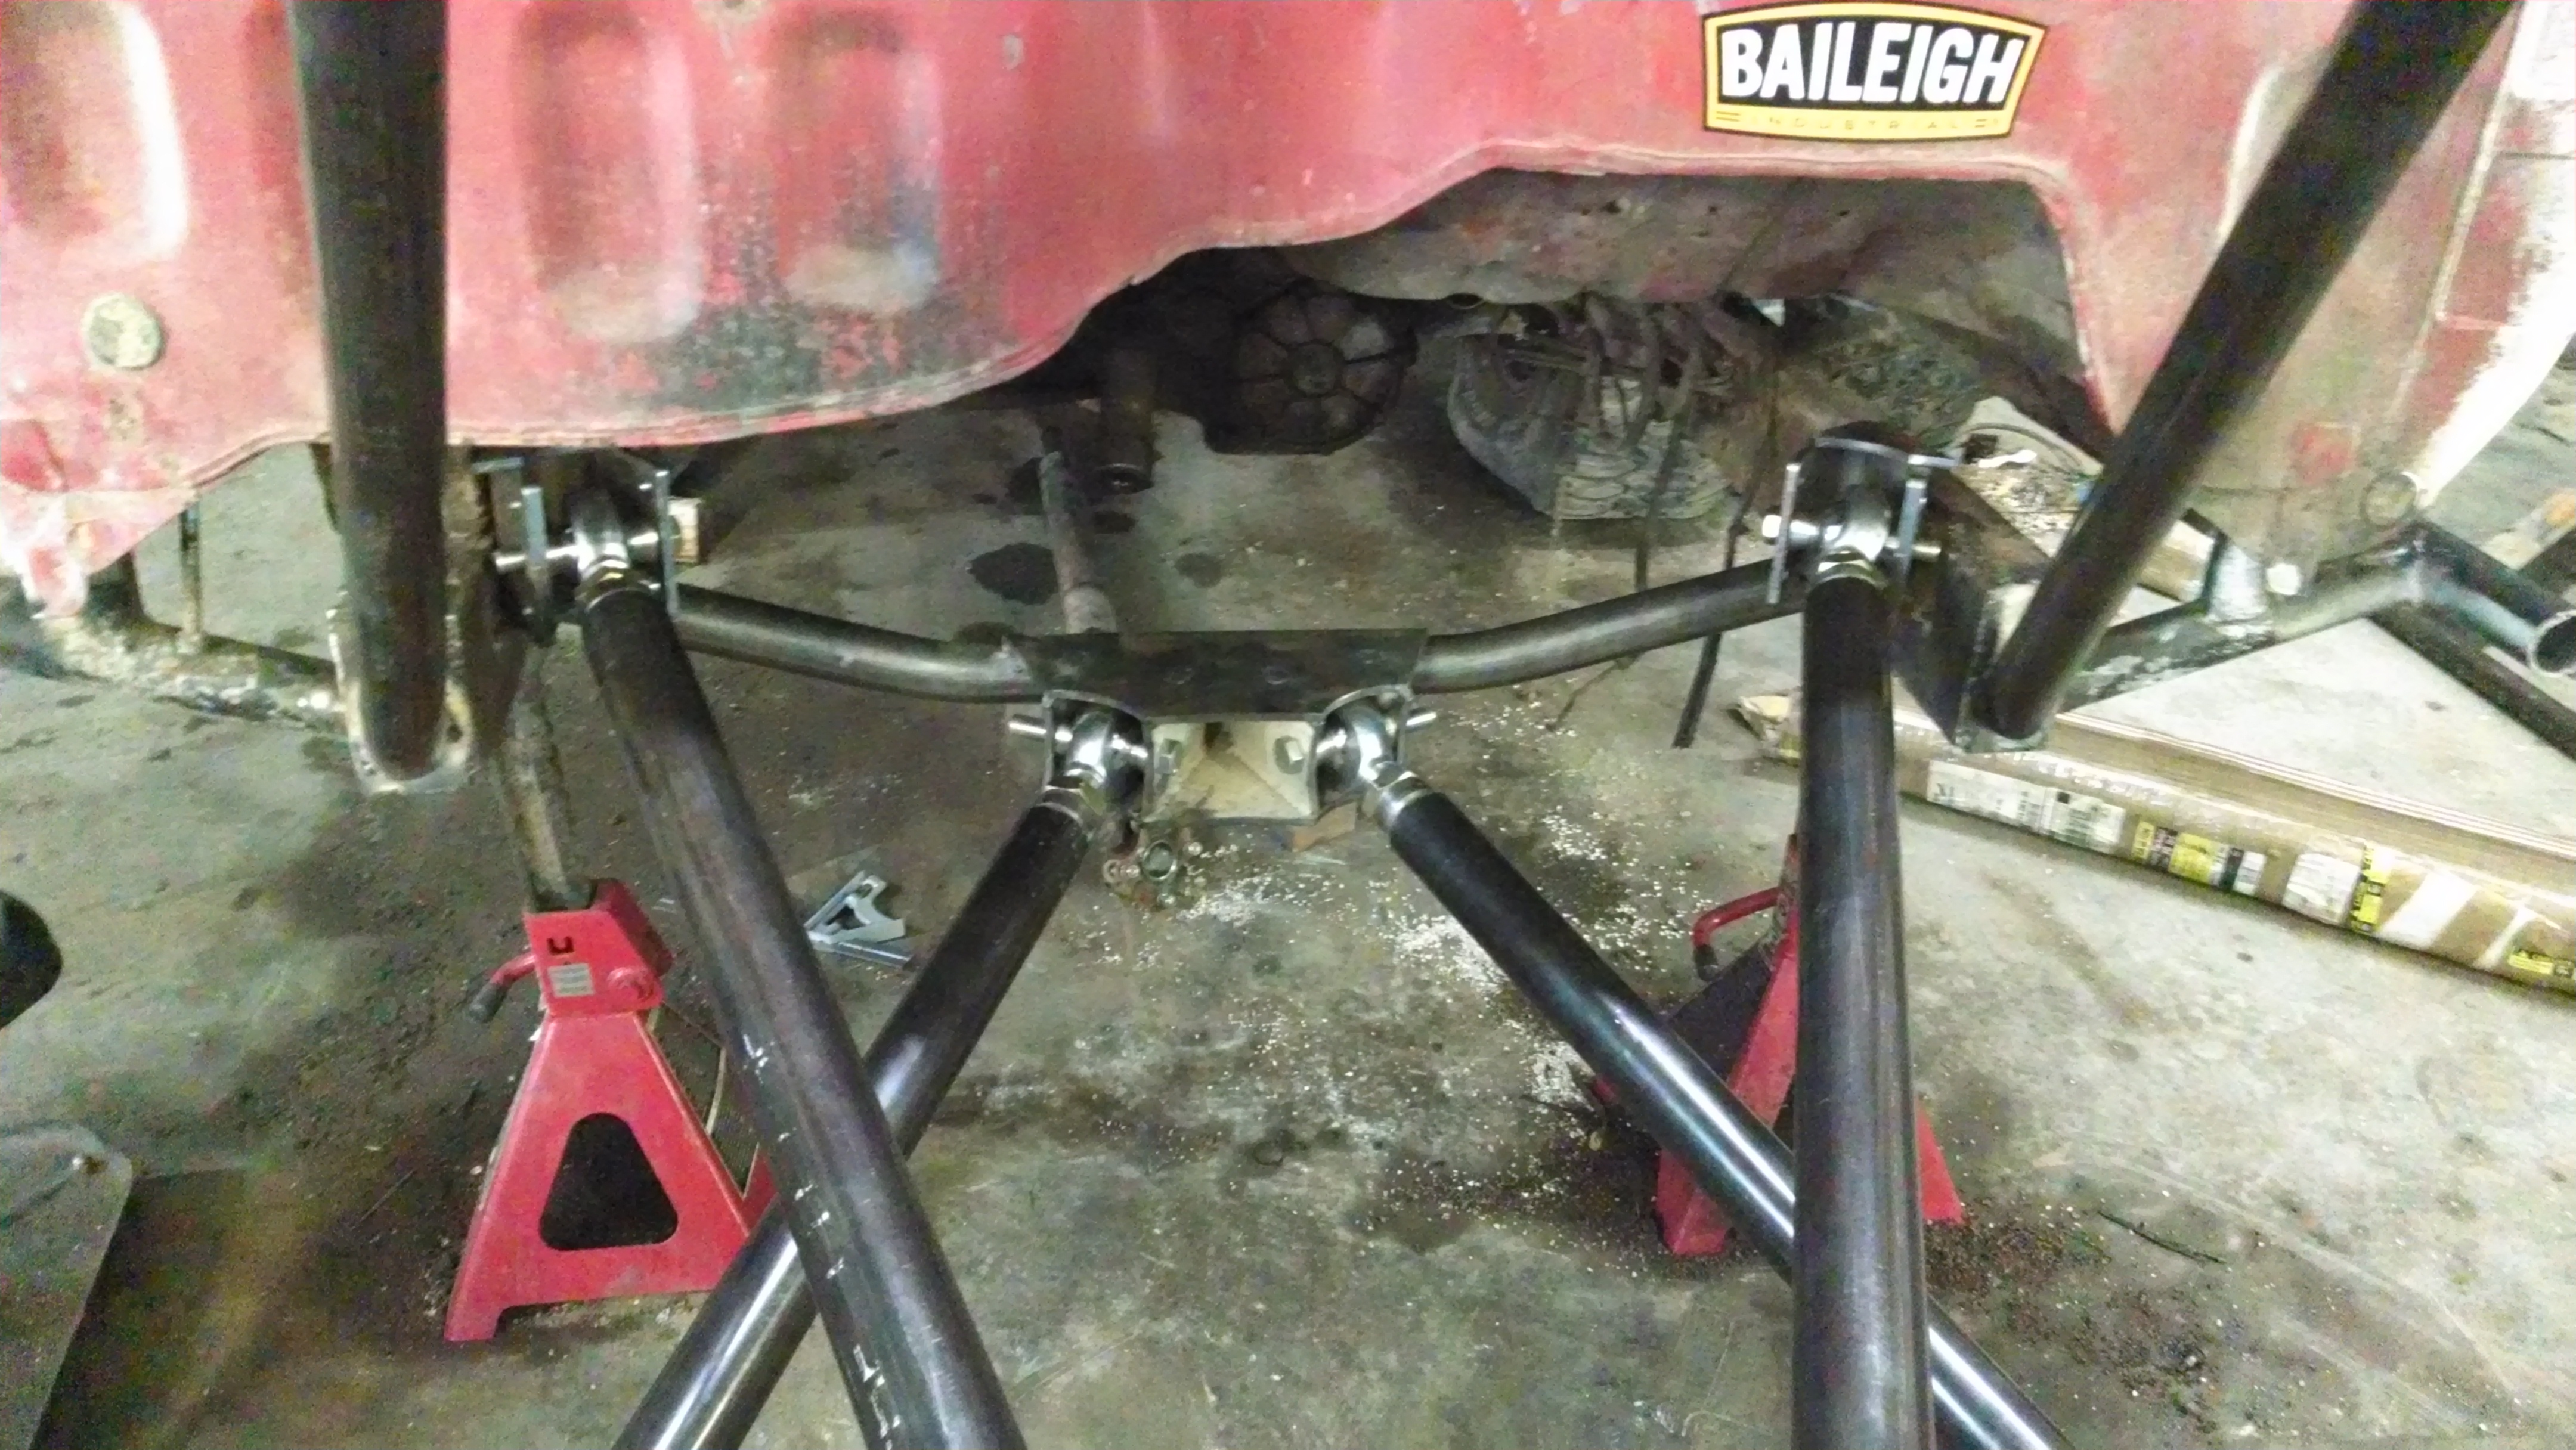
Next I started the back half, trying to keep it as compact as can be.
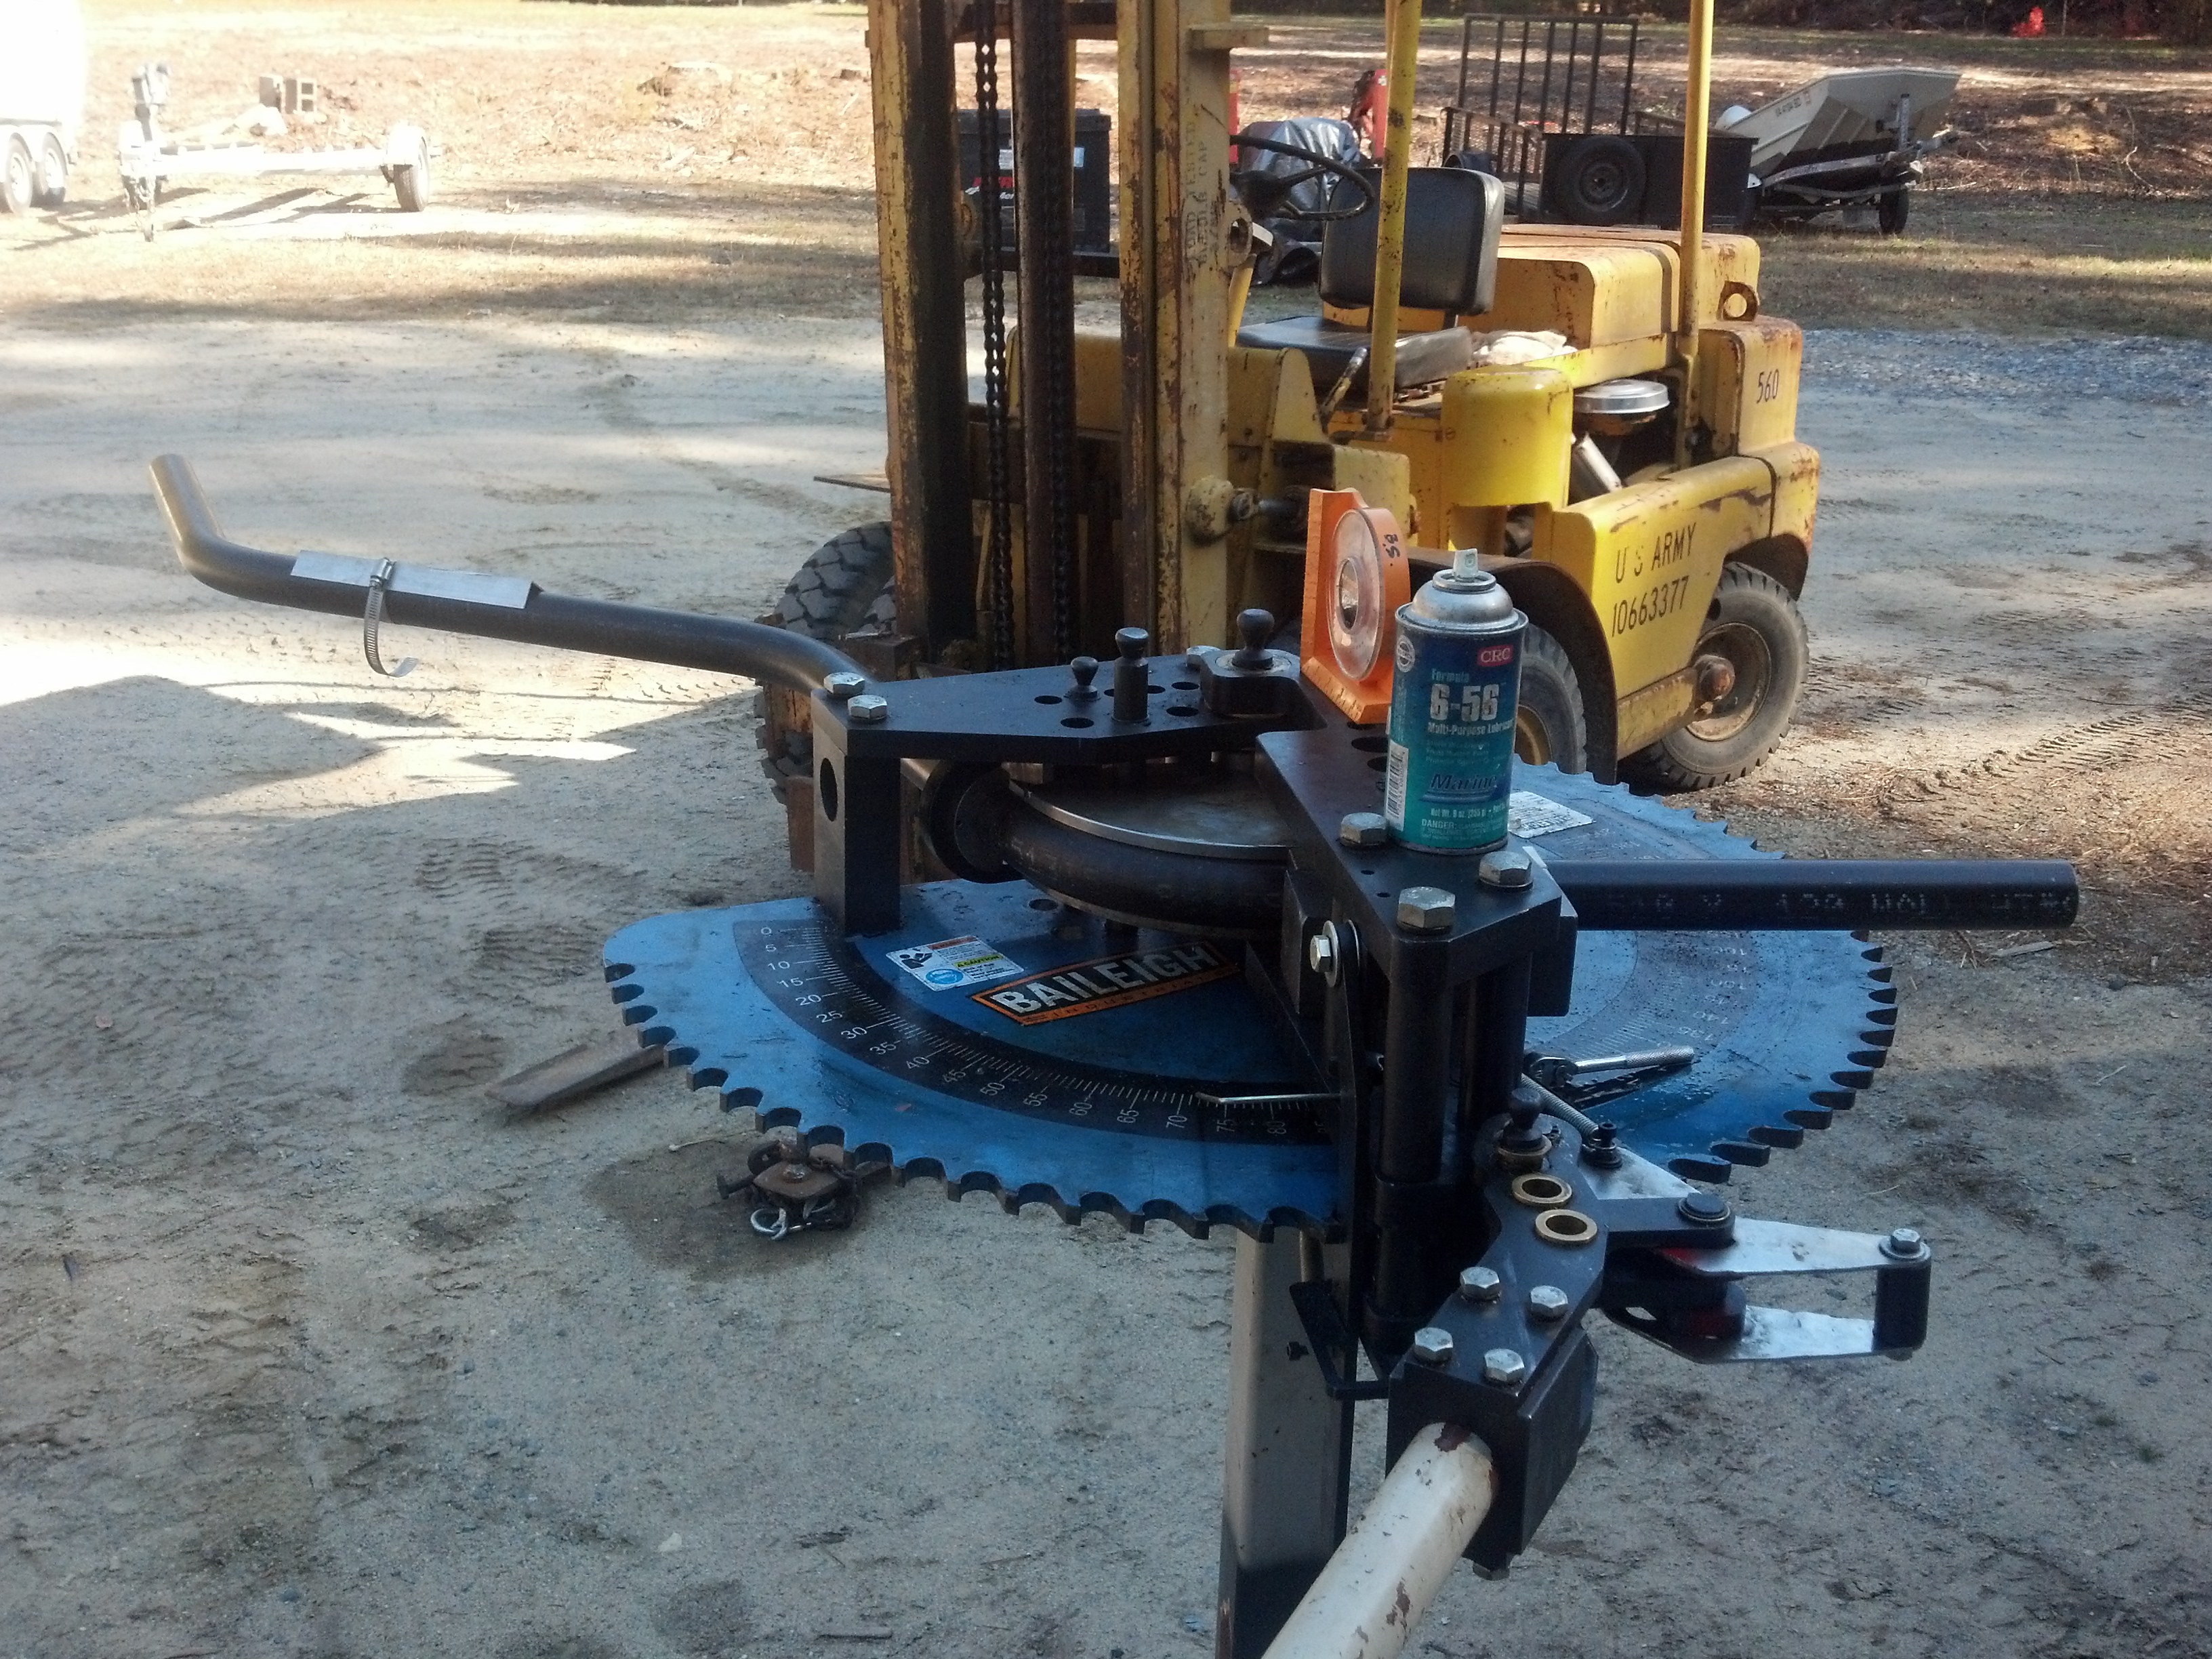
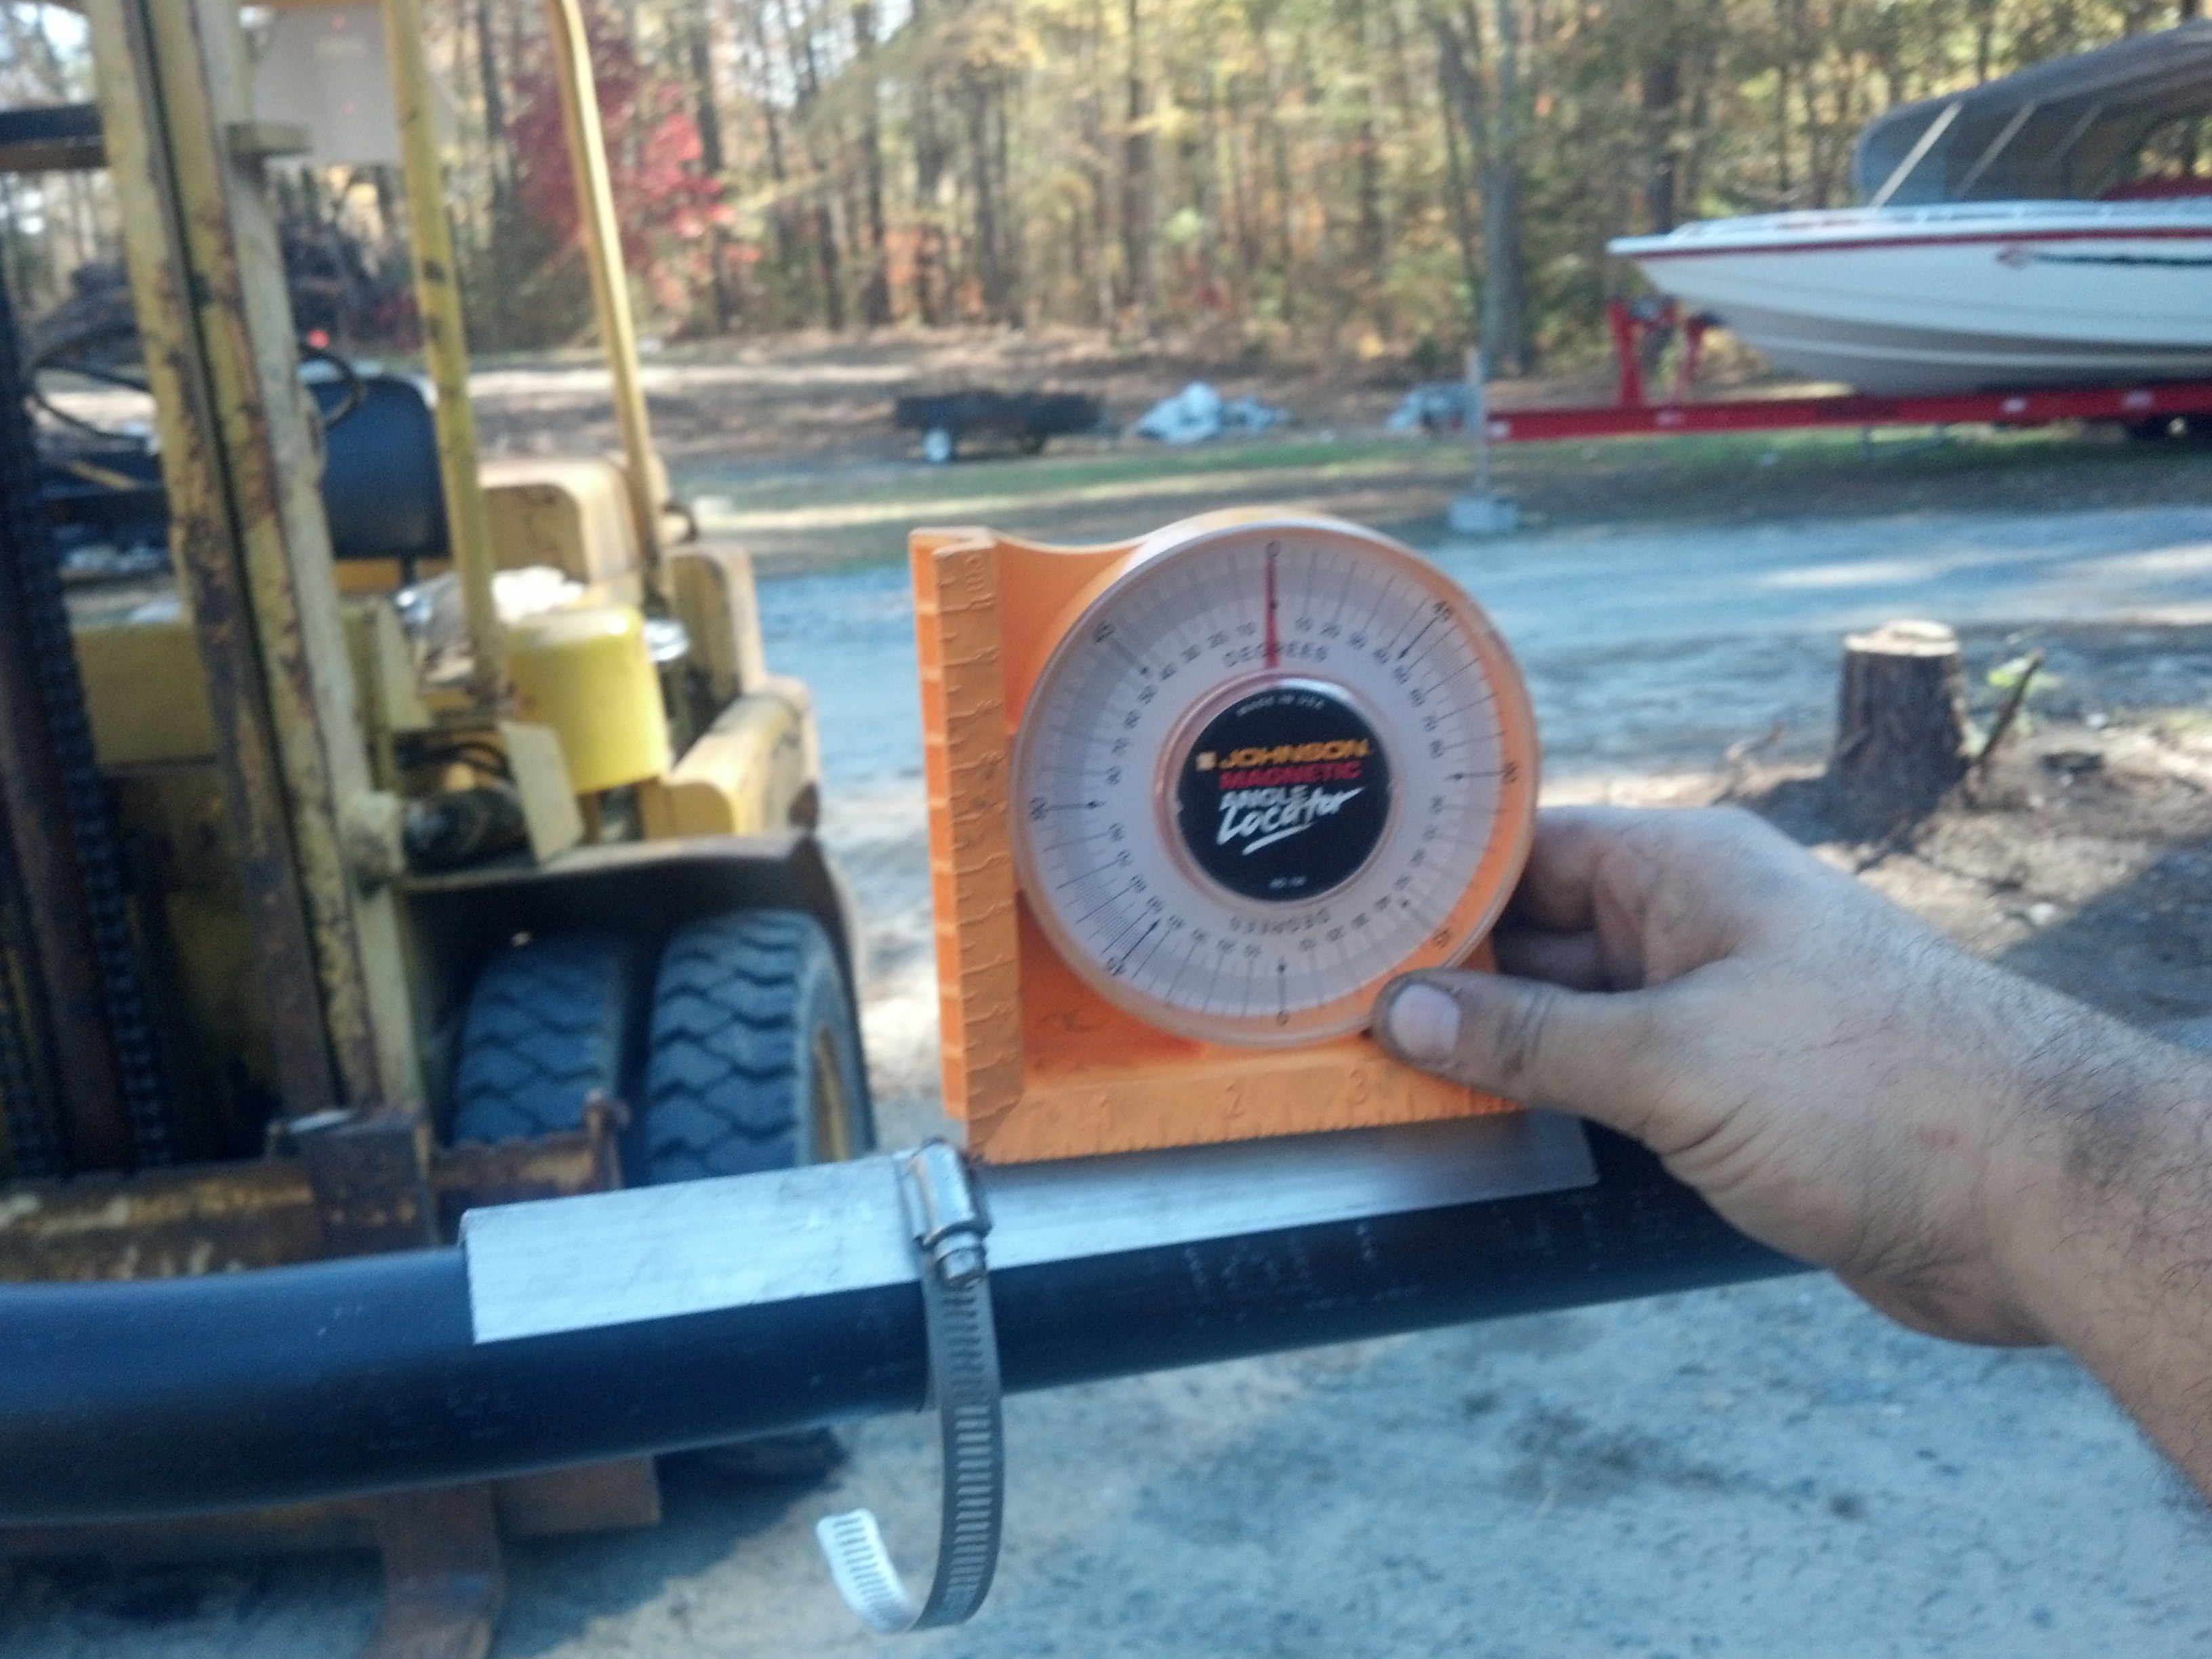
I loving this Baileigh Industrial RDB-050, Never bent tube before do nothing to compare to but this thing is smooth, easy to use, and BEEF!
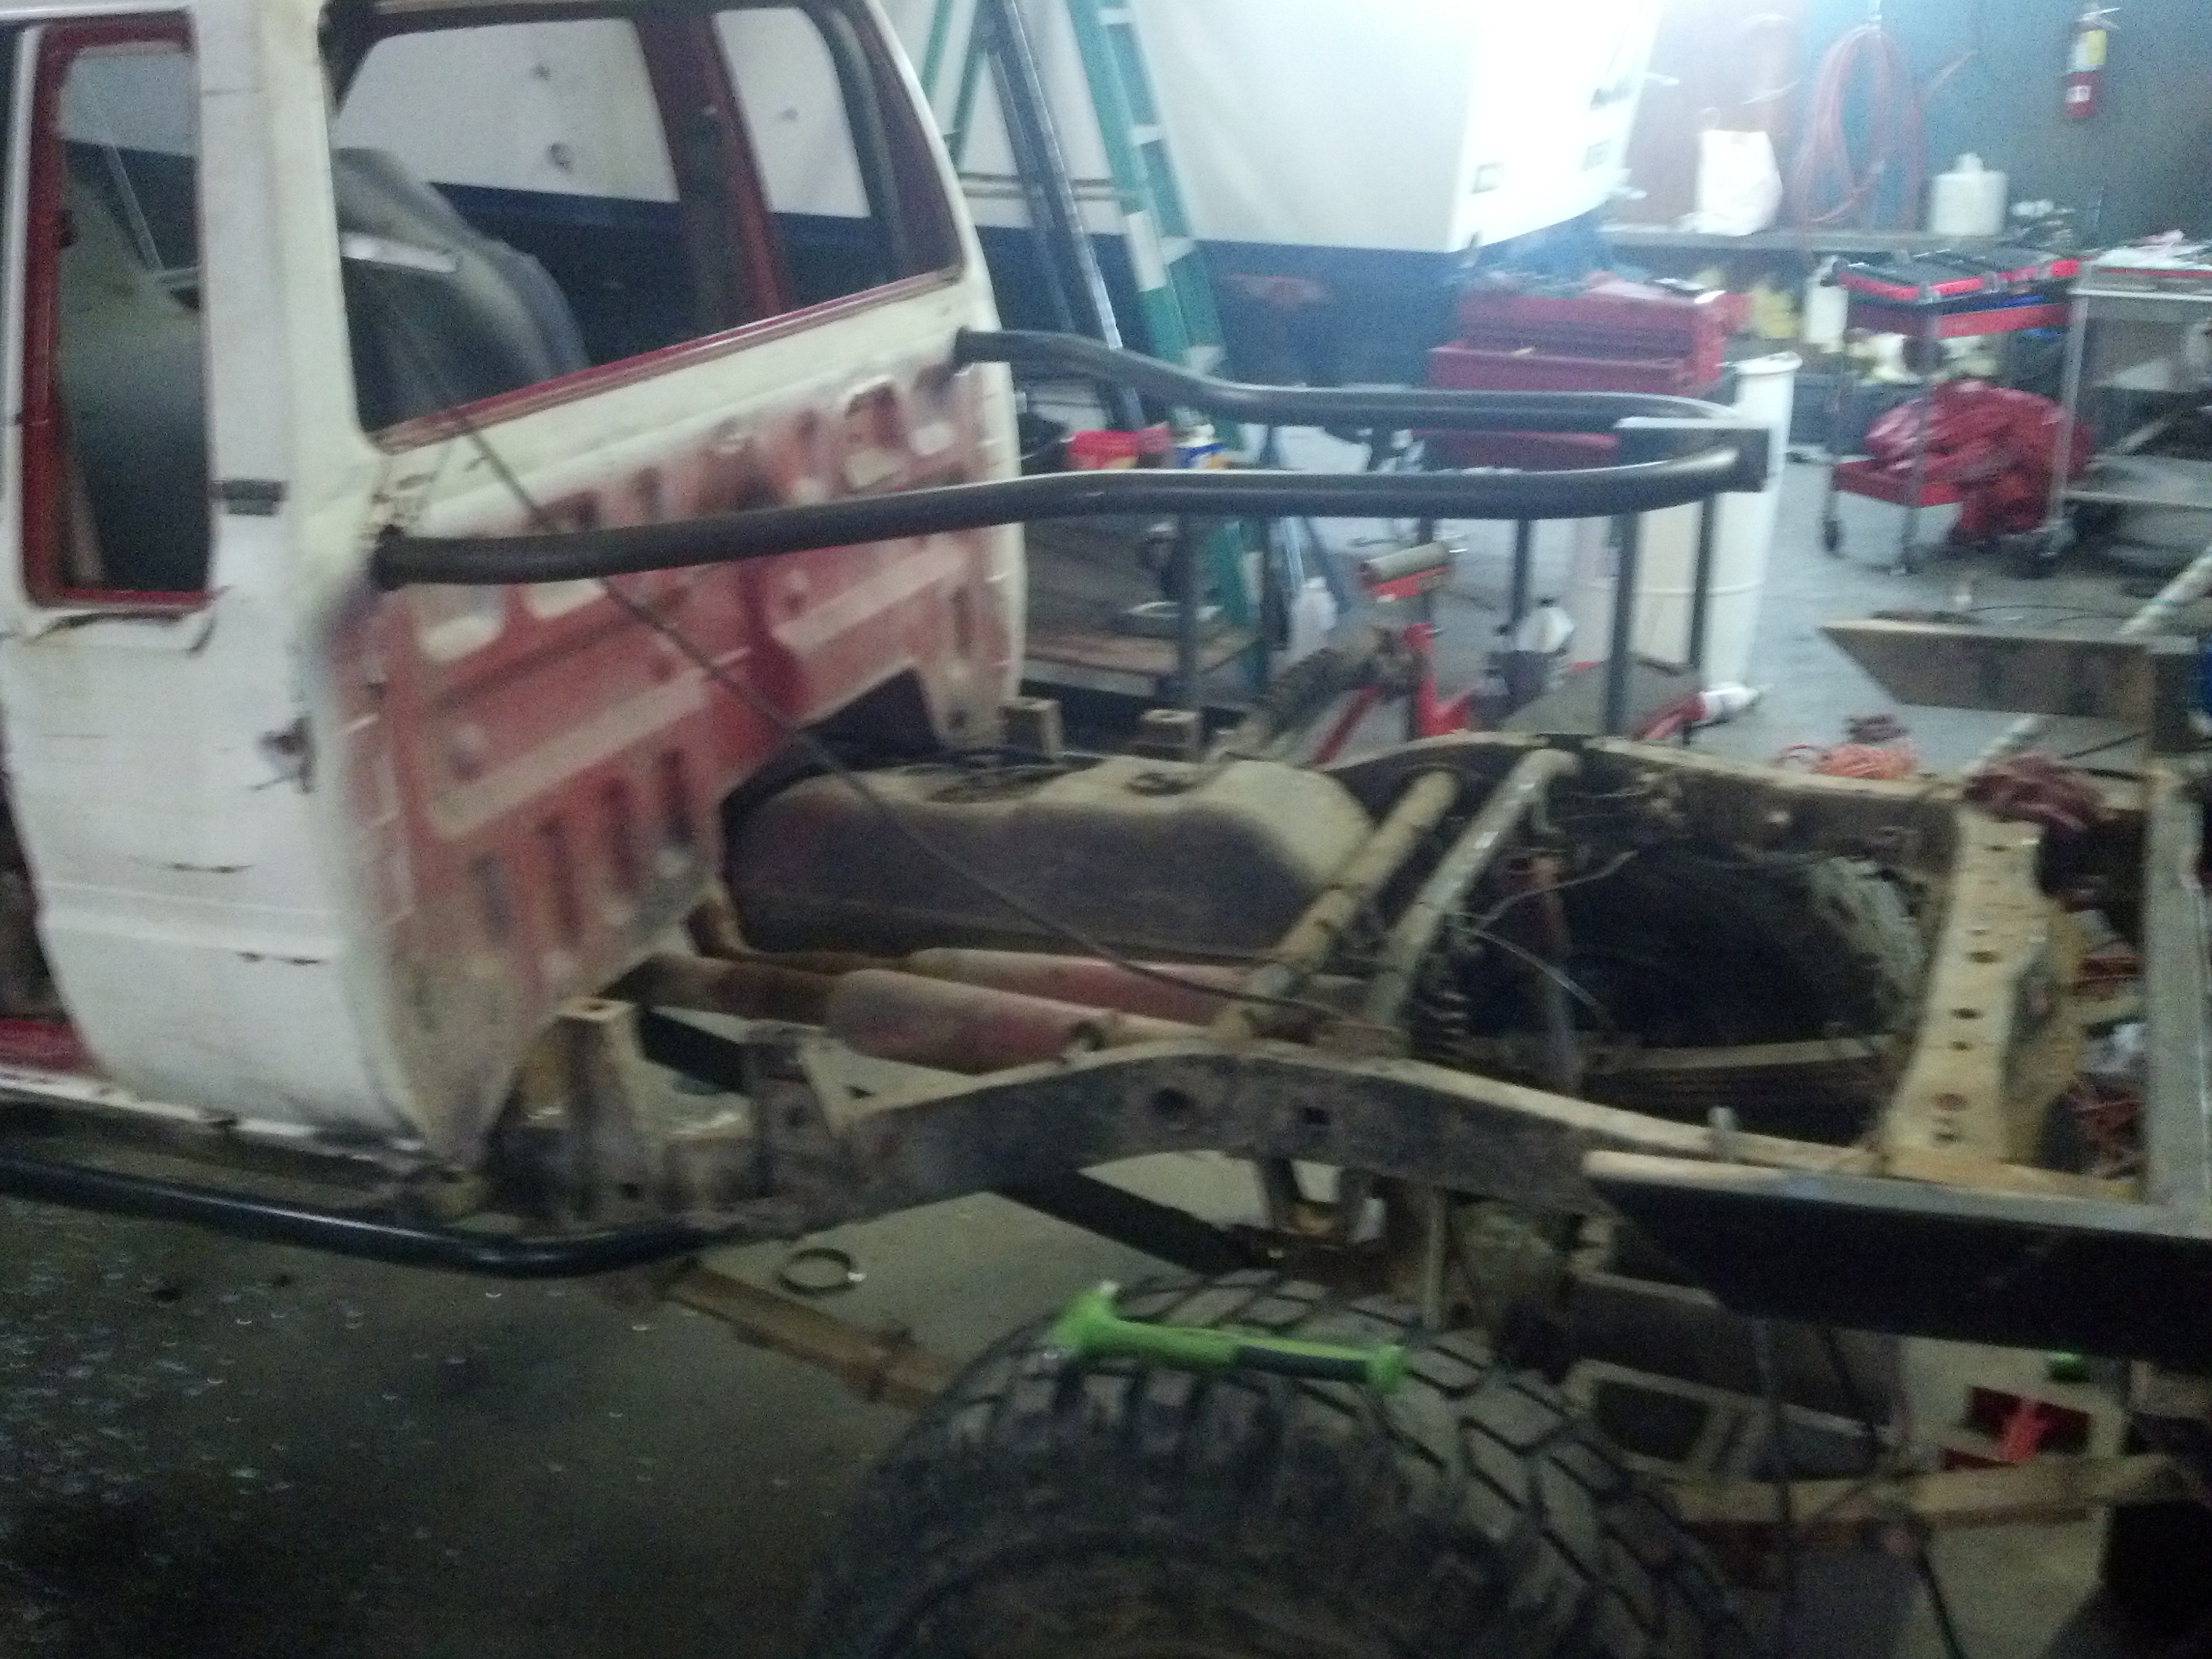
Tossed a shock on real quick., with 8" of shaft showing it will fit perfect. That will give me 8" compression and 10" of drop.

the only problem I'm going to have is the driveshaft will go right through the crossmember/link mounts. Once I get dual cases/planetary box it will clear but until then I'm thinking about running a two piece rear shaft with a carrier bearing mounted on the link cross member. Thoughts?
Cracked frame, I knew it was rusted but was hoping it would last a bit longer...
Also need to do something about these silly gears....
I thought I busted some teeth off when I broke the u-joint... Confirmed....
Pallet of fun to fix the frame issue
Also while starting a project why not just go full bore on it. Got a 4.3 out of a 97 1500. Bought truck for $400, sold the tailgate for $50 and scrapped the truck for $300.... $50 4.3
Next I started the back half, trying to keep it as compact as can be.
I loving this Baileigh Industrial RDB-050, Never bent tube before do nothing to compare to but this thing is smooth, easy to use, and BEEF!
Tossed a shock on real quick., with 8" of shaft showing it will fit perfect. That will give me 8" compression and 10" of drop.
the only problem I'm going to have is the driveshaft will go right through the crossmember/link mounts. Once I get dual cases/planetary box it will clear but until then I'm thinking about running a two piece rear shaft with a carrier bearing mounted on the link cross member. Thoughts?
Last edited by rworegon; 07-27-2014 at 12:27 PM. Reason: Edited out * caught bu language censor.
12-20-2013, 06:34 PM
#13
Registered User
Thread Starter
Join Date: Jul 2005
Posts: 124
Likes: 0
Received 0 Likes
on
0 Posts
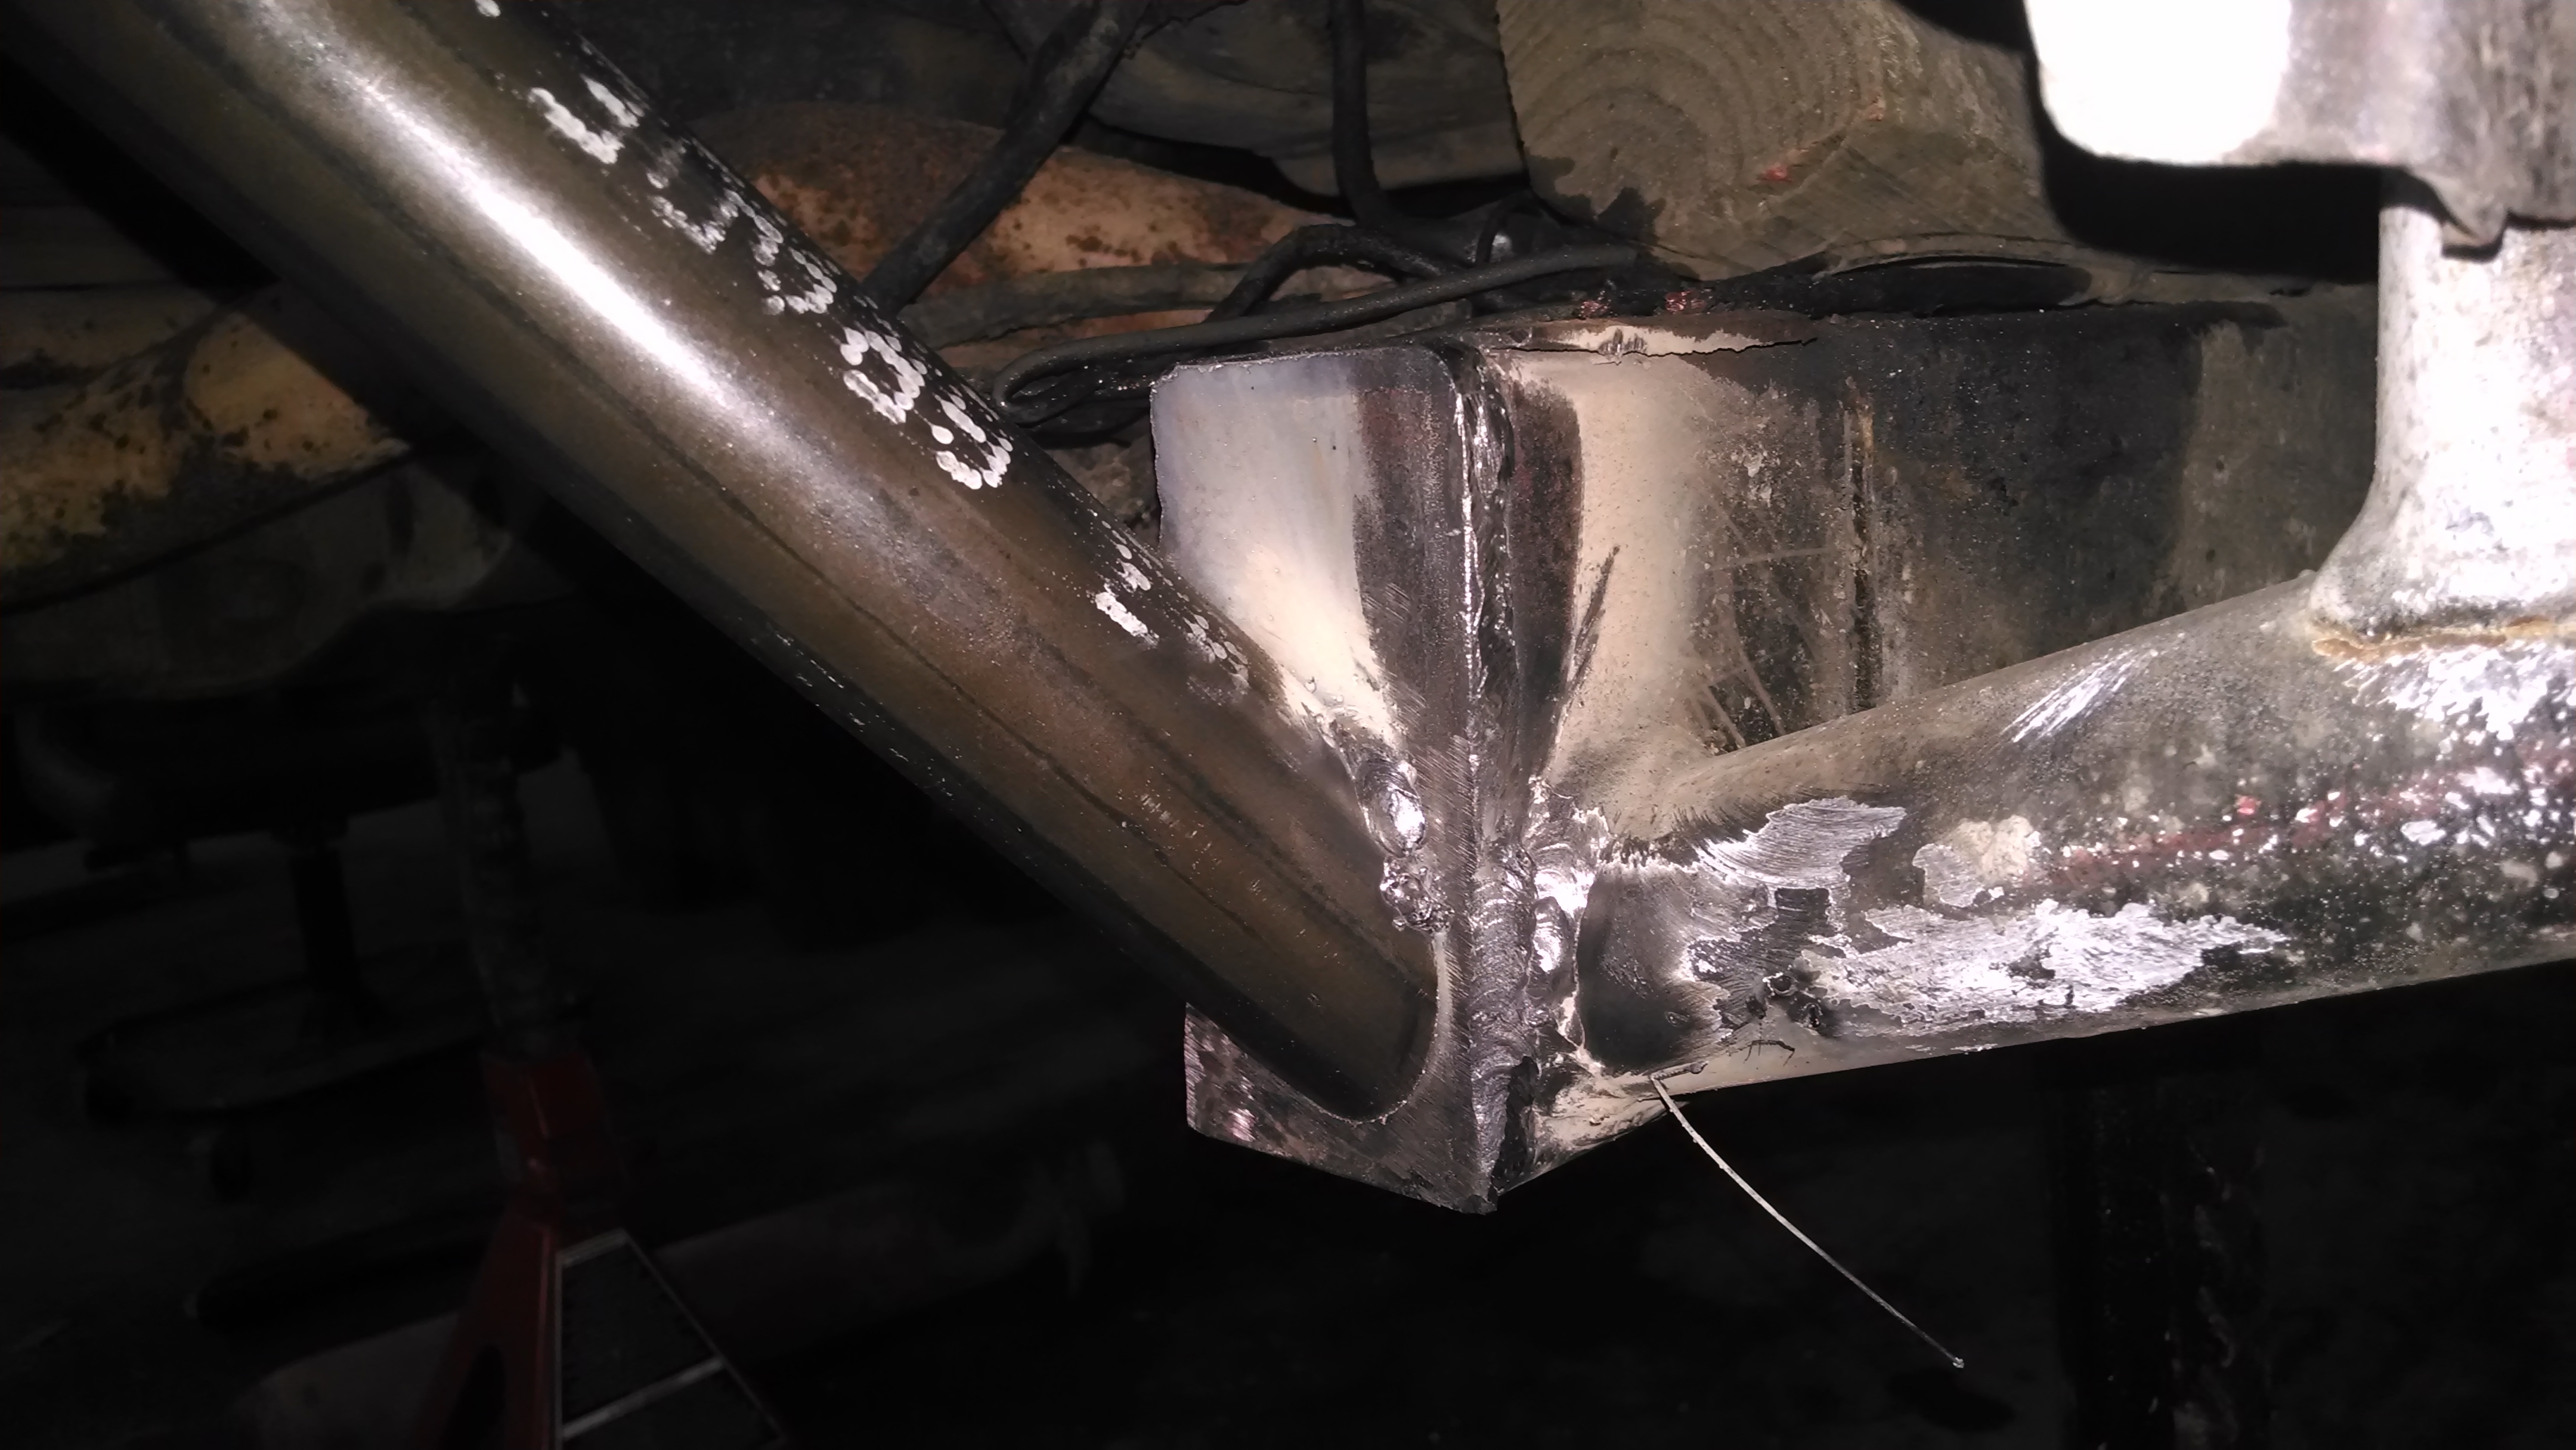
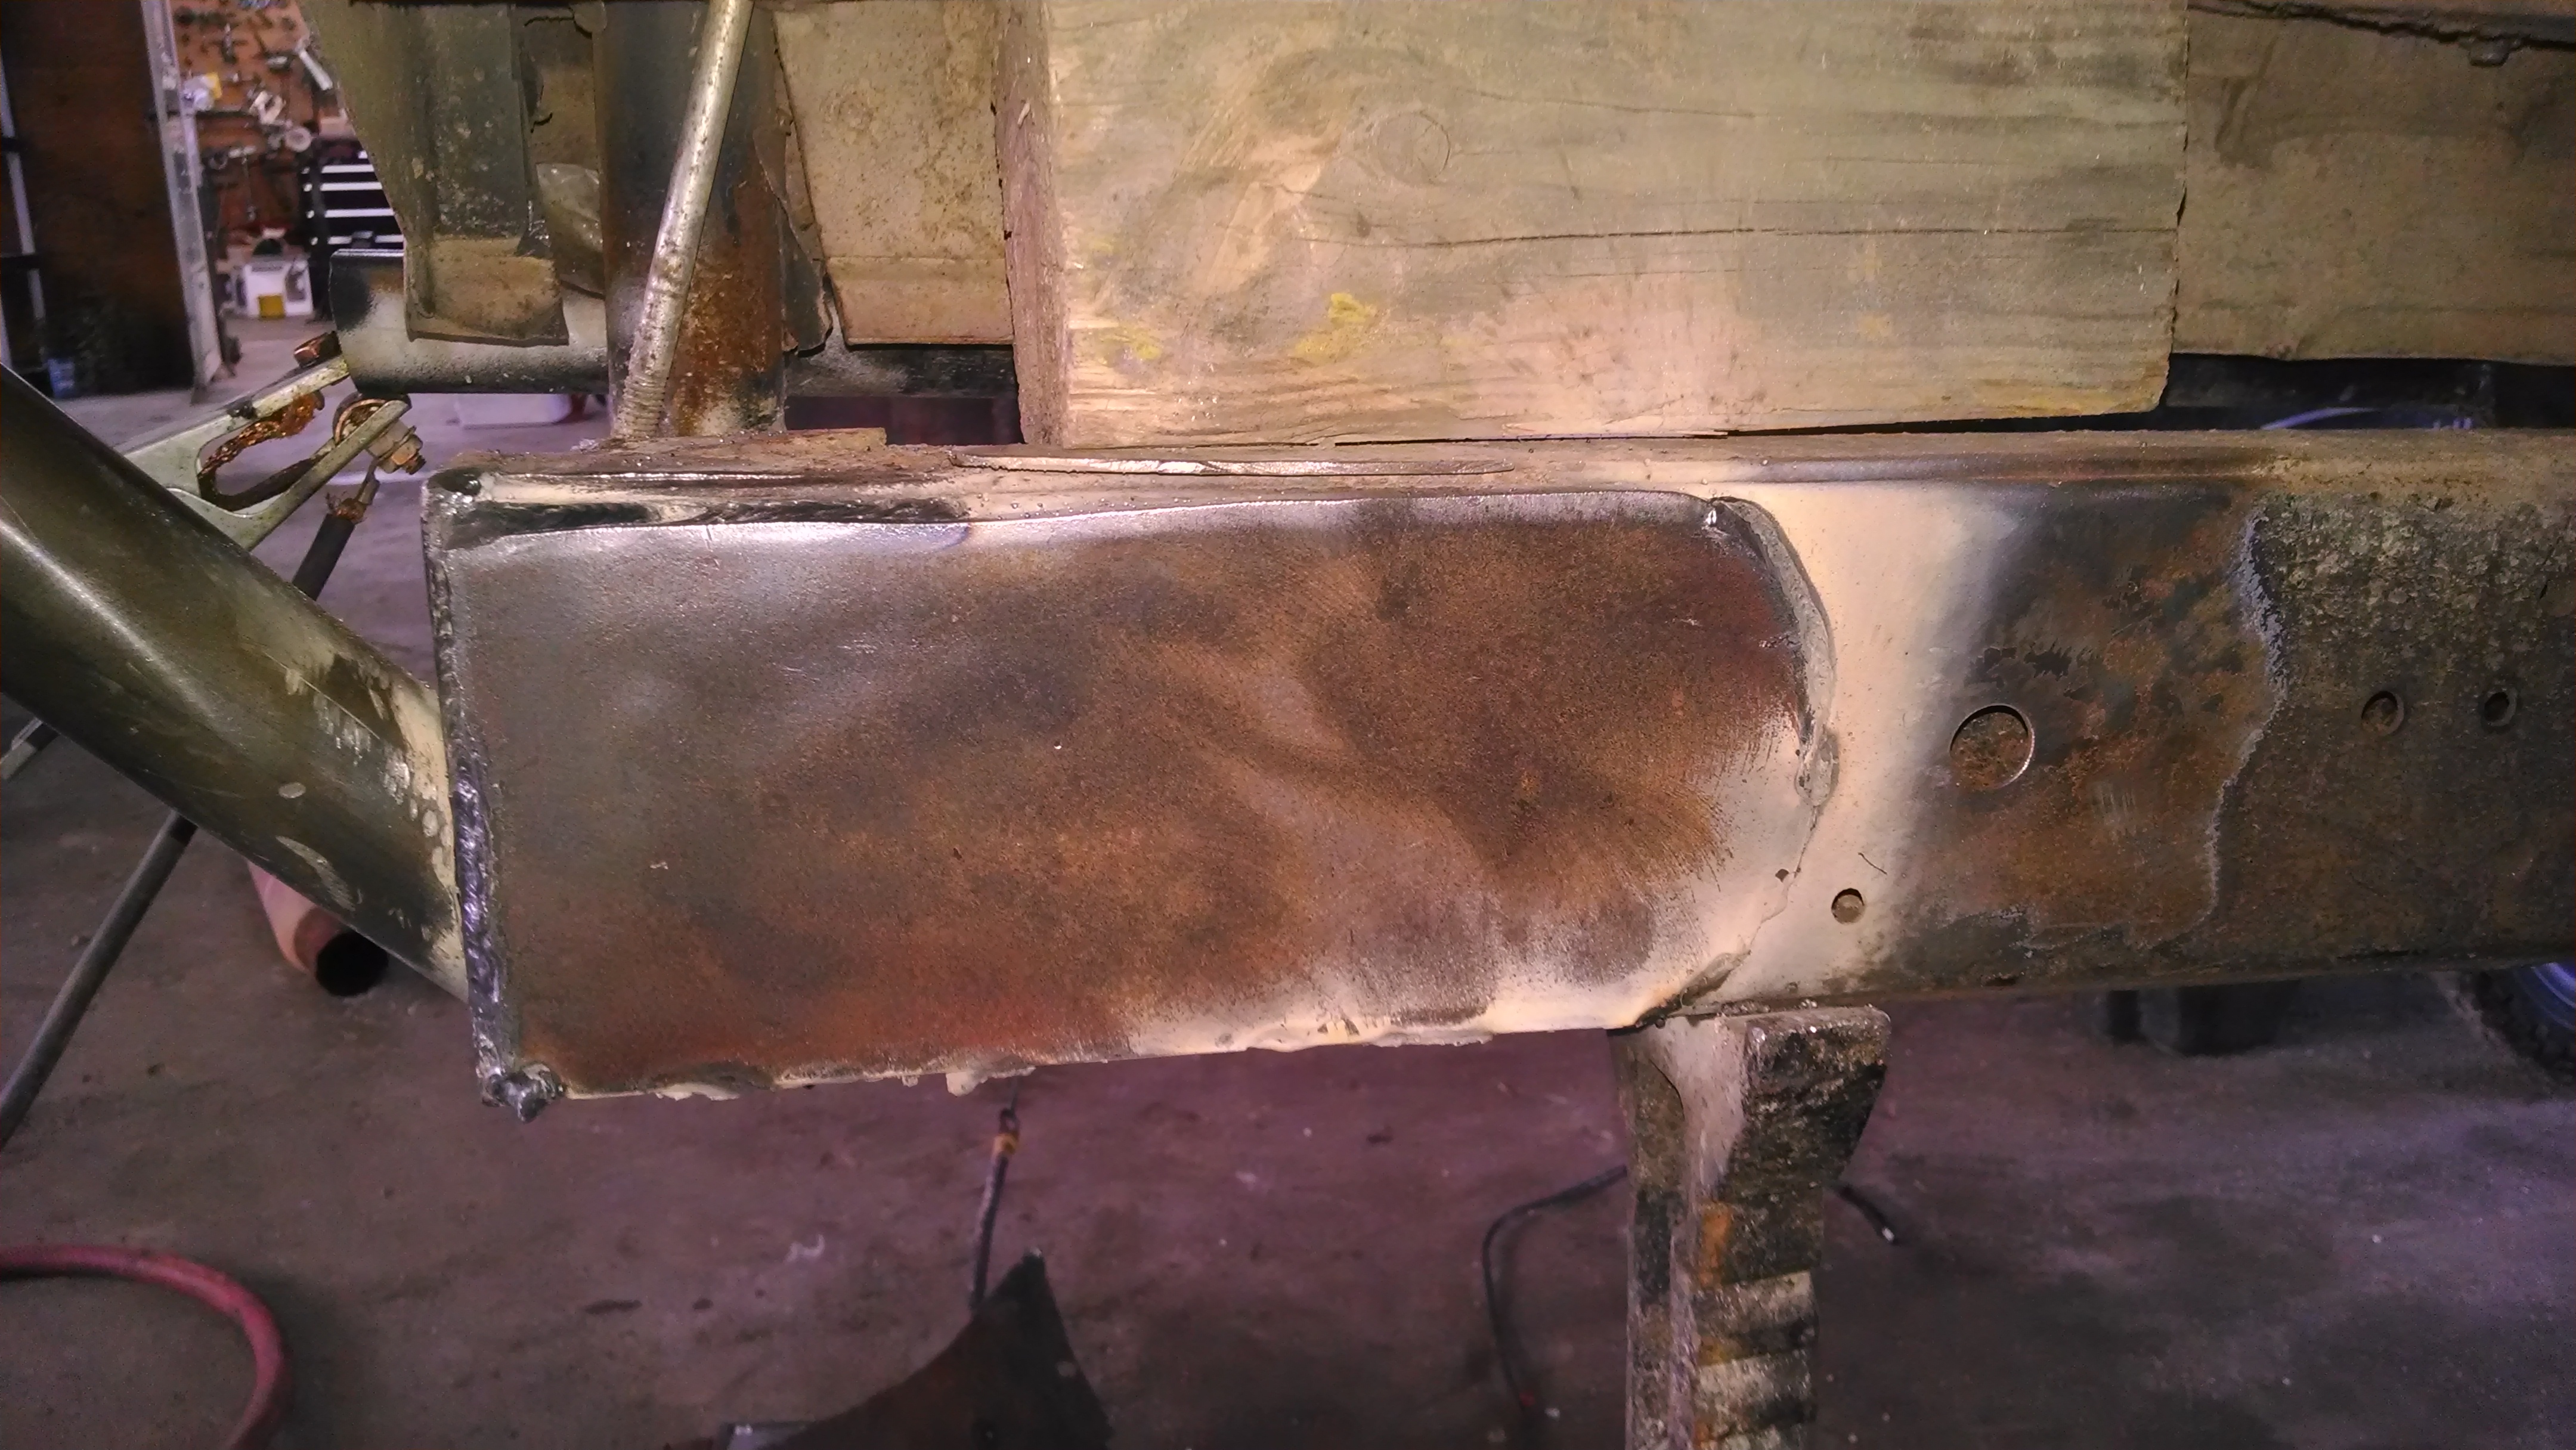
Frame conection
Also got the 4.3 cleaned up
 12-22-2013, 12:10 PM
#15
Registered User
Thread Starter
Join Date: Jul 2005
Posts: 124
Likes: 0
Received 0 Likes
on
0 Posts
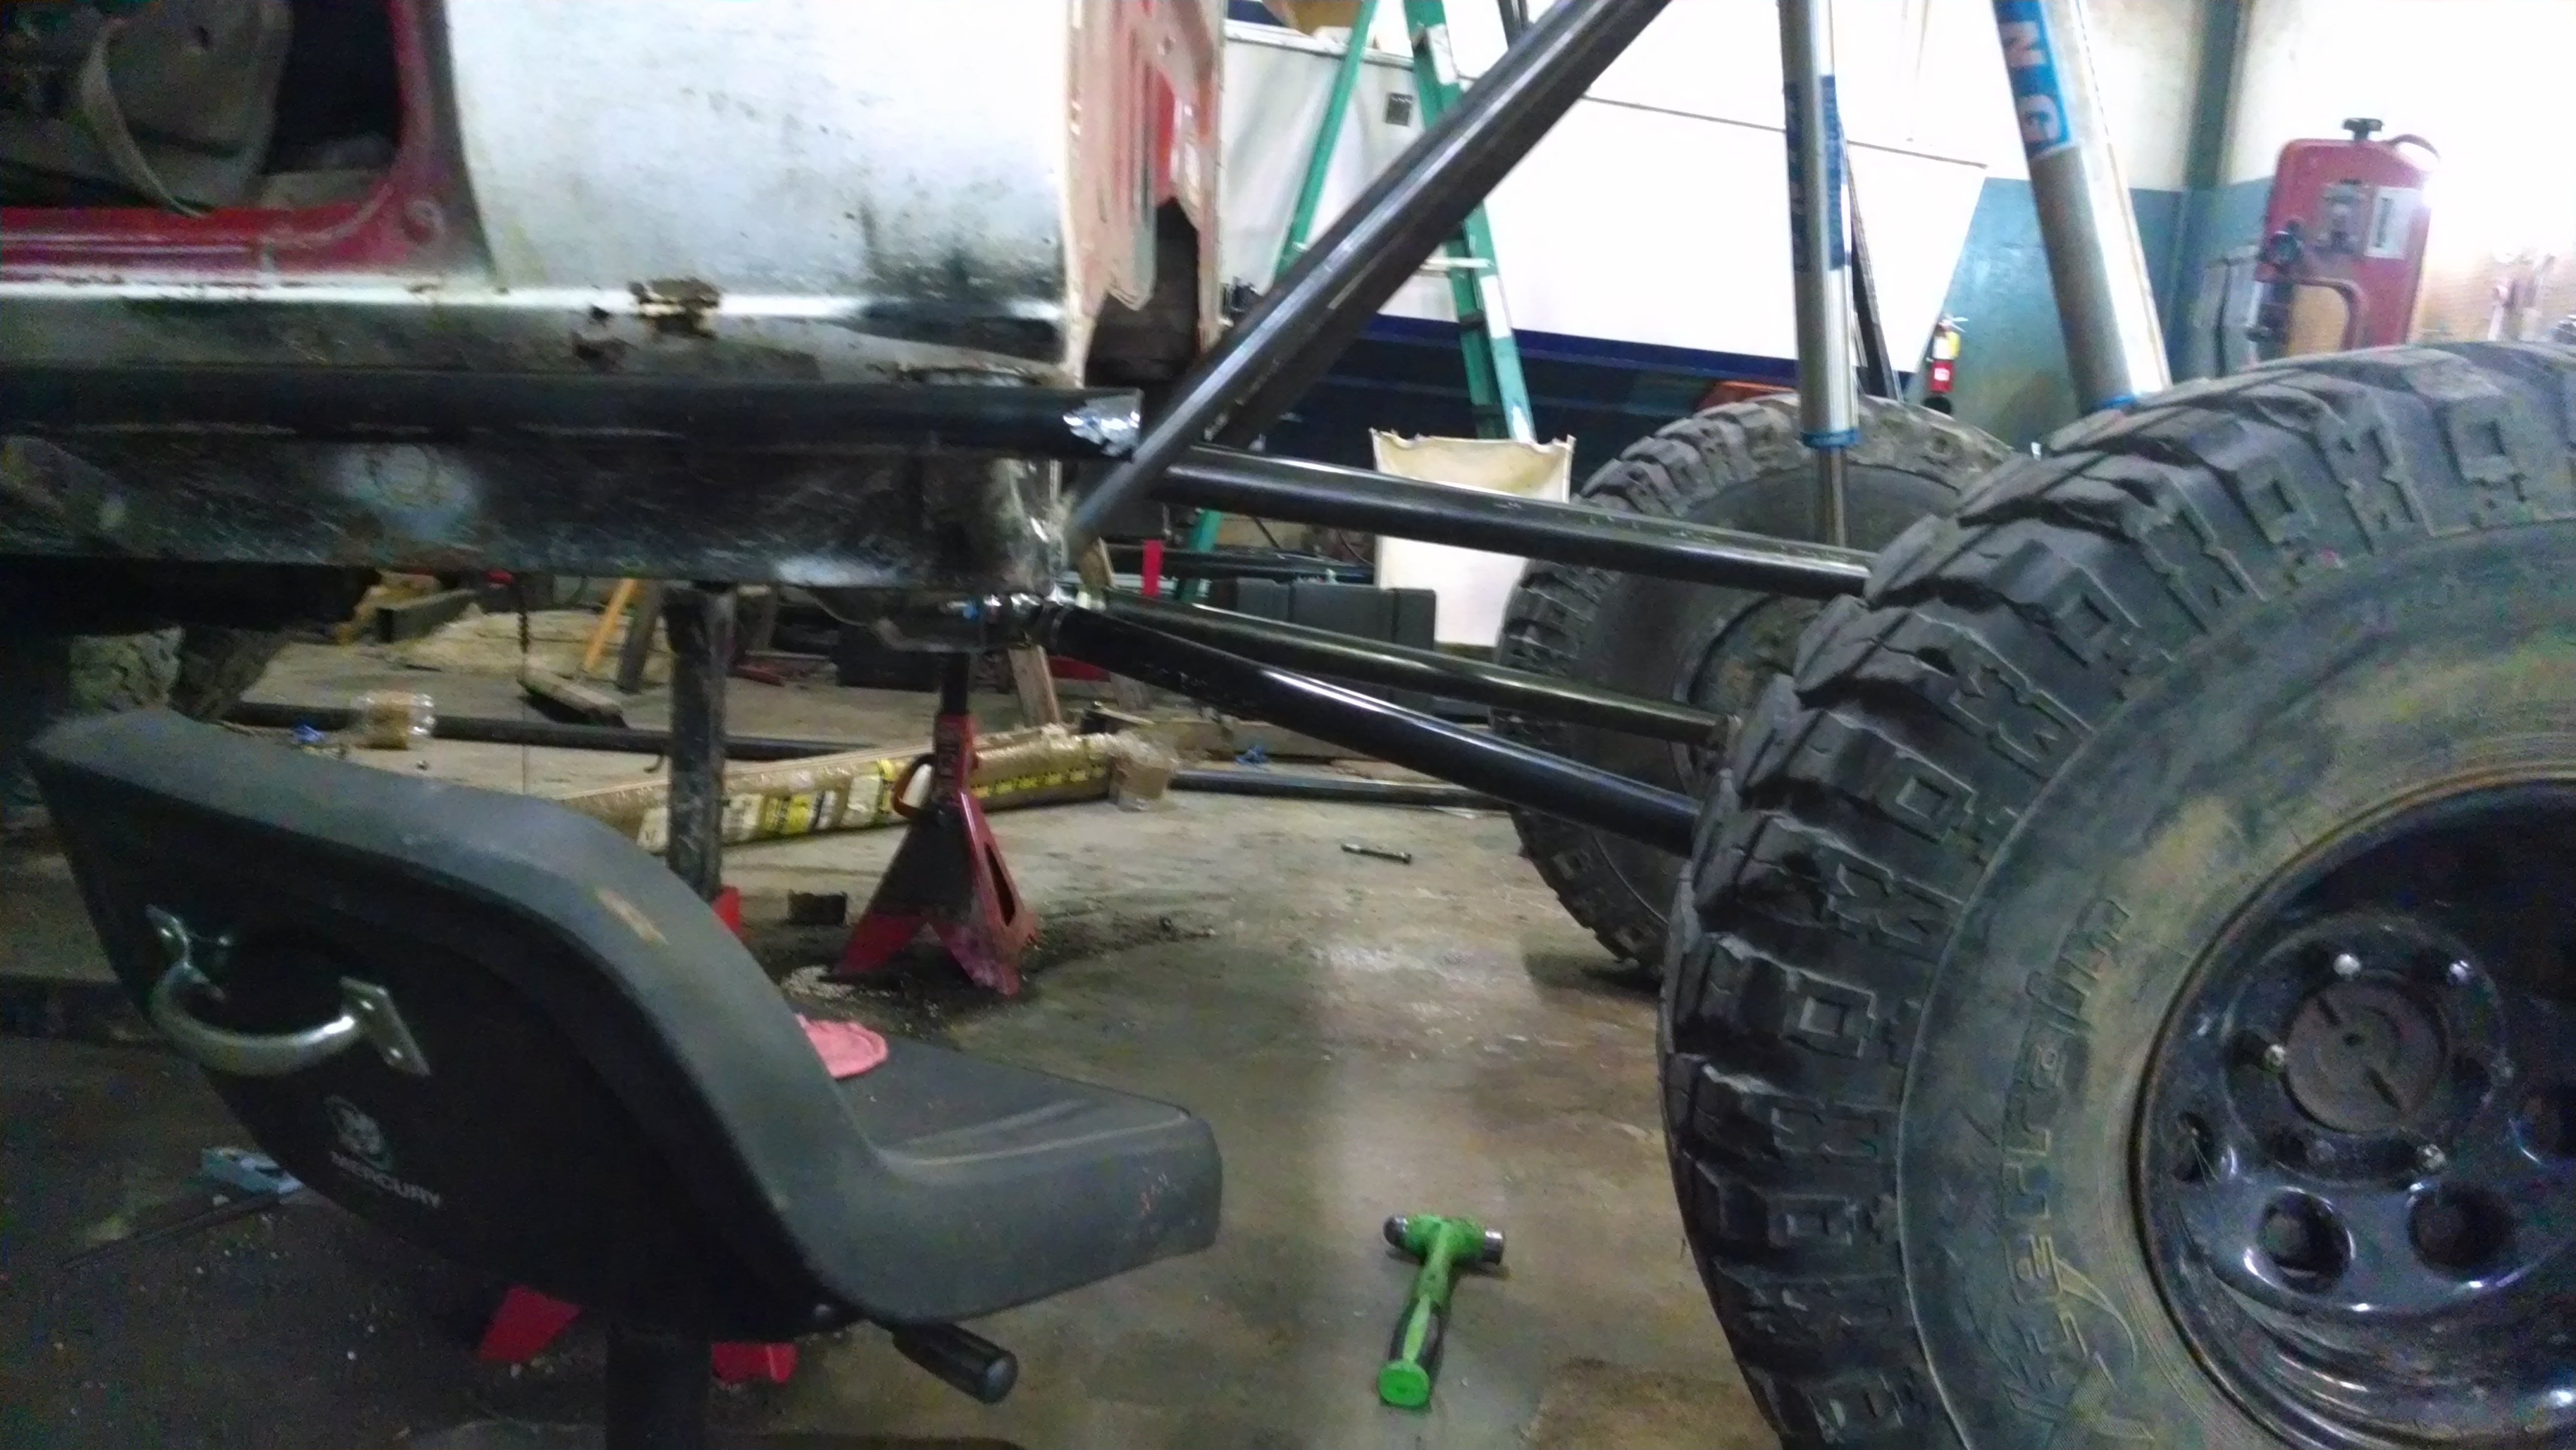
got my crossmember for the lower links in and the upper link frame and axle mounts tacked in place before running out of wire. I will say the Baileigh bender made quick work of the 1.75 .250 wall DOM I used for the crossmember. I love that damn thing!
Also got some 39.5" Iroks bye-bye ring gears...
Also got some 39.5" Iroks bye-bye ring gears...
 12-26-2013, 02:40 PM
#17
Registered User
Thread Starter
Join Date: Jul 2005
Posts: 124
Likes: 0
Received 0 Likes
on
0 Posts
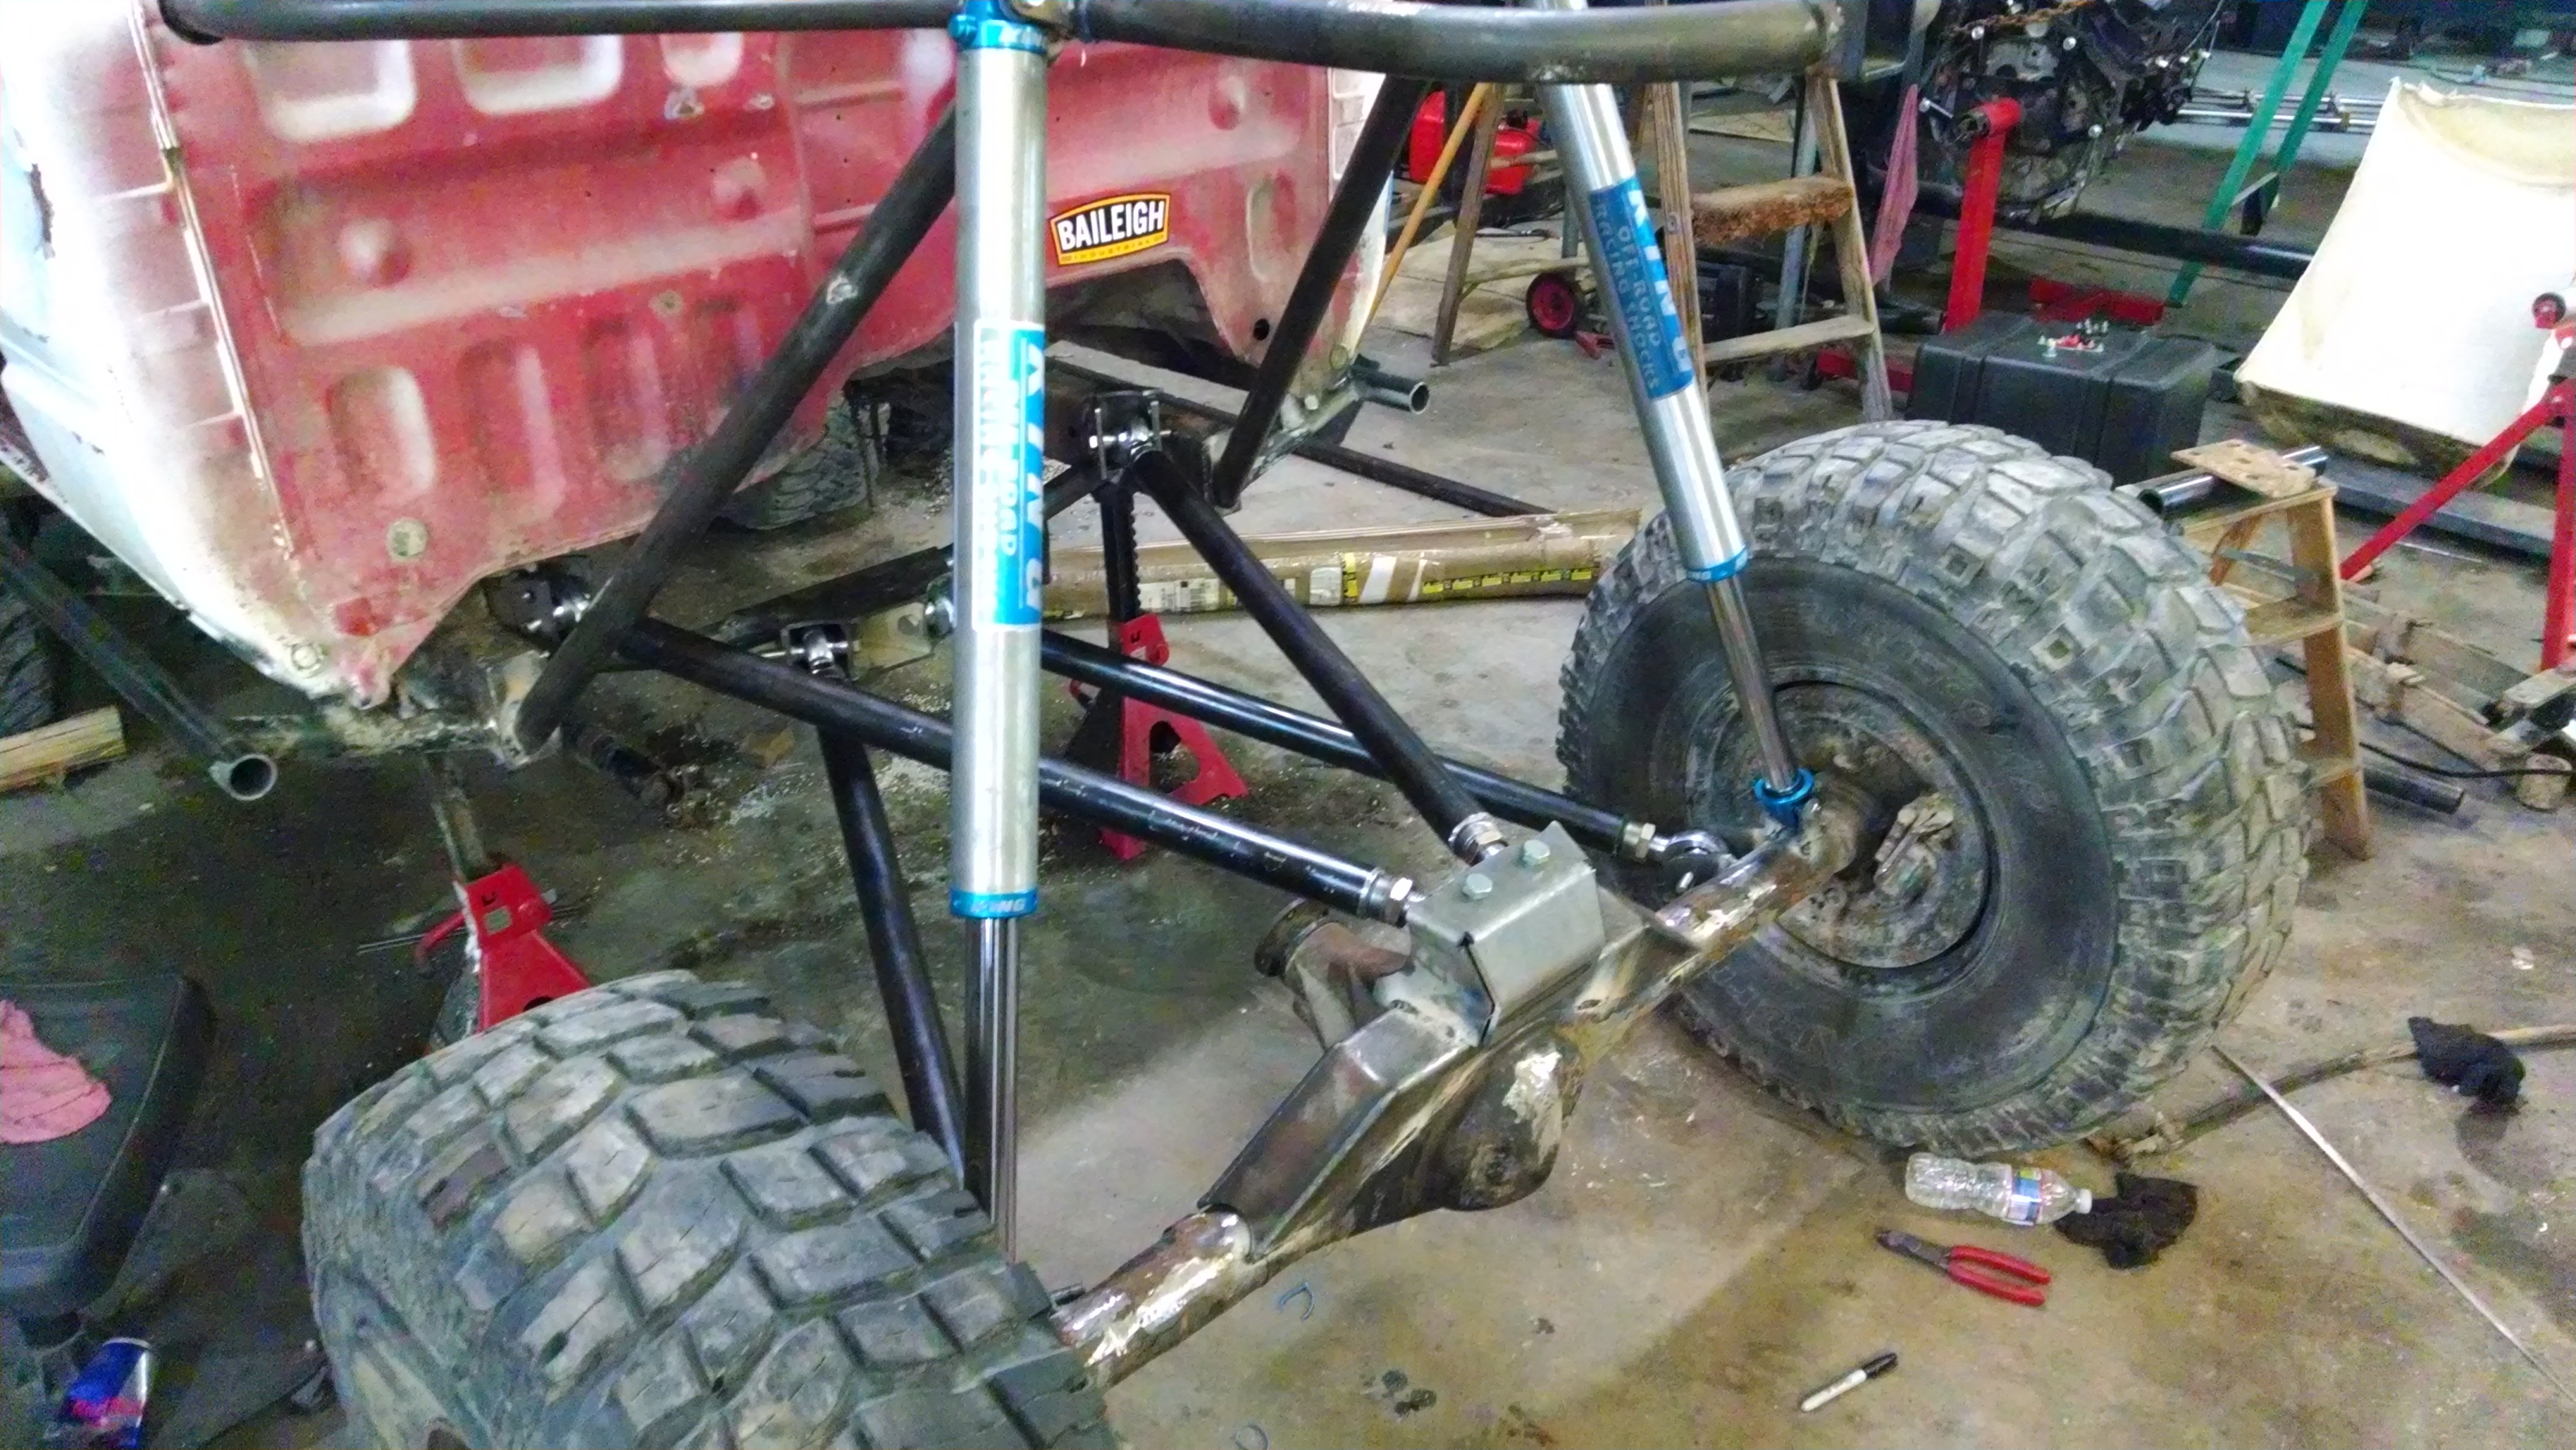
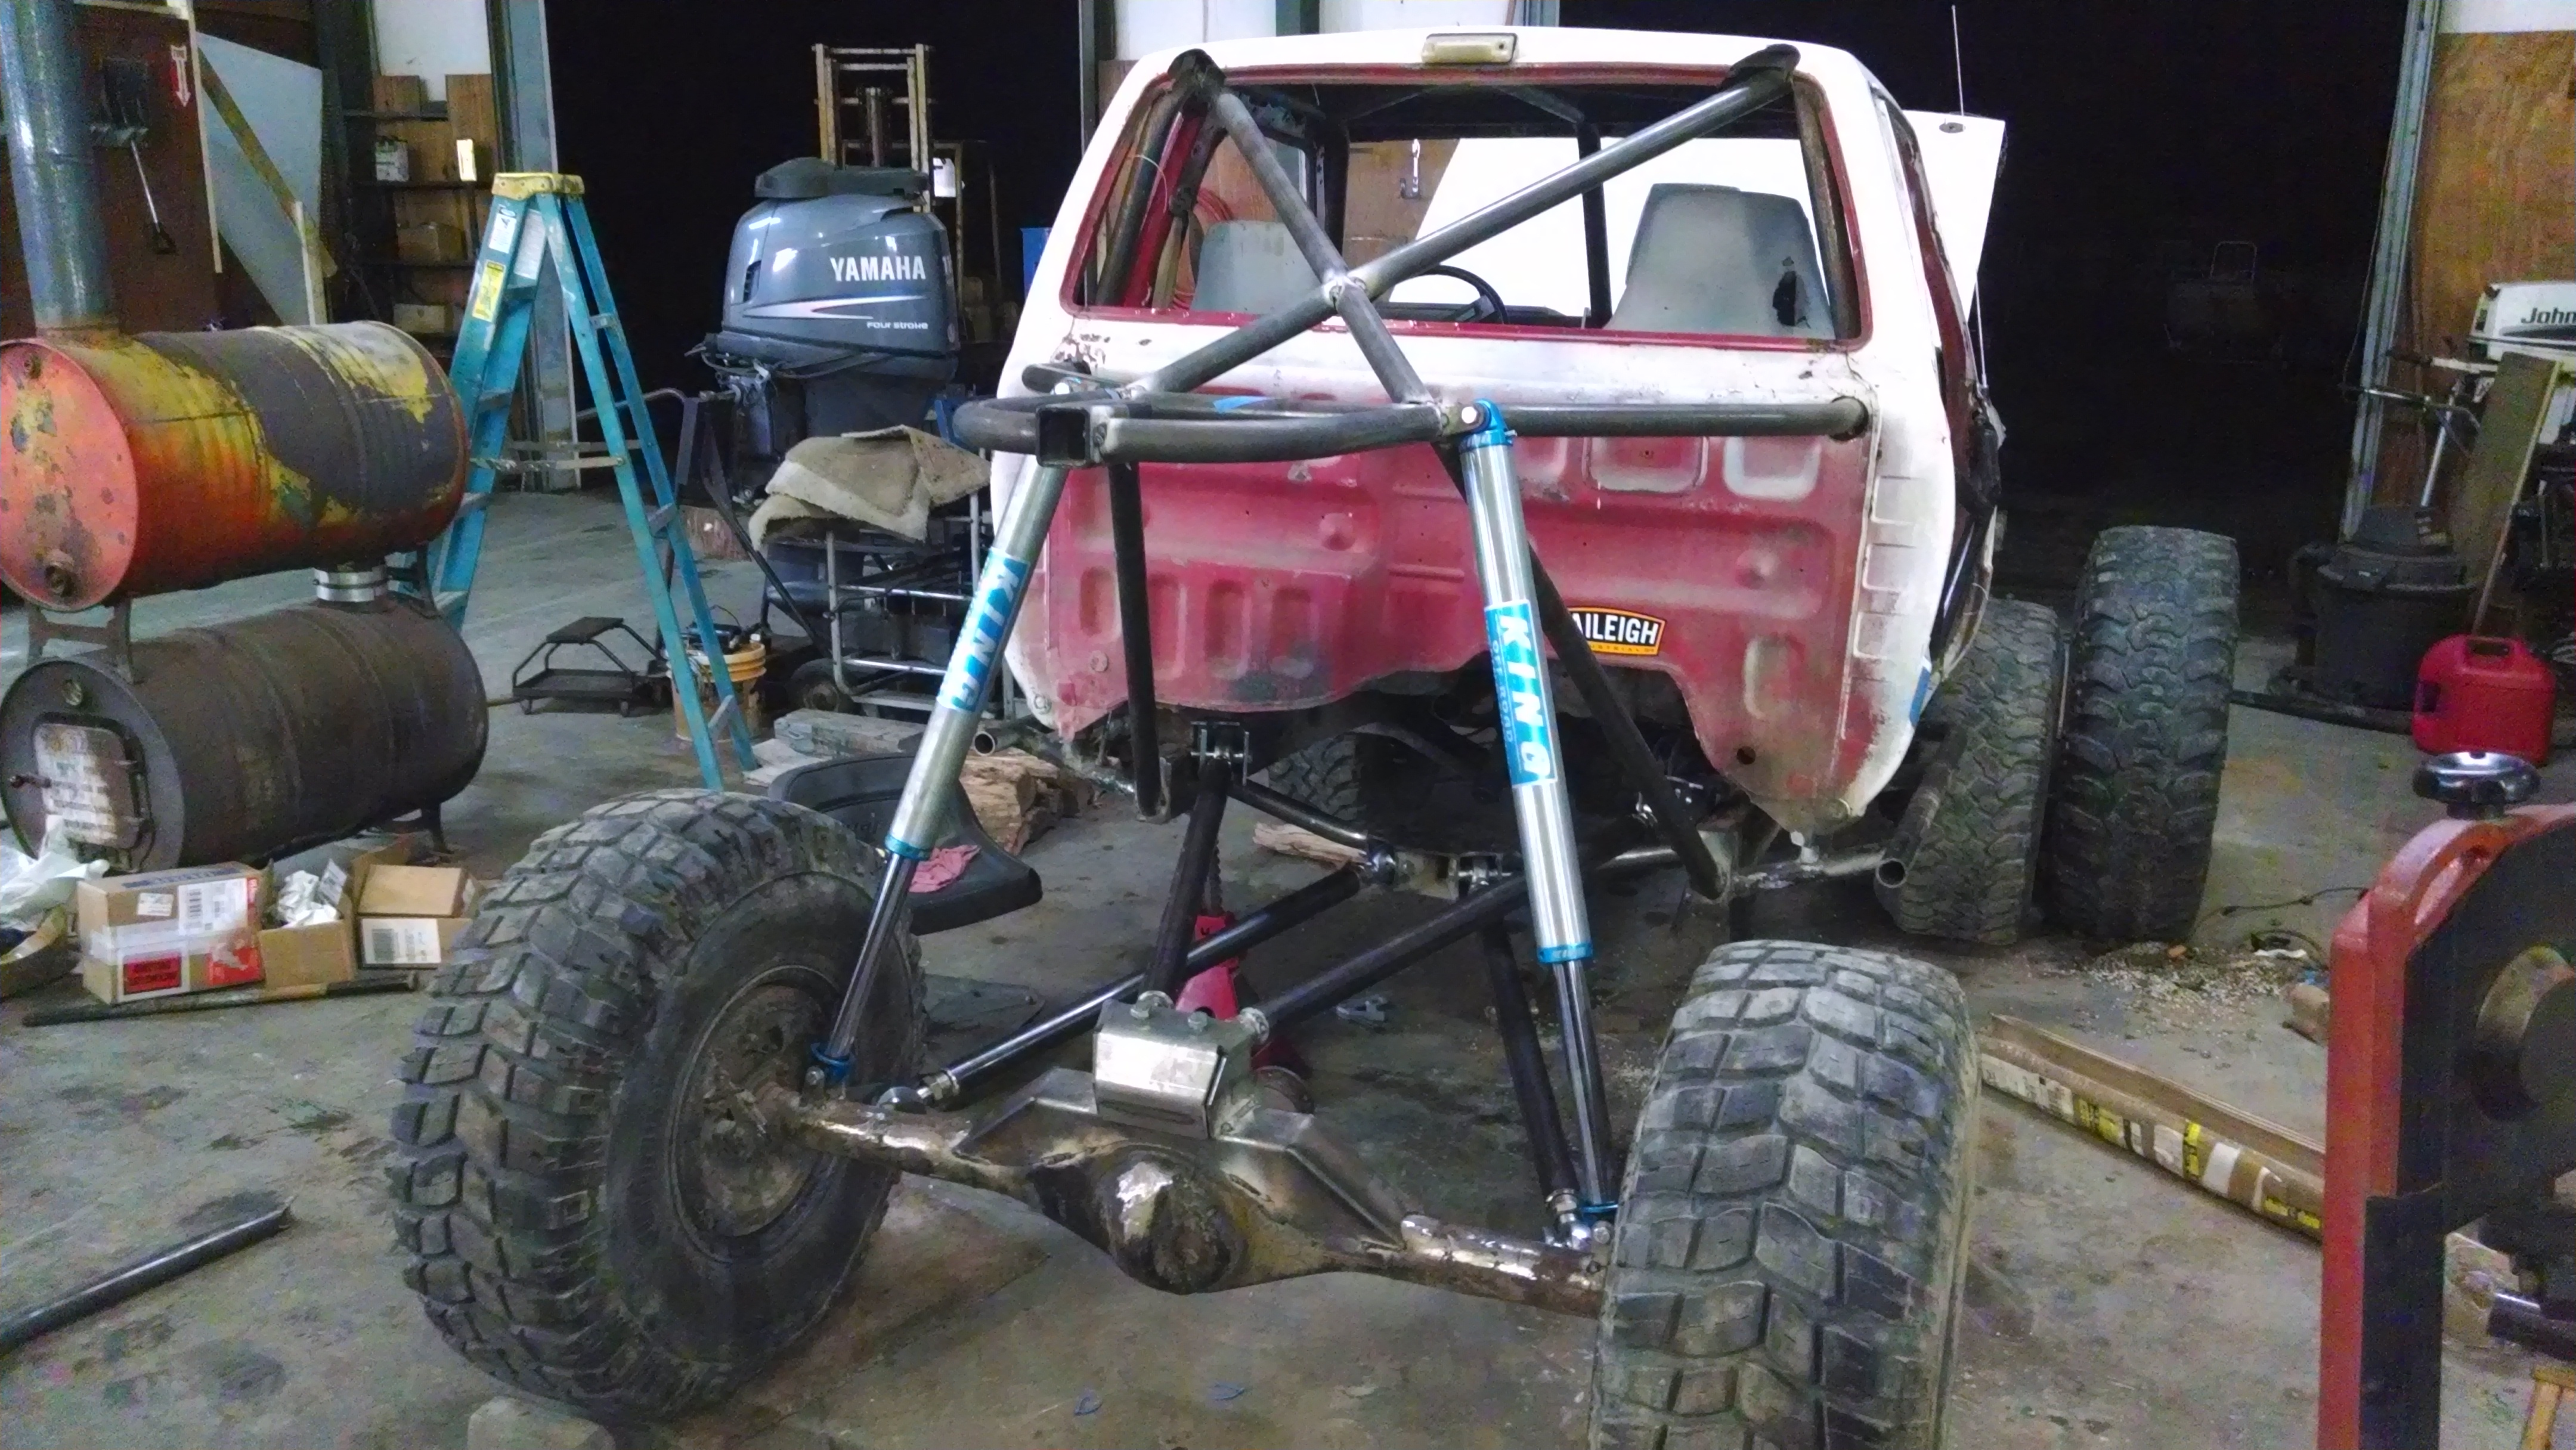
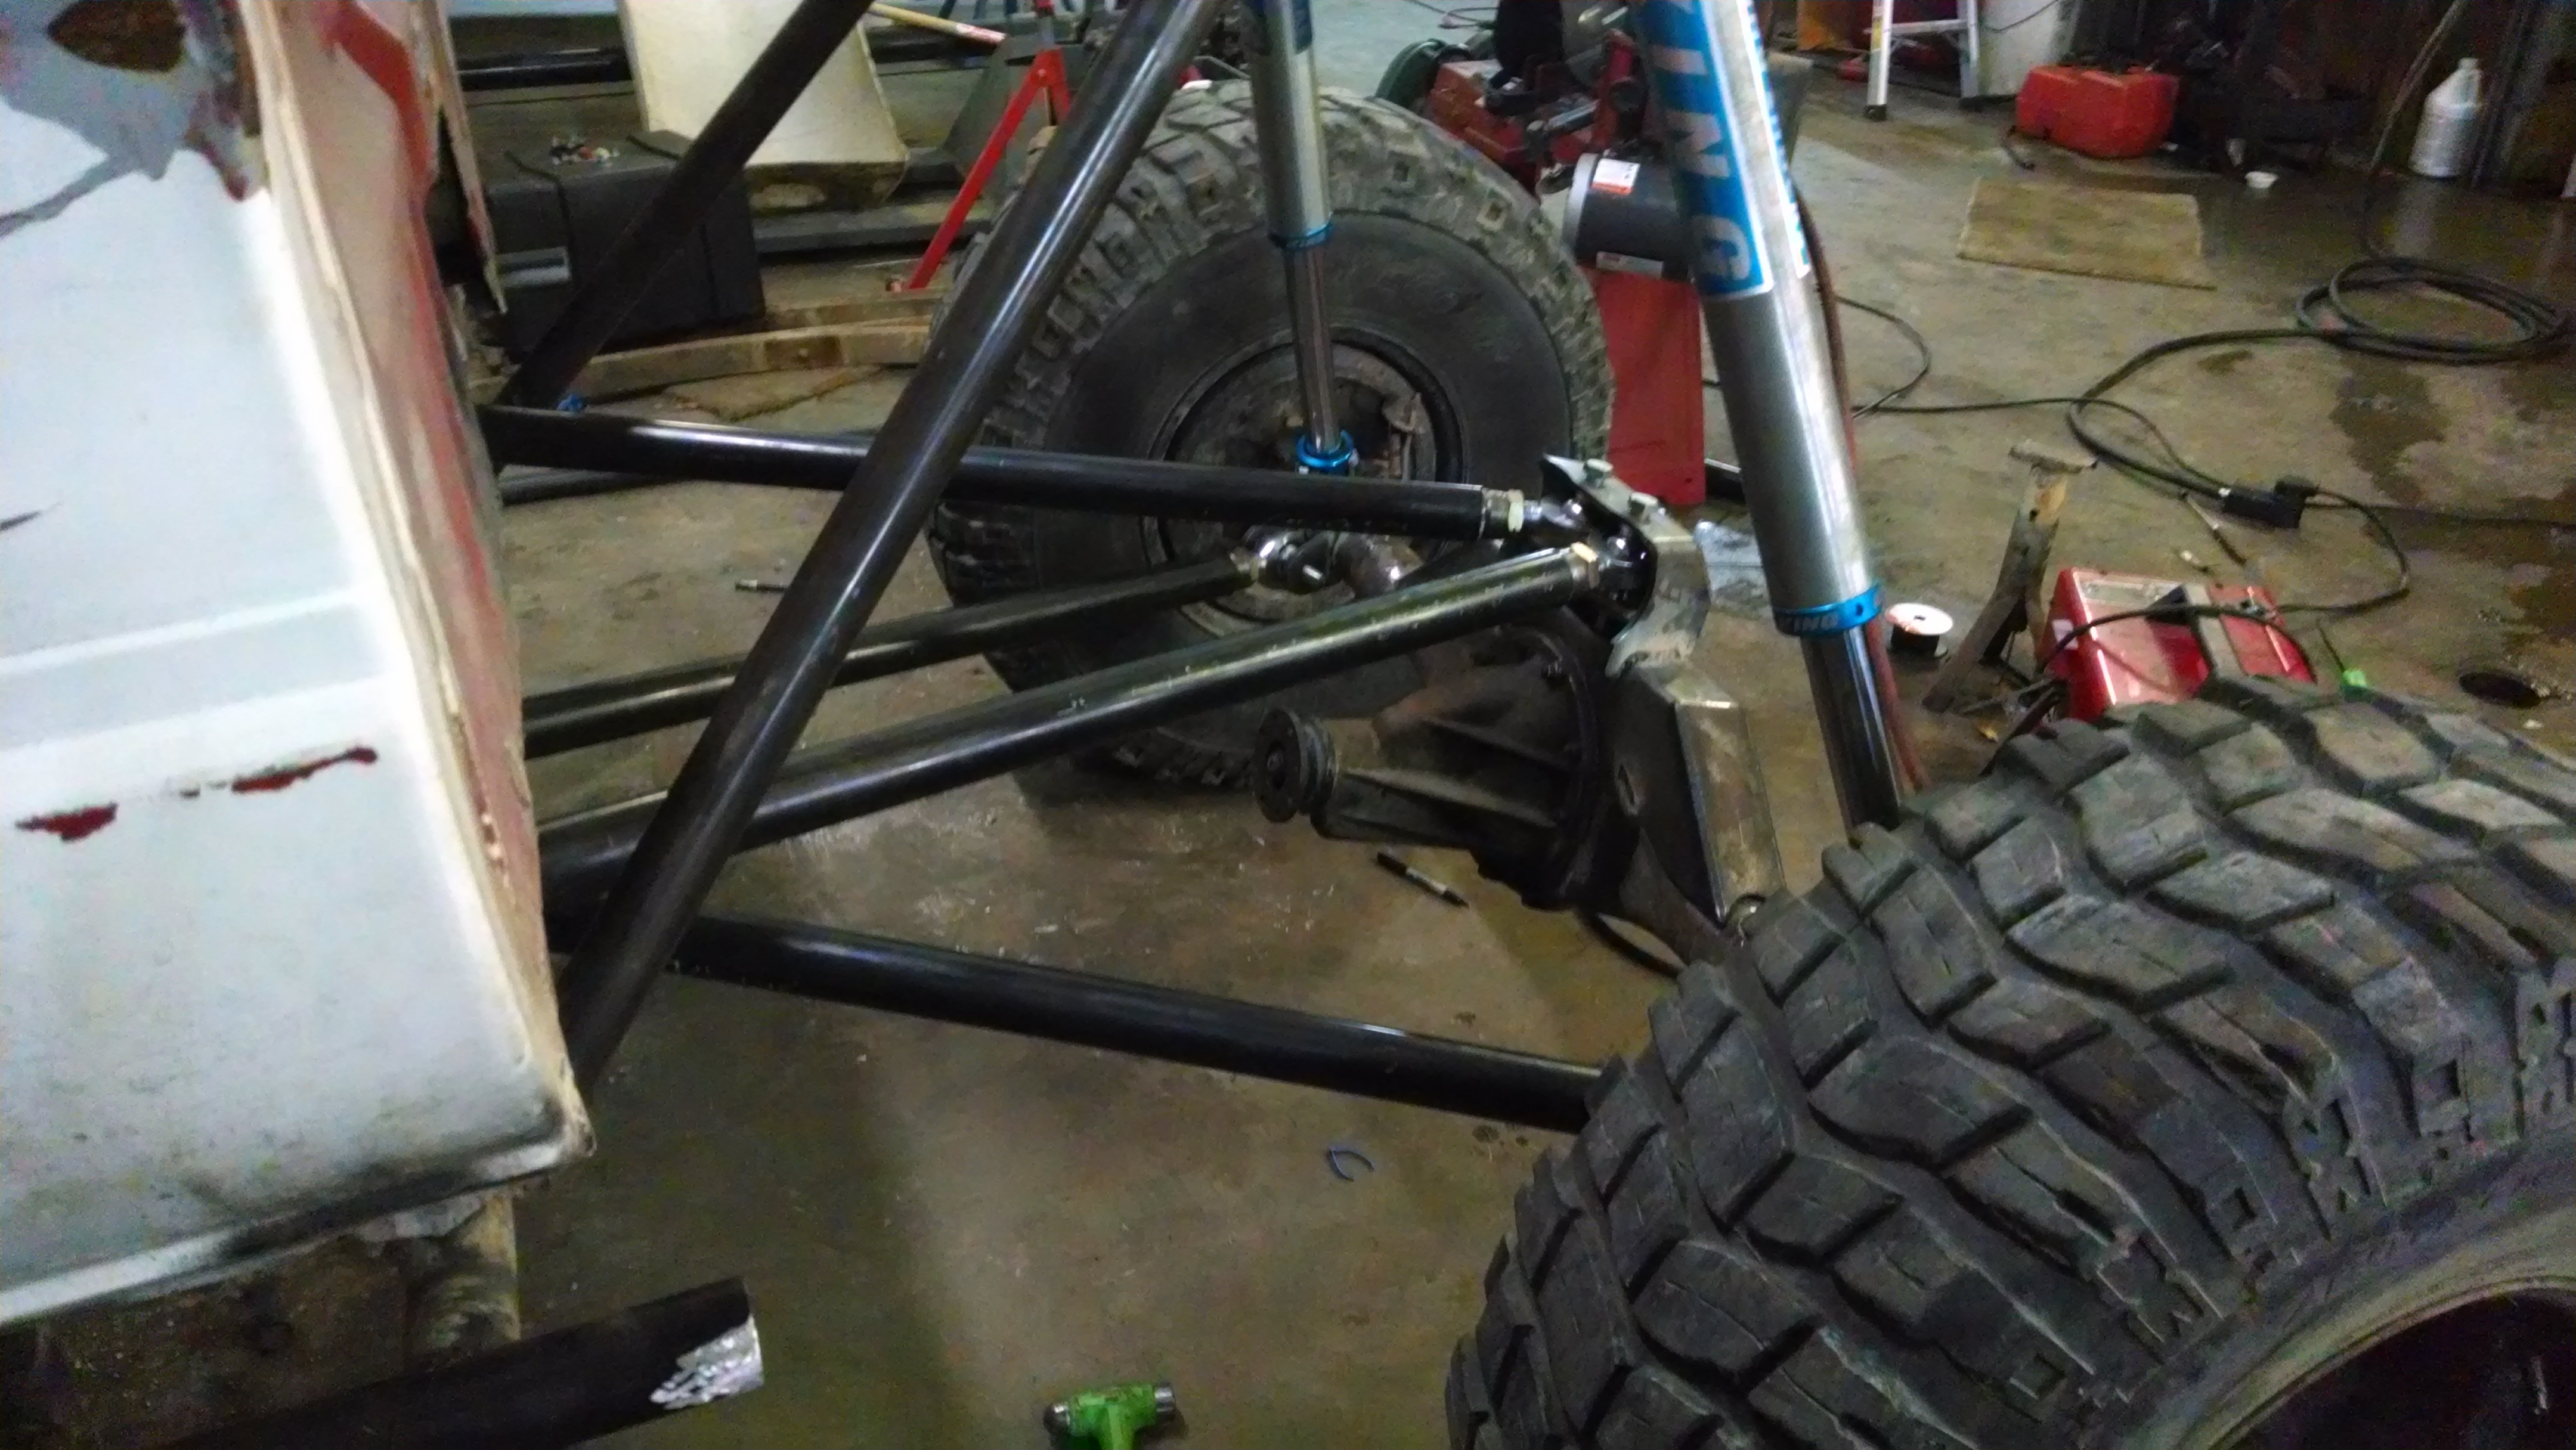
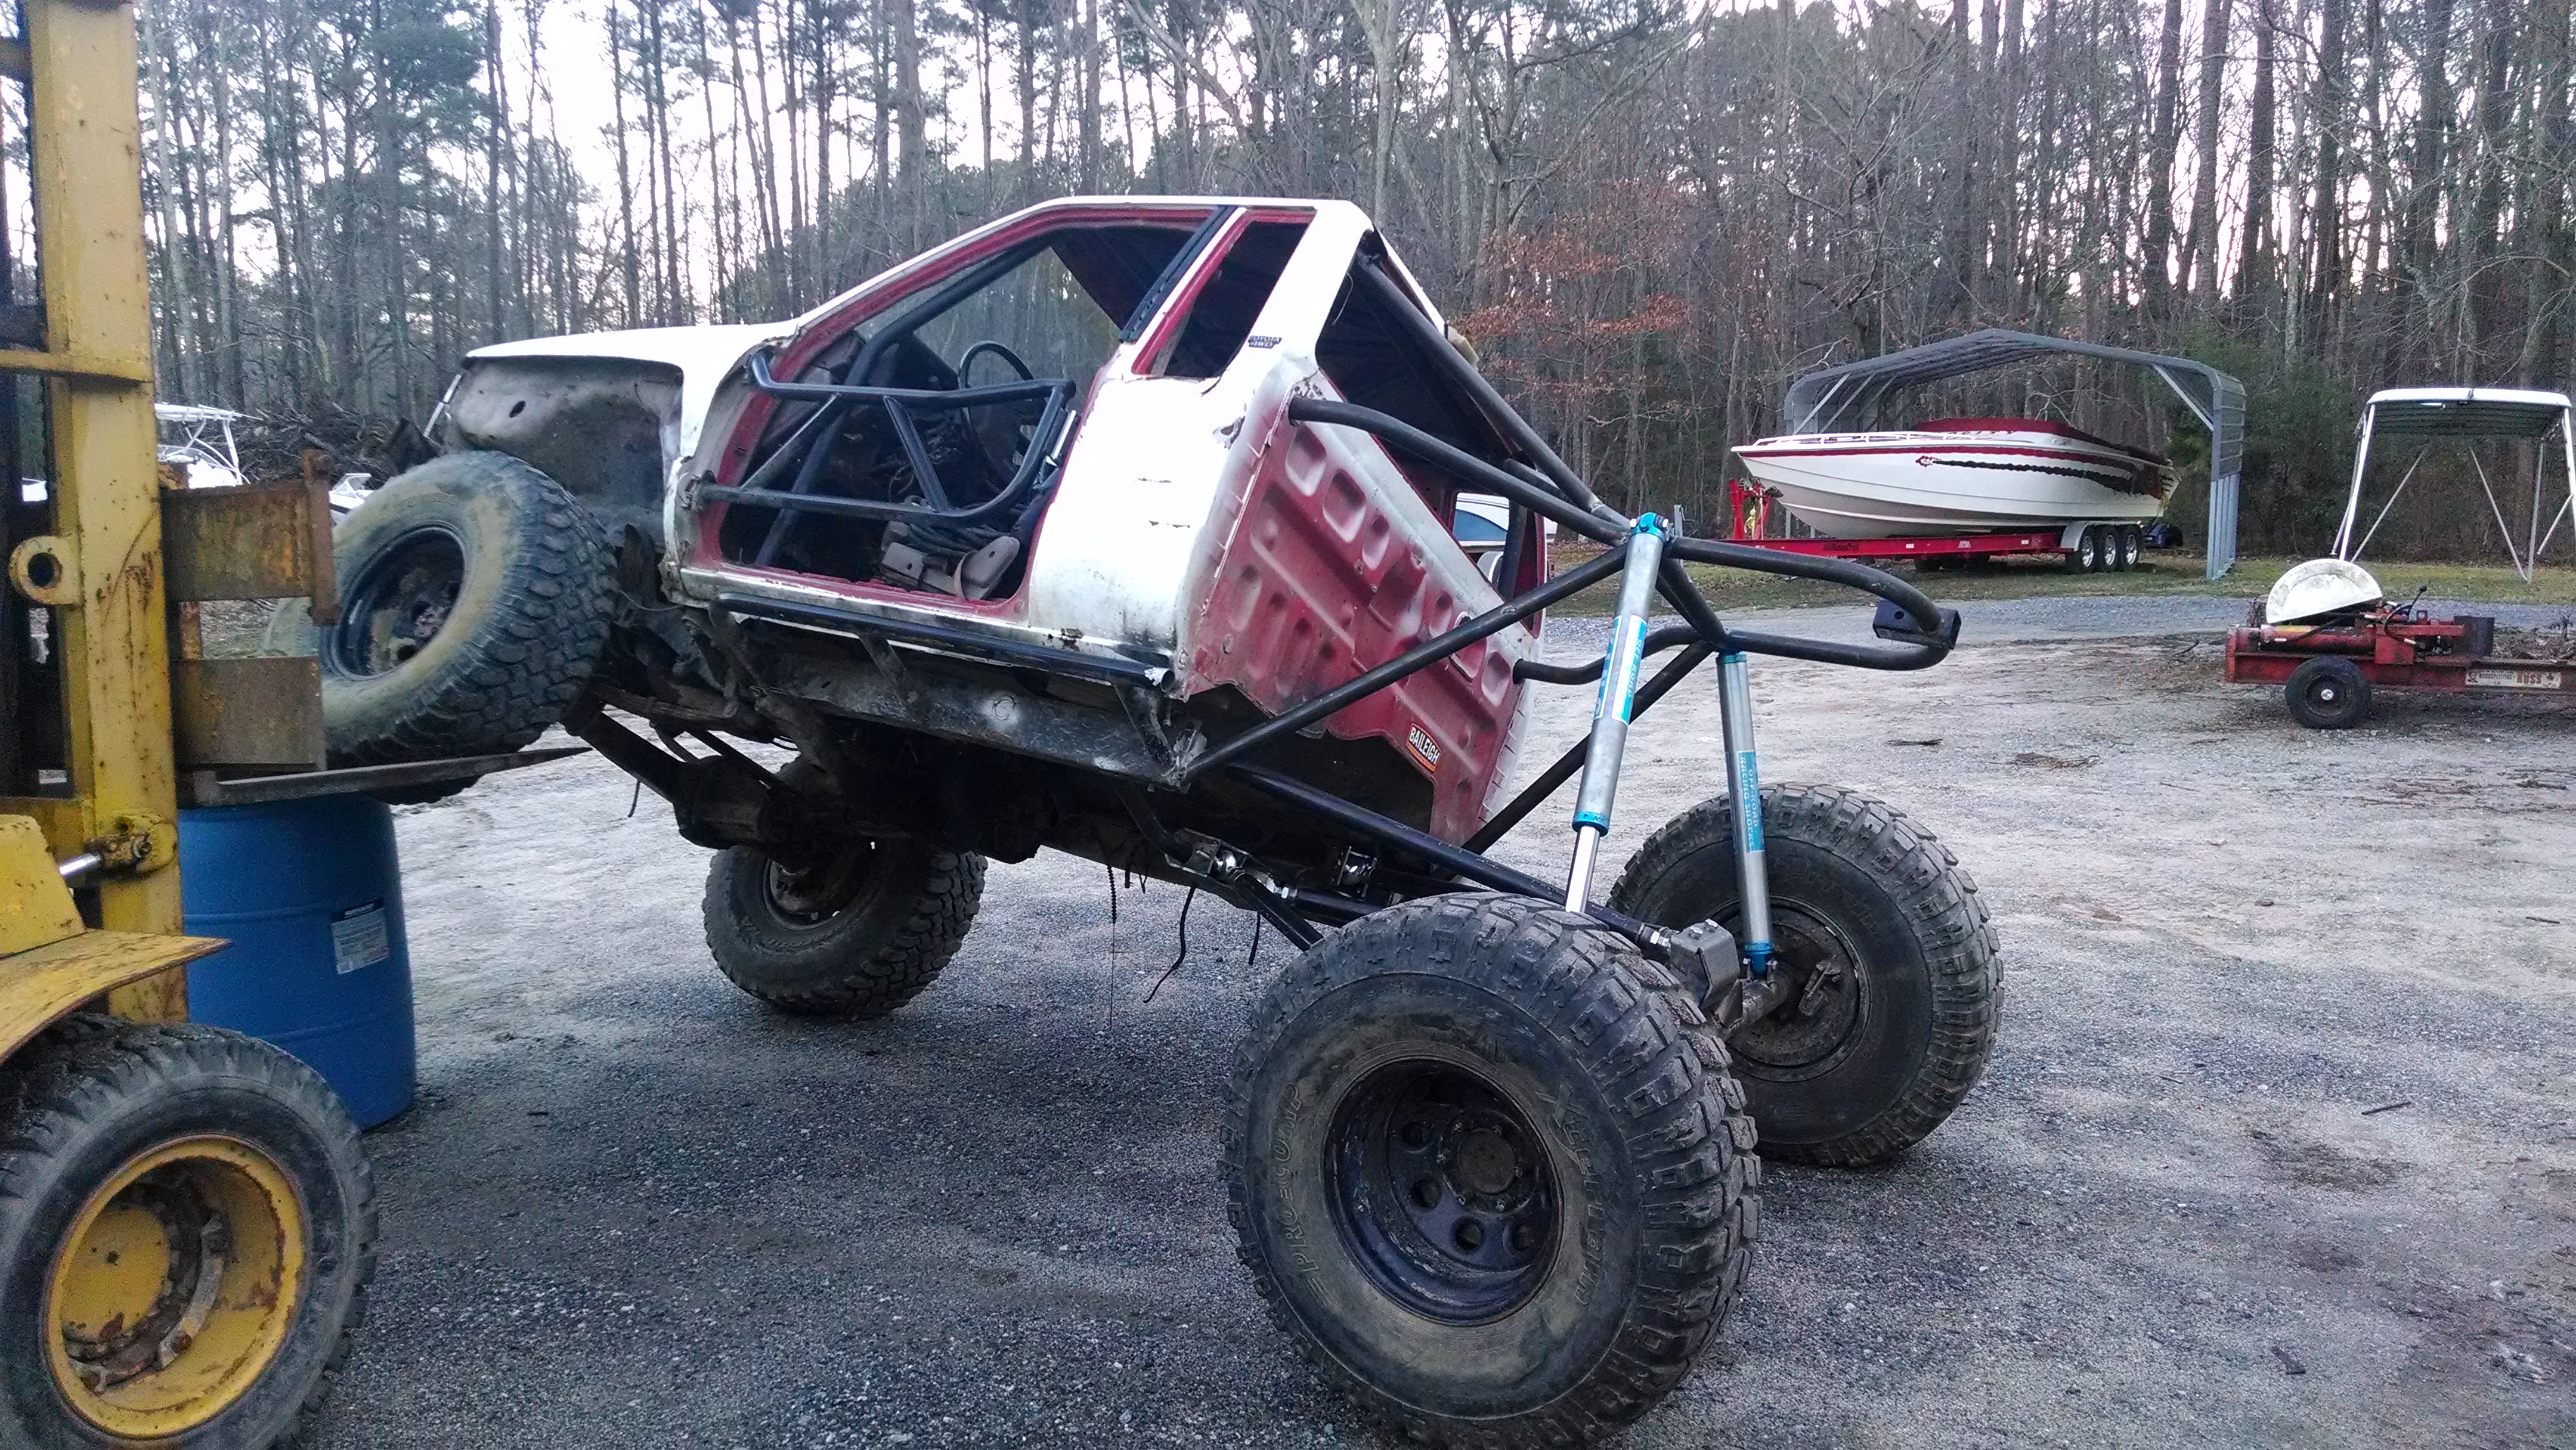
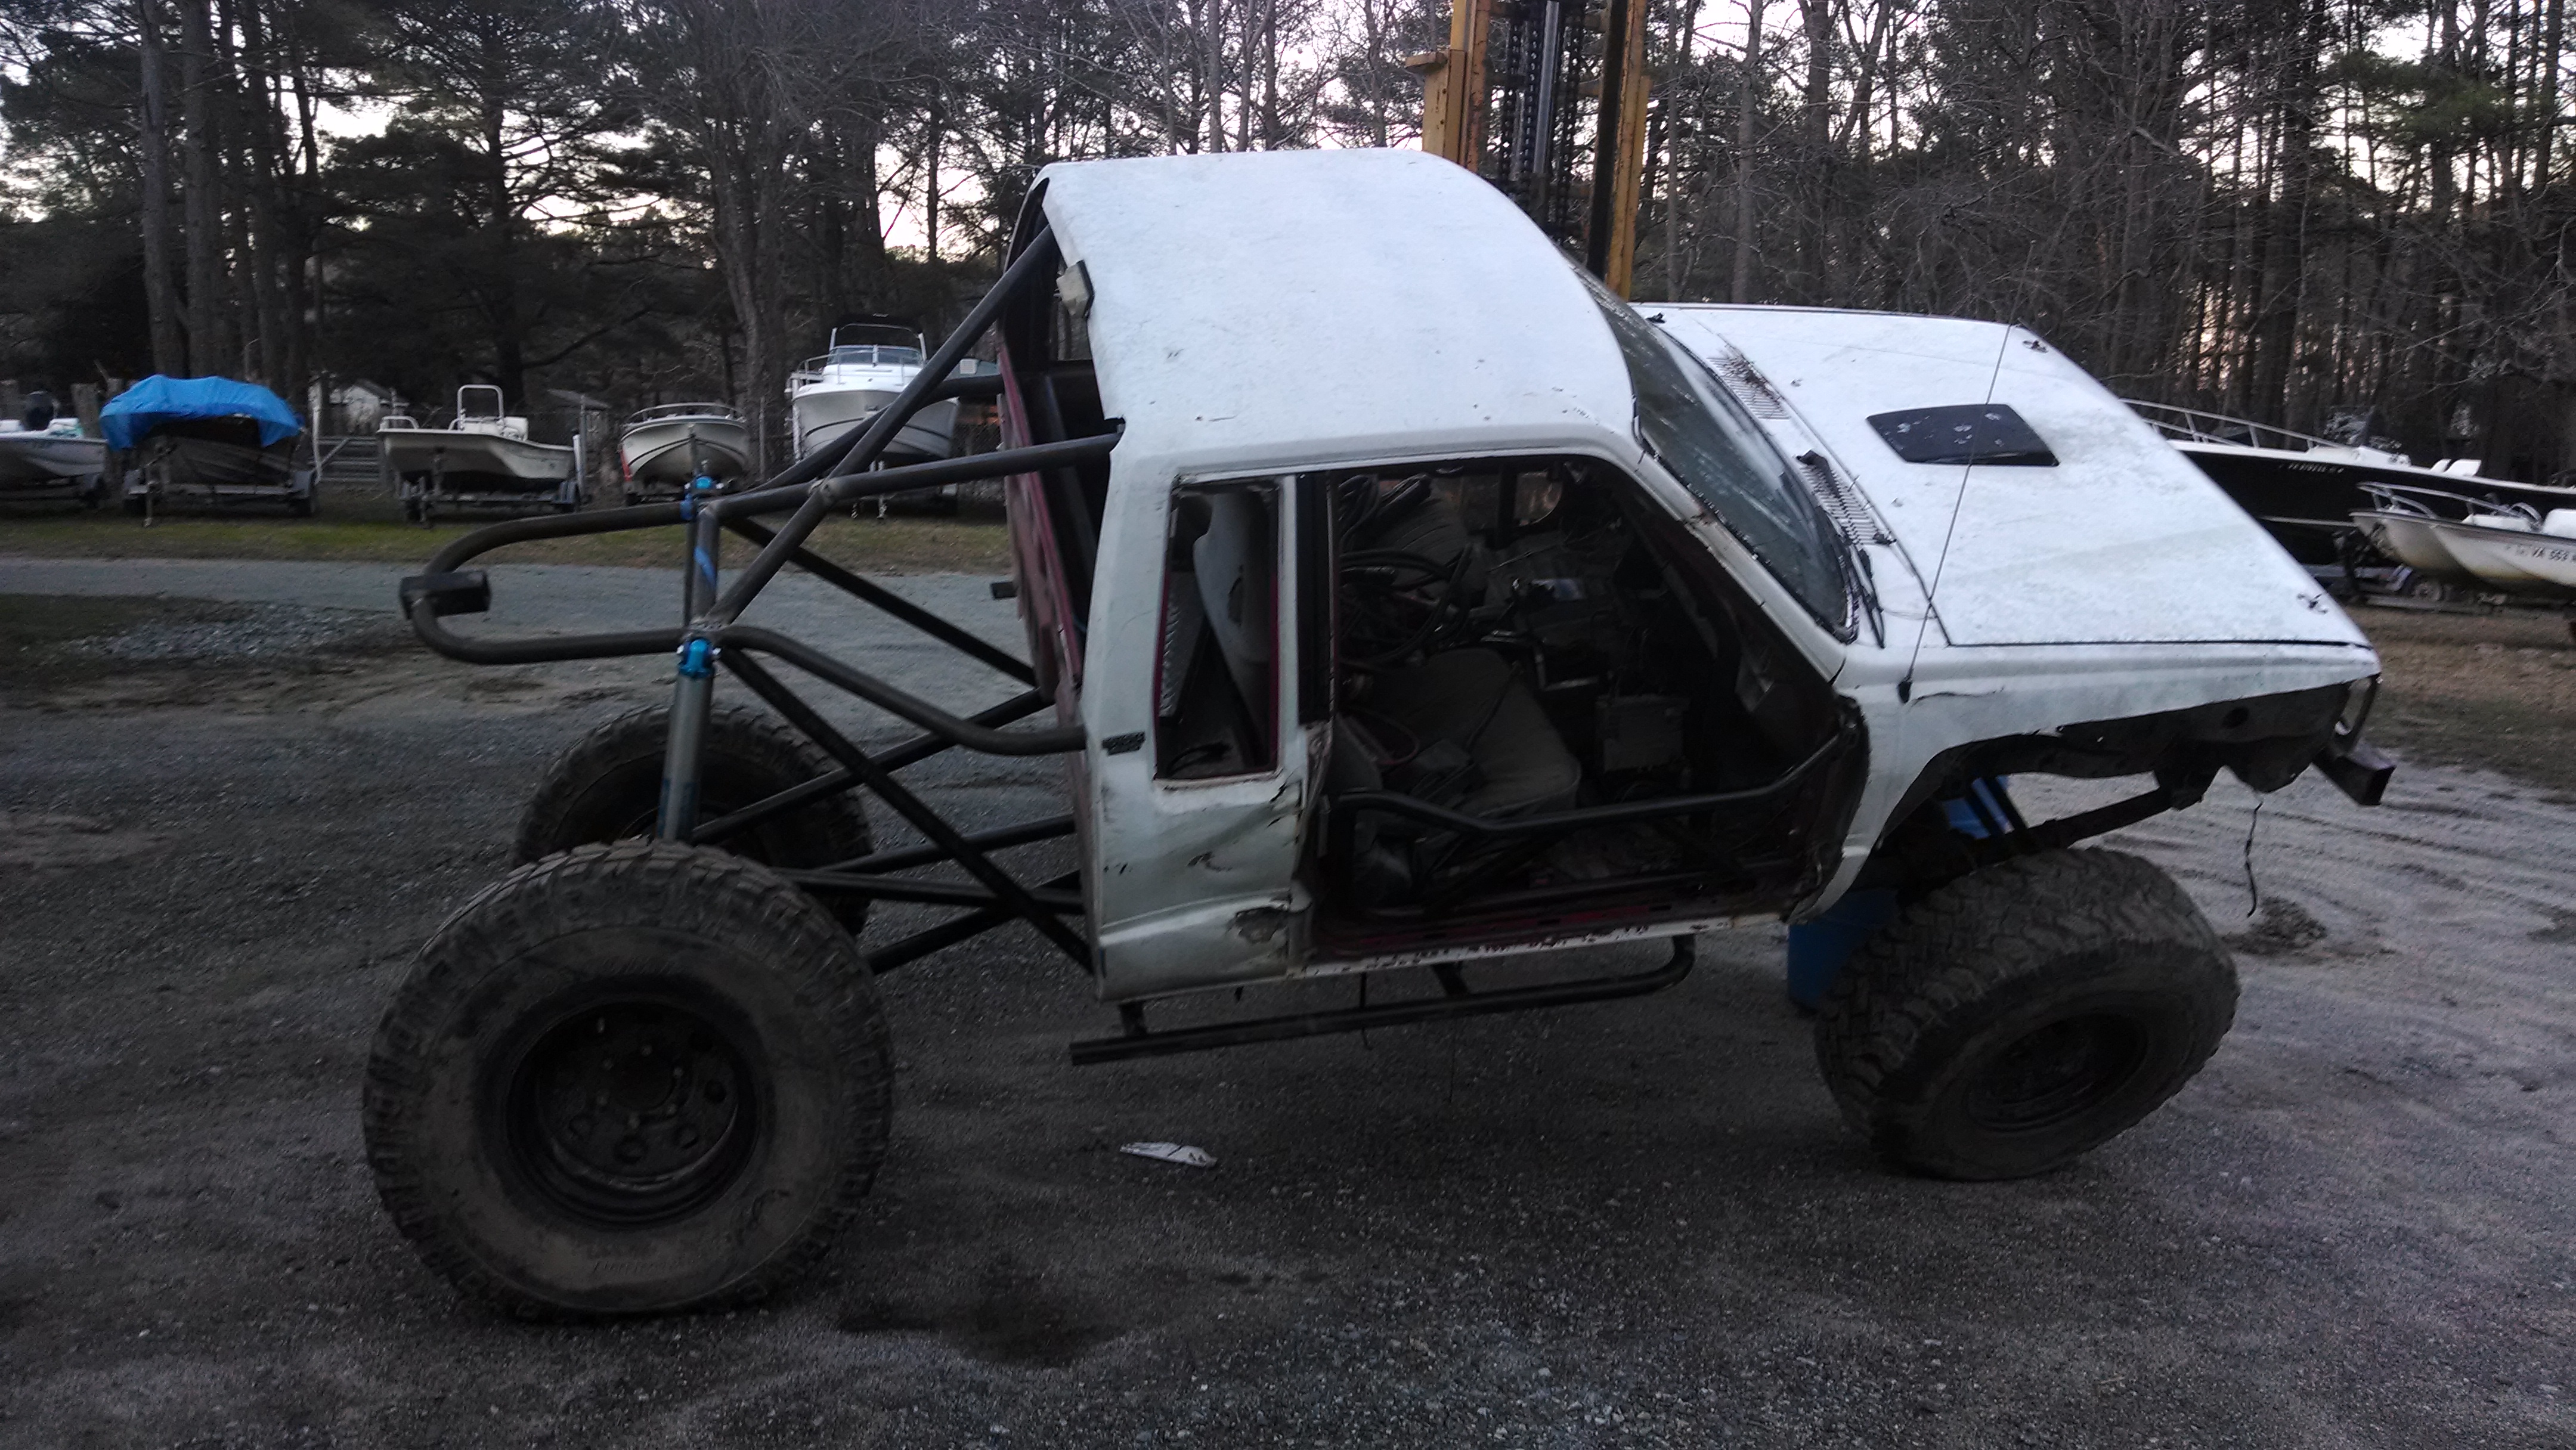
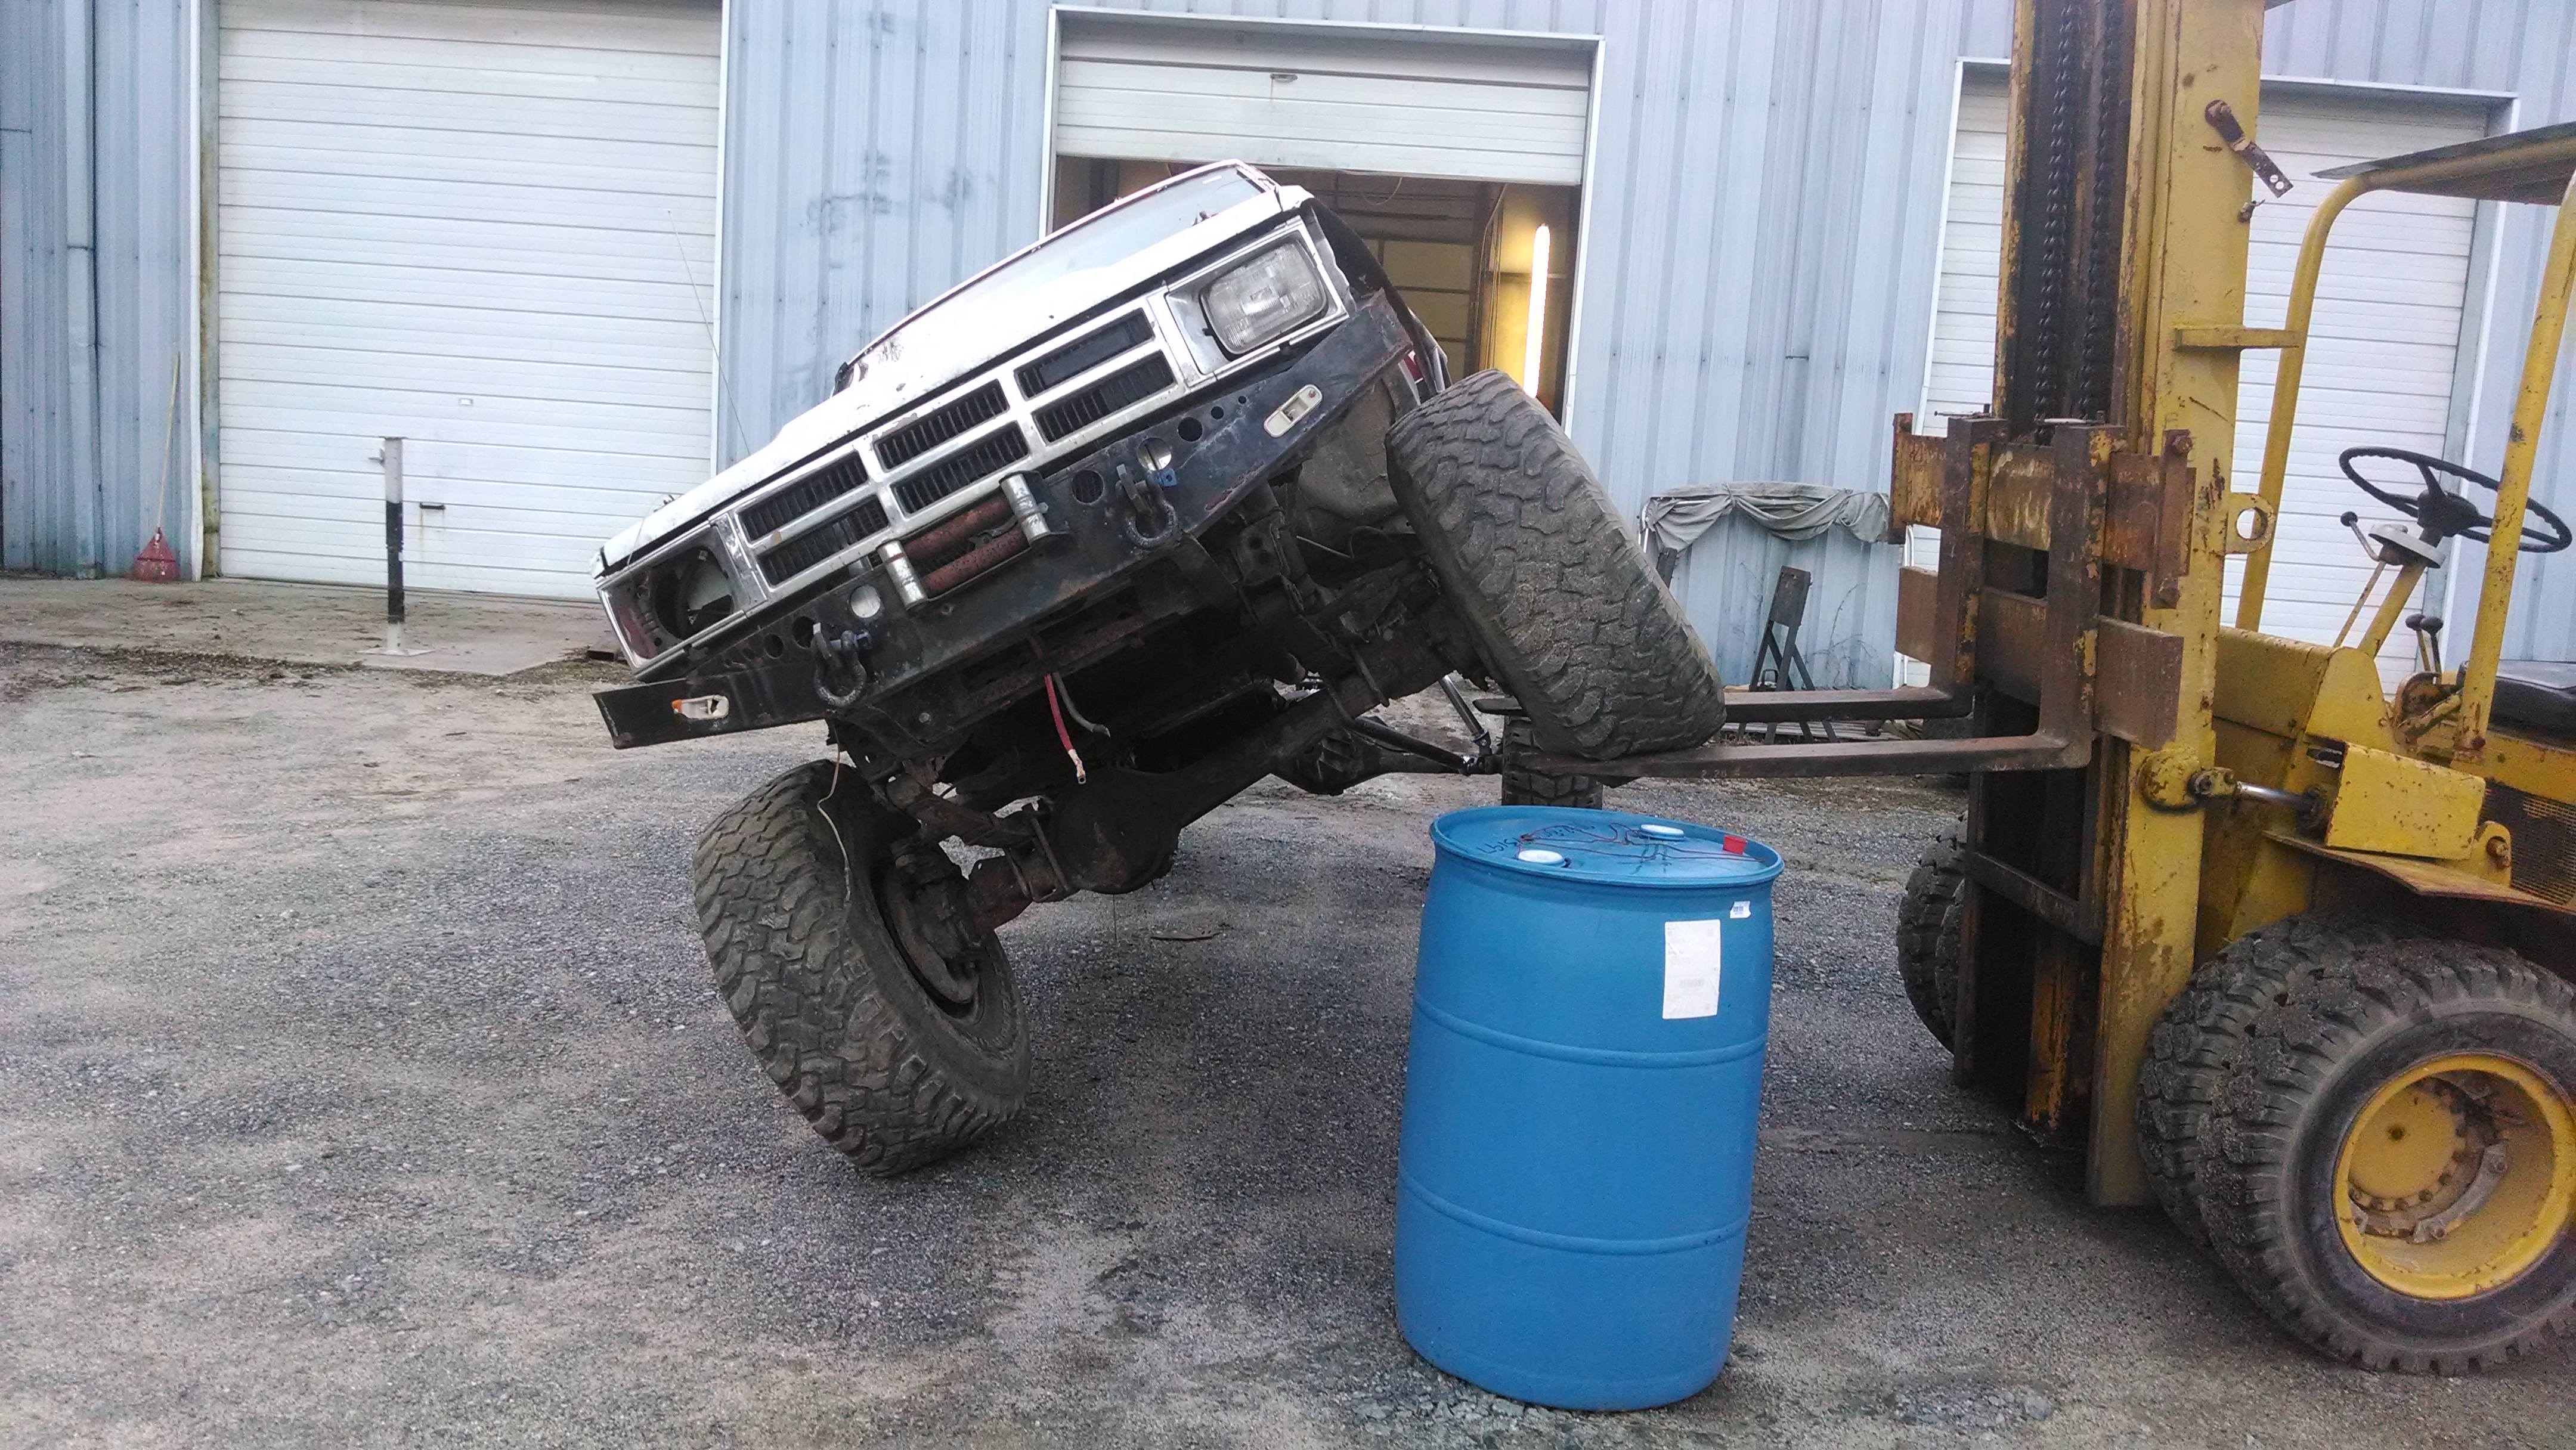
Found some time to pull it out and check clearance with the forklift. the shock is close to the tire under full compression, I think I will toss a spacer on the wheel.
Ride height-ish
Full droop

Full bump
Flexed about 36" under front tire

Ride height-ish
Full droop
Full bump
Flexed about 36" under front tire
 01-21-2014, 04:58 PM
#19
Registered User
Thread Starter
Join Date: Jul 2005
Posts: 124
Likes: 0
Received 0 Likes
on
0 Posts
hhmmmm lets see....
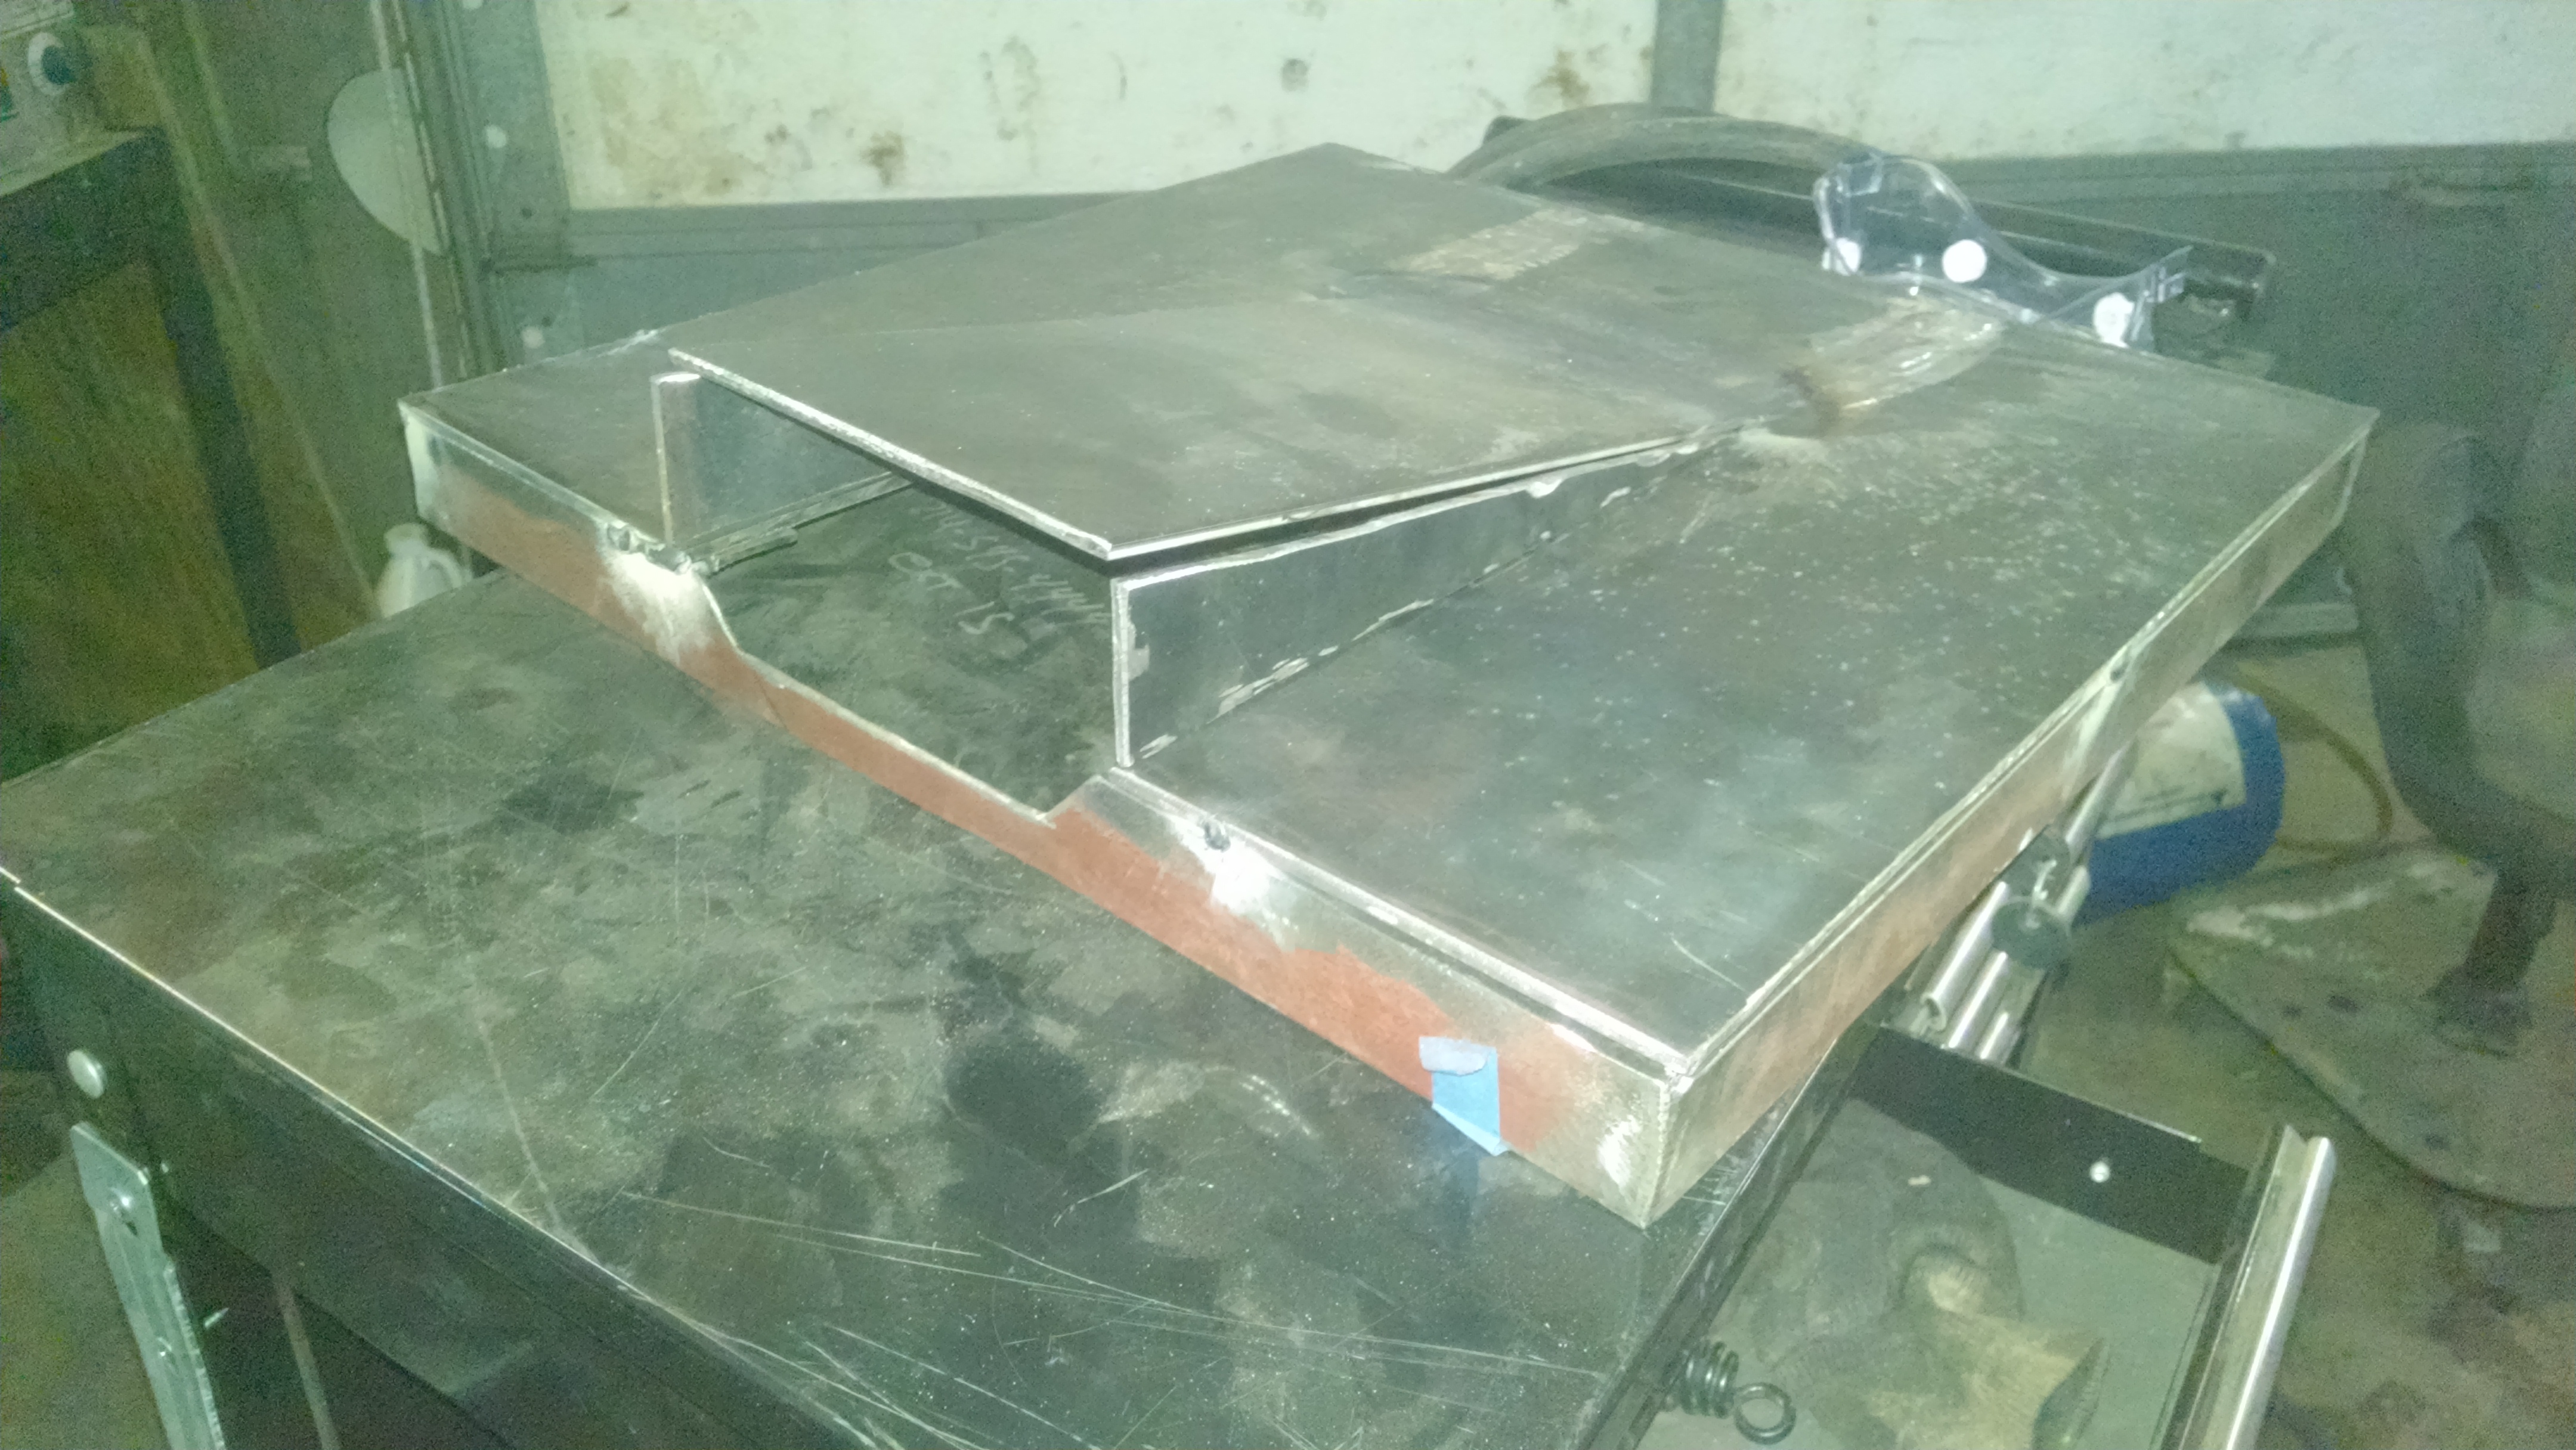
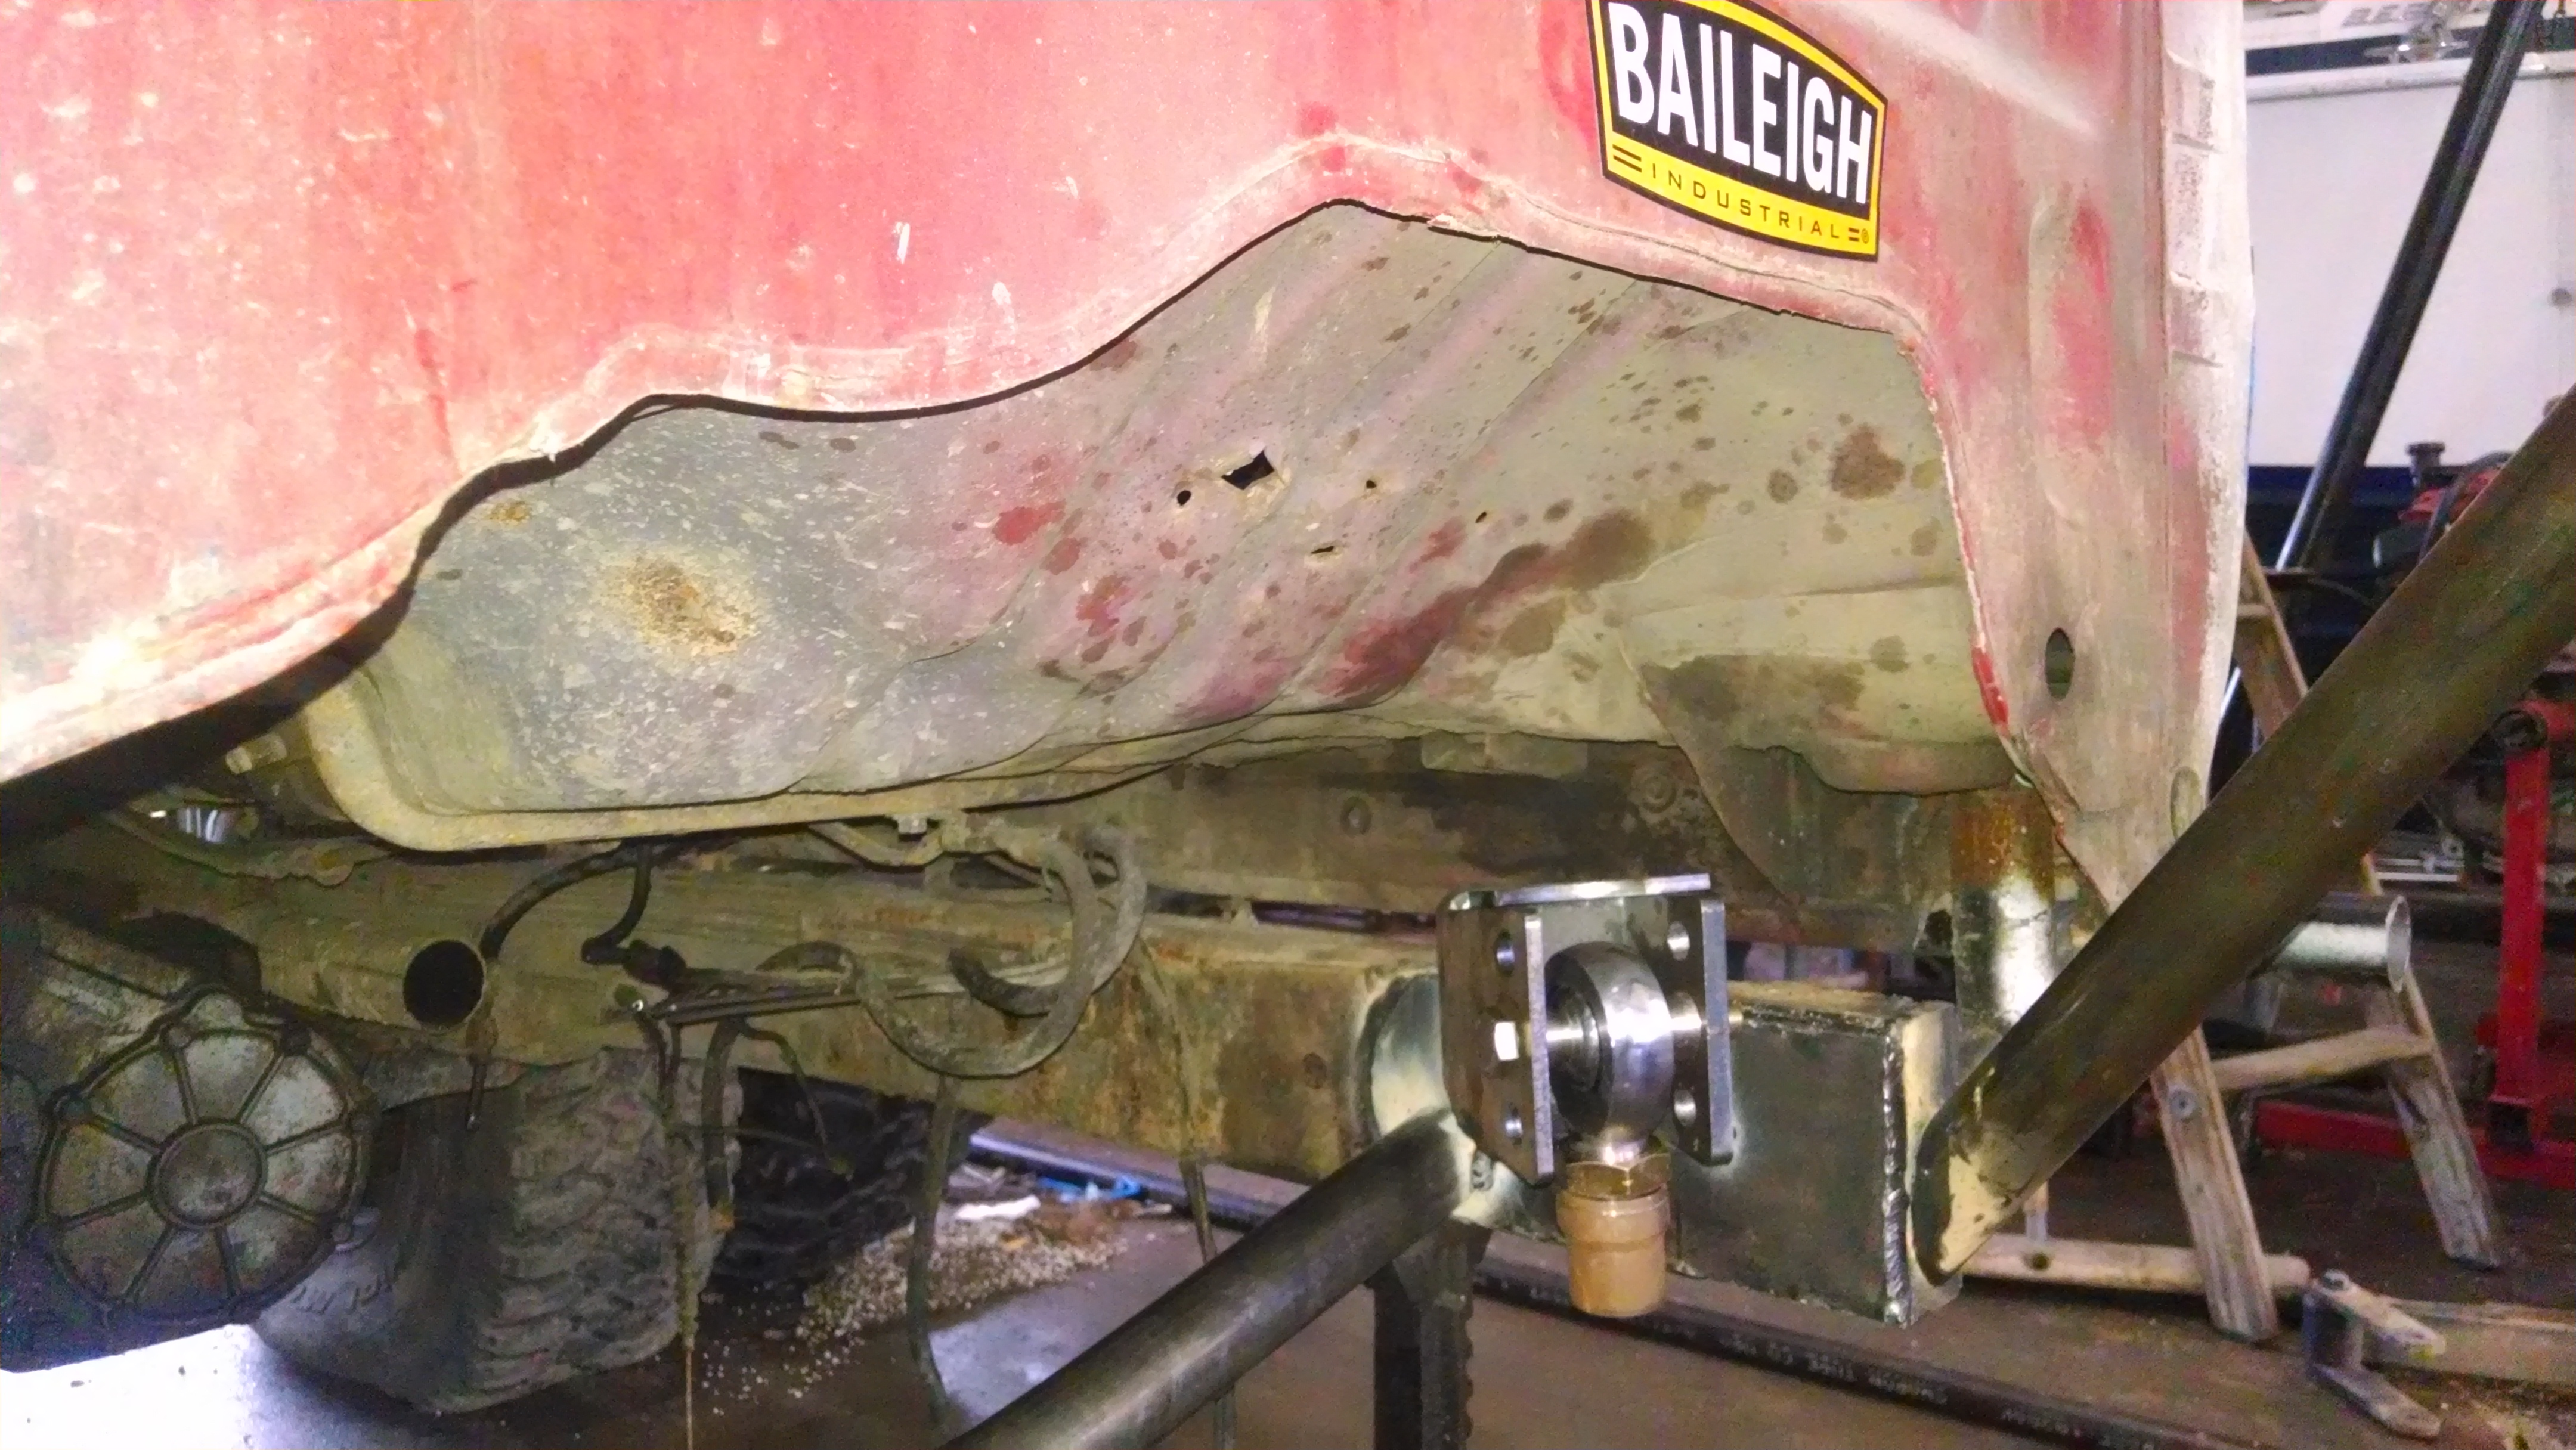
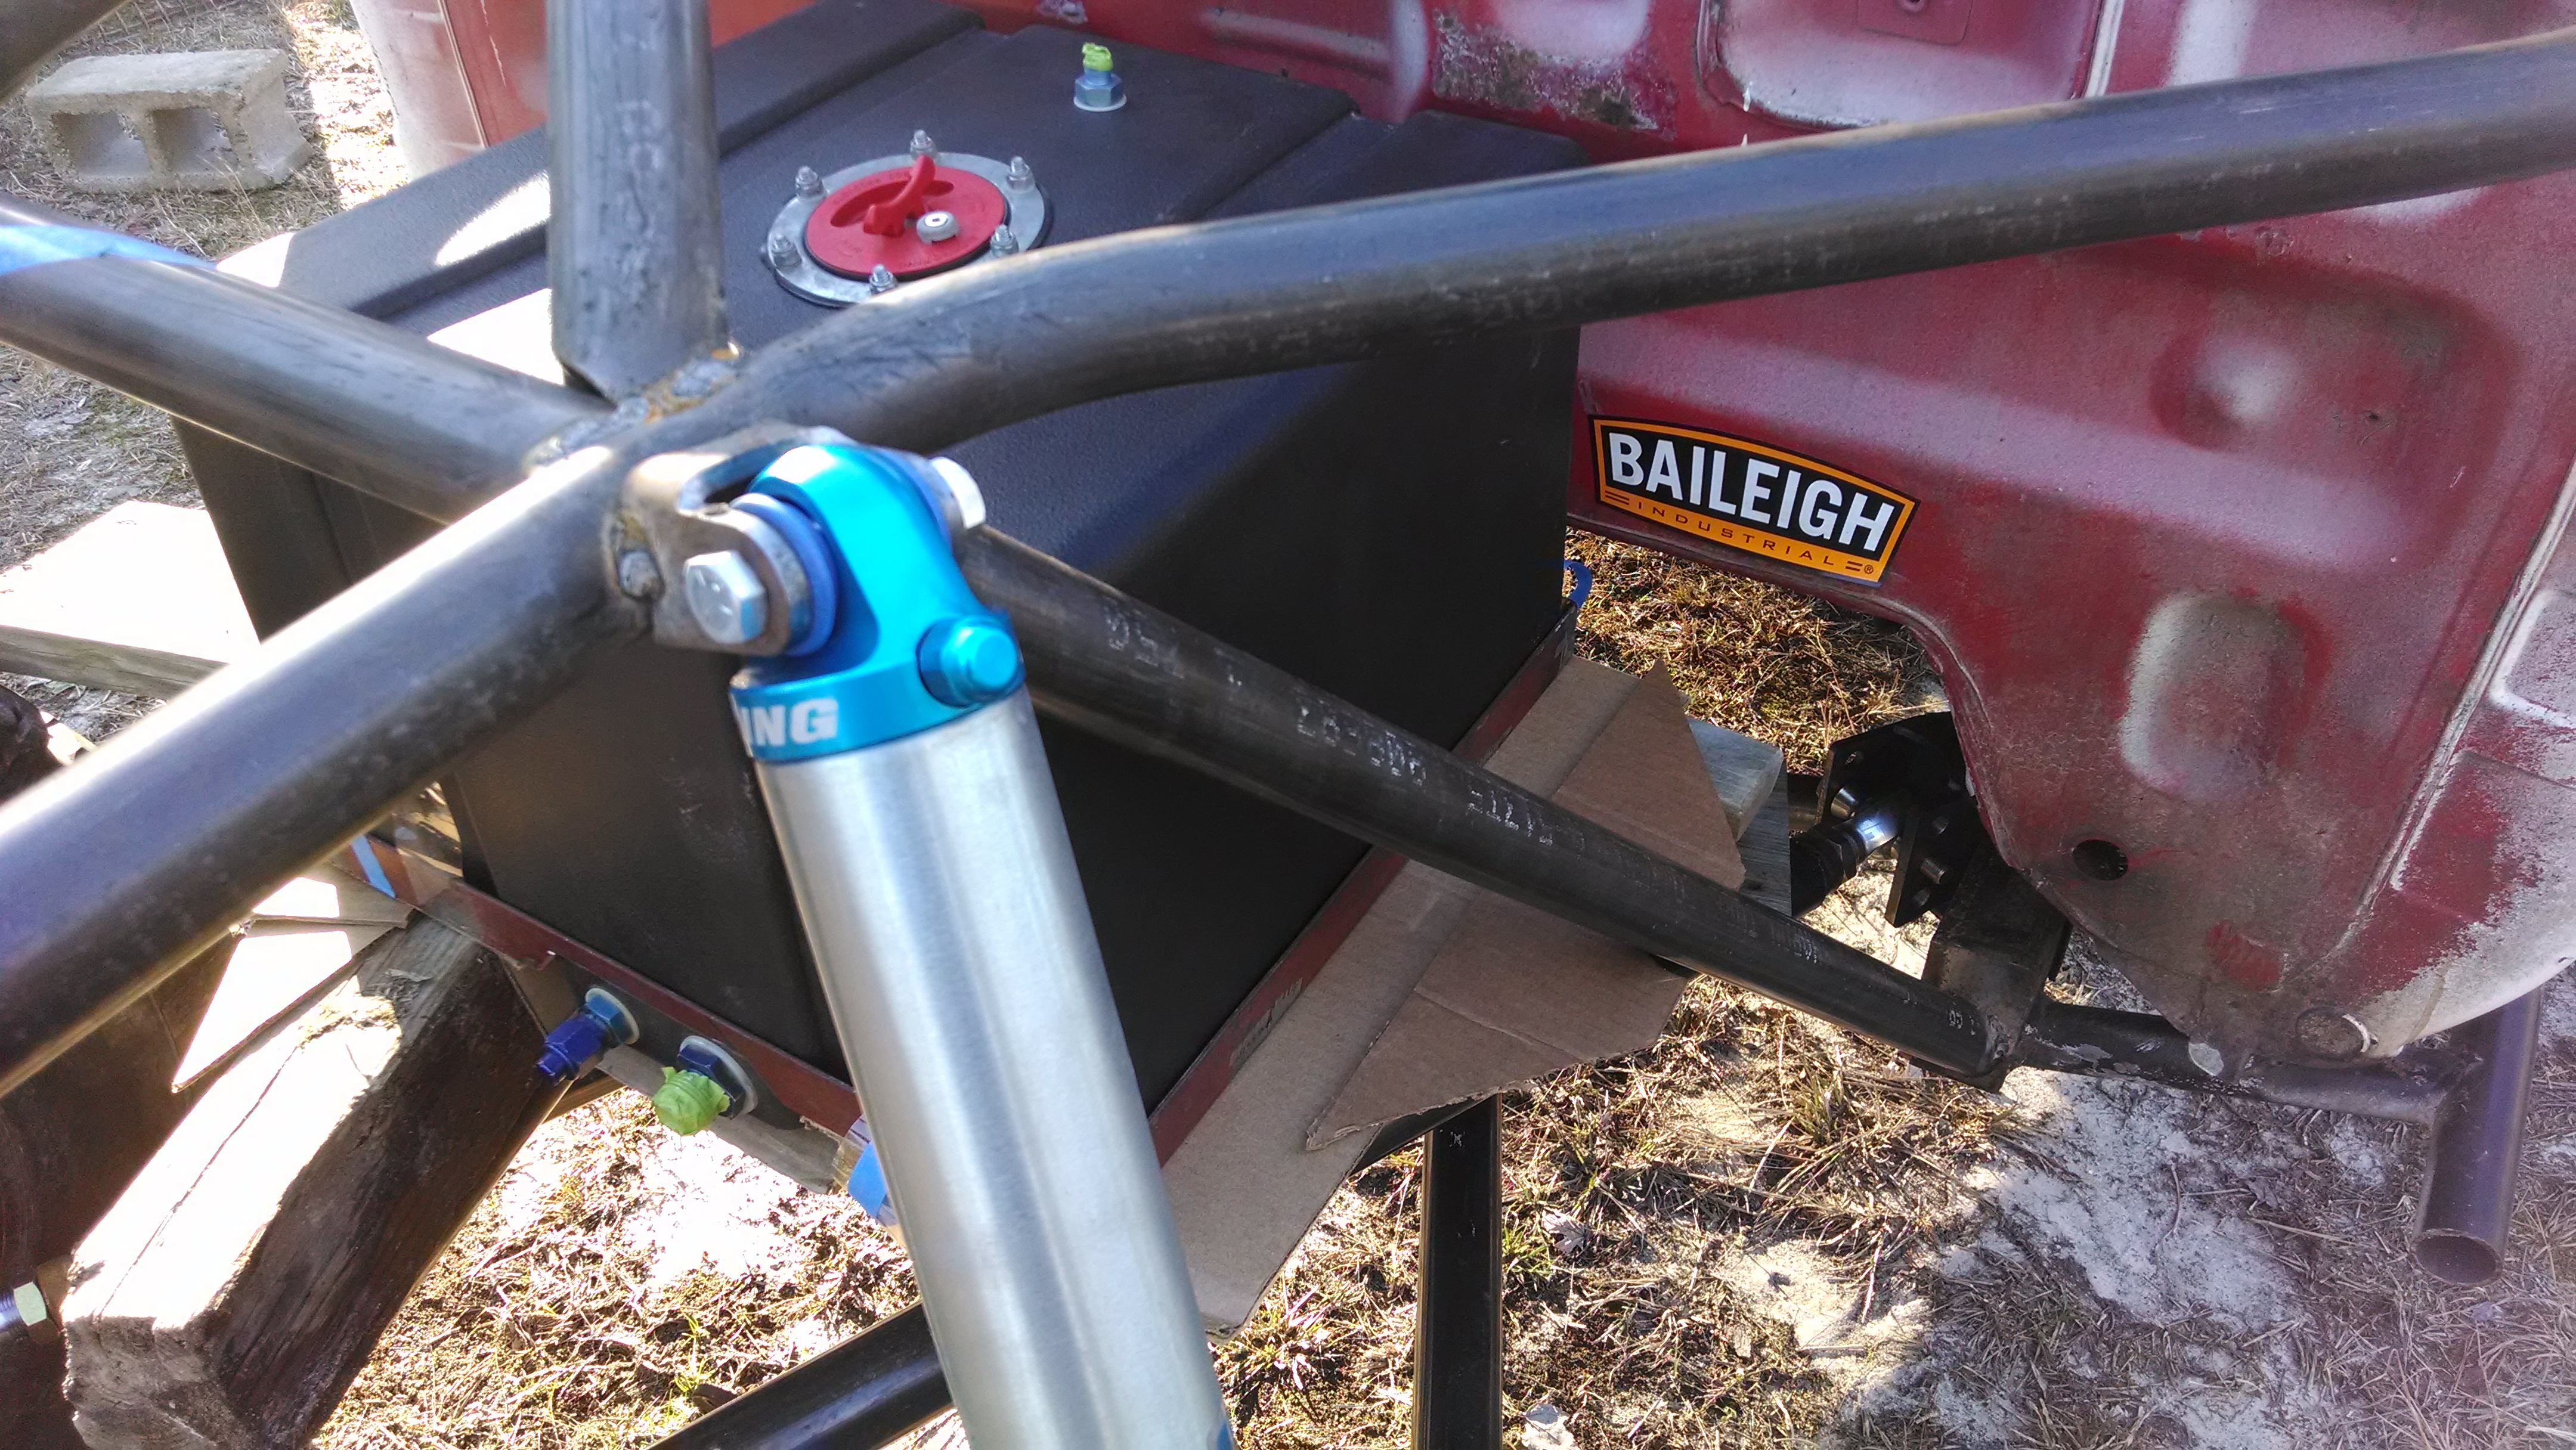
Started mocking up the fuel cell. All pics are at full bump.
My cell is going to be right above my yoke. Having already spent 3 days in a ICU burn unit I don't like the idea of sending u-joint parts into my fuel cell, so here is what I'm thinking. All 3/16 plate.
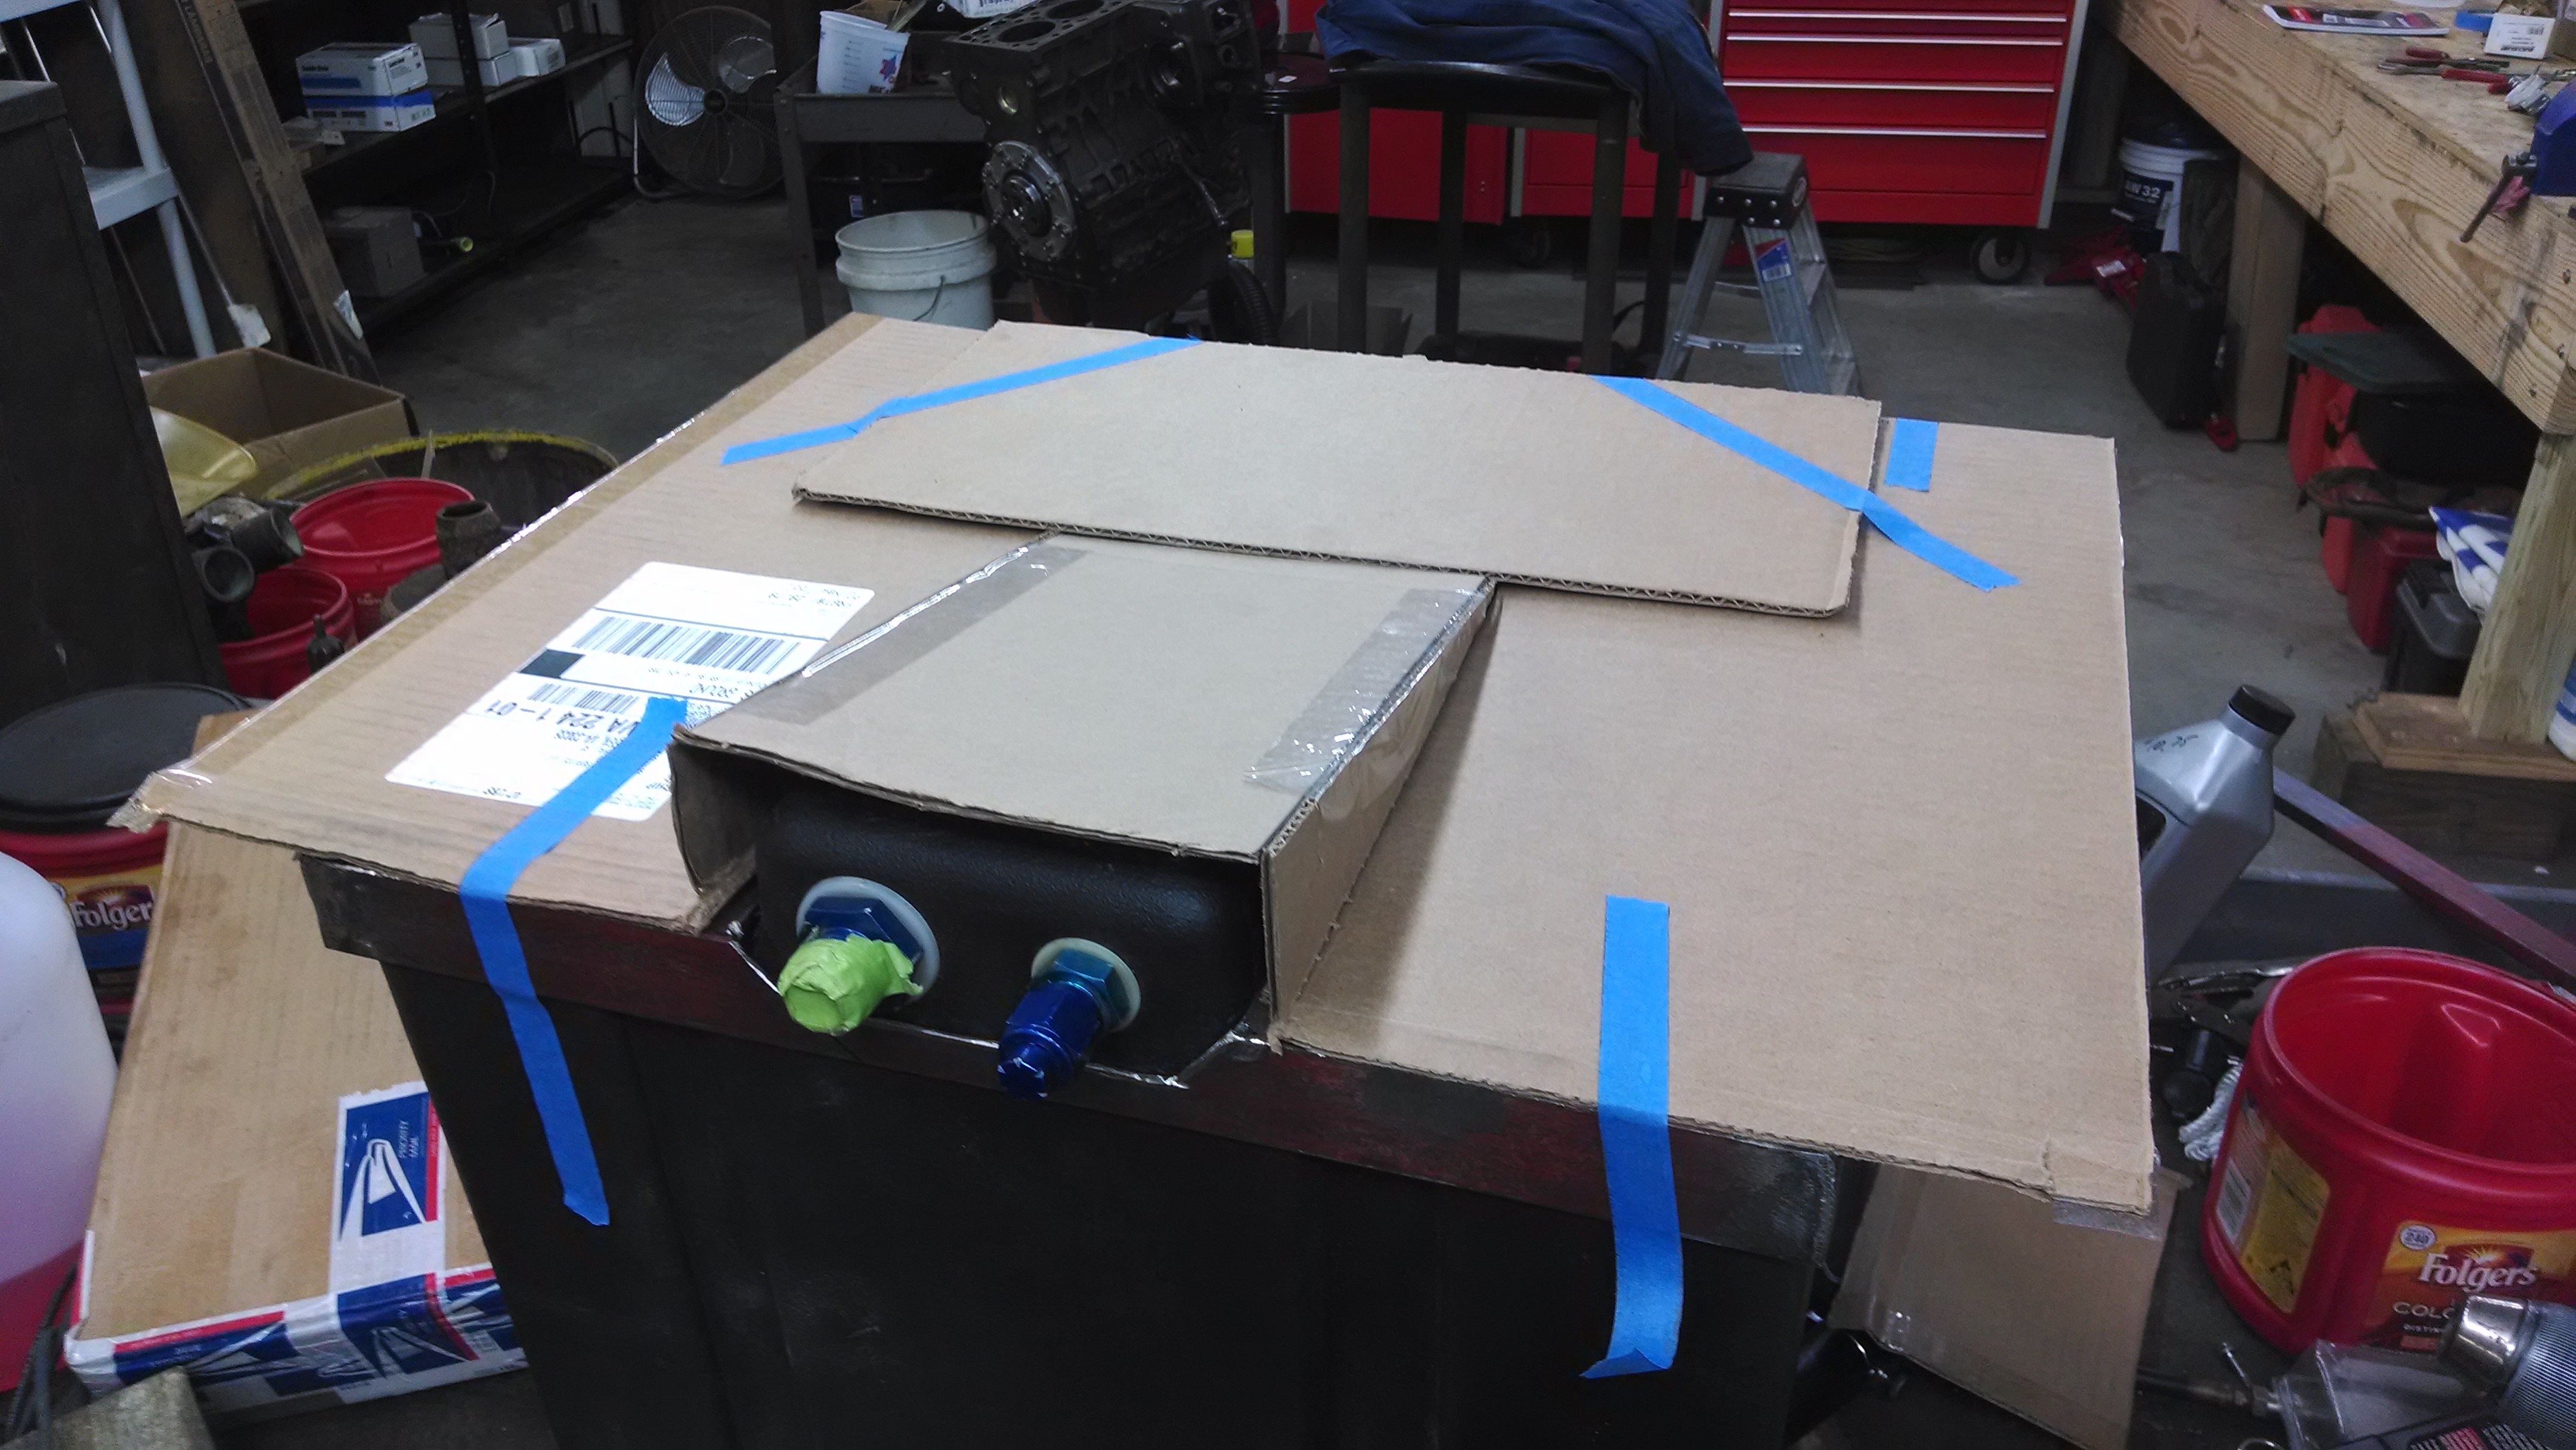

Now for mounting it. You can see my little "plate" template to the tube coming from the frame. Not sure if I'm going this way or not. The cell must come out through the bottom due to the design of the tube work.
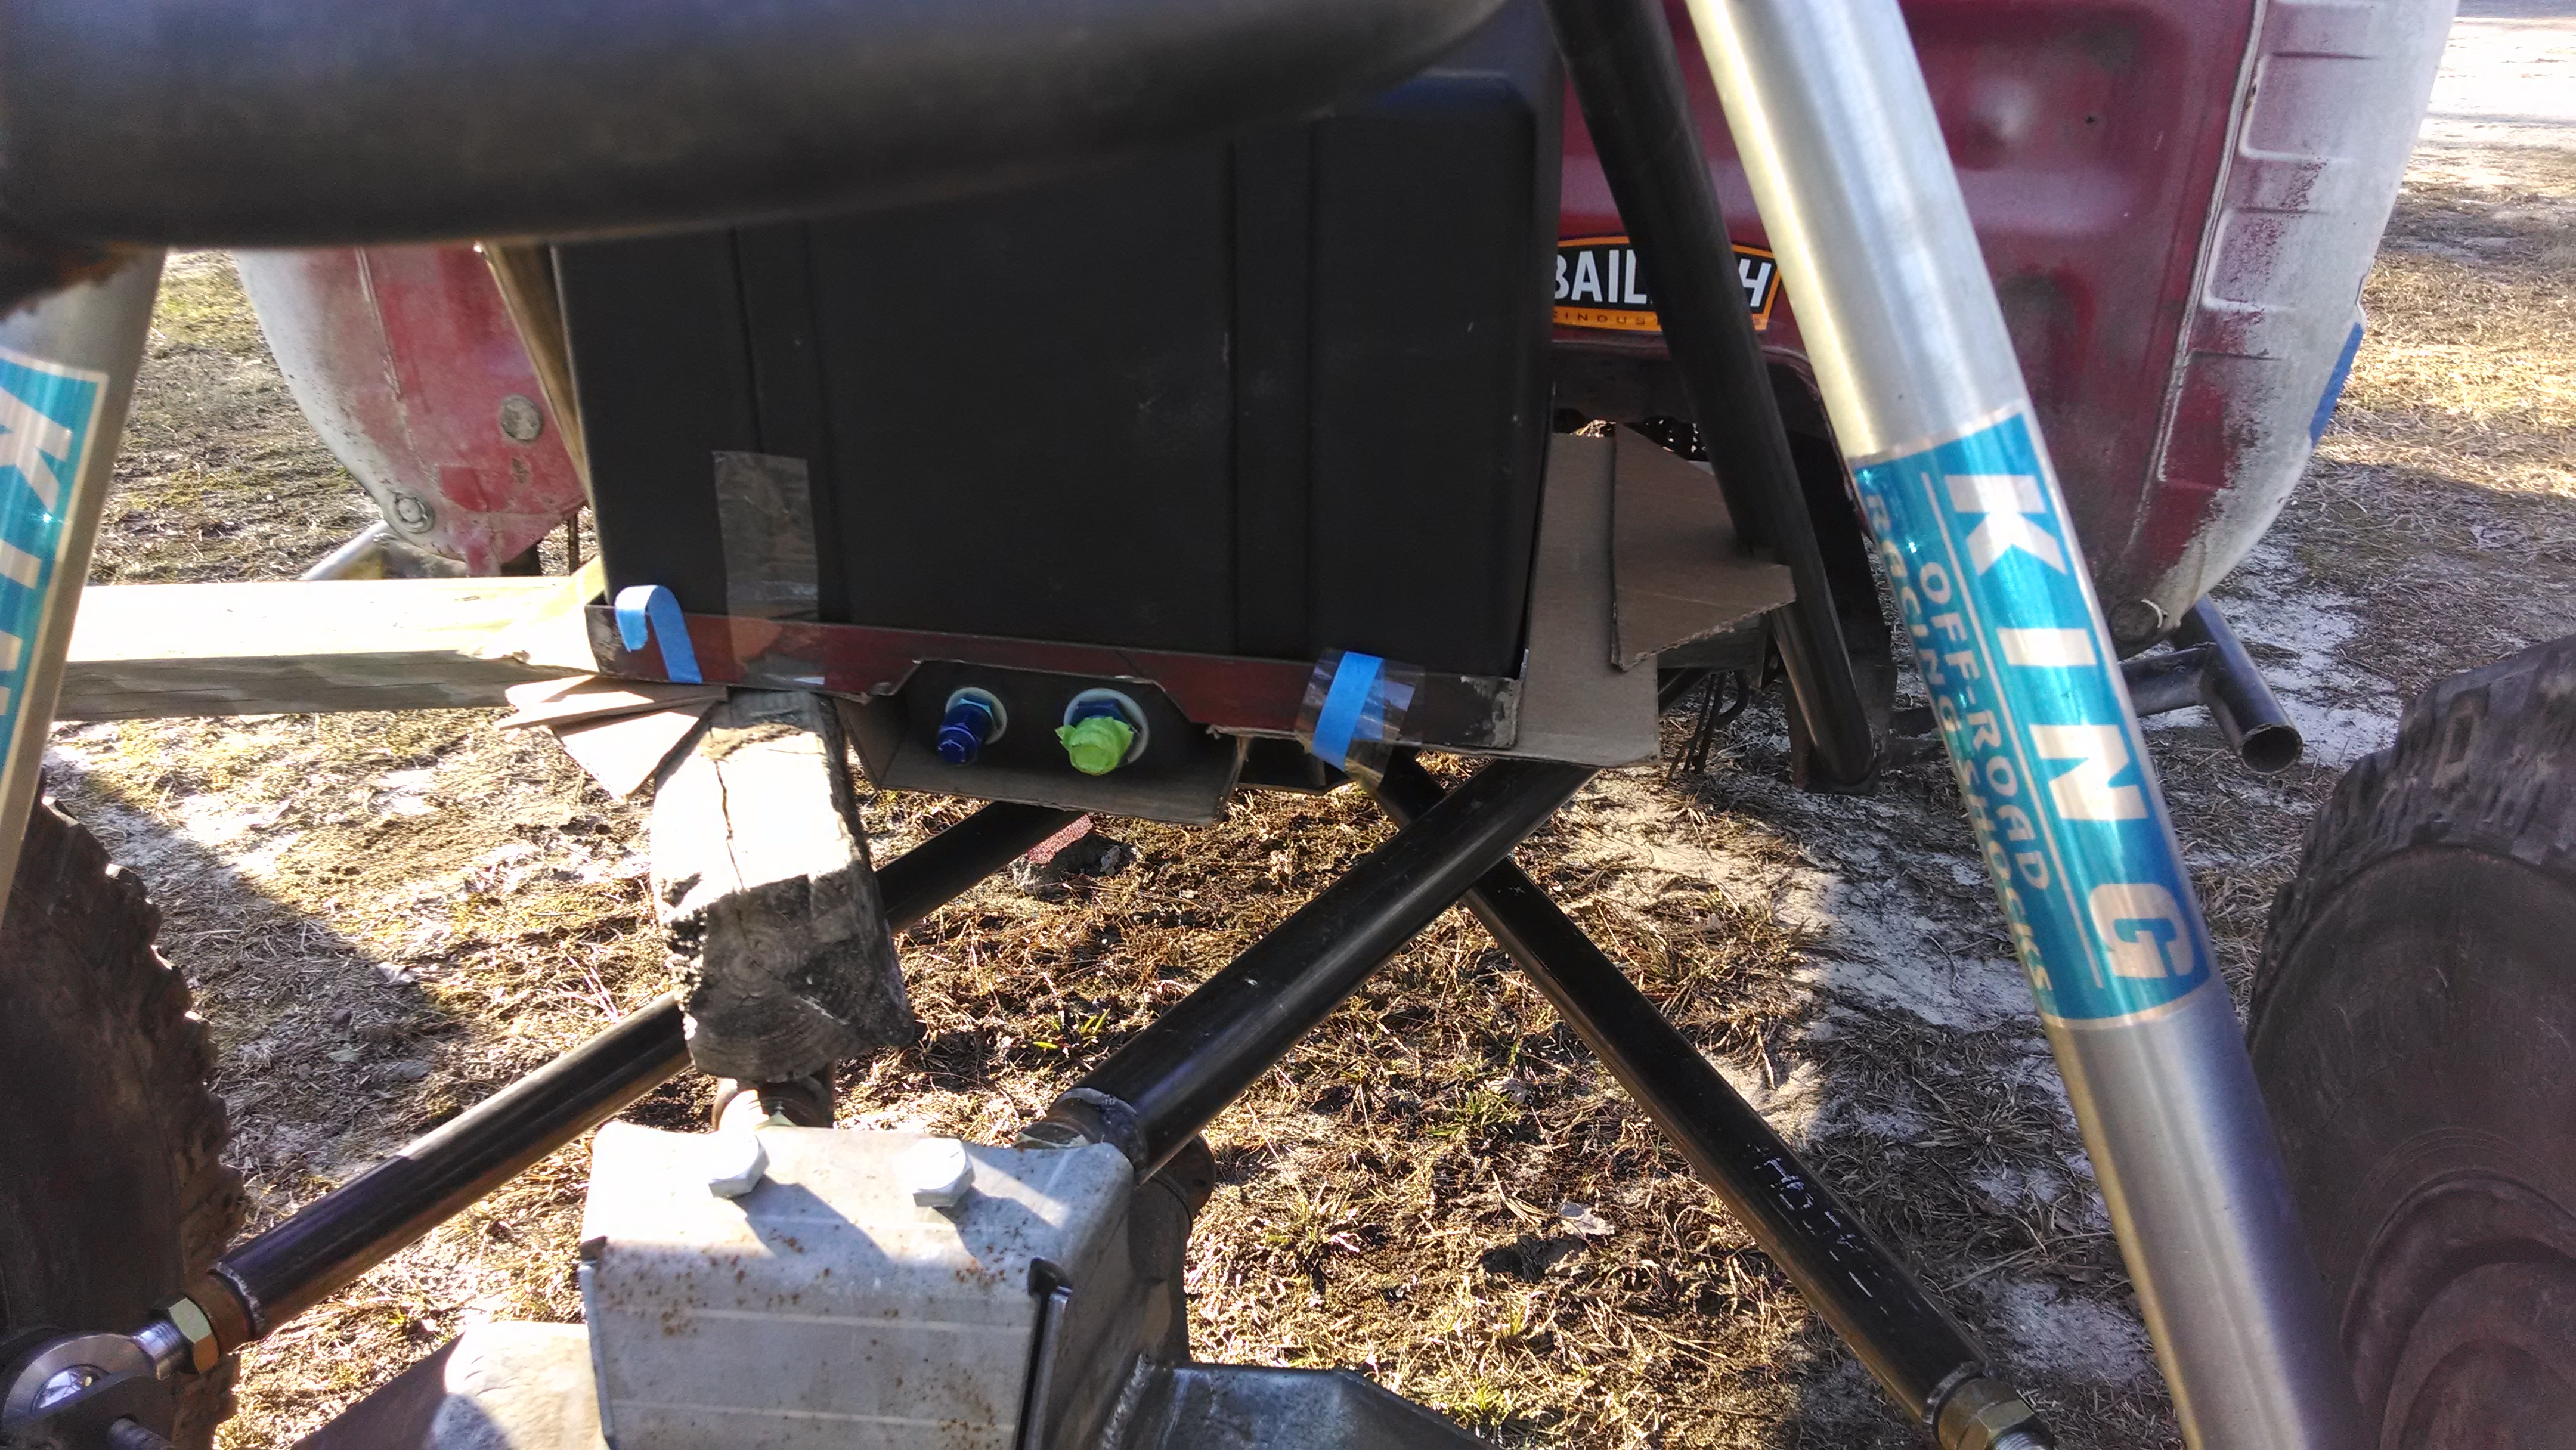
Also made a Baller on a budget Nitrogen Fill setup for sub $150.
New 20CF tank off ebay $75
Used regulator off ebay $15
Aircraft tire chuck (no leak) $15
Hydro Hose from napa $35
Tank fill $15

Filled the shocks at lunch, works like a charm.
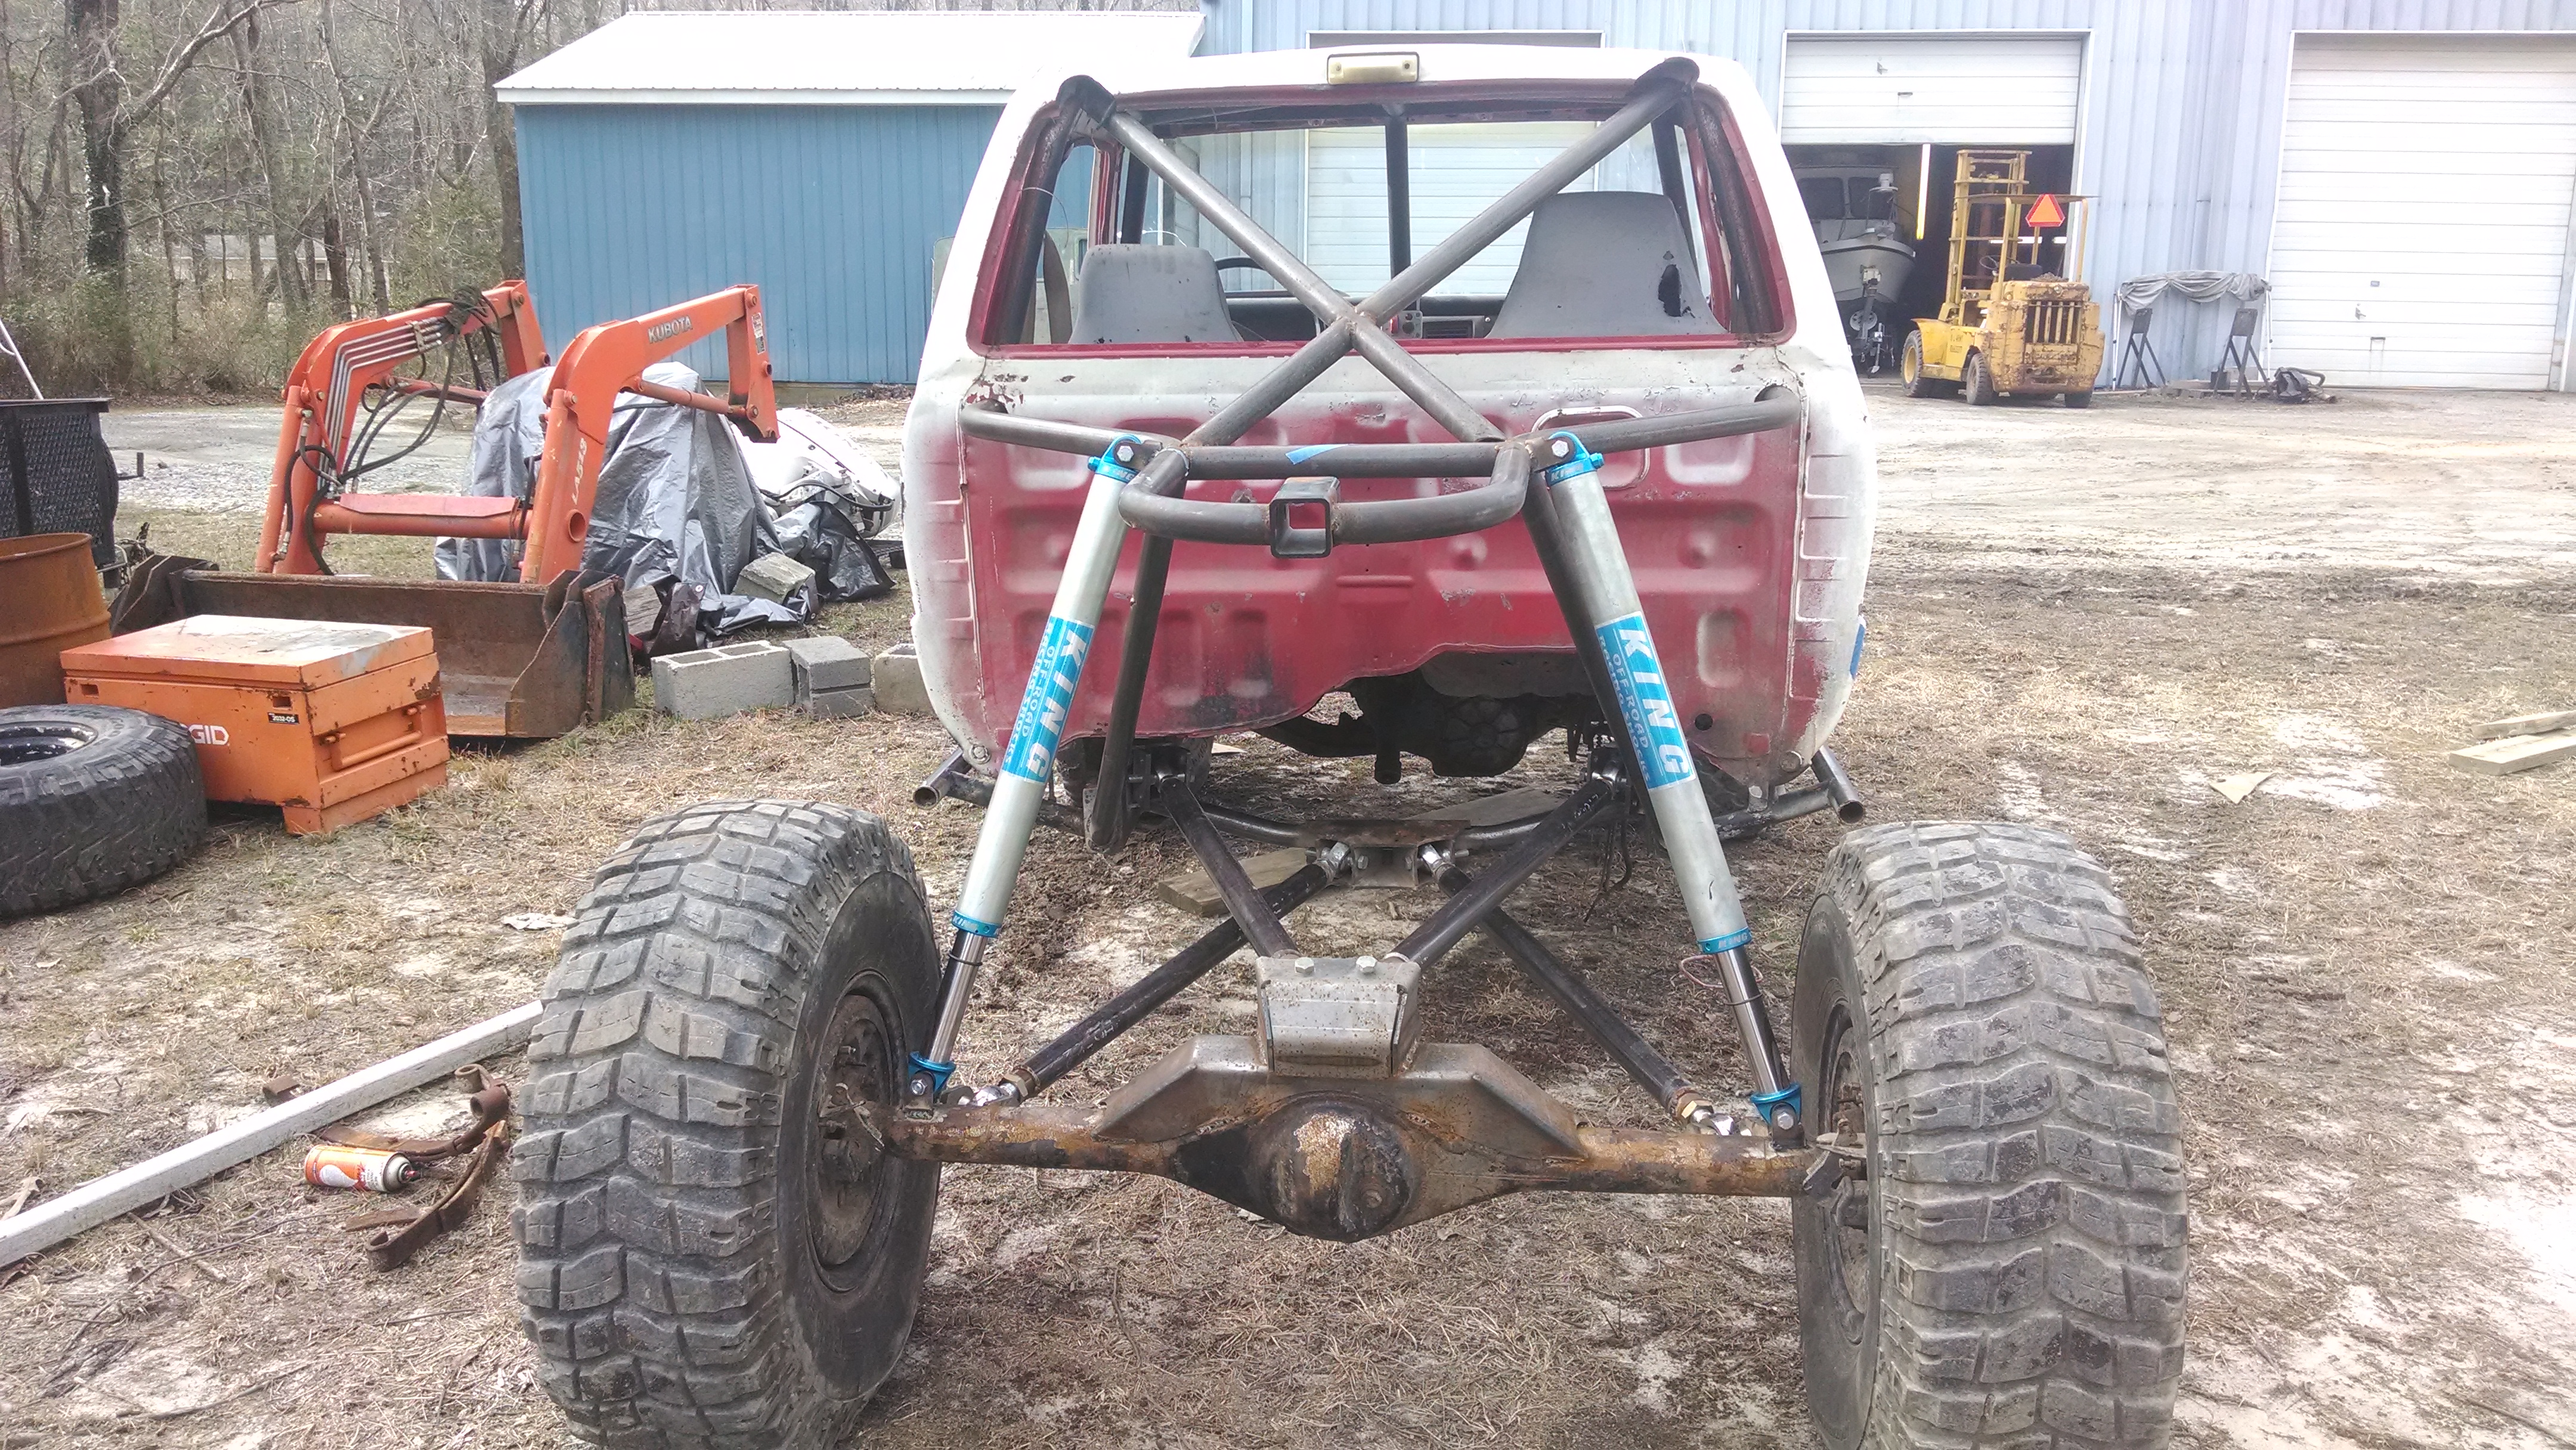
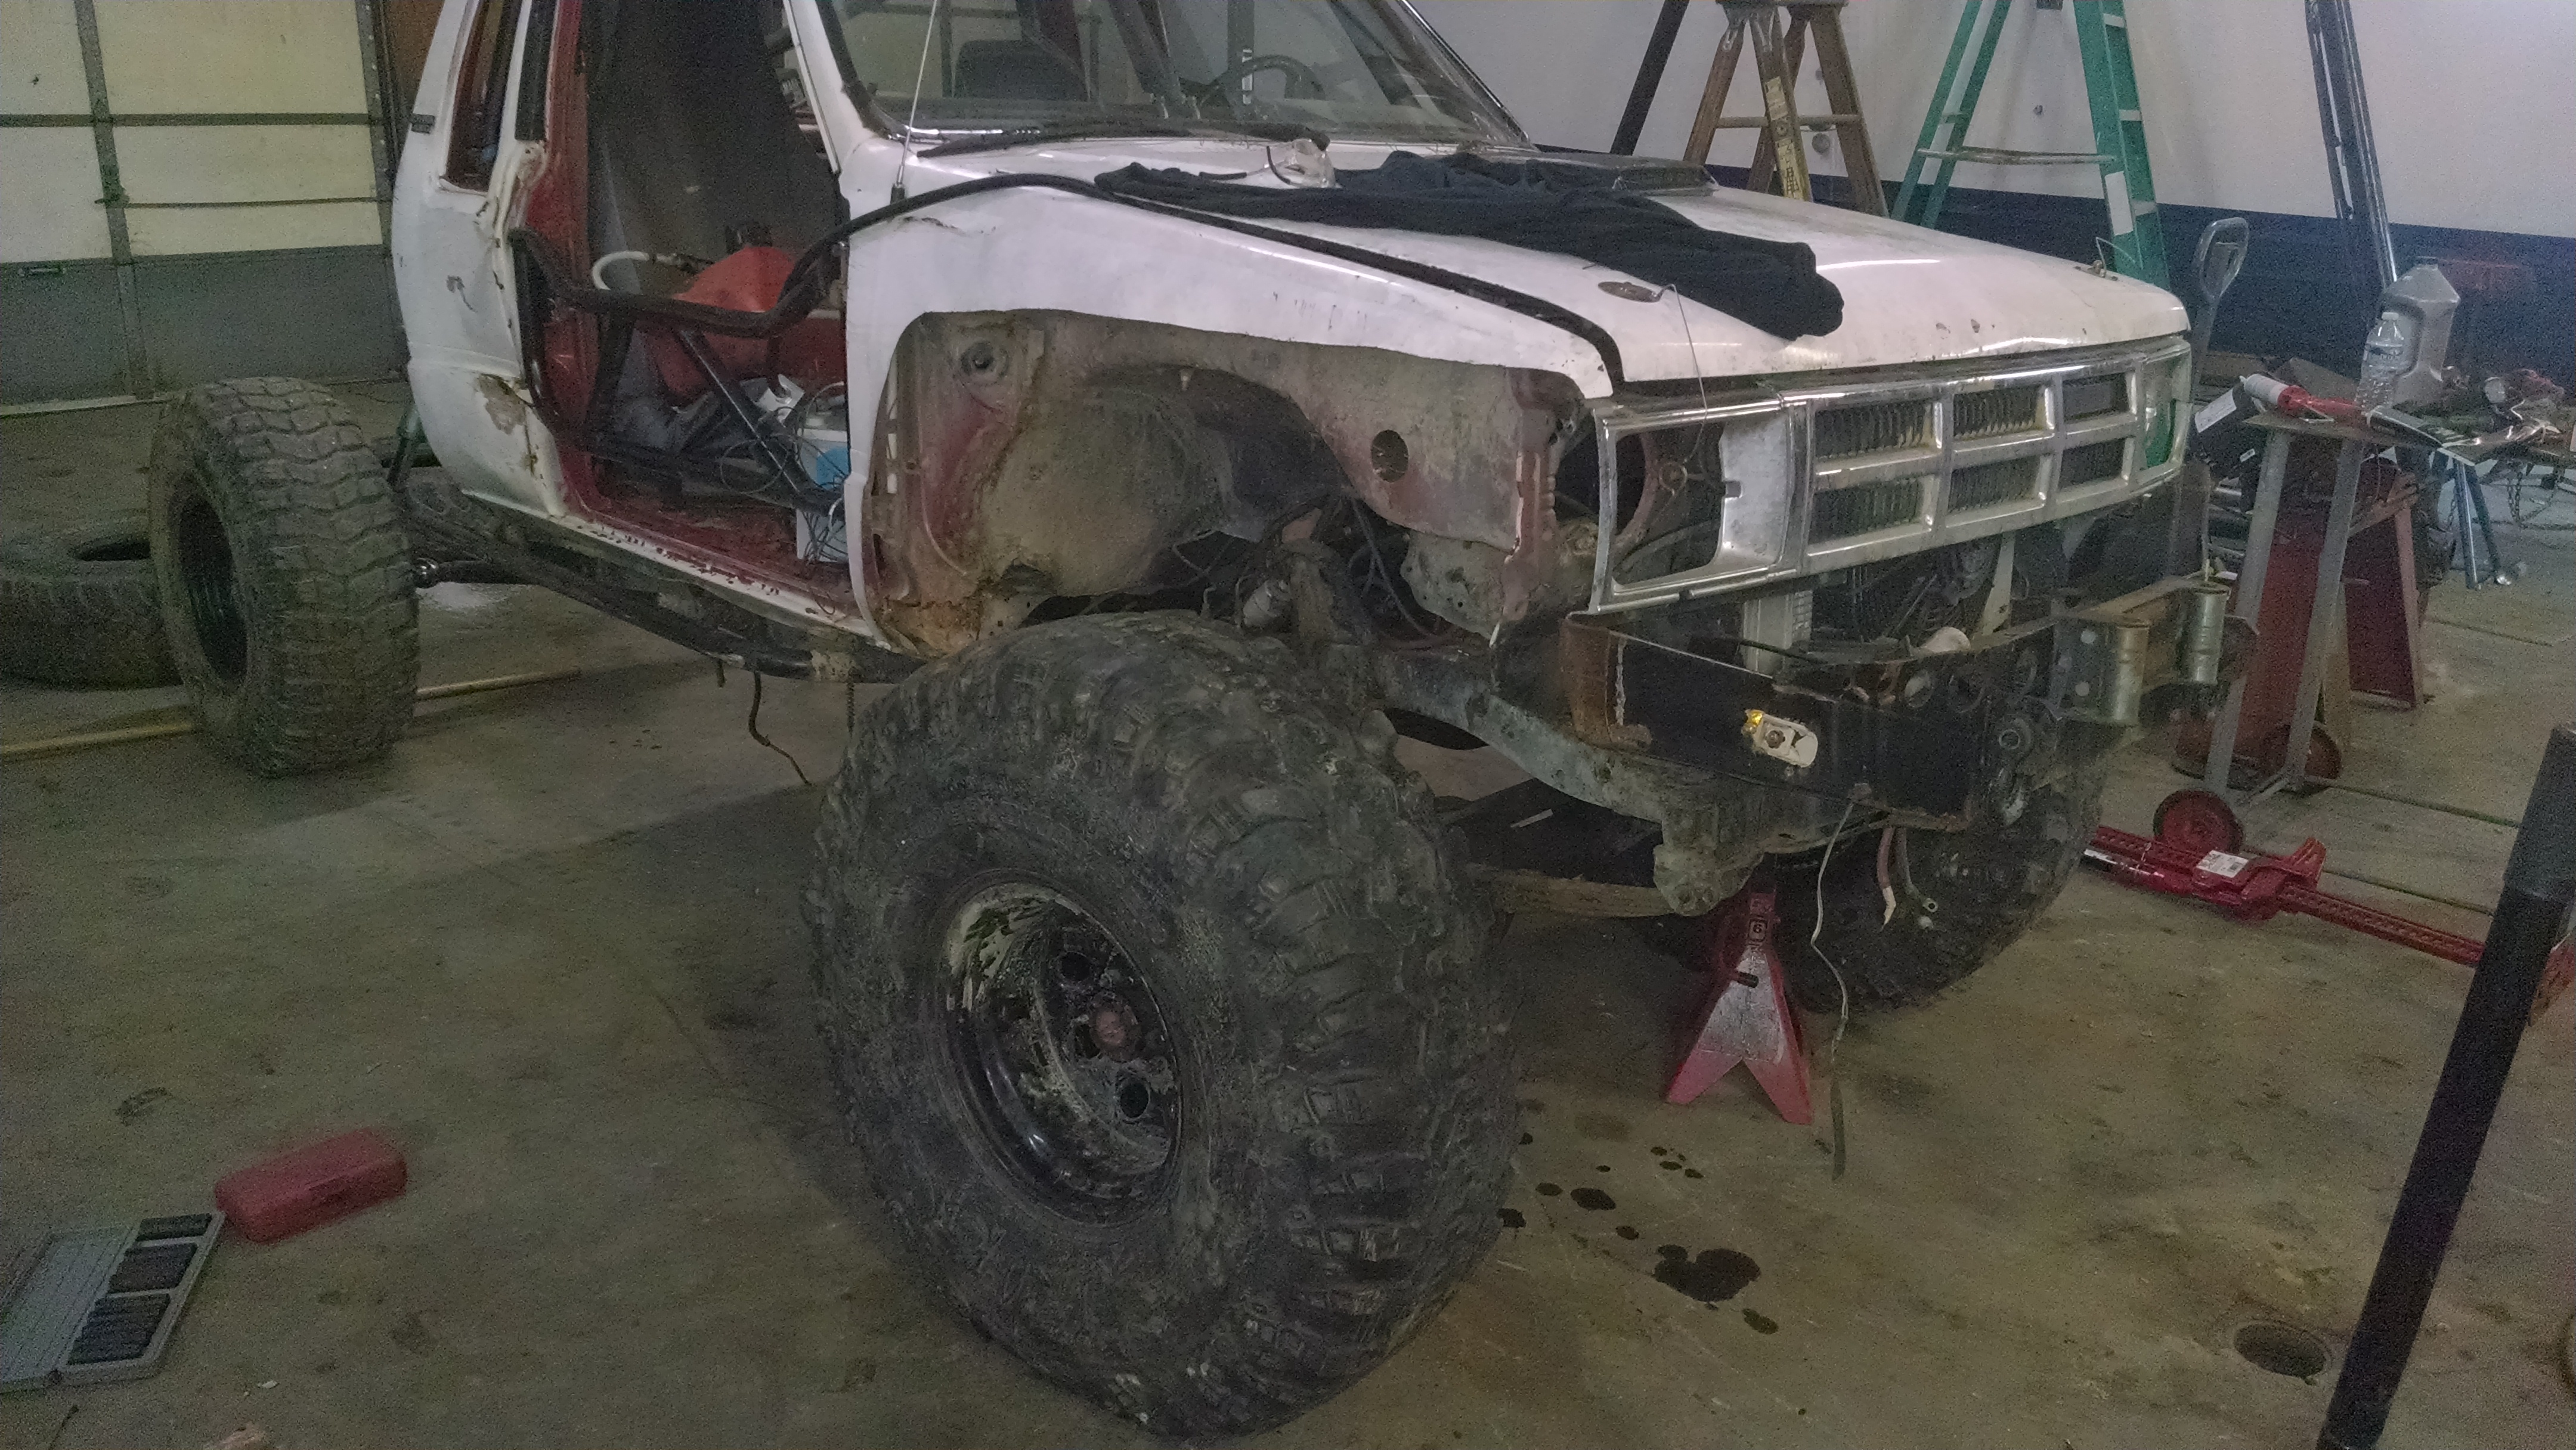
Then after work it was on of them nights.... Took 4.5 hours to put my relocation brackets on the front spring perches pushing the front axle 1.75" forward and mount two 39.5 Iroks. I remembered how much I hate ****ing mounting tires by hand but at least the 35's are gone.
39.5's look ****ing huge.... Would like to drop the front an inch but I don't know if I can with out steering issues.
Started mocking up the fuel cell. All pics are at full bump.
My cell is going to be right above my yoke. Having already spent 3 days in a ICU burn unit I don't like the idea of sending u-joint parts into my fuel cell, so here is what I'm thinking. All 3/16 plate.
Now for mounting it. You can see my little "plate" template to the tube coming from the frame. Not sure if I'm going this way or not. The cell must come out through the bottom due to the design of the tube work.
Also made a Baller on a budget Nitrogen Fill setup for sub $150.
New 20CF tank off ebay $75
Used regulator off ebay $15
Aircraft tire chuck (no leak) $15
Hydro Hose from napa $35
Tank fill $15
Filled the shocks at lunch, works like a charm.
Then after work it was on of them nights.... Took 4.5 hours to put my relocation brackets on the front spring perches pushing the front axle 1.75" forward and mount two 39.5 Iroks. I remembered how much I hate ****ing mounting tires by hand but at least the 35's are gone.
39.5's look ****ing huge.... Would like to drop the front an inch but I don't know if I can with out steering issues.