RdS' Blue '84 4Runner Build-Up Thread
 11-11-2013, 03:28 AM
#1
Registered User
Thread Starter

Join Date: Nov 2013
Location: Melbourne, Australia
Posts: 14
Likes: 0
Received 0 Likes
on
0 Posts
RdS' Blue '84 4Runner Build-Up Thread
Hi everyone,
I'm Ross, from Melbourne, Austraila.. and here to share a 'build-up' of sorts (more maintenance log than anything..) of my 1984 YN60 4Runner.
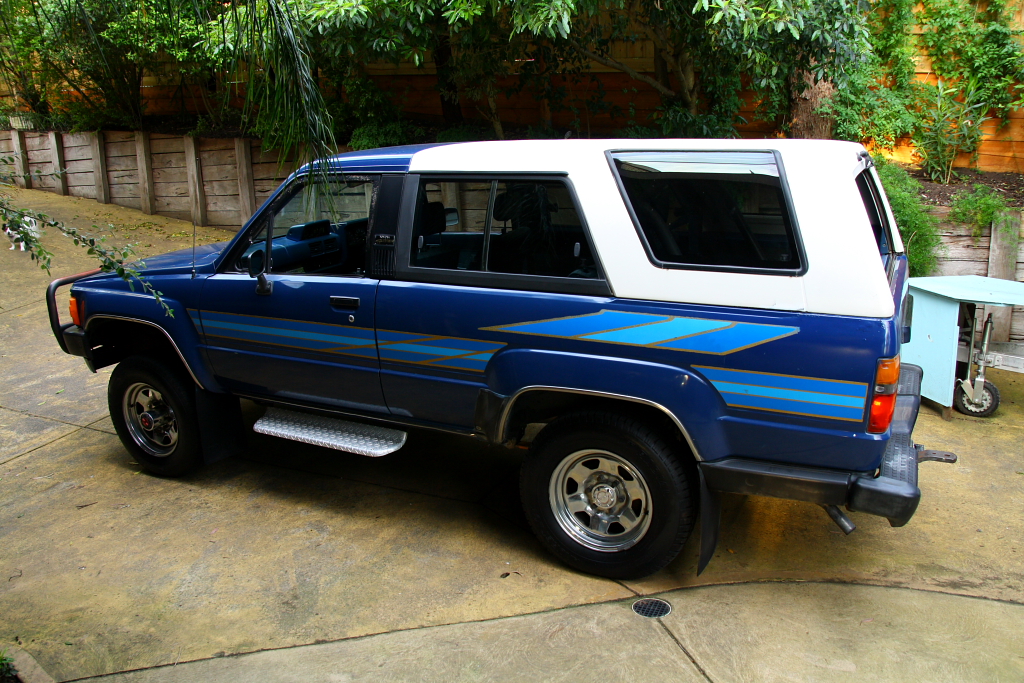
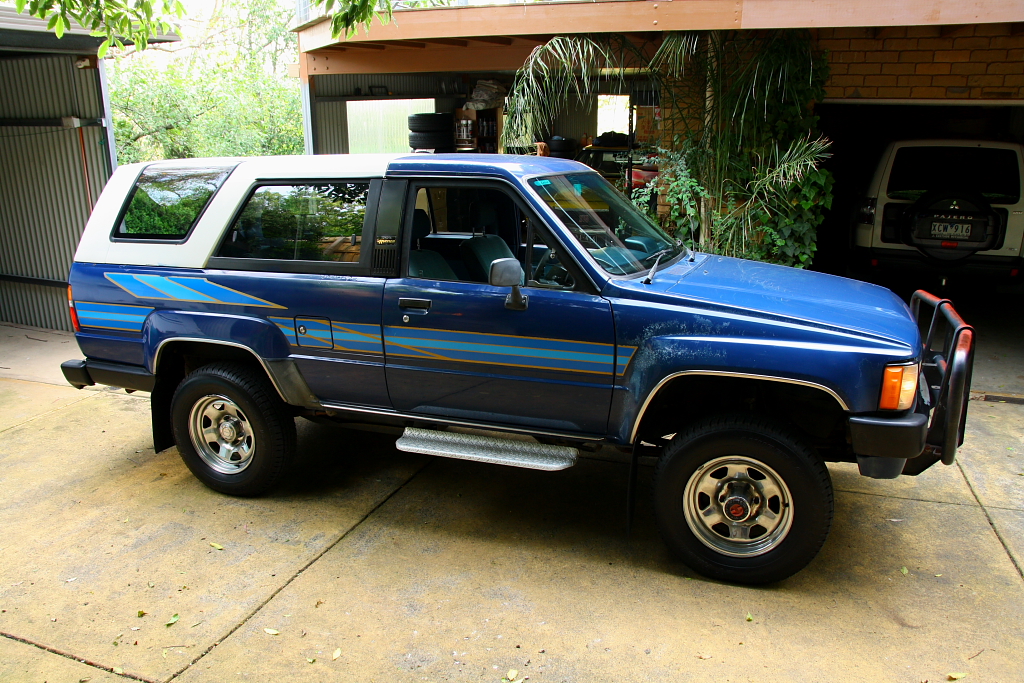
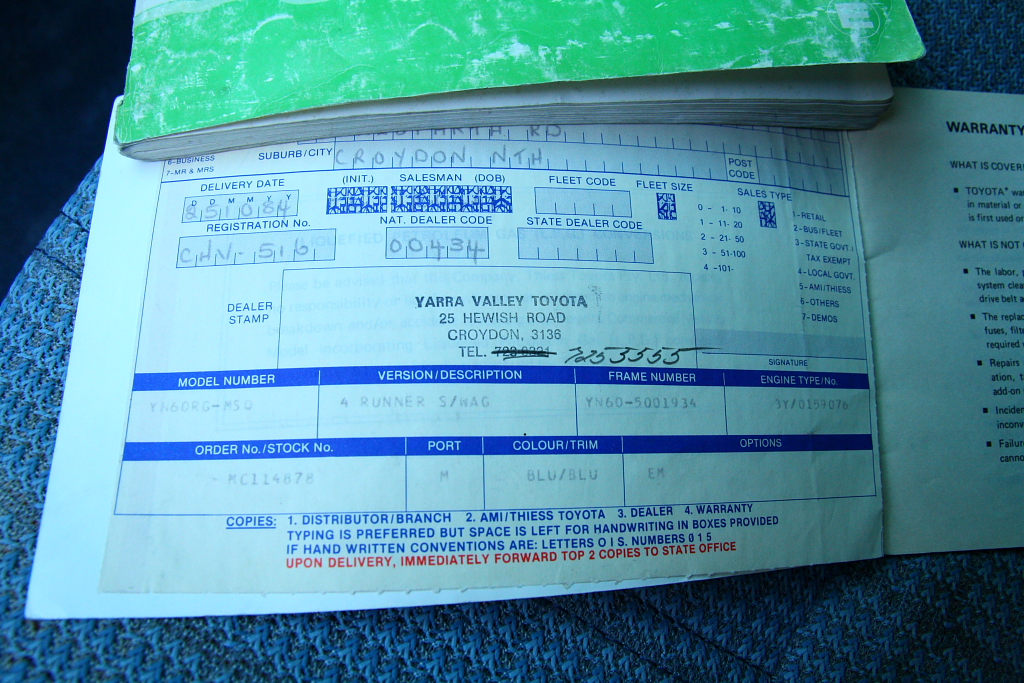
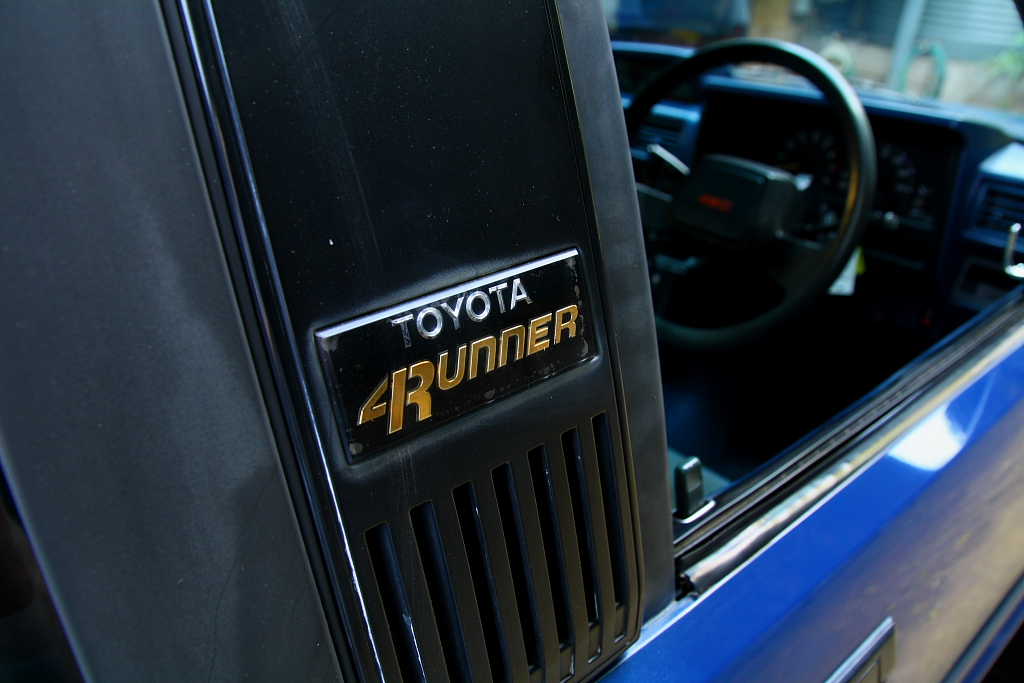
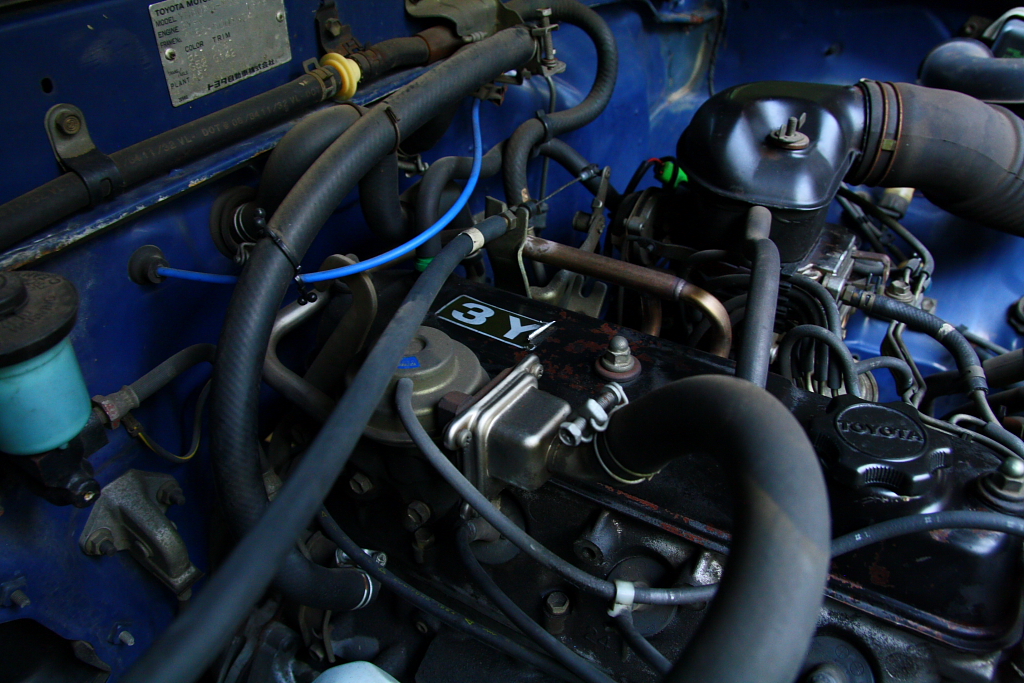
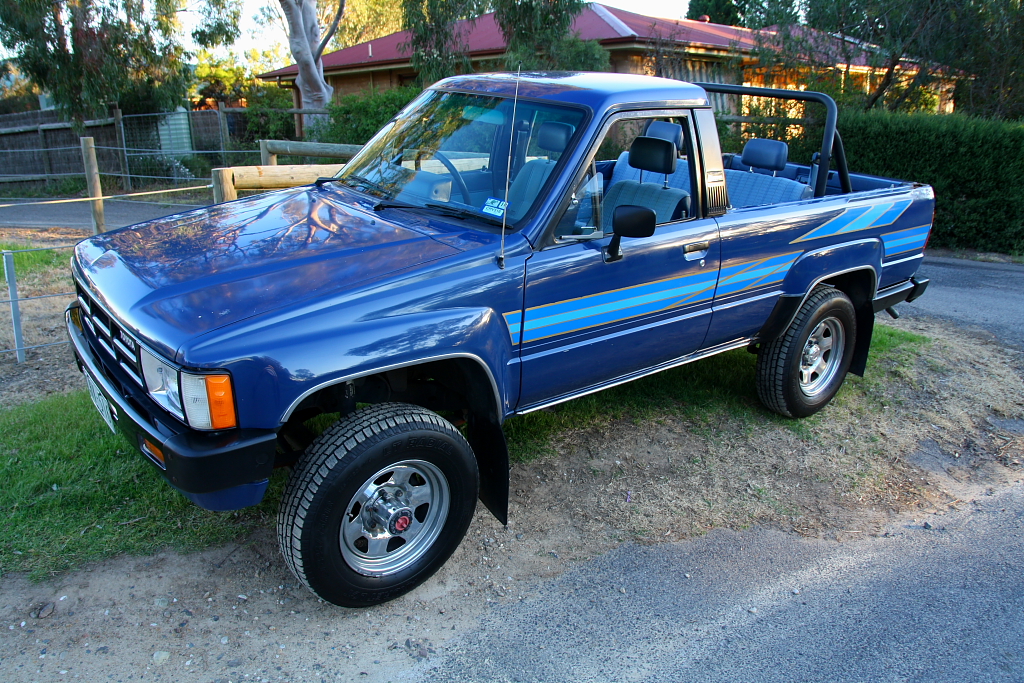
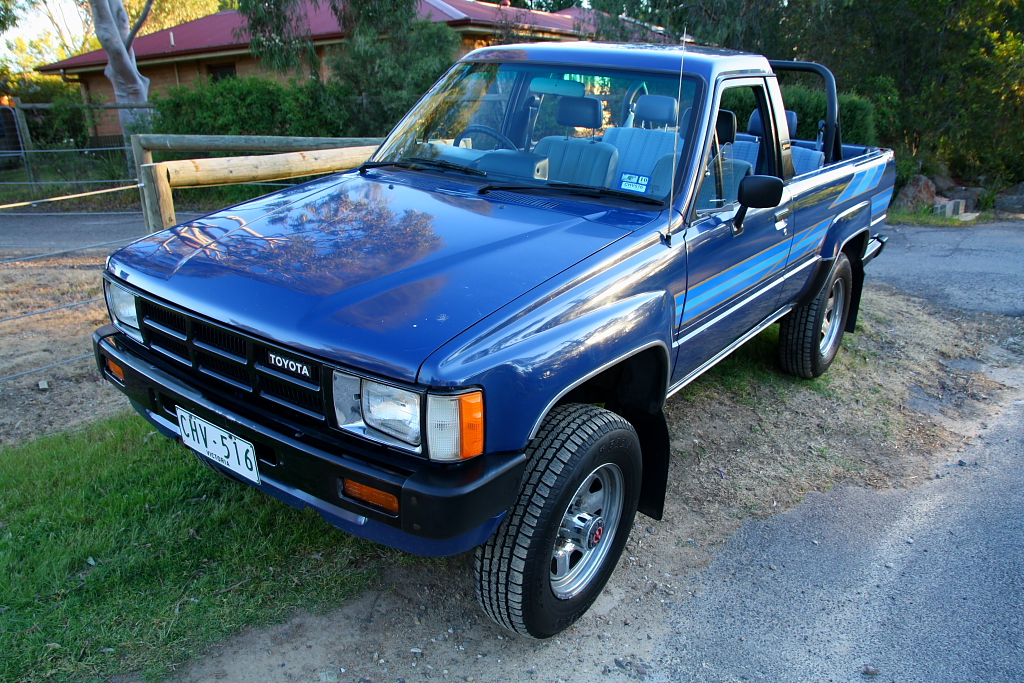
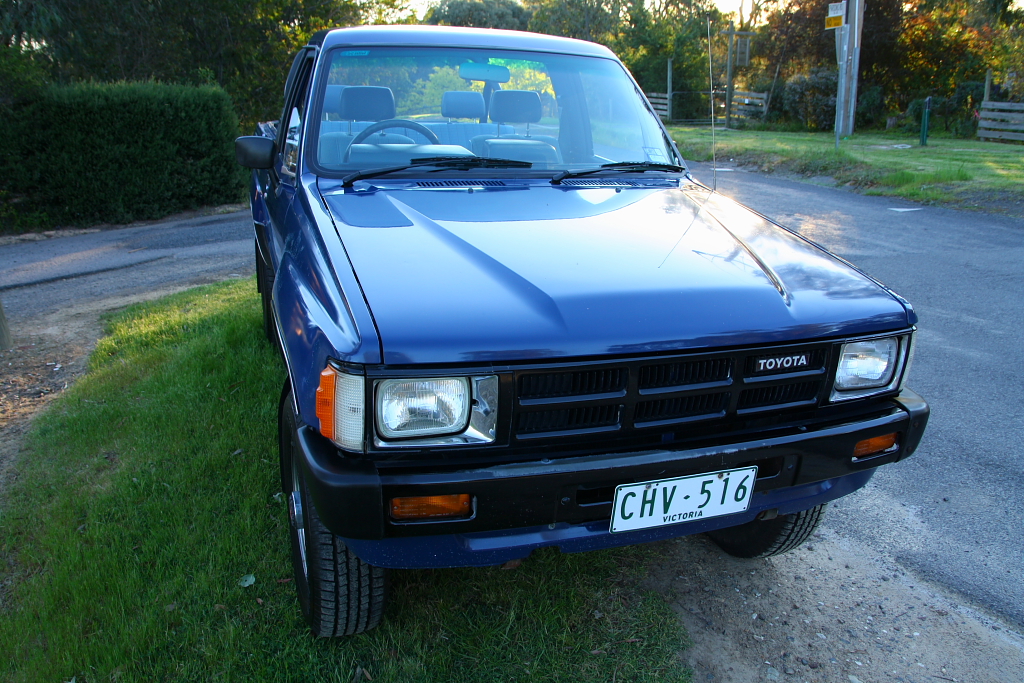
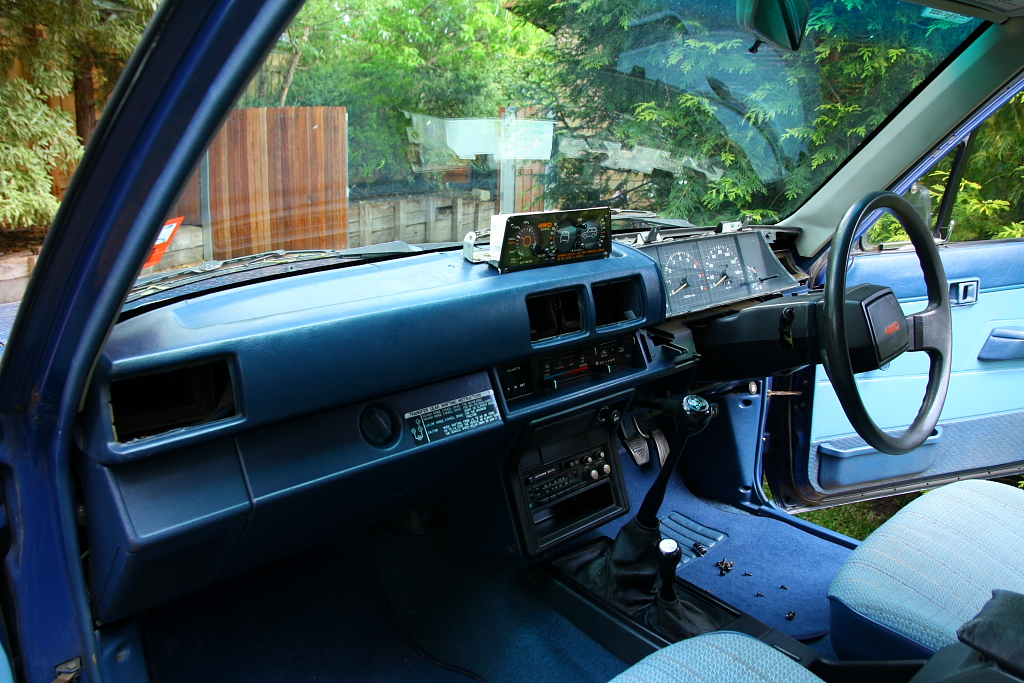
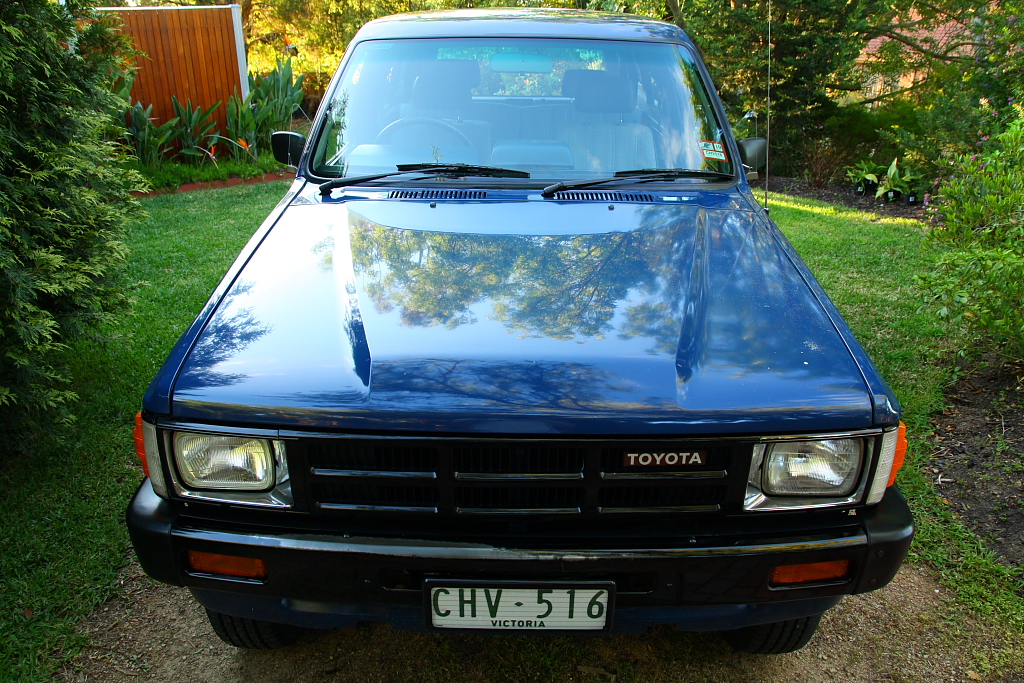
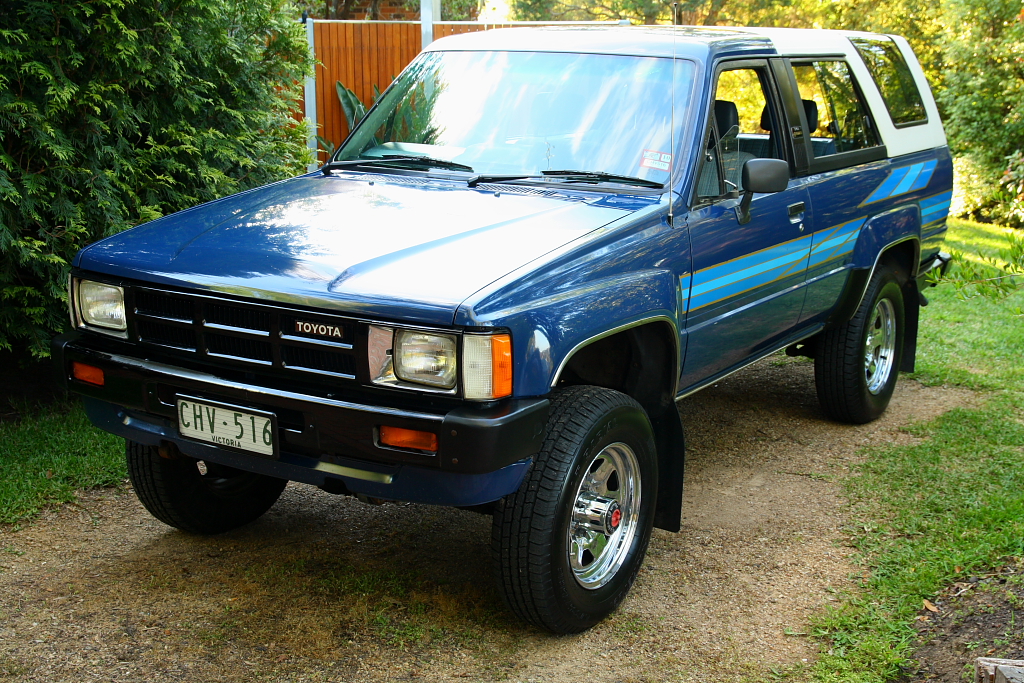
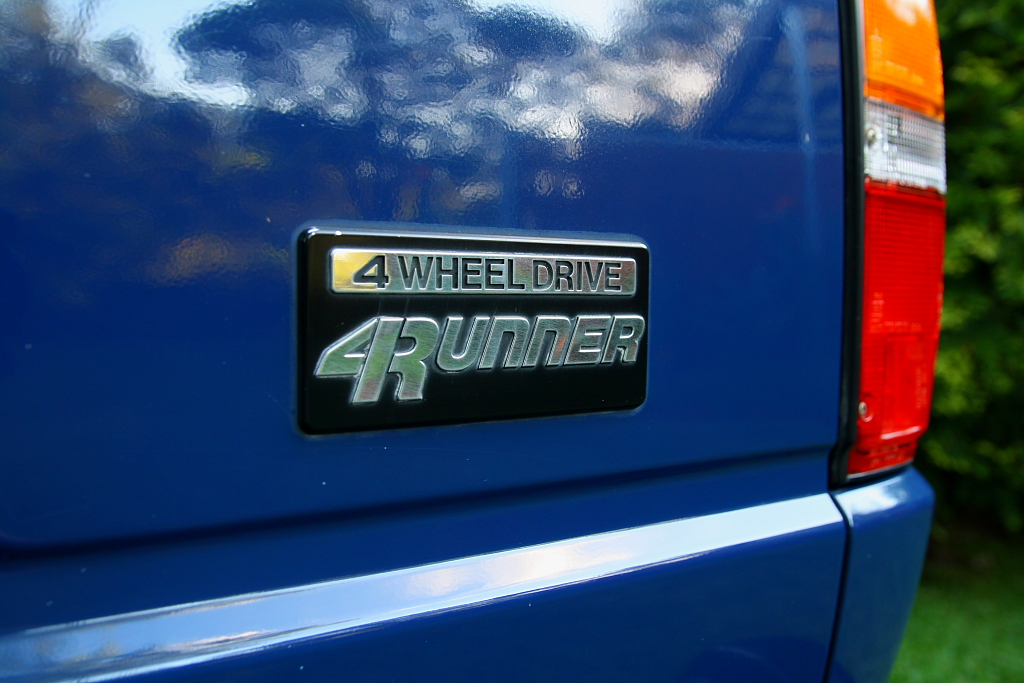
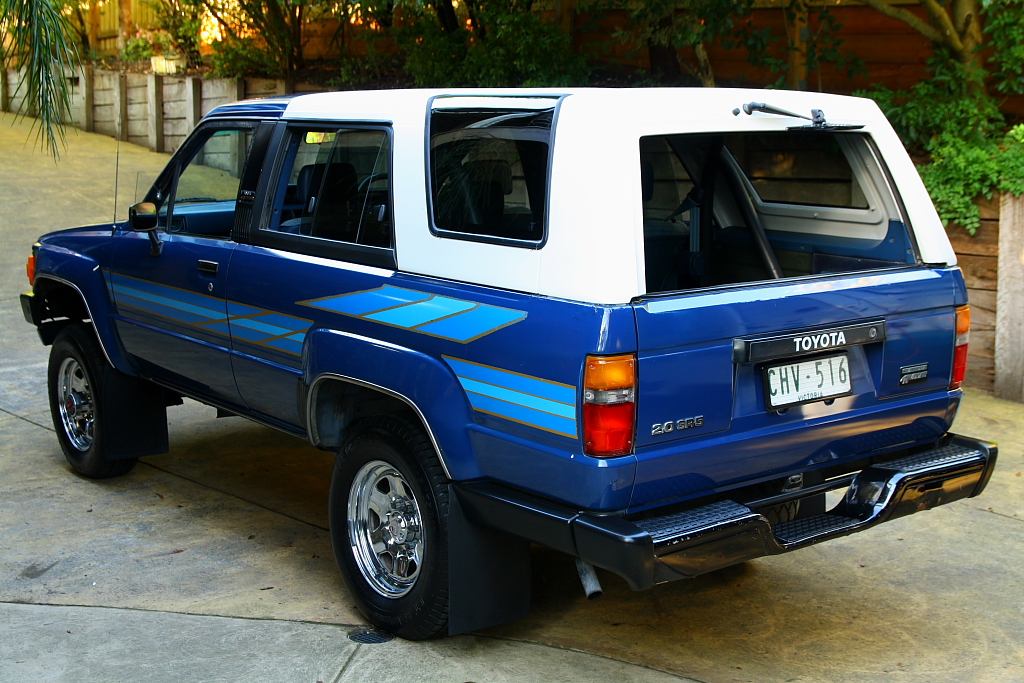
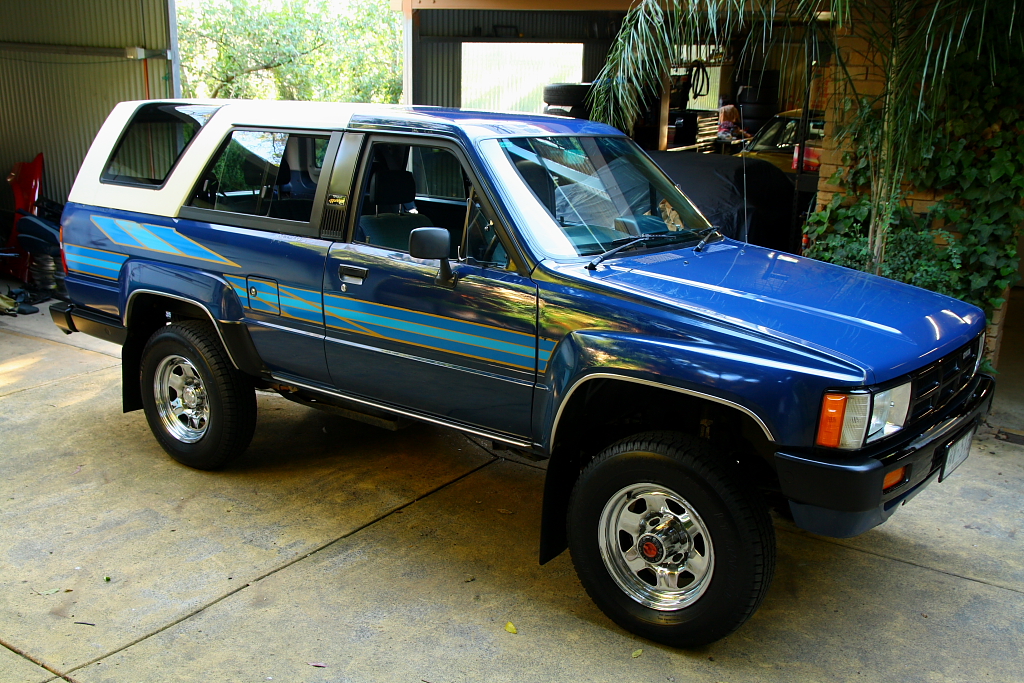
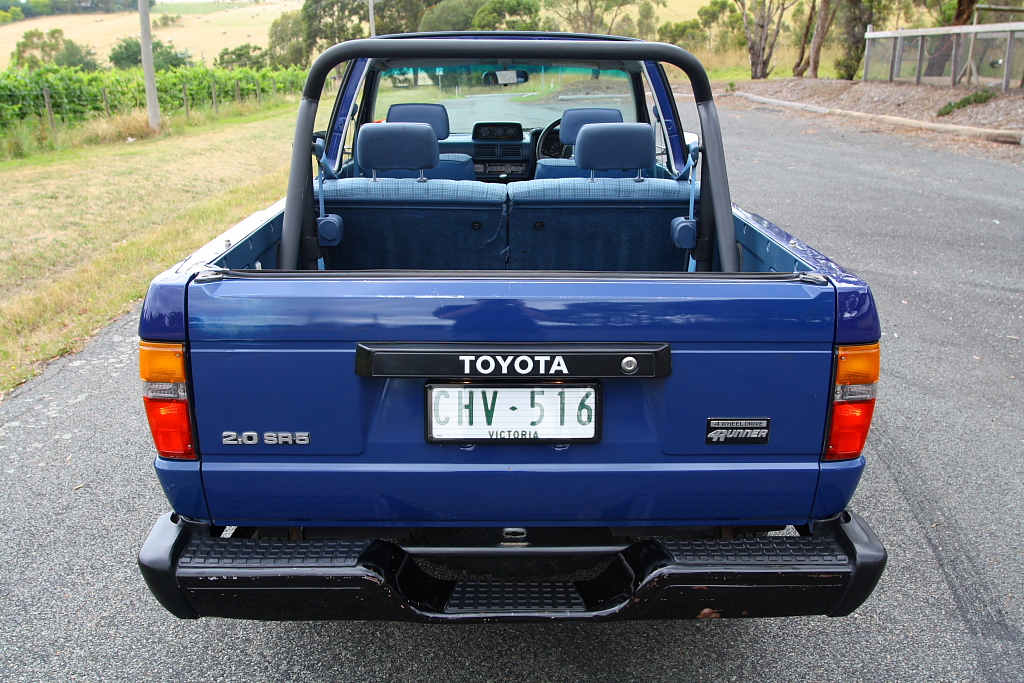
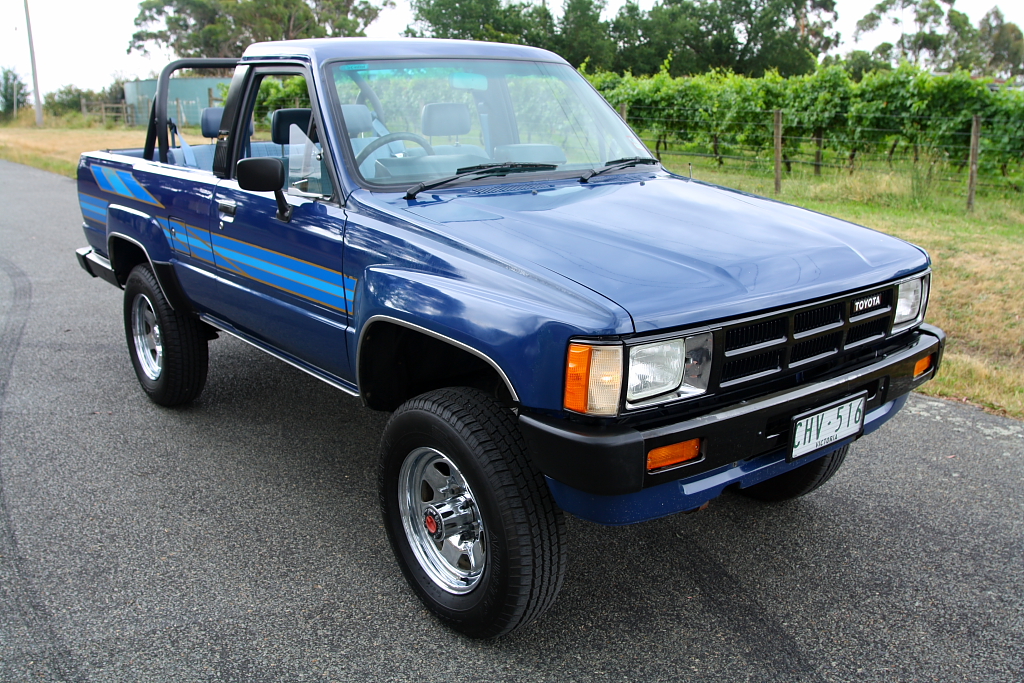
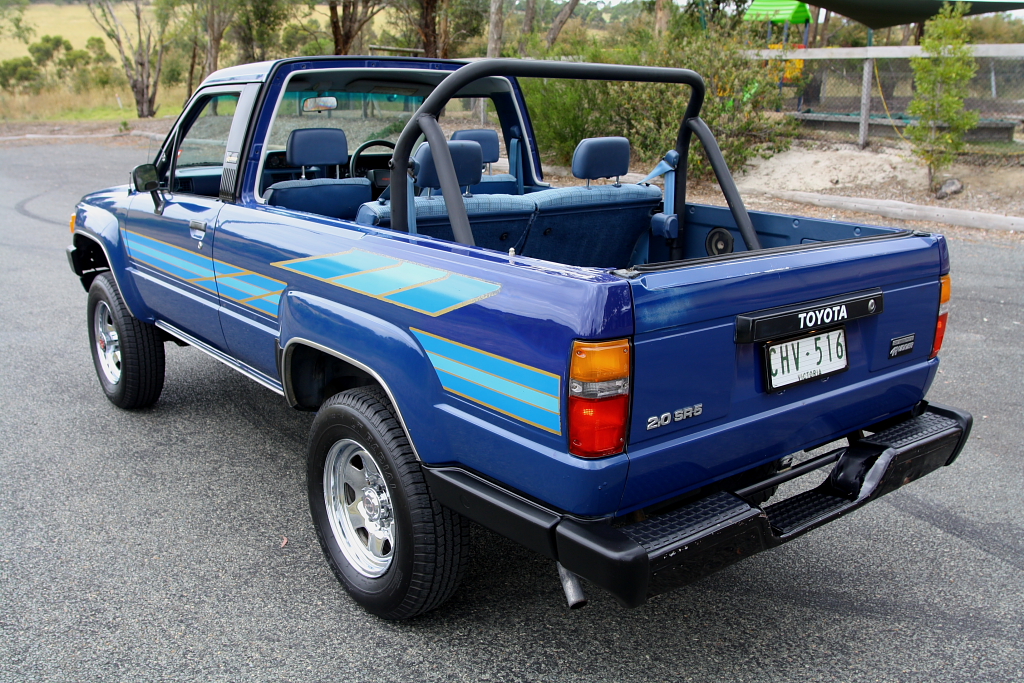
The car itself is a very unmolested Aussie-market SR5 model. It may seem like an odd mix of parts, but is actually a good example of what they looked like in this market when new - Sorta halfway between the Japanese Surf and the US 4Runner.. all the while pushed along by the 2litre Petrol 3YC.
It had been a local car since new, and has spent the last 19years living just off a road I drive down every day. I'd almost certainly seen it before some time..!
For an '84, it has managed to survive very well. Not perfect, but very obviously cared for.. serviced, repaired, etc. Just gradually wearing out.
I never see these around, let alone for sale; so regardless of work needed (Rust issues mainly), I pounced at the opportunity to buy it. Good year, good driveline, and great colour combination. Loved it.
Plan is to simply tidy it up a little, fix anything that breaks, and just punt about in it. Something neat enough from a couple meters away, and keep it reliable.
Now a heap of pics..
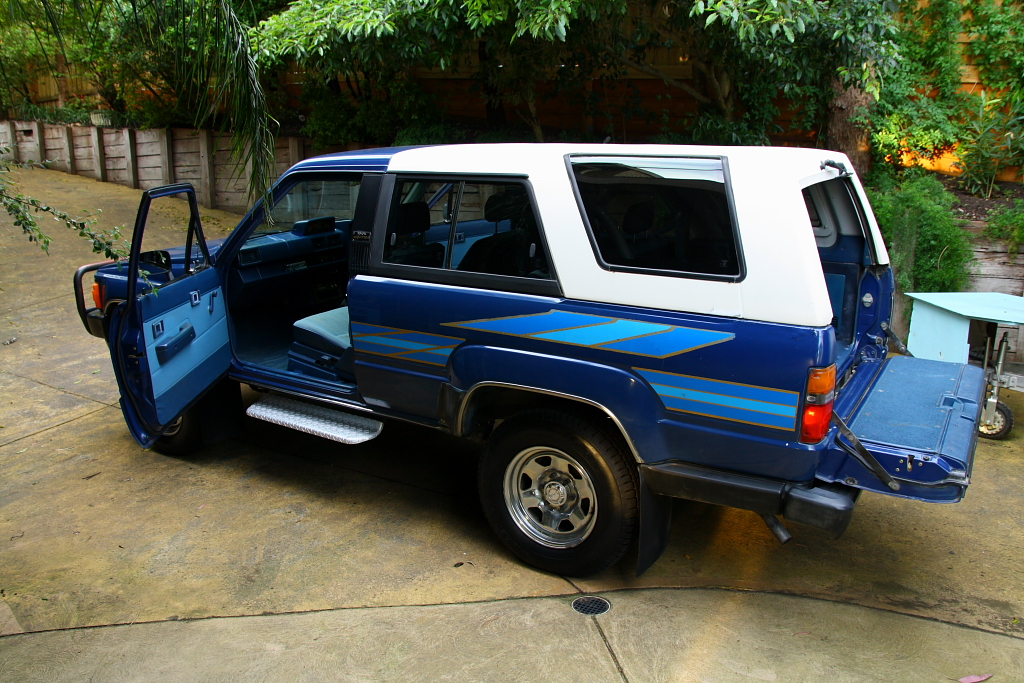
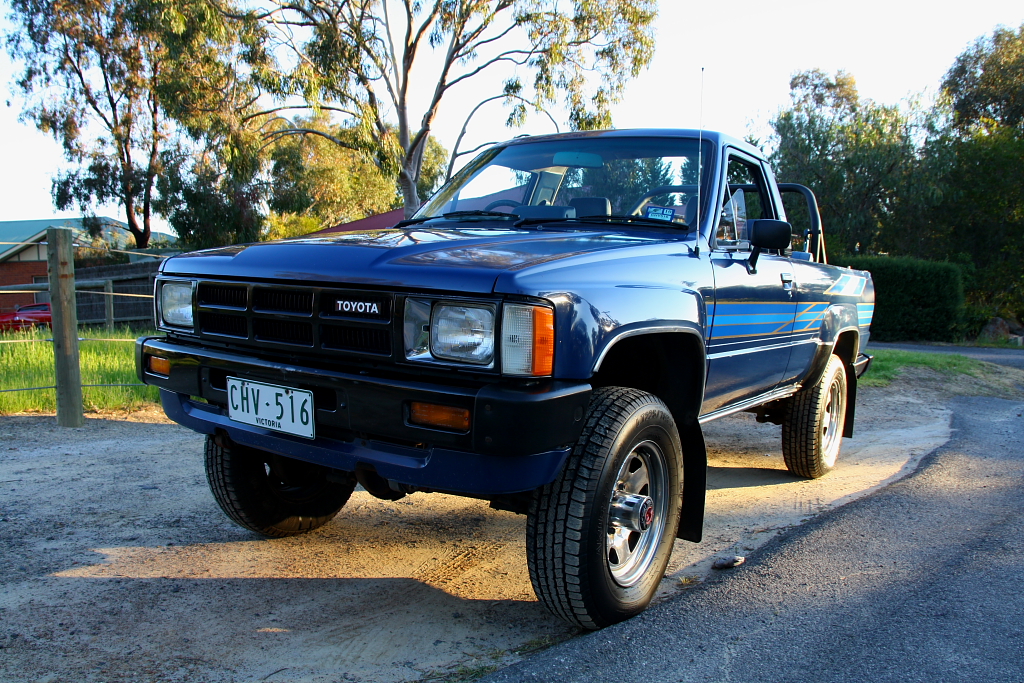
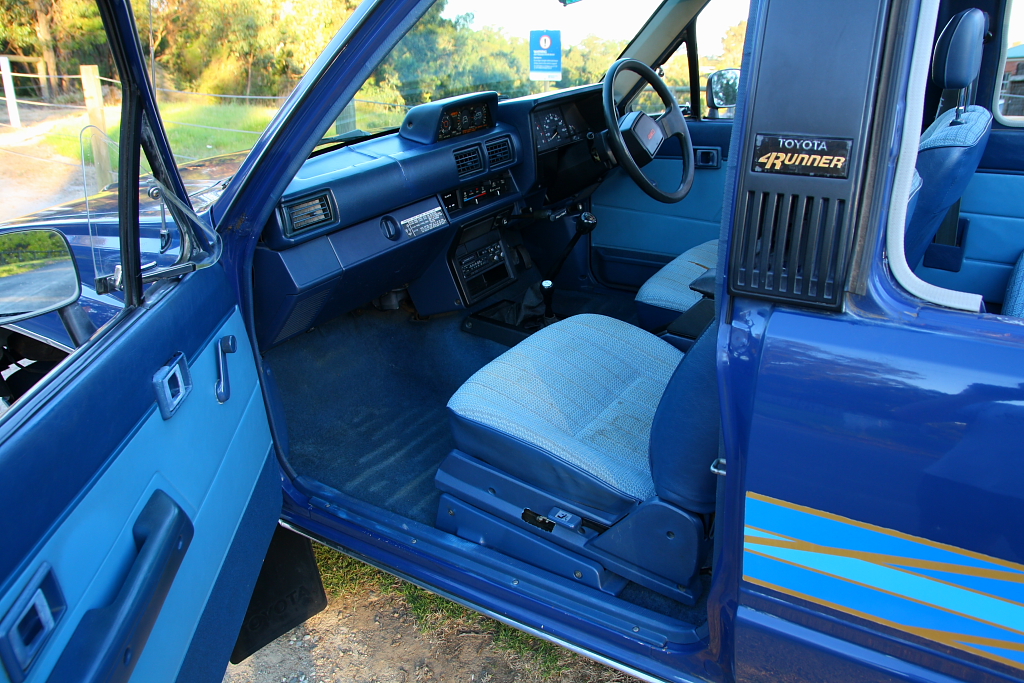
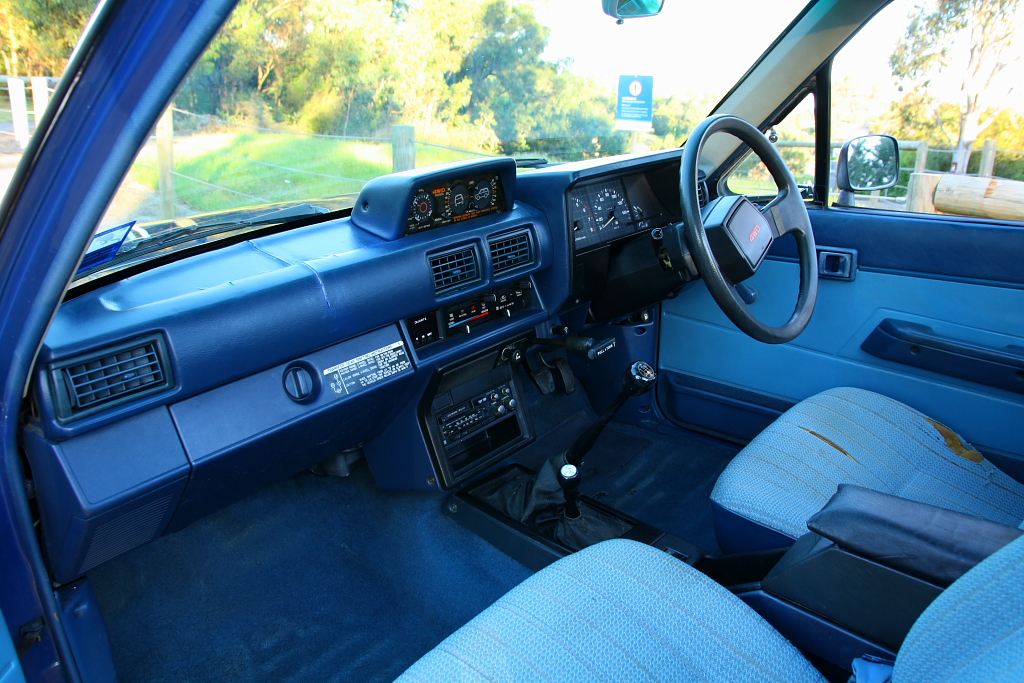
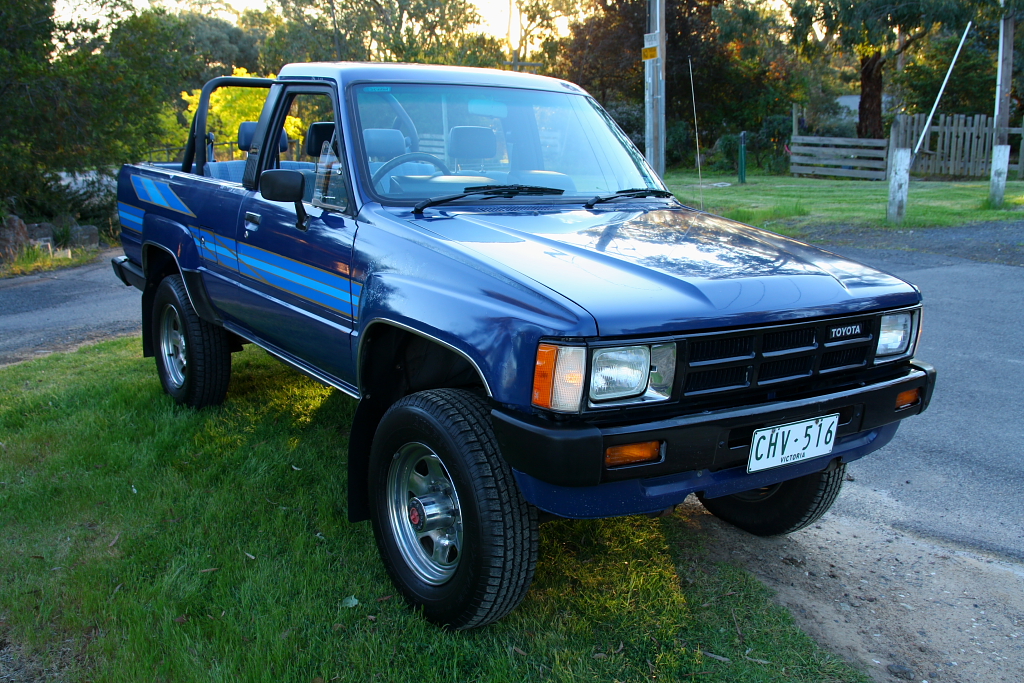
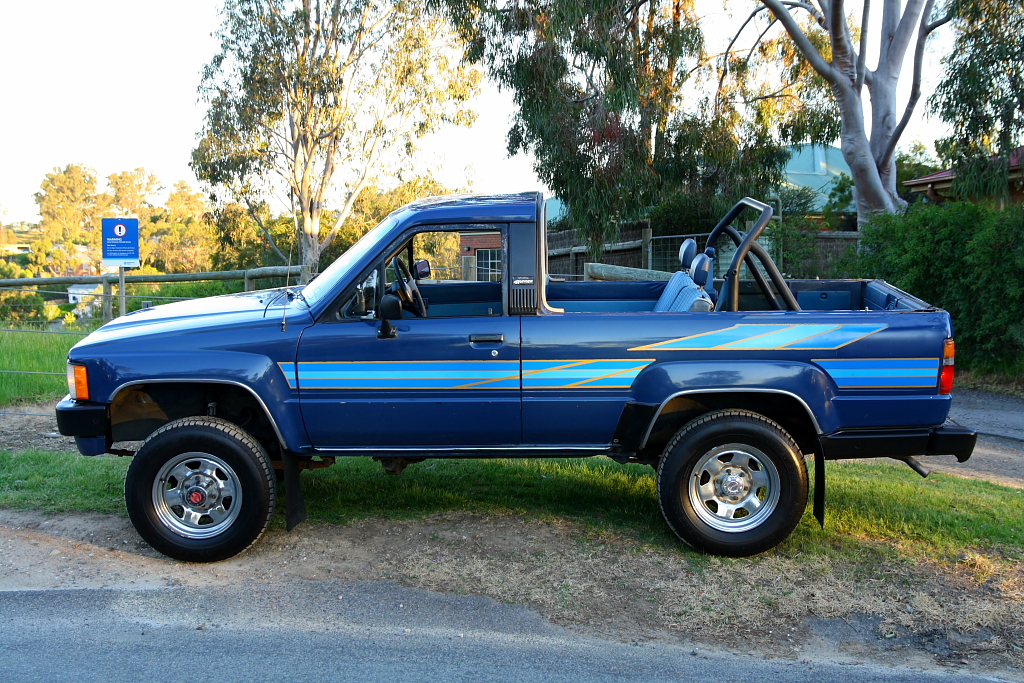
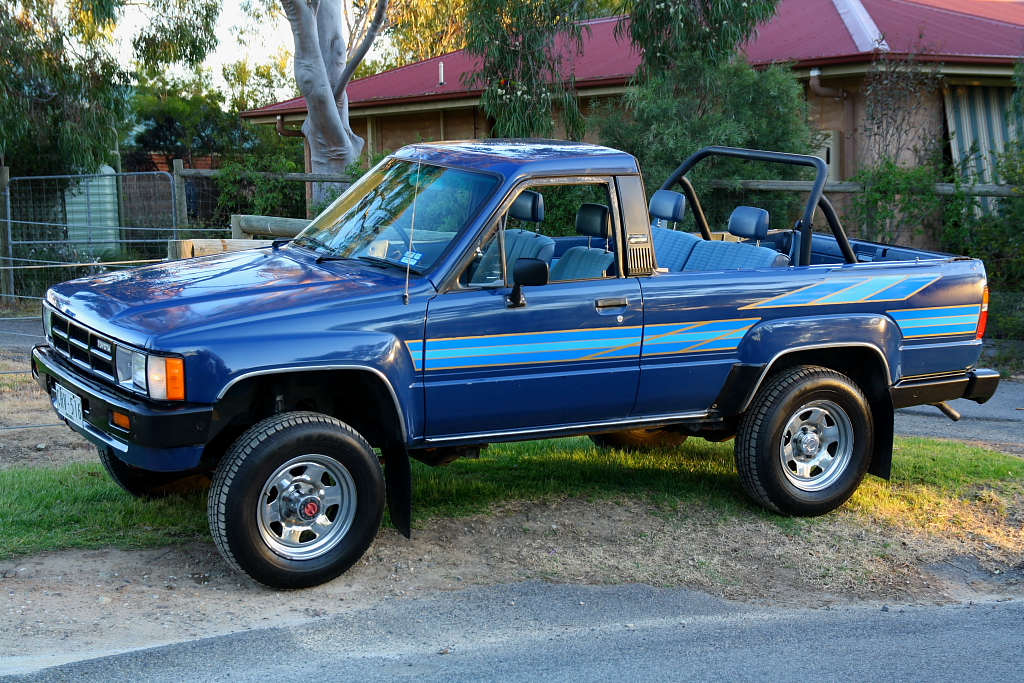
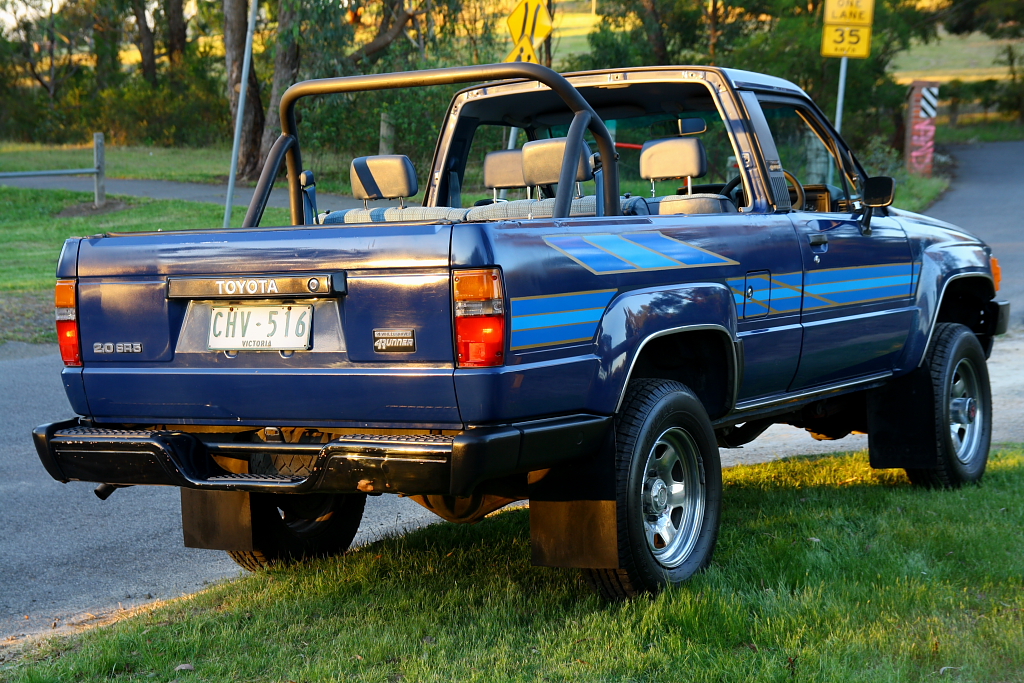
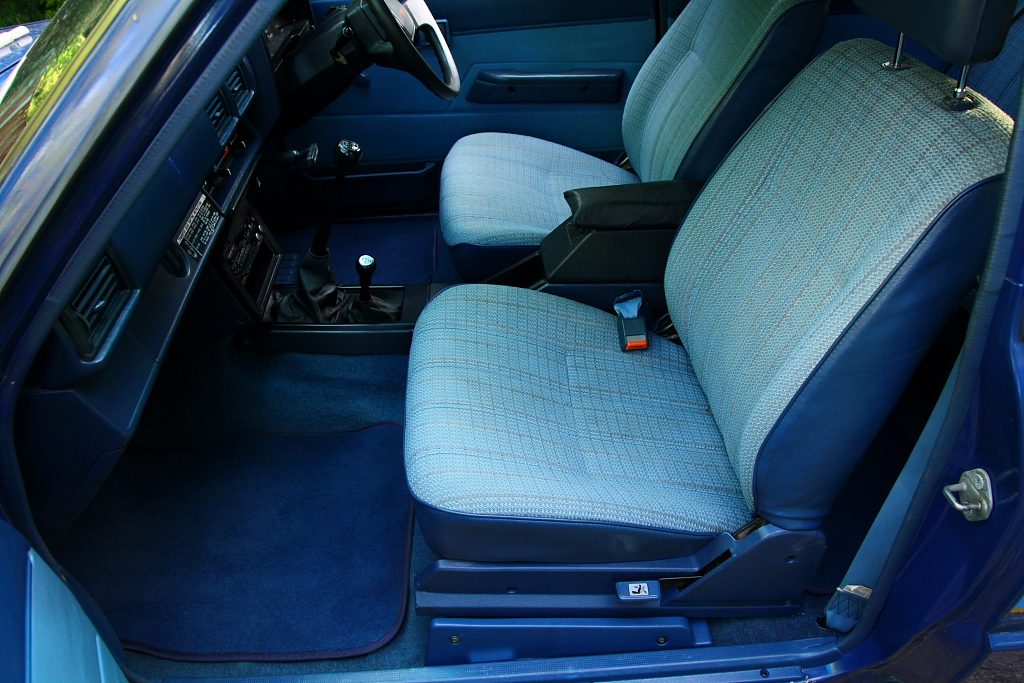
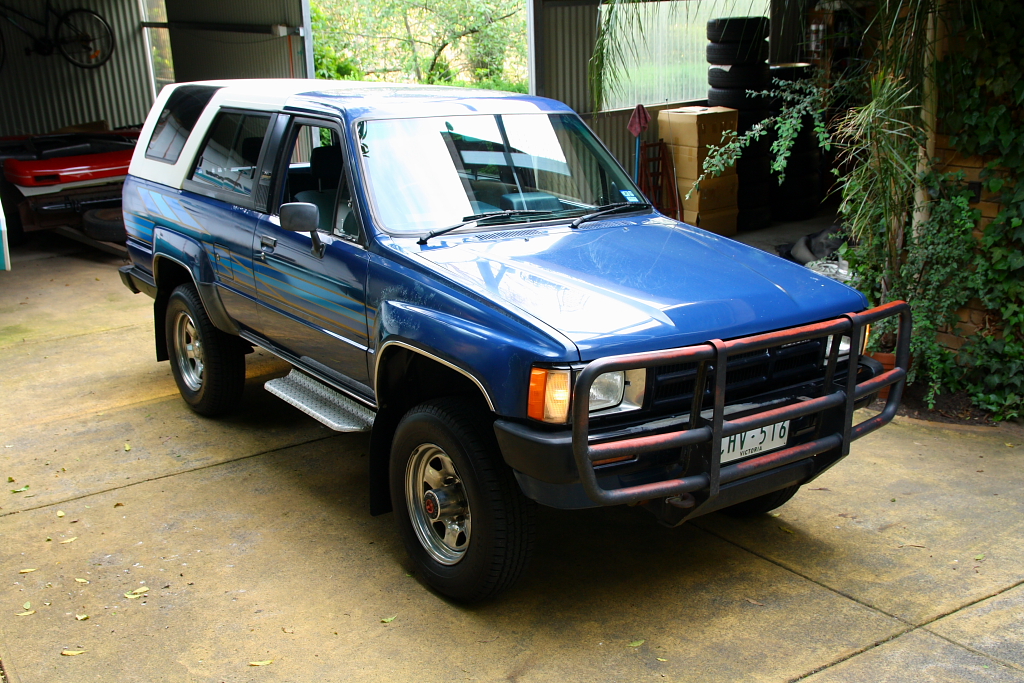
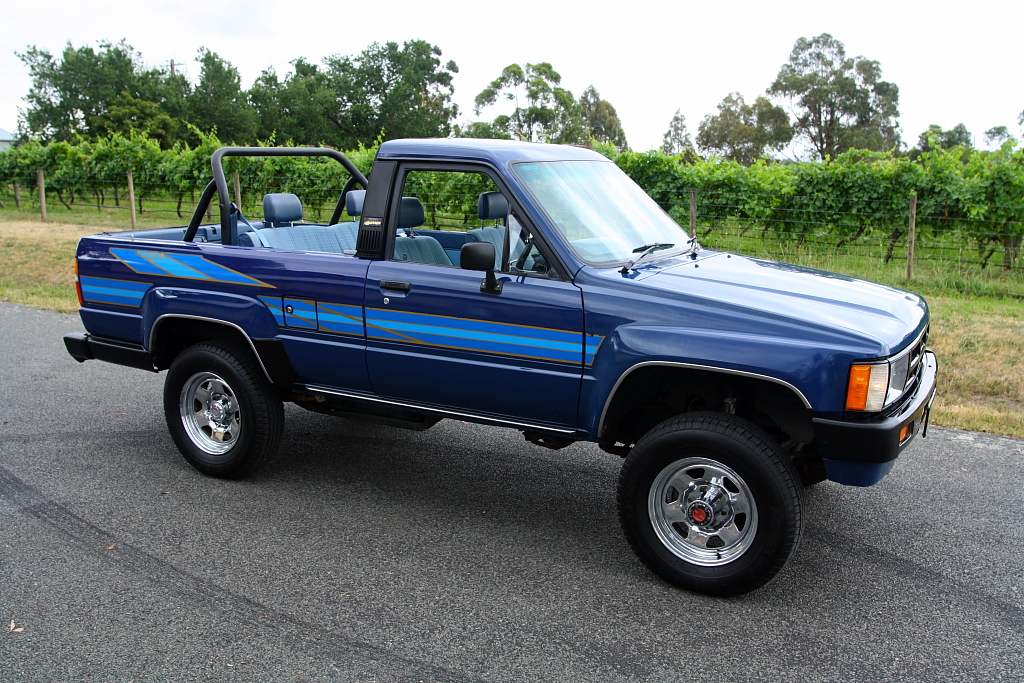
The car as I bought it:

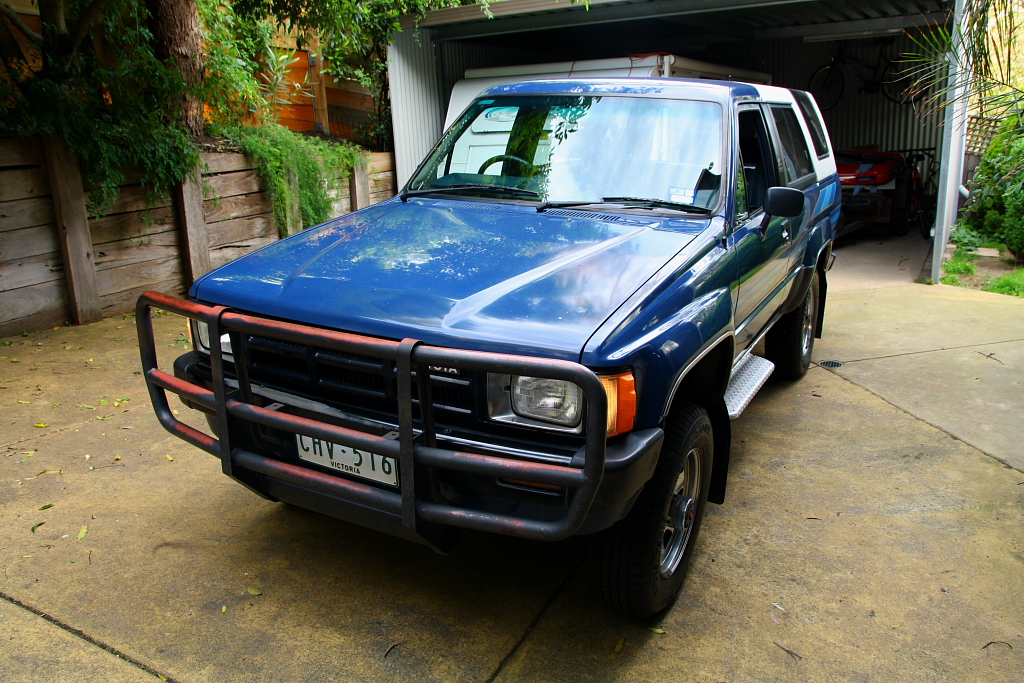

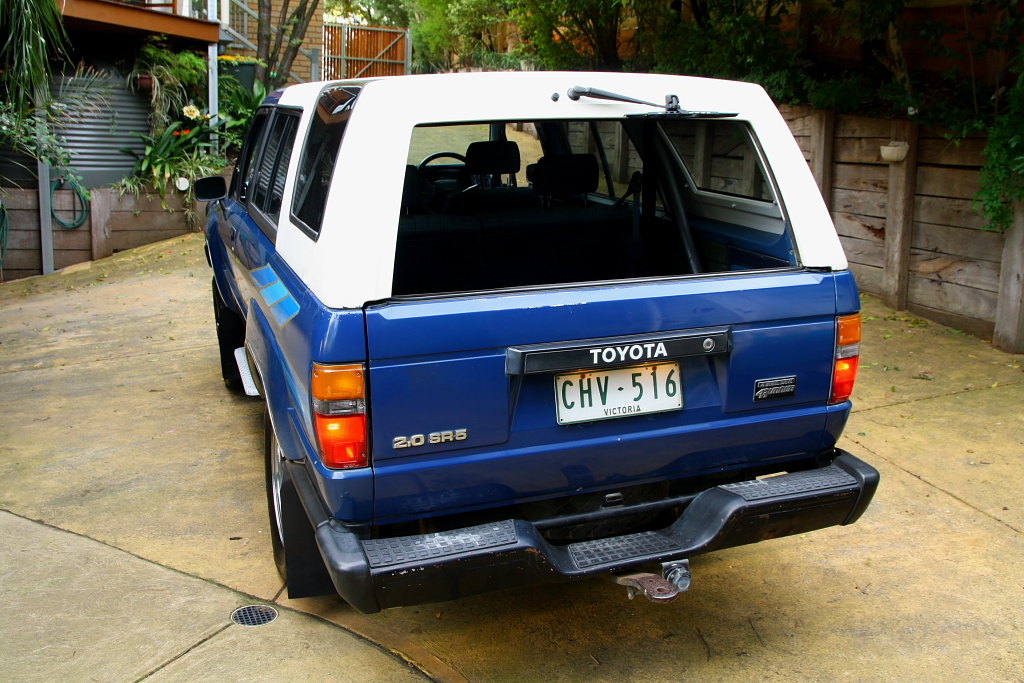

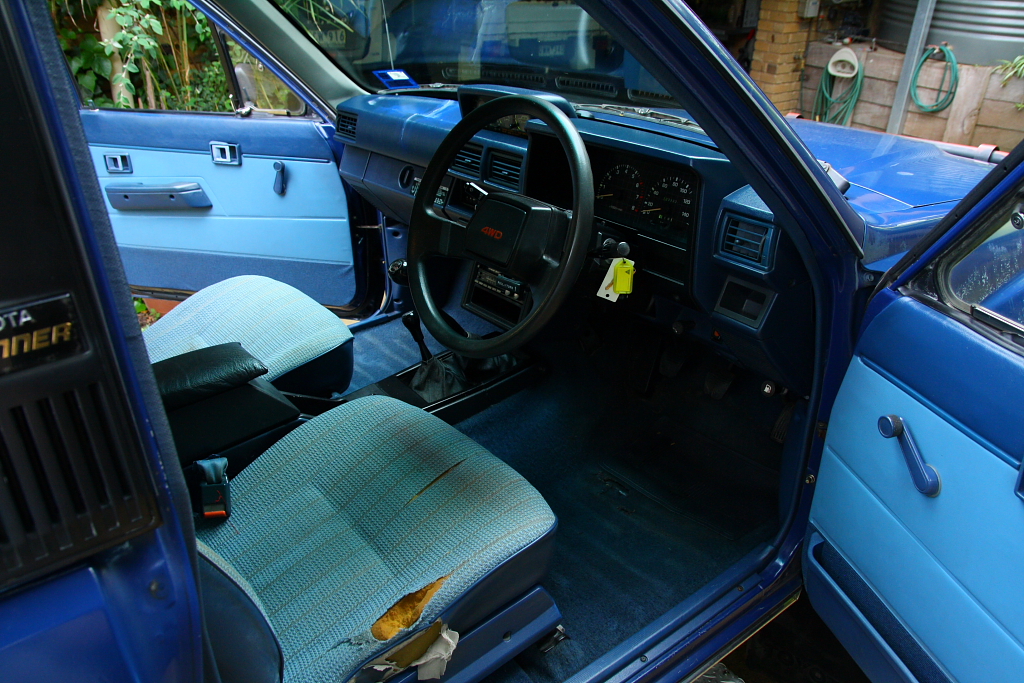
233,000km (~145,000miles) is low for its age/model, which I hadn't given too much thought to until I had realized everything still worked..!

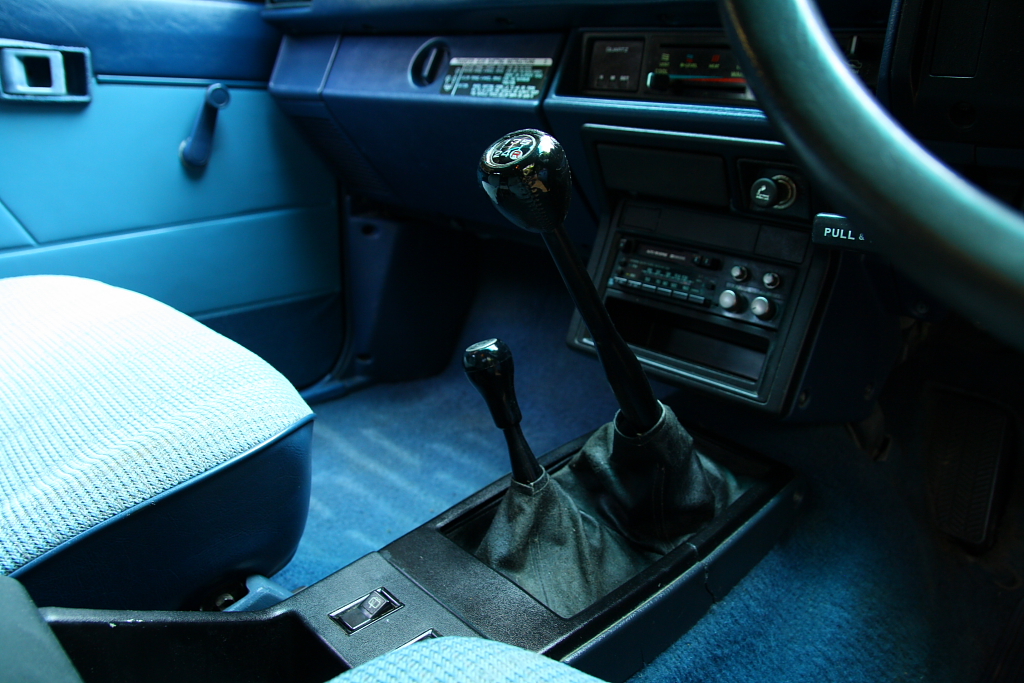
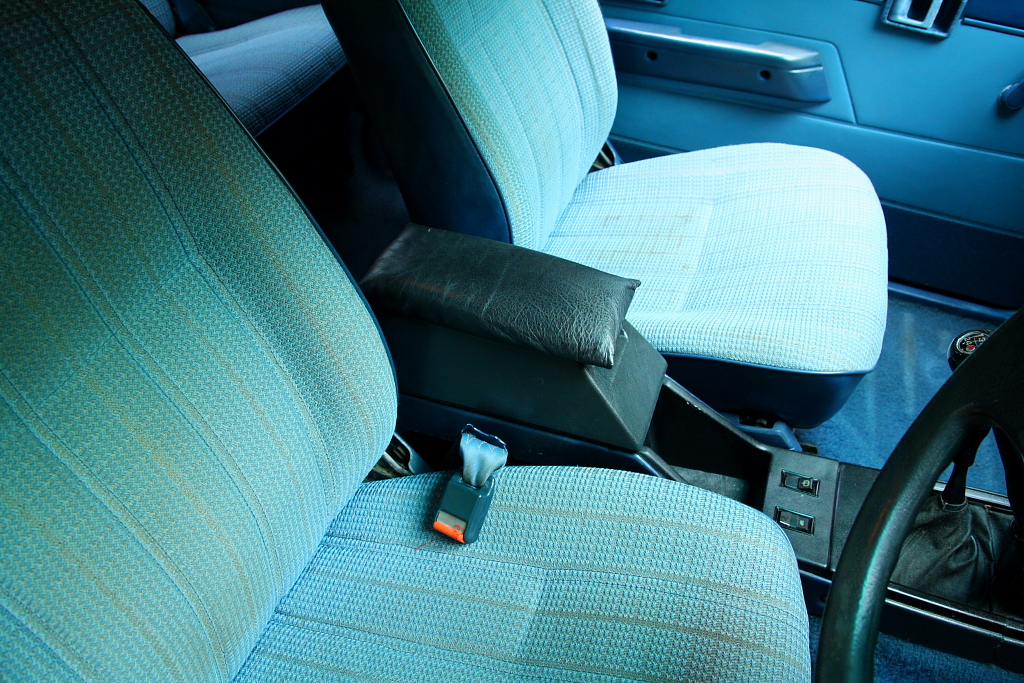
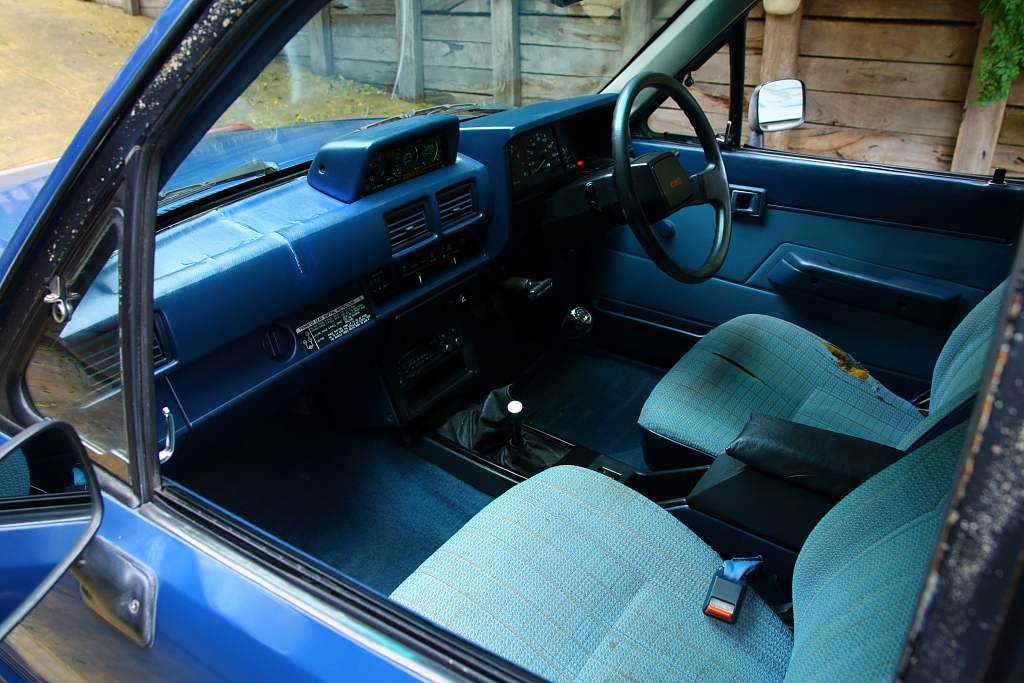
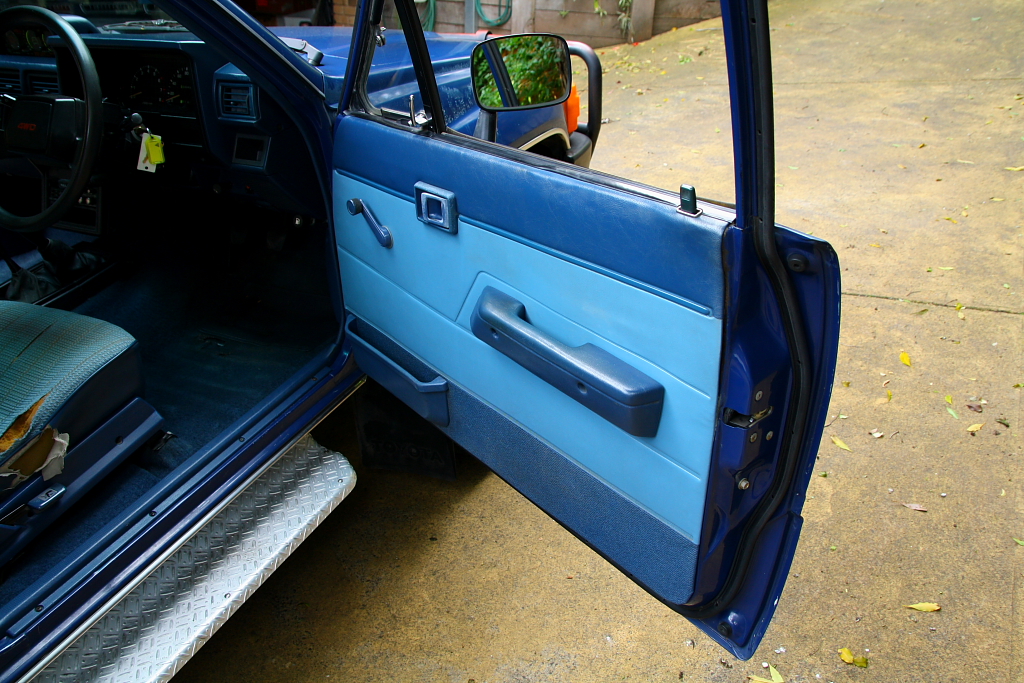
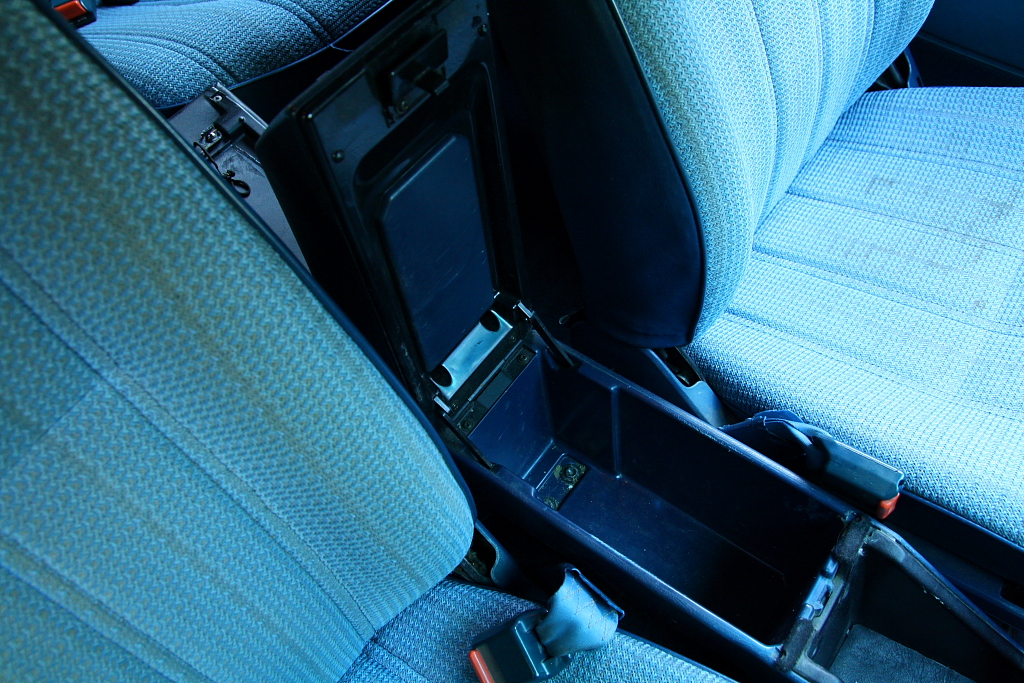
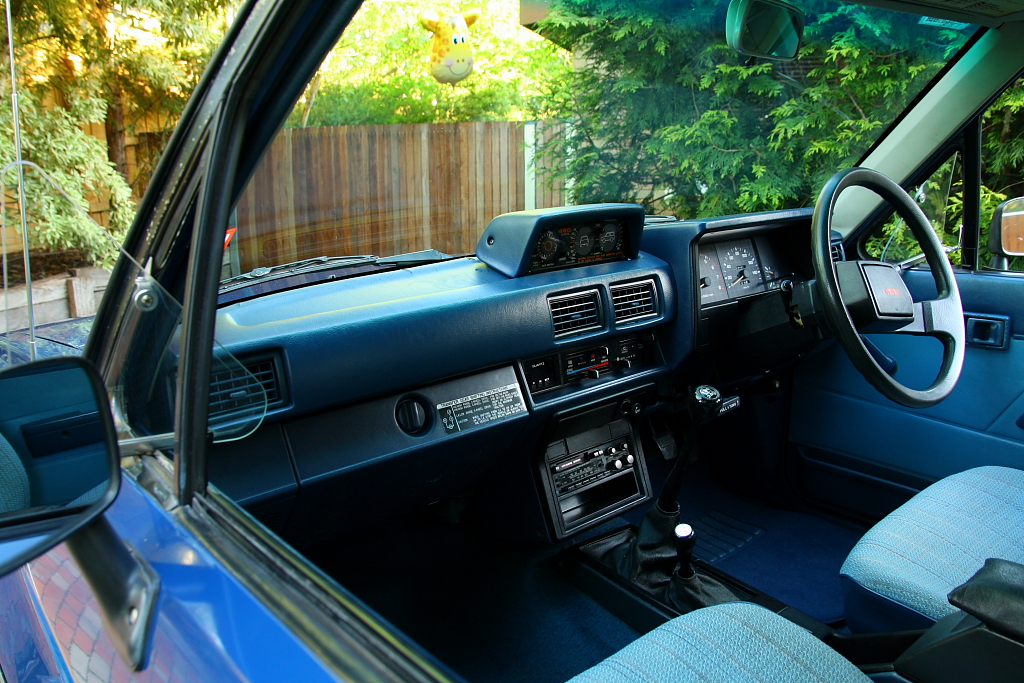
Armrest has been wrapped by previous owner at some point.
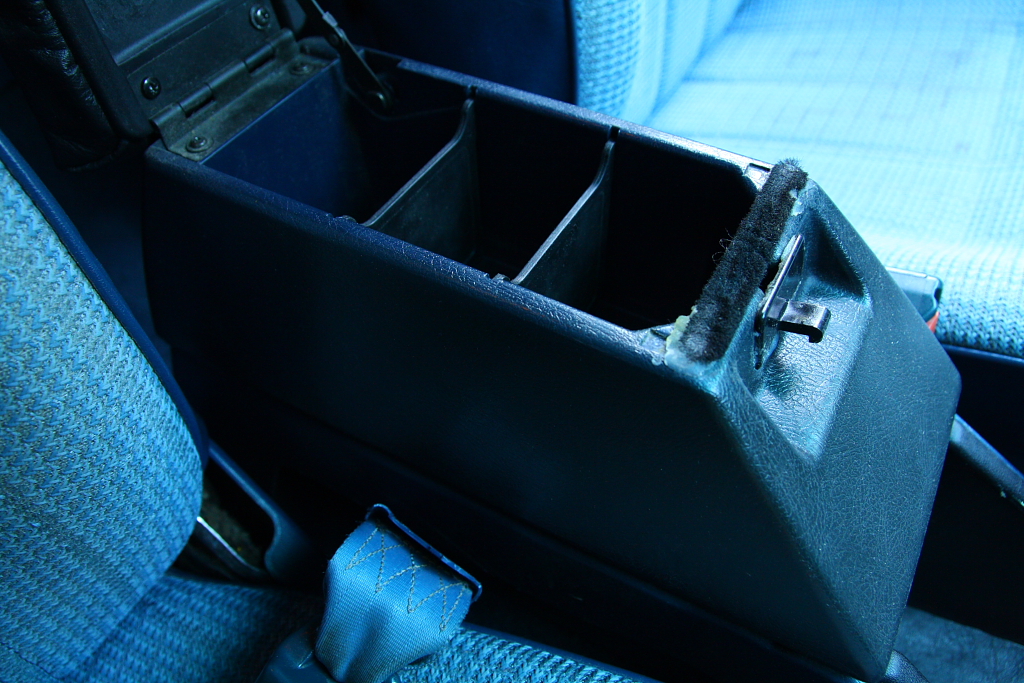
..With the broken catch glued to the front in reverse.

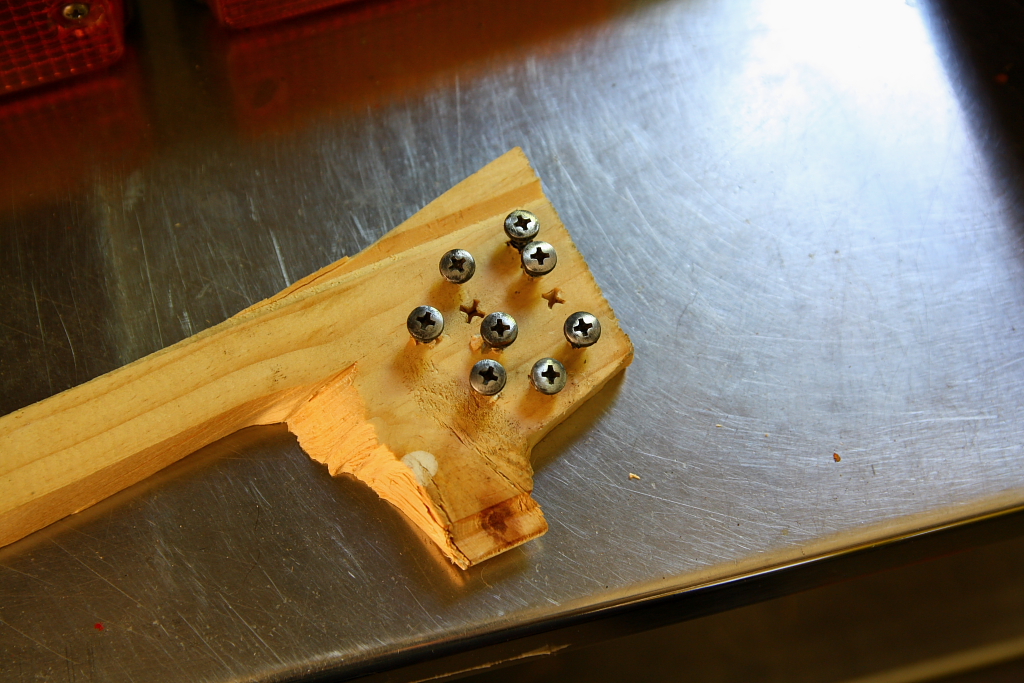
The very brittle and broken interior panels have been repaired with painted pieces of board..

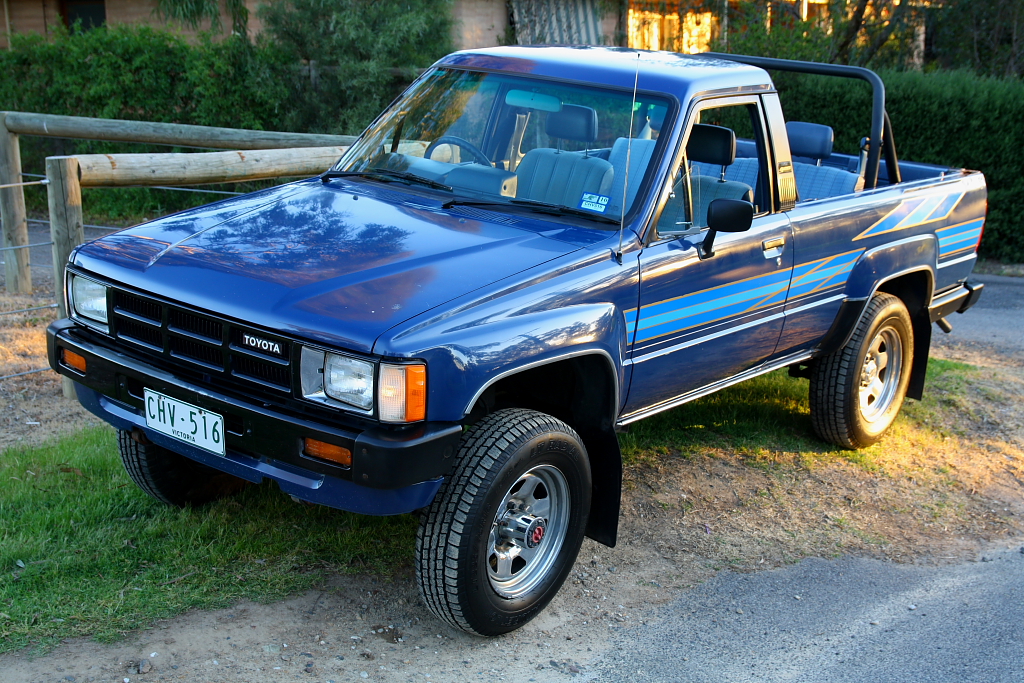
Almost immediately I removed the Bullbar, sidesteps and tow bar. They all look to have been there since the car first hit the road, but I just didnt like the look. I was planning to remove them the second I first saw the car..
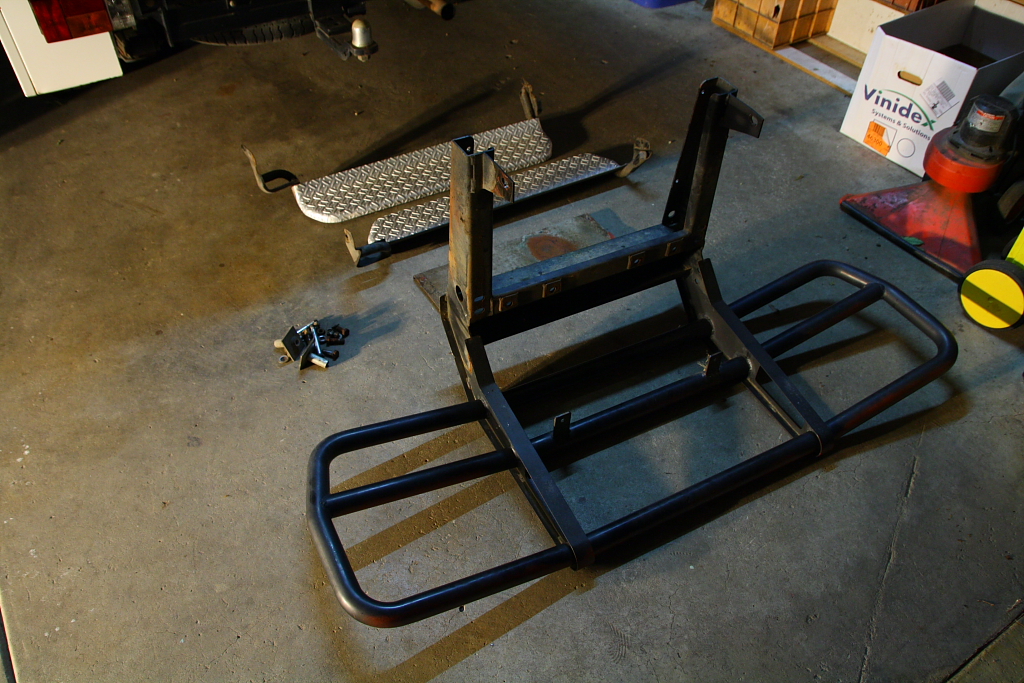
The bar was Steel and of unknown make, but the side steps are original Toyota as far as i know. I put the whole lot on ebay for 99c, and ended up selling them for $20 (spewing, as i would have just kept the steps aside..). I just don't have the space to keep everything unfortunately.
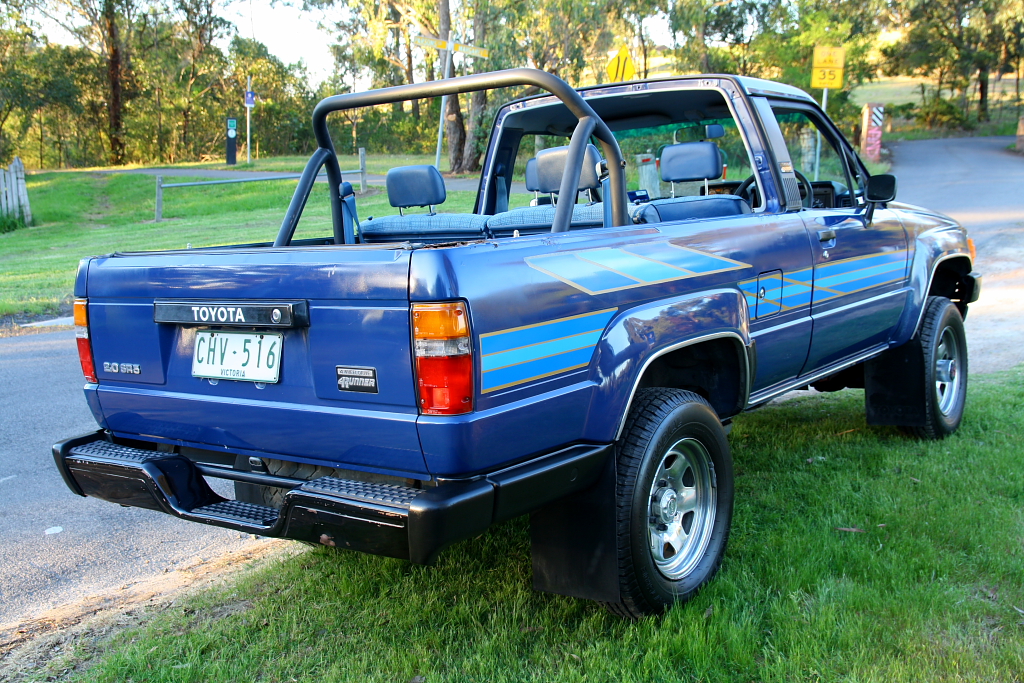
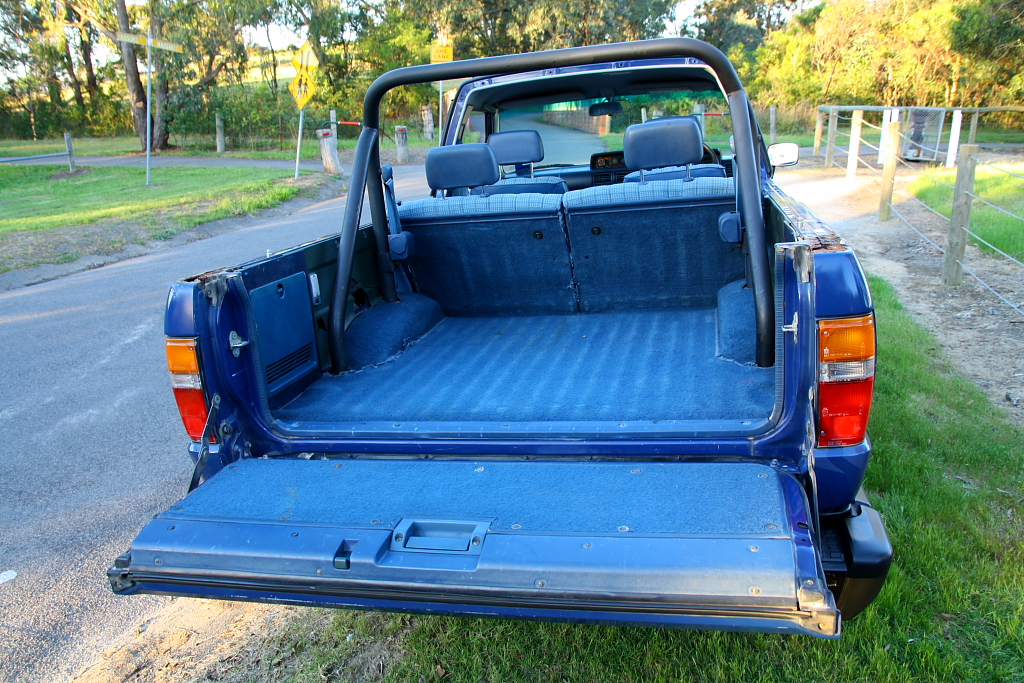
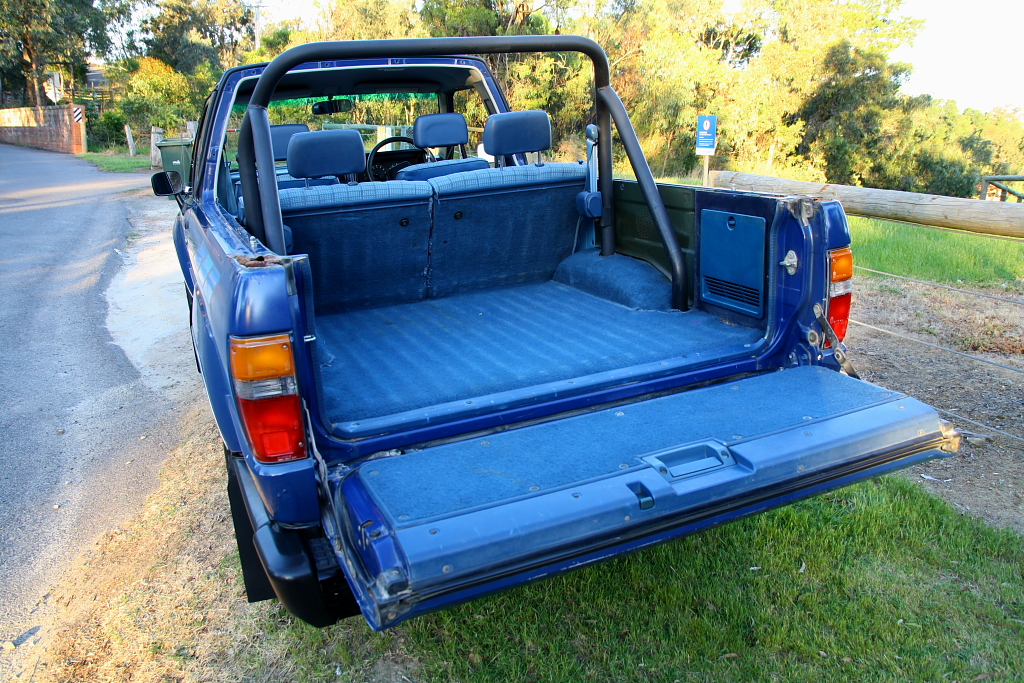
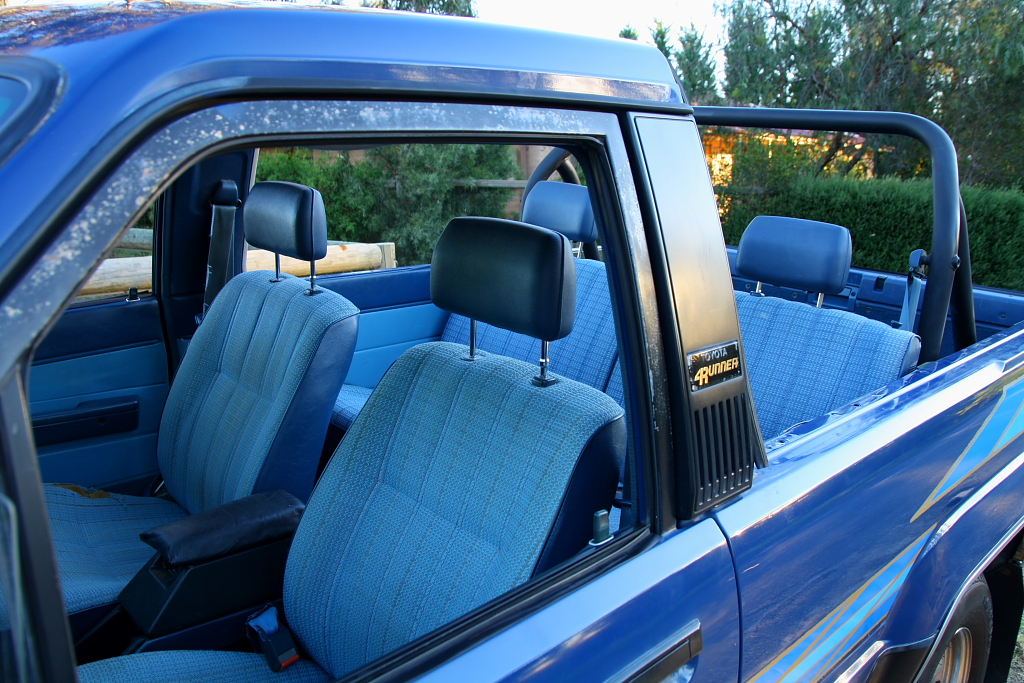
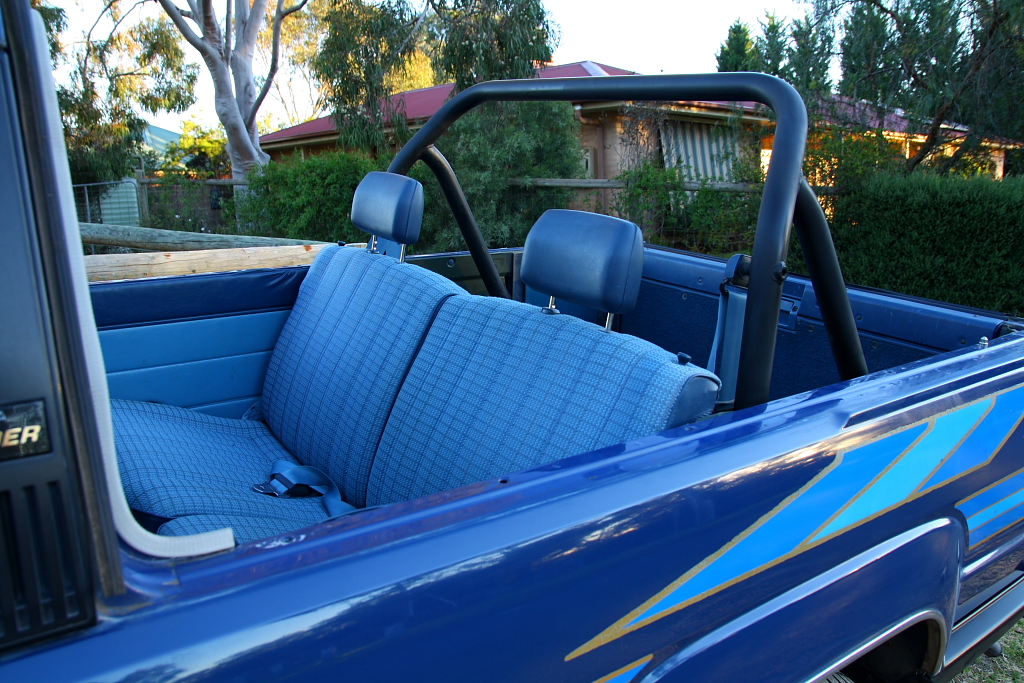
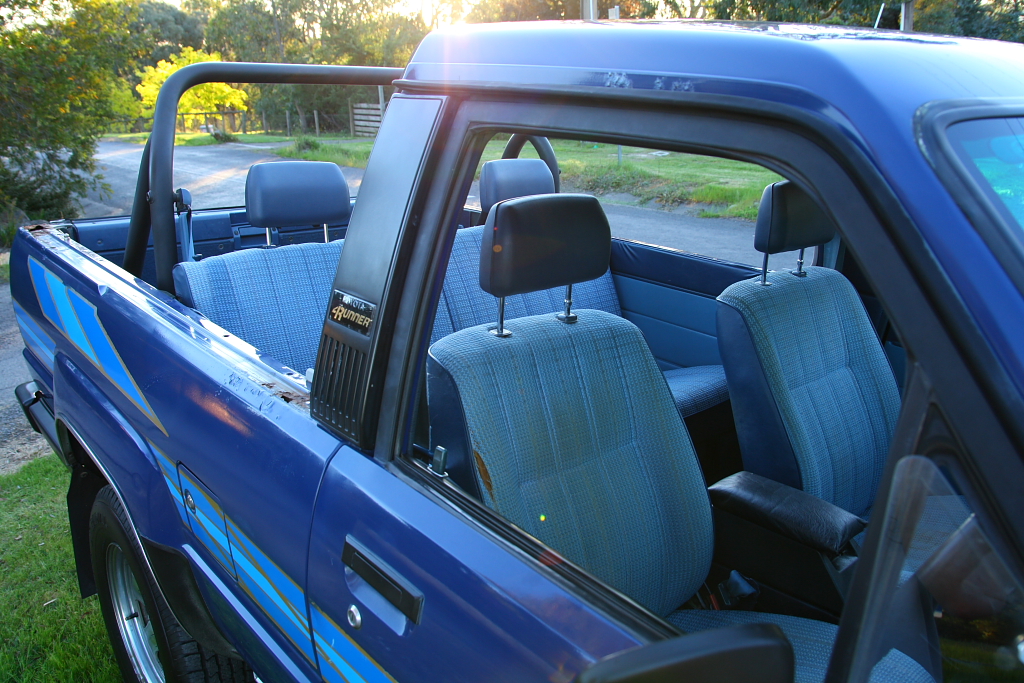
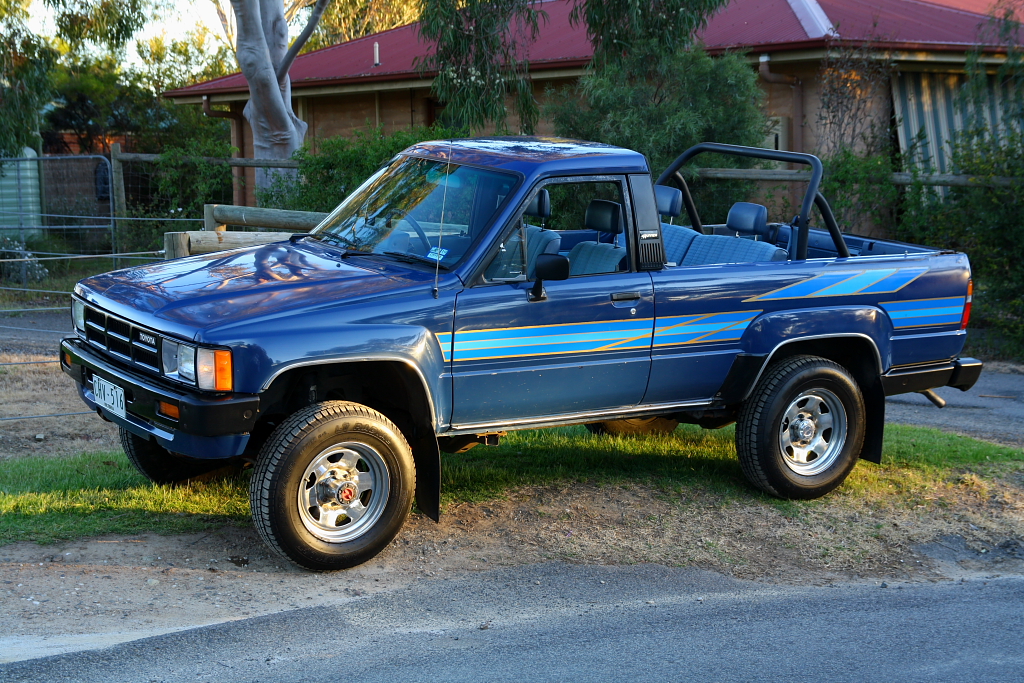
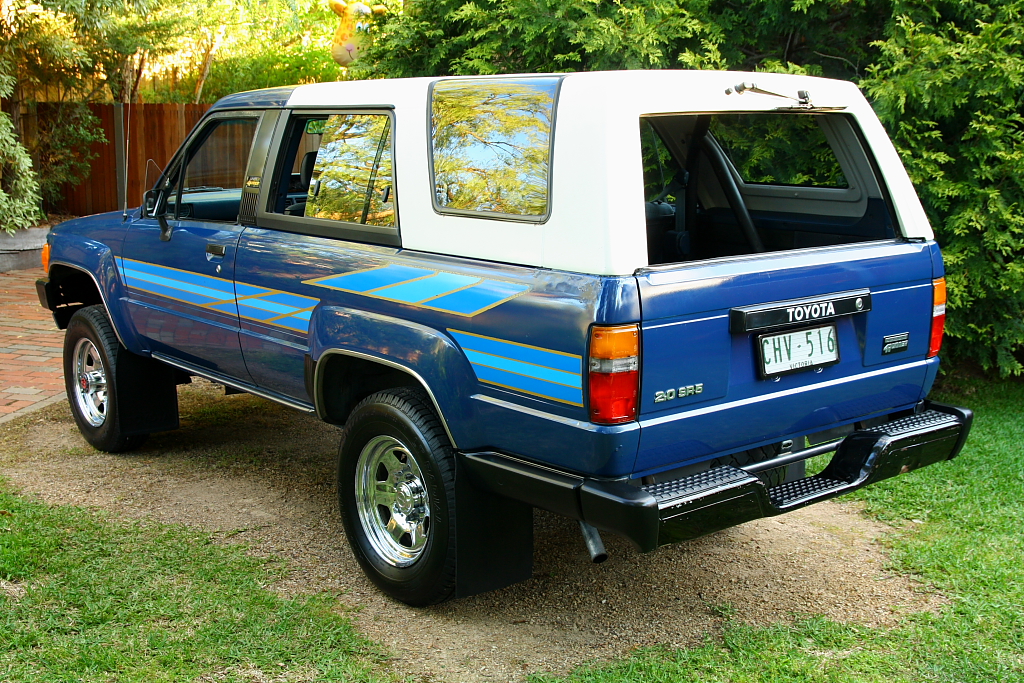
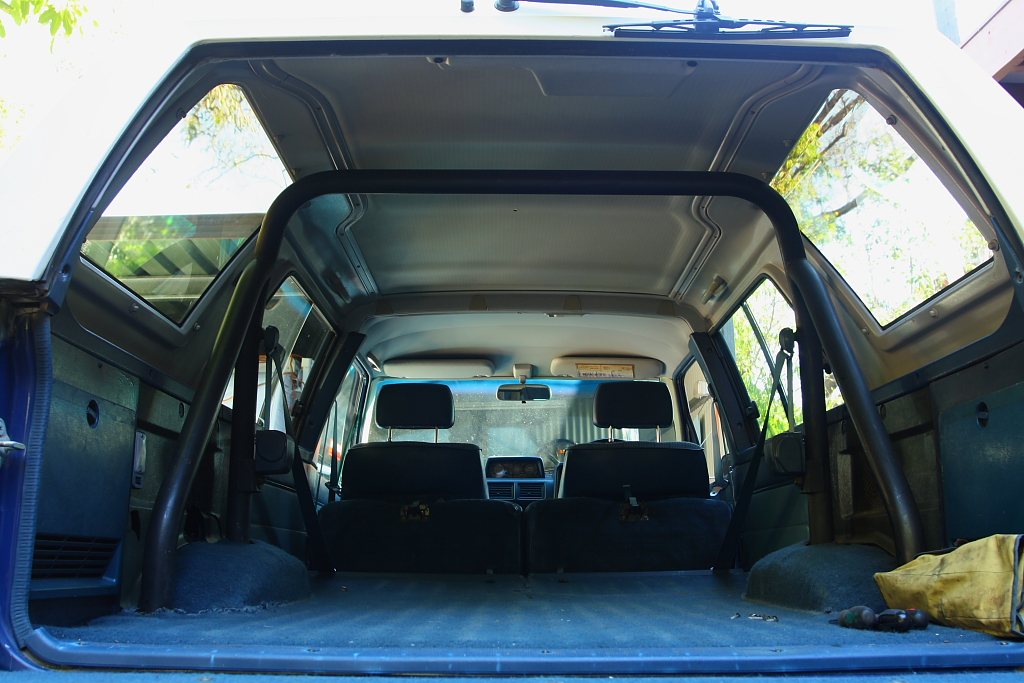
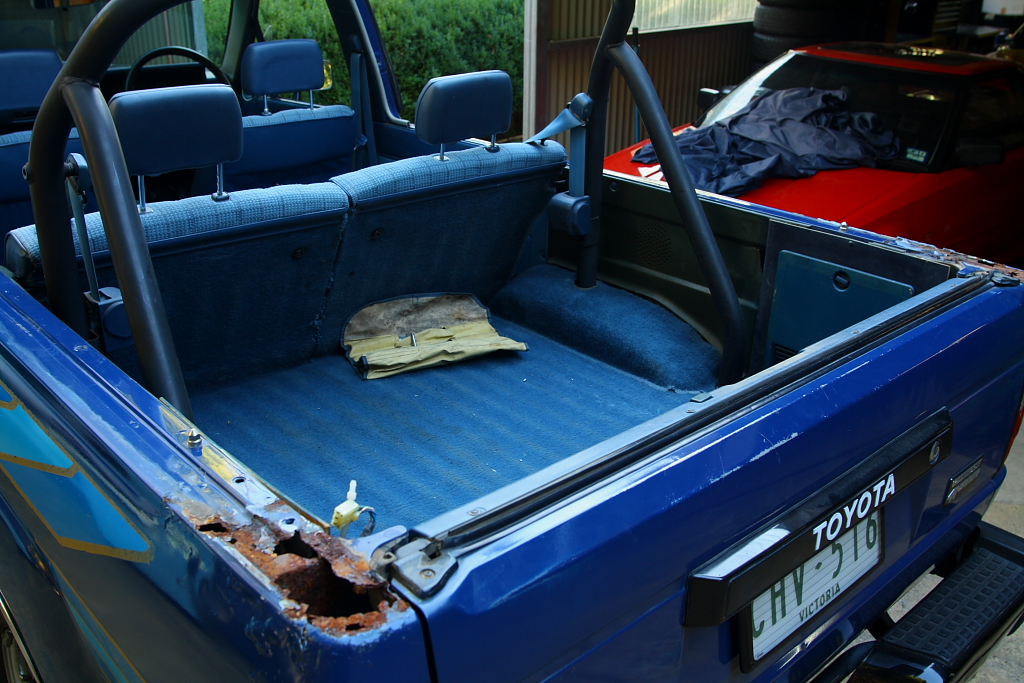
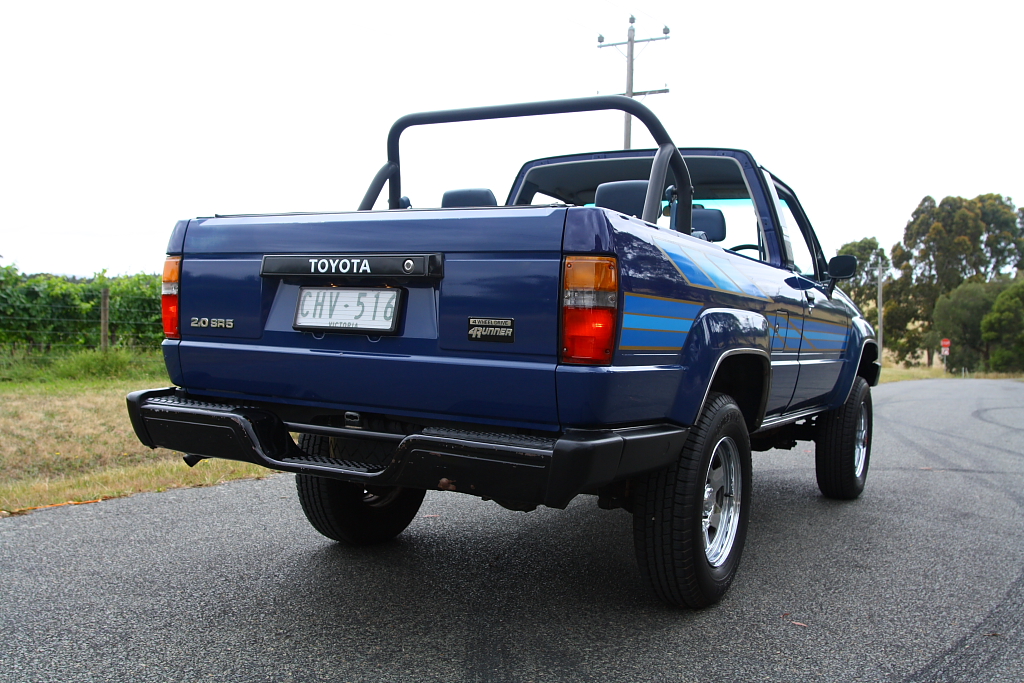
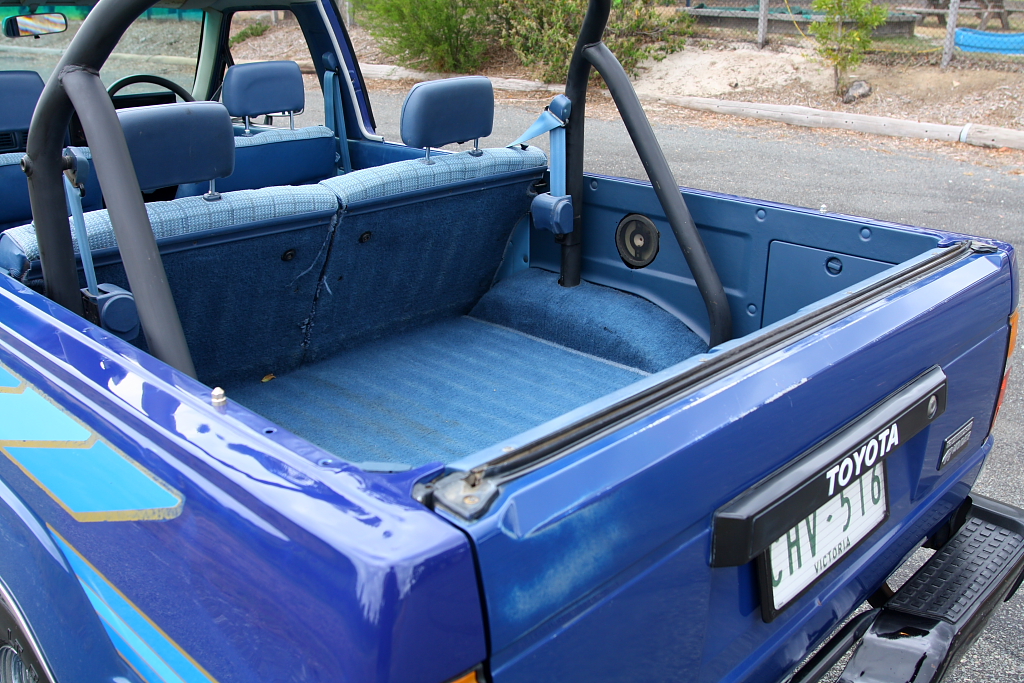
Pulled the roof off while sussing out the rust in the upper rear quarters. They're in very bad shape, for what is an otherwise not particularly rusty car overall (by 80's Toyota standards). Bit of a shame, but always fixable.
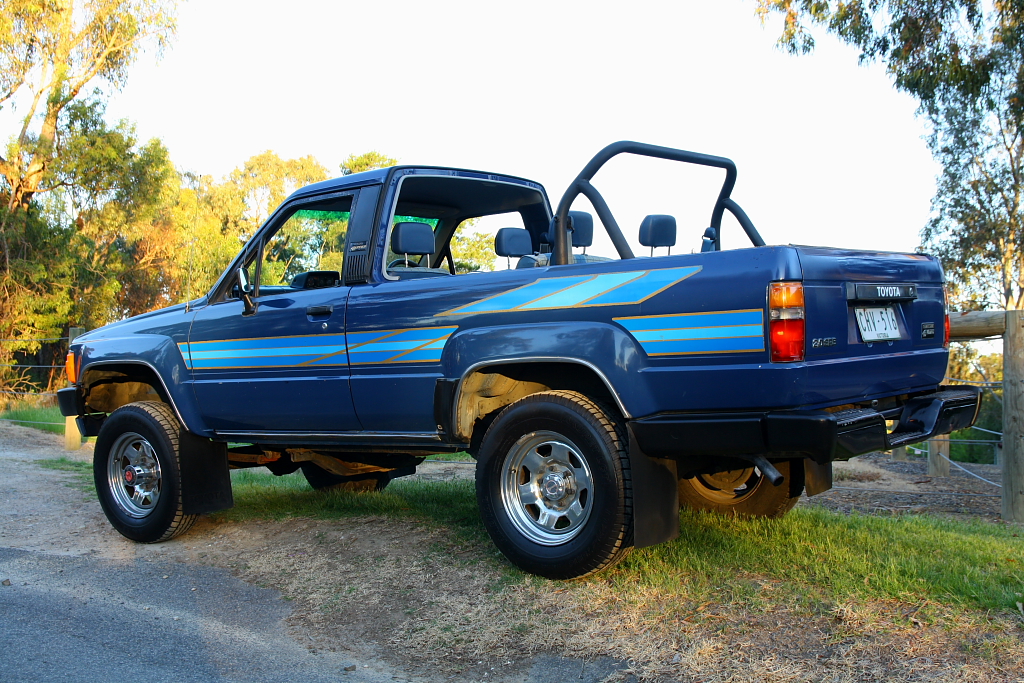
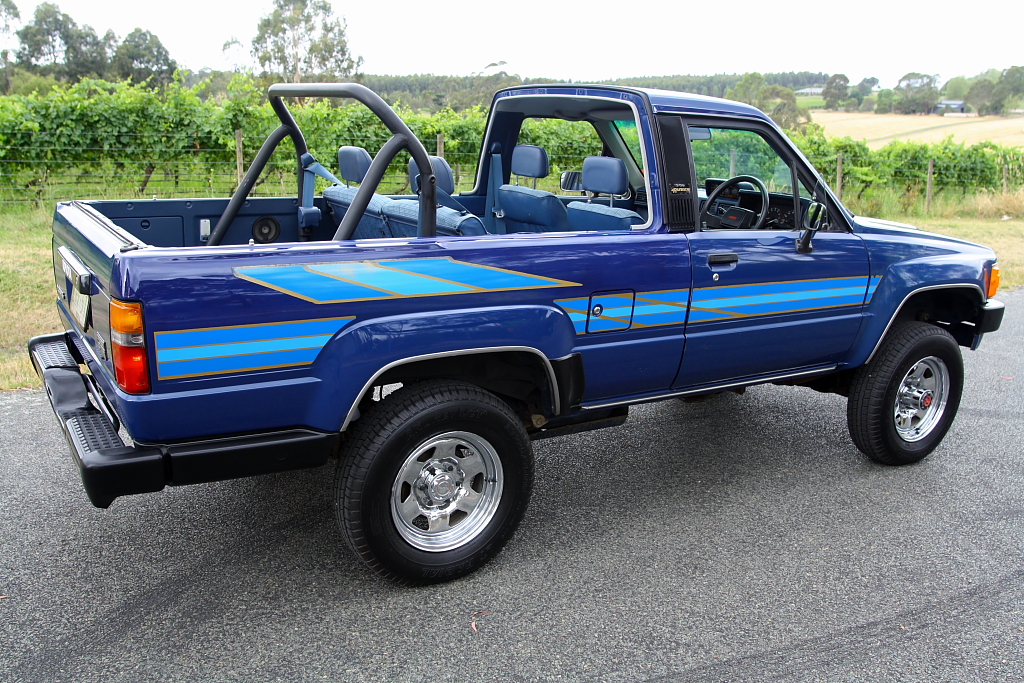
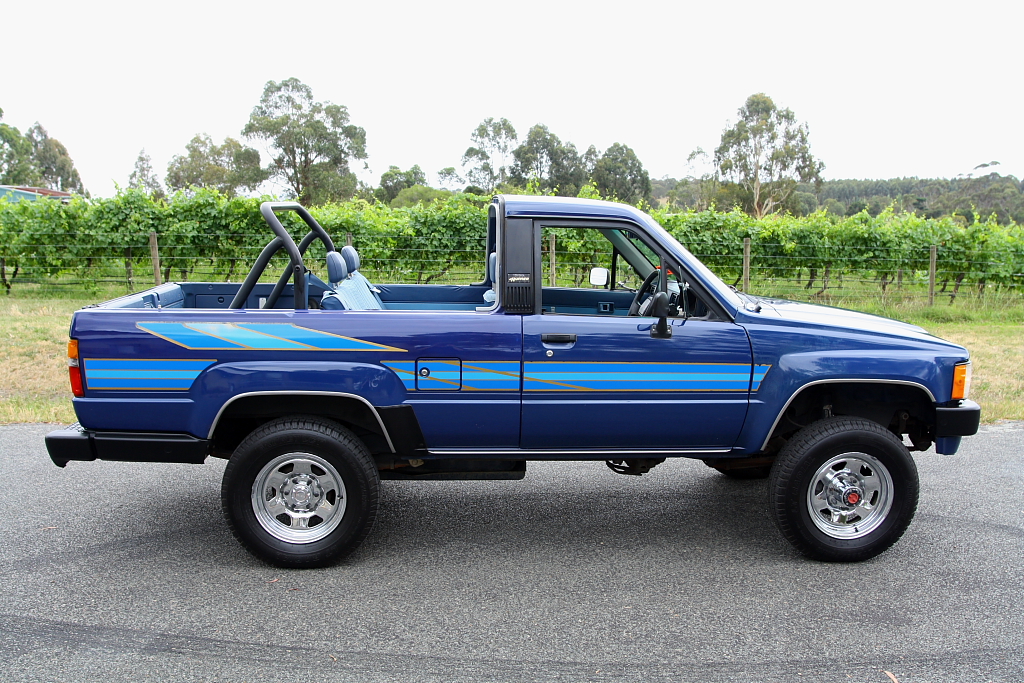
More pics anyway. I absolutely bloody love it without the roof..

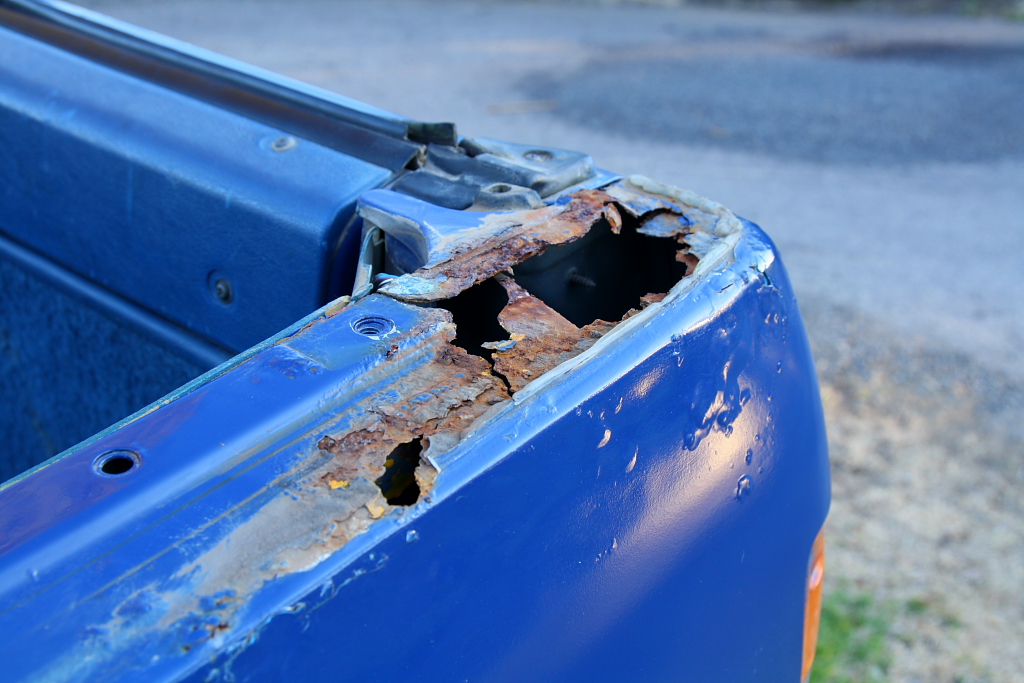
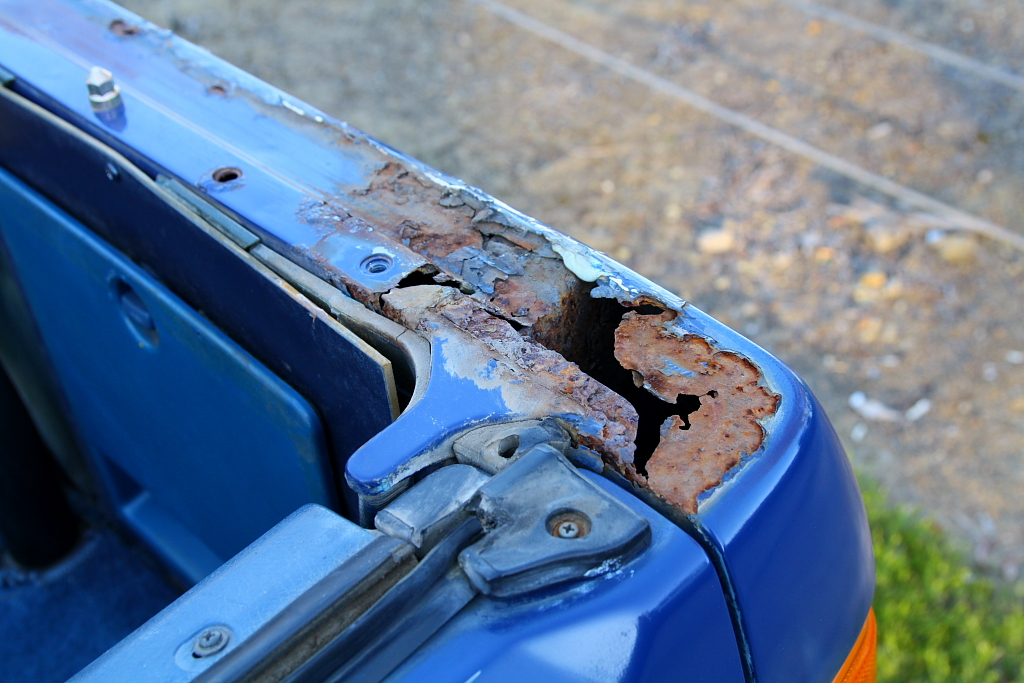


I have no idea how this got so particularly bad. It just doesnt seem like a very common place to rust.. and this car is just thrashed up there. I suppose I'm lucky all the rust flakes in the bottom of the guards hadnt started any lower rust.


More from recent weekends:
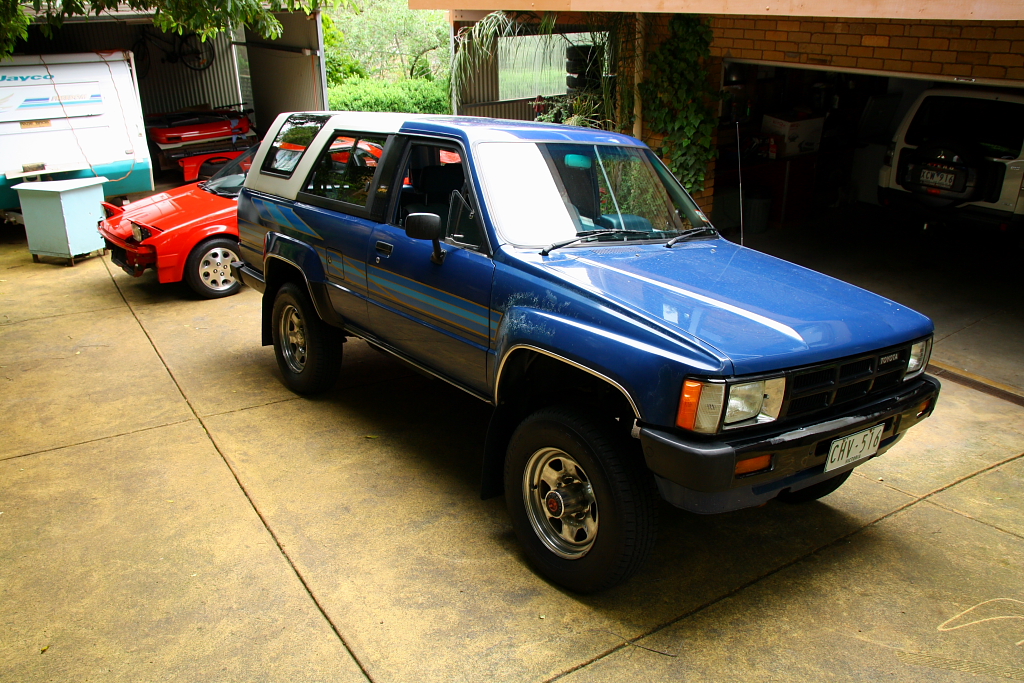

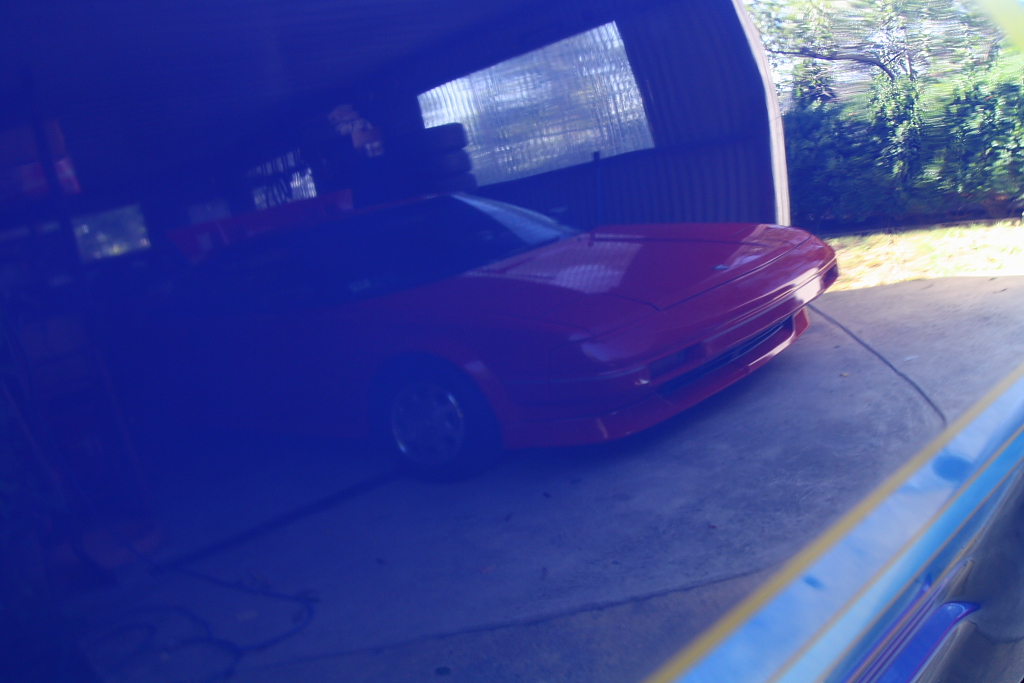
In the driveway with Lil' Red.. an '87 AW11 MR2 I've had for 7 or 8 years now. Also happens to be getting a little tidy up..
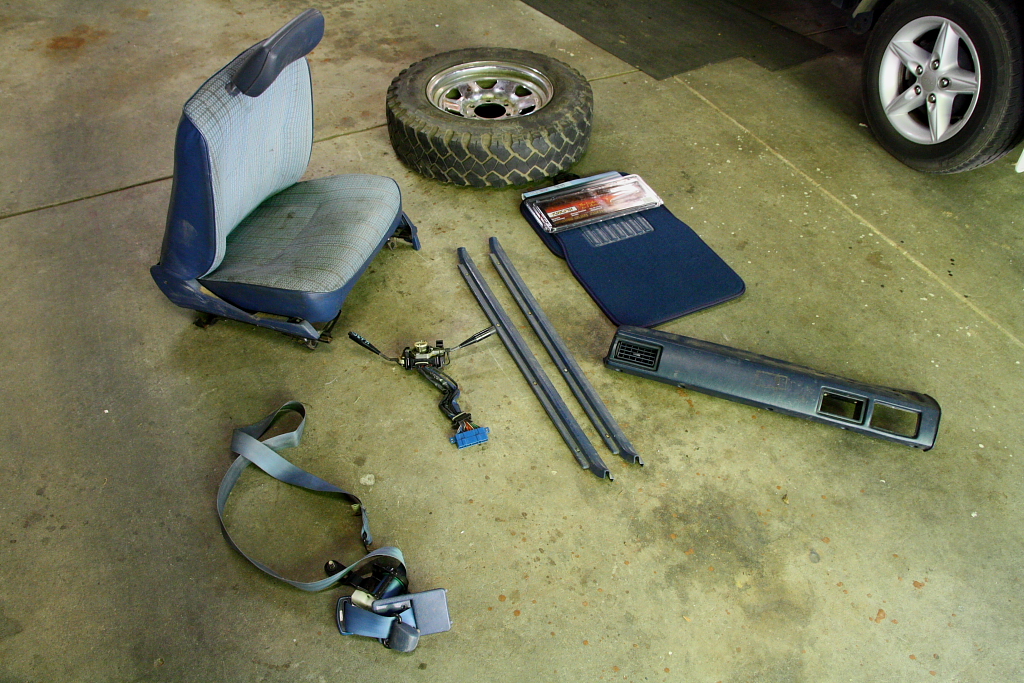
Went to the wreckers to find a good seatbelt. Not at my favourite wrecker, but they had what I needed. I grabbed a bunch of odd parts off a poor, very rusty, white '85 - including the belt i was after! All filthy, but will clean up fine.
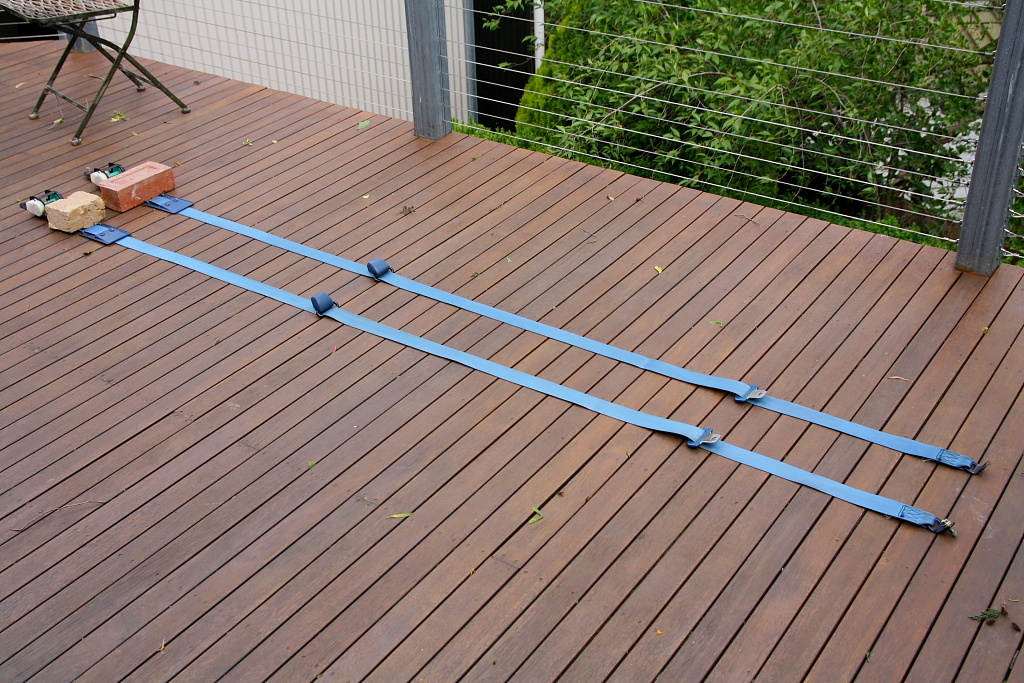
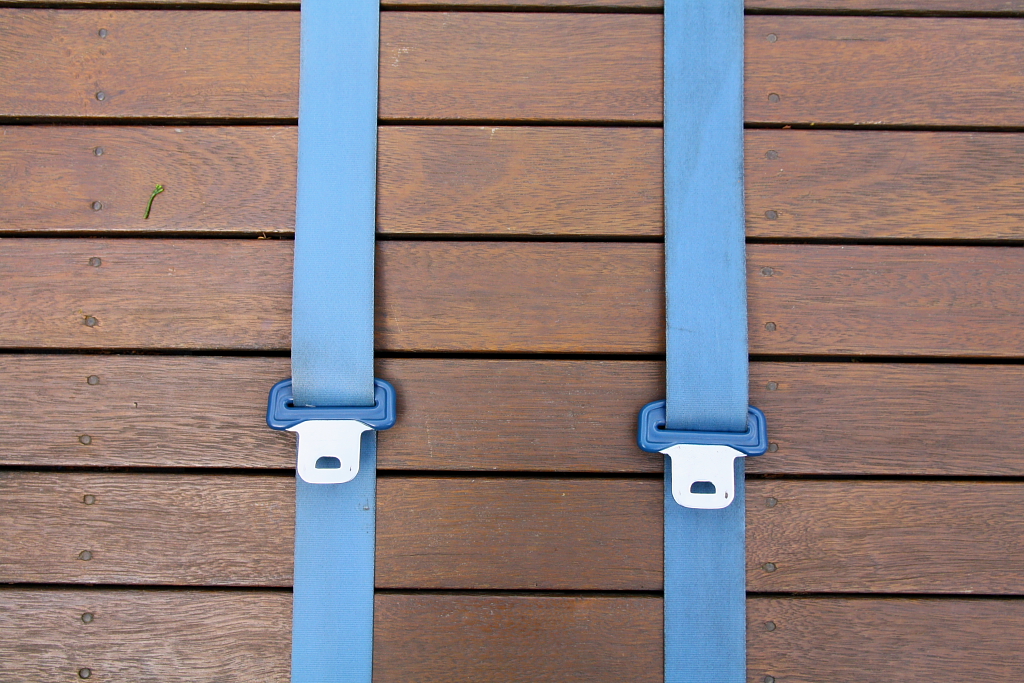
Cleaned the belts up well with hot water, a little bleach and a scrubbing brush. The handled on both sides was just about black...
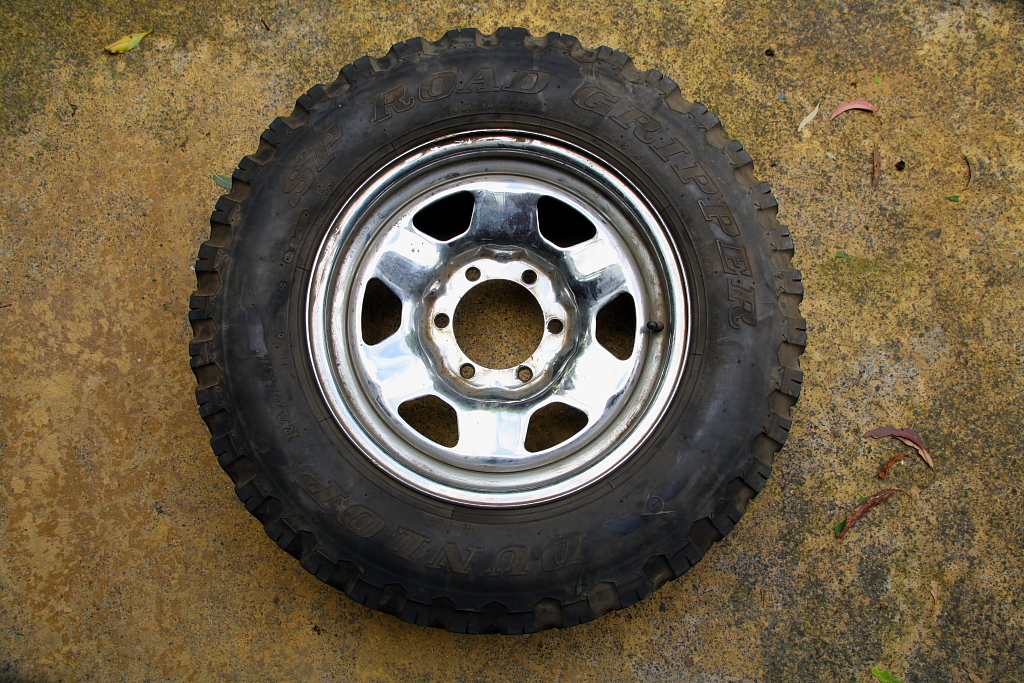
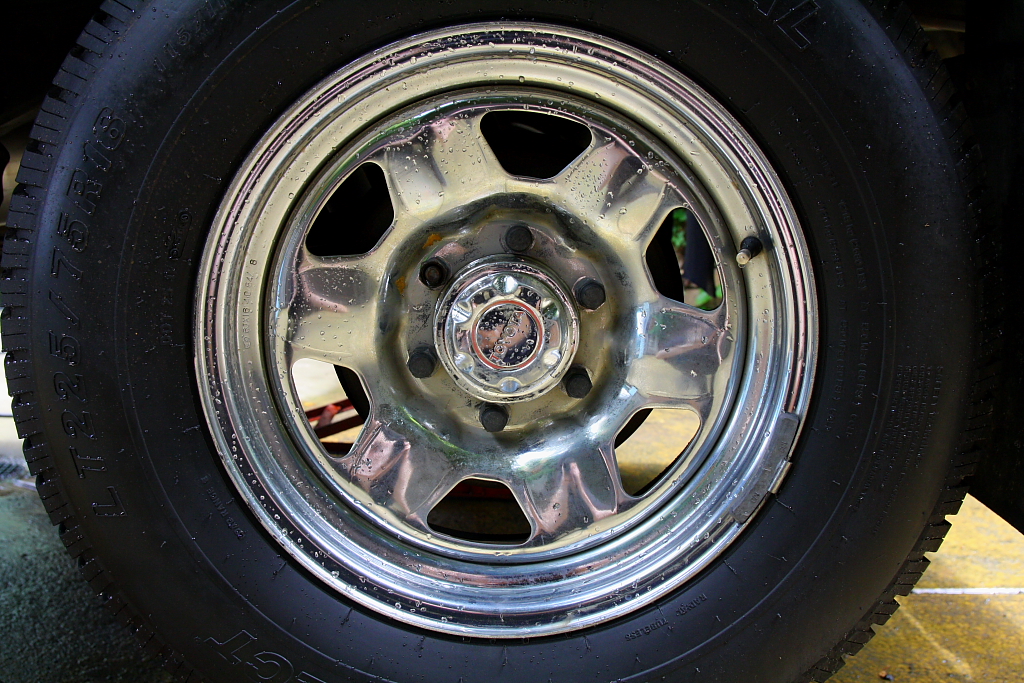
An extra spare wheel, complete with original dunlop.
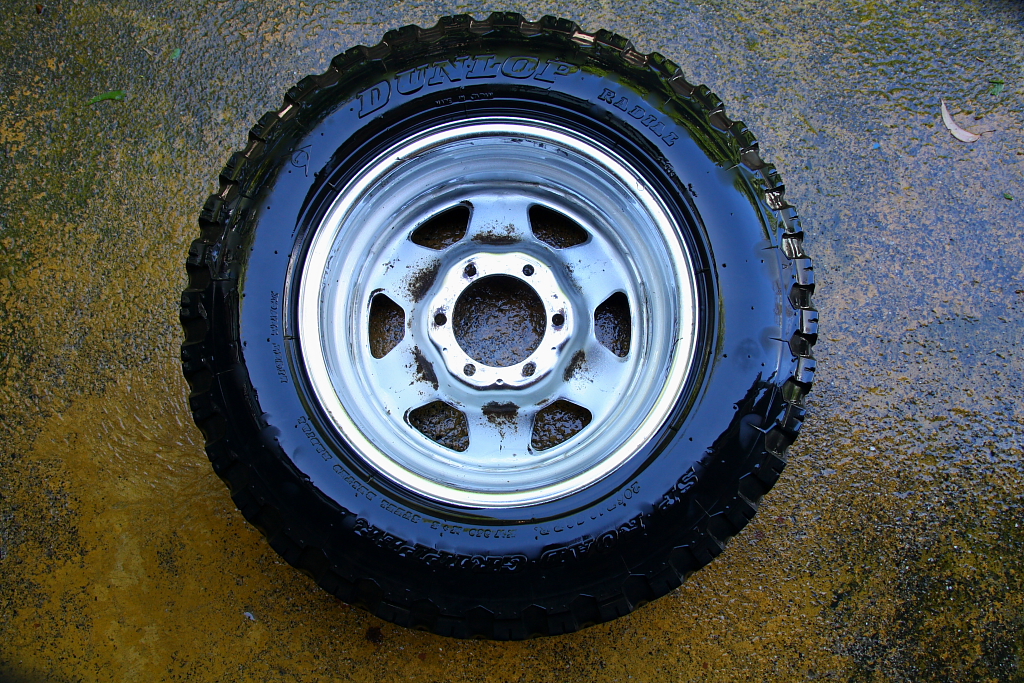
Chrome wants to be clean, so scrubs up perfectly.
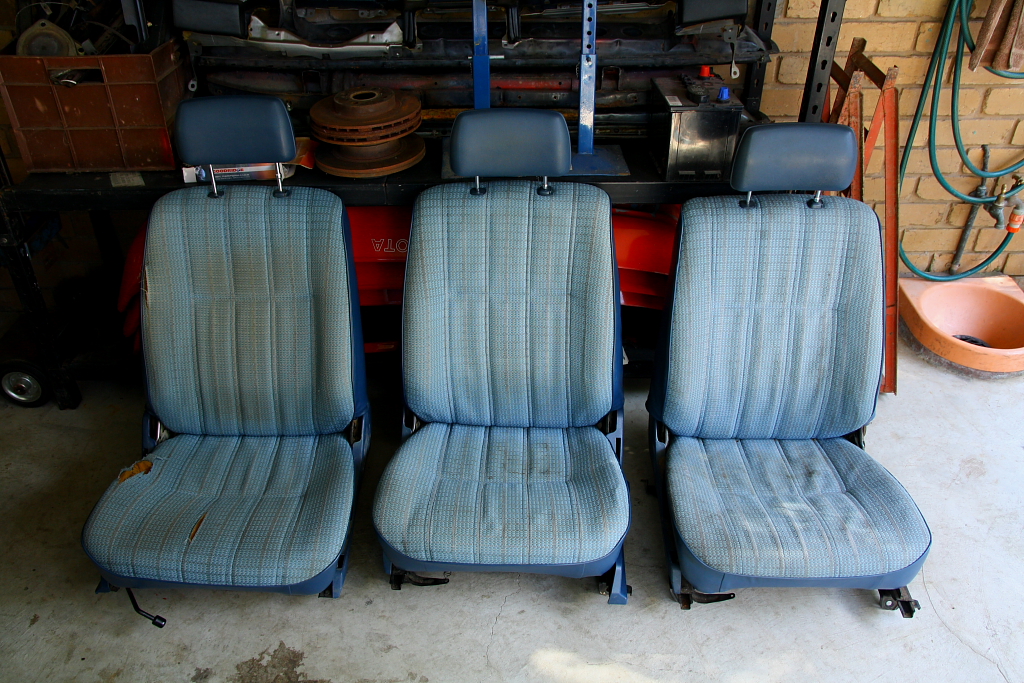
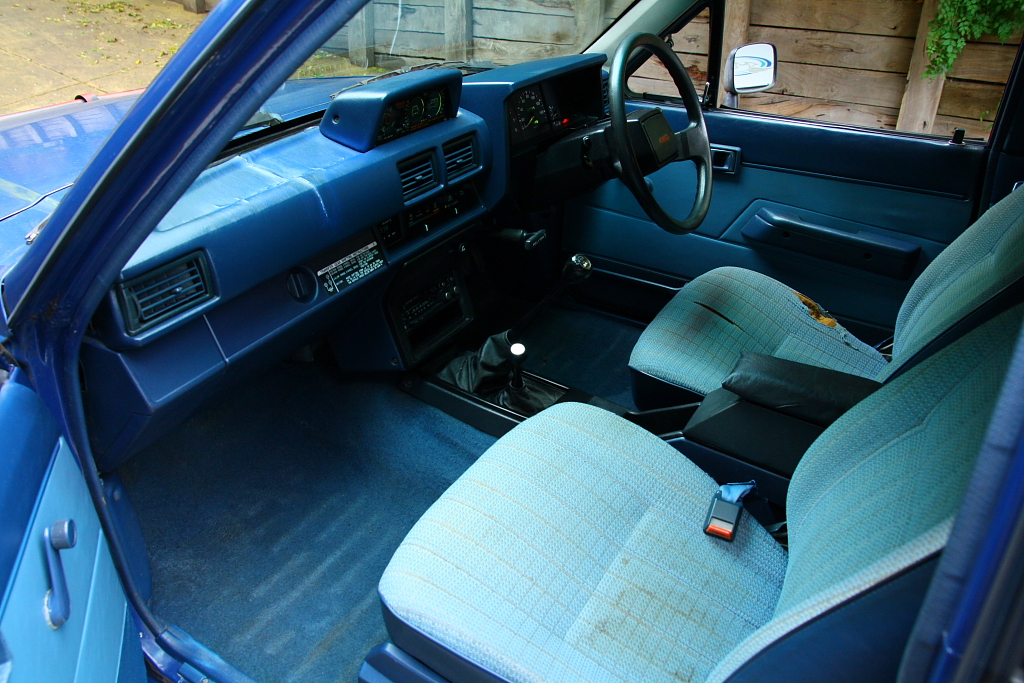
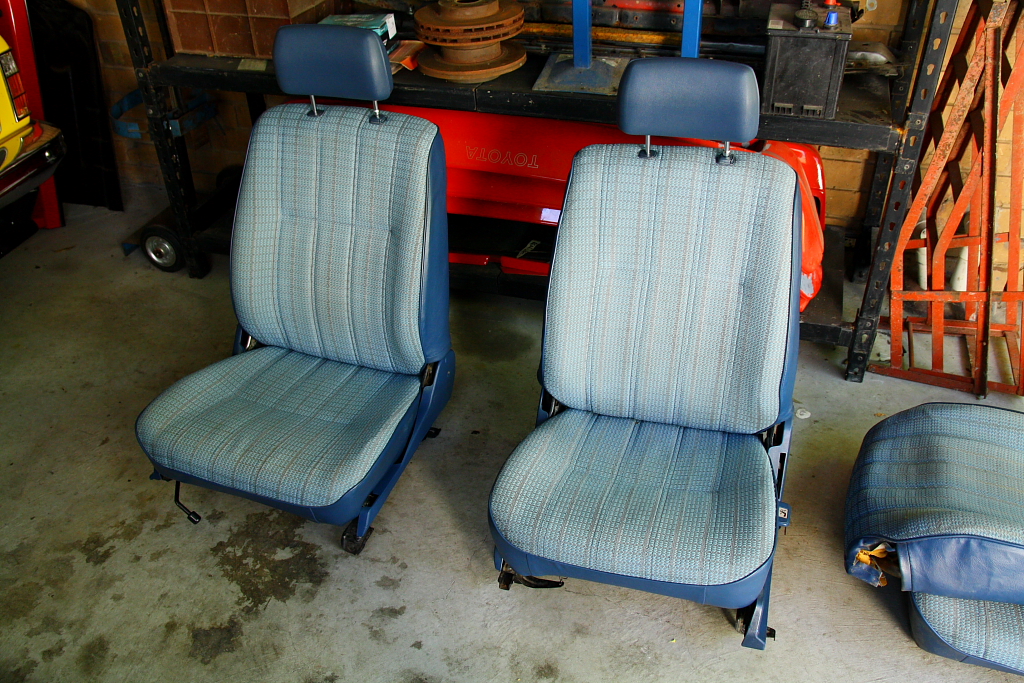
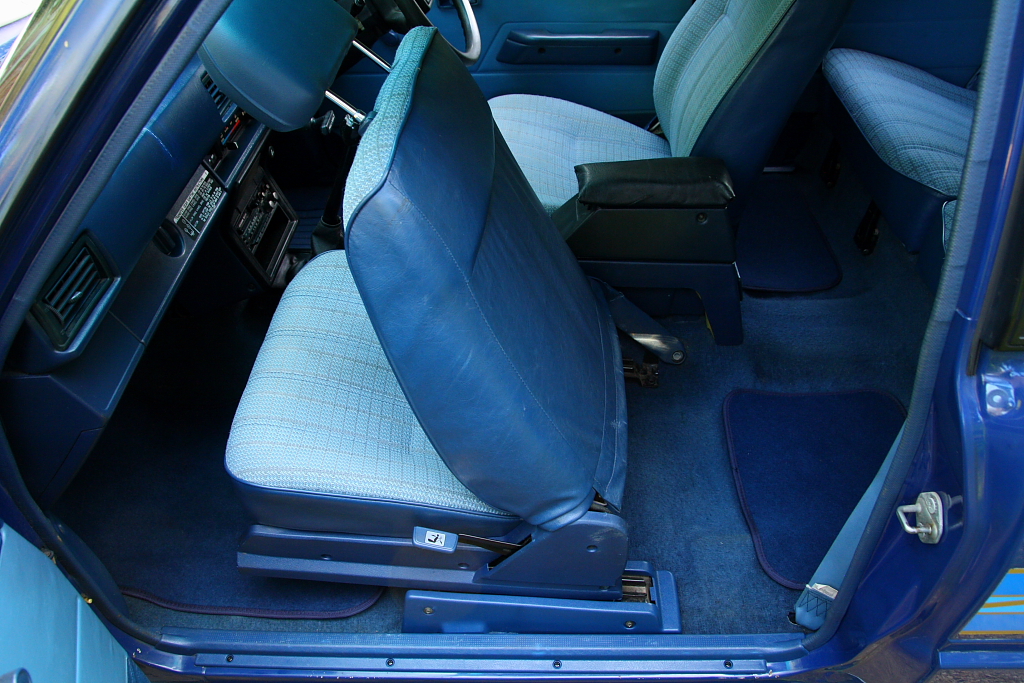
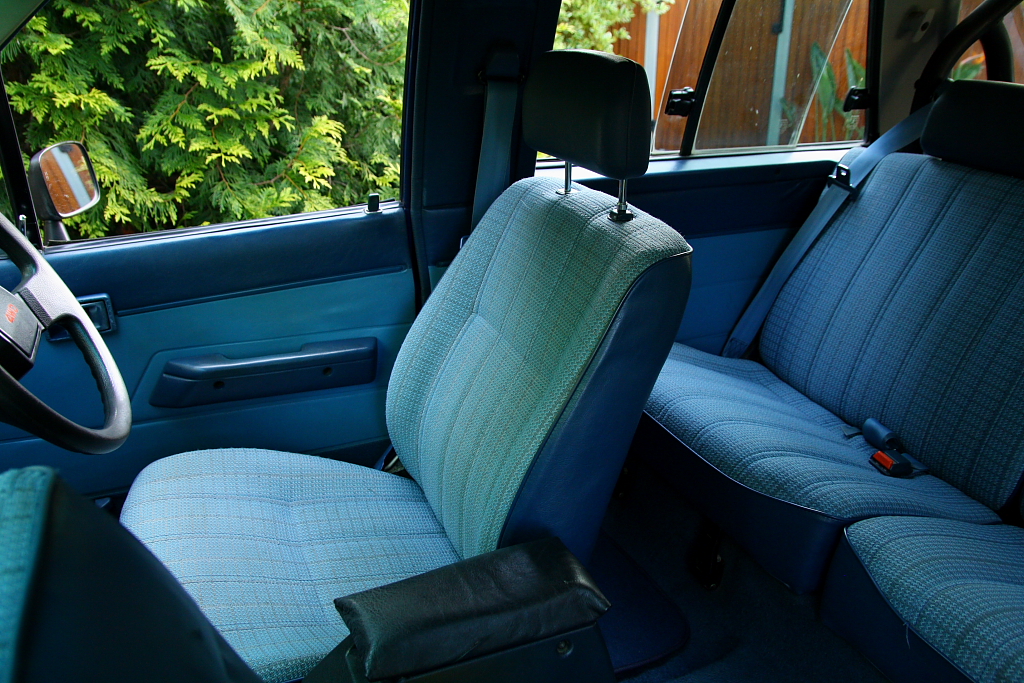
Extra passenger seat, which lets me make a good pair of seats out of the fabric/foam.
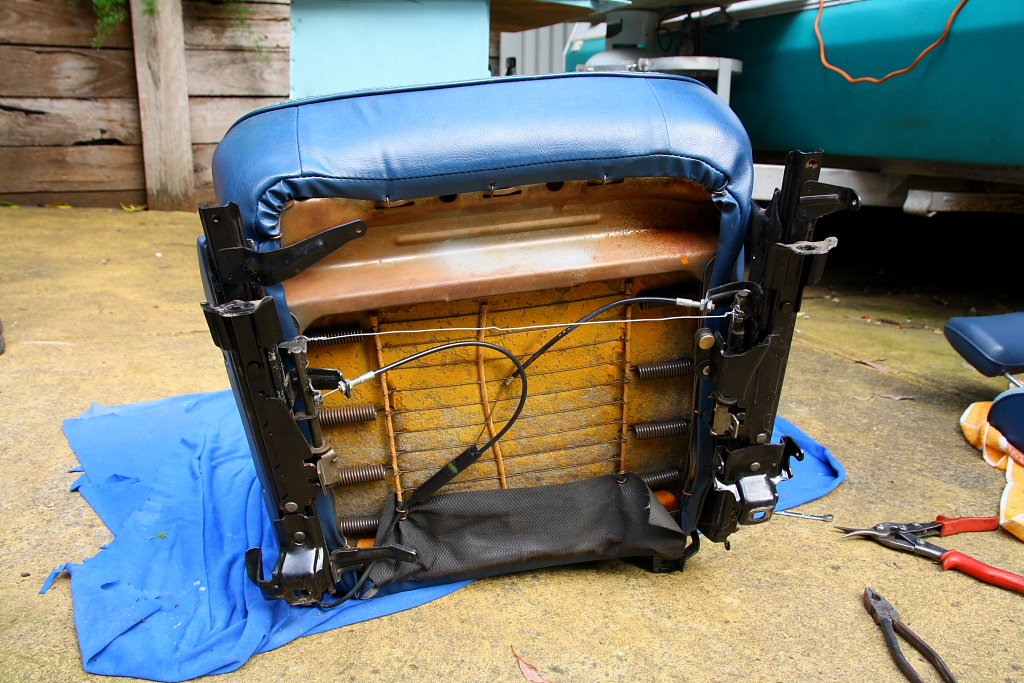
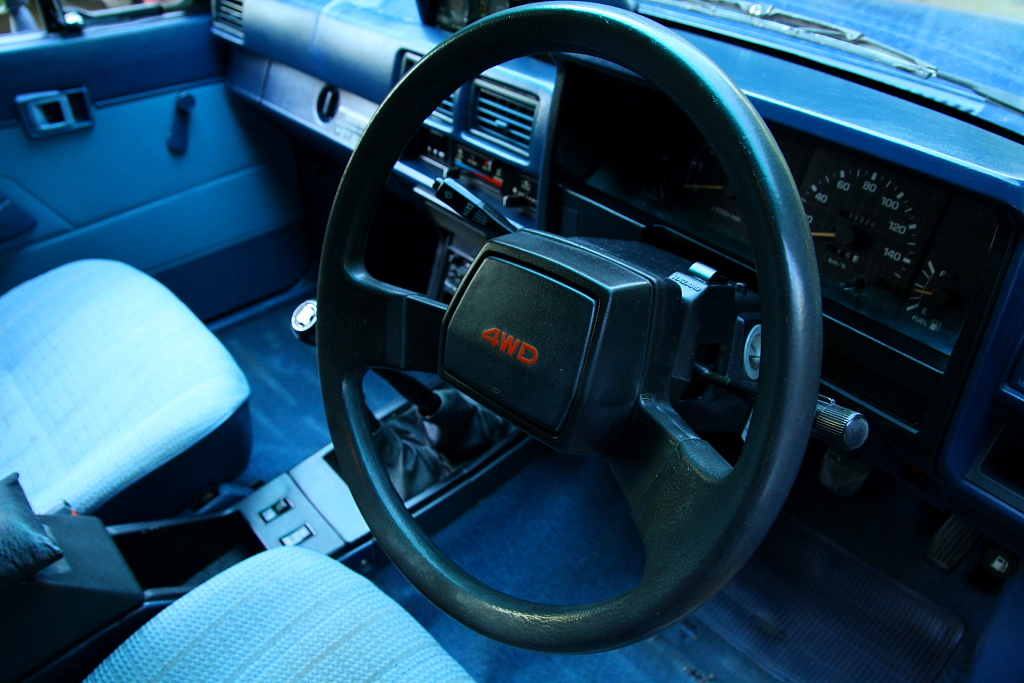
Had to repair the fold+slide mechanism, which seems to be a common problem. You can see on my original seat at the top of the page, the cutout on the side to get to the release.
Got it working perfectly after a little thinking..

foam and fabric off the frames.
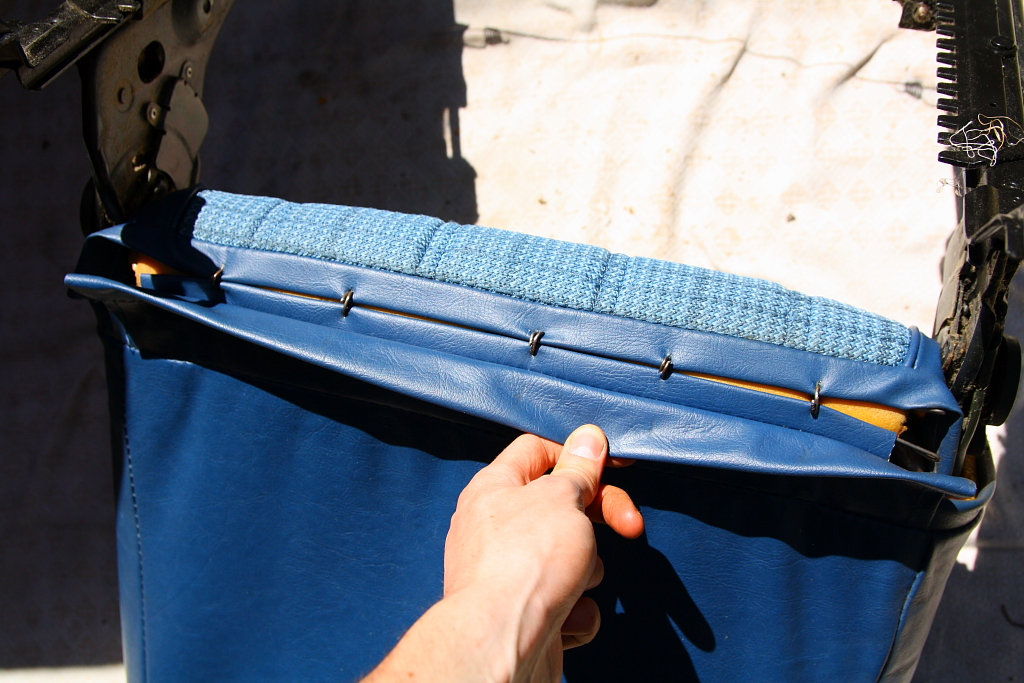
good seats back together. i haven't got the right gun/tool for this, so painfully rehoop these with pliers..!
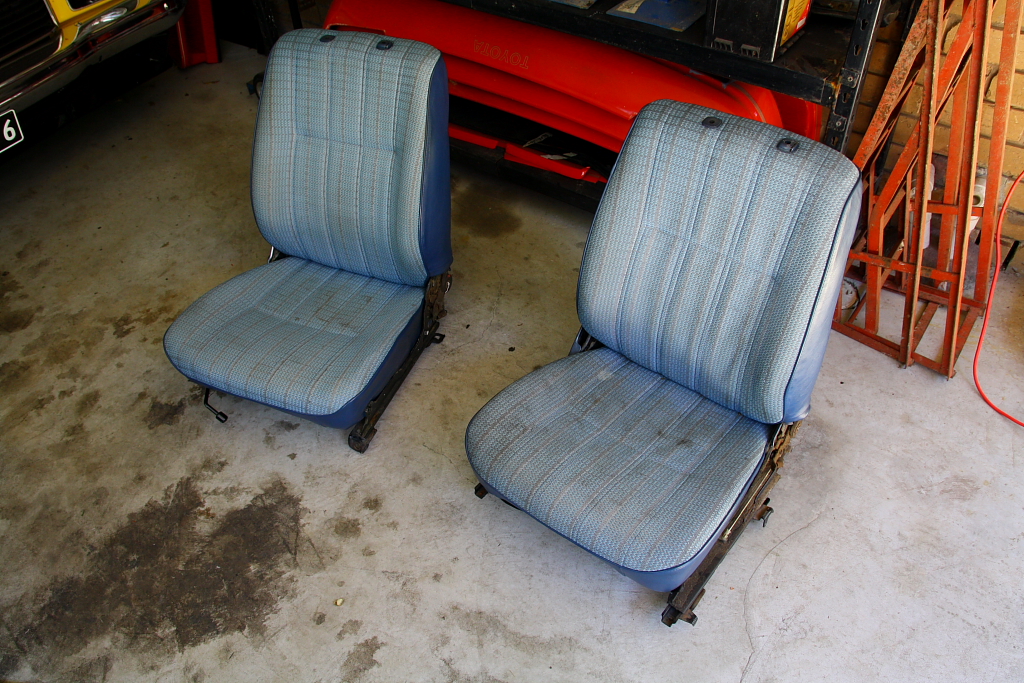
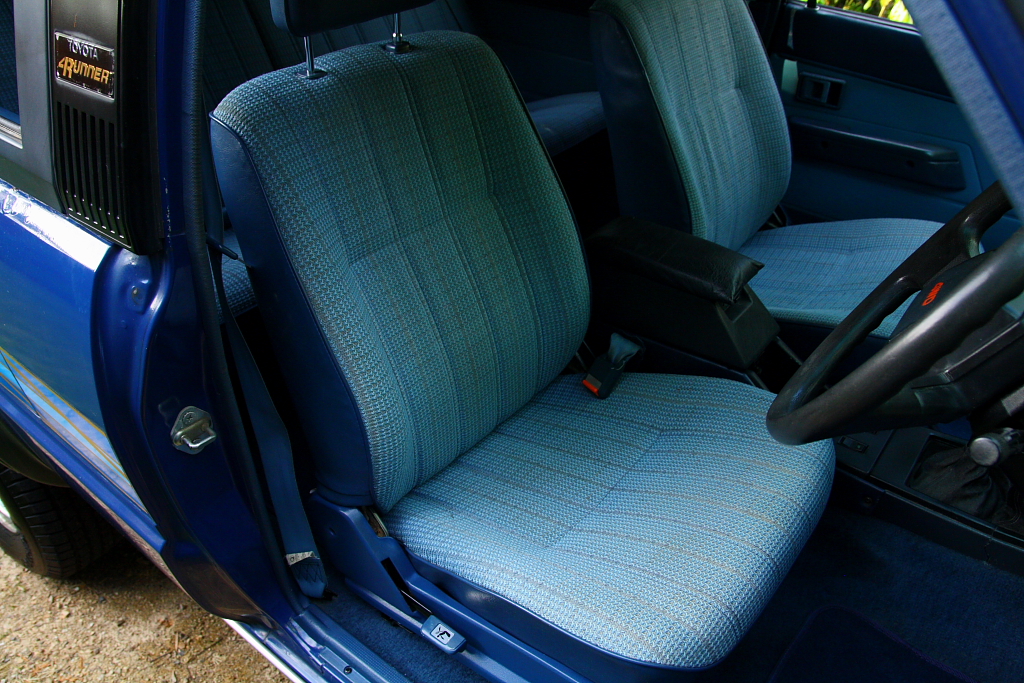
And now we have a good pair of seats.. minus a clean..!

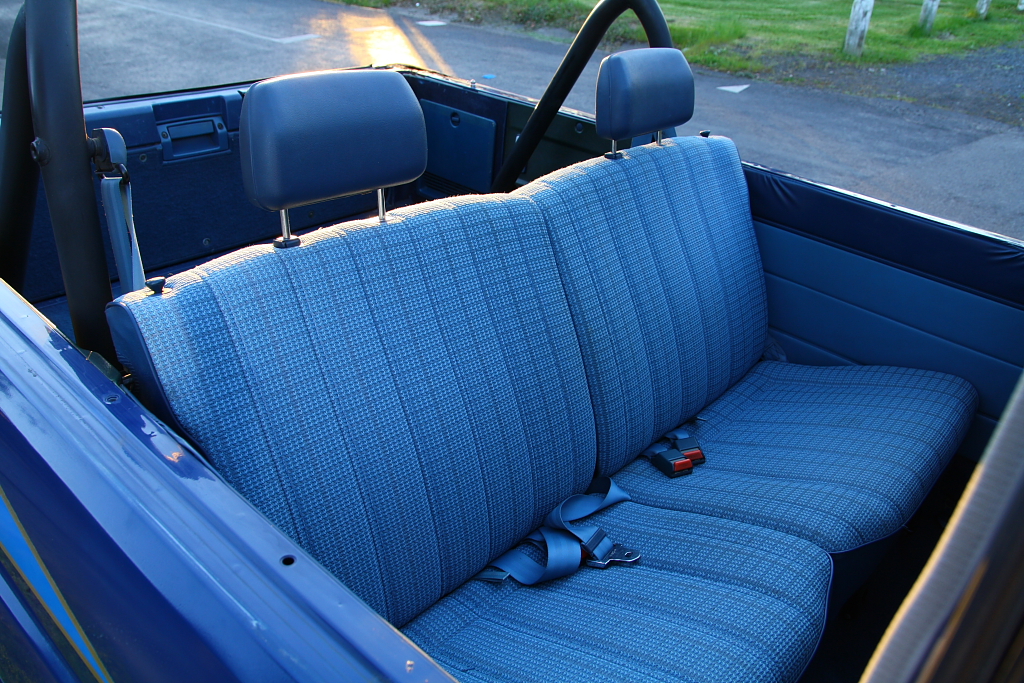
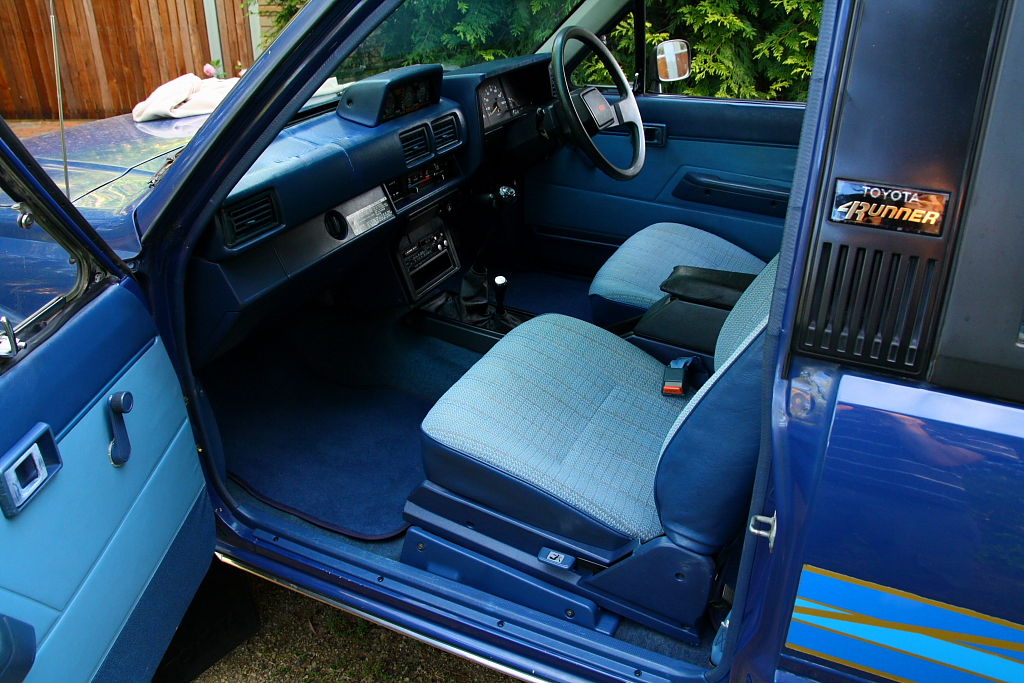
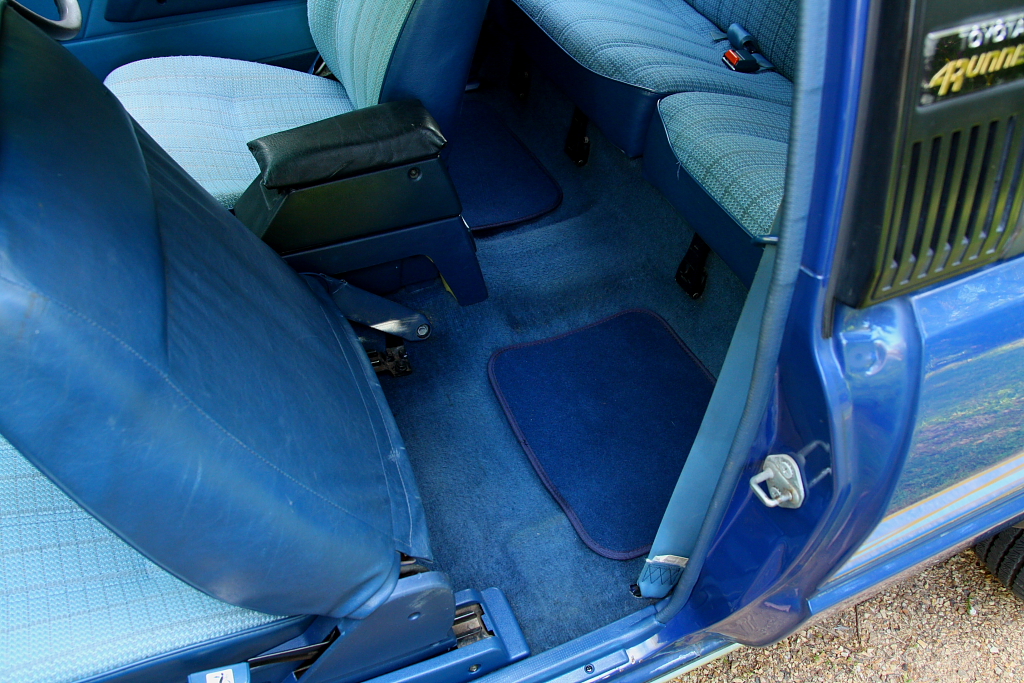
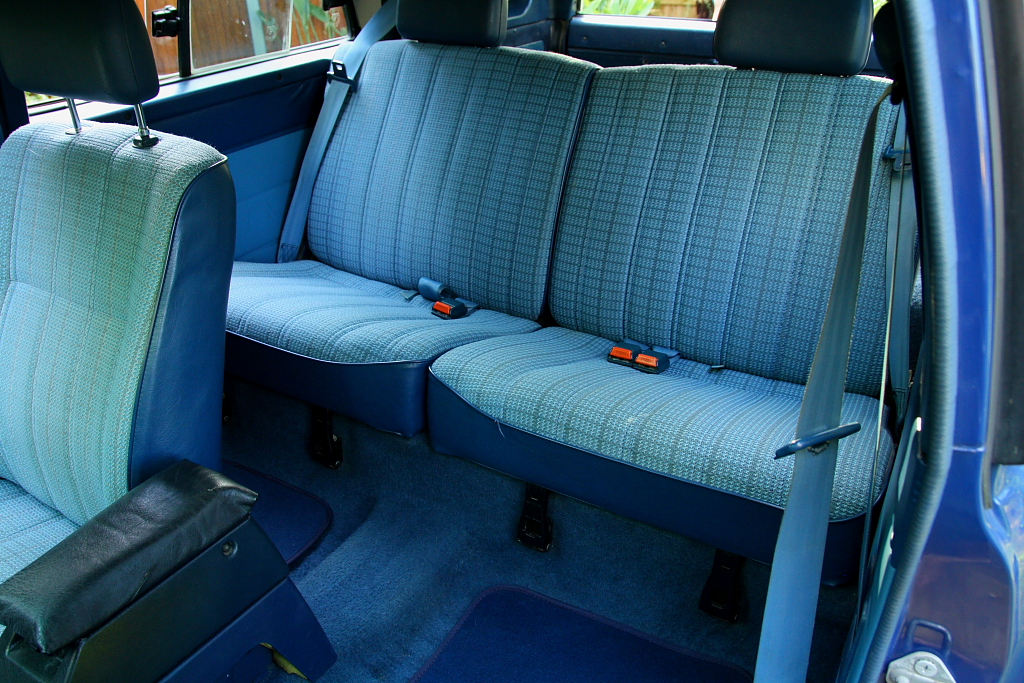
Steam cleaned the seats top-to-bottom, scrubbed a bunch of interior plastics, and got them all back together. very happy with how these turned out. Much nicer.
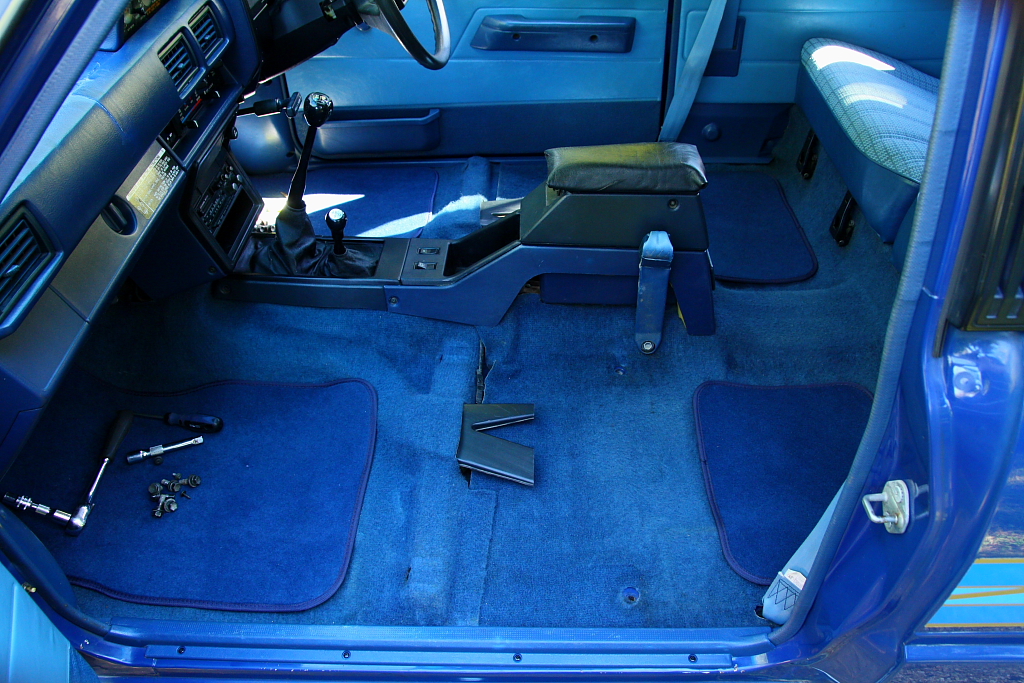
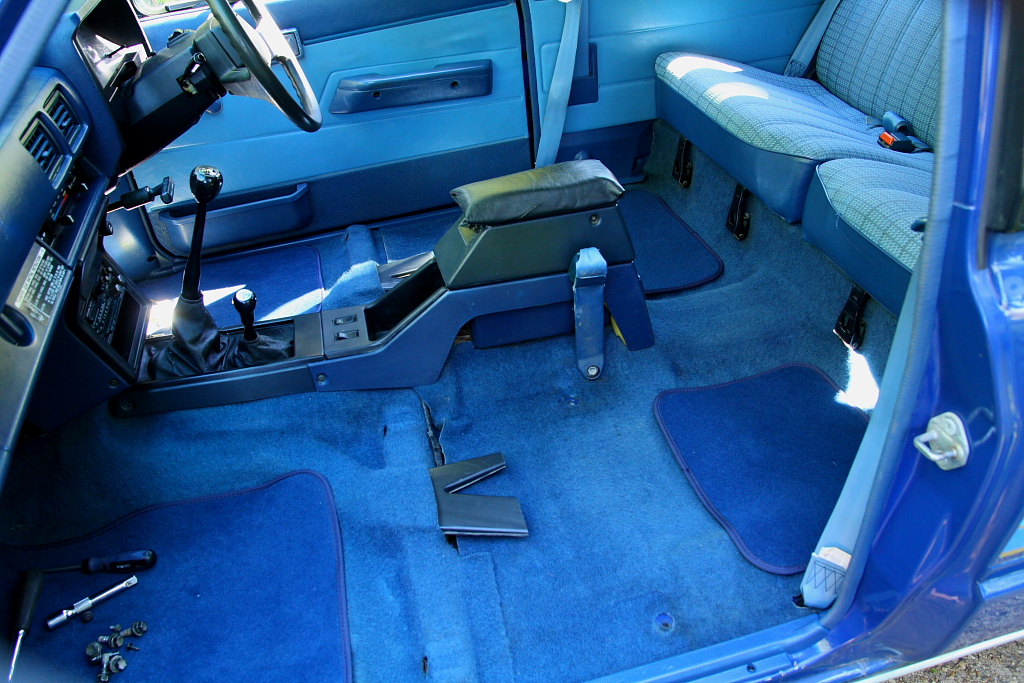
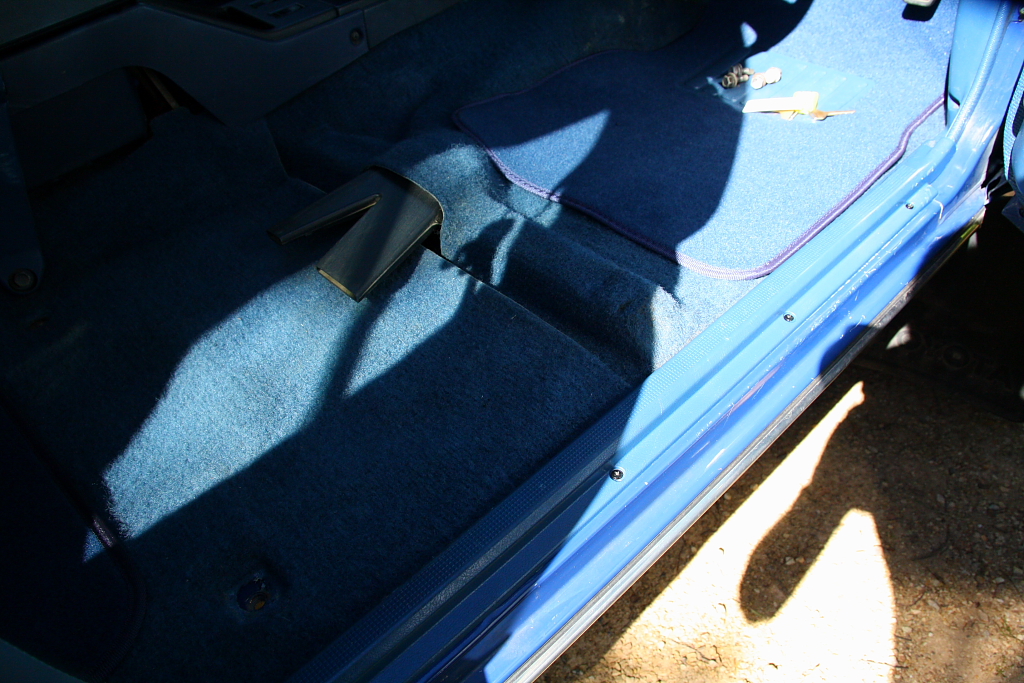
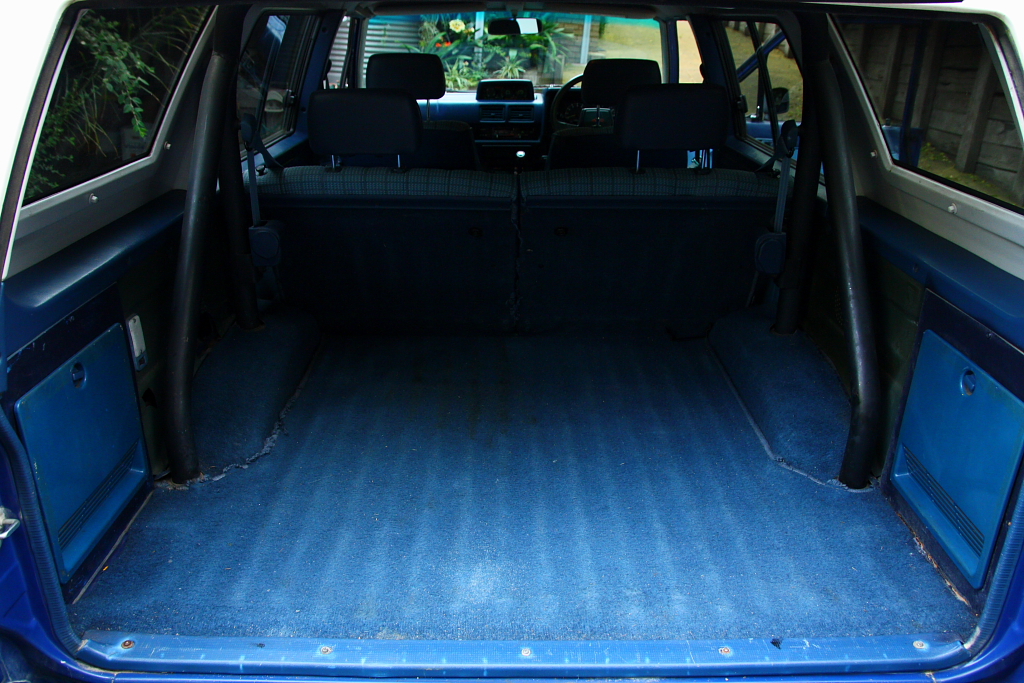
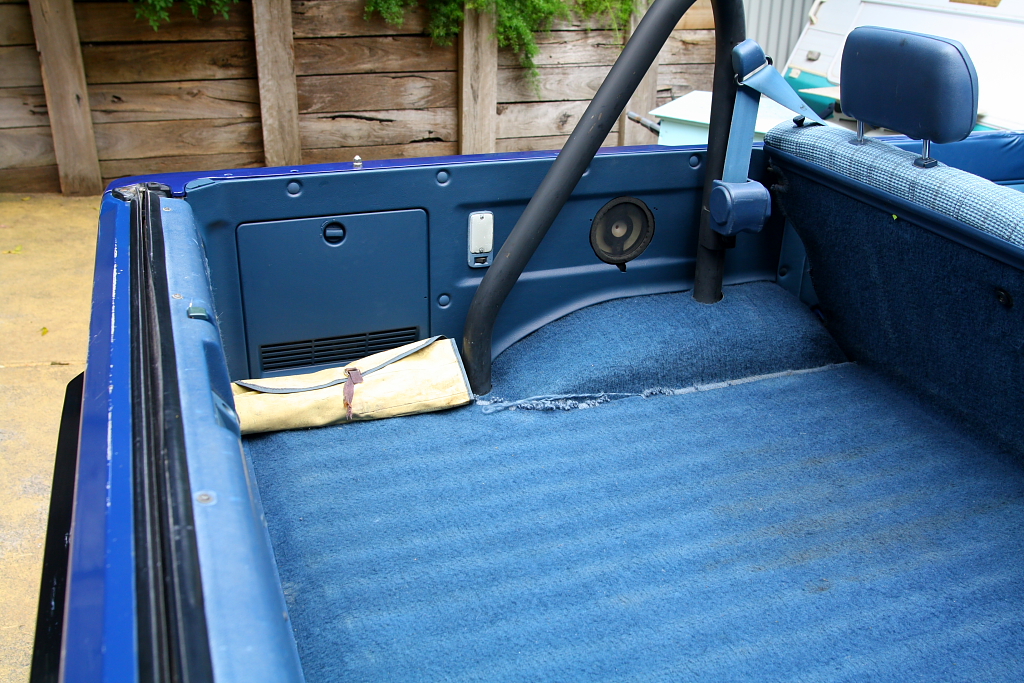
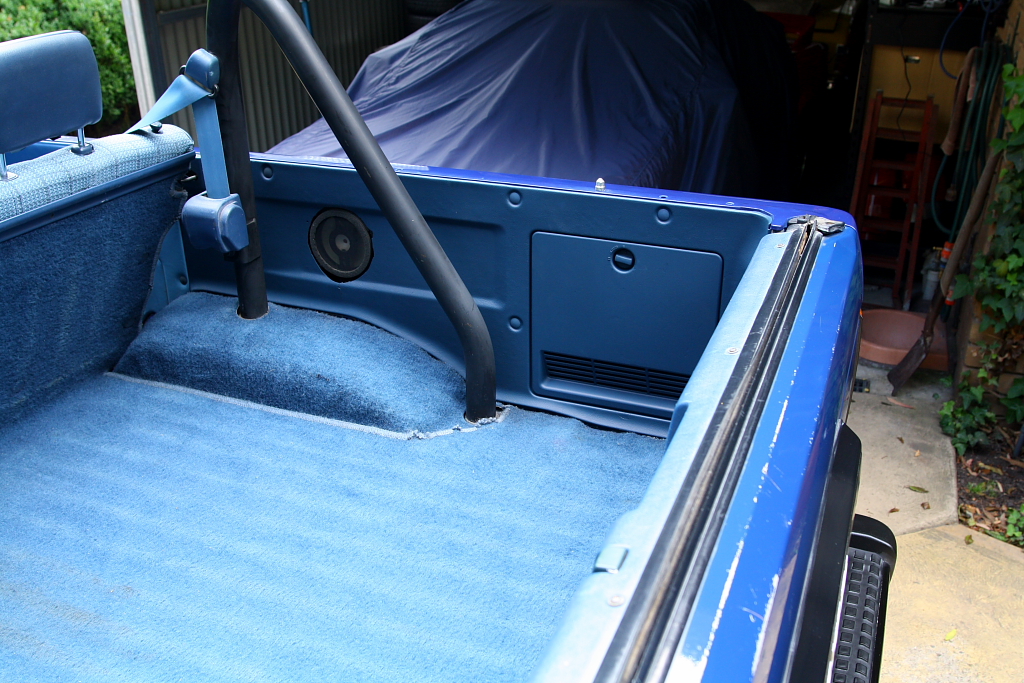
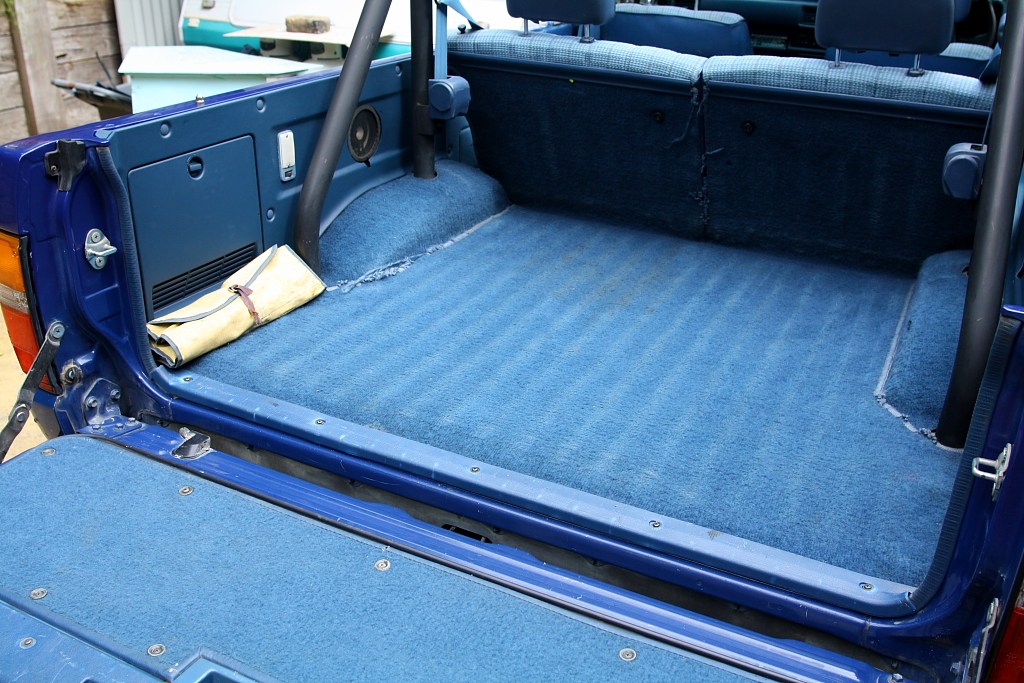
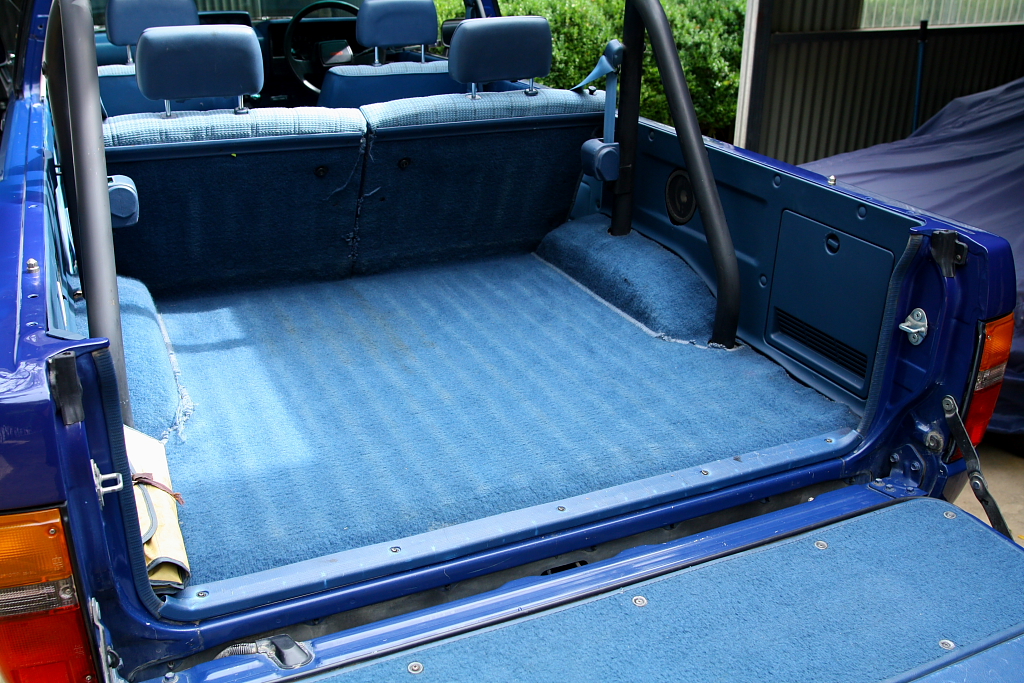
Cleaned up under the seats. Was already very tidy, but a bit of dirt/dust getting under there was inevitable.
Cleaned seatbelts in too.
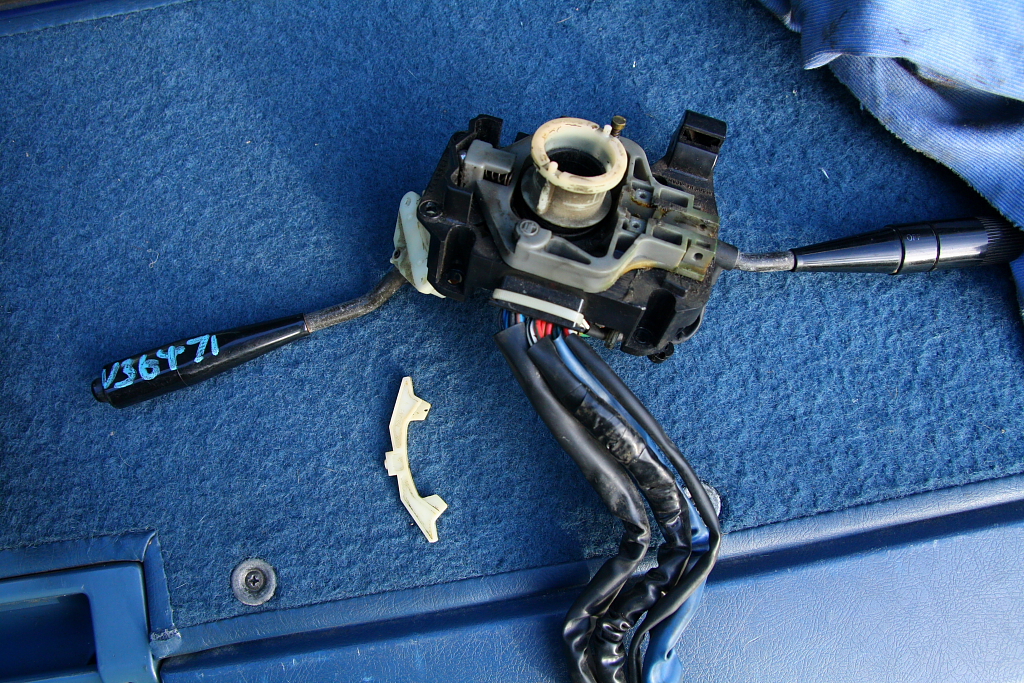
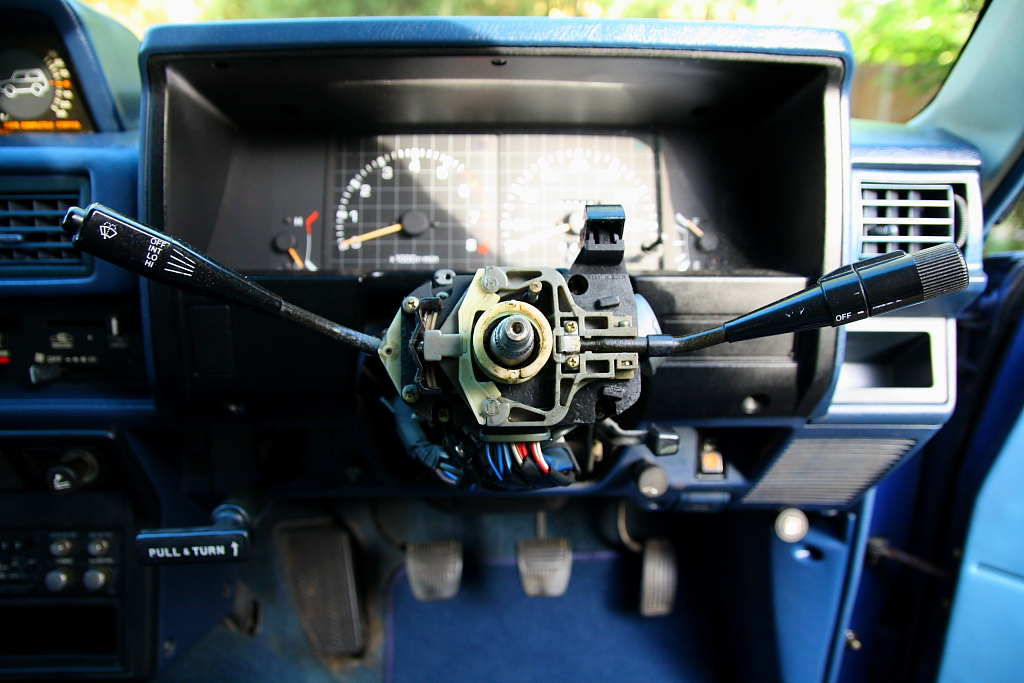
Got another combo switch from the wreckers, as my indicator auto-cancel wasn't working properly (wouldn't cancel after turning right). Turned out to be a simple fix, and was simply a very very slightly worn tab on the white part above. Popped the good one in, and done!
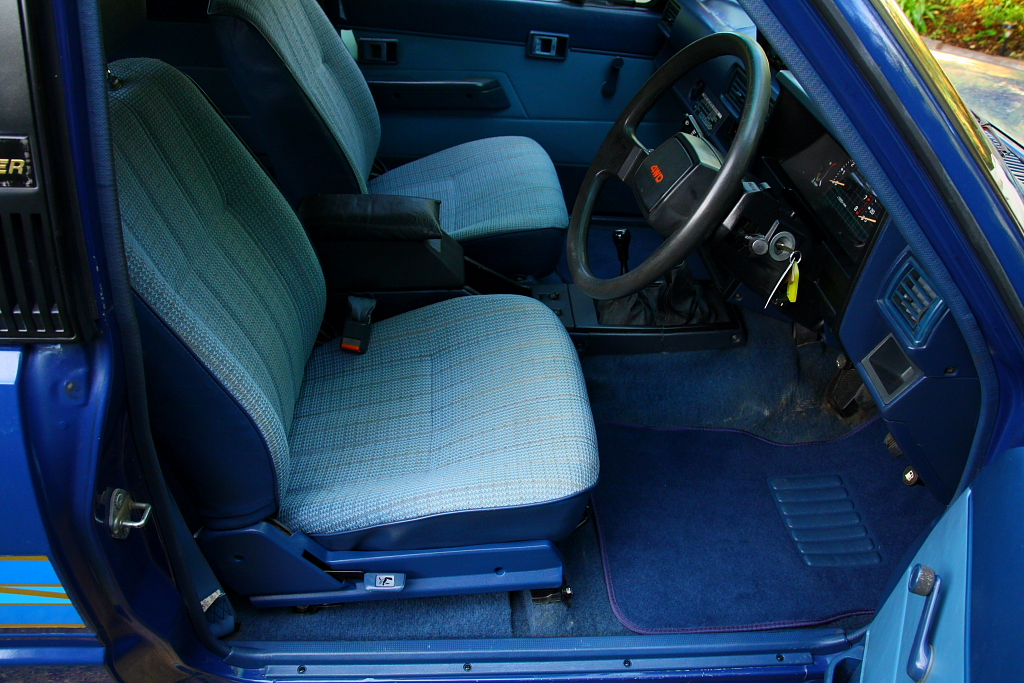
Much cleaner..!
But not done yet..:
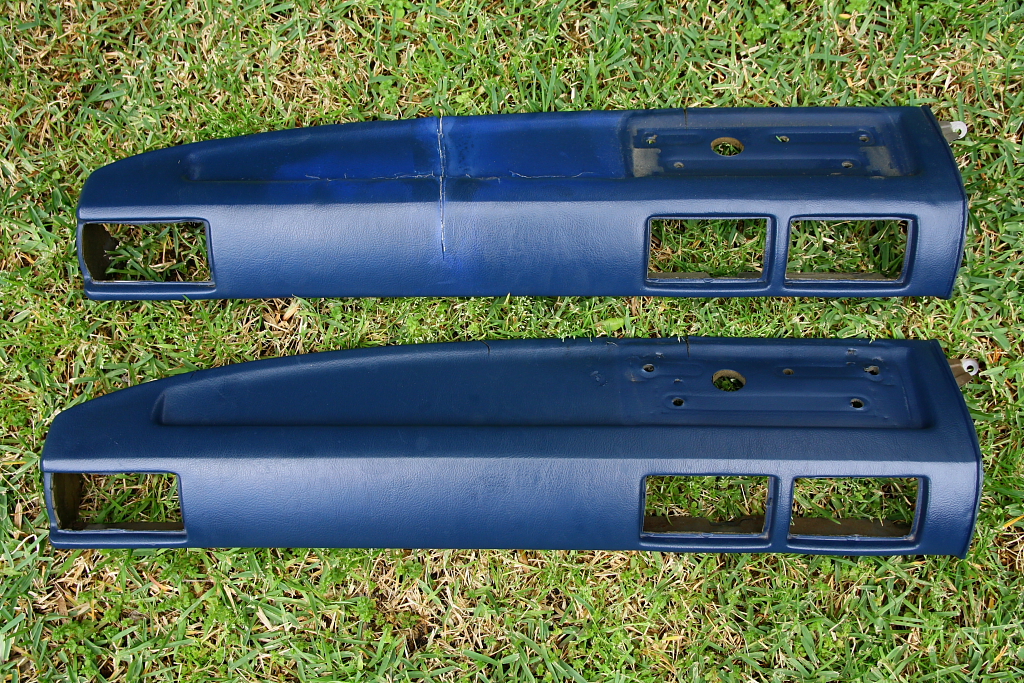
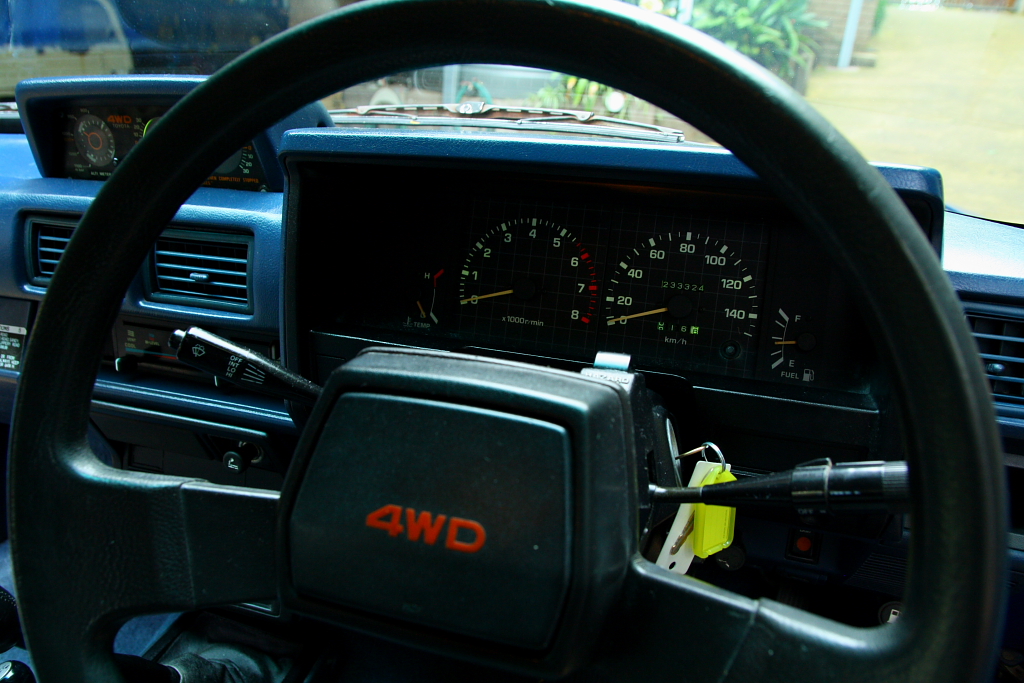
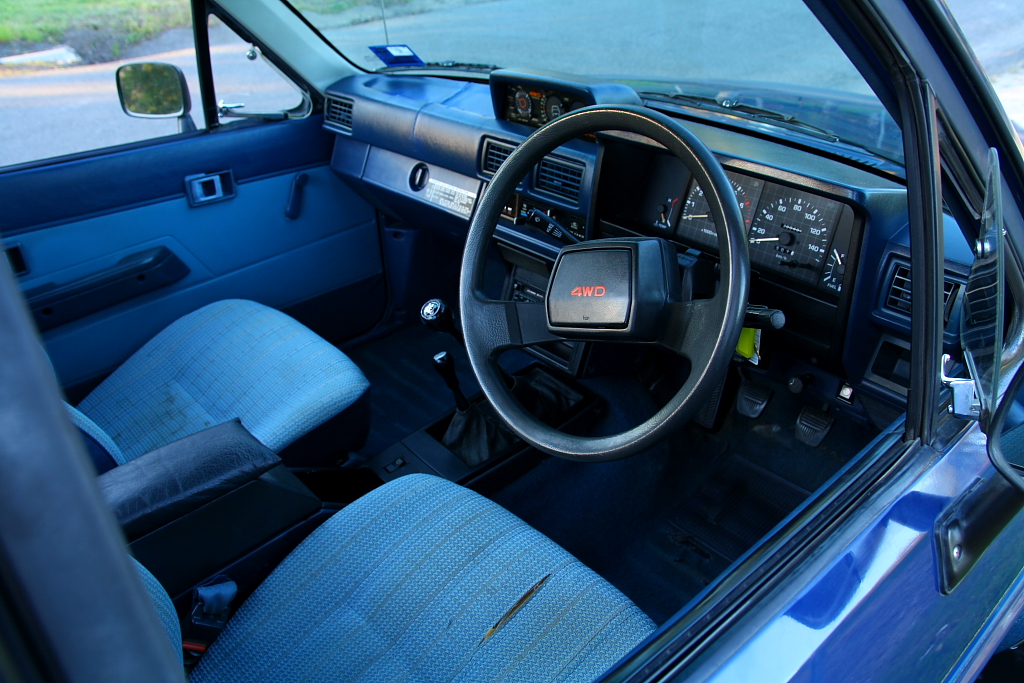
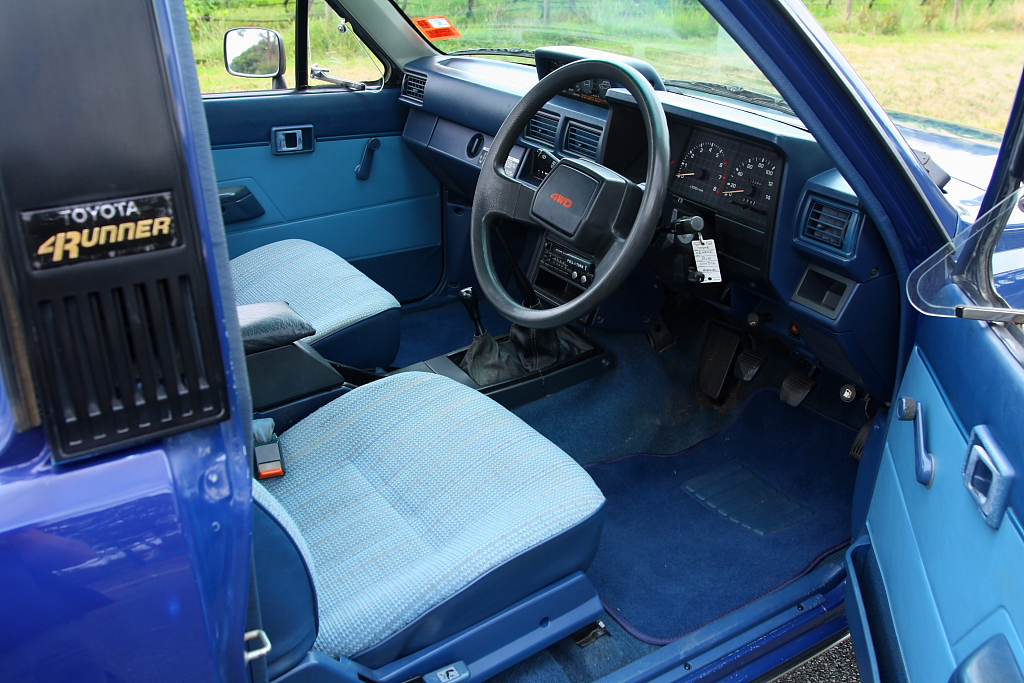
My old dash was toast, and the previous owner had tried to paint it to tidy it somewhat; but it just looked terrible.
The 'new' dash cleaned up nicely, but has a handful of cracks around the back. Will still make things much tidier regardless.
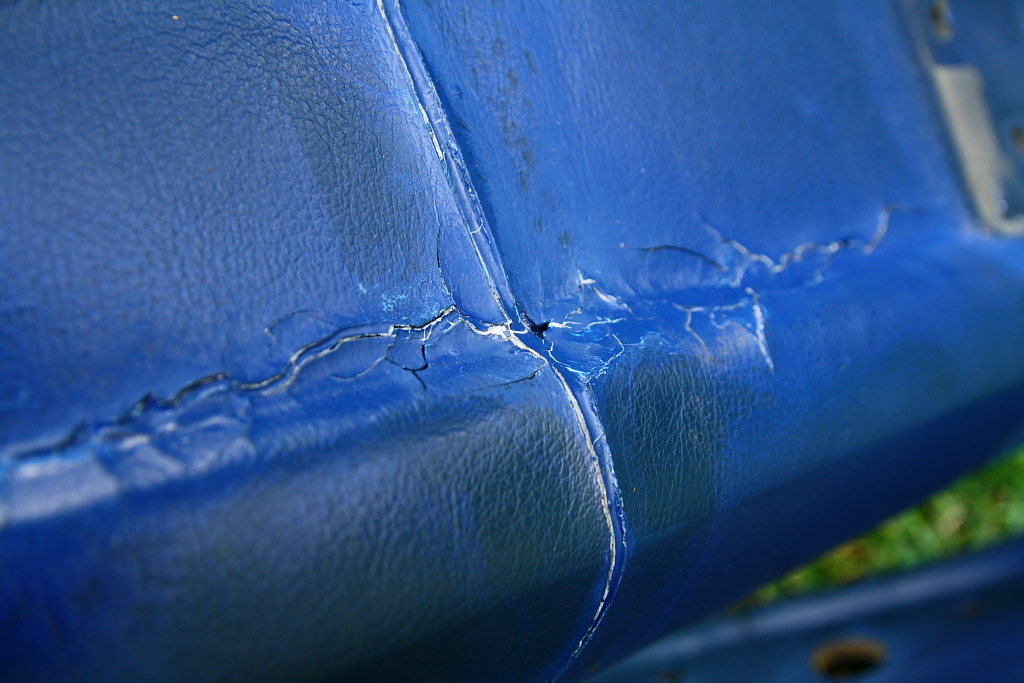
Closeup of the crusty dash..

Removing the dash at the wreckers means I know how little i really need to disassemble to get the dash pad off. cleaned up bits as i was going...
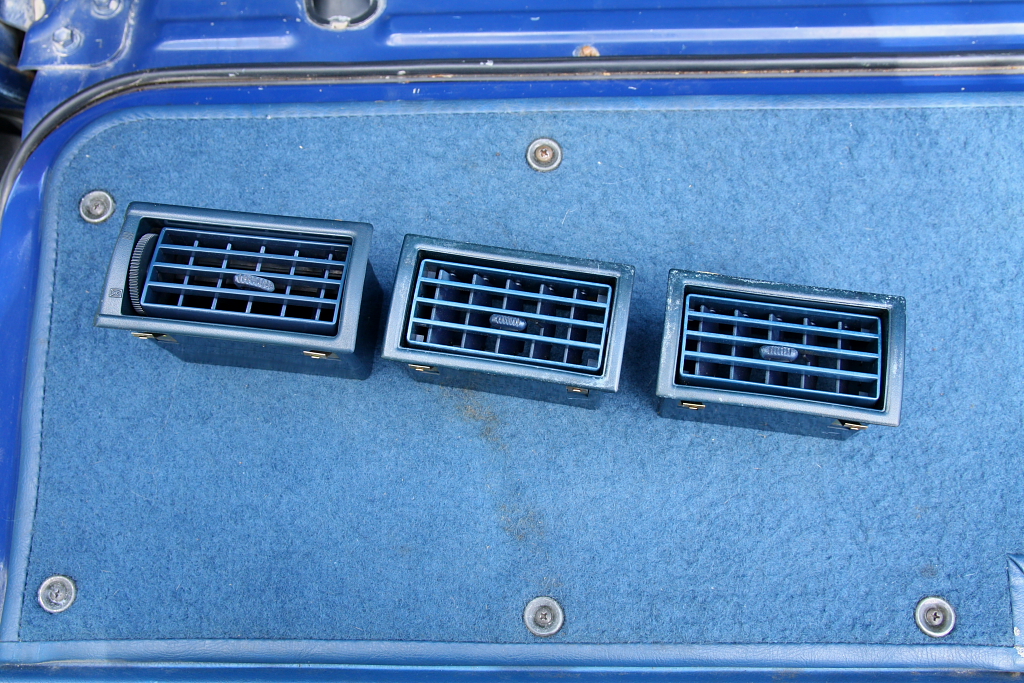
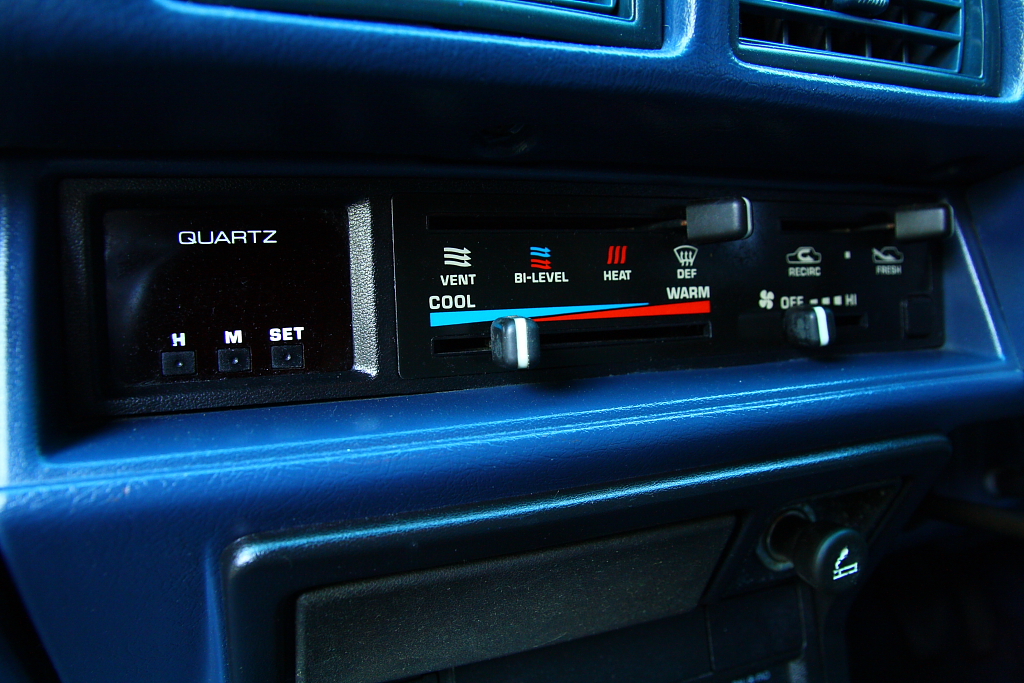
Cleaned the vents with a paint brush..
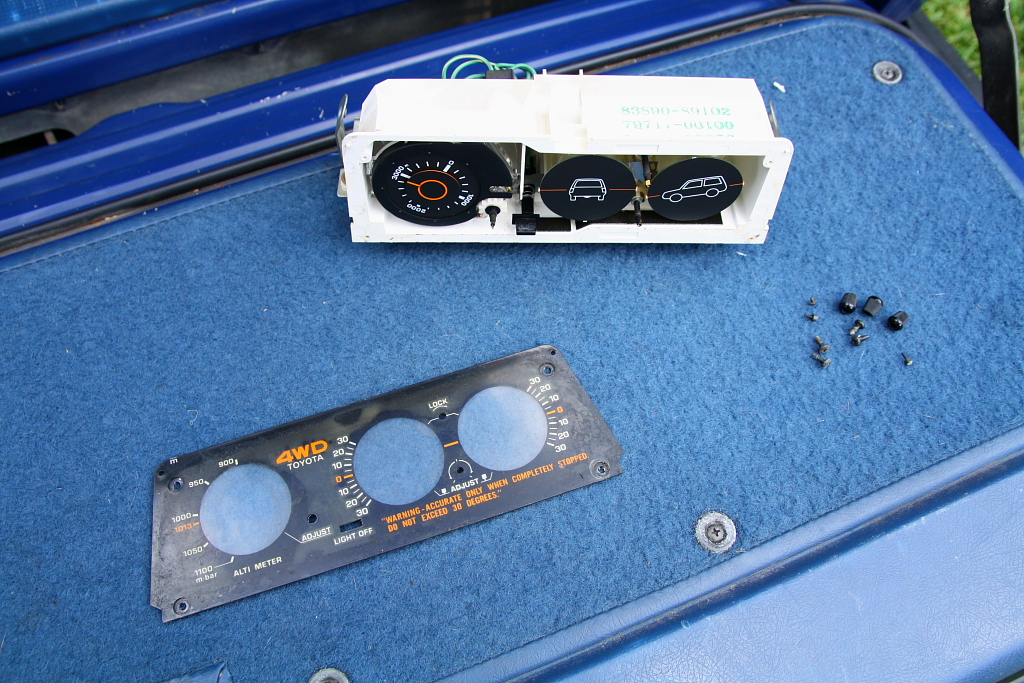
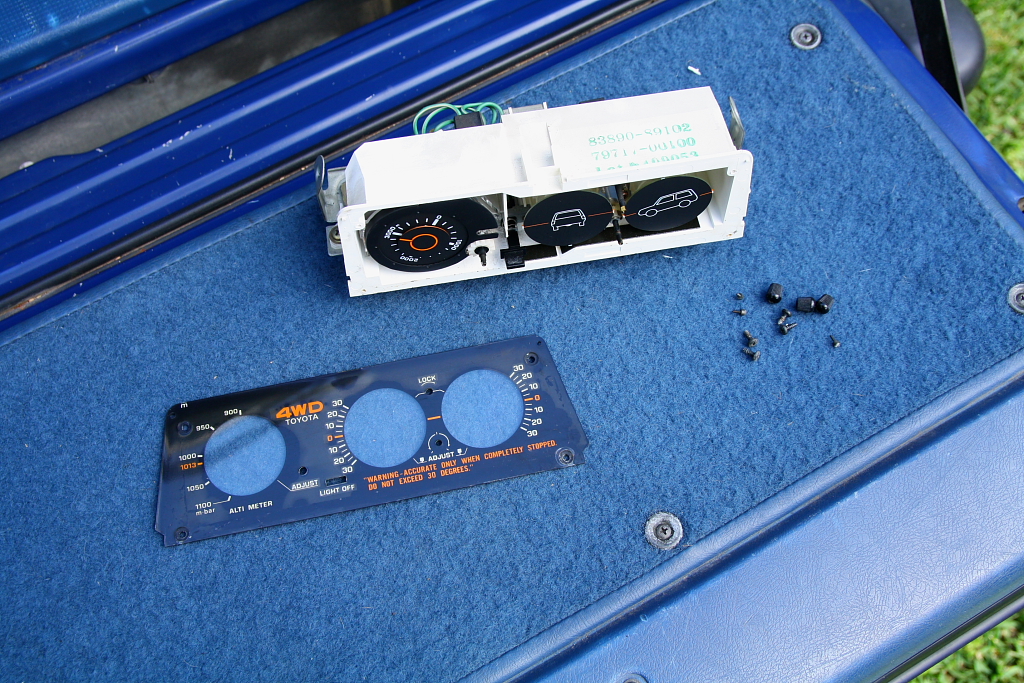
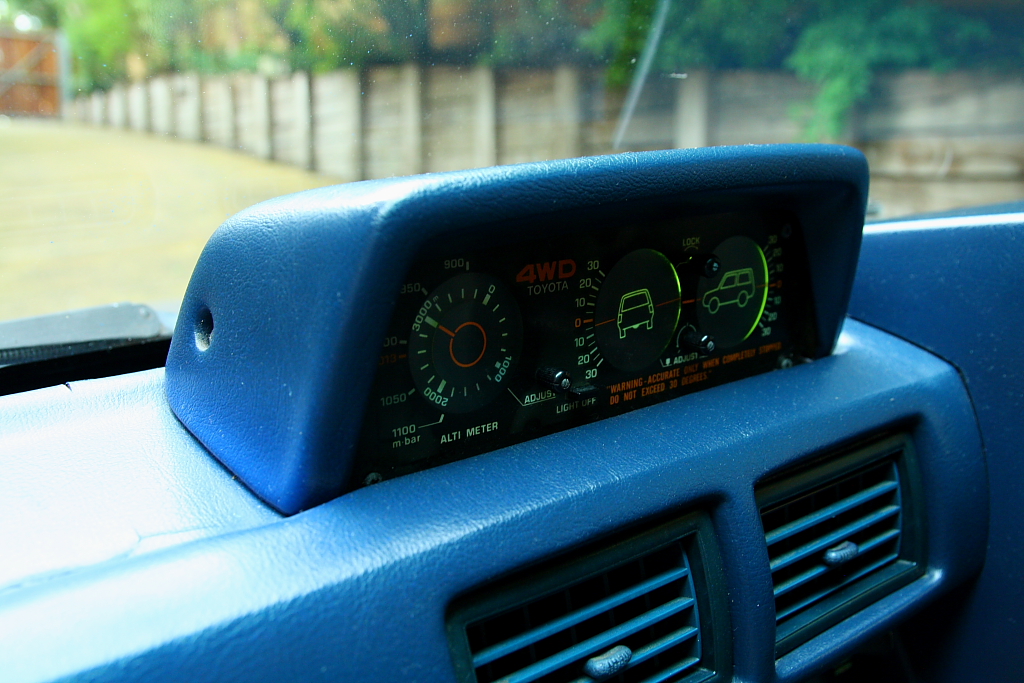
The altimeter got a clean too.
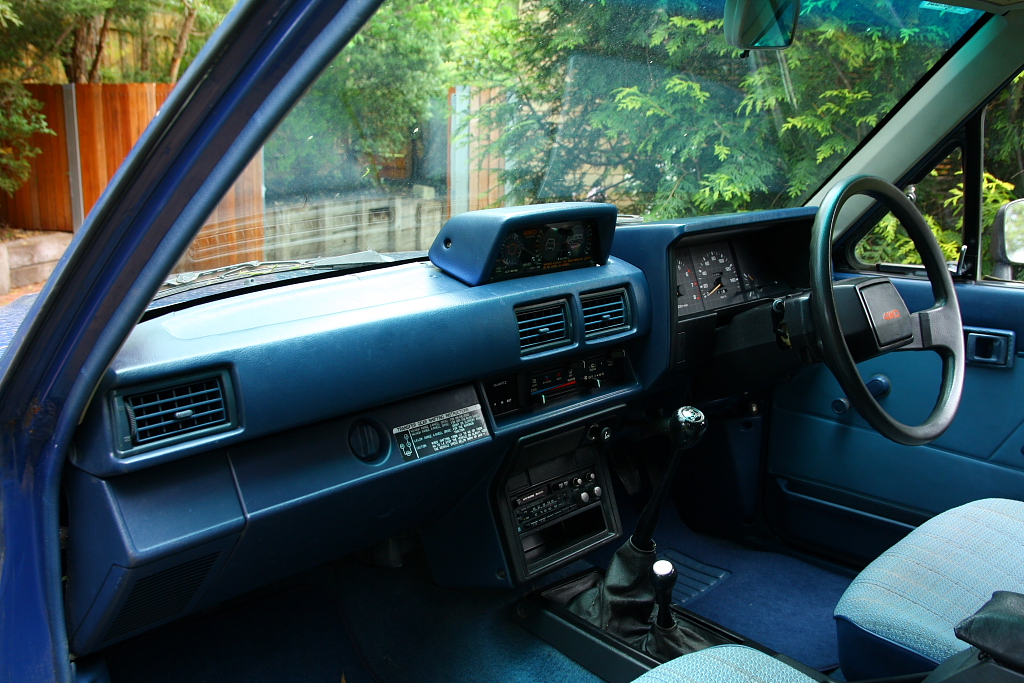
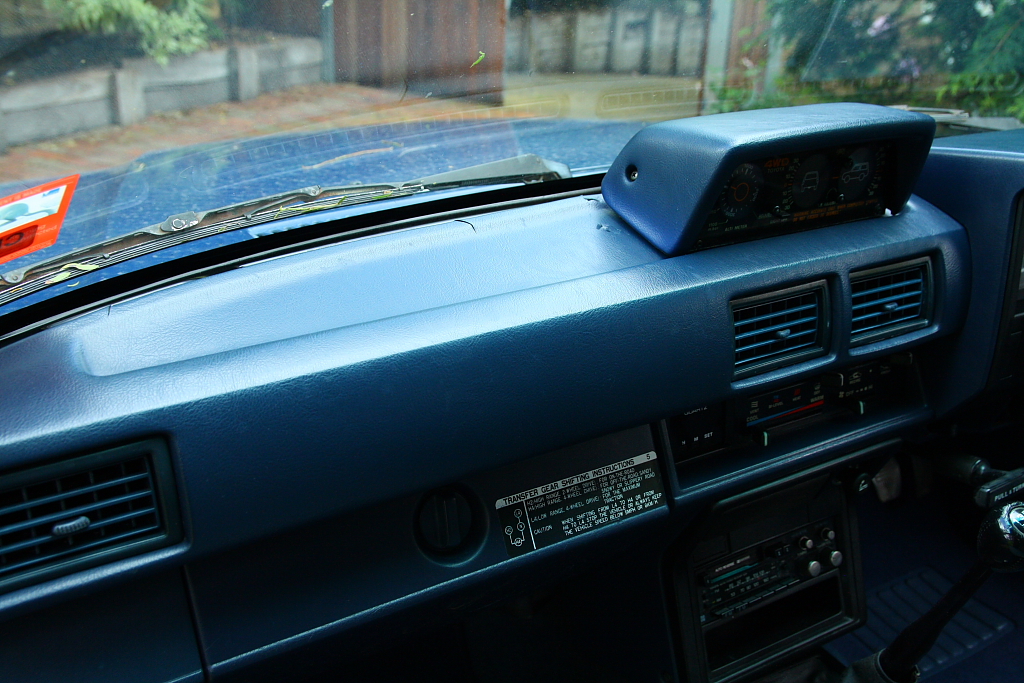
All back together, and all a little tidier.
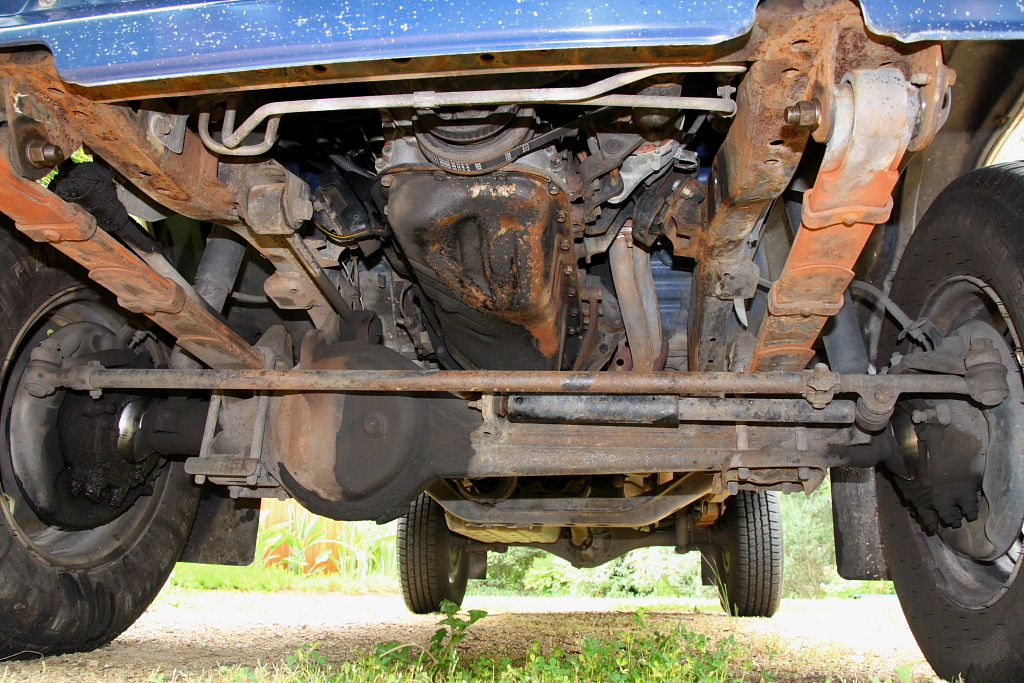
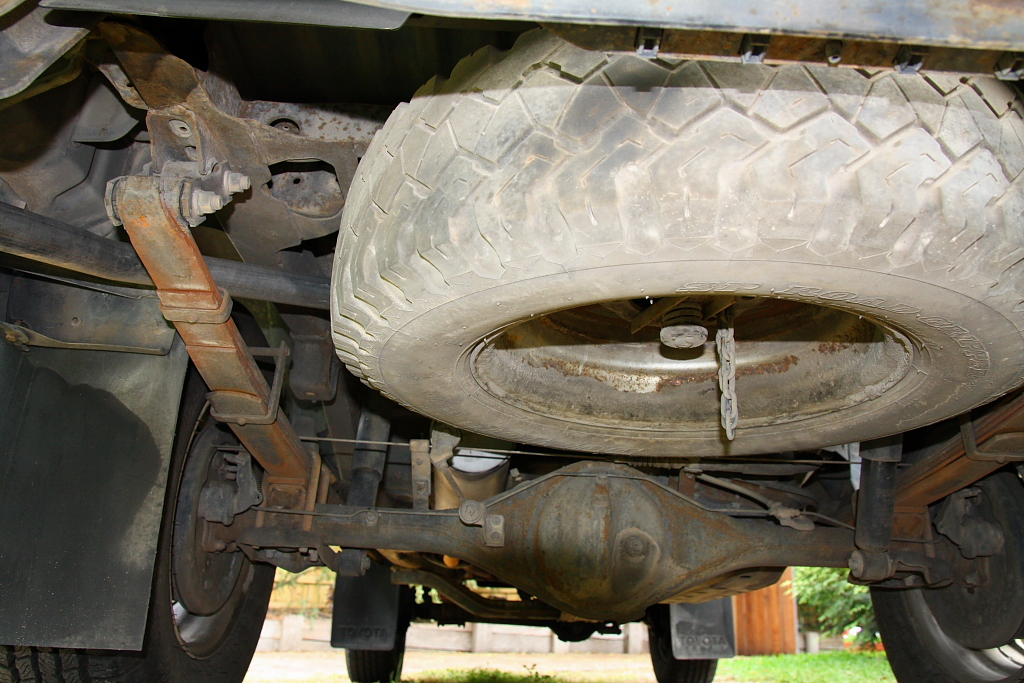
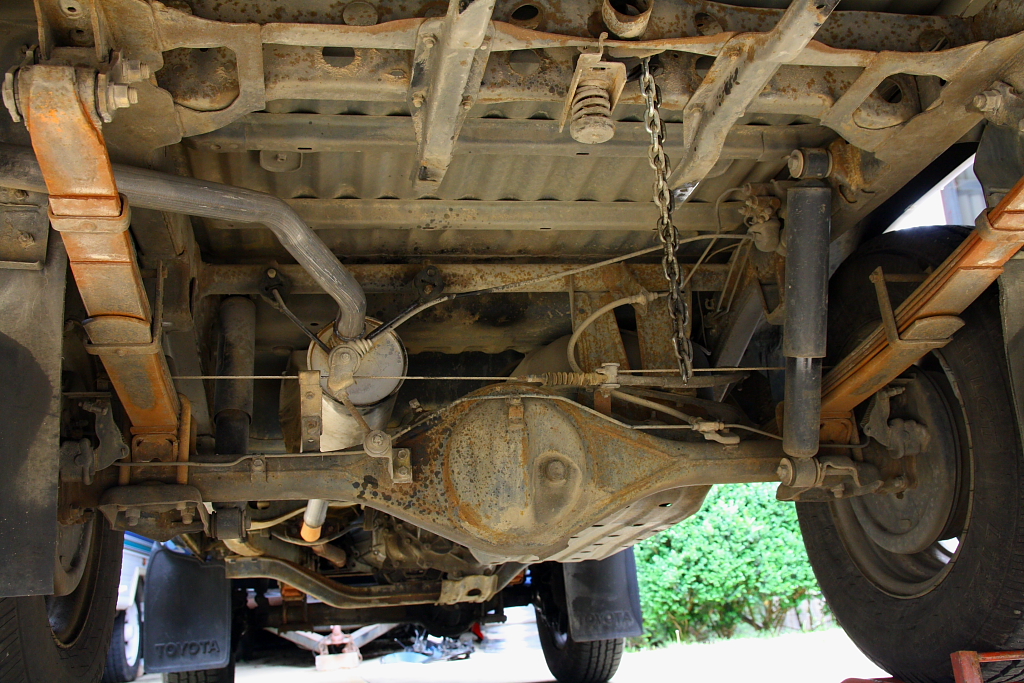
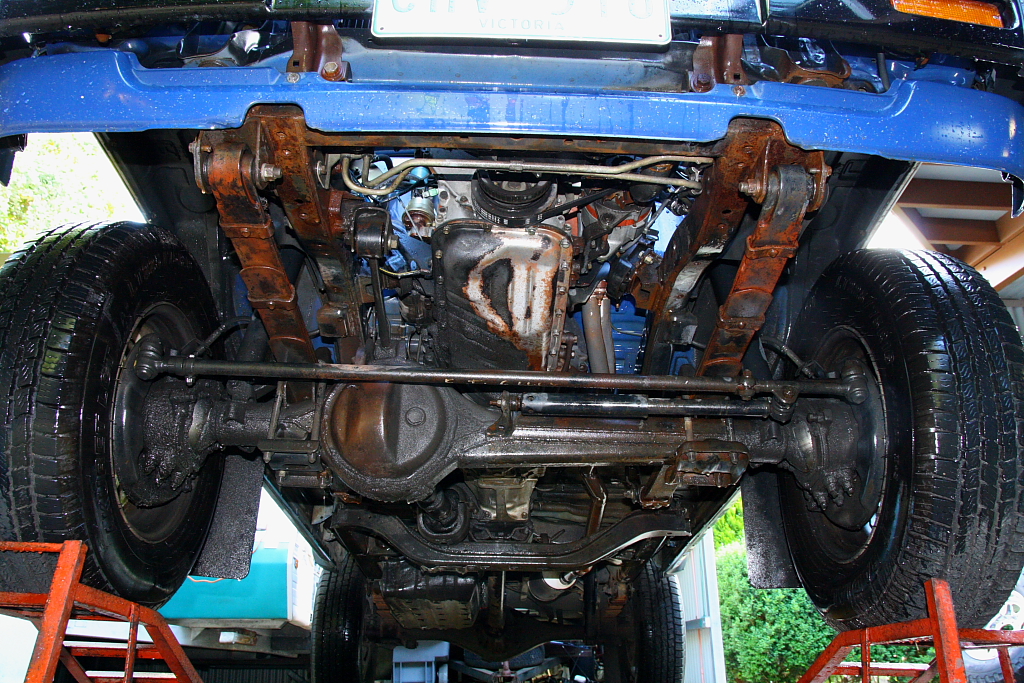
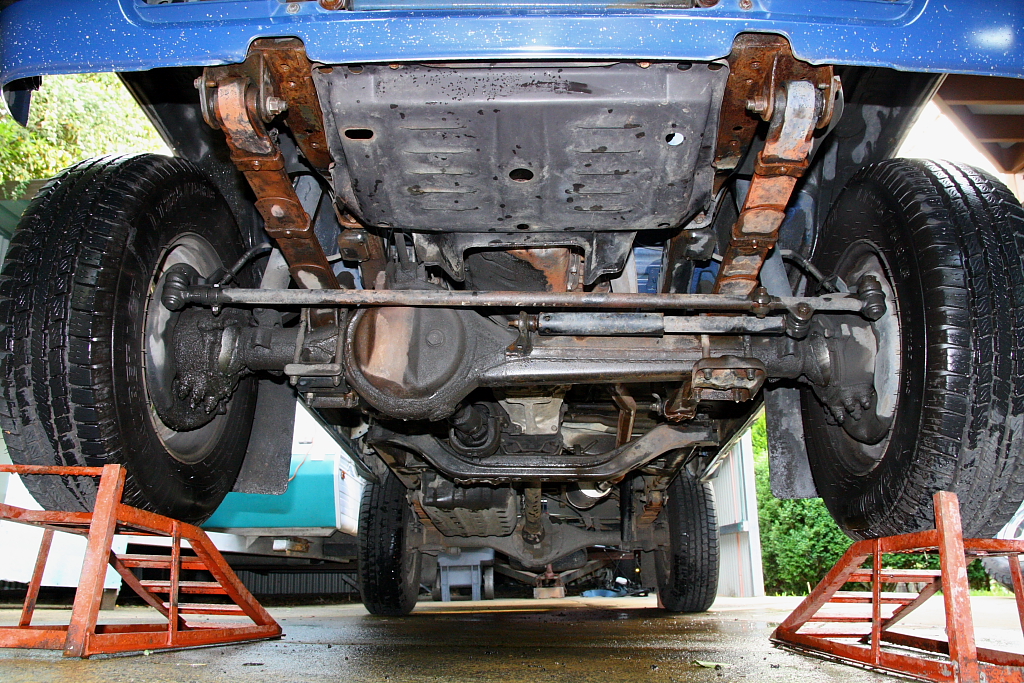
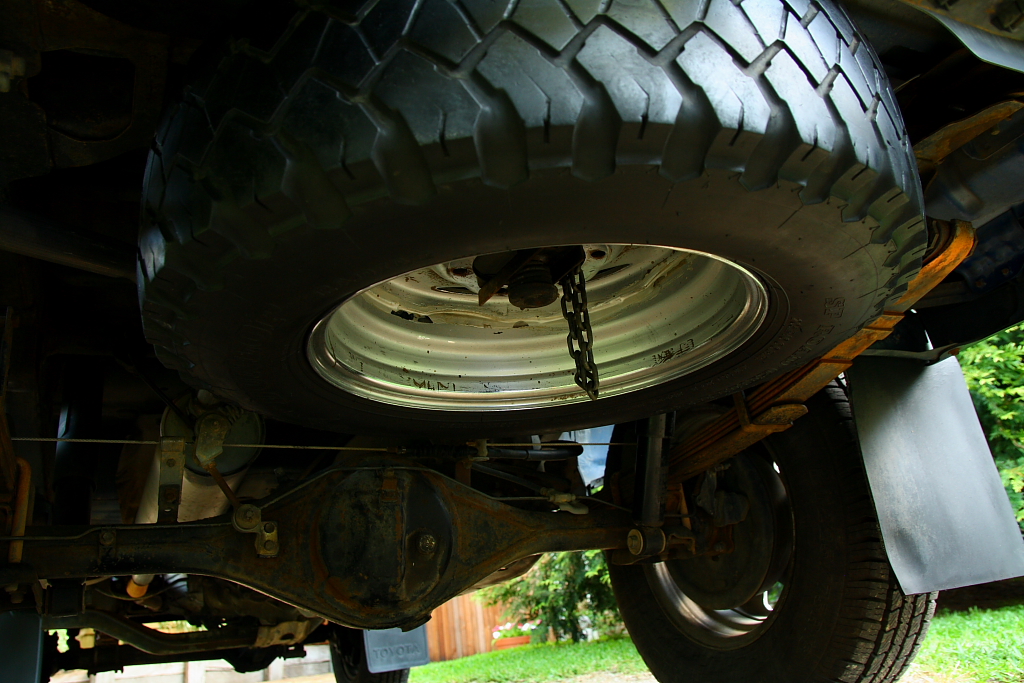
Couple shots underneath. Hasn't spent too much time off road, but lots of dust.
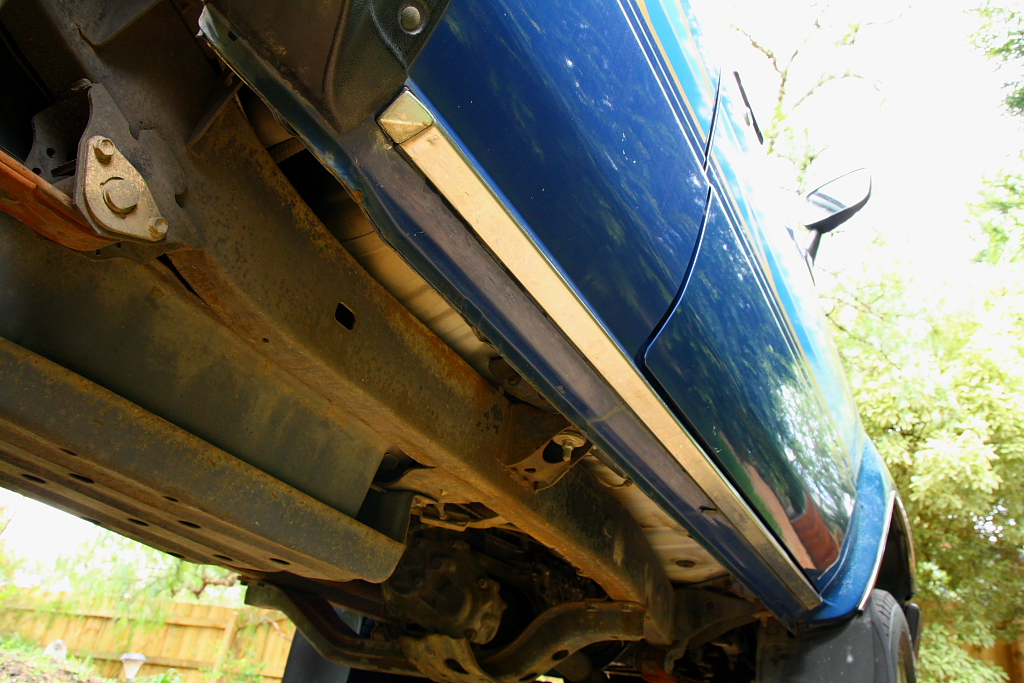
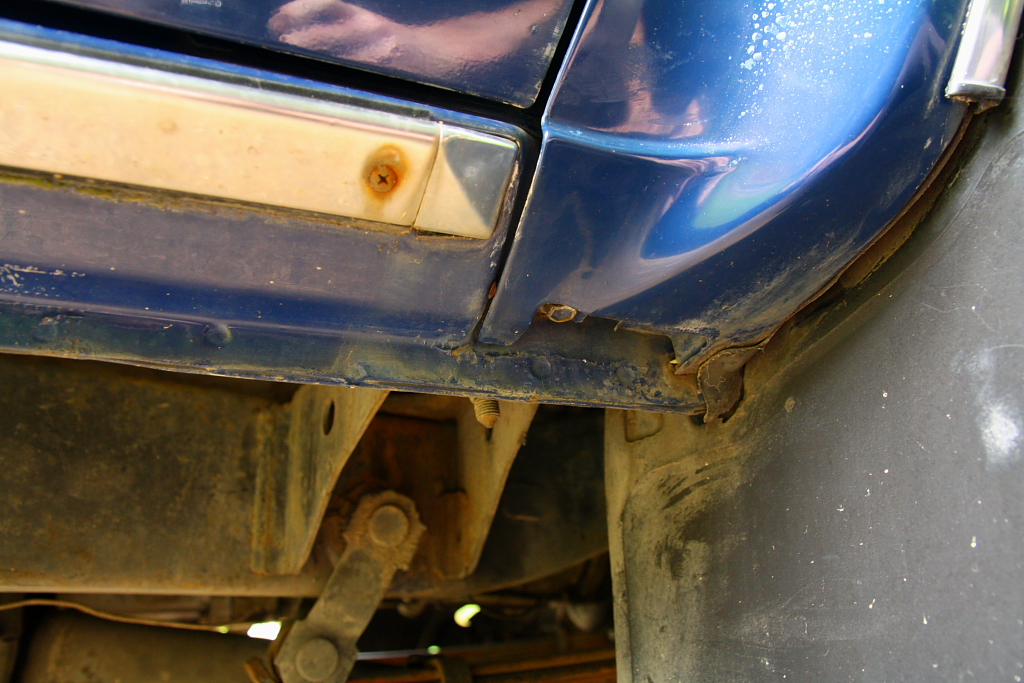
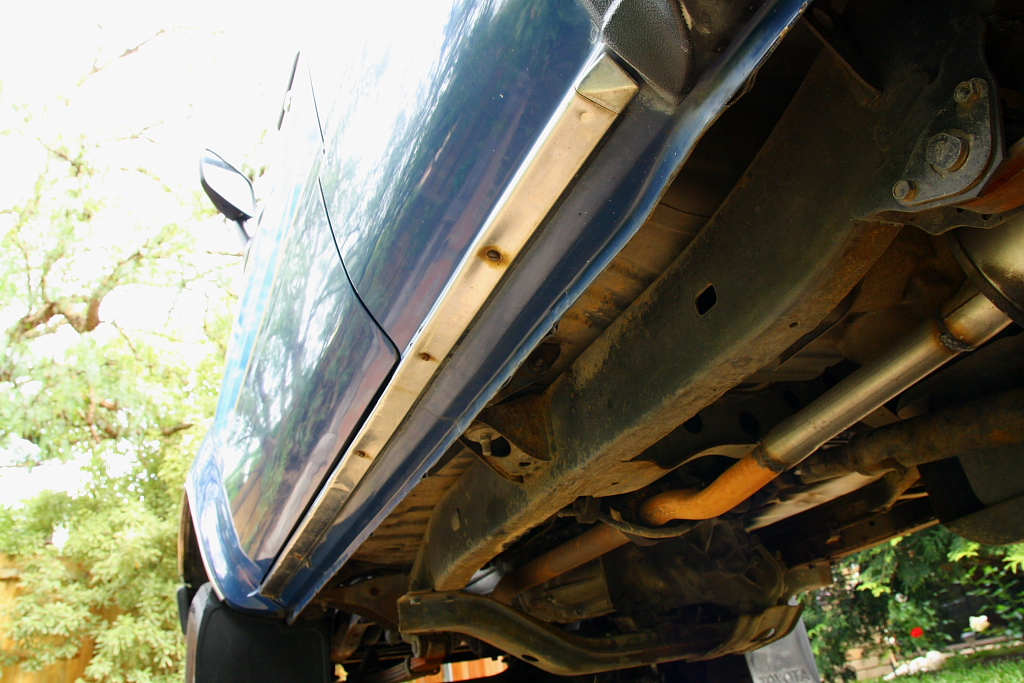
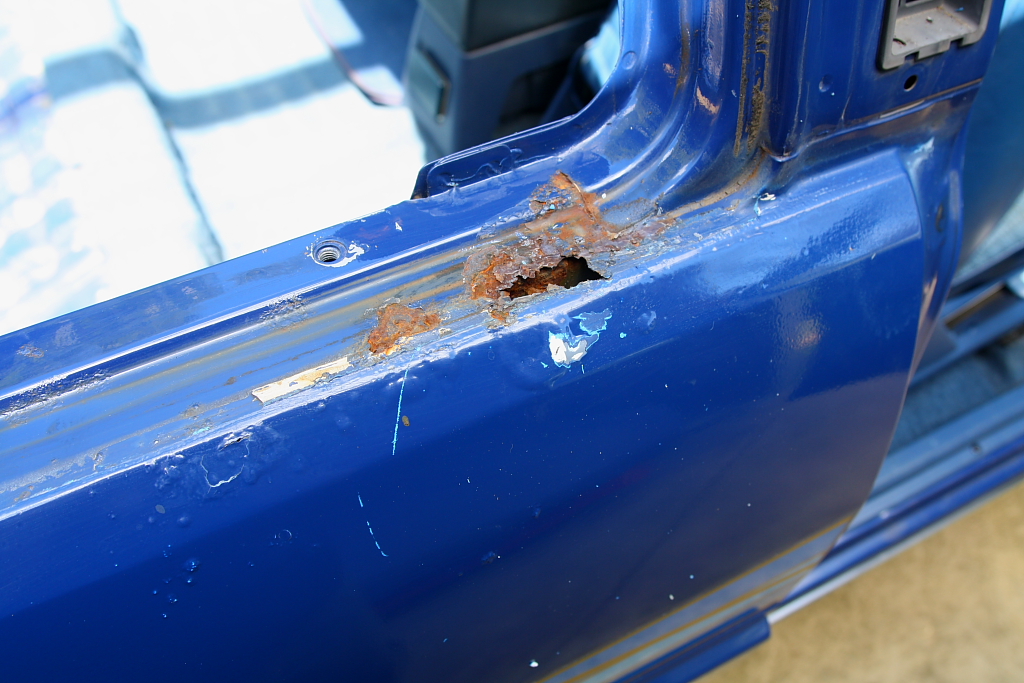
Sill's and lower guards are great, but shake my head at the screws holding the passenger stainless trim on. Yep, they're screwed right into the body.. argh..
wound the spare down... and its just a little dusty..!
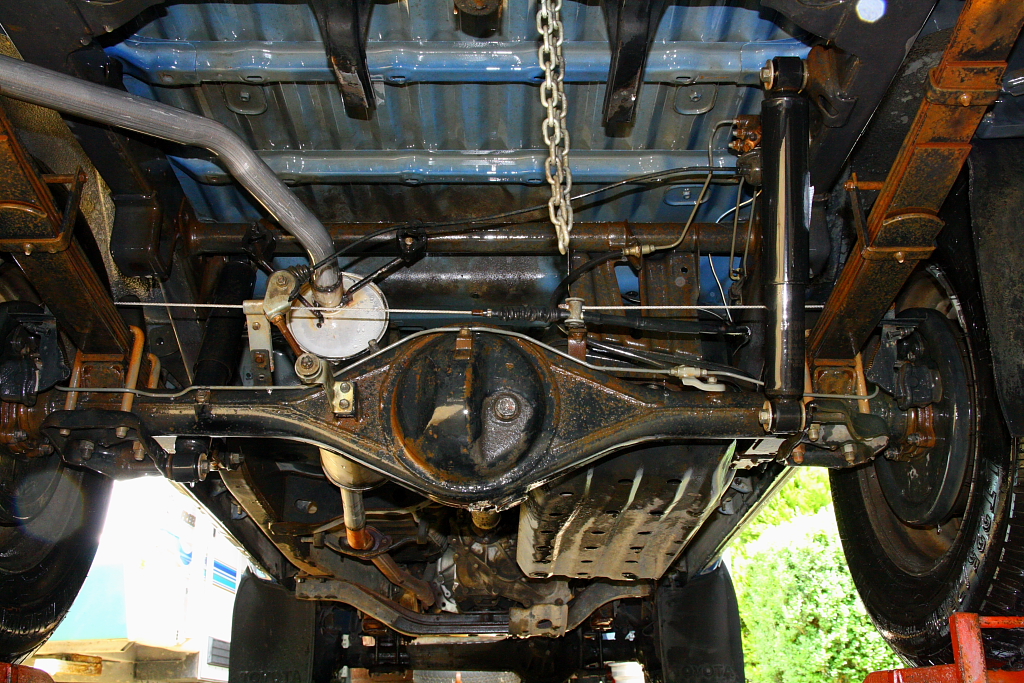

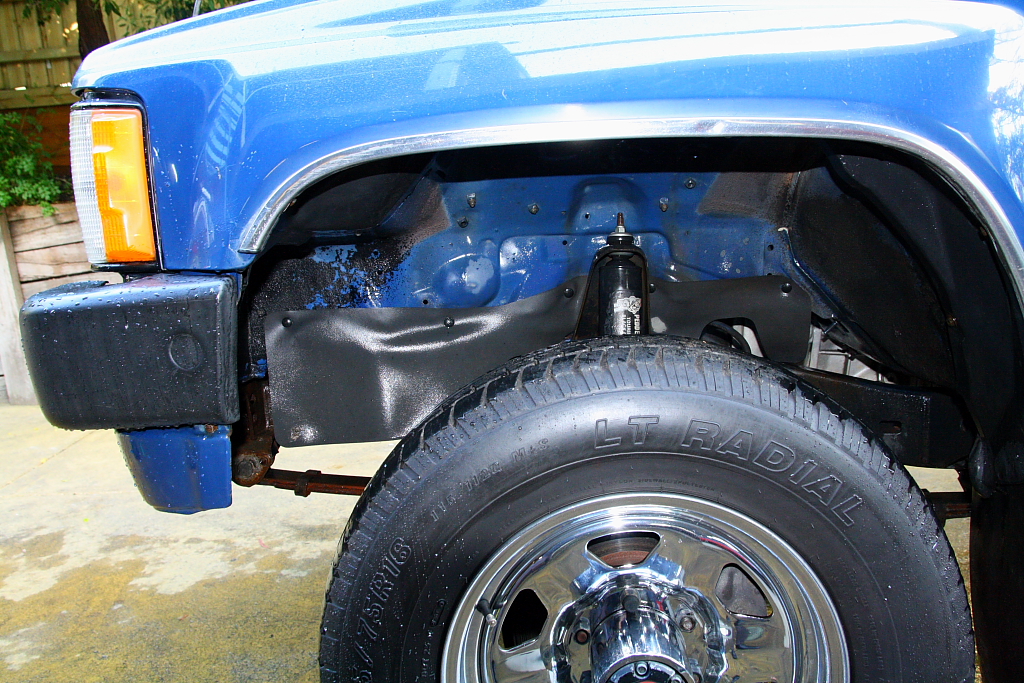
pressure-washed down this end...
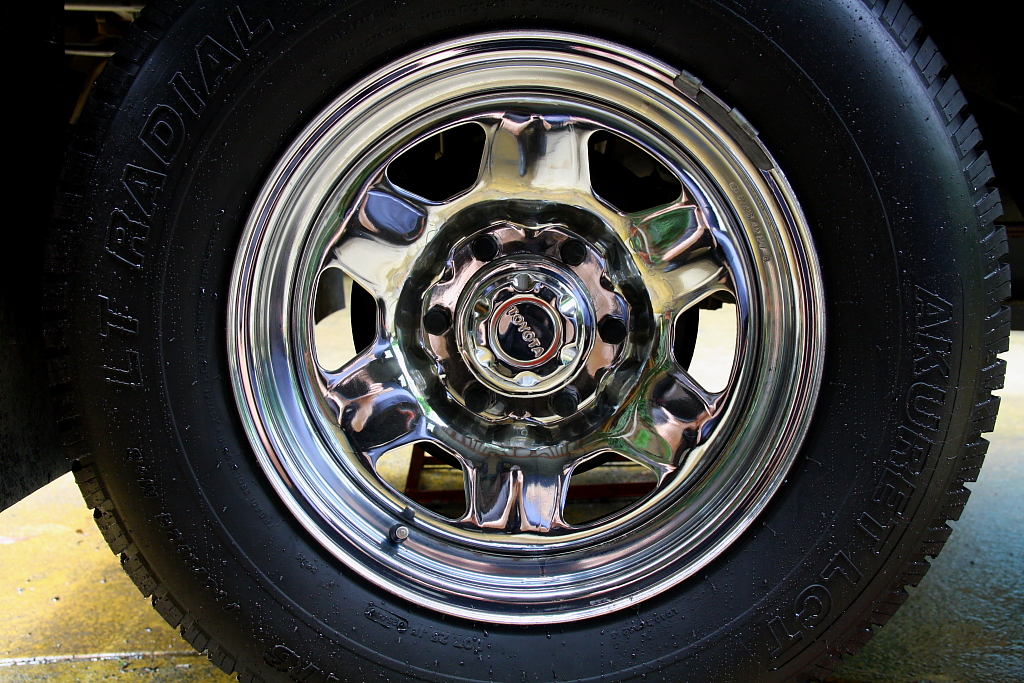
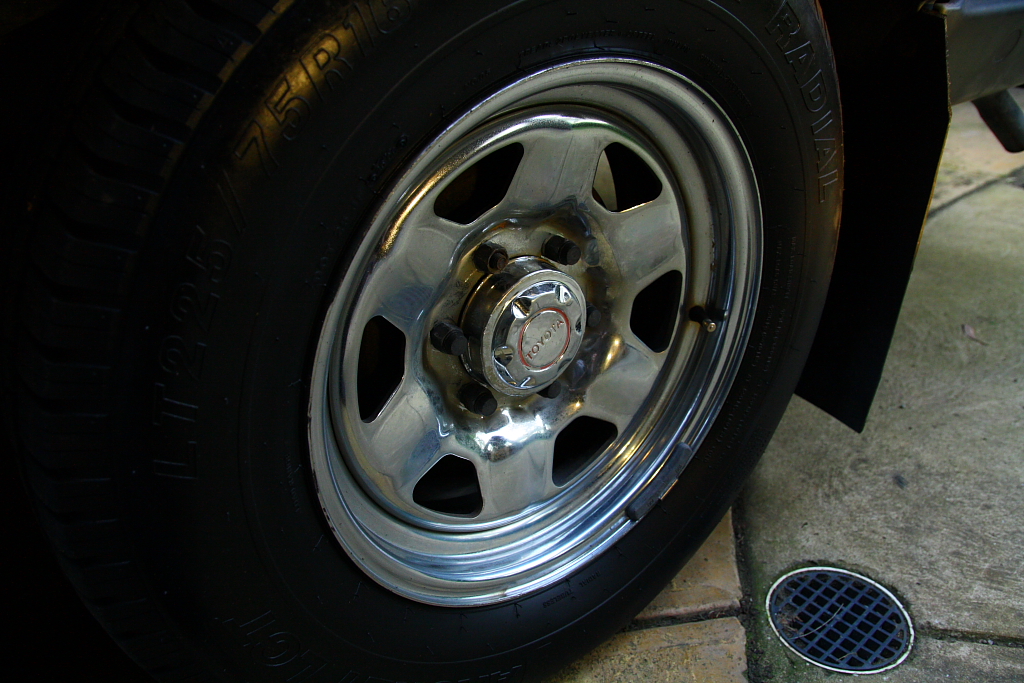
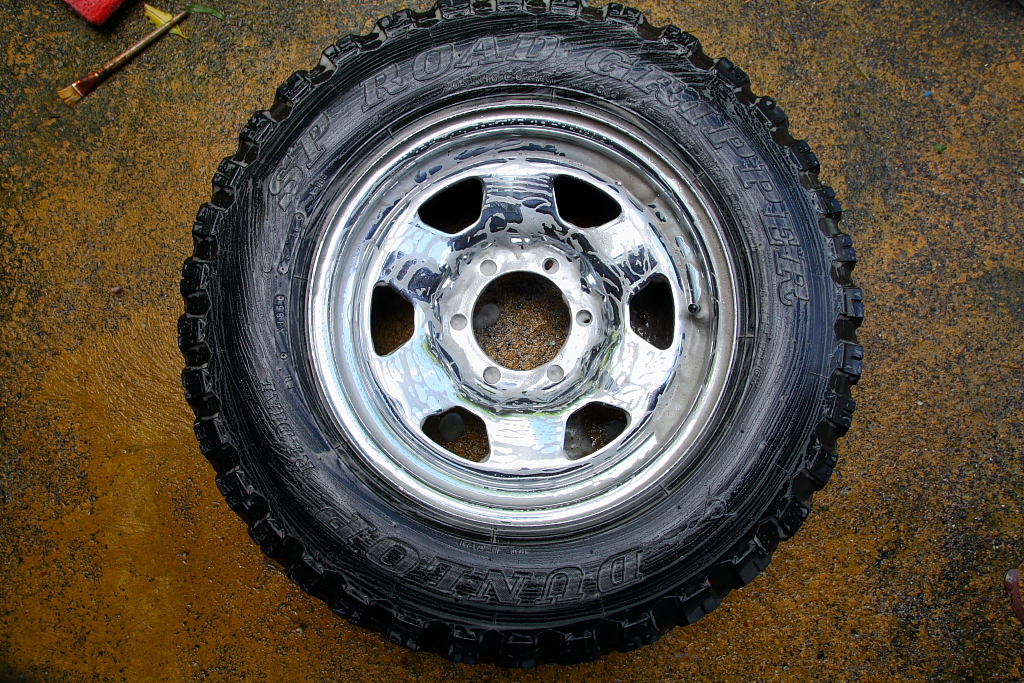
..got distracted, and cleaned the front of all four wheels while was at it. Chrome really does clean up well..
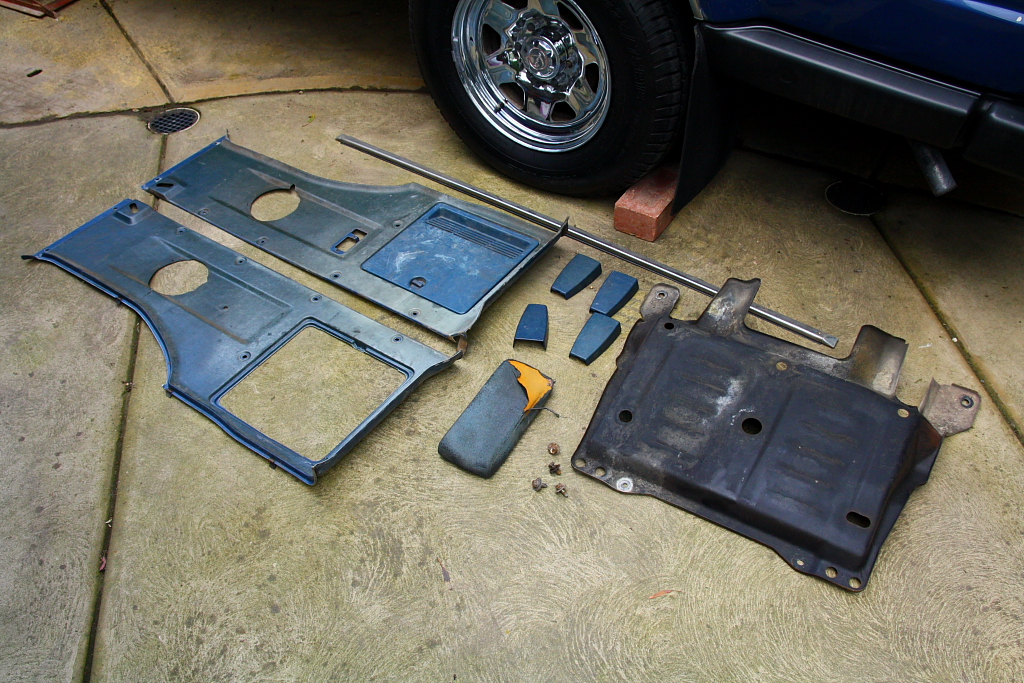
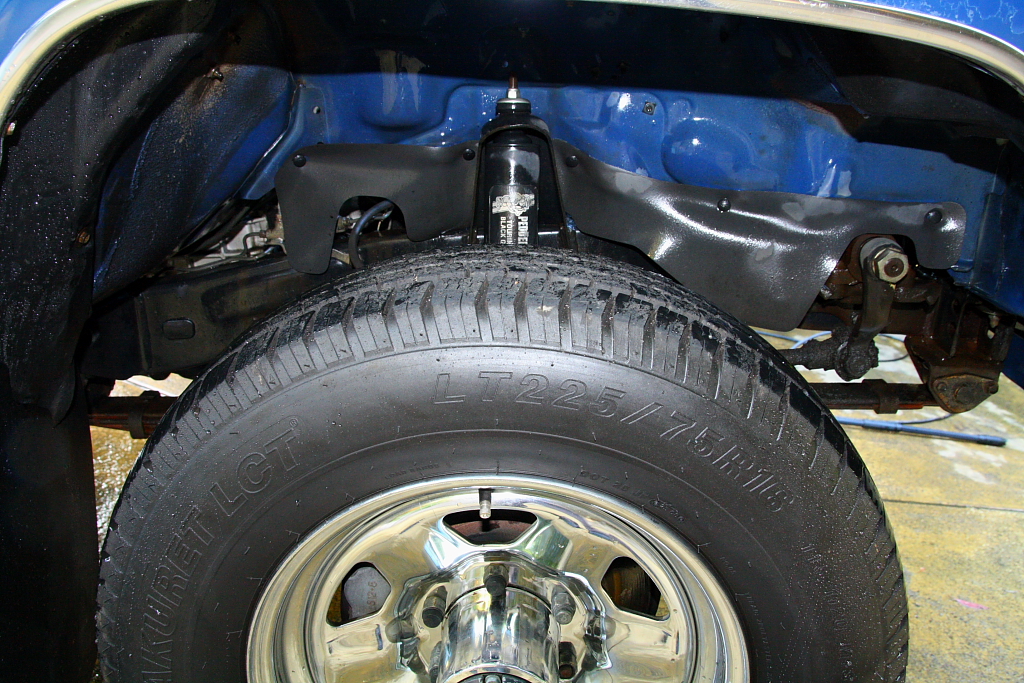
realizing that I needed the front bash-plate (was previously part of the bull-bar setup), I went back to the wreckers to get more off the same car.
Just about nothing left on it by now. it had been impressively well picked over..!
Grabbed some more bits at the same time, as The car will no doubt be flattened soon. Got some rear seat hinge caps too.. something i didnt know i was missing until i found one under the drivers seat!
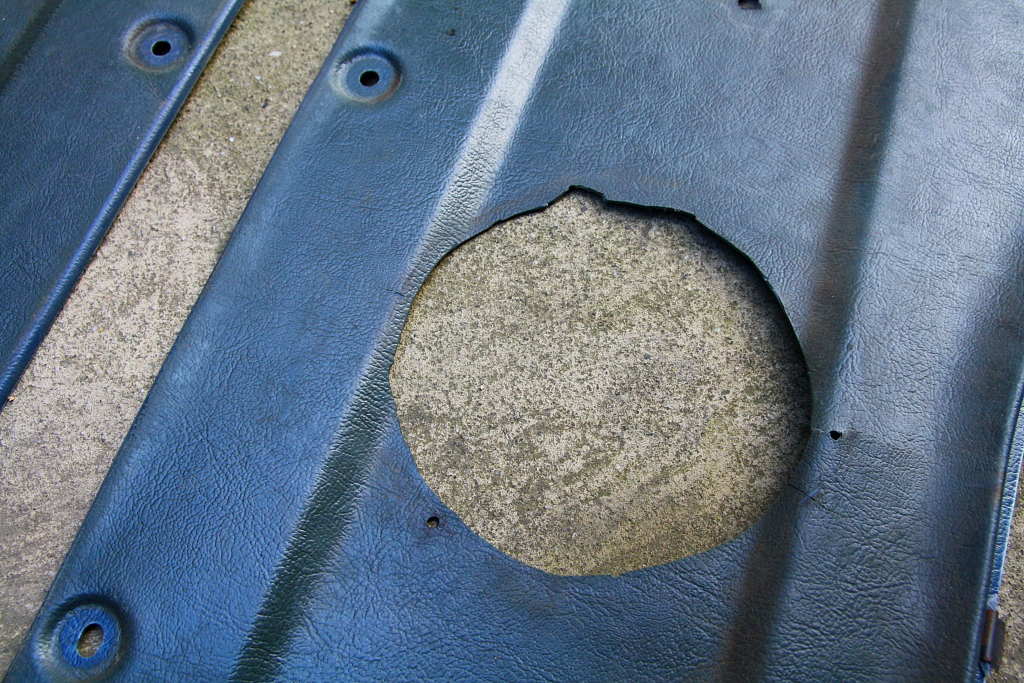
Rear panels are far from great, but better than mine, and will possibly clean up nice enough. For what was a couple dollars anyway...
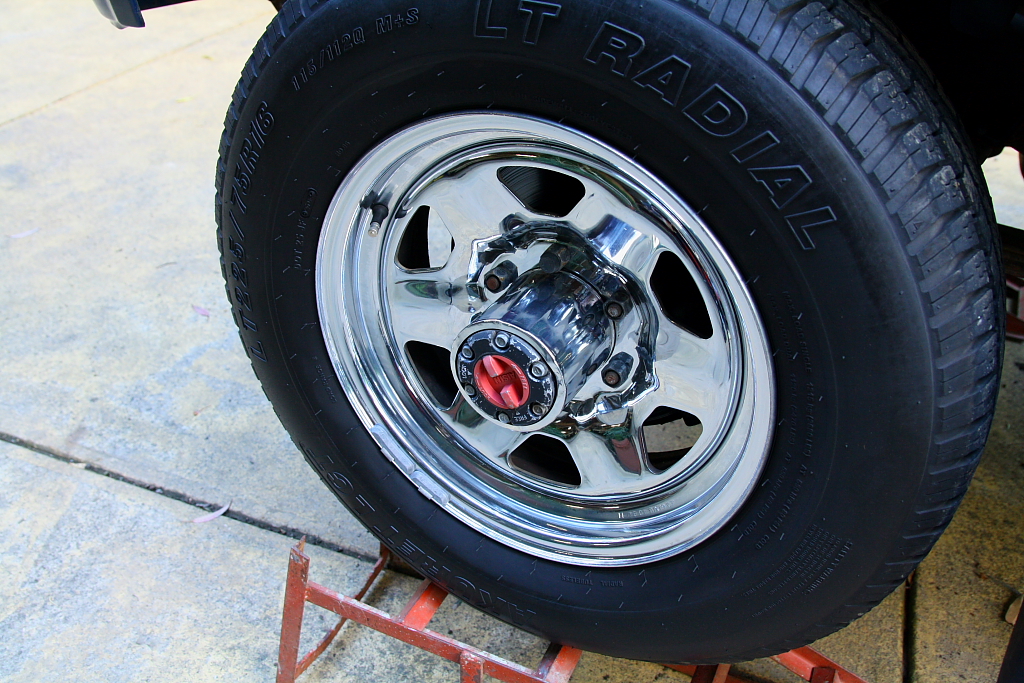
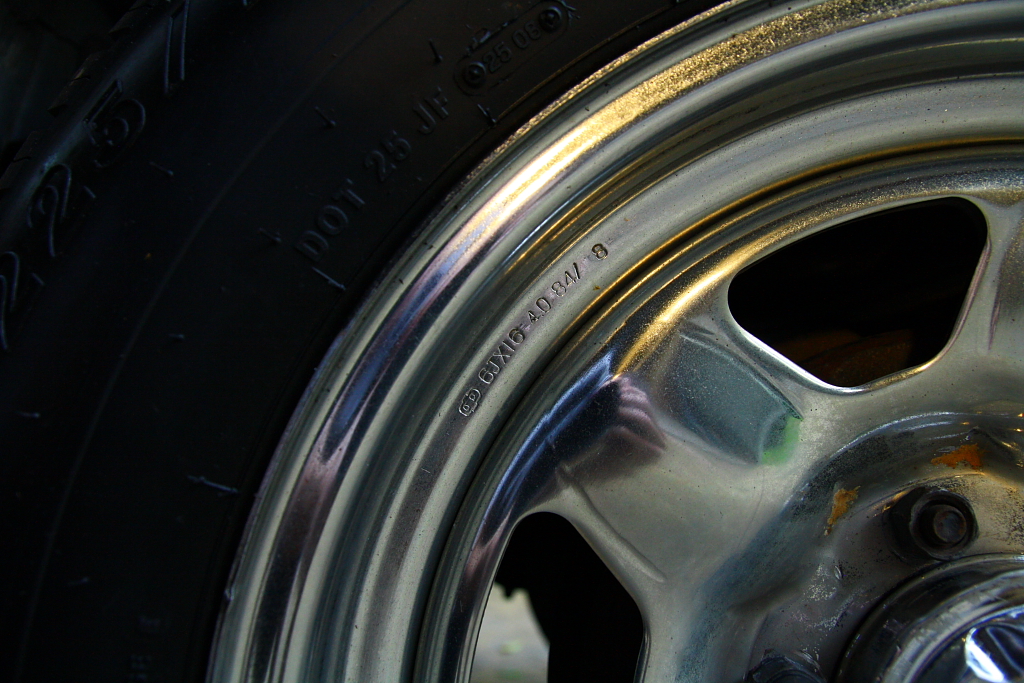
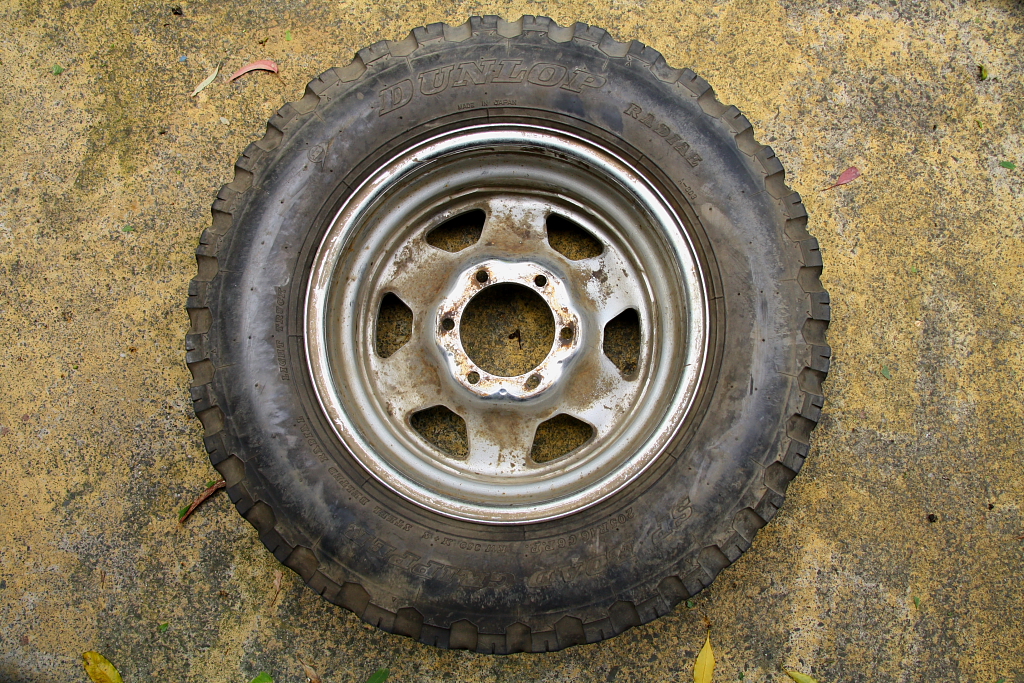
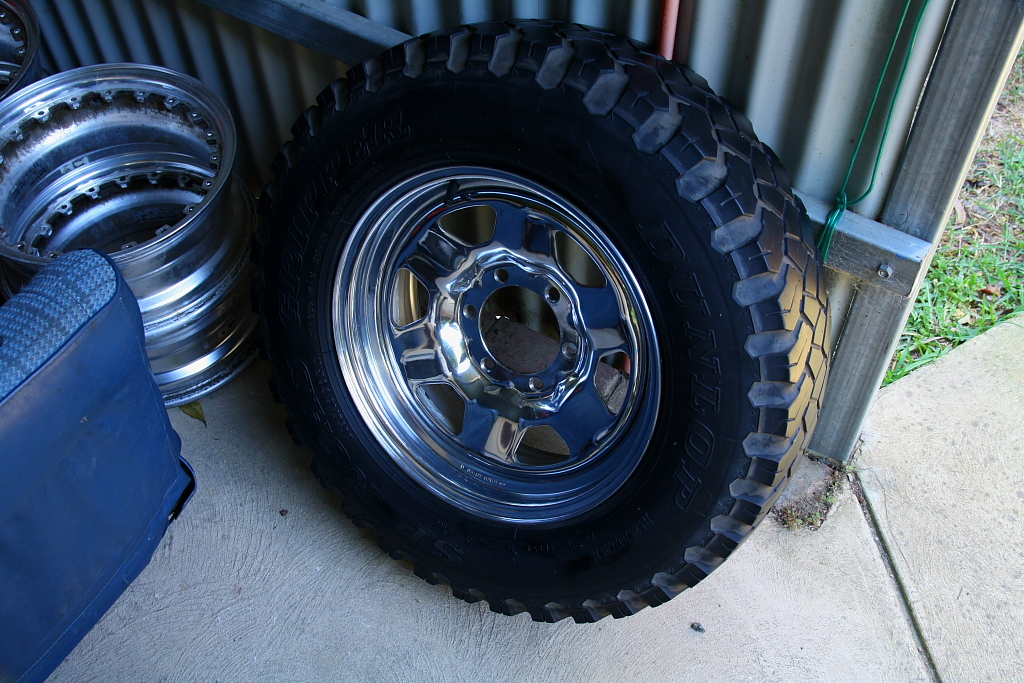
Another clean wheel shot as I was moving by. These are interestingly 16x6.. and have a production date a month or so before the car.
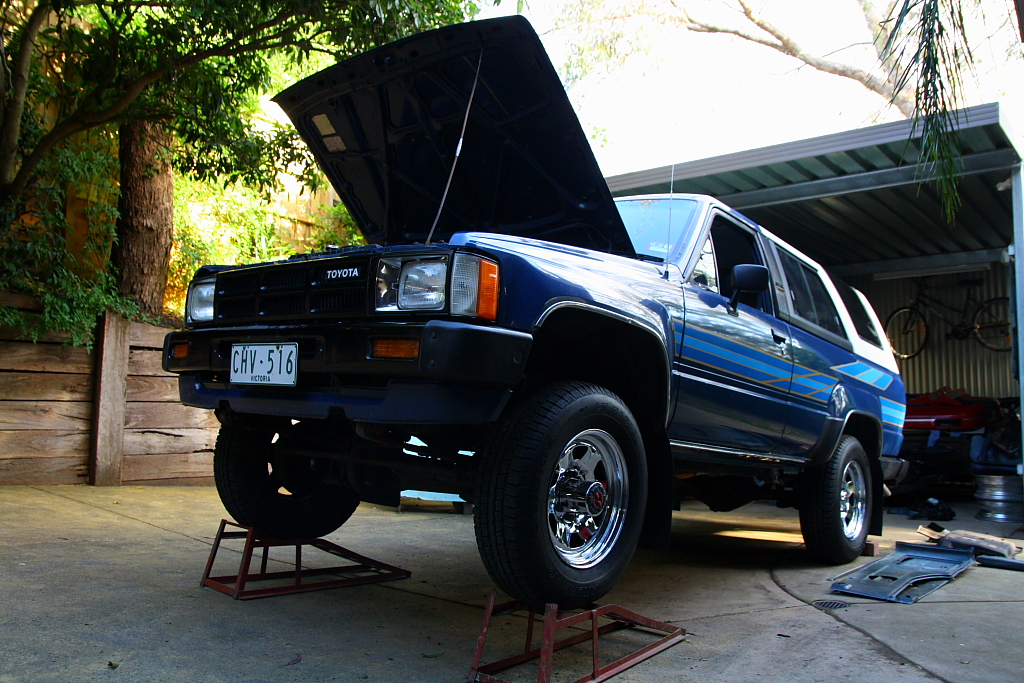
Front on the ramps for a clean..
doesn't have to be perfect, but blew a little dust off regardless.
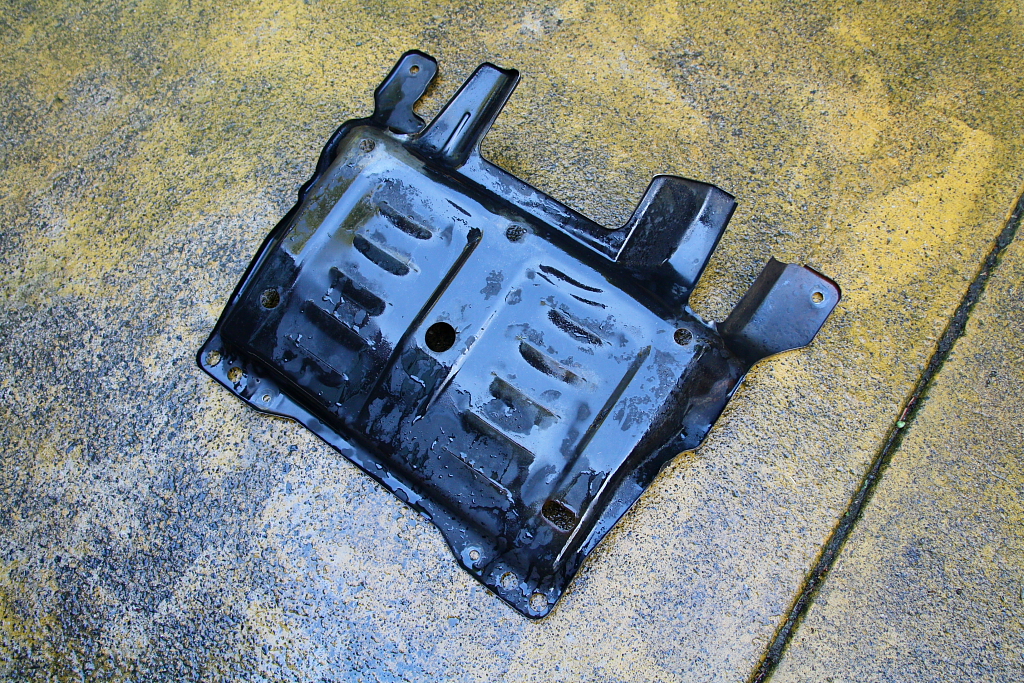

Scrubbed up the bash plate, and hours after it was sitting at the wreckers, it was on another car!
Anyway, that's all for now.
Hopefully everyone is happy with me posting a million pics of any progress..! ha..
I'm Ross, from Melbourne, Austraila.. and here to share a 'build-up' of sorts (more maintenance log than anything..) of my 1984 YN60 4Runner.
The car itself is a very unmolested Aussie-market SR5 model. It may seem like an odd mix of parts, but is actually a good example of what they looked like in this market when new - Sorta halfway between the Japanese Surf and the US 4Runner.. all the while pushed along by the 2litre Petrol 3YC.
It had been a local car since new, and has spent the last 19years living just off a road I drive down every day. I'd almost certainly seen it before some time..!
For an '84, it has managed to survive very well. Not perfect, but very obviously cared for.. serviced, repaired, etc. Just gradually wearing out.
I never see these around, let alone for sale; so regardless of work needed (Rust issues mainly), I pounced at the opportunity to buy it. Good year, good driveline, and great colour combination. Loved it.
Plan is to simply tidy it up a little, fix anything that breaks, and just punt about in it. Something neat enough from a couple meters away, and keep it reliable.
Now a heap of pics..
The car as I bought it:
233,000km (~145,000miles) is low for its age/model, which I hadn't given too much thought to until I had realized everything still worked..!
Armrest has been wrapped by previous owner at some point.
..With the broken catch glued to the front in reverse.
The very brittle and broken interior panels have been repaired with painted pieces of board..
Almost immediately I removed the Bullbar, sidesteps and tow bar. They all look to have been there since the car first hit the road, but I just didnt like the look. I was planning to remove them the second I first saw the car..
The bar was Steel and of unknown make, but the side steps are original Toyota as far as i know. I put the whole lot on ebay for 99c, and ended up selling them for $20 (spewing, as i would have just kept the steps aside..). I just don't have the space to keep everything unfortunately.
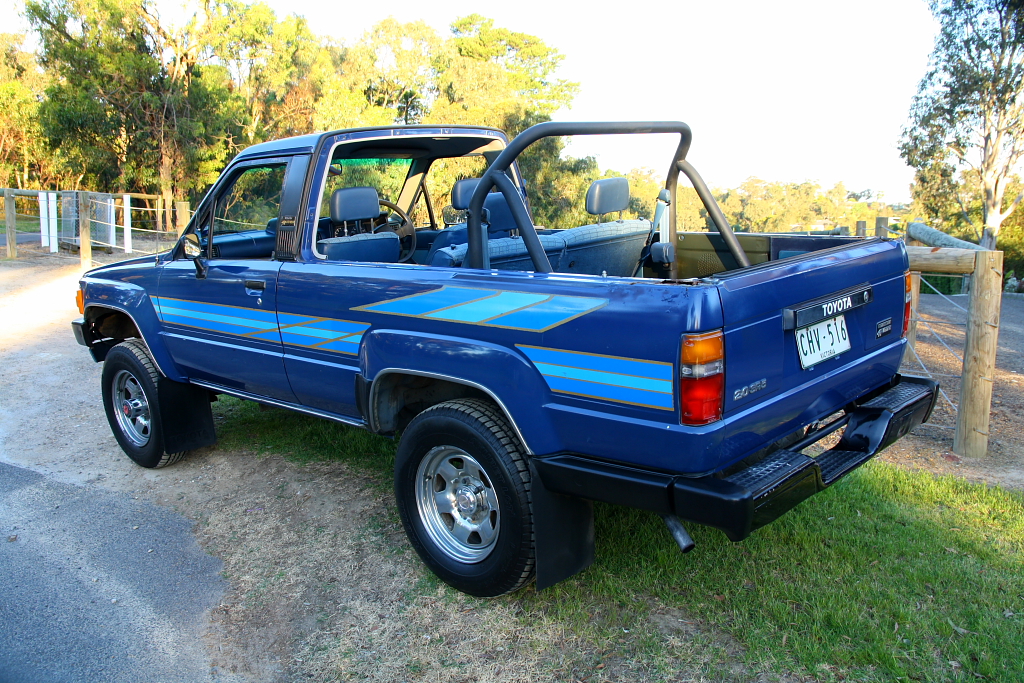
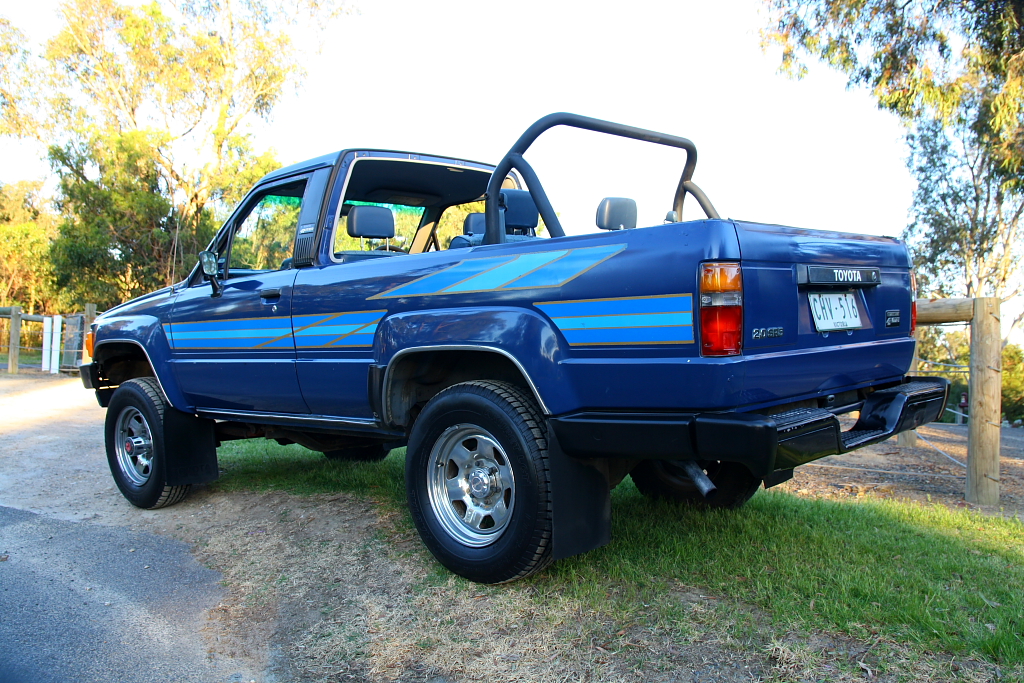
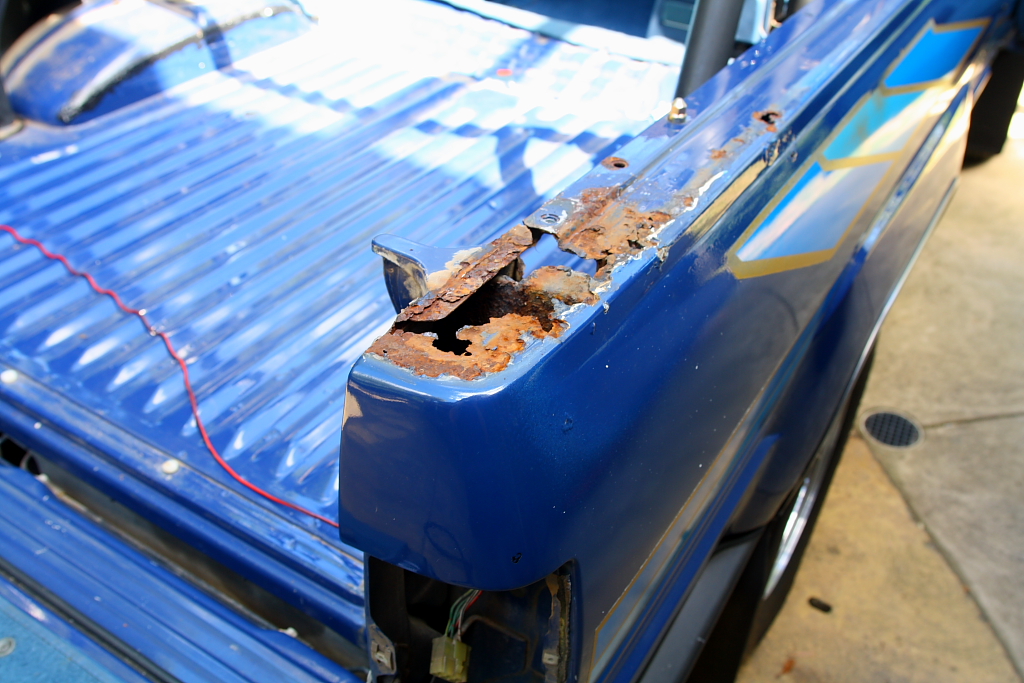
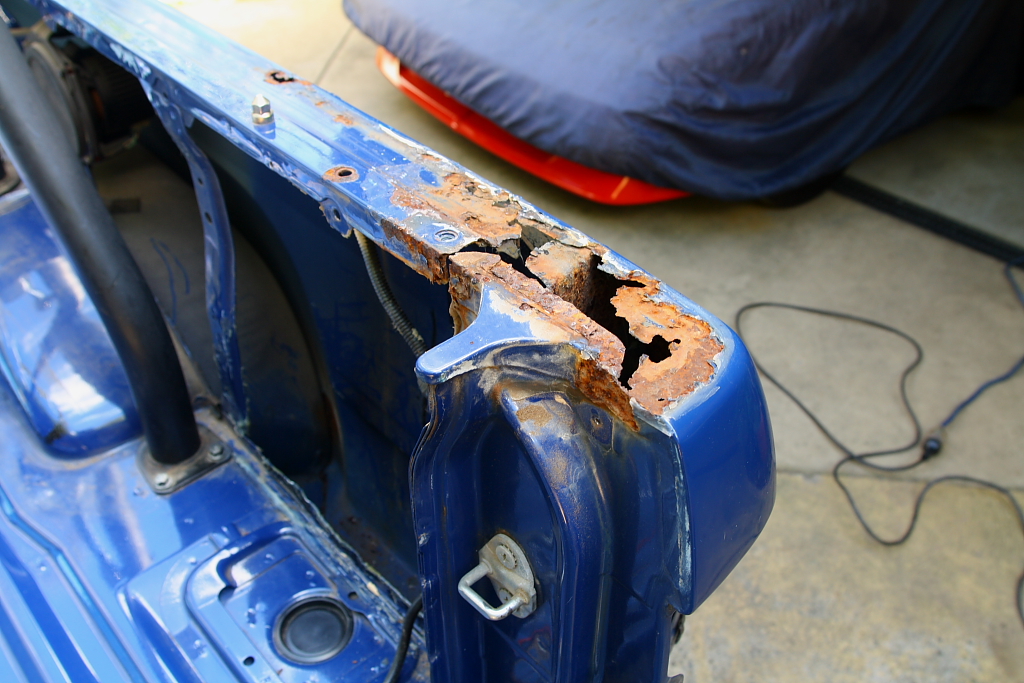
Pulled the roof off while sussing out the rust in the upper rear quarters. They're in very bad shape, for what is an otherwise not particularly rusty car overall (by 80's Toyota standards). Bit of a shame, but always fixable.
More pics anyway. I absolutely bloody love it without the roof..
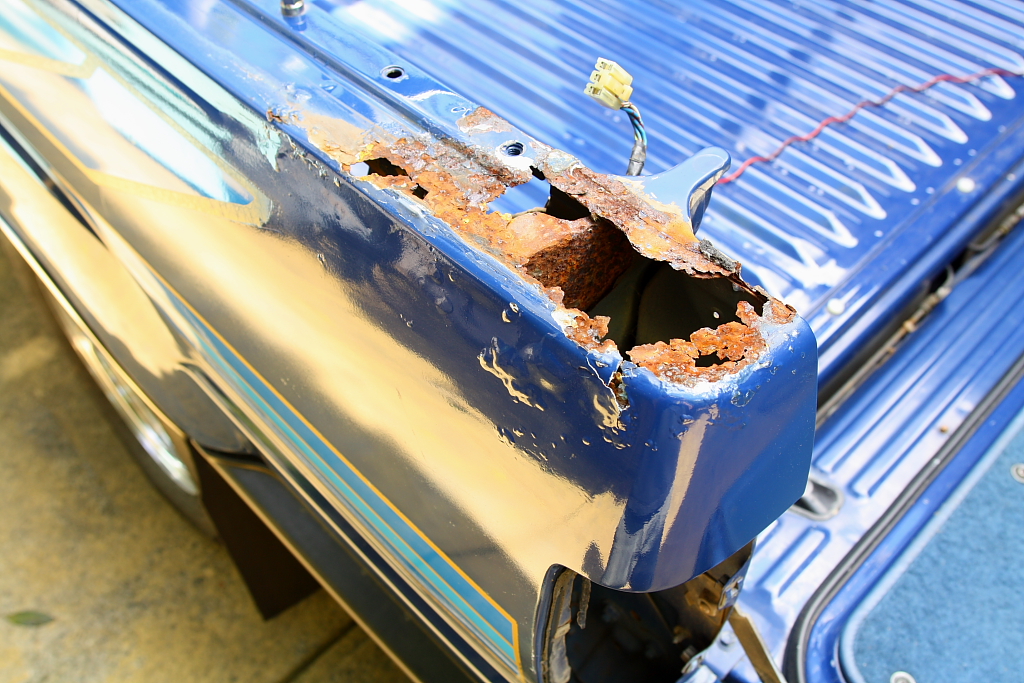
I have no idea how this got so particularly bad. It just doesnt seem like a very common place to rust.. and this car is just thrashed up there. I suppose I'm lucky all the rust flakes in the bottom of the guards hadnt started any lower rust.
More from recent weekends:
In the driveway with Lil' Red.. an '87 AW11 MR2 I've had for 7 or 8 years now. Also happens to be getting a little tidy up..
Went to the wreckers to find a good seatbelt. Not at my favourite wrecker, but they had what I needed. I grabbed a bunch of odd parts off a poor, very rusty, white '85 - including the belt i was after! All filthy, but will clean up fine.
Cleaned the belts up well with hot water, a little bleach and a scrubbing brush. The handled on both sides was just about black...
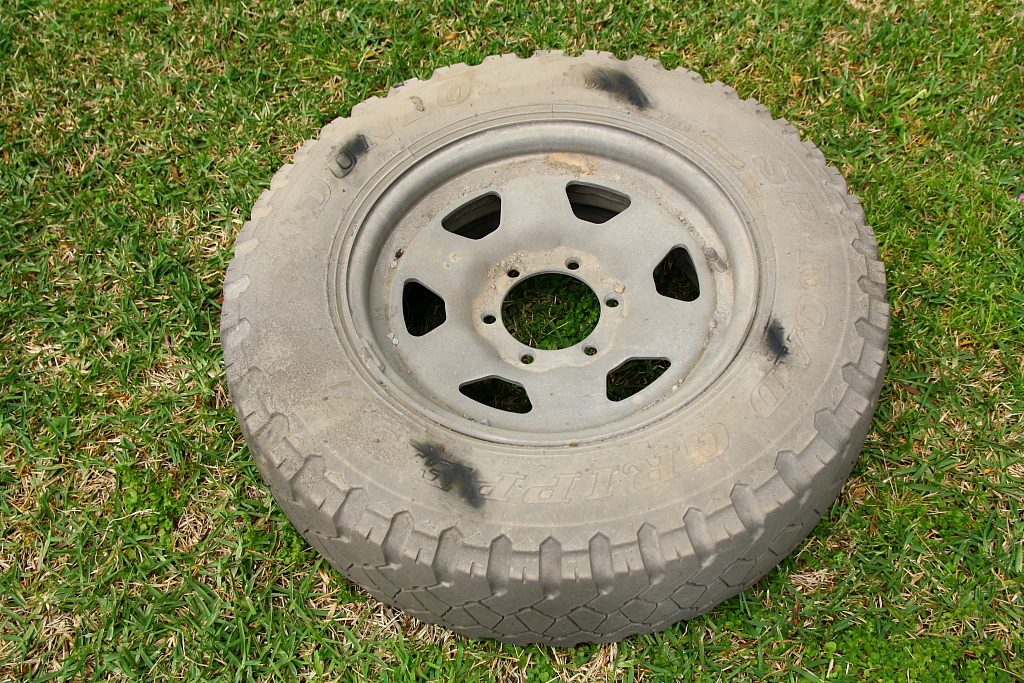
An extra spare wheel, complete with original dunlop.
Chrome wants to be clean, so scrubs up perfectly.
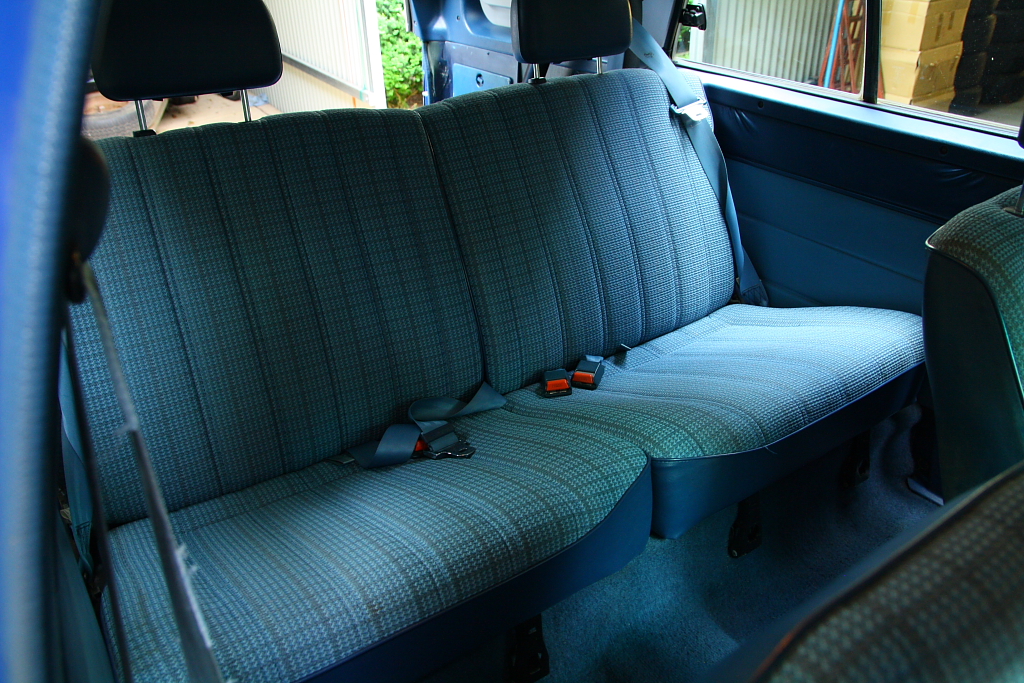
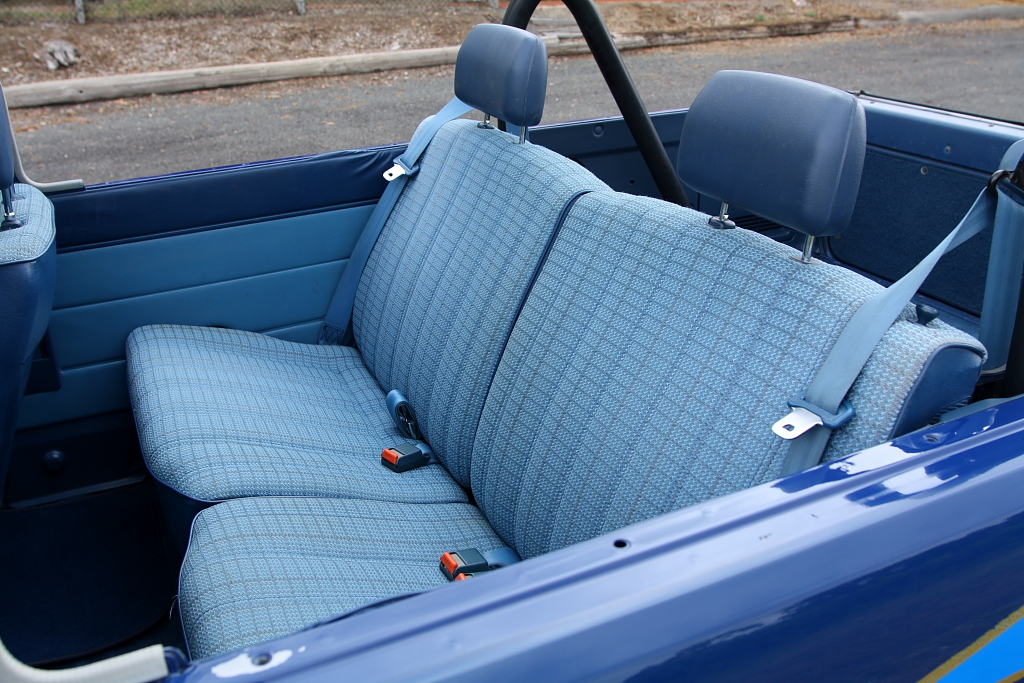
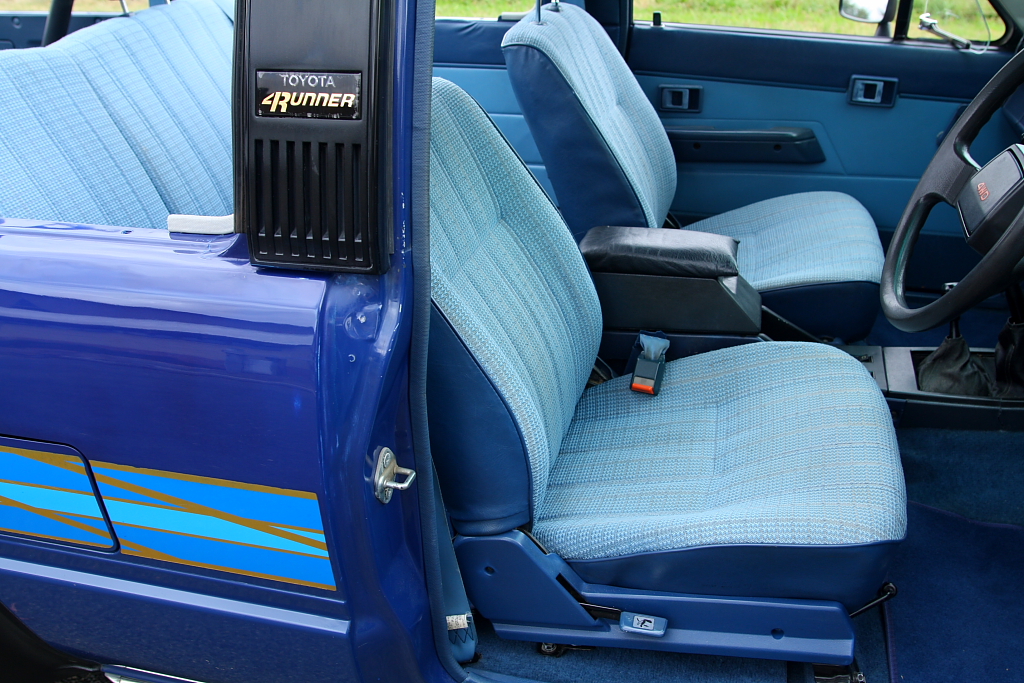
Extra passenger seat, which lets me make a good pair of seats out of the fabric/foam.
Had to repair the fold+slide mechanism, which seems to be a common problem. You can see on my original seat at the top of the page, the cutout on the side to get to the release.
Got it working perfectly after a little thinking..
foam and fabric off the frames.
good seats back together. i haven't got the right gun/tool for this, so painfully rehoop these with pliers..!
And now we have a good pair of seats.. minus a clean..!
Steam cleaned the seats top-to-bottom, scrubbed a bunch of interior plastics, and got them all back together. very happy with how these turned out. Much nicer.
Cleaned up under the seats. Was already very tidy, but a bit of dirt/dust getting under there was inevitable.
Cleaned seatbelts in too.
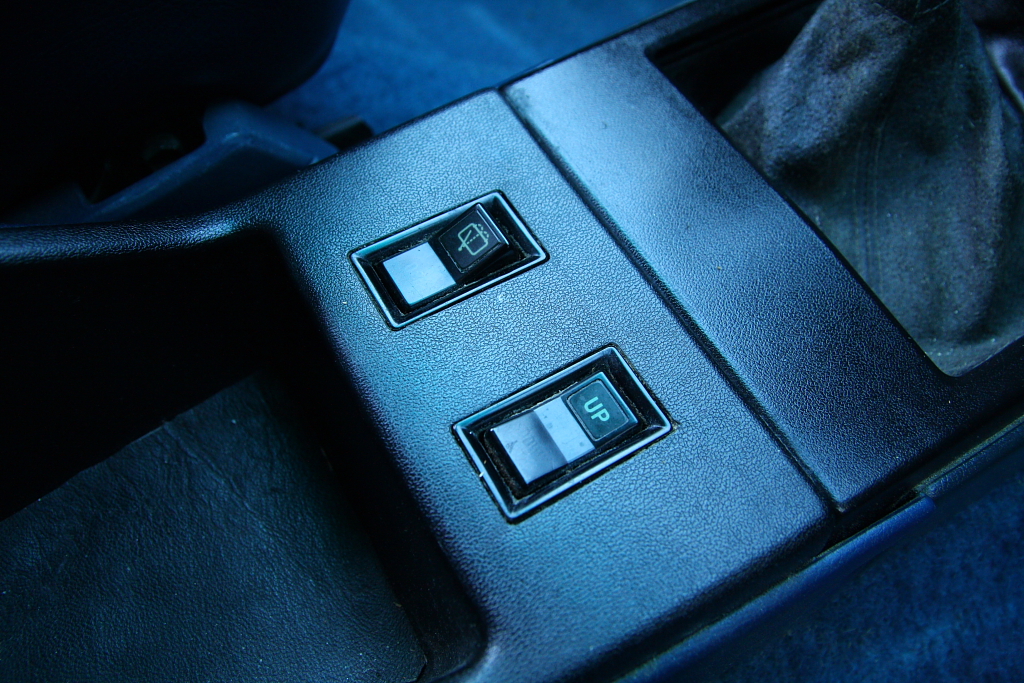
Got another combo switch from the wreckers, as my indicator auto-cancel wasn't working properly (wouldn't cancel after turning right). Turned out to be a simple fix, and was simply a very very slightly worn tab on the white part above. Popped the good one in, and done!
Much cleaner..!
But not done yet..:
My old dash was toast, and the previous owner had tried to paint it to tidy it somewhat; but it just looked terrible.
The 'new' dash cleaned up nicely, but has a handful of cracks around the back. Will still make things much tidier regardless.
Closeup of the crusty dash..
Removing the dash at the wreckers means I know how little i really need to disassemble to get the dash pad off. cleaned up bits as i was going...
Cleaned the vents with a paint brush..
The altimeter got a clean too.
All back together, and all a little tidier.
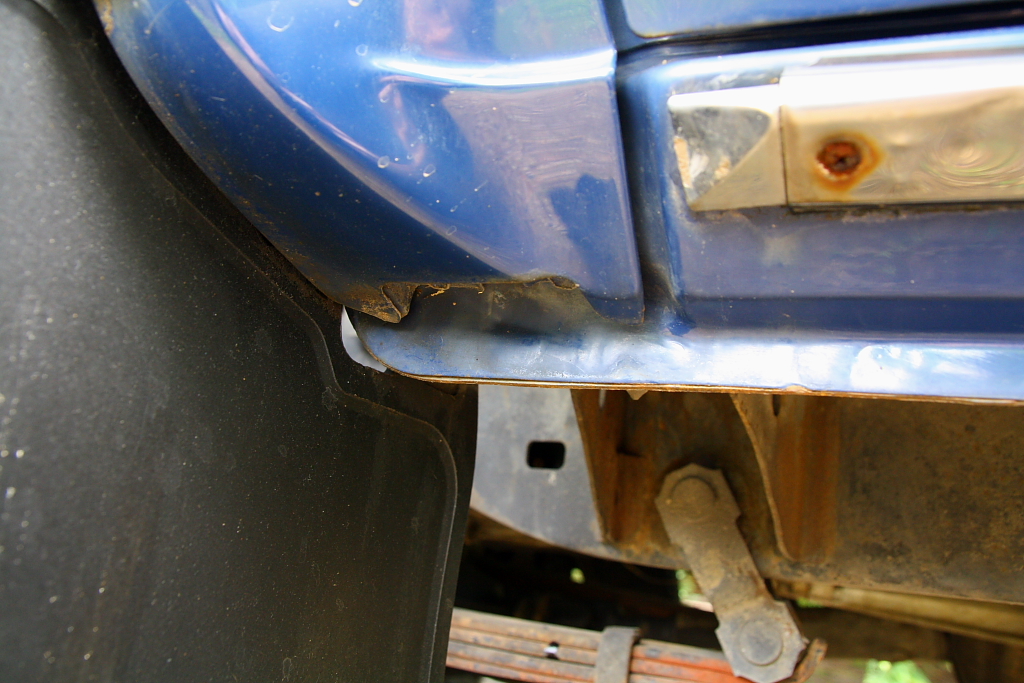
Couple shots underneath. Hasn't spent too much time off road, but lots of dust.
Sill's and lower guards are great, but shake my head at the screws holding the passenger stainless trim on. Yep, they're screwed right into the body.. argh..
wound the spare down... and its just a little dusty..!
pressure-washed down this end...
..got distracted, and cleaned the front of all four wheels while was at it. Chrome really does clean up well..
realizing that I needed the front bash-plate (was previously part of the bull-bar setup), I went back to the wreckers to get more off the same car.
Just about nothing left on it by now. it had been impressively well picked over..!
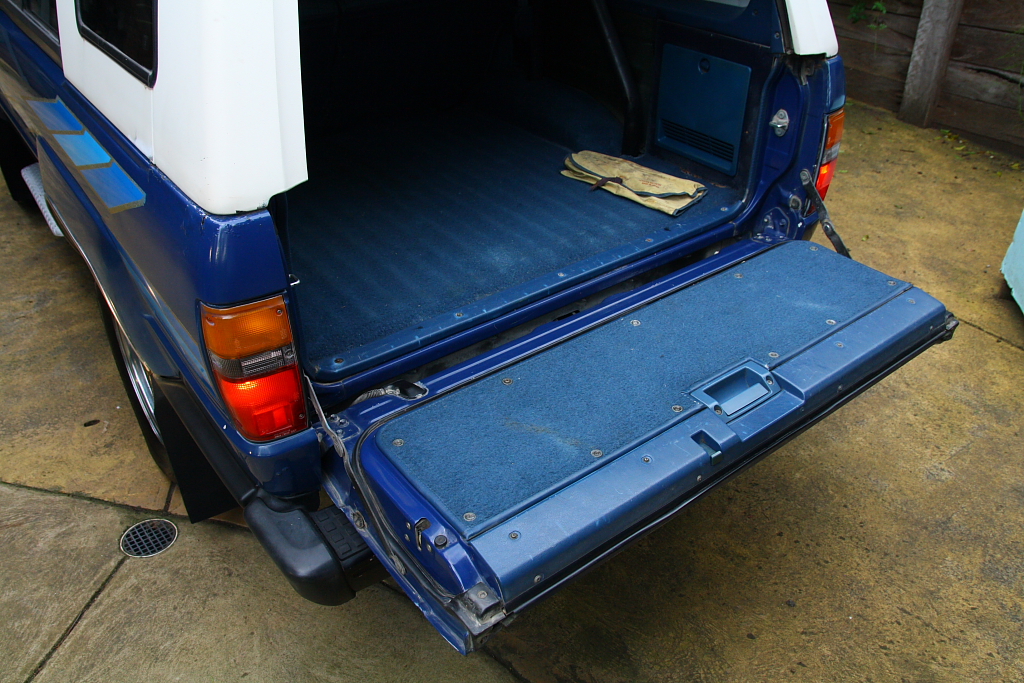
Grabbed some more bits at the same time, as The car will no doubt be flattened soon. Got some rear seat hinge caps too.. something i didnt know i was missing until i found one under the drivers seat!
Rear panels are far from great, but better than mine, and will possibly clean up nice enough. For what was a couple dollars anyway...
Another clean wheel shot as I was moving by. These are interestingly 16x6.. and have a production date a month or so before the car.
Front on the ramps for a clean..
doesn't have to be perfect, but blew a little dust off regardless.
Scrubbed up the bash plate, and hours after it was sitting at the wreckers, it was on another car!
Anyway, that's all for now.
Hopefully everyone is happy with me posting a million pics of any progress..! ha..
Last edited by RdS; 11-11-2013 at 03:31 AM.
 11-12-2013, 05:38 AM
#5
Registered User
11-12-2013, 06:55 AM
#6

Awesome 4runner and great photos! Really cool
11-12-2013, 07:21 AM
#7
Very clean and nice job on the clean up..the rust on the rear corners of the bed is kind of weird. I don't recall seeing rust in that particular place on a 4Runner before
Your ramps look a little sketchy but get the job done.
I like the MR2..my wife wants a late 60's Mustang sometime..trying to convince her an MR2 would be fun too(and cheaper
Your ramps look a little sketchy but get the job done.
I like the MR2..my wife wants a late 60's Mustang sometime..trying to convince her an MR2 would be fun too(and cheaper
Trending Topics
11-12-2013, 12:14 PM
#8
Registered User
Oh. My. Goodness. You have a treasure. No 'roos near it; they might kick it. I was initially going to taunt you about the rear hinge covers but then you replaced them! I'm proud (sort of) my '89 still has them but they are some what rare because they fall off and really have little use.
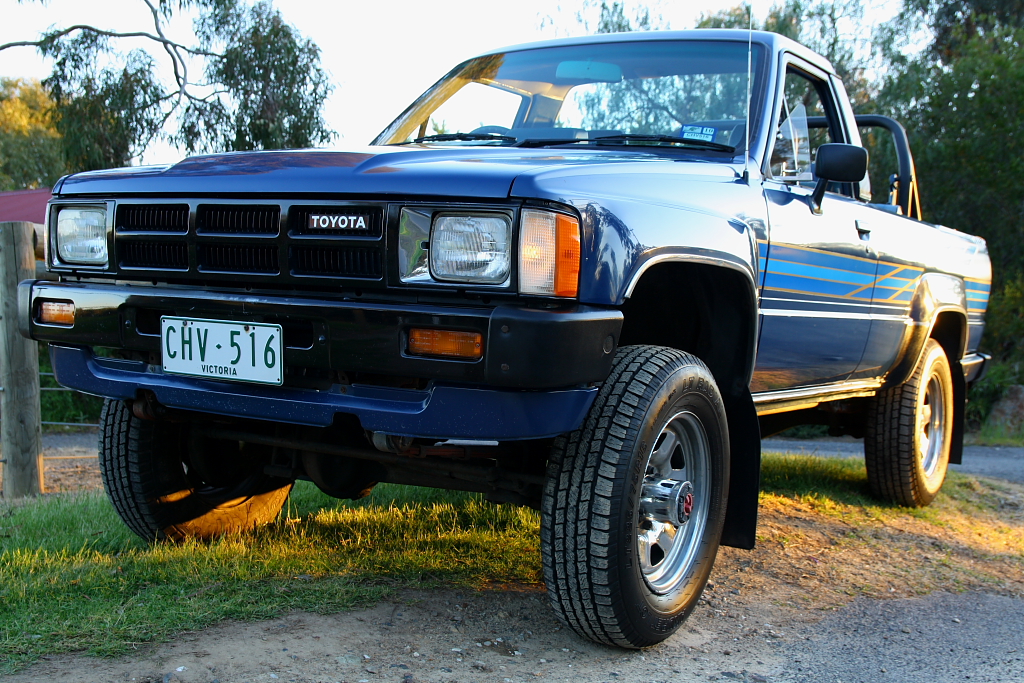
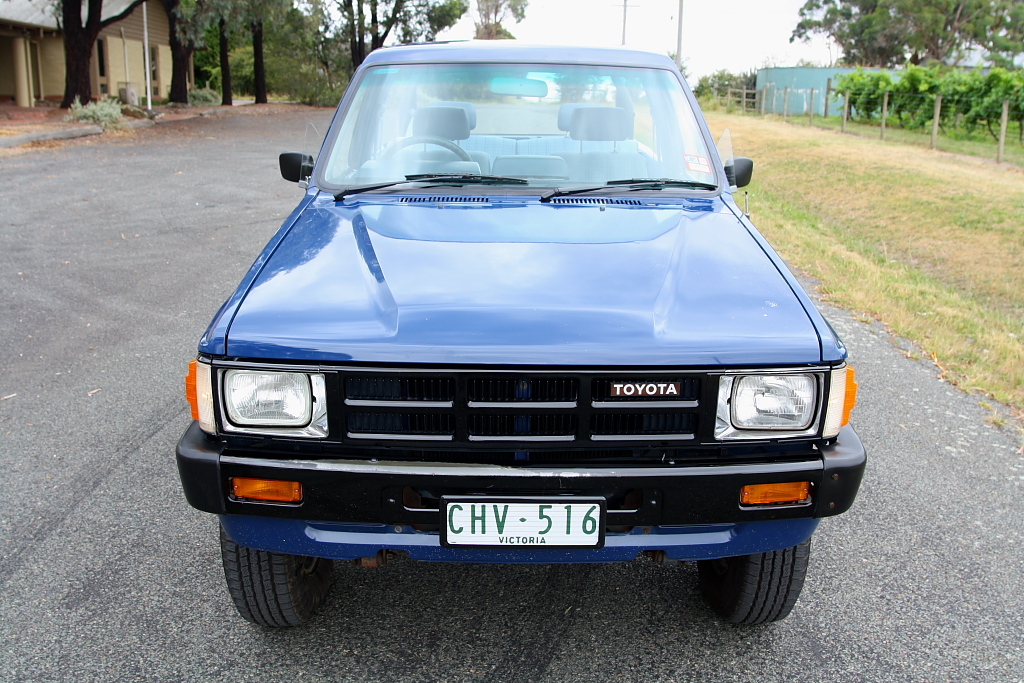
I did notice your front valence is cut on both sides for front tow hooks. The bolt holes are there. In U.S. the valence has a cut and a hook on only one side. I always thought Australian 4Runners did not have the roll bar either. The body decals are also very different from what was offered here. I love seeing a detail oriented restoration. Beautiful job!
I did notice your front valence is cut on both sides for front tow hooks. The bolt holes are there. In U.S. the valence has a cut and a hook on only one side. I always thought Australian 4Runners did not have the roll bar either. The body decals are also very different from what was offered here. I love seeing a detail oriented restoration. Beautiful job!
11-13-2013, 06:28 AM
#9
Registered User
Thread Starter
Join Date: Nov 2013
Location: Melbourne, Australia
Posts: 14
Likes: 0
Received 0 Likes
on
0 Posts
Very clean and nice job on the clean up..the rust on the rear corners of the bed is kind of weird. I don't recall seeing rust in that particular place on a 4Runner before
Your ramps look a little sketchy but get the job done.
I like the MR2..my wife wants a late 60's Mustang sometime..trying to convince her an MR2 would be fun too(and cheaper
Your ramps look a little sketchy but get the job done.
I like the MR2..my wife wants a late 60's Mustang sometime..trying to convince her an MR2 would be fun too(and cheaper
As a bit of a positive though; because they are usually fine there, I should be able to get good replacement sections fairly easily (even off otherwise rusty 4runners!).
Not too much in common between a late 60s Mustang and an AW11, but I'm sure you'd have fun with the MR2 if you go down that road. I love mine.

Oh. My. Goodness. You have a treasure. No 'roos near it; they might kick it. I was initially going to taunt you about the rear hinge covers but then you replaced them! I'm proud (sort of) my '89 still has them but they are some what rare because they fall off and really have little use.
I did notice your front valence is cut on both sides for front tow hooks. The bolt holes are there. In U.S. the valence has a cut and a hook on only one side. I always thought Australian 4Runners did not have the roll bar either. The body decals are also very different from what was offered here. I love seeing a detail oriented restoration. Beautiful job!
I did notice your front valence is cut on both sides for front tow hooks. The bolt holes are there. In U.S. the valence has a cut and a hook on only one side. I always thought Australian 4Runners did not have the roll bar either. The body decals are also very different from what was offered here. I love seeing a detail oriented restoration. Beautiful job!
AFAIK, the early front valance in all markets has those two cutouts. I have the original tow-hook (was relocated to the side of the bullbar), but now need the right bolts to get it back onto the chassis.
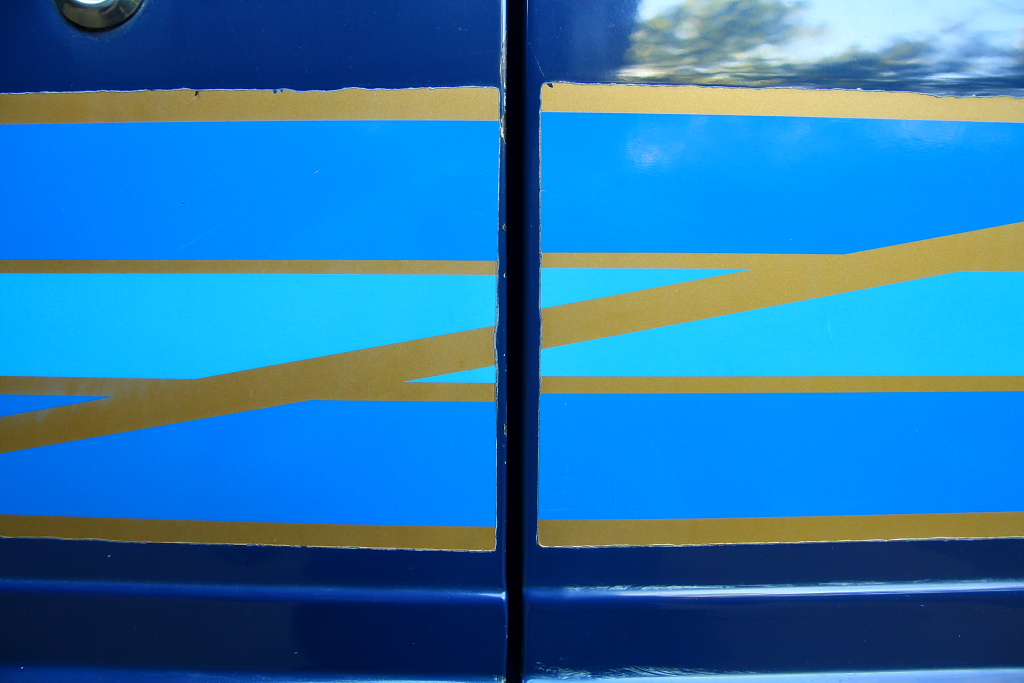
As for the decals and rollbar, they're both original for these cars here. I really like the decals, and have already tried to get replacements out of Toyota Japan without luck. I'll try some dealers here, but looks as though I'll have to go reproduction US-market stripes if(when) I repaint.
~1986? Australian 4Runner ad:
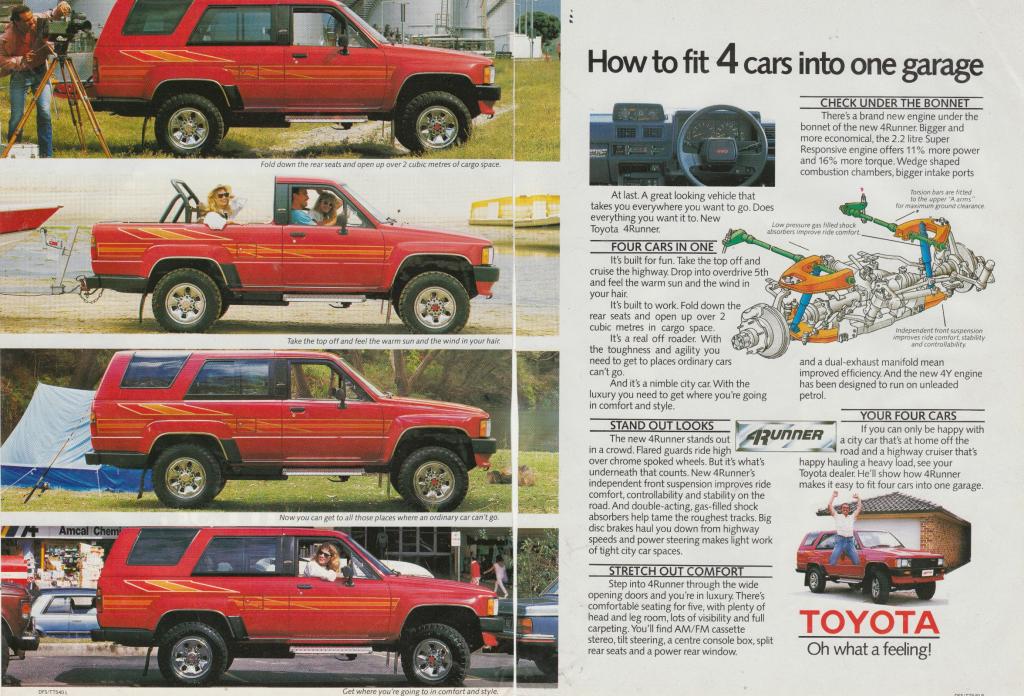
Japanese Surf with the same decals again..
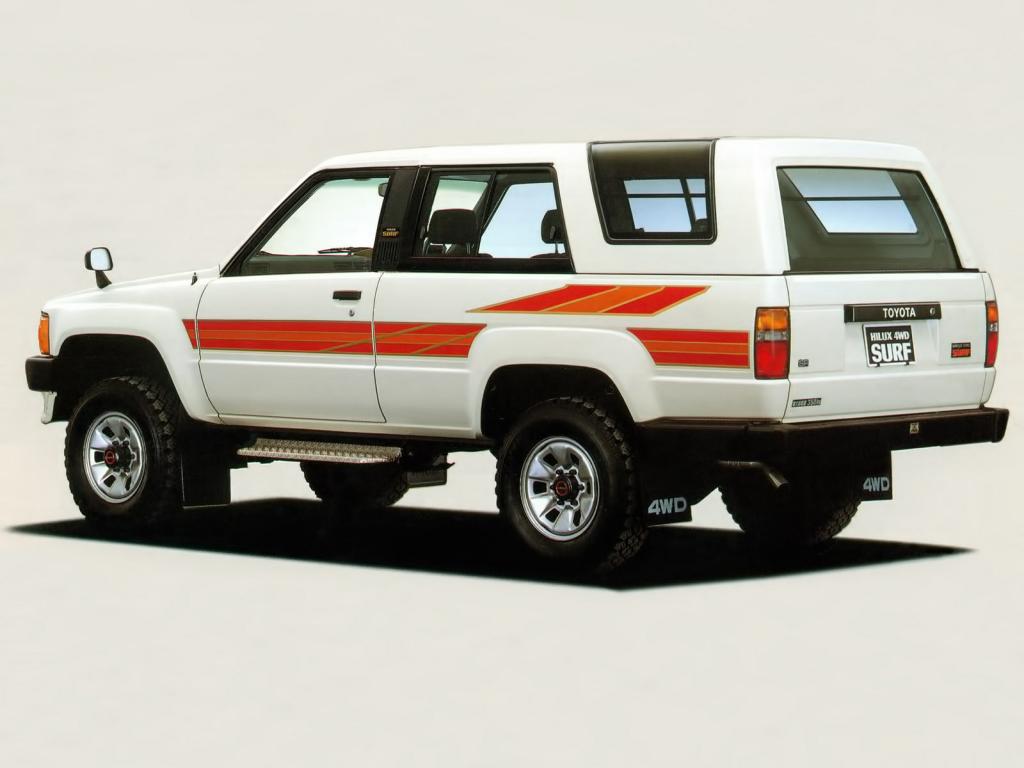
Also shows the side steps mine had. Probably shouldnt have got rid of them so cheap, but ehh! ha.
Cheers again.
11-14-2013, 05:45 AM
#10
Registered User

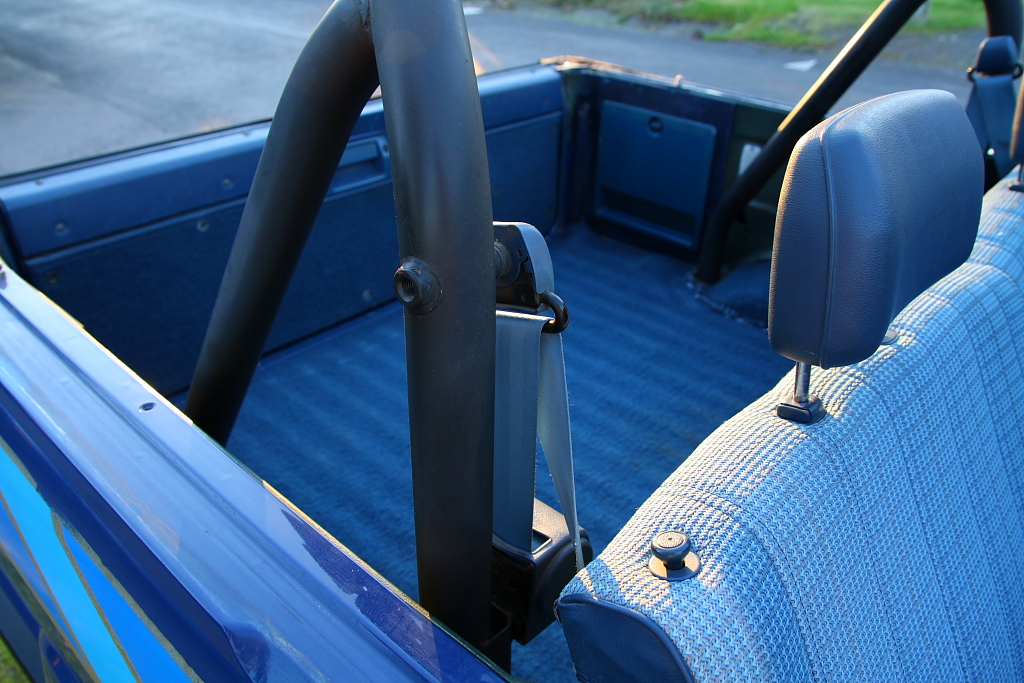
Congratulations what a clean runner you have there, i also noticed the 3 point rear seat belts off the roll bar, my 87 came only with lap seat belts back there, and thank you for sharing all those pictures with us.
11-14-2013, 04:22 PM
#11
Registered User
Maco, the U.S. 4Runners didn't come with shoulder belts. I think they were required in Canada though. Many of us have added them. You can easily pop off the plastic covers and the roll bar is threaded to accept bolts. I used shoulder belts from a '93 pickup and they look factory. I need to take better pictures.

Last edited by Nervo19; 11-14-2013 at 04:24 PM.
11-18-2013, 03:01 AM
#12
Registered User
Thread Starter
Join Date: Nov 2013
Location: Melbourne, Australia
Posts: 14
Likes: 0
Received 0 Likes
on
0 Posts
Odd the US-market cars didn't get the rear retractable belts. Cant see why you wouldn't want them.. there's no downside I can think of!
I hadnt realized they didn't have them either - I'd actually assumed the rear roll-bar was there specifically as a mount for them!
Interestingly, It doesn't seem as though the Japanese Surf's ever had the roll-bar or belts at all!
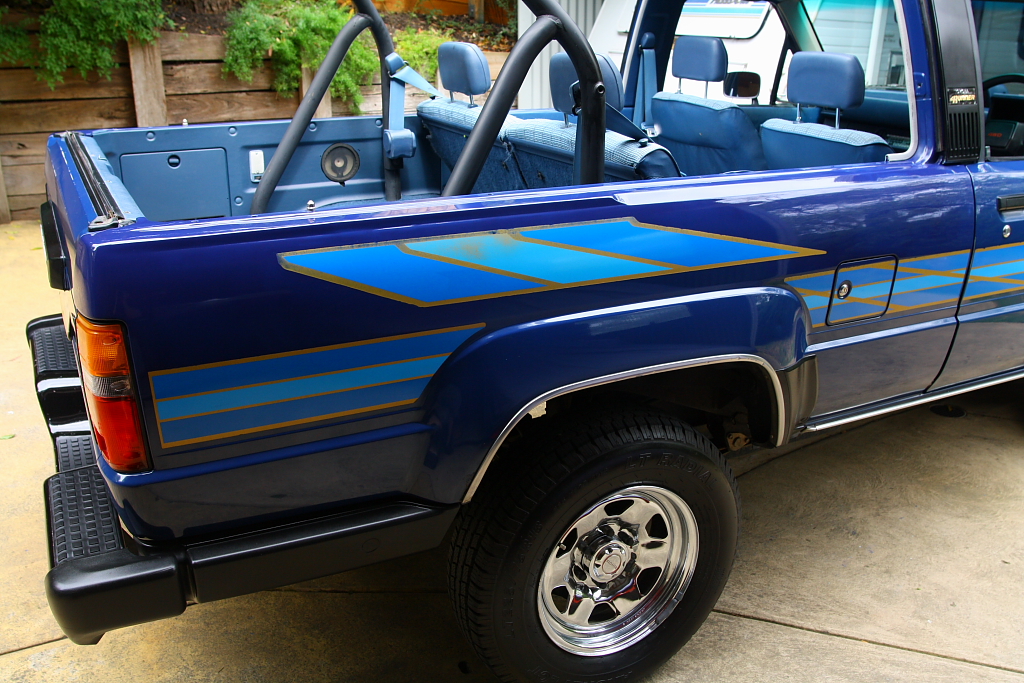
Over the last week or so I got another major thing out of the way - giving the whole outside a solid tidy-up. Doesn't have to be perfect.. just for whats left to look as nice as it can.
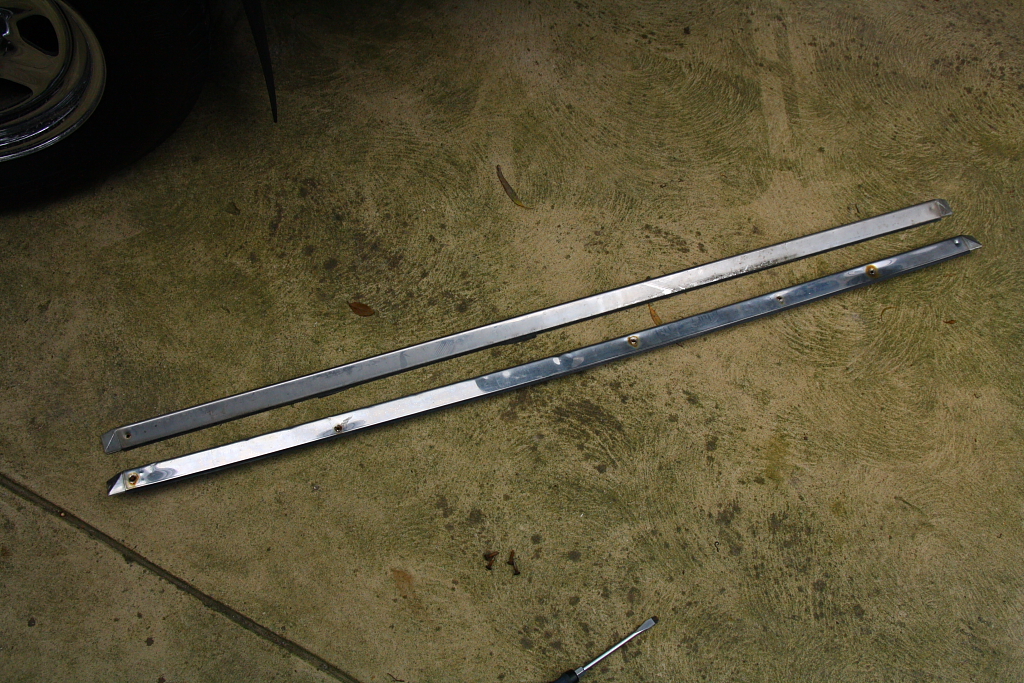
Other side strip going on, replacing the old screwed on one. Had to see the bloody screw holes under the strip again in the process though..!
Went on perfectly with a full set of undamaged clips I'd collected at the wreckers.
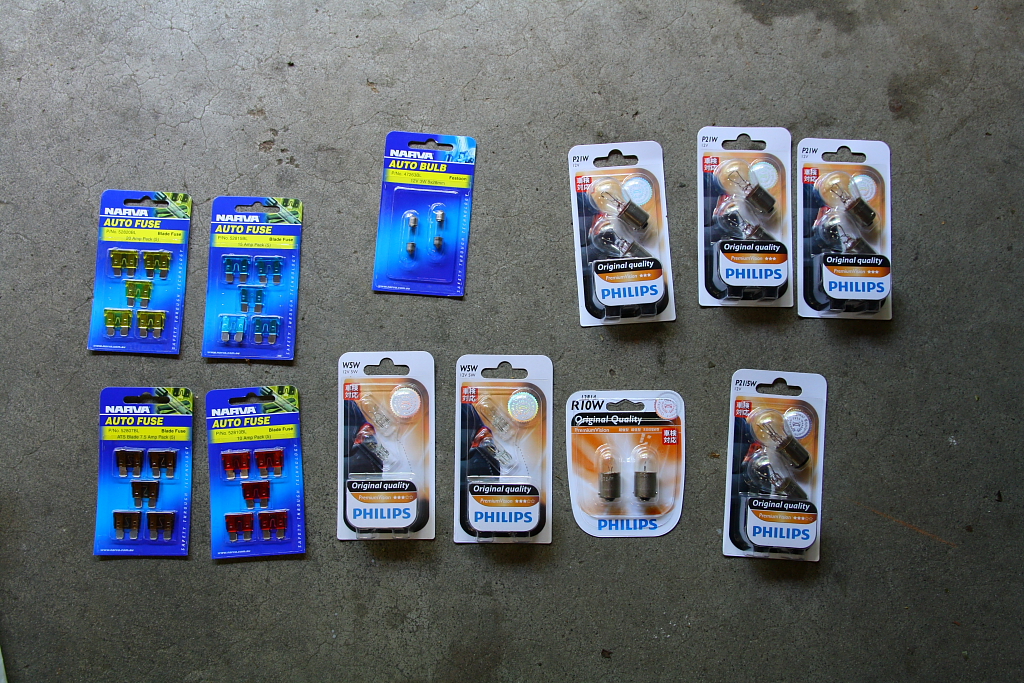
As I've done with previous old cars, I replaced all the bulbs and fuses in the car in one swoop. Kinda odd buying $50 of fuses and small bulbs, but worth the effort doing them all.. saves doing them all over time anyway.
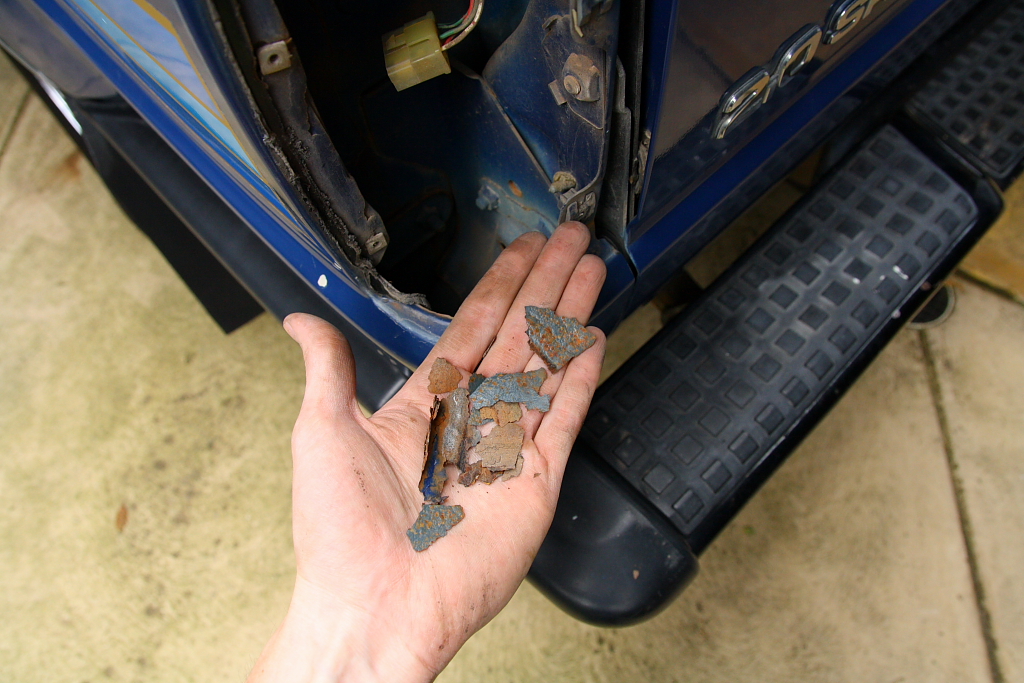
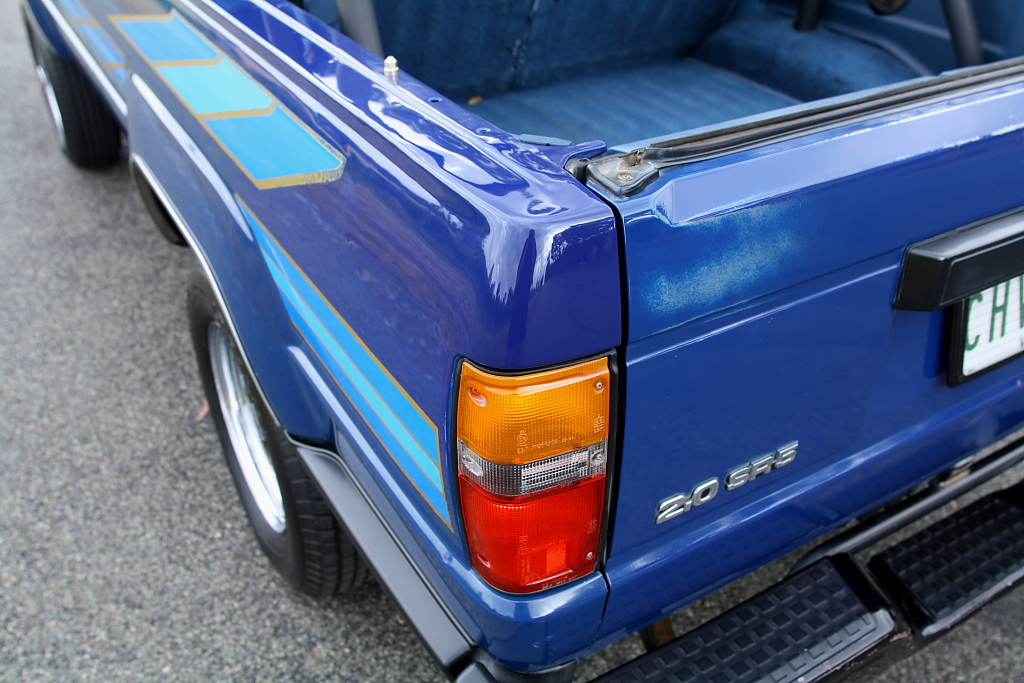
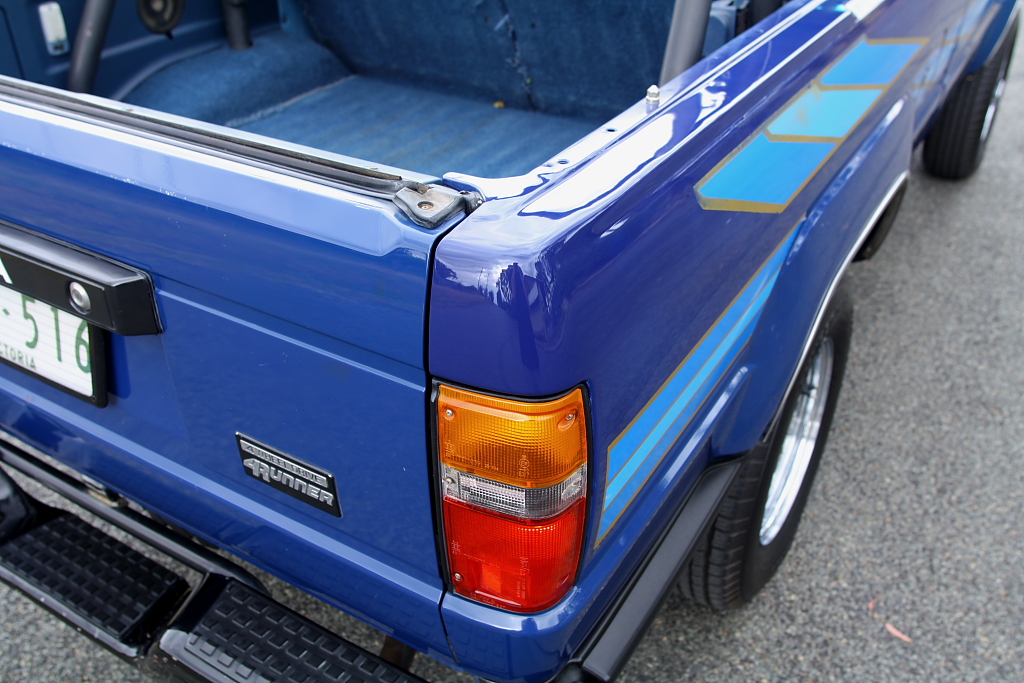
while the tail-lights were out, I vacuumed out the cavities behind the lights. The rust is a shame, but fortunately the lower area has survived well enough.
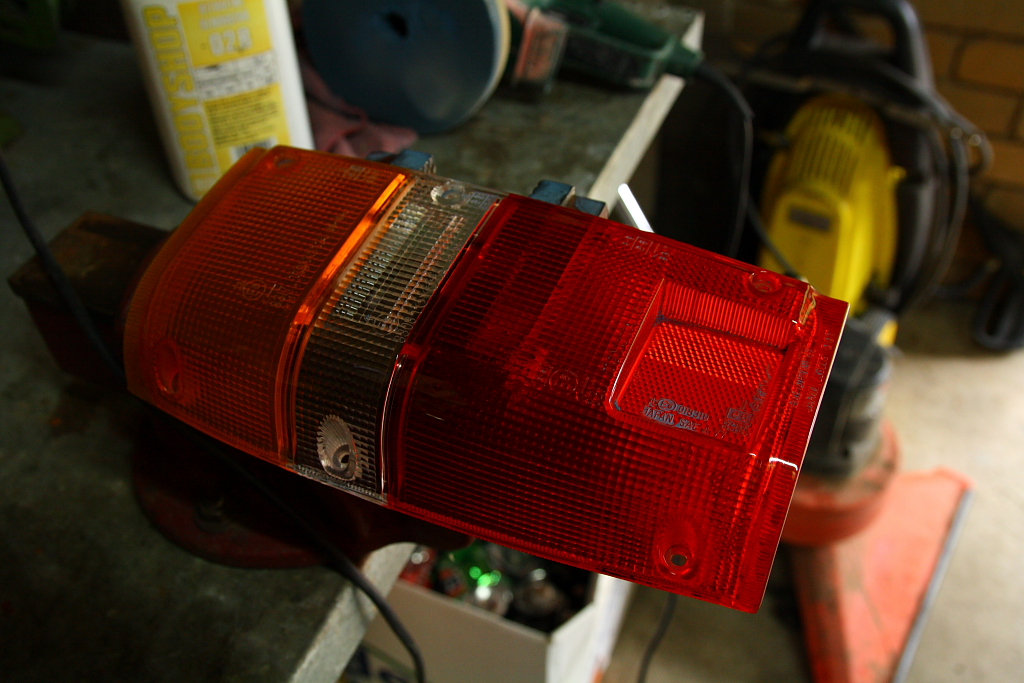
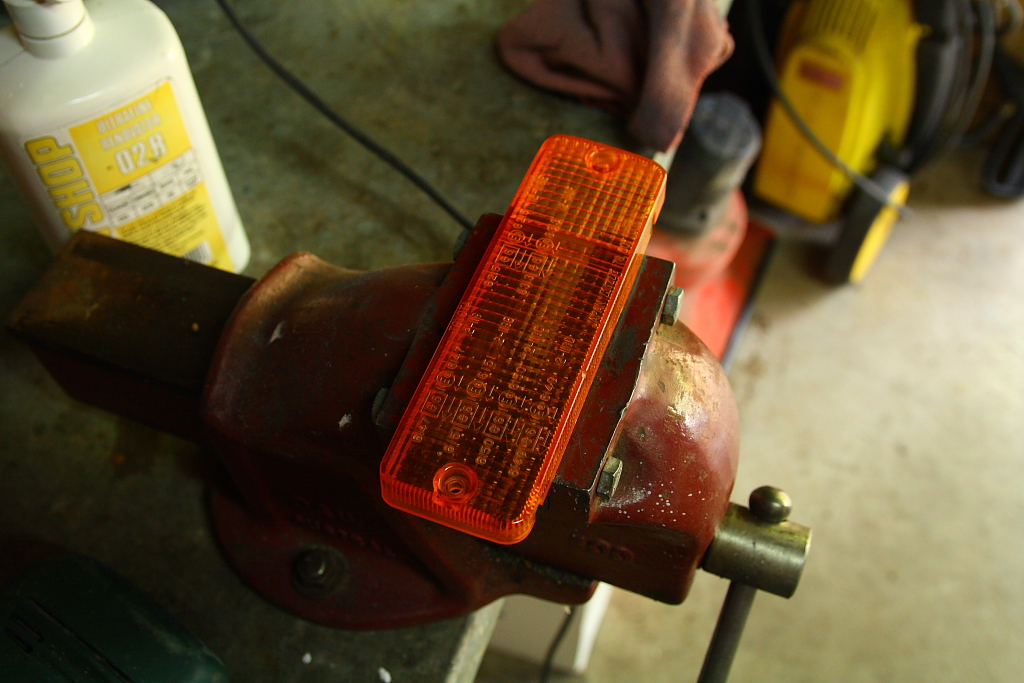
Cleaned and polished the lenses.
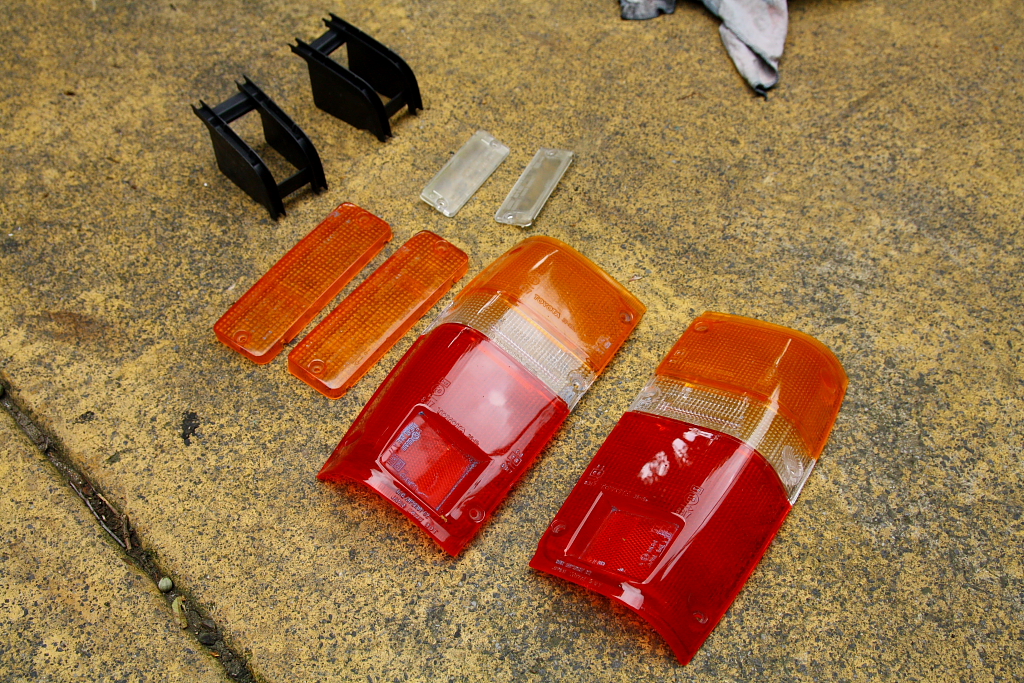
much nicer.
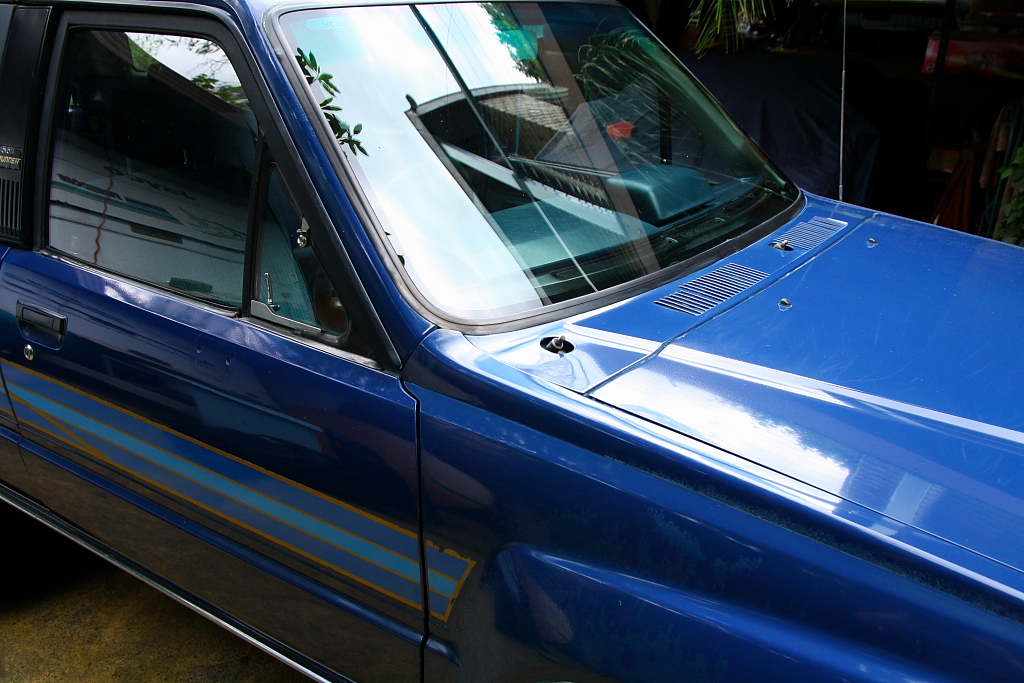
Mirrors and wipers off to make it easier to polish, then went at it.
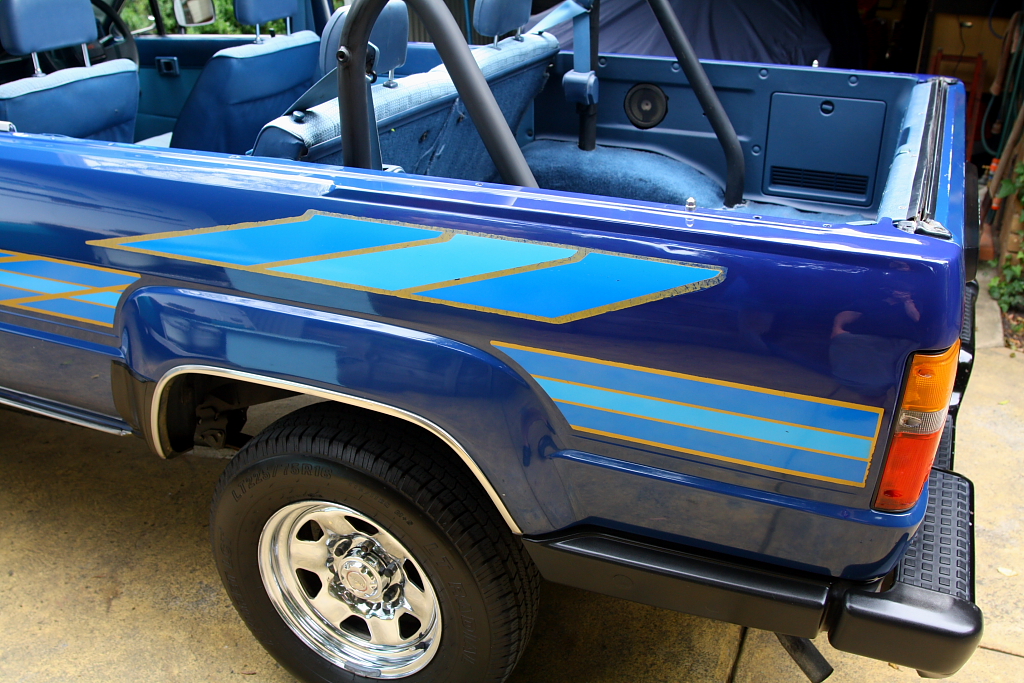
There luckily isn't actually a whole lot of car to polish, as after you ignore the canopy and large black plastic and glass areas, there really isn't much paint.
The paint that is left is pretty much toast - thinned out, scratched and chipped, and the rust and over-spray touch-ups don't help.. but I don't mind. As I said; it just needs to look respectable enough.
After the polish, I washed it all down again, and waxed it top to bottom. From this point on I just wash and wax it regularly - I enjoy doing it, and has kept my solid red acrylic AW11 looking tidy for years.
Done.


the wreckers-new sill trim.
WD40'd the hell out of the mechanism, then wound the tidy spare back up. Nice.
Much tidier now.
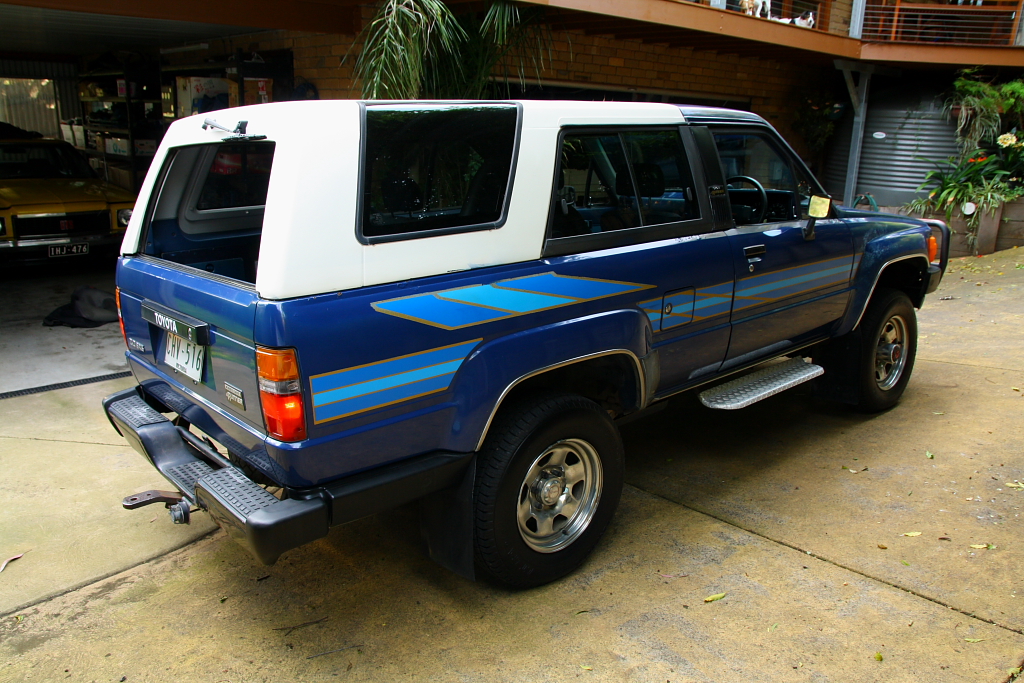
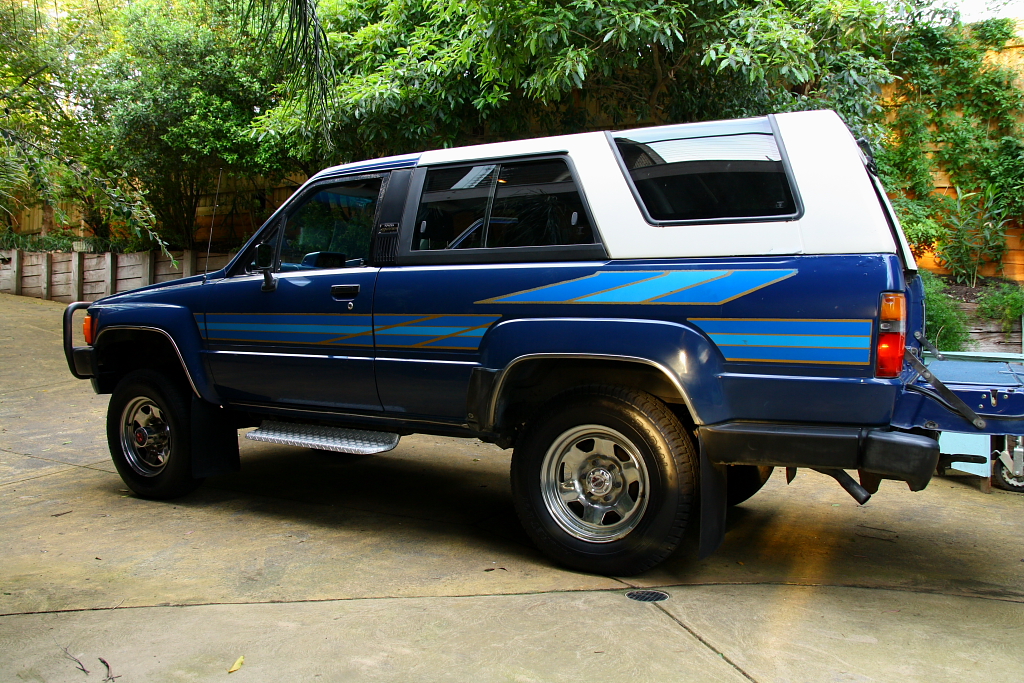
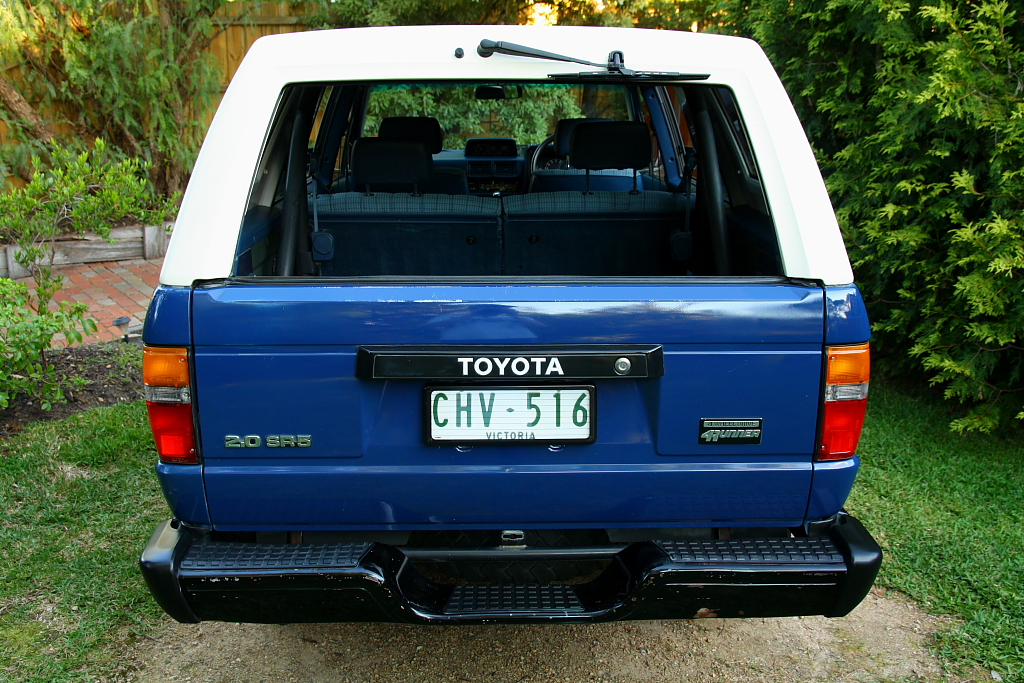
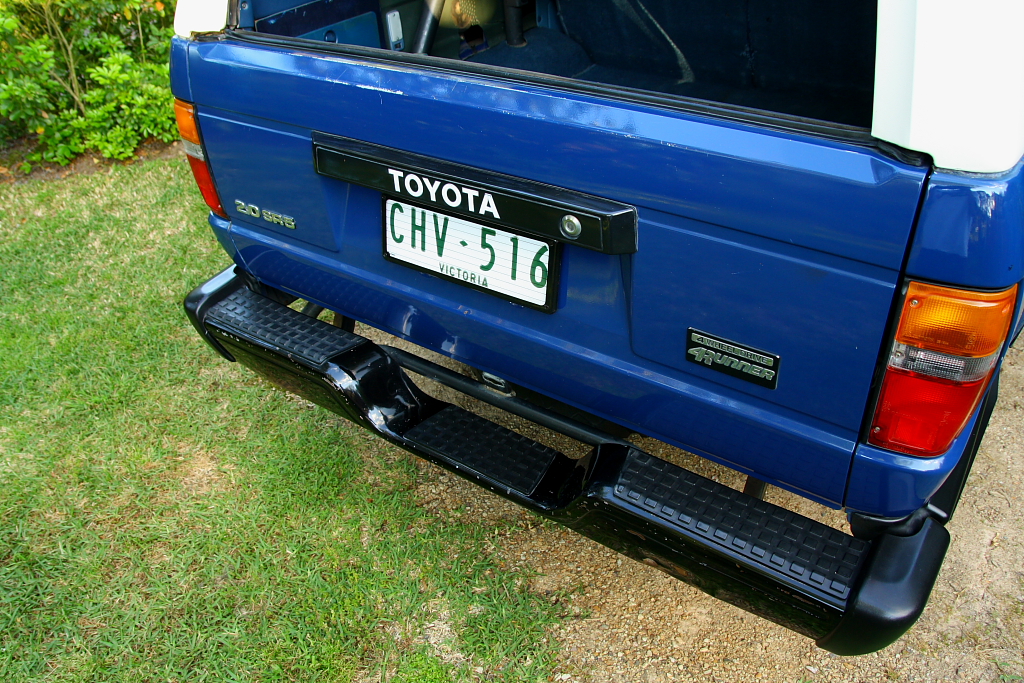
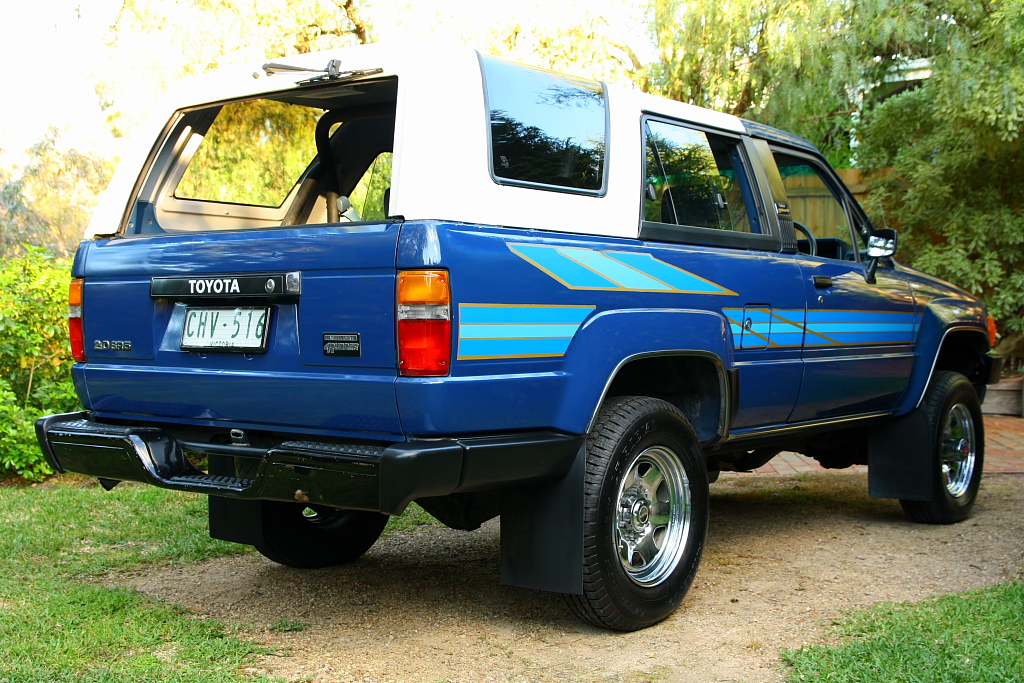
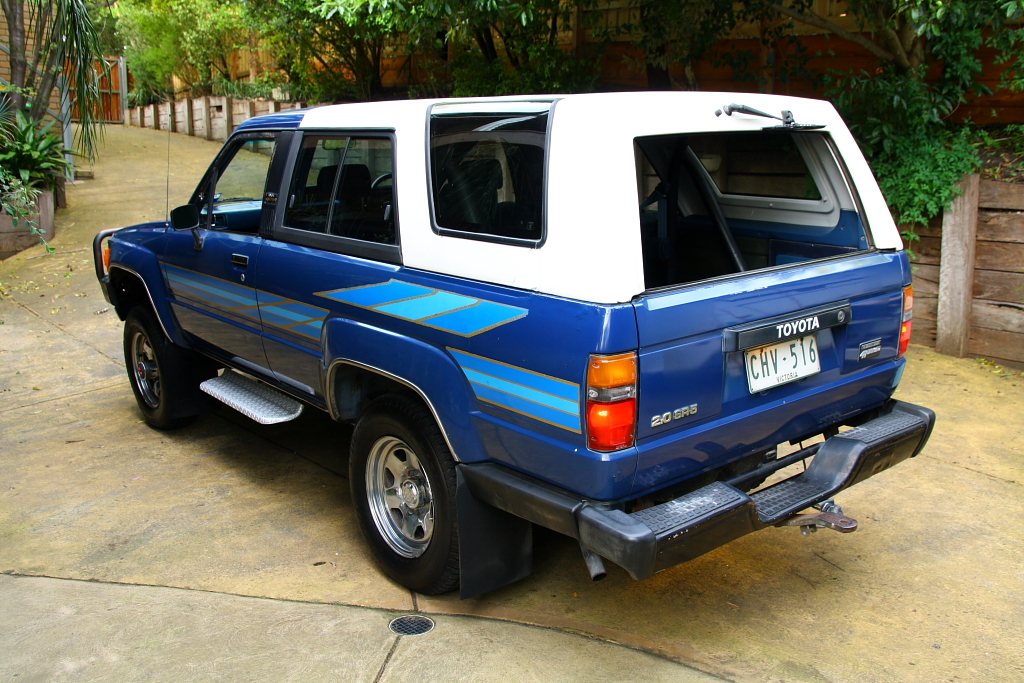
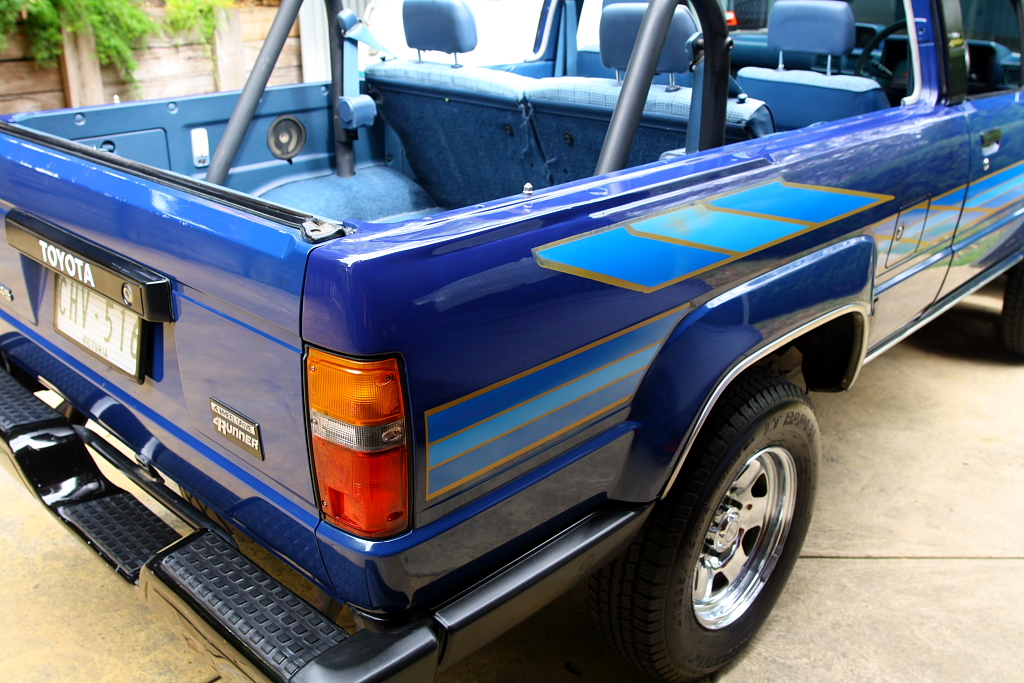
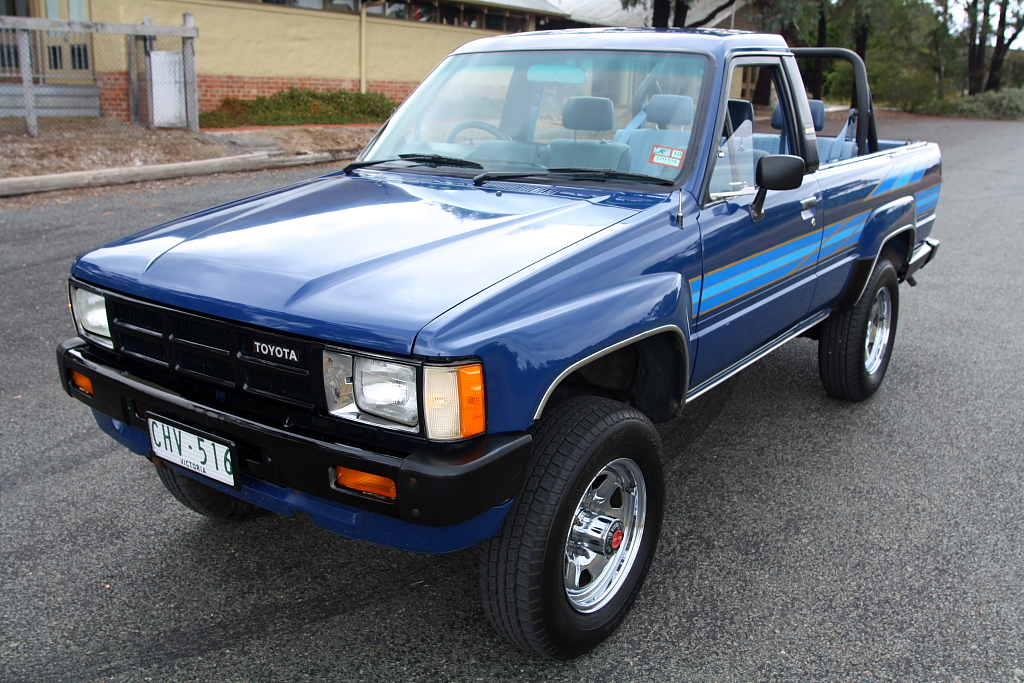
Few pics of the exterior compared to a couple weeks back..
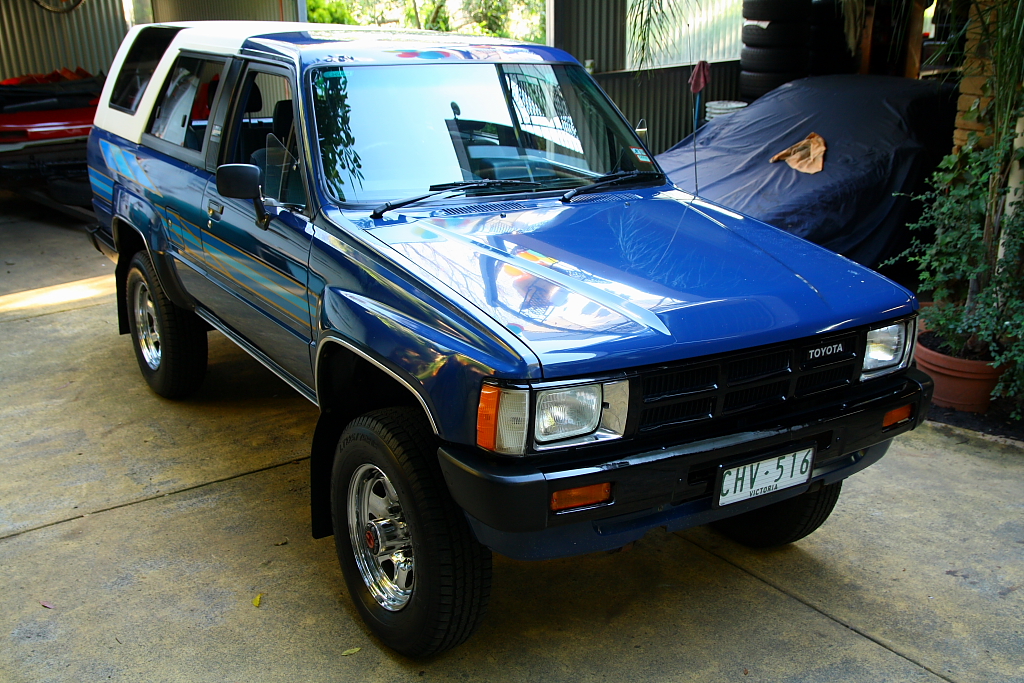
Looks nicer to me without the bar and steps. Was just a little too much going on!
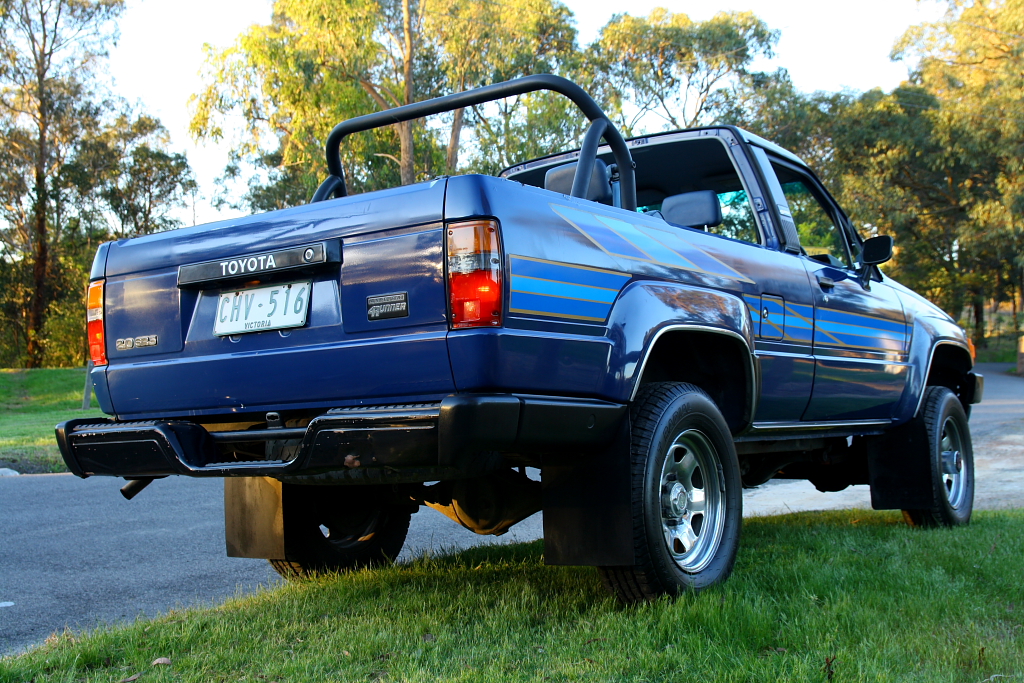
Tow-bar gone, and rear bar straightened up while I was at it. Paint doesnt look to have changed much in that pic, but the wheels are definitely cleaner!

The drivers front quarter has had a clear-coat sprayed over it at some point, which has just about completely gone. I used the pressure-washed to get all the flaking off, and just polished up what was left. At the very least, it no longer stands out like it did!
Also cleaned up the canopy side-window tracks with a small paint brush. It had collected alot of silt over the years, which made those windows hard to open initially. I dont think they were opened too often. Clean and free now, and the empty drain holes'll prevent it from rusting.
That's all for now.
I hadnt realized they didn't have them either - I'd actually assumed the rear roll-bar was there specifically as a mount for them!
Interestingly, It doesn't seem as though the Japanese Surf's ever had the roll-bar or belts at all!
Over the last week or so I got another major thing out of the way - giving the whole outside a solid tidy-up. Doesn't have to be perfect.. just for whats left to look as nice as it can.
Other side strip going on, replacing the old screwed on one. Had to see the bloody screw holes under the strip again in the process though..!
Went on perfectly with a full set of undamaged clips I'd collected at the wreckers.
As I've done with previous old cars, I replaced all the bulbs and fuses in the car in one swoop. Kinda odd buying $50 of fuses and small bulbs, but worth the effort doing them all.. saves doing them all over time anyway.
while the tail-lights were out, I vacuumed out the cavities behind the lights. The rust is a shame, but fortunately the lower area has survived well enough.
Cleaned and polished the lenses.
much nicer.
Mirrors and wipers off to make it easier to polish, then went at it.
There luckily isn't actually a whole lot of car to polish, as after you ignore the canopy and large black plastic and glass areas, there really isn't much paint.
The paint that is left is pretty much toast - thinned out, scratched and chipped, and the rust and over-spray touch-ups don't help.. but I don't mind. As I said; it just needs to look respectable enough.
After the polish, I washed it all down again, and waxed it top to bottom. From this point on I just wash and wax it regularly - I enjoy doing it, and has kept my solid red acrylic AW11 looking tidy for years.
Done.
the wreckers-new sill trim.
WD40'd the hell out of the mechanism, then wound the tidy spare back up. Nice.
Much tidier now.
Few pics of the exterior compared to a couple weeks back..
Looks nicer to me without the bar and steps. Was just a little too much going on!
Tow-bar gone, and rear bar straightened up while I was at it. Paint doesnt look to have changed much in that pic, but the wheels are definitely cleaner!
The drivers front quarter has had a clear-coat sprayed over it at some point, which has just about completely gone. I used the pressure-washed to get all the flaking off, and just polished up what was left. At the very least, it no longer stands out like it did!
Also cleaned up the canopy side-window tracks with a small paint brush. It had collected alot of silt over the years, which made those windows hard to open initially. I dont think they were opened too often. Clean and free now, and the empty drain holes'll prevent it from rusting.
That's all for now.
01-04-2014, 03:57 AM
#13
Registered User
Thread Starter
Join Date: Nov 2013
Location: Melbourne, Australia
Posts: 14
Likes: 0
Received 0 Likes
on
0 Posts
righto, big post time.
Have actually been working on this flat-out over the last week, since I have a couple weeks off over Christmas.
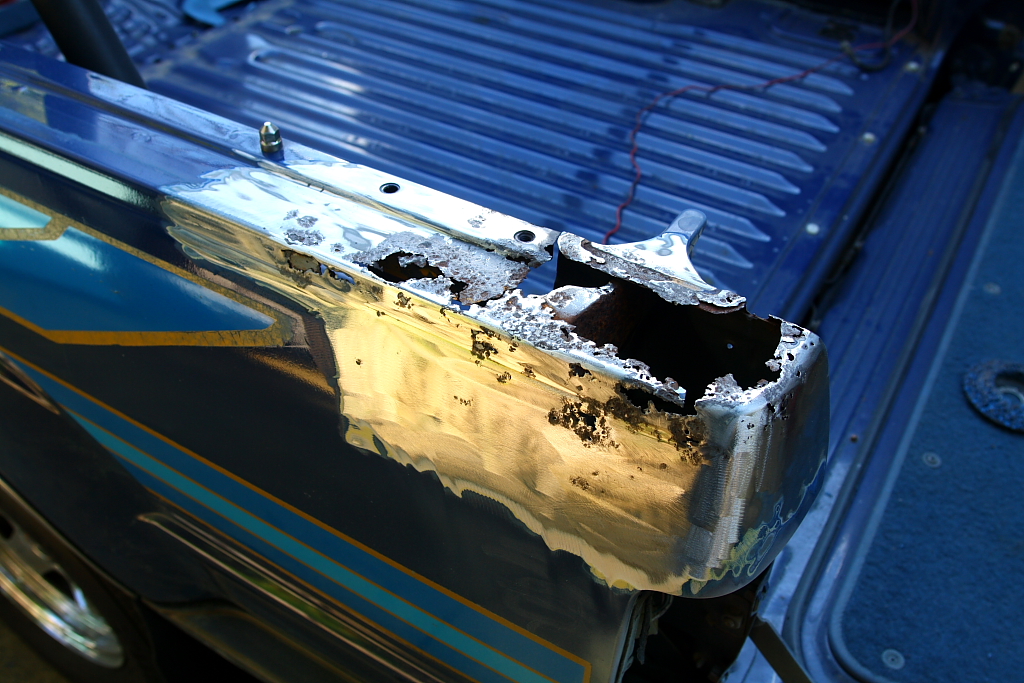
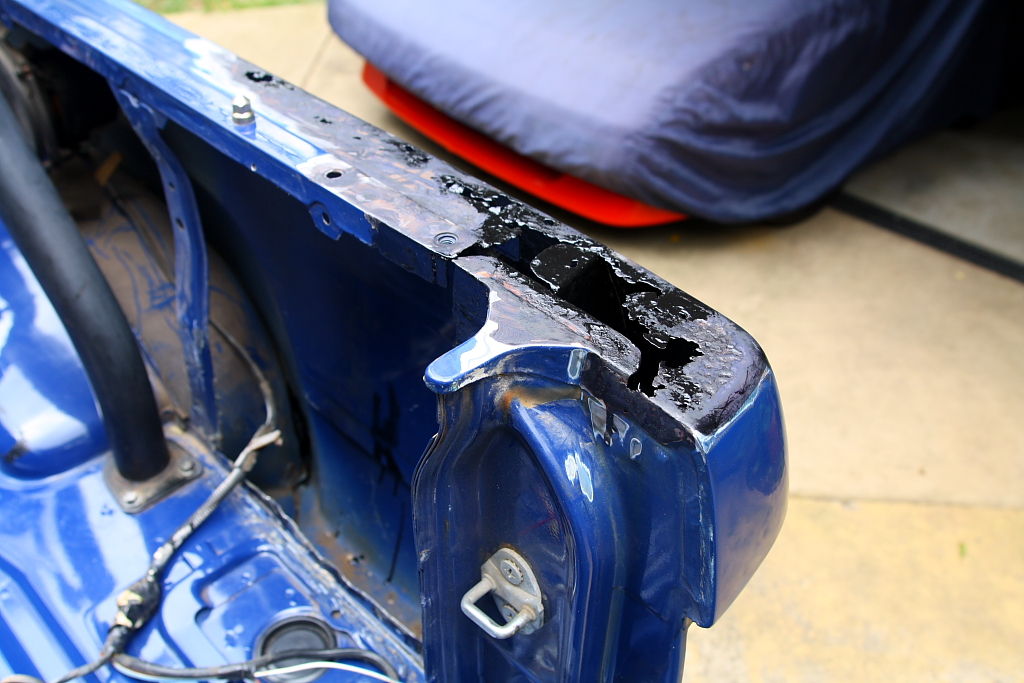
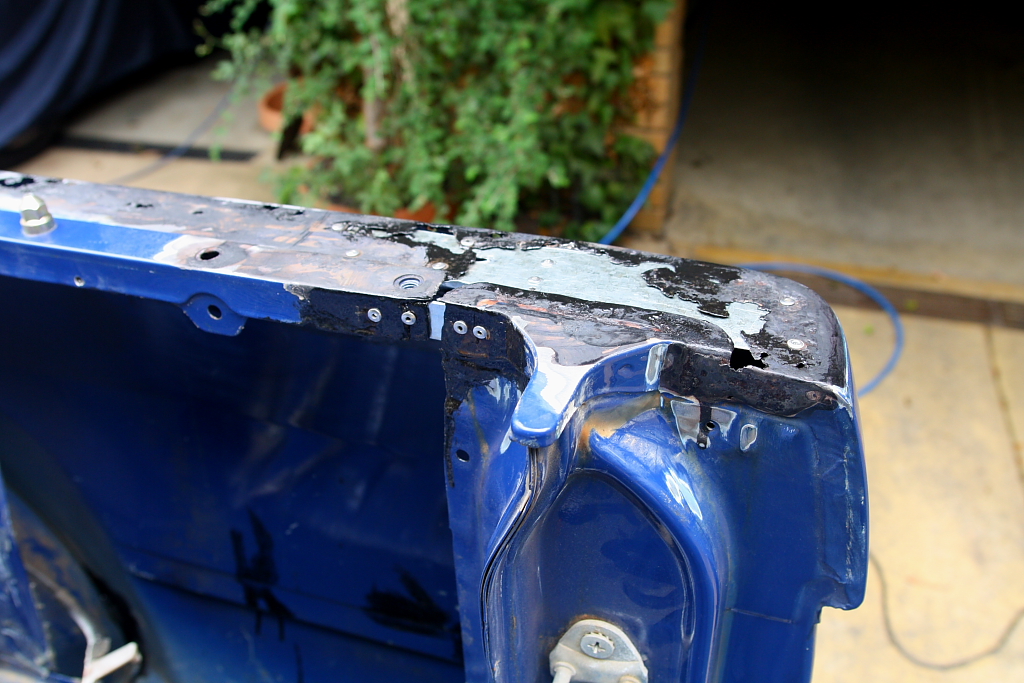
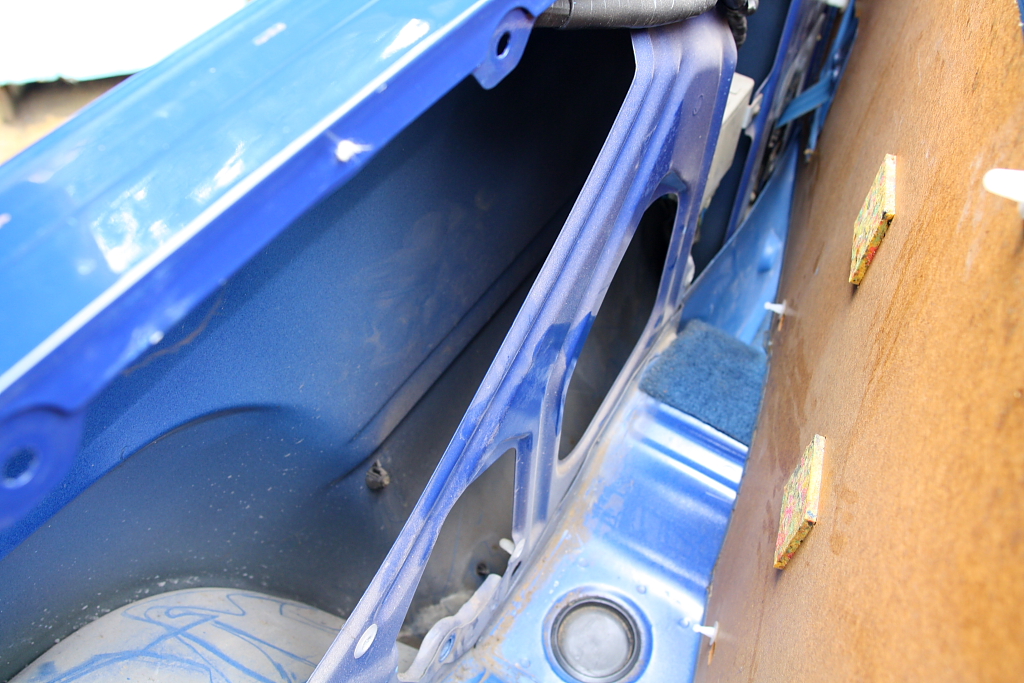
Got stuck into cleaning up the upper rear quarters, sorting out that rust where it meets the canopy. Now rust-repairs and bodywork are sure-as-hell not my forte; but the full chassis makes the rear body/tub a totally non-structural area.. so I was happy to simply clean it up the best I can.
One last pic of the canopy, before it comes off for (hopefully) a long time..
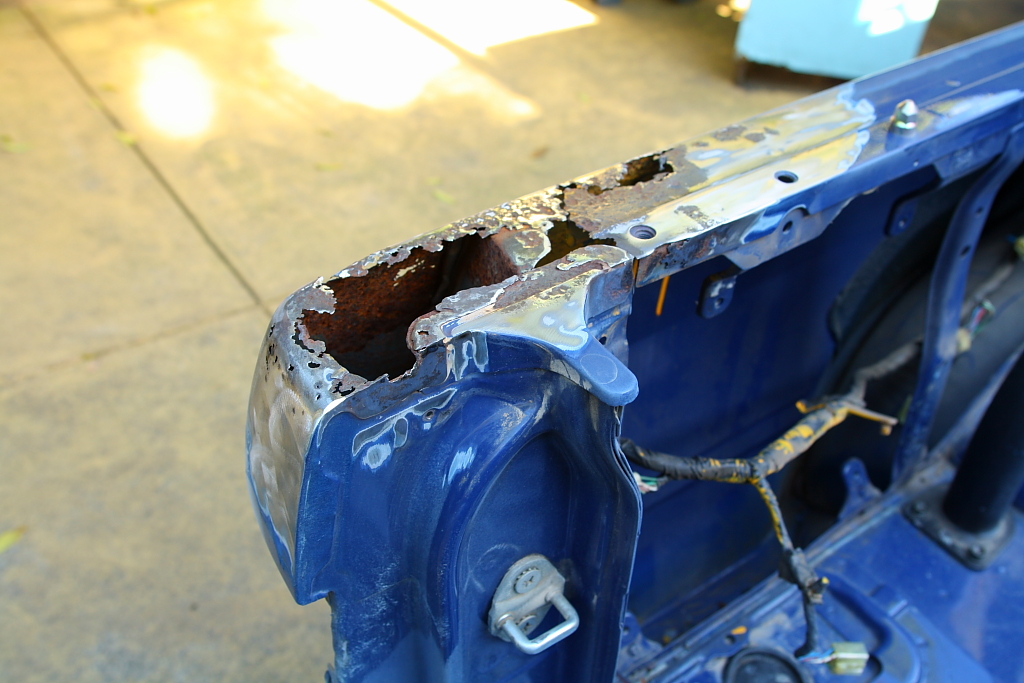
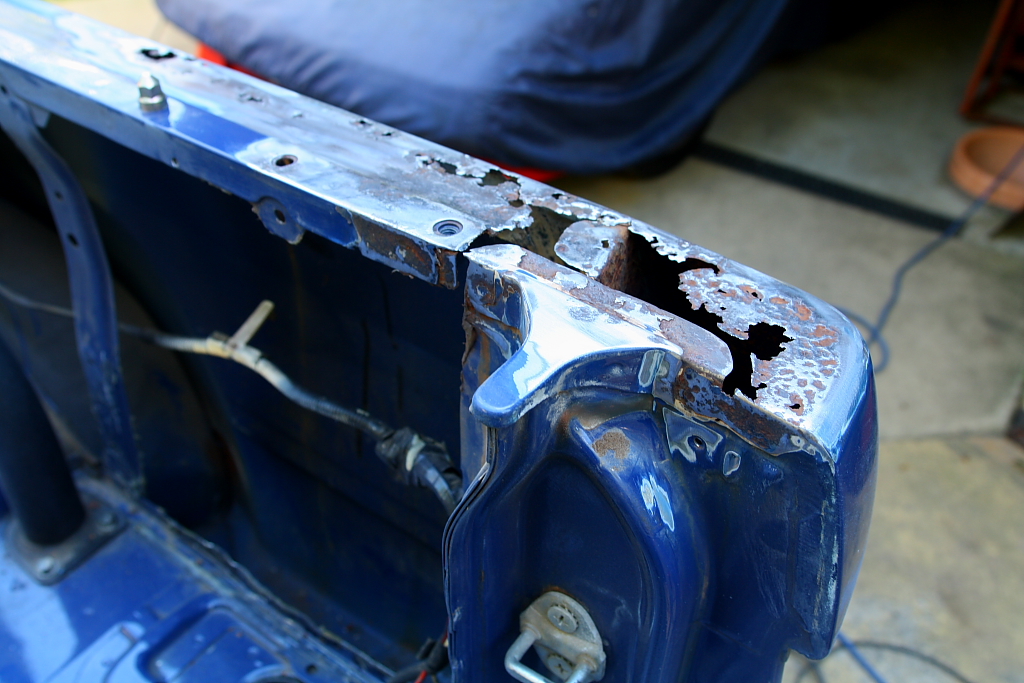
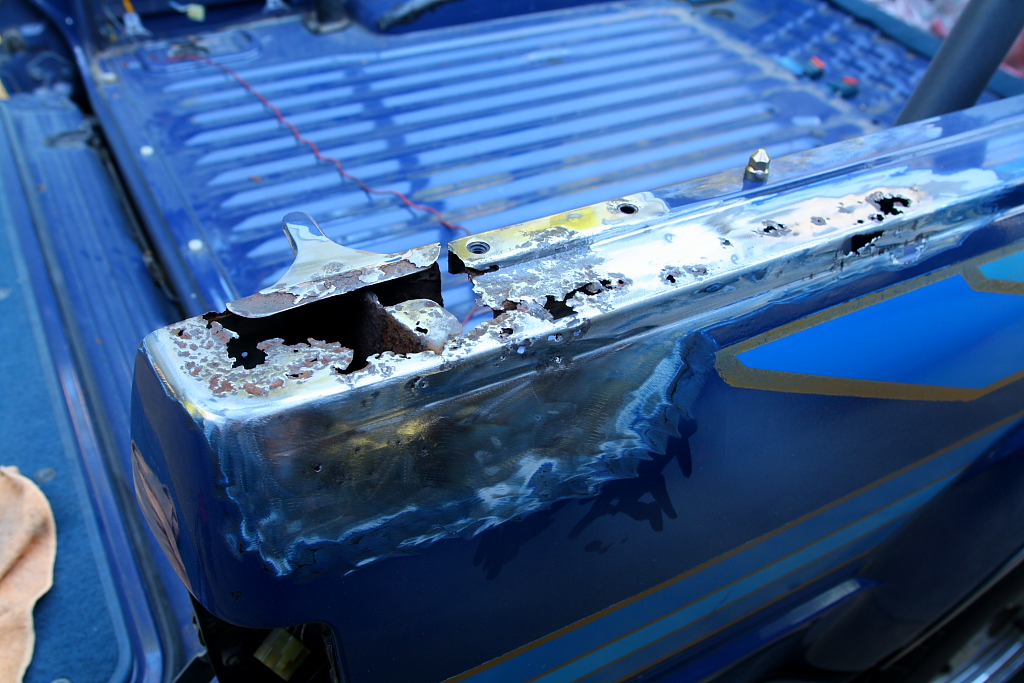
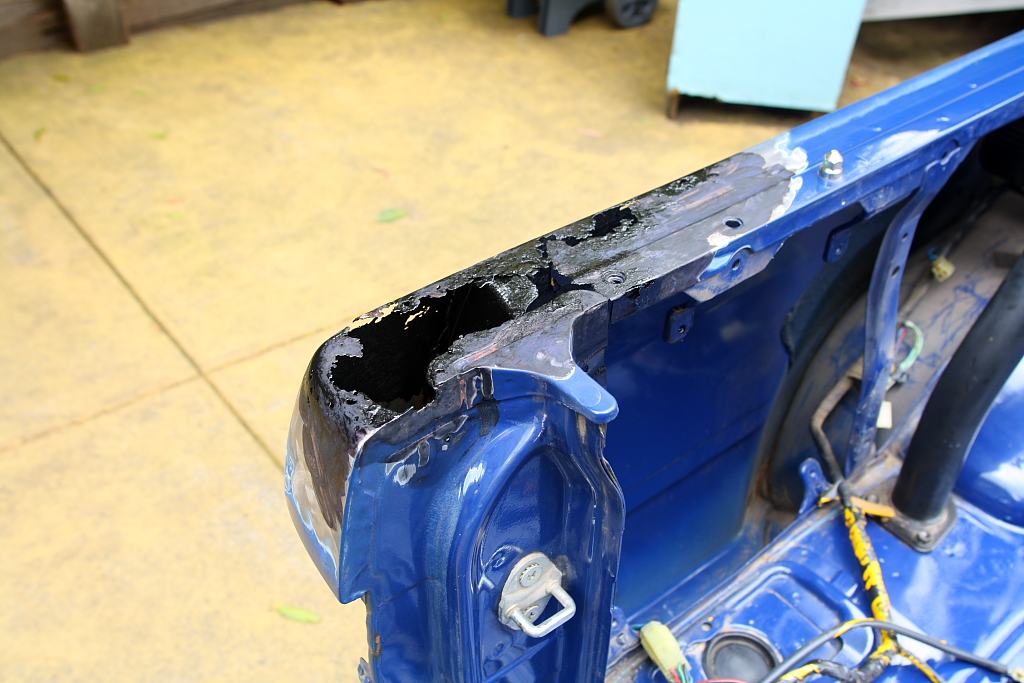
Theres that rust again..
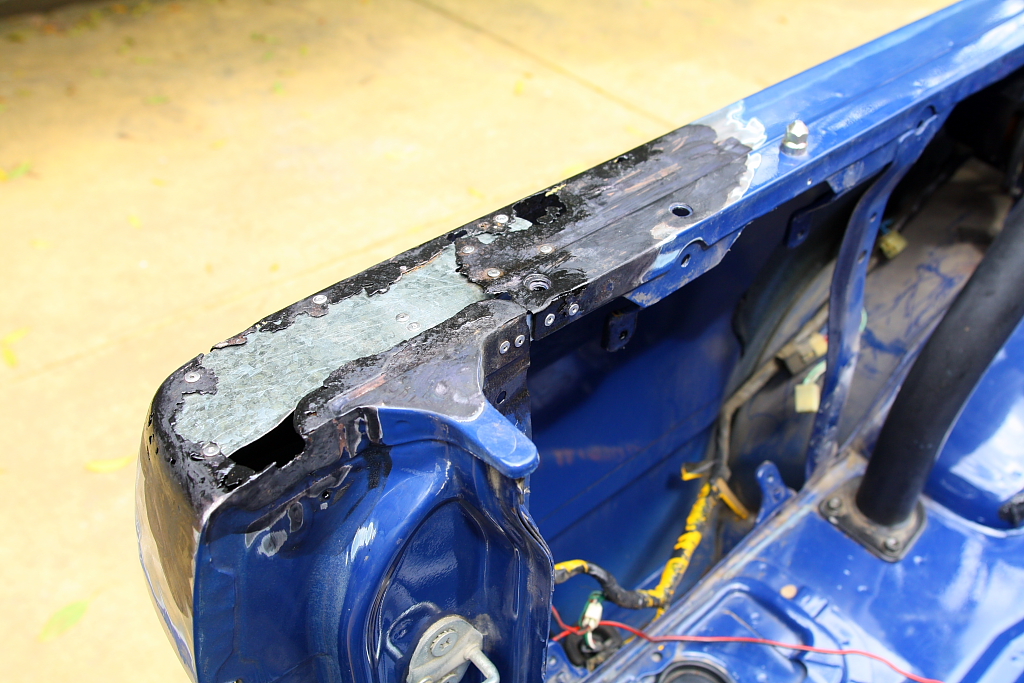
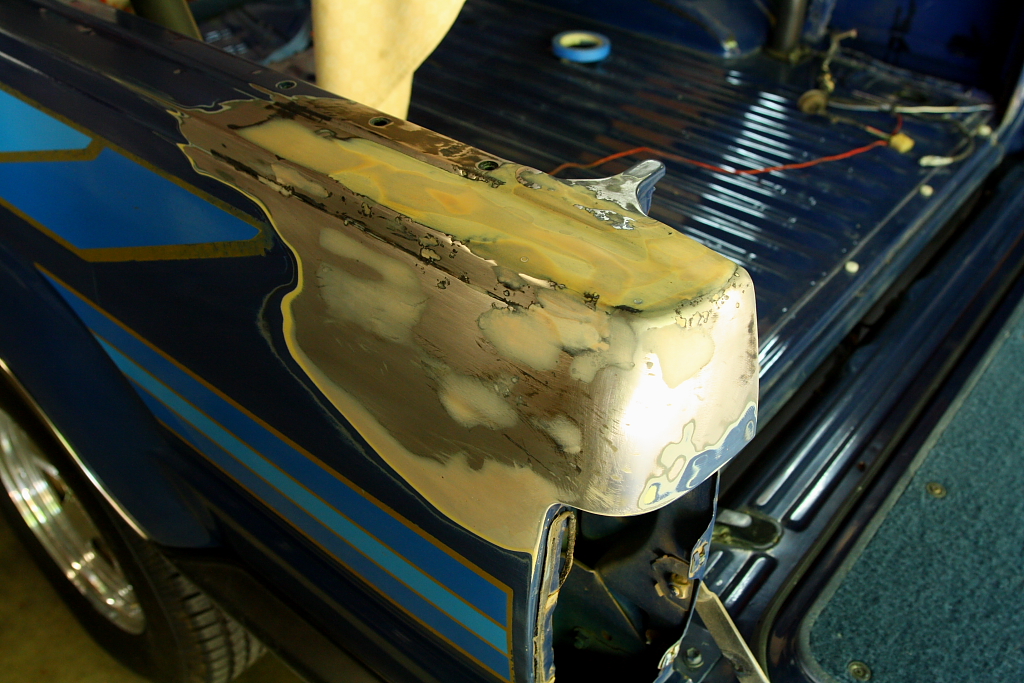
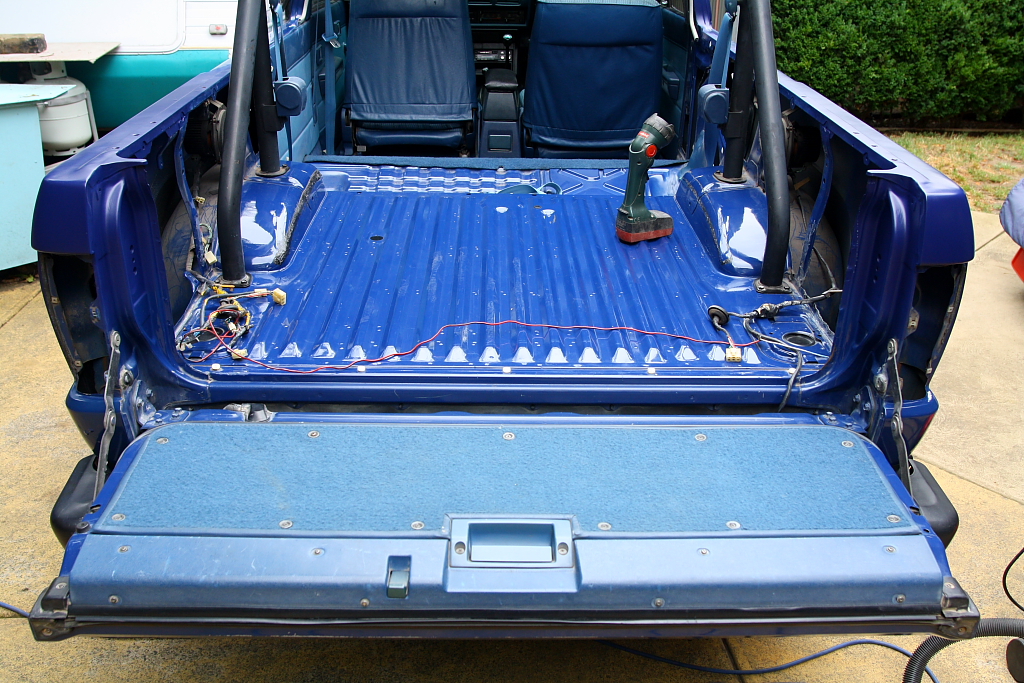
Stripped the back half of the car:

It looks as though there's been a couple go's at this already. Once thorougly, then a couple lazy patch jobs. I needed to get rid of ALL that garbage before having my go at it..
Wheeled all the junk off..
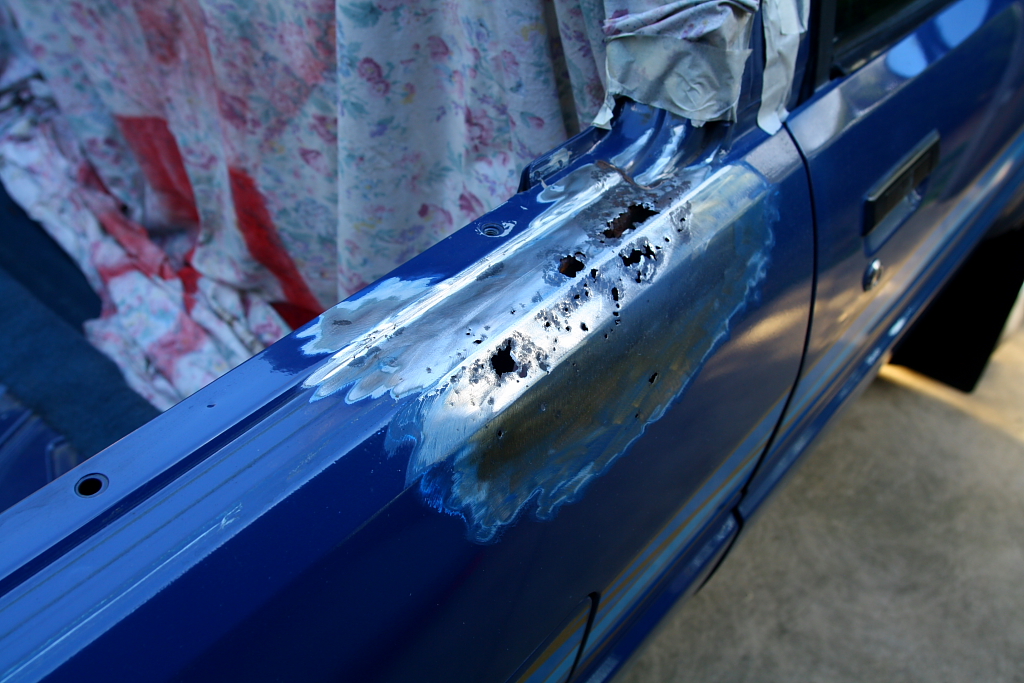
Painted all the inside rust areas with POR15, then a regular rust converter on the outside areas I need to work with..
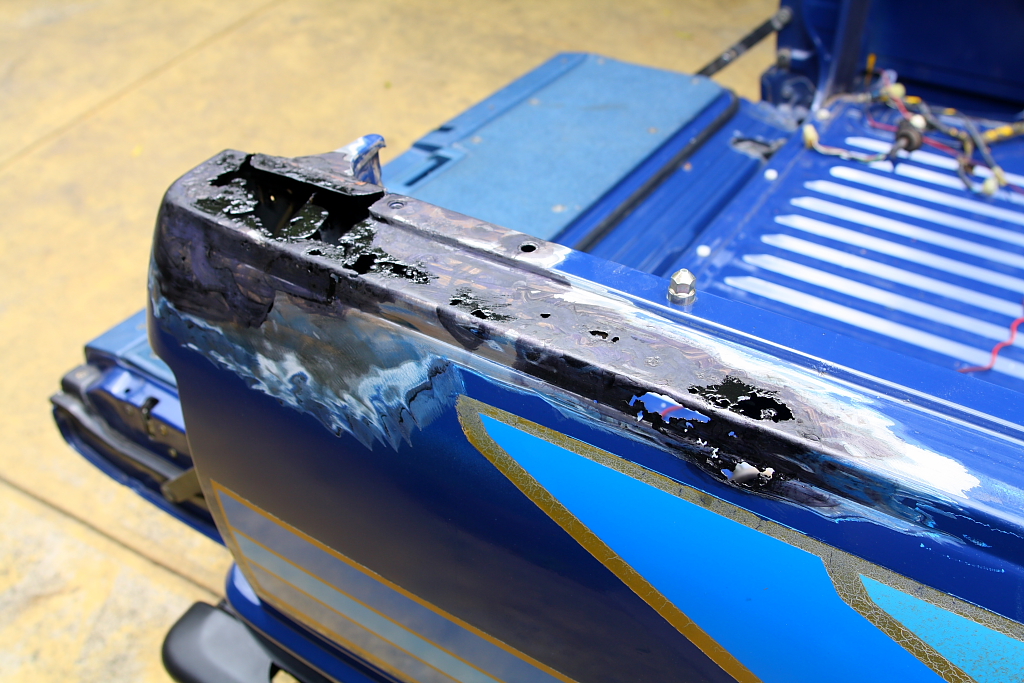
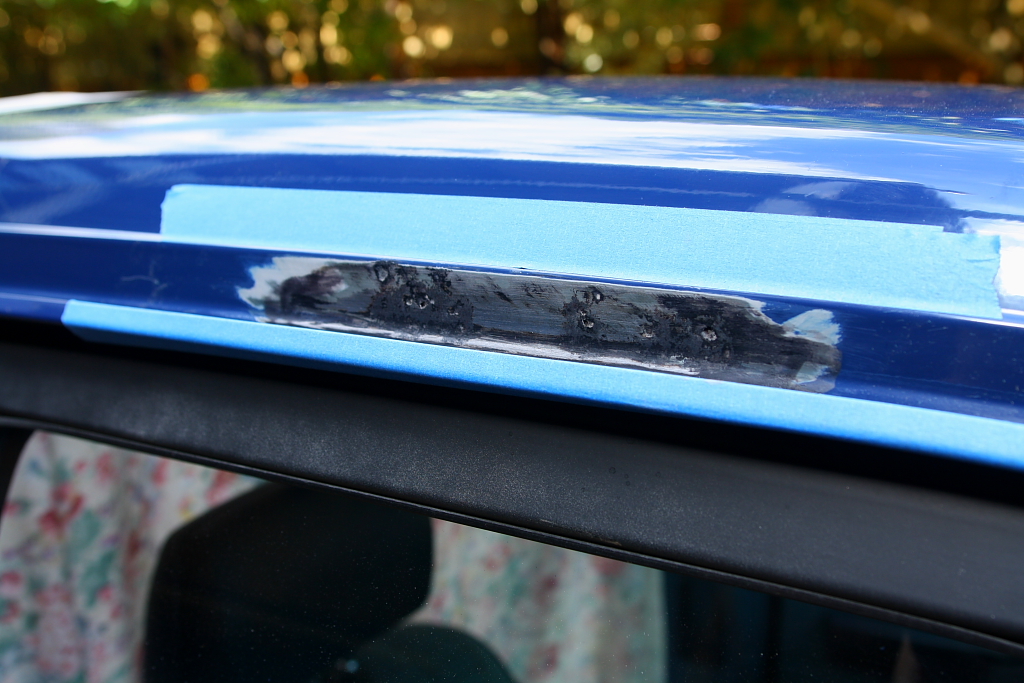
Used tape behind any smaller holes, to stop bog forcing through. Good quality tape means I could then peel it back off, and have a nice neat inside surface to add another coat of POR15.
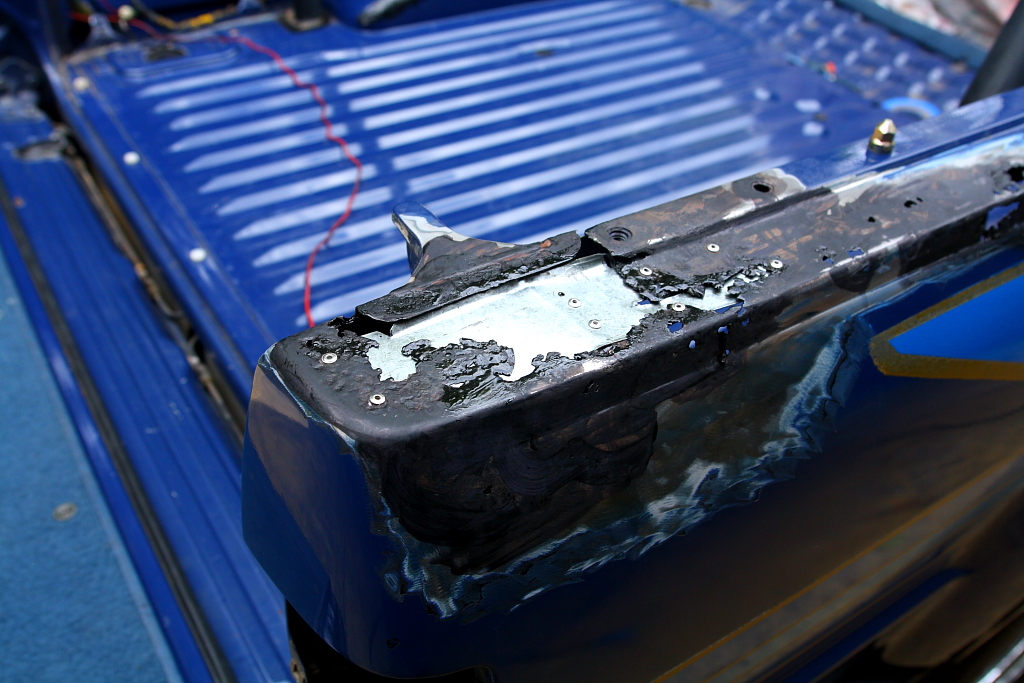
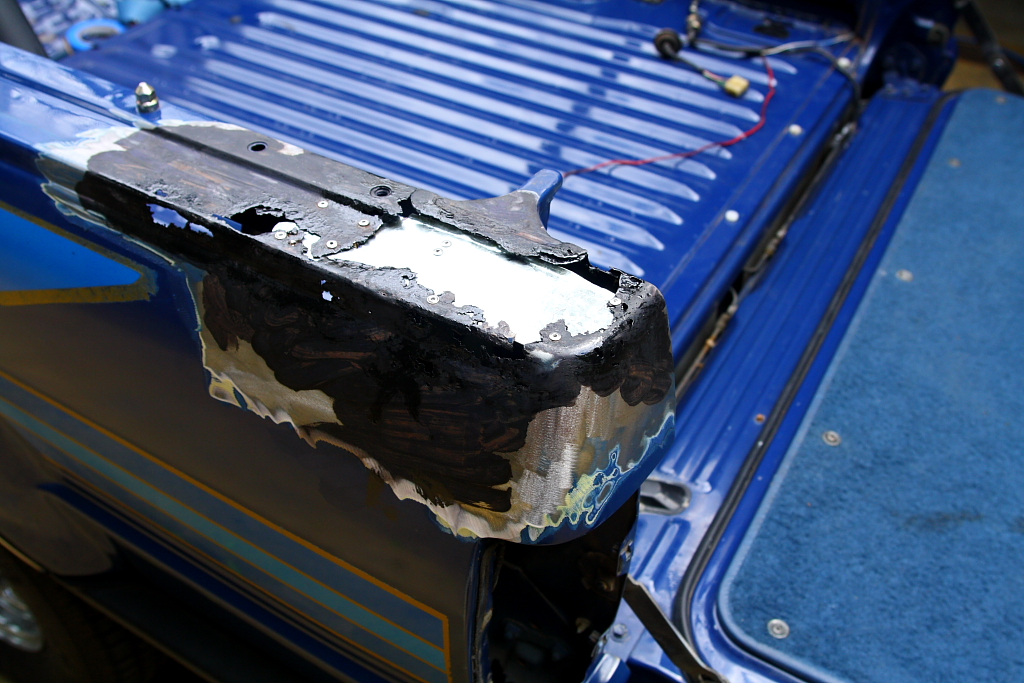
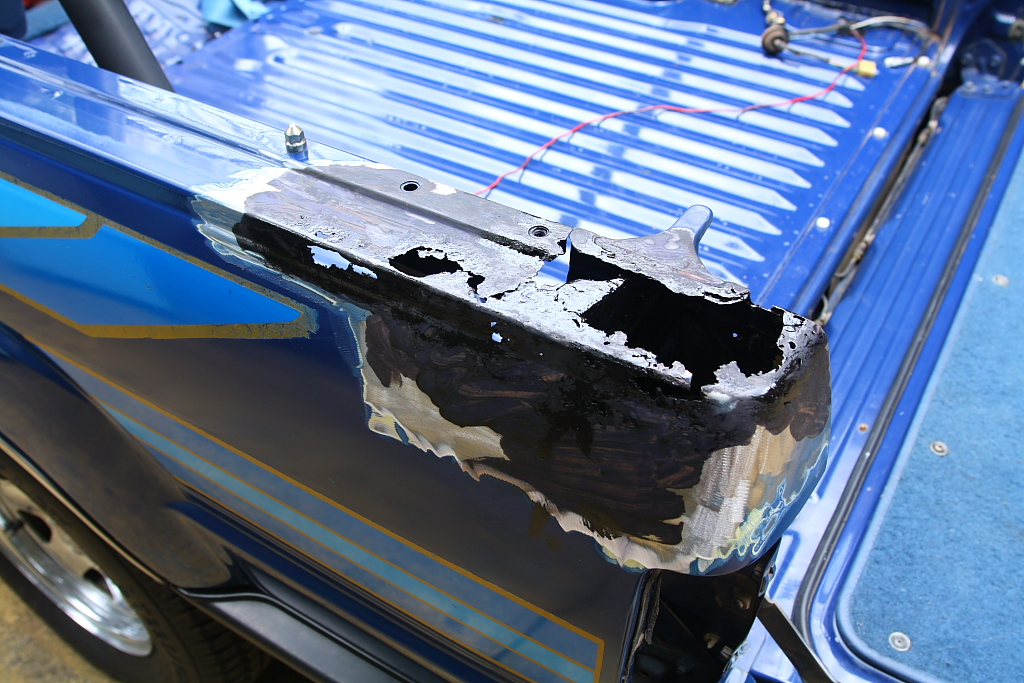
Because the upper tower section supports the tailgate when its down, I riveted in sections of gal to tie it all together again.
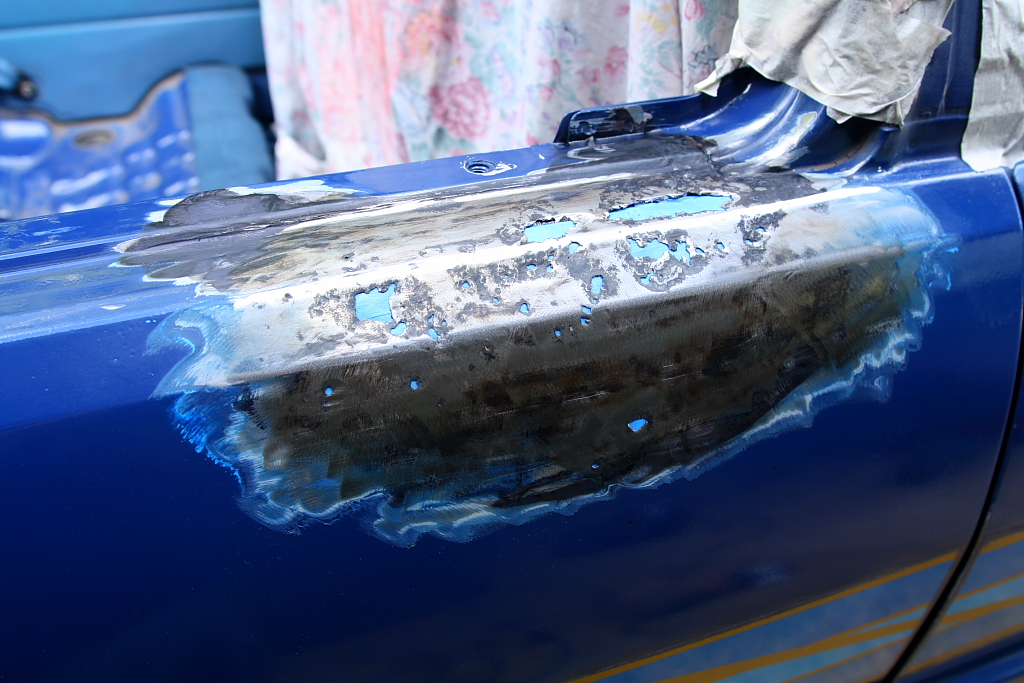
after what would have been a solid 2-3 days of bog/sand/bog/sand/bog/sand...
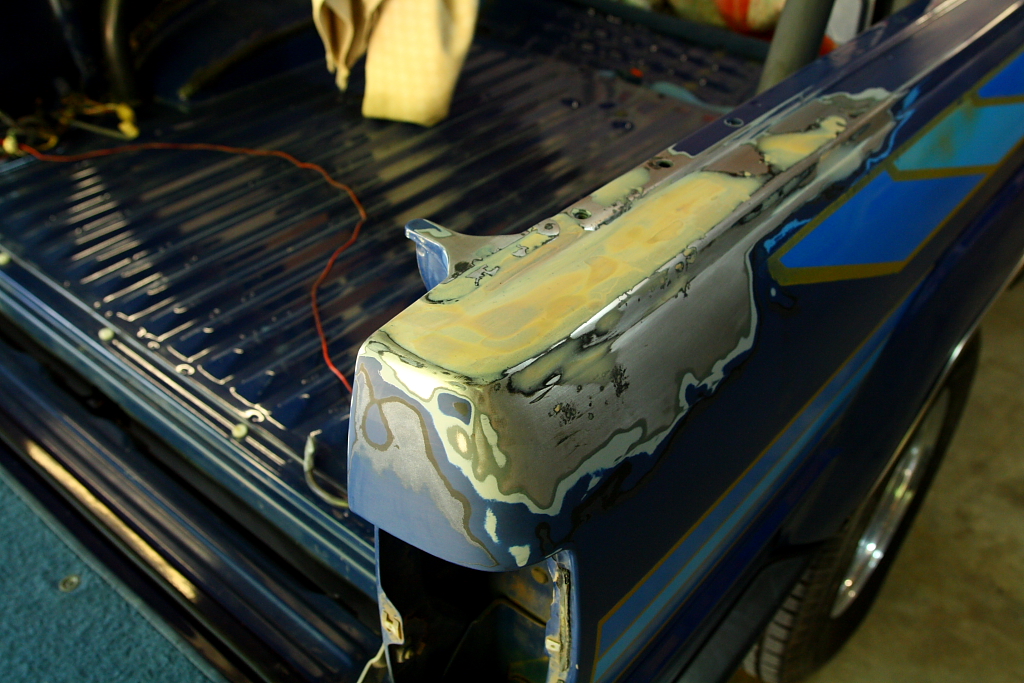
that. took. time..!
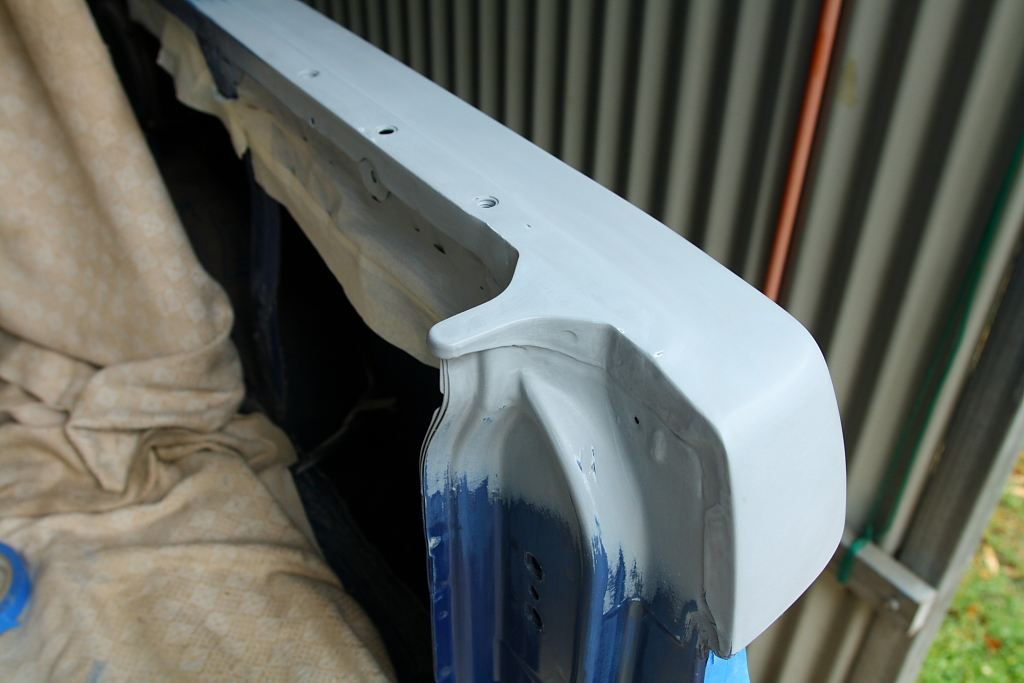
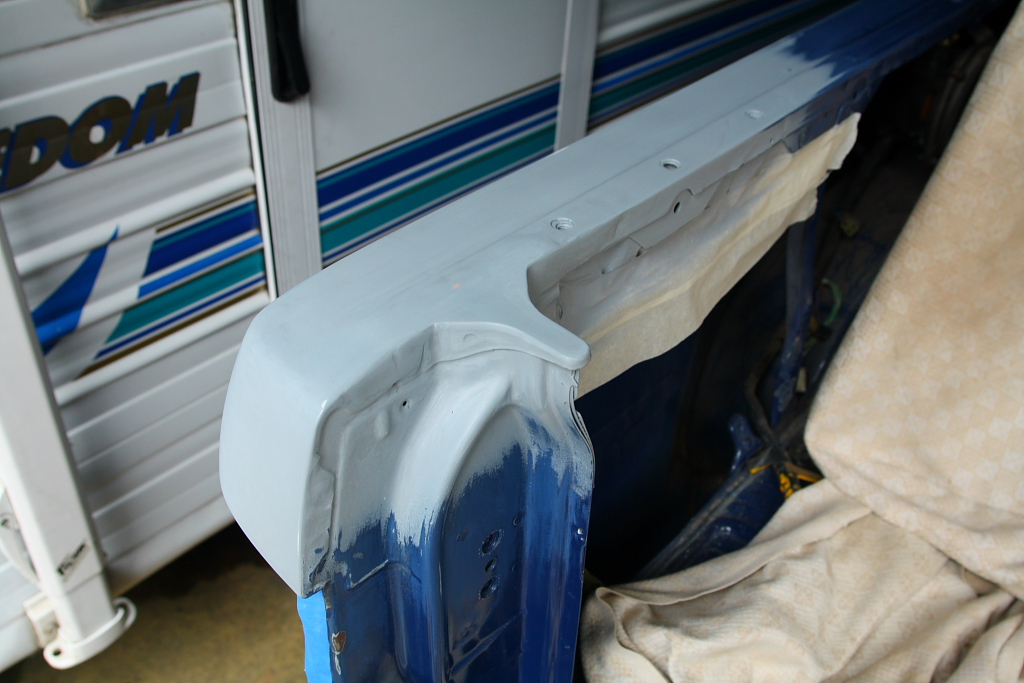
Etched primed, then a grey primer..
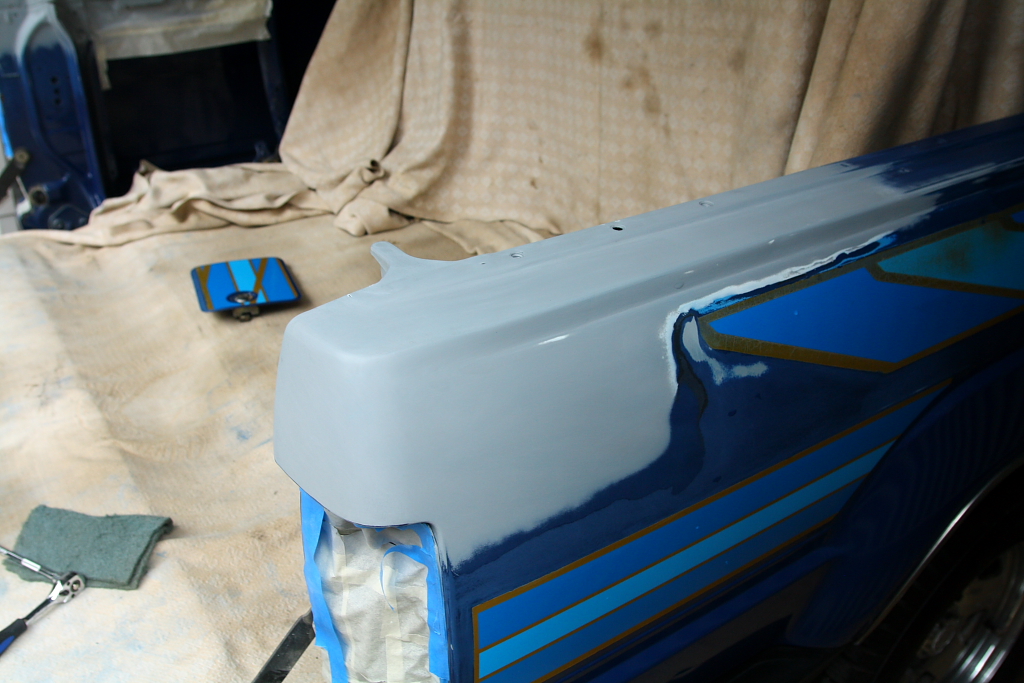
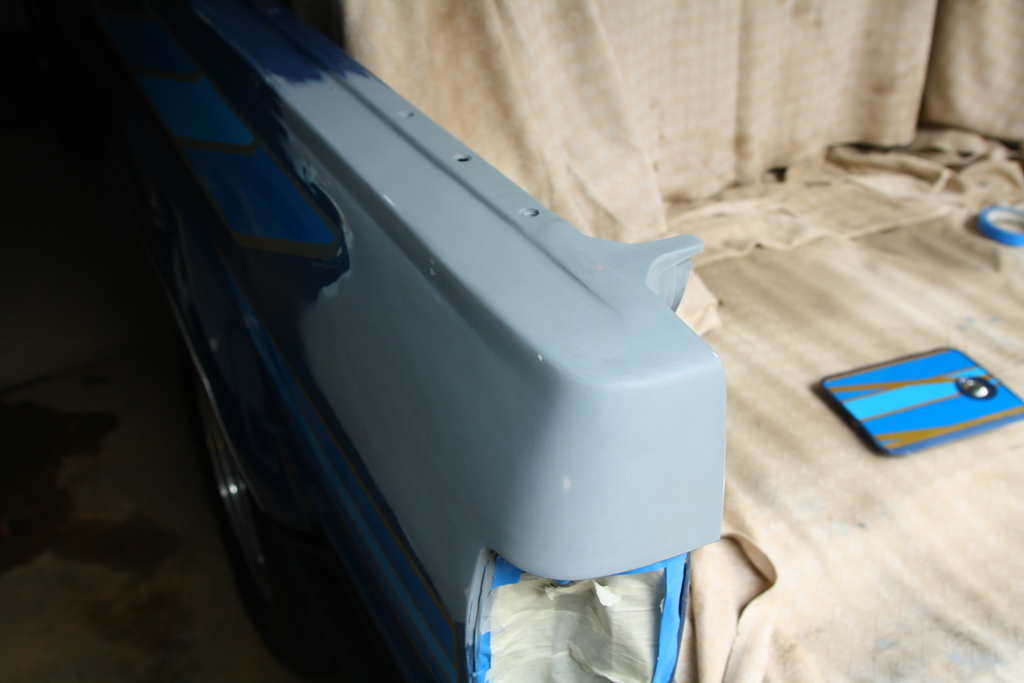
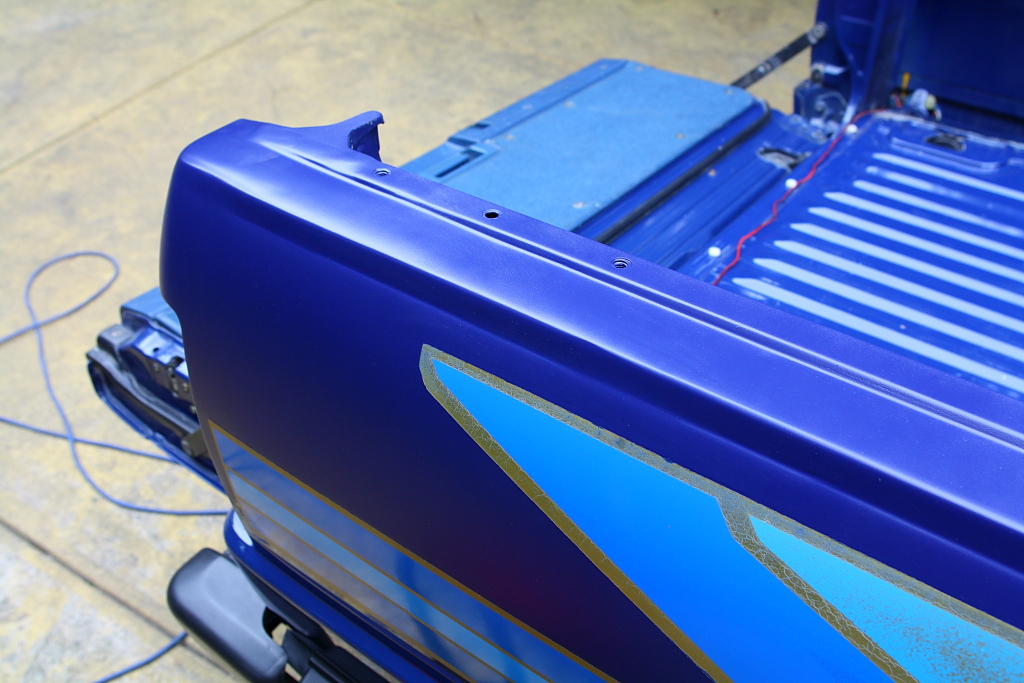
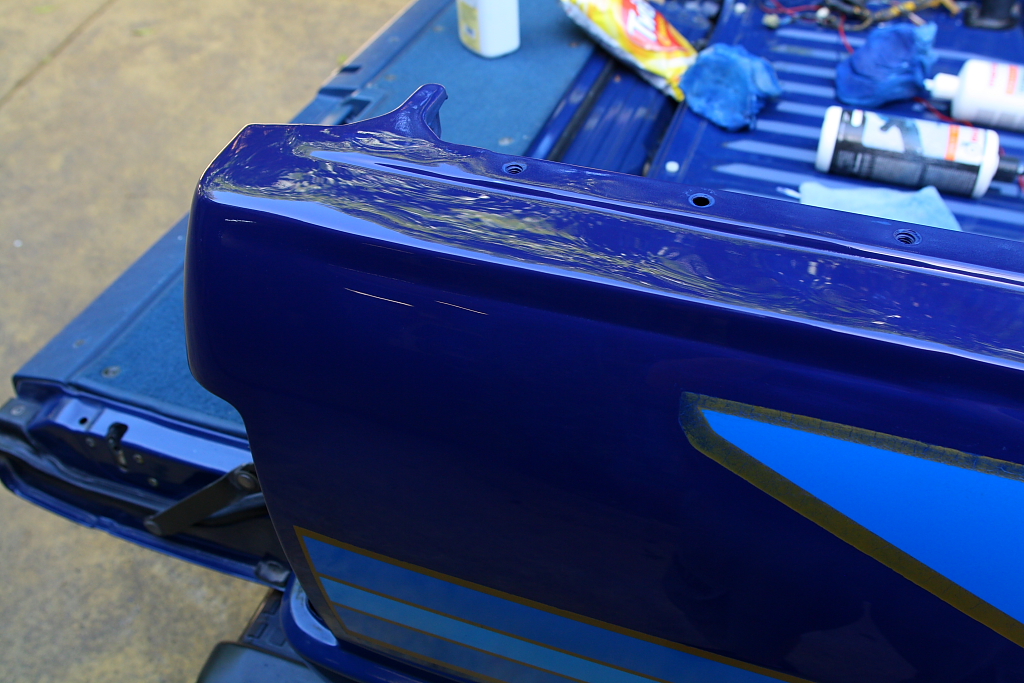
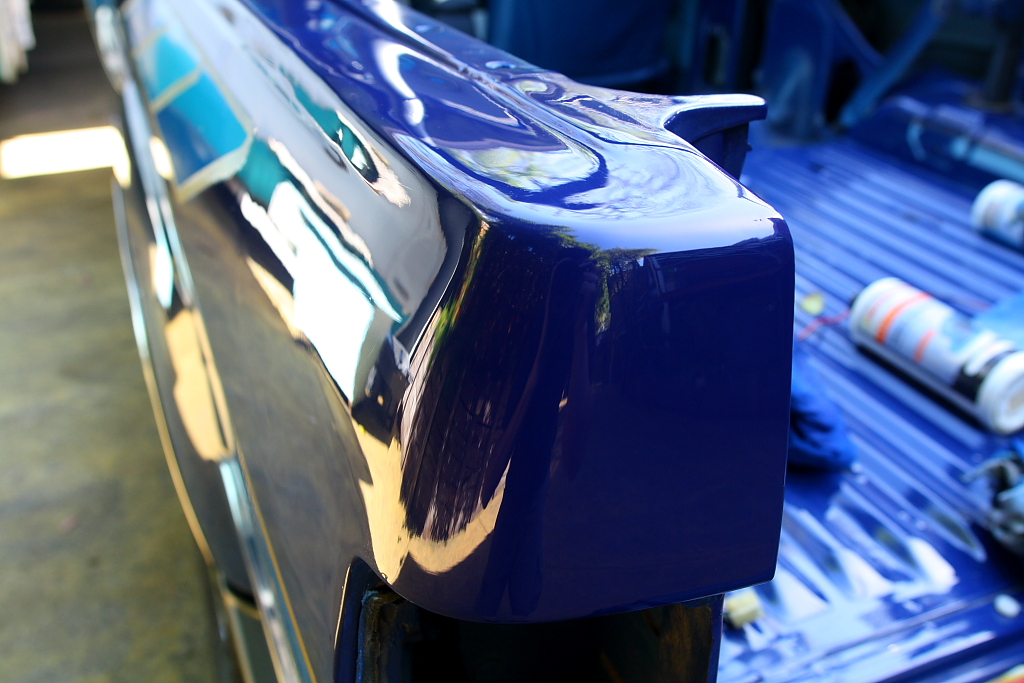
Carfully masked off the decals, then on went a single-stage acrylic blue. Because any good paint shop was closed at the time, I got this paint mixed up by a regular parts store to the 8A1 Medium blue paint code...
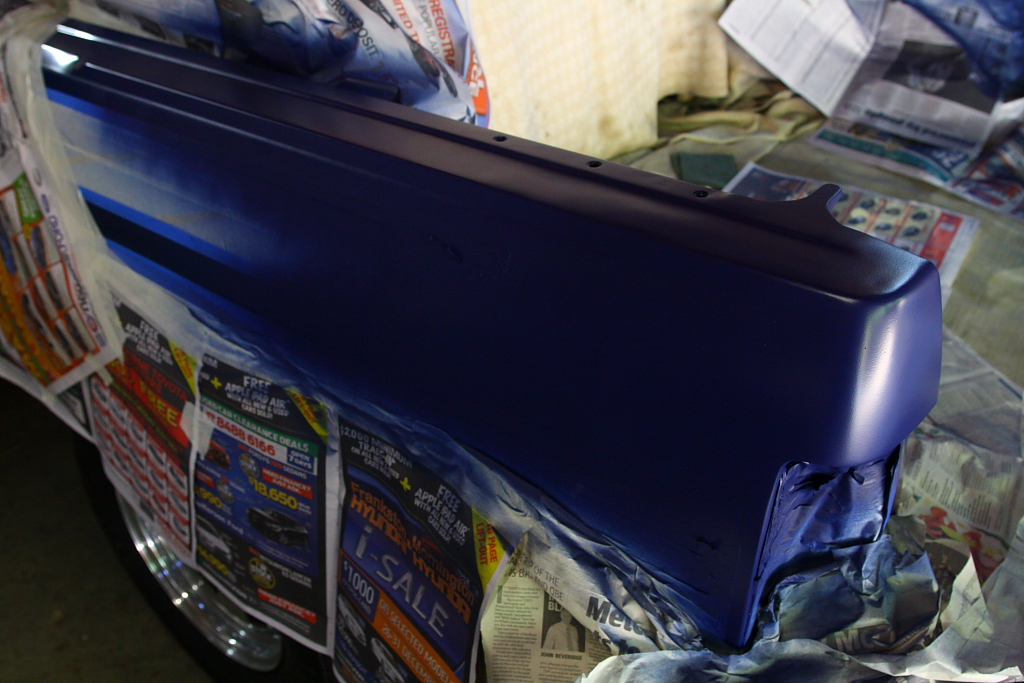
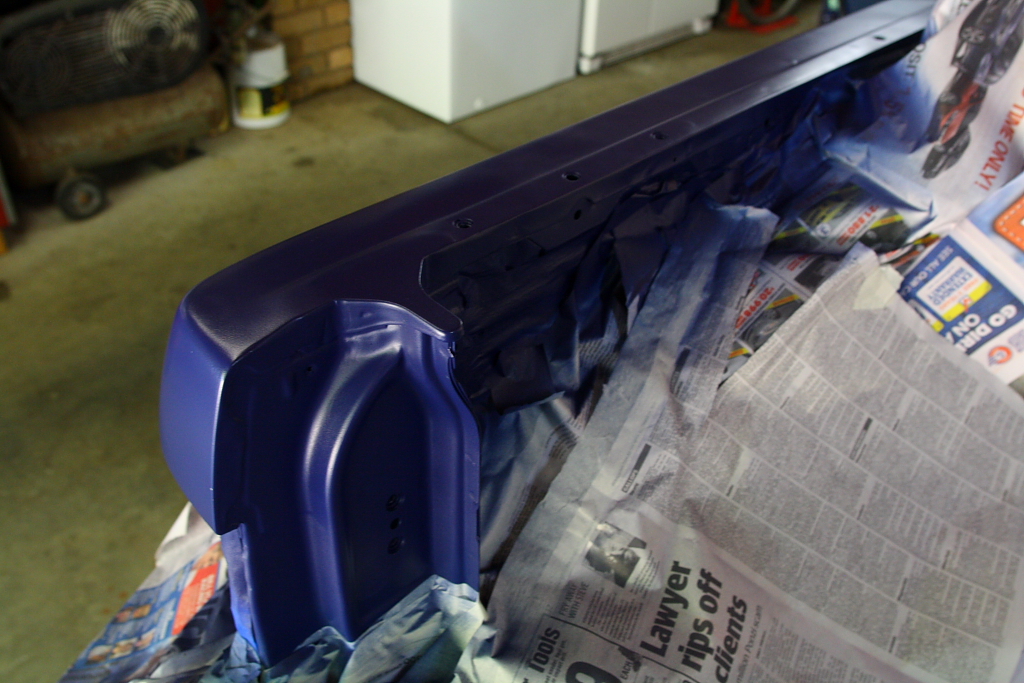
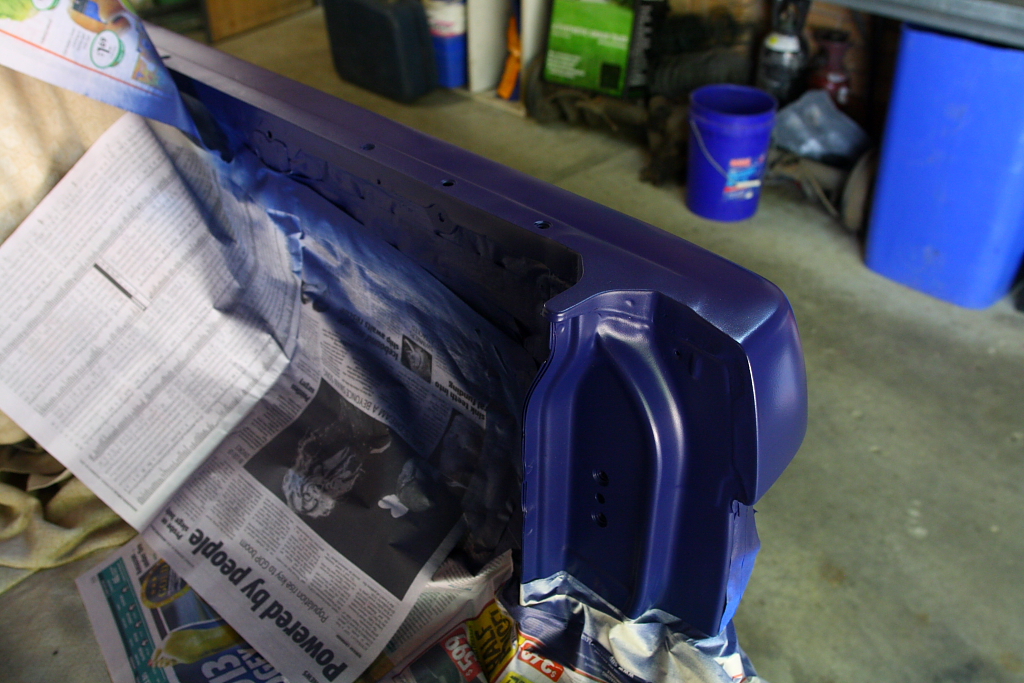
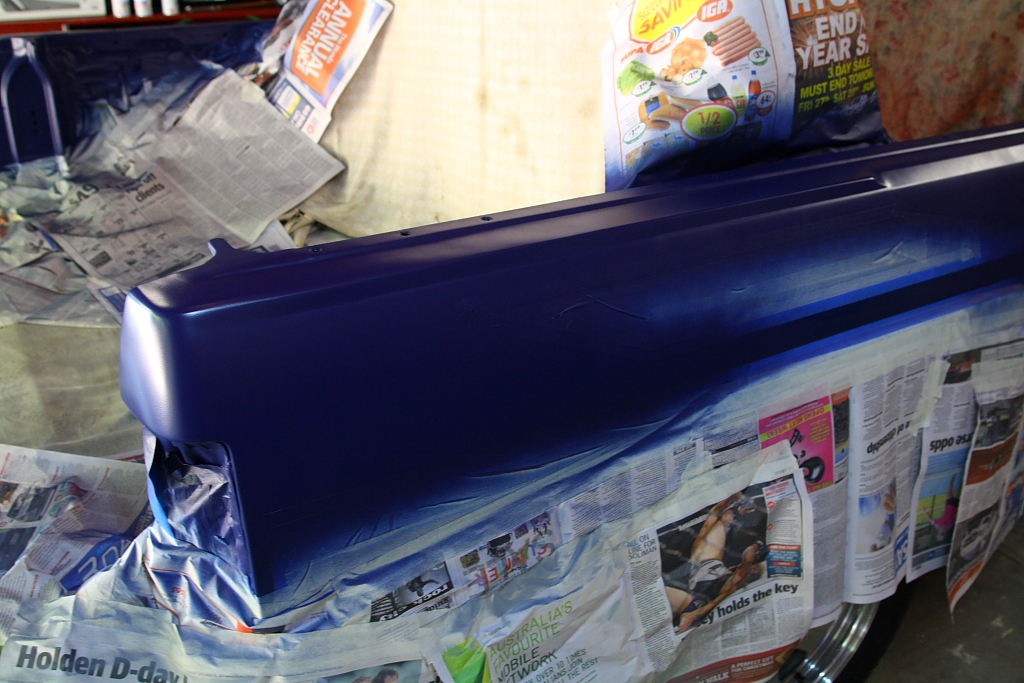
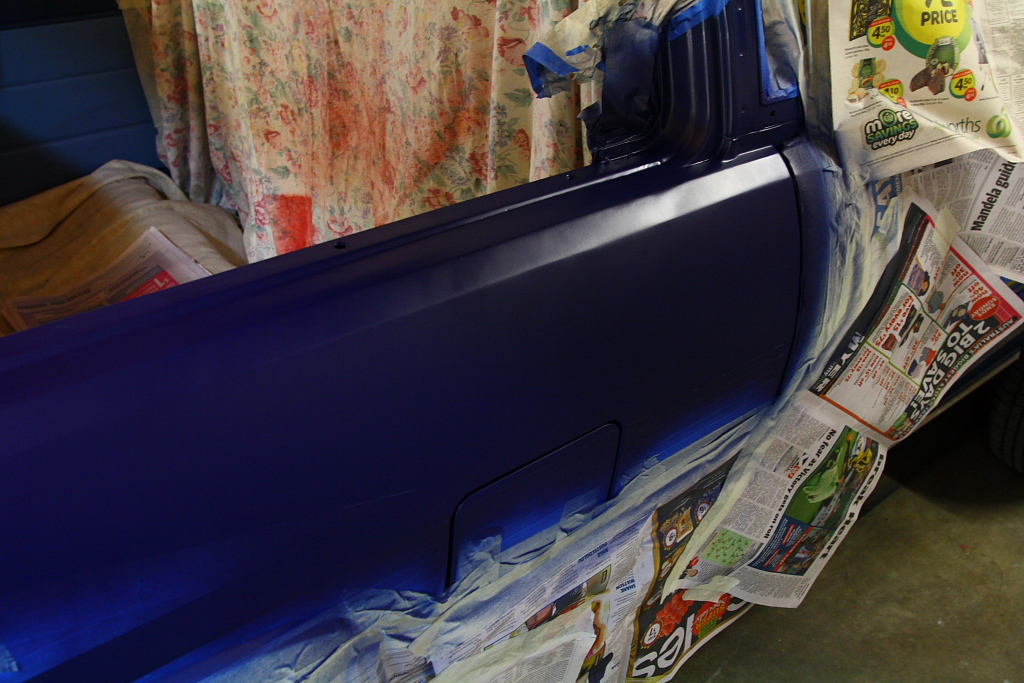
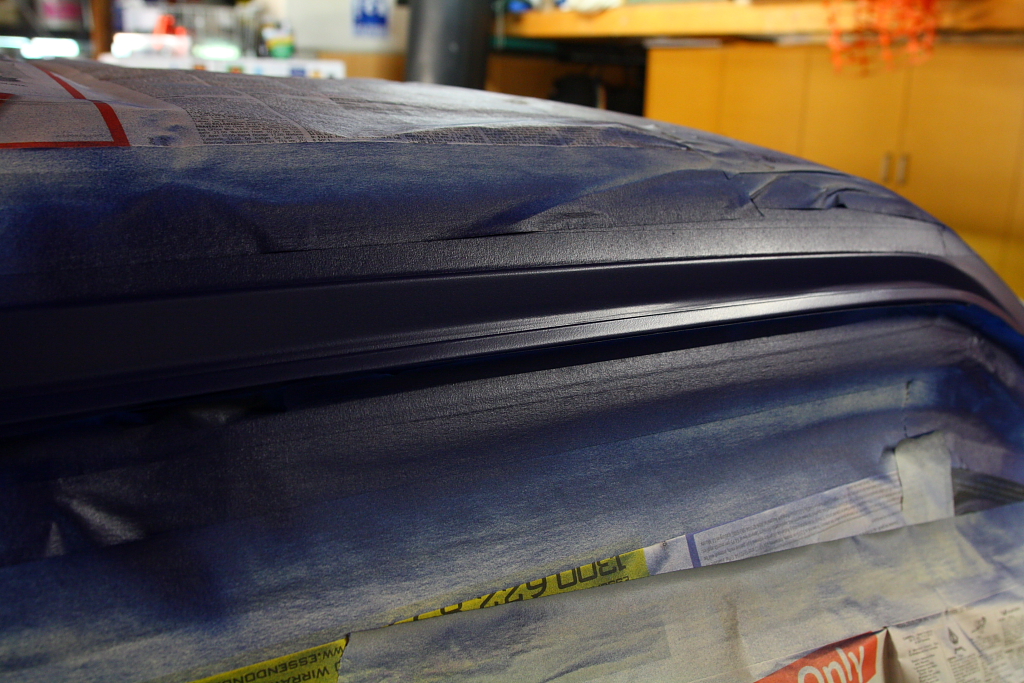
.. Turns out its VERY wrong..! haha... its near enough purple compared to the original blue. oh well...
The paint dries matte. Lot of polishing ahead of me at this point..!
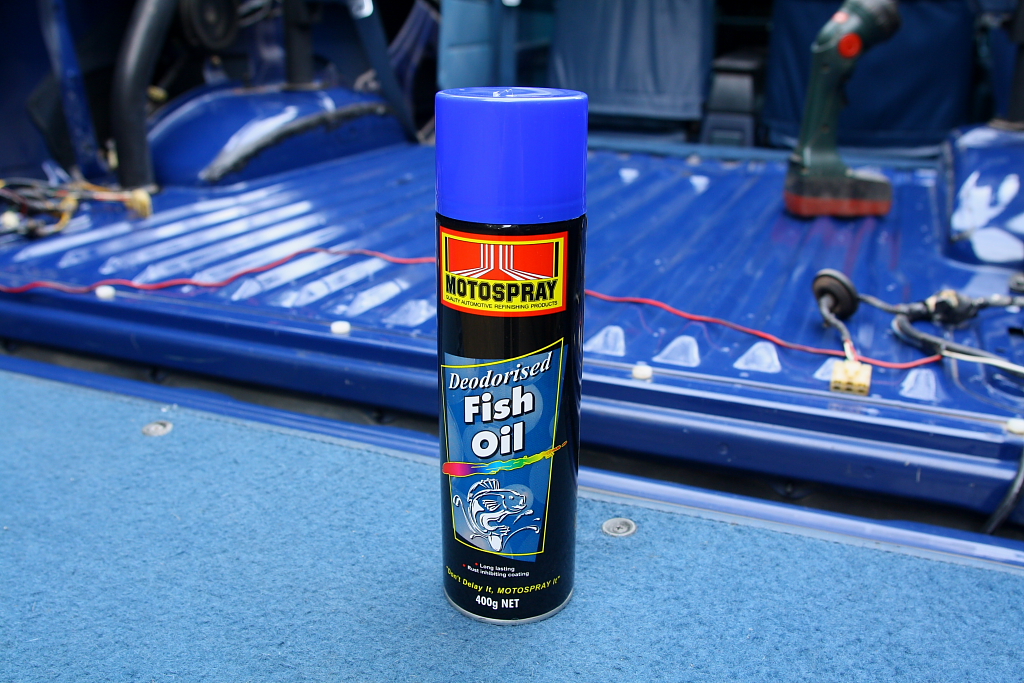
While giving the paint time to dry over the next day or so; I added the second lot of POR15 over the upper inside areas.. to add a shell over everything I'd done.
I then added fish oil over all the cavities. with any luck, rust will have a bit more trouble starting this time round!
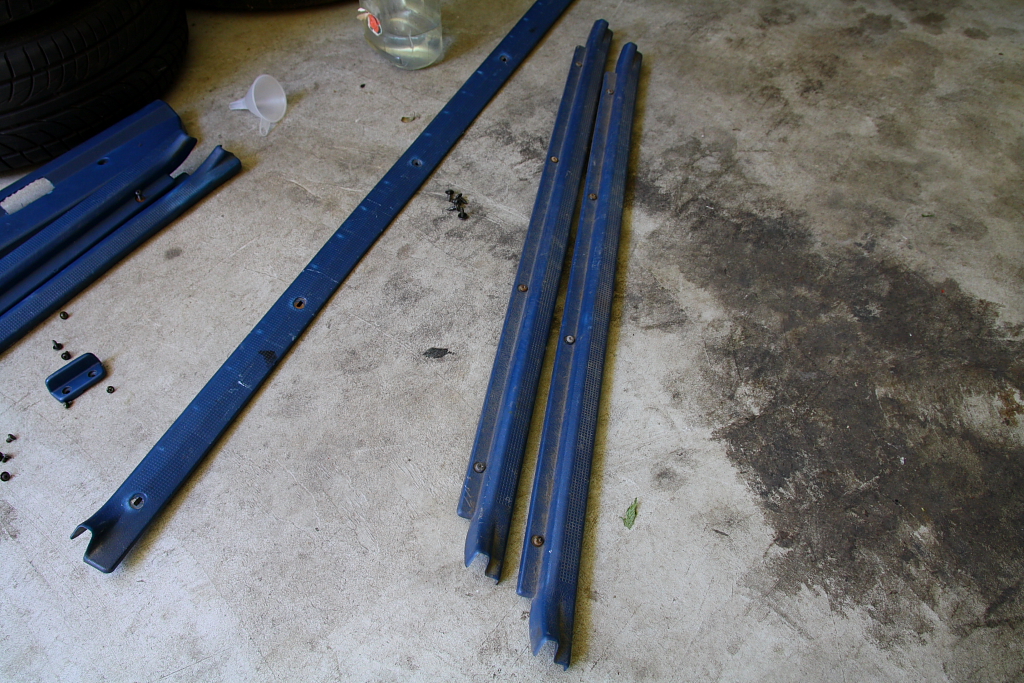
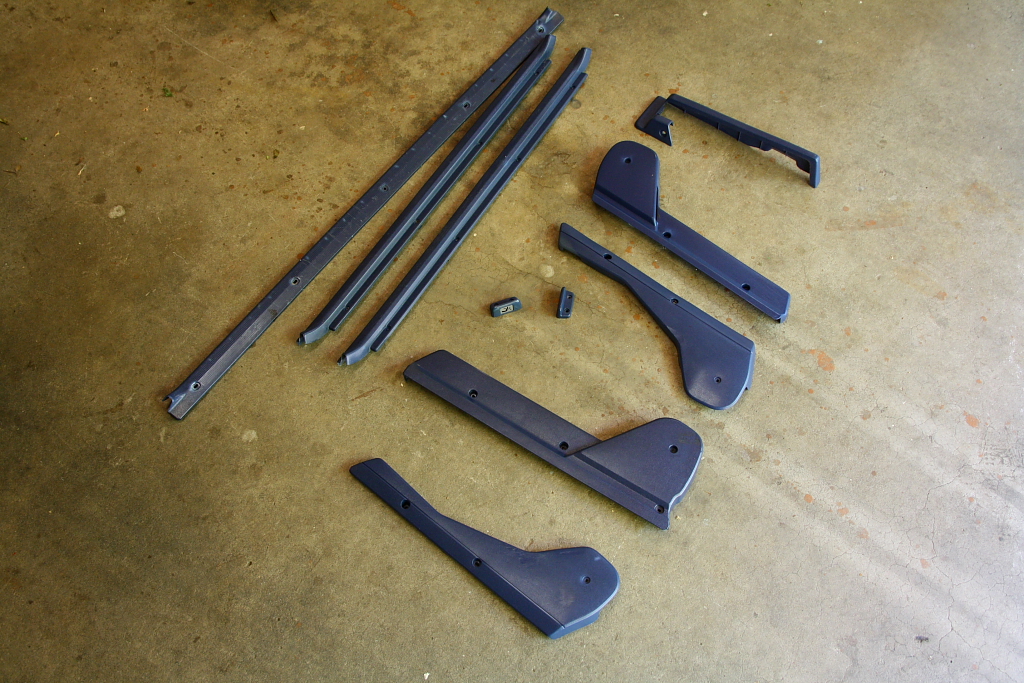
Then got onto tidying up these..
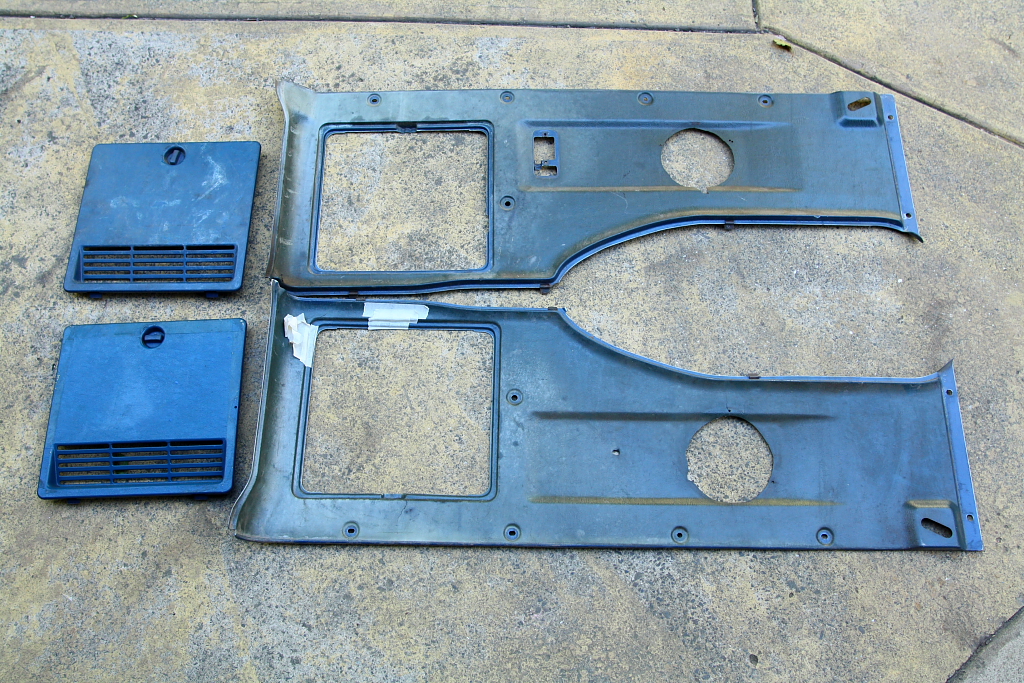
Tape is over the cracked areas, as I added a bit of silicone behind to try and support these spots.
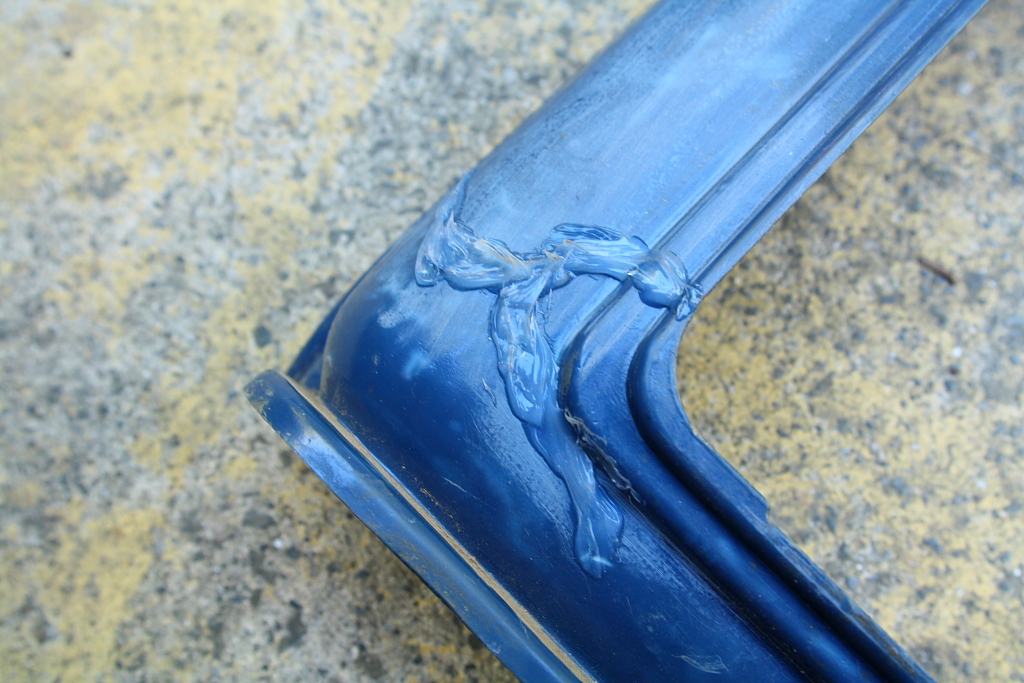
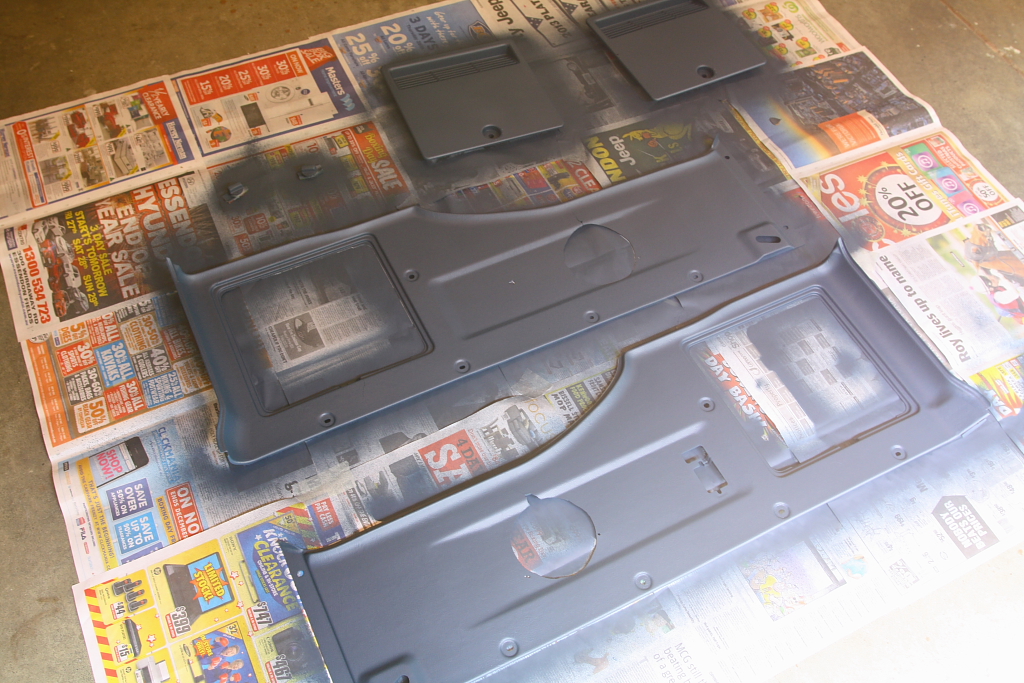
Took all the clips and bits off, scrubbed them with hot soapy water, prepsol, then time for paint.
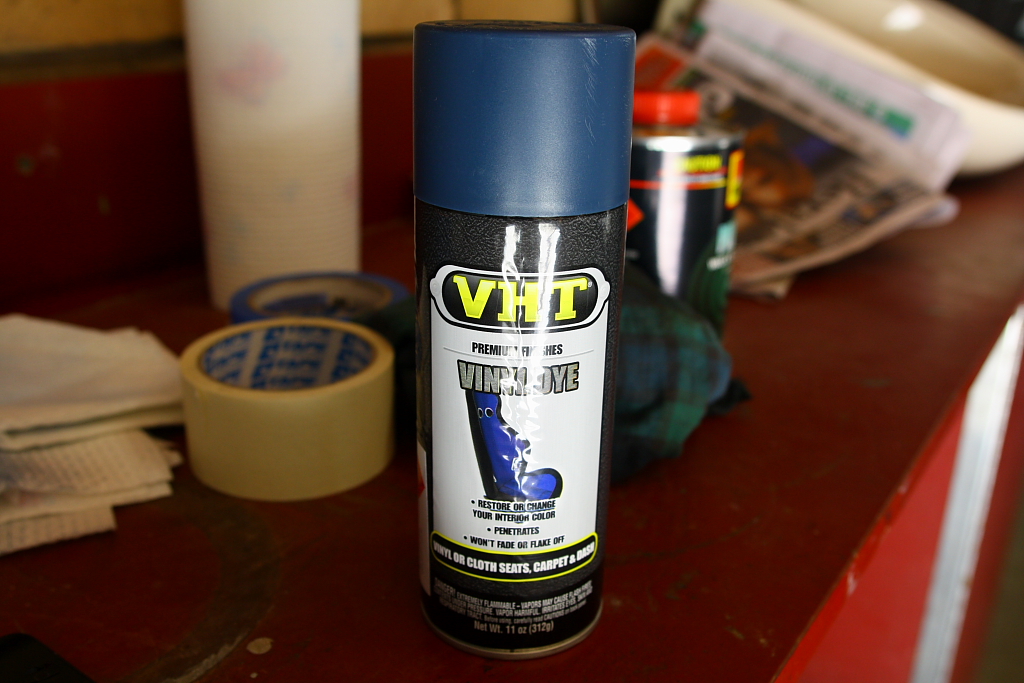
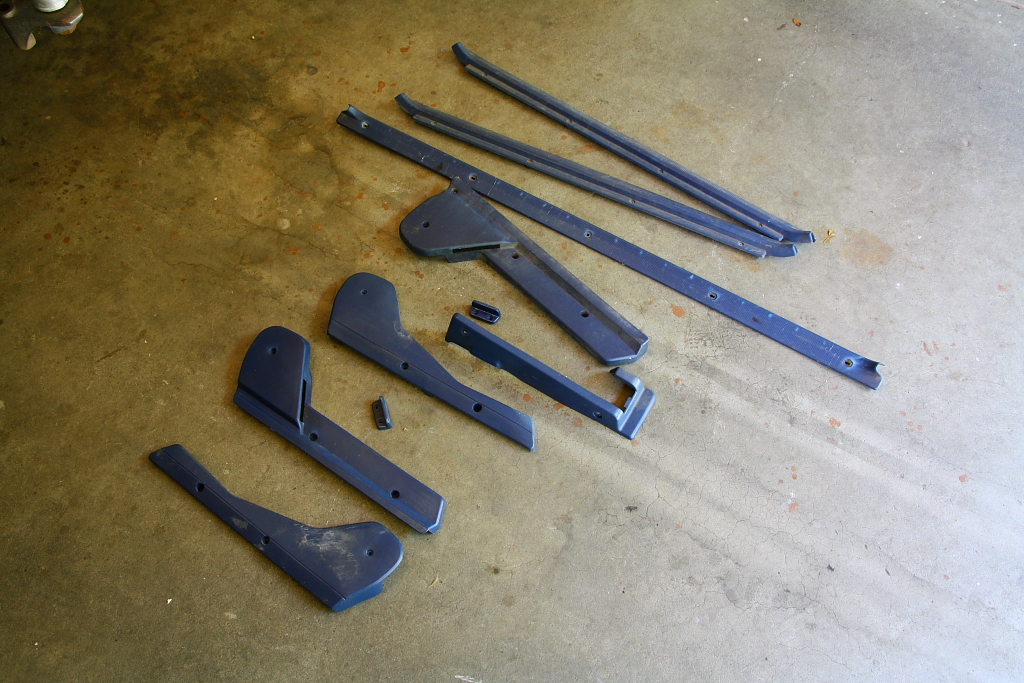
Suprisingly fantastic match for 80's-Japanese-interior-plastic Blue.
..and all back together:
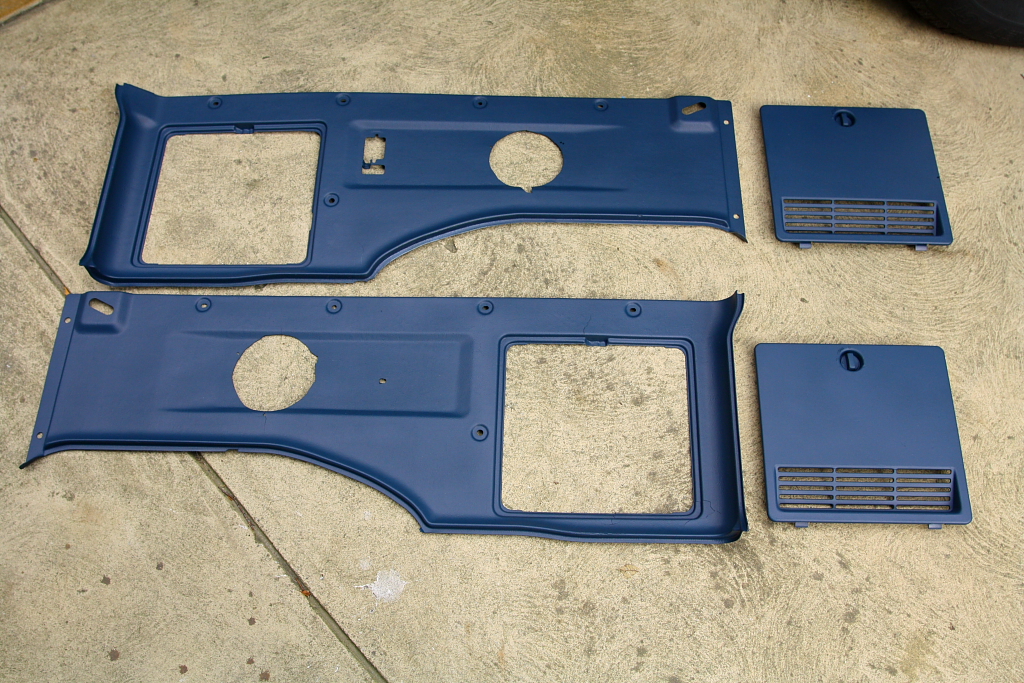
Really stoked with how well they turned out. They're obviously still pretty cracked/cut/broken, but so much nicer than what i had (which also had shattered to pieces when trying to remove..!)
Then got stuck into the paint. Serious elbow grease applied here...
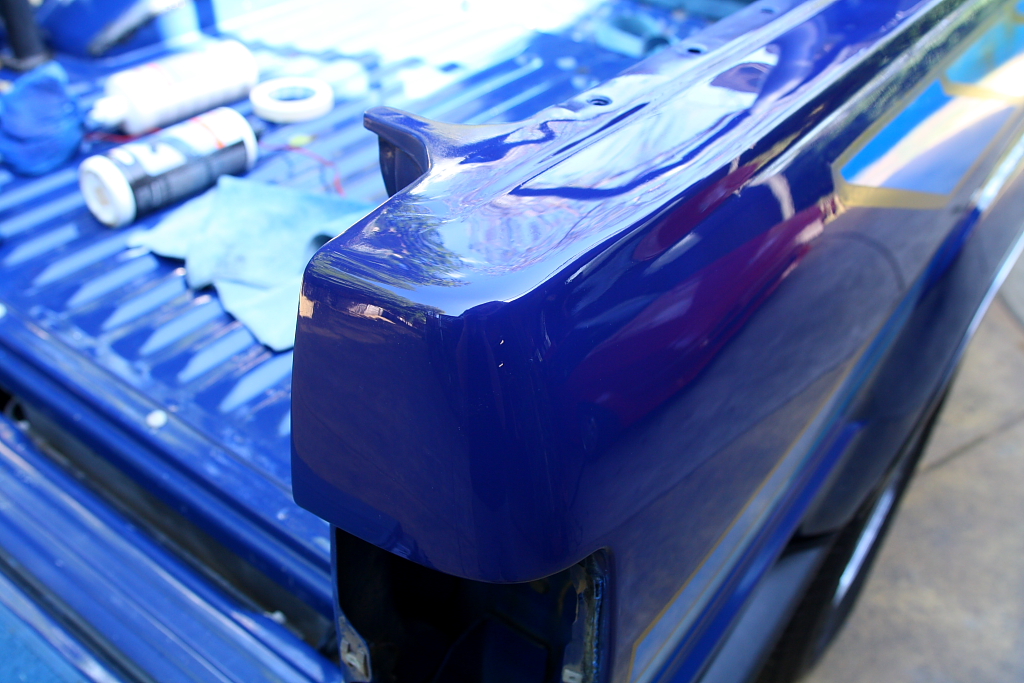
Got a heap of rubthroughs, and its all a bit wobbly; but I don't mind. All a bit of character I guess!
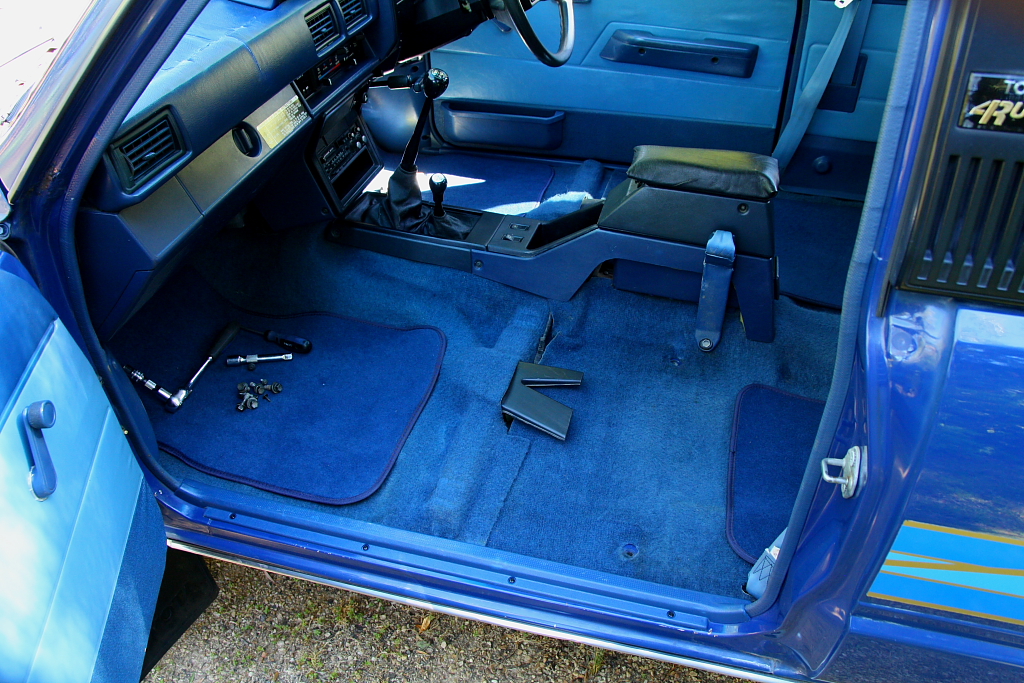
Going back together...
No troubles.. just cleaned as i went..
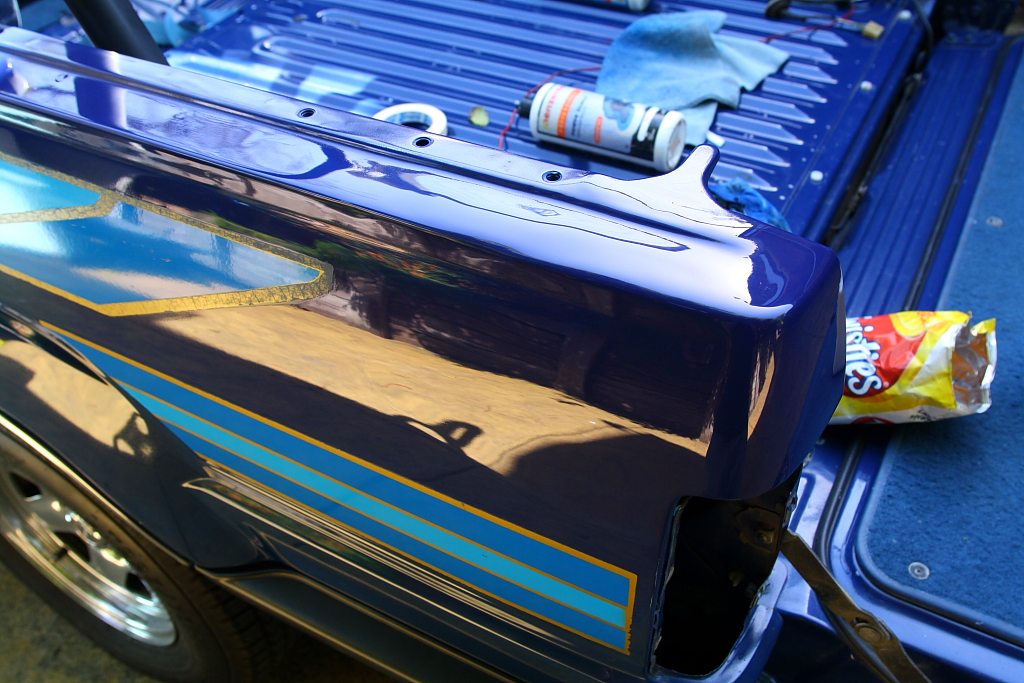
All done, and a couple quick shots nearby.
Colour match is pretty terrible, but its all shiny and clean, inside/out.. so I'm stoked.

All in all, that was a hell of a lot of work. Would have been great if I had welded in repair sections, but I don't have a welder, let alone any skill at welding!
I did my best, and with any luck, will last the car until everything else falls apart!
All for now.
Have actually been working on this flat-out over the last week, since I have a couple weeks off over Christmas.
Got stuck into cleaning up the upper rear quarters, sorting out that rust where it meets the canopy. Now rust-repairs and bodywork are sure-as-hell not my forte; but the full chassis makes the rear body/tub a totally non-structural area.. so I was happy to simply clean it up the best I can.
One last pic of the canopy, before it comes off for (hopefully) a long time..
Theres that rust again..
Stripped the back half of the car:
It looks as though there's been a couple go's at this already. Once thorougly, then a couple lazy patch jobs. I needed to get rid of ALL that garbage before having my go at it..
Wheeled all the junk off..
Painted all the inside rust areas with POR15, then a regular rust converter on the outside areas I need to work with..
Used tape behind any smaller holes, to stop bog forcing through. Good quality tape means I could then peel it back off, and have a nice neat inside surface to add another coat of POR15.
Because the upper tower section supports the tailgate when its down, I riveted in sections of gal to tie it all together again.
after what would have been a solid 2-3 days of bog/sand/bog/sand/bog/sand...
that. took. time..!
Etched primed, then a grey primer..
Carfully masked off the decals, then on went a single-stage acrylic blue. Because any good paint shop was closed at the time, I got this paint mixed up by a regular parts store to the 8A1 Medium blue paint code...
.. Turns out its VERY wrong..! haha... its near enough purple compared to the original blue. oh well...
The paint dries matte. Lot of polishing ahead of me at this point..!
While giving the paint time to dry over the next day or so; I added the second lot of POR15 over the upper inside areas.. to add a shell over everything I'd done.
I then added fish oil over all the cavities. with any luck, rust will have a bit more trouble starting this time round!
Then got onto tidying up these..
Tape is over the cracked areas, as I added a bit of silicone behind to try and support these spots.
Took all the clips and bits off, scrubbed them with hot soapy water, prepsol, then time for paint.
Suprisingly fantastic match for 80's-Japanese-interior-plastic Blue.
..and all back together:
Really stoked with how well they turned out. They're obviously still pretty cracked/cut/broken, but so much nicer than what i had (which also had shattered to pieces when trying to remove..!)
Then got stuck into the paint. Serious elbow grease applied here...
Got a heap of rubthroughs, and its all a bit wobbly; but I don't mind. All a bit of character I guess!
Going back together...
No troubles.. just cleaned as i went..
All done, and a couple quick shots nearby.
Colour match is pretty terrible, but its all shiny and clean, inside/out.. so I'm stoked.
All in all, that was a hell of a lot of work. Would have been great if I had welded in repair sections, but I don't have a welder, let alone any skill at welding!
I did my best, and with any luck, will last the car until everything else falls apart!
All for now.
01-04-2014, 01:45 PM
#15
Registered User
Great job. The Runner looks fantastic!
01-05-2014, 05:23 AM
#16
Registered User
Thread Starter
Join Date: Nov 2013
Location: Melbourne, Australia
Posts: 14
Likes: 0
Received 0 Likes
on
0 Posts
Cheers guys.
Added a softopper today..!
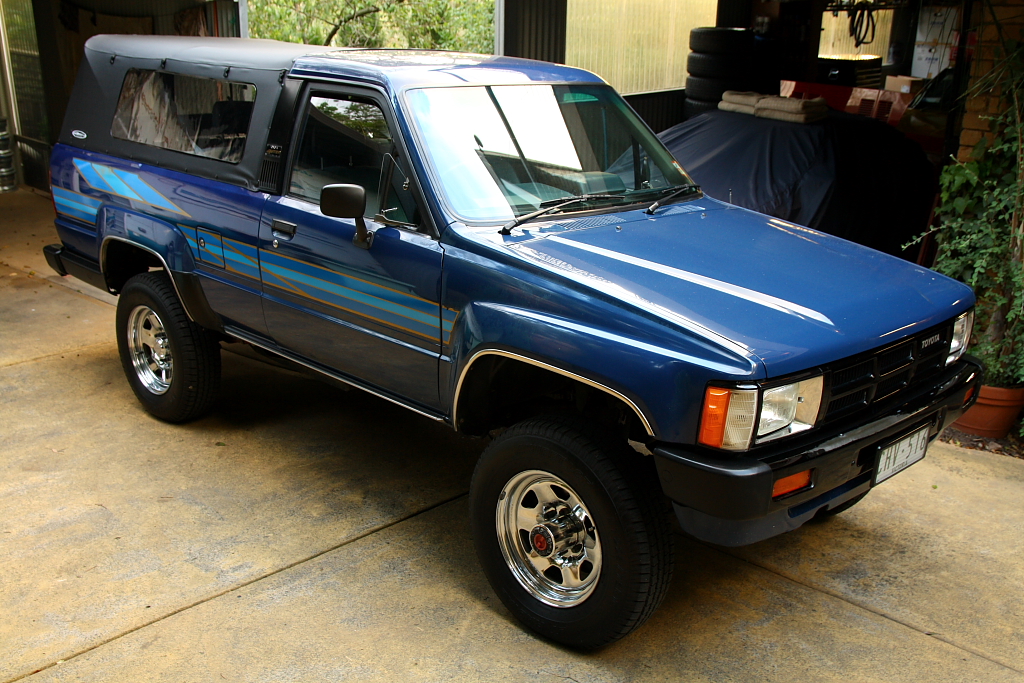
I had been planning on putting one of these on for a while, and having it waiting was added incentive to get the rust tidied up.
Couple more pics..
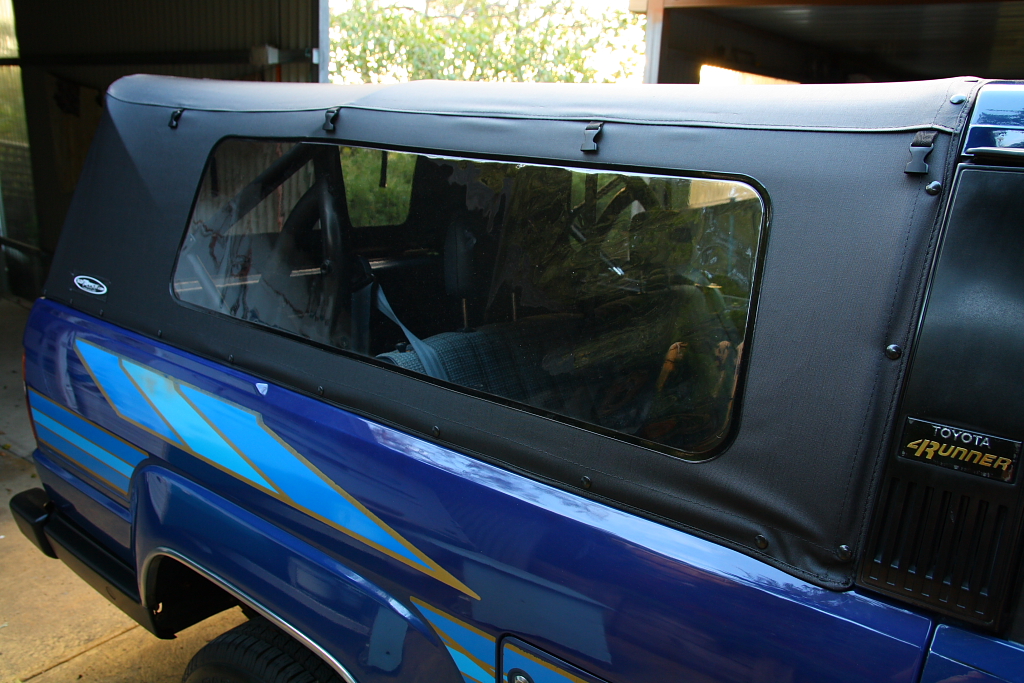
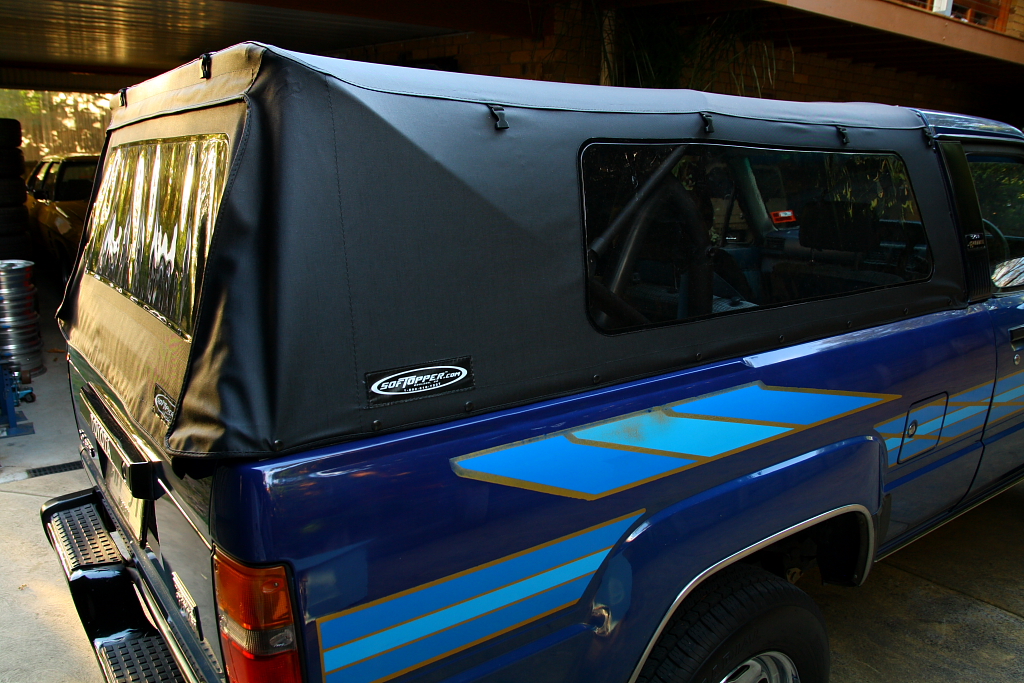

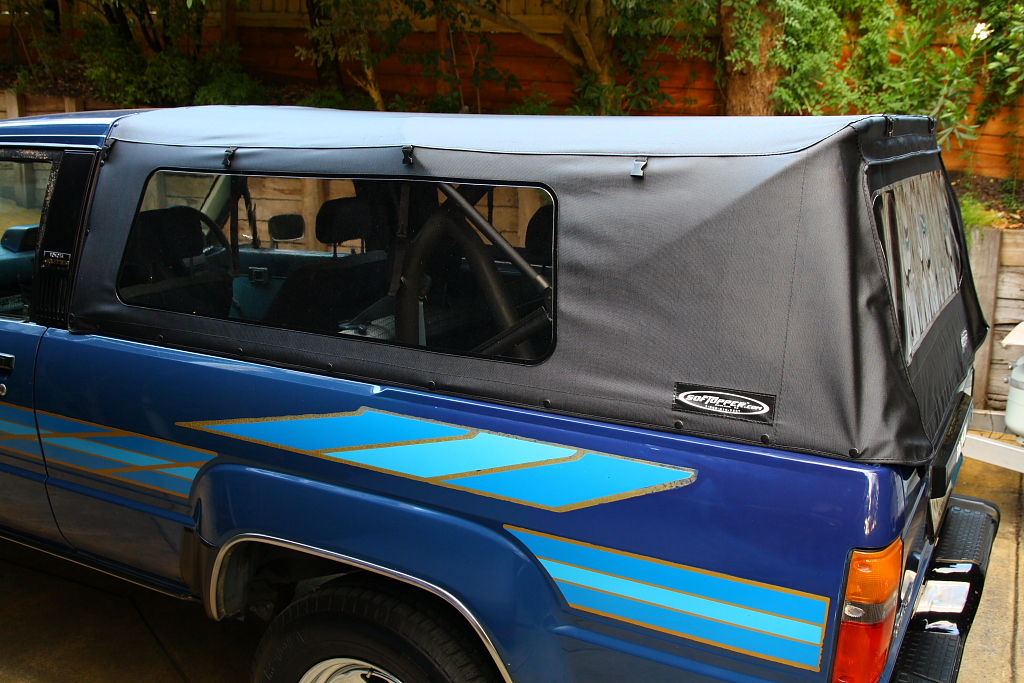
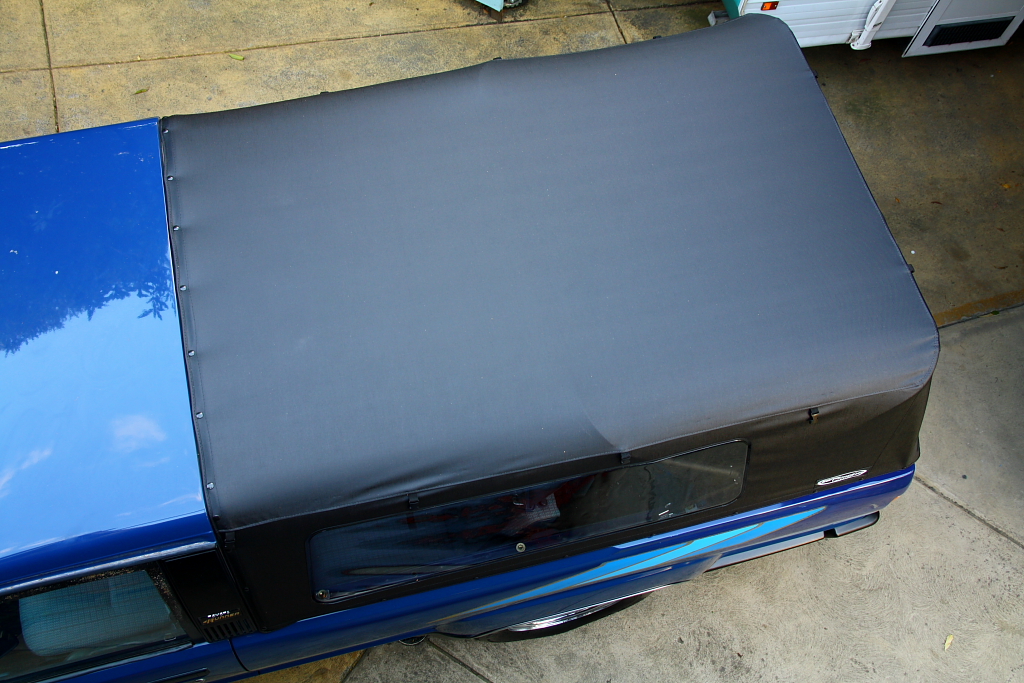
Looks great, fit great, and overall looks to be a quality bit of gear.
I'll see how it goes; but at this point - happy as.
Added a softopper today..!
I had been planning on putting one of these on for a while, and having it waiting was added incentive to get the rust tidied up.
Couple more pics..
Looks great, fit great, and overall looks to be a quality bit of gear.
I'll see how it goes; but at this point - happy as.
01-05-2014, 12:44 PM
#17
Super Moderator
Staff
iTrader: (1)
Join Date: Aug 2008
Location: Anderson Missouri
Posts: 11,788
Likes: 0
Received 21 Likes
on
19 Posts
A great looking runner you have. Then I seen then the 2.0 on it and really enjoyed seeing it. Diesels are something we cant get here. I have been to Perth and Fremantle. Never got to melbourne. Really enjoyed my time there.
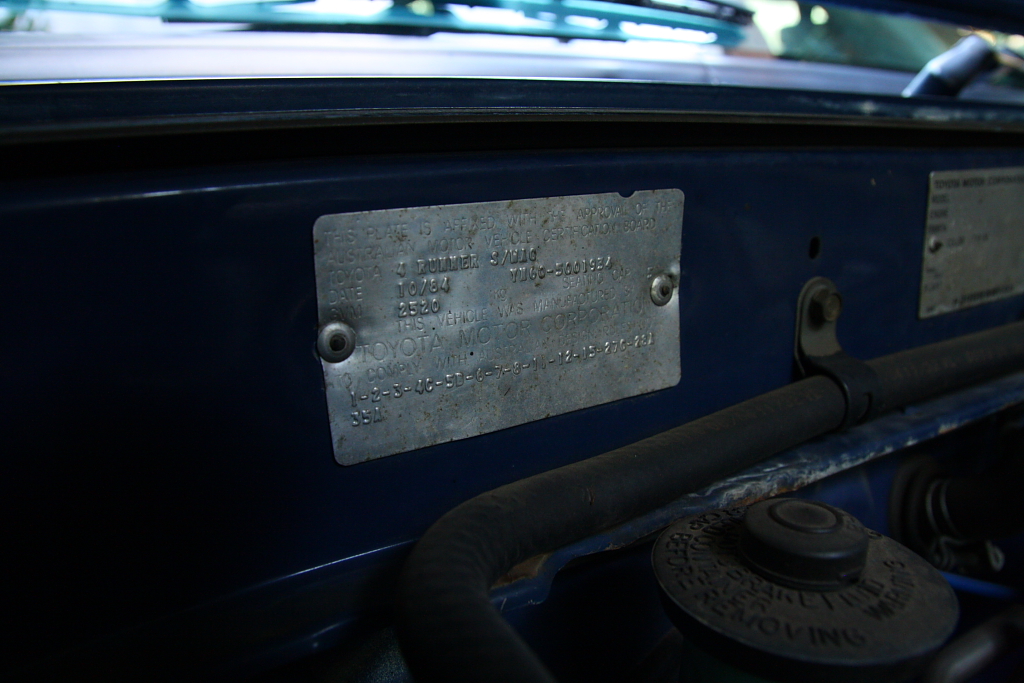
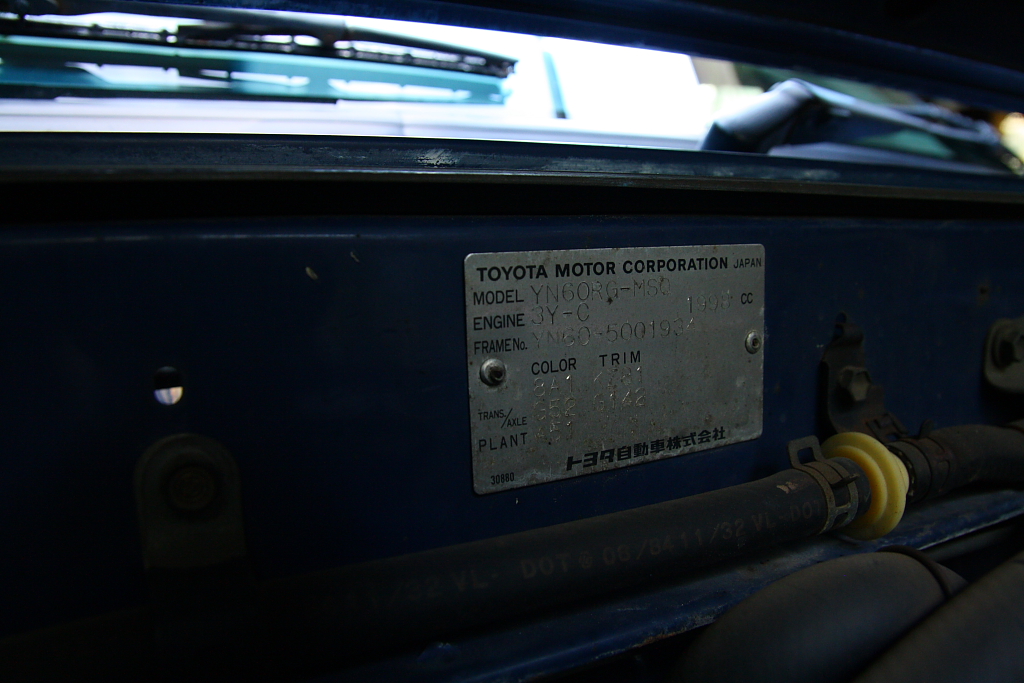
Liked seeing how they have different body tags for different coutries as well. Glad you posted it up.
Liked seeing how they have different body tags for different coutries as well. Glad you posted it up.
01-06-2014, 05:13 AM
#18
Registered User
Thread Starter
Join Date: Nov 2013
Location: Melbourne, Australia
Posts: 14
Likes: 0
Received 0 Likes
on
0 Posts
Strange the diesel was never offered there. It seems as though these early 4runners are 50:50 Petrol to Diesel here.
But the diesel was a 2.4L, not 2.0L - which means bad news for my runner - its actually the 3Y-C Petrol four.
Now to anyone that thinks their 22R 2.4Litre is slow, the 2.0L 3Y-C is a whole new world of terrible-progress. Its laugably aneamic, and no matter how much it tries, it just cant keep up with today's traffic.
Supposed 'performance' figures when new were 0-100kmh (~60mph) in 22seconds, a 21.8 second 400m (quarter mile), and around 130kmh flat-out.
..20-60kmh it just sort of meanders.. definitely in no rush!
..To then go back to the diesel again, my dad bought an Diesel 4WD twin-cab Hilux new in 1983, complete with Air-conditioning (assuming you weren't going any sort of incline).
..From what he tells me, the 2.0Litre Petrol is a rocket-ship by comparison..!


