Nothingbetters 85 pickup

 04-02-2014, 09:14 PM
#82
Registered User
Thread Starter
Join Date: Jul 2009
Location: Rocky Mtn. House AB, Canada
Posts: 727
Likes: 0
Received 1 Like
on
1 Post
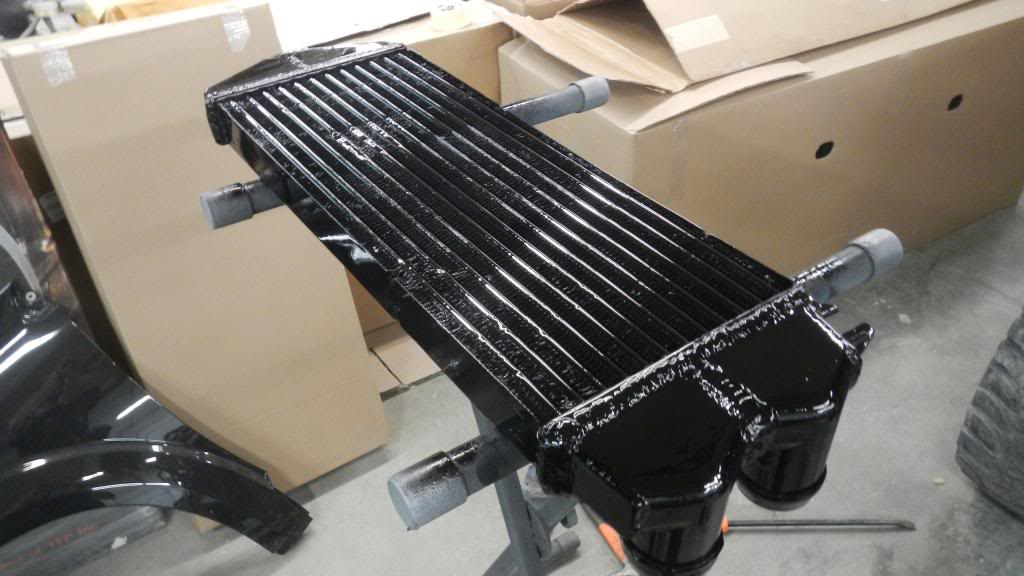
So I had a my copper/brass radiator re-cored with a core that was 4" longer in preparation for installing my front mount intercooler. I had him install an industrial core designed to take more vibration and abuse than a typical automotive rad. I mounted it using rubber caps that squeeze over the ends on the tank. The rubber caps are from a chev pickup. So this will hopefully stop me from ever cracking a core again. Maybe I'll remember to take pictures later.
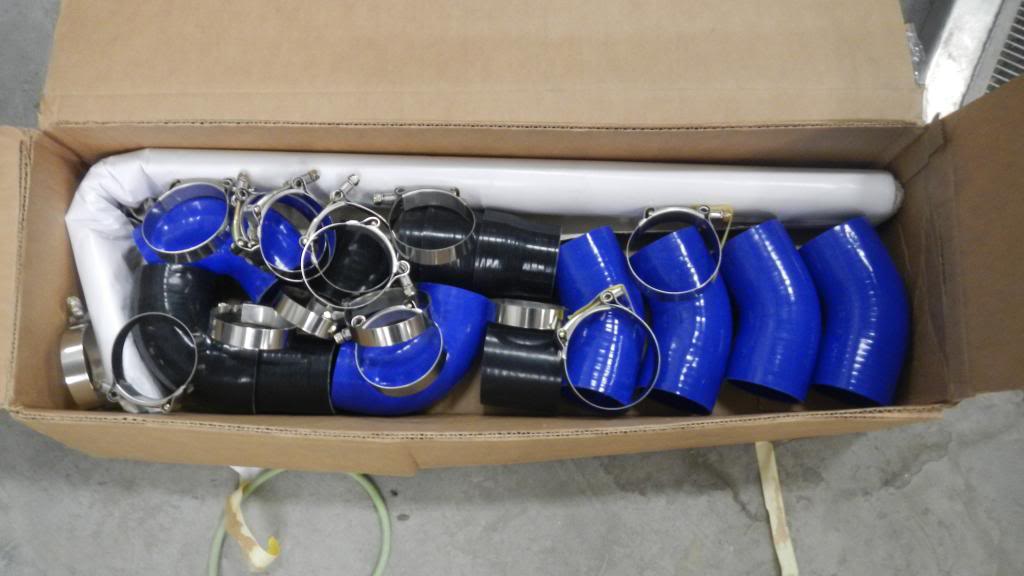
With the larger rad in place and my intercooler made. I spent $350 on cx racing.com and have a big box full of silicone couplers, t bolt clamps, and heat wrap coming my way.
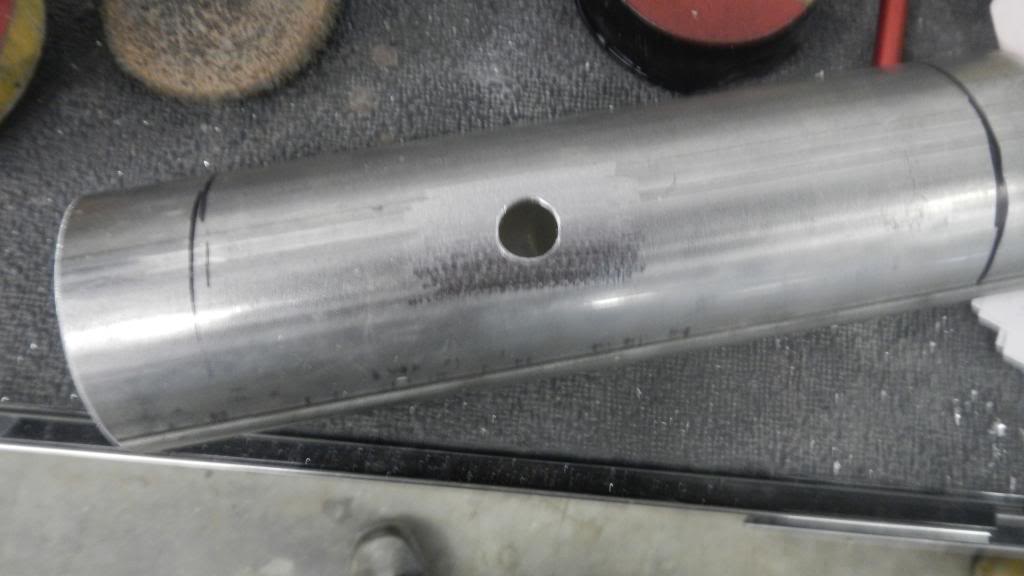
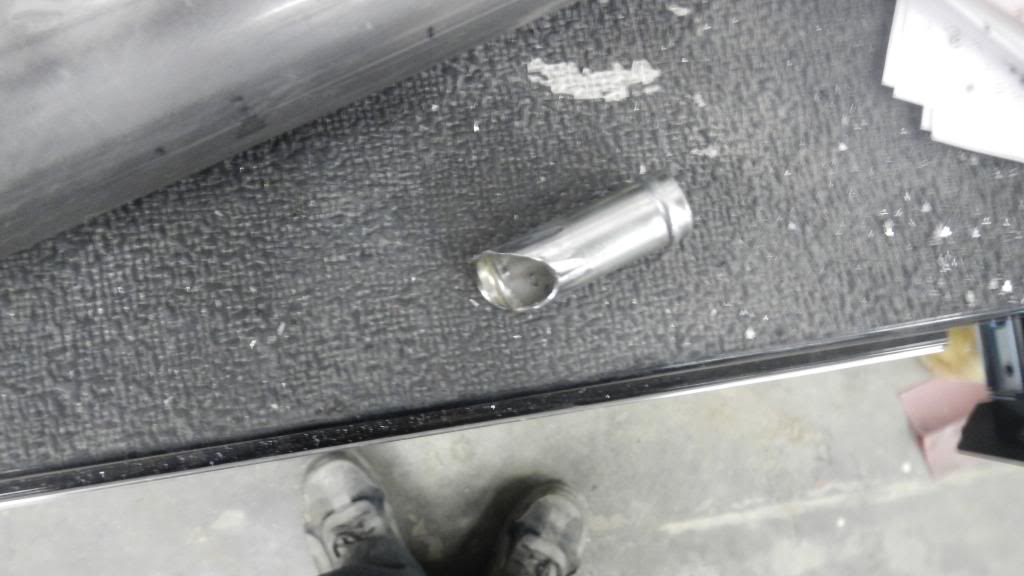
I've decided to go with 2.75" tubing as that is the size of my throttle body. I'm going to use galvanized exhaust tubing which I can get for $8 a foot at a local shop. I figure I'll need about 6 feet total.
Excited post to come shortly when I get my box of parts!
With the larger rad in place and my intercooler made. I spent $350 on cx racing.com and have a big box full of silicone couplers, t bolt clamps, and heat wrap coming my way.
I've decided to go with 2.75" tubing as that is the size of my throttle body. I'm going to use galvanized exhaust tubing which I can get for $8 a foot at a local shop. I figure I'll need about 6 feet total.
Excited post to come shortly when I get my box of parts!
04-15-2014, 09:27 PM
#83
Registered User
Thread Starter
Join Date: Jul 2009
Location: Rocky Mtn. House AB, Canada
Posts: 727
Likes: 0
Received 1 Like
on
1 Post
MY PARTS CAME IN!!!! Time to fire up the welder!
so after drooling over shiny parts for a night and dreaming about what I would do to them to make them all fit I dug in.
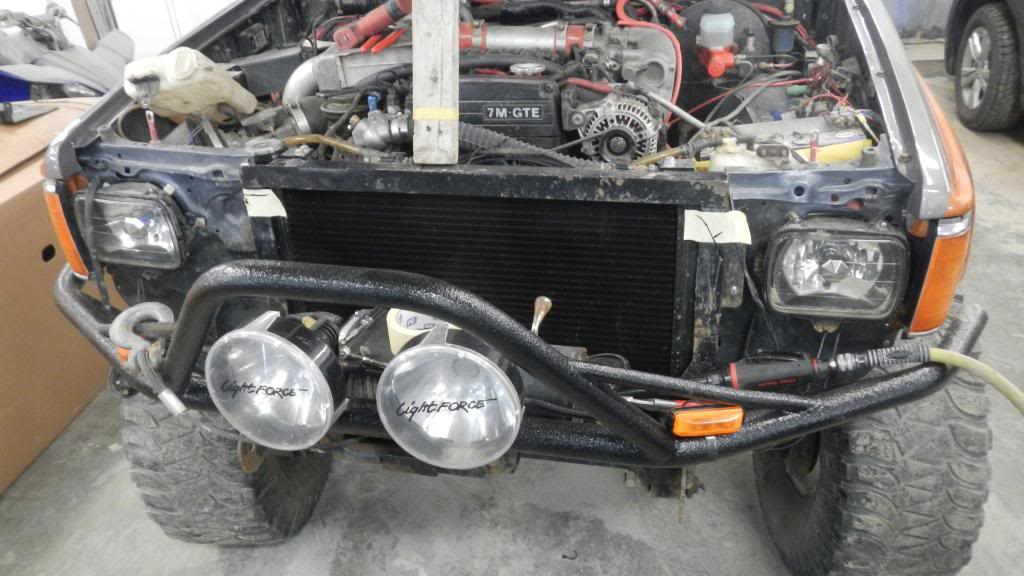
Before i forget, heres a picture of my longer rad installed like I promised.
First I needed to finish off my intercooler. With my longer rad installed I did a whole bunch of measuring, some guessing and welded on the mounts that came factory on the intercooler I destroyed. They are nice rubber mounts so it should stop the majority of vibration.
before welding
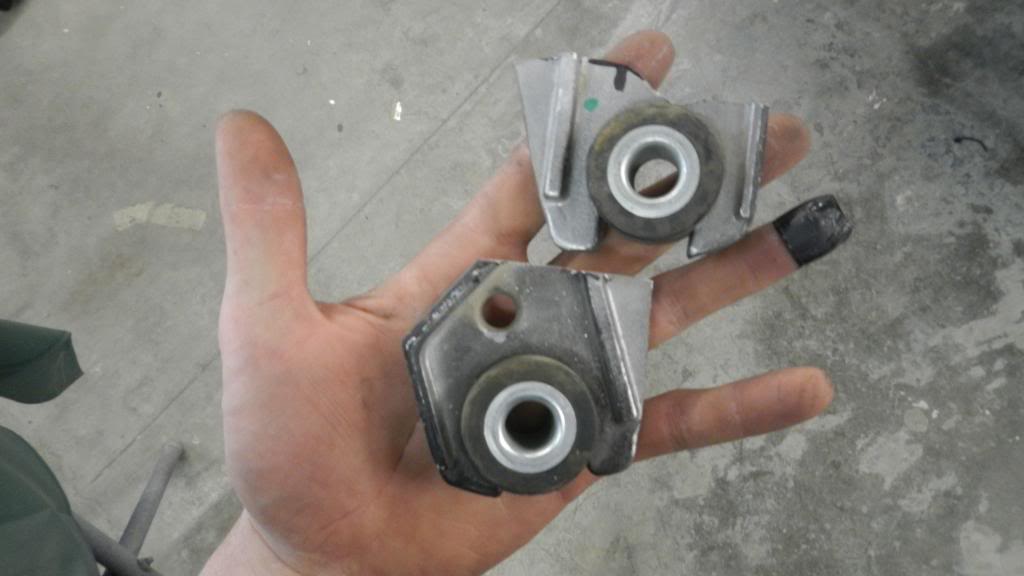
after welding

They may not be beautiful welds but I'm convinced its strong enough to hold on a chunk of aluminum.
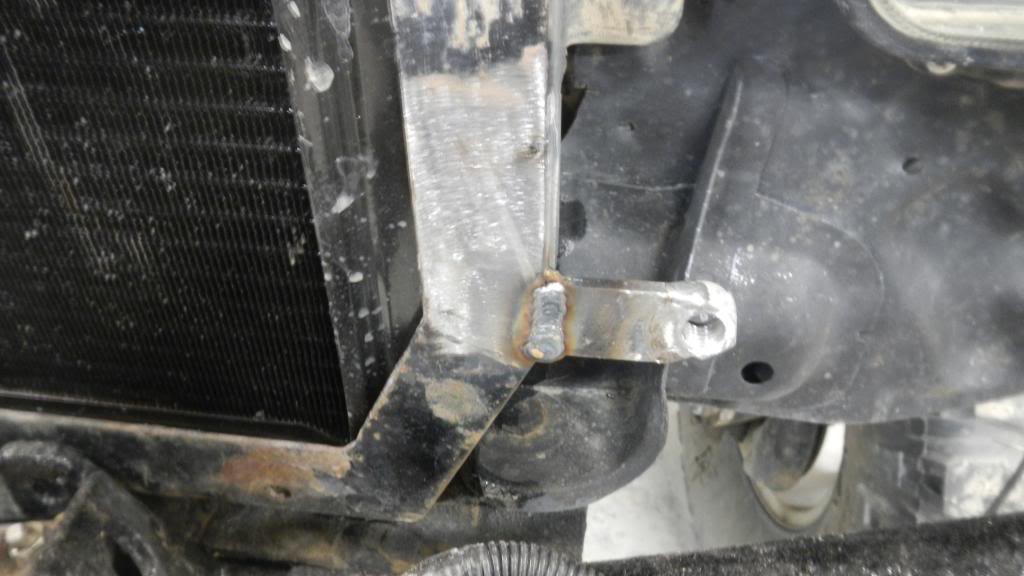
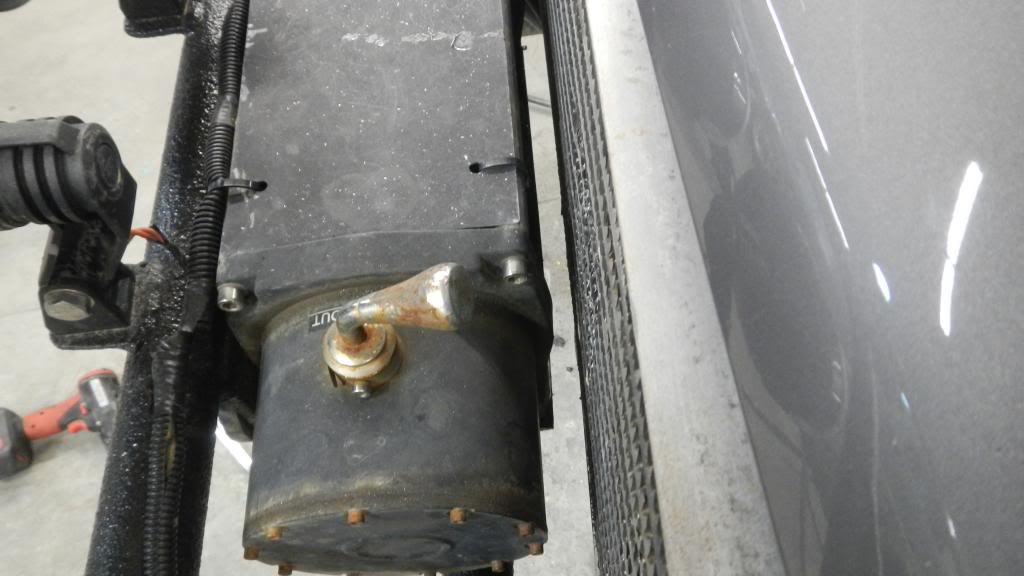
I then unhooked the spool gun, put the mig back together again and welded some mounts on my existing rad support. Nothing fancy, just a nut welded on a piece of steel.
With all of my mounts in place it was time to start cutting holes to make room for my piping to run. Its never quite as easy as it looks and I had to cut out a bunch of fender well steel on the engine side, but I'm pretty sure they put in too much from factory anyways. I also had to move my horn and washer fluid tank. Have to find room else where for those later.
before hole
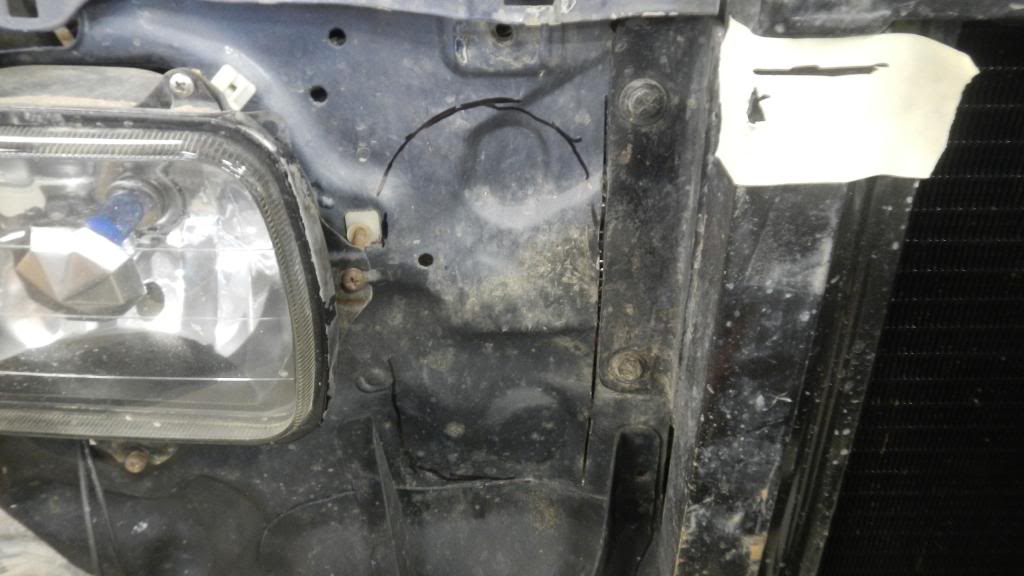
after hole

a bit more shaping and grinding and it will be a perfect fit.
with all the dirty stuff done I test fit the intercooler again just to be sure.
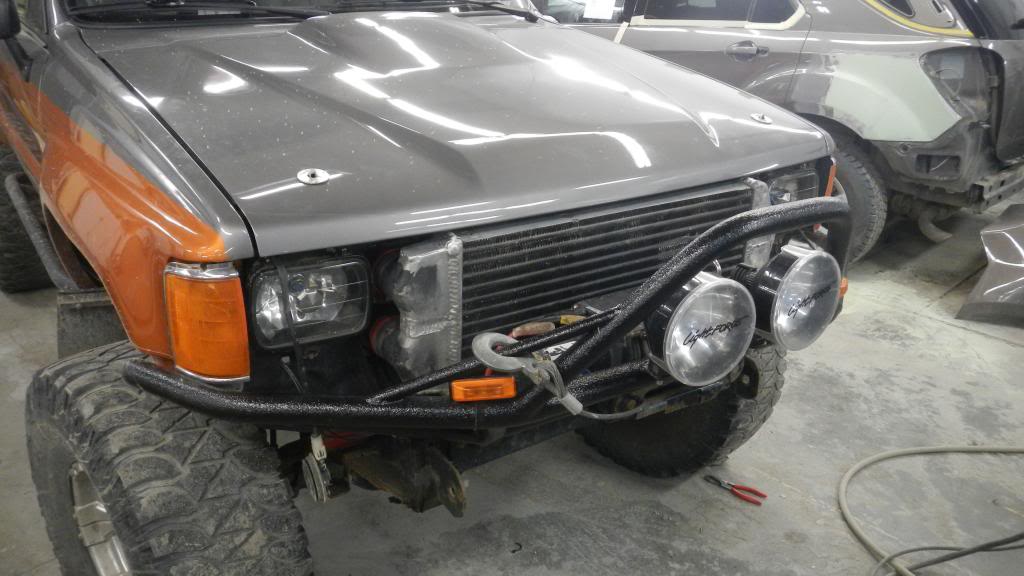
fitting nicely, just as planned. And now its time to paint it!
Shiny as ever. Let it sit over night to dry and then its time to get to that piping.
so after drooling over shiny parts for a night and dreaming about what I would do to them to make them all fit I dug in.
Before i forget, heres a picture of my longer rad installed like I promised.
First I needed to finish off my intercooler. With my longer rad installed I did a whole bunch of measuring, some guessing and welded on the mounts that came factory on the intercooler I destroyed. They are nice rubber mounts so it should stop the majority of vibration.
before welding
after welding
They may not be beautiful welds but I'm convinced its strong enough to hold on a chunk of aluminum.
I then unhooked the spool gun, put the mig back together again and welded some mounts on my existing rad support. Nothing fancy, just a nut welded on a piece of steel.
With all of my mounts in place it was time to start cutting holes to make room for my piping to run. Its never quite as easy as it looks and I had to cut out a bunch of fender well steel on the engine side, but I'm pretty sure they put in too much from factory anyways. I also had to move my horn and washer fluid tank. Have to find room else where for those later.
before hole
after hole
a bit more shaping and grinding and it will be a perfect fit.
with all the dirty stuff done I test fit the intercooler again just to be sure.
fitting nicely, just as planned. And now its time to paint it!
Shiny as ever. Let it sit over night to dry and then its time to get to that piping.
04-15-2014, 09:41 PM
#84
Registered User
Thread Starter
Join Date: Jul 2009
Location: Rocky Mtn. House AB, Canada
Posts: 727
Likes: 0
Received 1 Like
on
1 Post
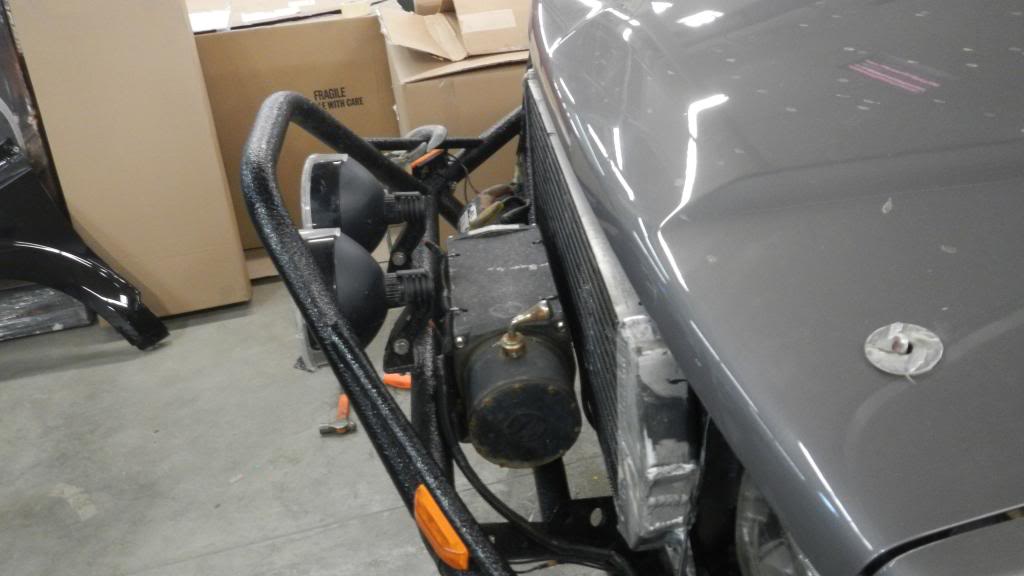
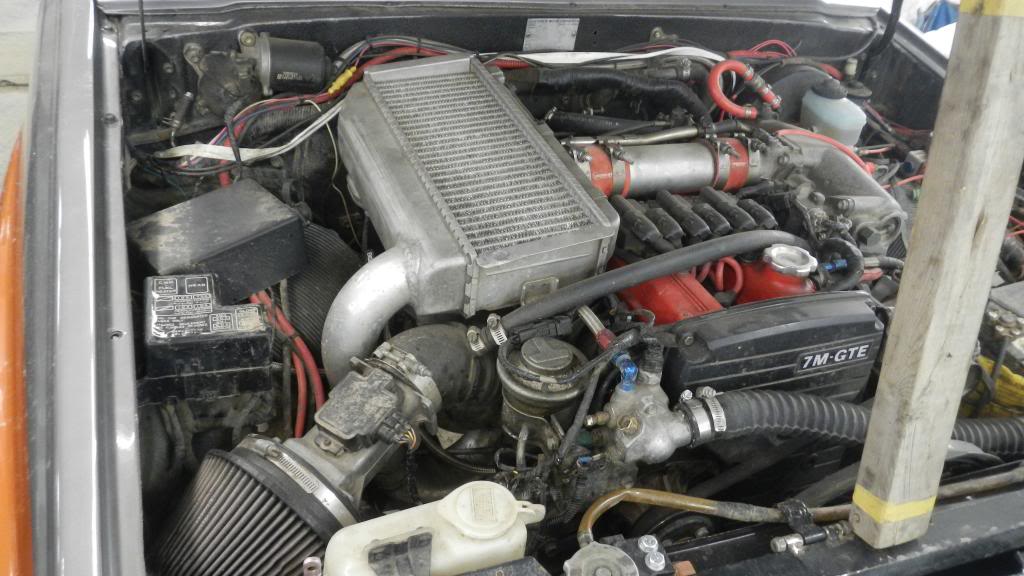
So with more guessing and less measuring I started on the intercooler piping. Time to get rid of that filthy heat soaking top mount...finally. I'm going to call this a "before" picture.
SO I pulled all the old piping out and started piecing it together. Once again, I am using 2.75" tubing. The intercooler has a 3" inlet and outlet and the turbo has a 2" outlet. A few reducers some 45 degree bends and my lower tube just squeezes between the inner fender well and the ugly, annoying, leaky rad hose.
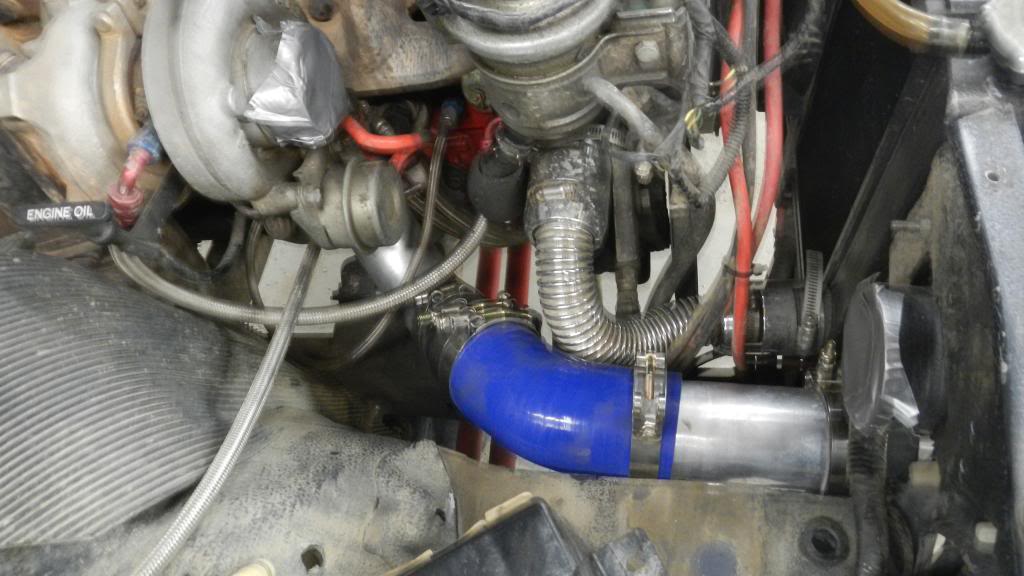
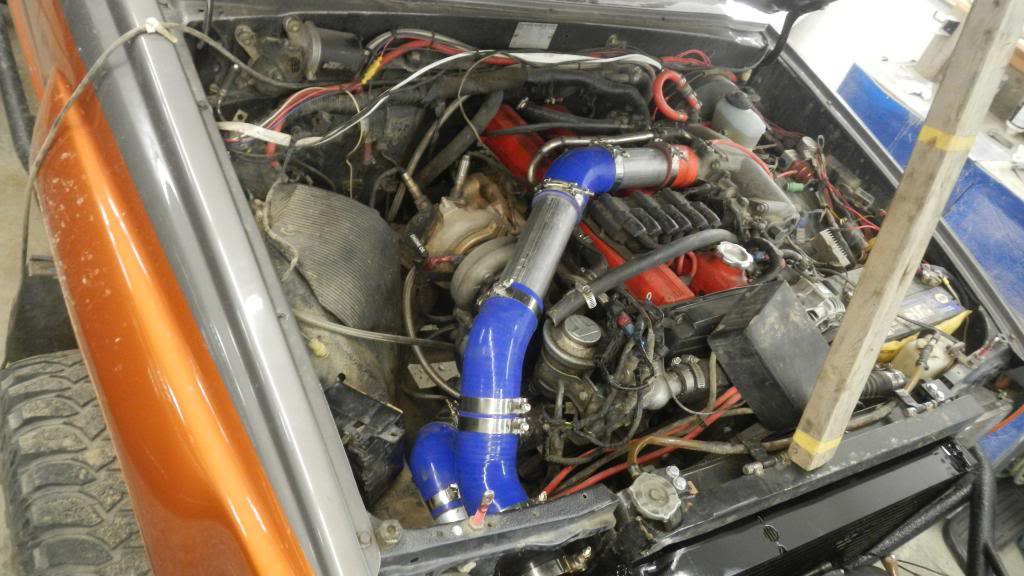
Then the upper in the same fashion. I sure am glad I ordered that extra 45 degree bend. It would have been quite the challenge getting everything to line up without it.
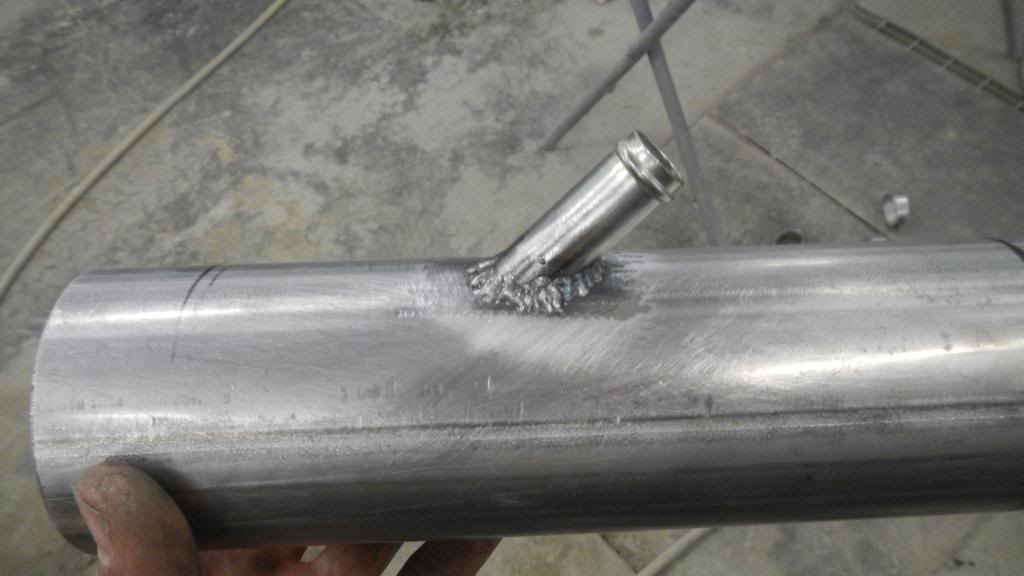
next up was to weld on a port for my Idle air control valve.
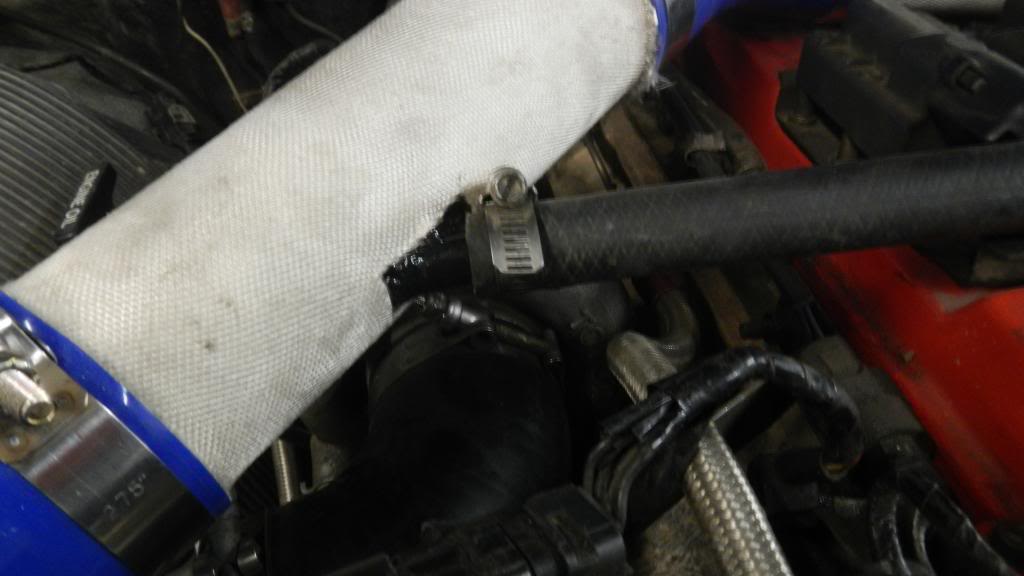
then I threw on a wrap of some heat tape and hooked everything back up.
SO I pulled all the old piping out and started piecing it together. Once again, I am using 2.75" tubing. The intercooler has a 3" inlet and outlet and the turbo has a 2" outlet. A few reducers some 45 degree bends and my lower tube just squeezes between the inner fender well and the ugly, annoying, leaky rad hose.
Then the upper in the same fashion. I sure am glad I ordered that extra 45 degree bend. It would have been quite the challenge getting everything to line up without it.
next up was to weld on a port for my Idle air control valve.
then I threw on a wrap of some heat tape and hooked everything back up.
04-15-2014, 09:59 PM
#85
Registered User
Thread Starter
Join Date: Jul 2009
Location: Rocky Mtn. House AB, Canada
Posts: 727
Likes: 0
Received 1 Like
on
1 Post
Along with this I took out the factory "accordian hose" that connects the AFM to the turbo and replaced it with a simple Silicone 90 degree bend. Long term plan is to get a fresh air system pulling air in from under the cowl. But for now I just beat my fender well with a hammer until I had enough room for my air filter.
I unhooked my pcv system and am letting it vent to atmosphere for the time being.
I'm not sure how I feel about the blue silicone. it was the only colour they had available right now. If I get sick of it I'll just wrap electrical tape of whatever colour I want around it.
Initial impression. It was terrible to drive. No boost, hardly idled, sputtering. So I tightened up a forgotton hose clamp and tried again. Take 2: much better. I have lost a fair bit of boost pressure due to the larger area to fill and the higher amount of friction from more surface area. I was running 10-12psi before the swap and now I hit 7-8psi at 3000rpm and by the time I get to 6000rpm its down around 3psi. Still goes plenty fast enough. As far as I can tell the only way around this would be to cut down my cooler, upgrade the ct-26 with a different trim level or go t3/t4.
On the positive side of things, I have more power off boost. Hills that were borderline needing boost to pull up before I now pull with 3-4 inches of vac. My idle vac has also increased, it was 17-18inches, now it bounces between 19-20. My egts have lowered driving at highway speed. And best of all, I no longer hear slight detonation at low boost. Sounds like a successful upgrade to me.
My only concern right now is if the cooling system is up to the task of having this cooler infront of it. So far its been fine. But it also right around the freezing mark most days. I'll likely change my thermostat to one of those fancy "high flow" models to test out.
I'll deal with that stuff in May. Untill then, I'm going skiing in Alaska!
Last edited by nothingbetter; 04-15-2014 at 10:03 PM.
04-15-2014, 10:12 PM
#86
Registered User
Thread Starter
Join Date: Jul 2009
Location: Rocky Mtn. House AB, Canada
Posts: 727
Likes: 0
Received 1 Like
on
1 Post
on another tangent, I figured the intercooler would look barren and empty so I have one of these ordered. An extra $5 for shipping to Canada. I should probally start preparing myself for the "what does that mean" questions
http://woytovich.com/cruisers/designworks/teq_badge/
Edit: looks like I'm a lucky guy, I probally snagged the last red one.
http://woytovich.com/cruisers/designworks/teq_badge/
Edit: looks like I'm a lucky guy, I probally snagged the last red one.
Last edited by nothingbetter; 04-15-2014 at 10:13 PM.
04-16-2014, 08:10 PM
#89
Registered User
Thread Starter
Join Date: Jul 2009
Location: Rocky Mtn. House AB, Canada
Posts: 727
Likes: 0
Received 1 Like
on
1 Post
I'm not sure yet. I'll probally decide a month before like last year. Plans for the show? Can I bring cruiser friends? Do they need fiberglass to apply? Make an event thread about it?

Thread
Thread Starter
Forum
Replies
Last Post
jasonty
Pre 84 Trucks (Build-Up Section)
41
12-23-2018 01:00 PM
GreatLakesGuy
The Classifieds GraveYard
8
09-04-2015 09:27 AM


