csuviper's Junktrk (84 Yota Pickup) Build
 07-17-2011, 06:59 AM
#1
csuviper's Junktrk (84 Yota Pickup) Build
SOLD 

1984 Toyota Pickup
Purchased February 2011.
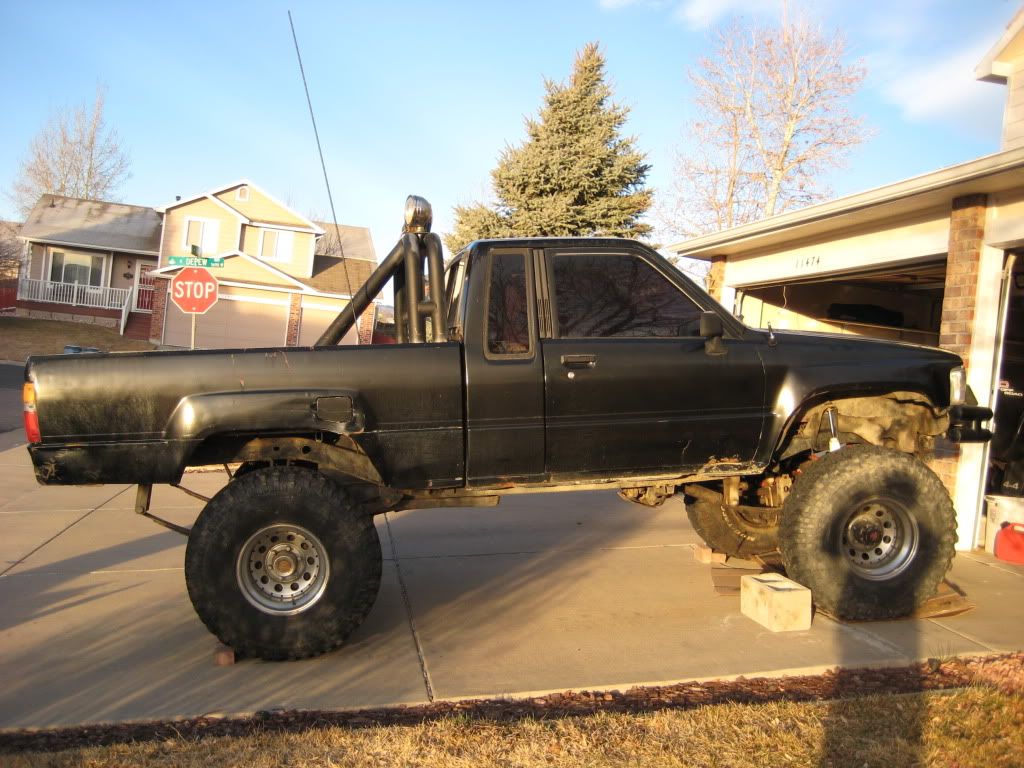

I purchased the truck with the following items (kinda????)
� 6� Skyjacker lift
� 35x12.5 BFG MT�s
� Warn Winch
� 5:49 Gears (I didn�t think about it but after purchasing I couldn�t find this as a viable gear ratio)
� Detroit Locker in the rear
� MSD ignition
� Smittybuilt rollbar and front bumper
� CB radio
� Tool Box
When I test drove the truck, it was running rough and had a wobble when driving. Rough shape to the body and rust here and there. The interior didn't look the best but could be cleaned up. Got a good deal on it (so I thought at the time) so I purchased and took it home.
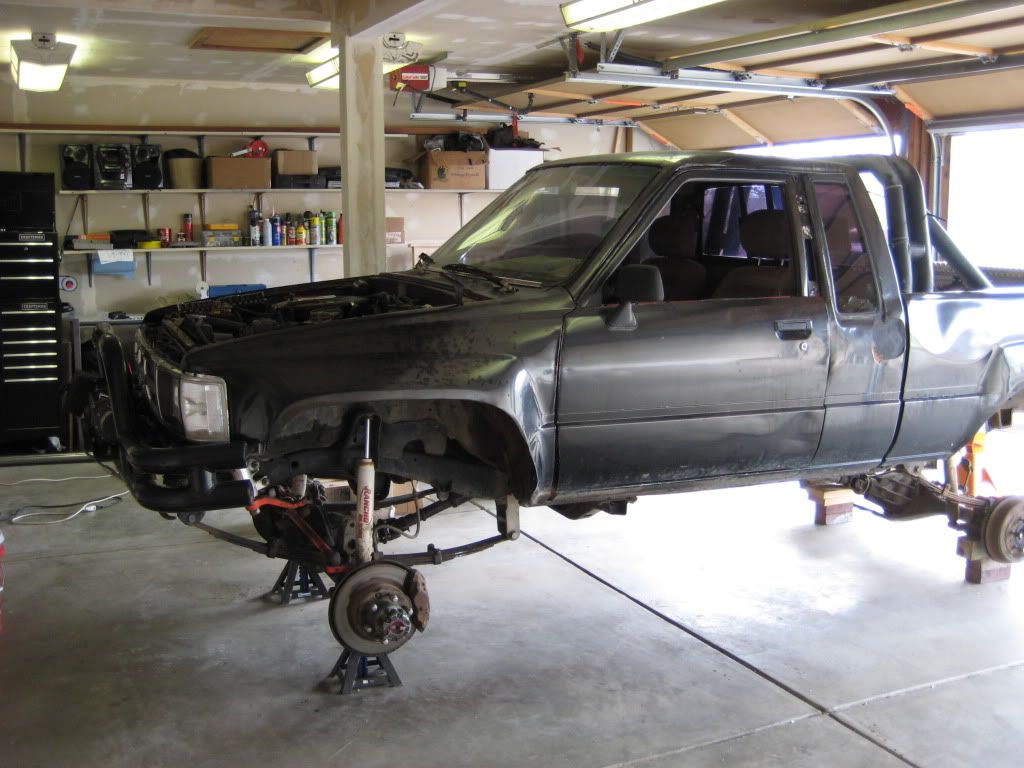
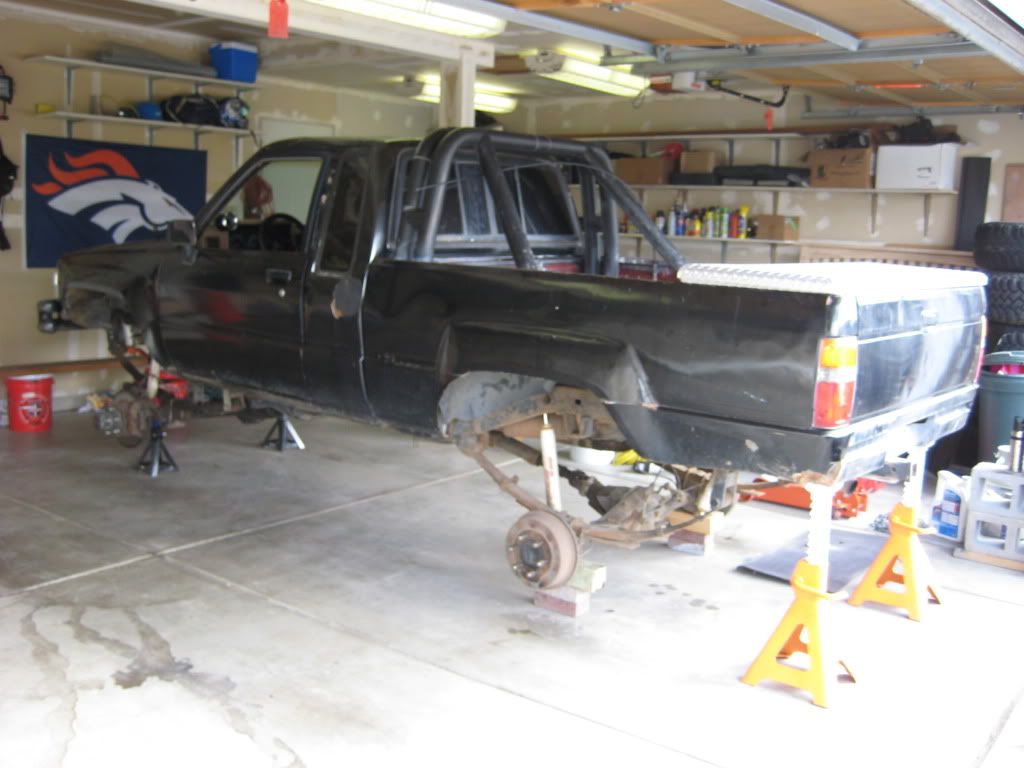
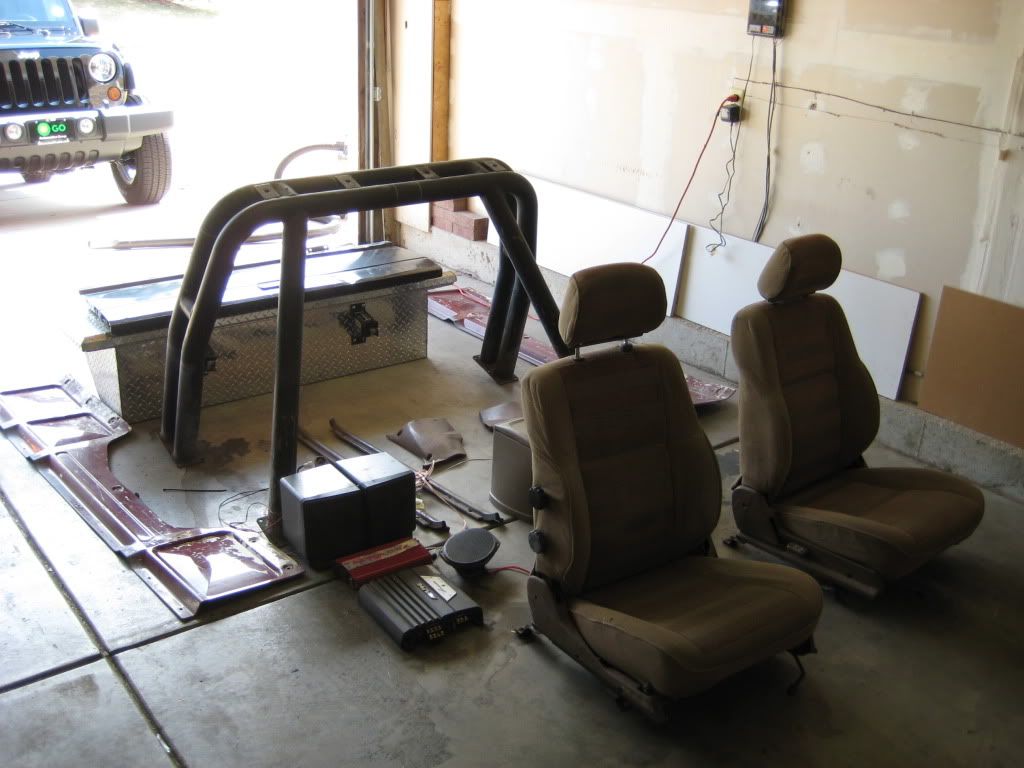
This adventure started shortly after getting it in the garage with cleaning the carb to attempt to get the emissions done before I take it down for rebuild. I realized that this wasn�t going to work since oil was leaking everywhere and the engine wasn't running well. Attempts at adjusting the timing really didn�t work and it was suspected that the timing chain skipped a tooth. I soon took the truck down and put it up on jack stands. Instead of choosing a task to tackle and complete, I decided to attack the whole truck at once. It started by removing the wheels, bed box, roll bar, tailgate, bed sides, seats, door liners and interior electronic components.
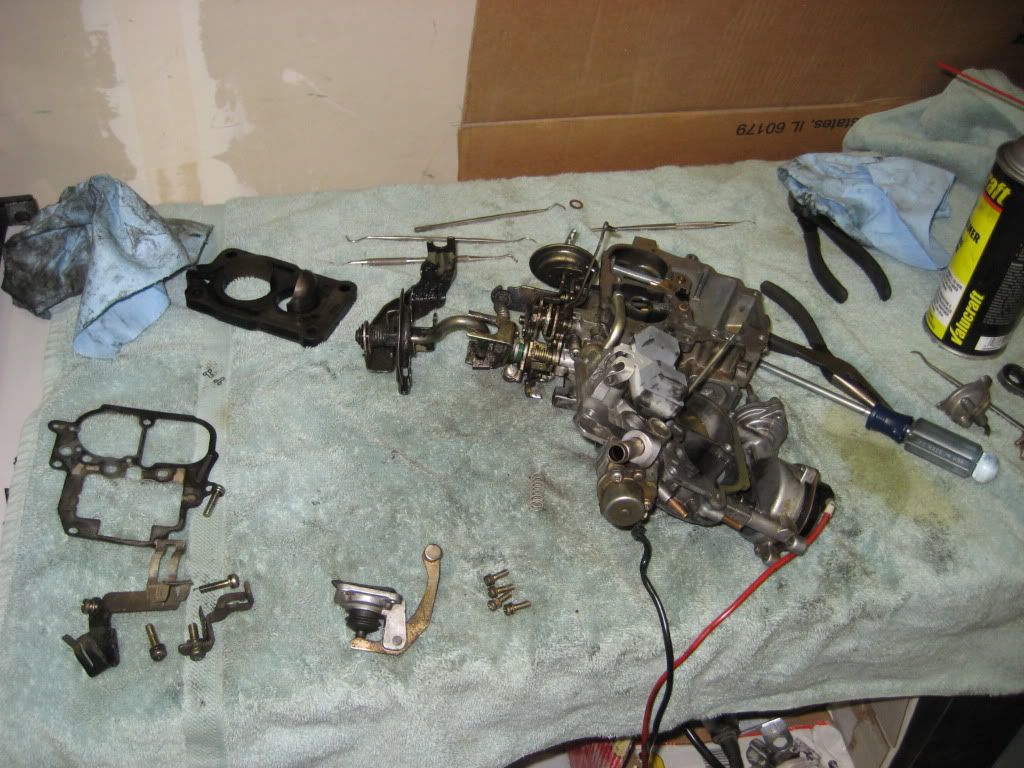
Carb Cleaning (Not Rebuild)
The carb came off easy. It was gummed up but didn�t look too bad. A few cans of carb cleaner later the Carb was clean and back together. I purchased a full rebuild kit but plan to do that only if I see problems now or a task for the winter months.
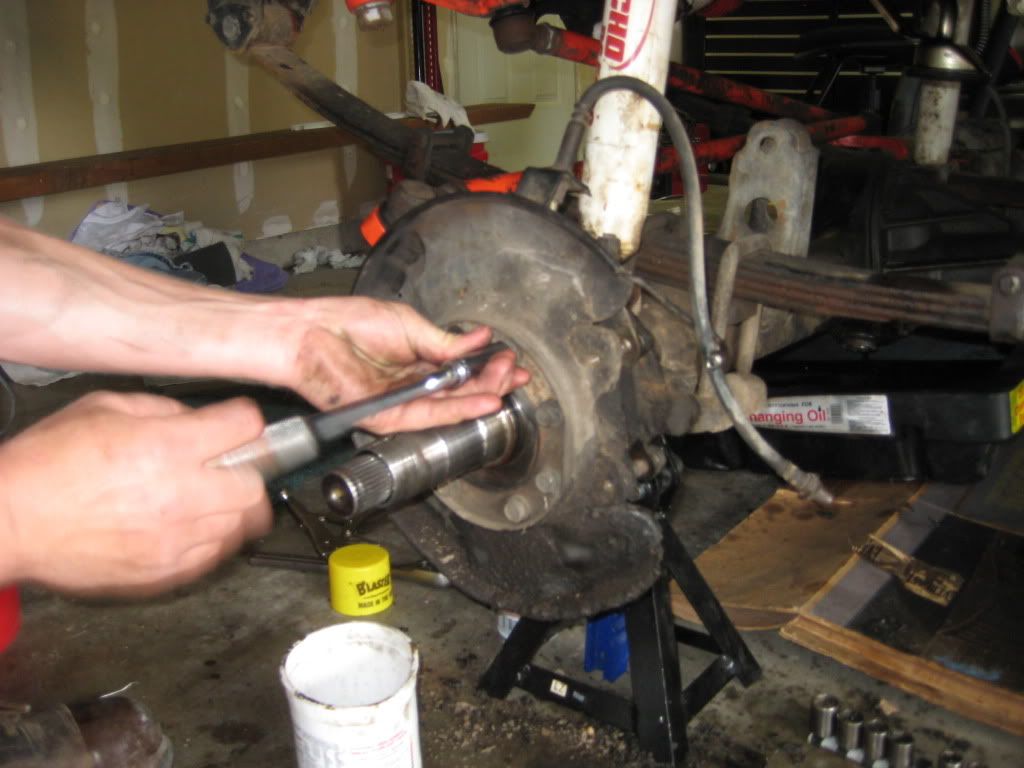
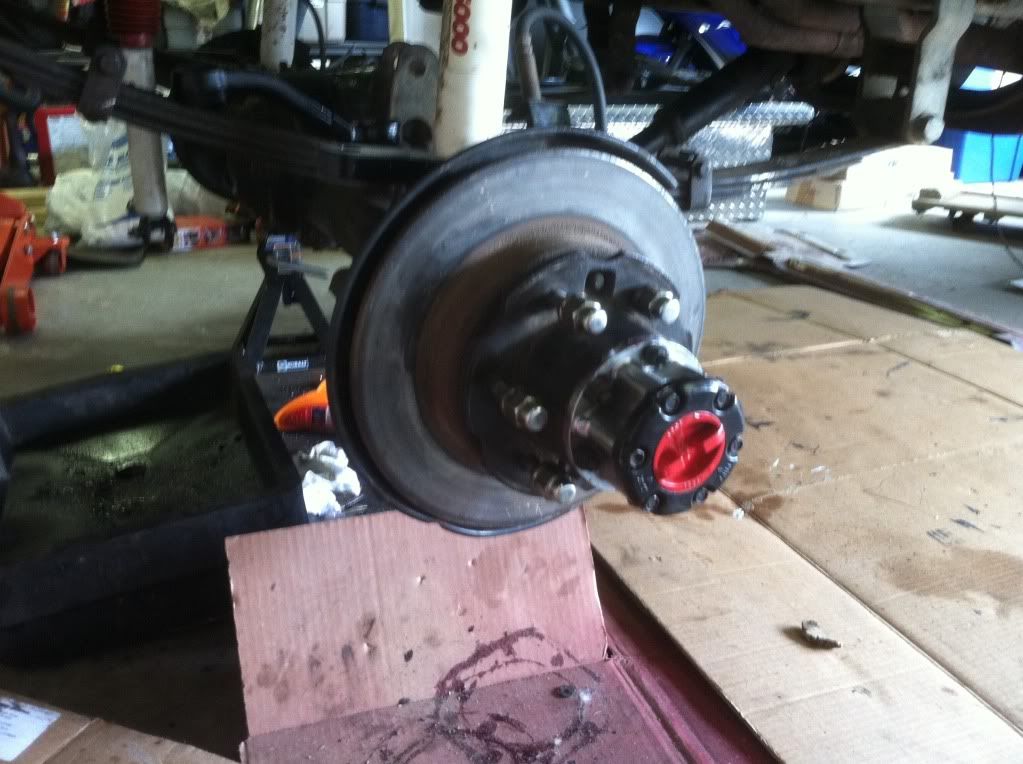
Axle Rebuild
Because the knuckles were leaking oil, I was inclined to do a full rebuild. The full knuckle rebuild kit was purchased from All-Pro Offroad. The kit includes all necessary gaskets and seals as well as the steering bearings. The wheel bearings are sold separately. After tearing about the hubs it was discovered that there was no grease in the hubs at all. It was actually filled with axle fluid. The seals must have busted a while back and the truck was ran long enough for the diff fluid to mix completely with the grease. Grease was mixed into the axle oil and was spread throughout the axle and differential. Rebuild went well except pulling apart the birfield and inner axle shaft to clean it up and put it back together. The knuckle is almost done but decided to add some paint to the hub.

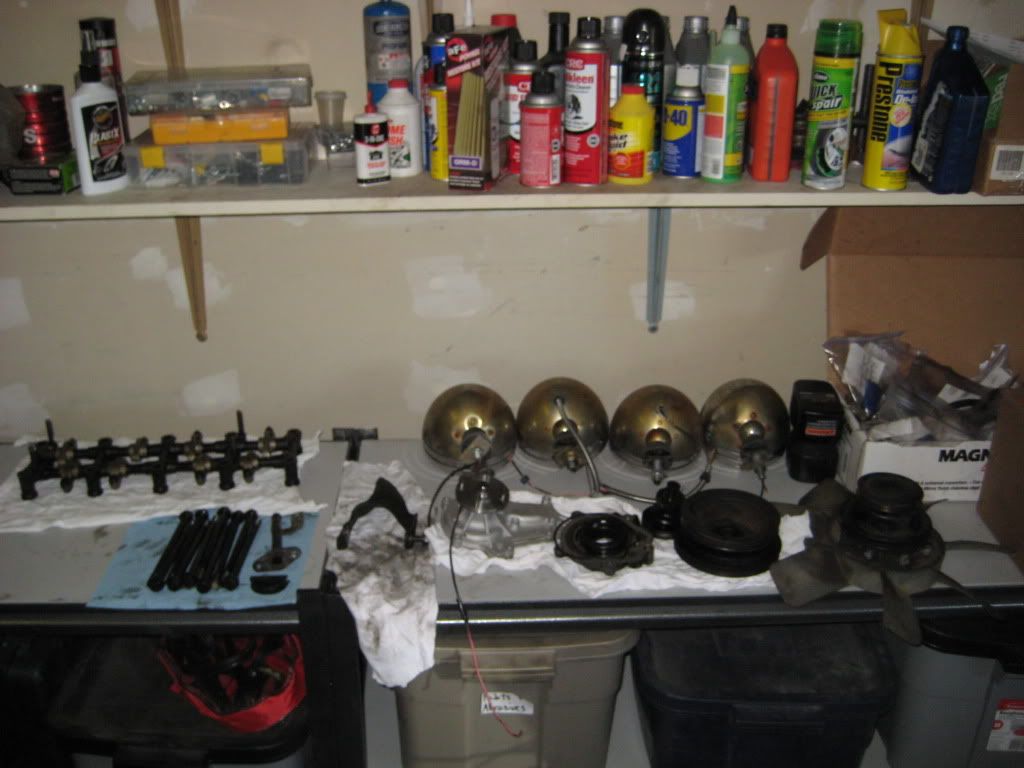
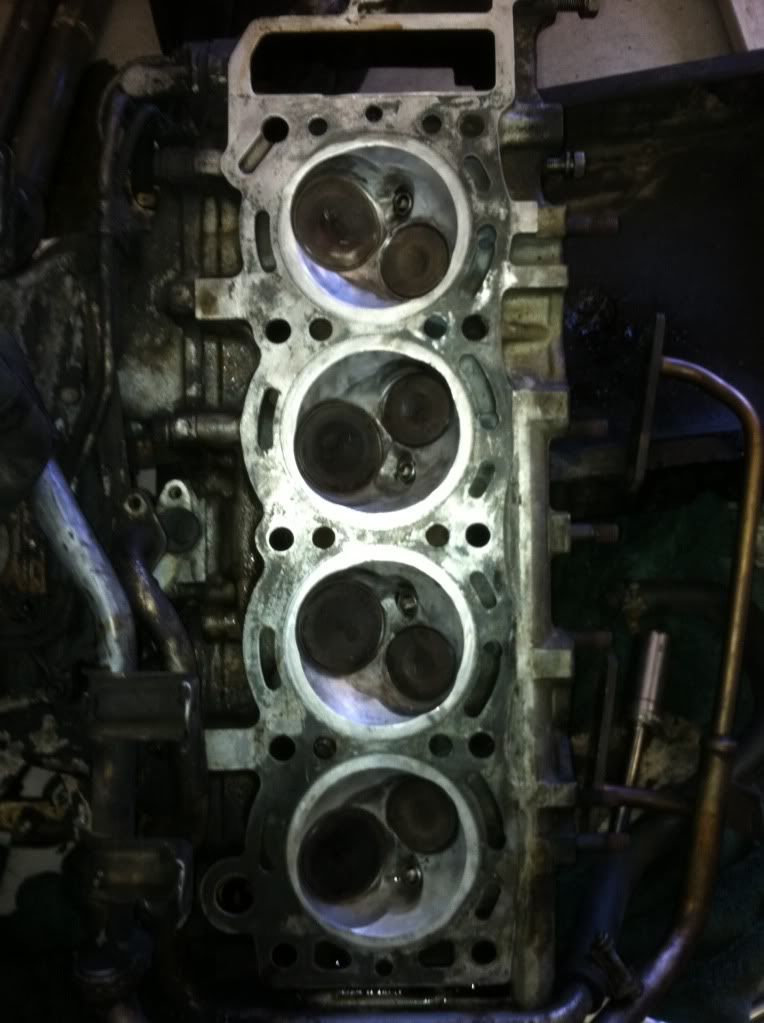
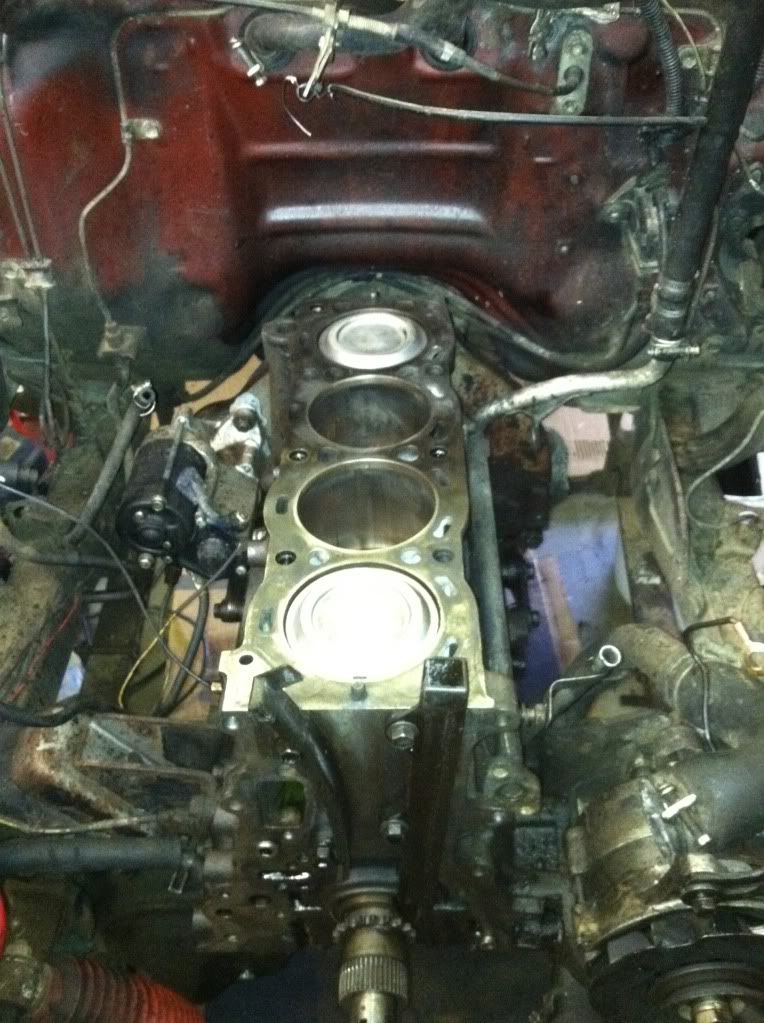
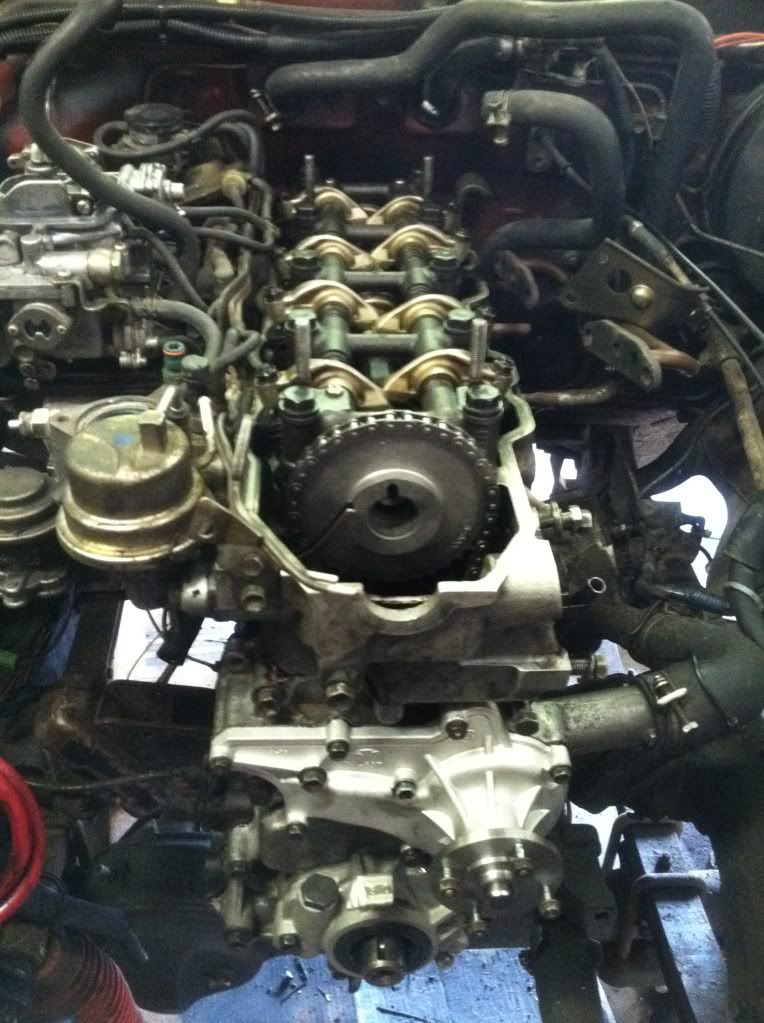
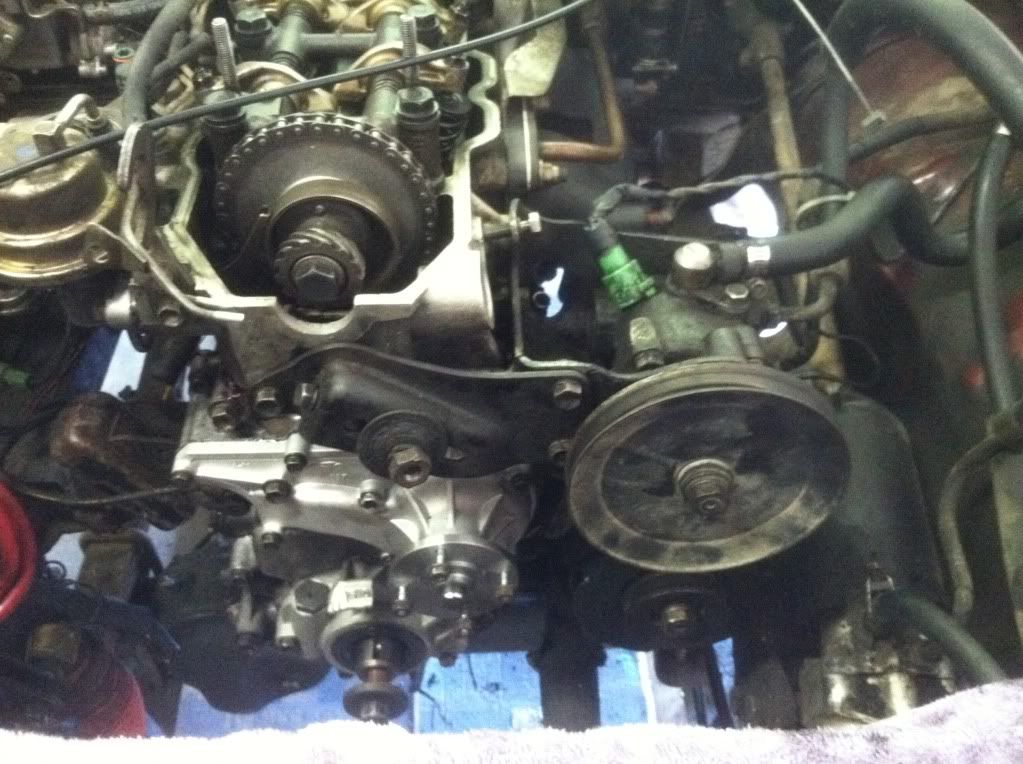
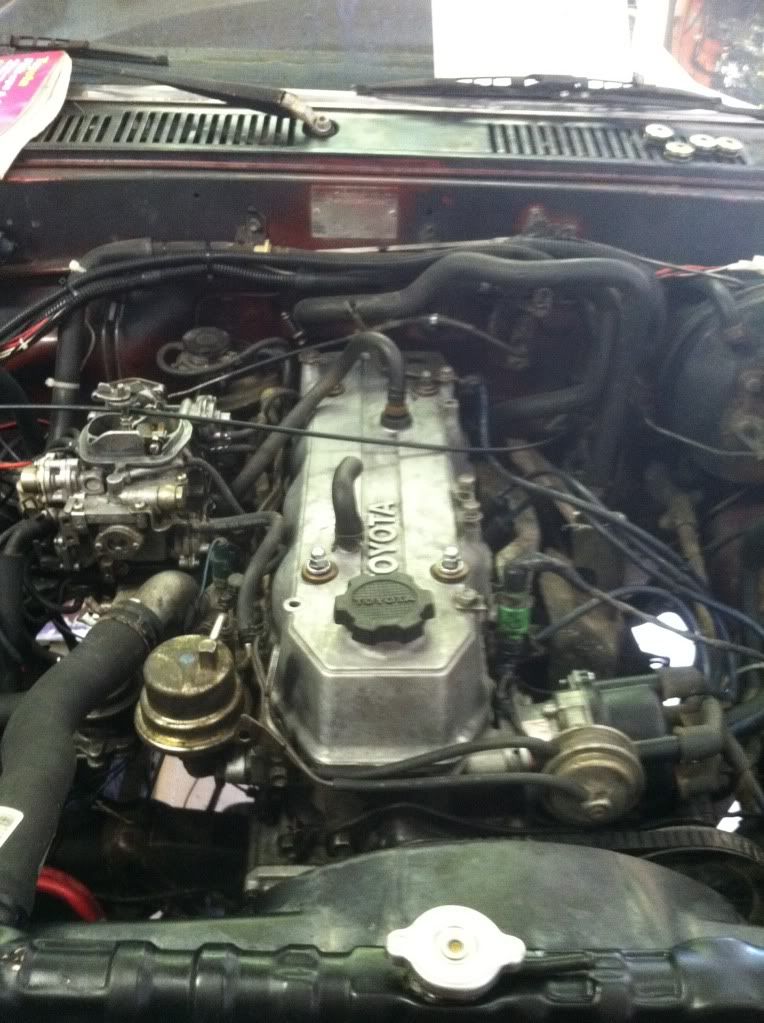
Engine Rebuild
The engine could not be timed properly and was leaking like crazy from the oil pan, front main and up near the alternator. The previous owner must have opened the engine up to fix something and put it back together using a ˟˟˟˟load of gasket goo. It was oozing from every crevice. Within a day the engine was down to the block. The lower timing chain sprocket was cracked which could have been the reason for the engine running rough by being out of time. I cleaned up the engine as best I could and replaced alot of components.
Task list:
Clean the interior
Build new door interiors
Drain and Pull Apart the rear axle, replace seals, inspect and put back together
Inspect tire rubbing and size of spacers I can use
Cut back the body mount and bend the pinch welds
Replace power steering fluid
Replace and seal the air box think about snorkel options
Prep, bondo and paint the truck
To date I have replaced the following items with either new or rebuilt components (mostly new):
˟ ˟ ˟ - New head gasket kit that includes all gaskets that needed to be removed like (exhaust manifold, oil pump, water pump, timing cover, etc)
˟ ˟ ˟ - New Water Pump
˟ ˟ ˟ - New Oil Pump
˟ ˟ ˟ - New Sensors (oil pressure, water temp, etc)
˟ ˟ ˟ - New PVC Valve
˟ ˟ ˟ - New Timing chain and sprockets
˟ ˟ ˟ - New Timing chain guides and tensioners
˟ ˟ ˟ - New Fuel Filter
˟ ˟ ˟ - New Battery
˟ ˟ ˟ - New Spark Plugs
˟ ˟ ˟ - New Spark Plug Wires
˟ ˟ ˟ - New Distributor, cap and rotor
˟ ˟ ˟ - New Axle rebuilt kit including bearings
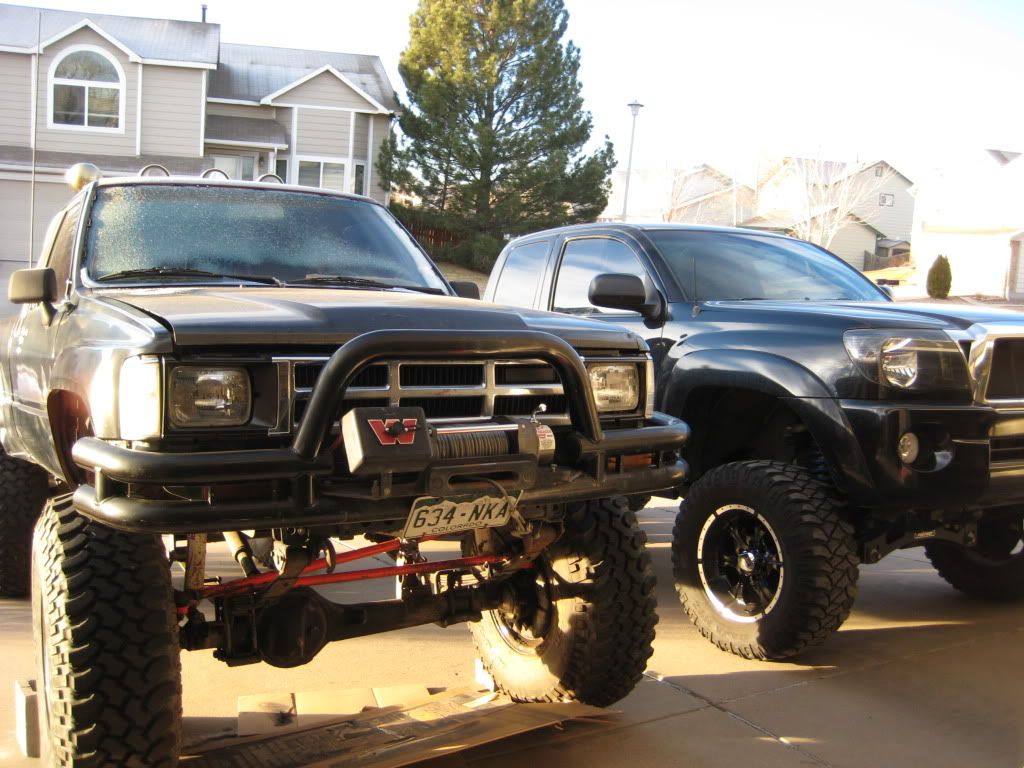
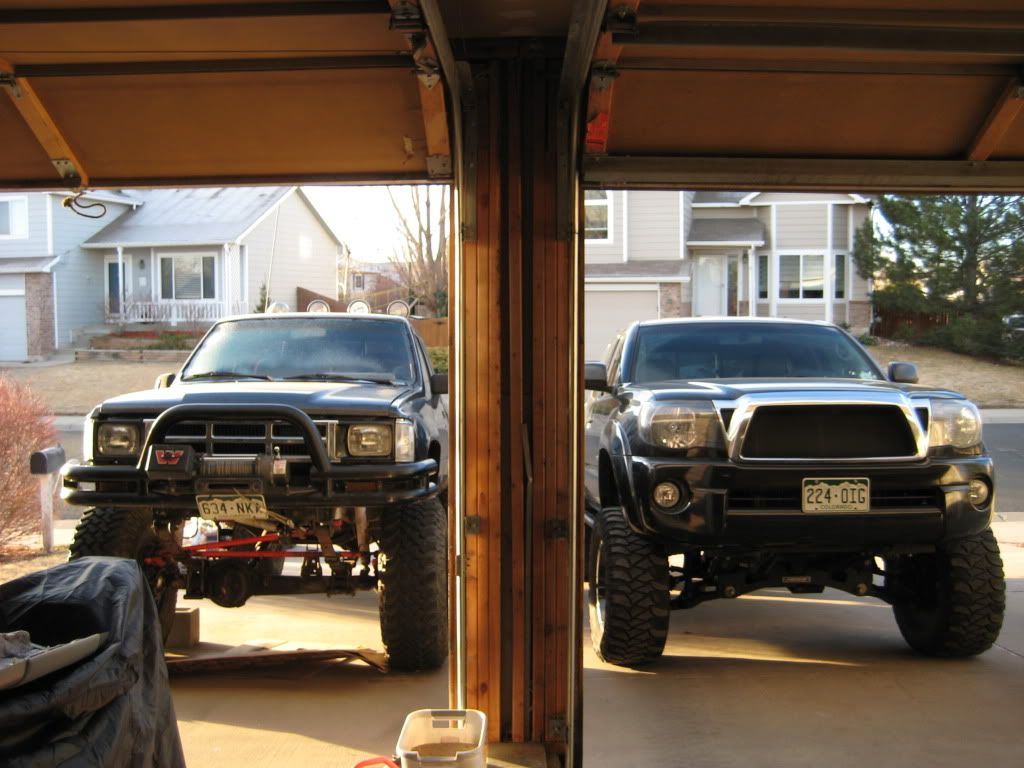
BTW, my truck kinda resembles the truck from Back to the Future!!
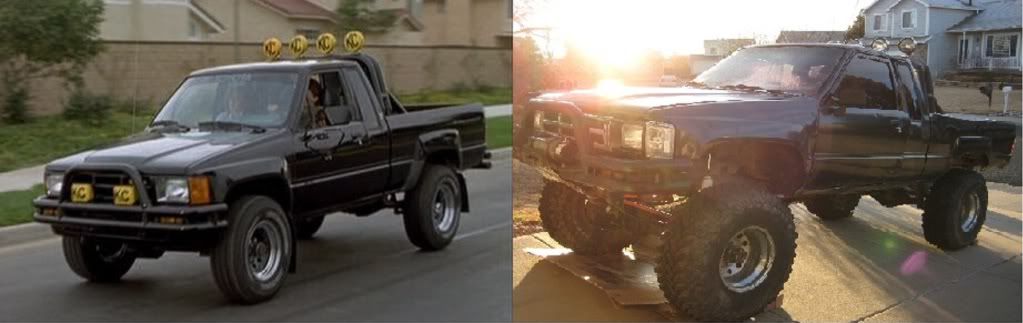
Perfect match for my 07'
More info and wheeling pics to come...
1984 Toyota Pickup
Purchased February 2011.
I purchased the truck with the following items (kinda????)
� 6� Skyjacker lift
� 35x12.5 BFG MT�s
� Warn Winch
� 5:49 Gears (I didn�t think about it but after purchasing I couldn�t find this as a viable gear ratio)
� Detroit Locker in the rear
� MSD ignition
� Smittybuilt rollbar and front bumper
� CB radio
� Tool Box
When I test drove the truck, it was running rough and had a wobble when driving. Rough shape to the body and rust here and there. The interior didn't look the best but could be cleaned up. Got a good deal on it (so I thought at the time) so I purchased and took it home.
This adventure started shortly after getting it in the garage with cleaning the carb to attempt to get the emissions done before I take it down for rebuild. I realized that this wasn�t going to work since oil was leaking everywhere and the engine wasn't running well. Attempts at adjusting the timing really didn�t work and it was suspected that the timing chain skipped a tooth. I soon took the truck down and put it up on jack stands. Instead of choosing a task to tackle and complete, I decided to attack the whole truck at once. It started by removing the wheels, bed box, roll bar, tailgate, bed sides, seats, door liners and interior electronic components.
Carb Cleaning (Not Rebuild)
The carb came off easy. It was gummed up but didn�t look too bad. A few cans of carb cleaner later the Carb was clean and back together. I purchased a full rebuild kit but plan to do that only if I see problems now or a task for the winter months.
Axle Rebuild
Because the knuckles were leaking oil, I was inclined to do a full rebuild. The full knuckle rebuild kit was purchased from All-Pro Offroad. The kit includes all necessary gaskets and seals as well as the steering bearings. The wheel bearings are sold separately. After tearing about the hubs it was discovered that there was no grease in the hubs at all. It was actually filled with axle fluid. The seals must have busted a while back and the truck was ran long enough for the diff fluid to mix completely with the grease. Grease was mixed into the axle oil and was spread throughout the axle and differential. Rebuild went well except pulling apart the birfield and inner axle shaft to clean it up and put it back together. The knuckle is almost done but decided to add some paint to the hub.
Engine Rebuild
The engine could not be timed properly and was leaking like crazy from the oil pan, front main and up near the alternator. The previous owner must have opened the engine up to fix something and put it back together using a ˟˟˟˟load of gasket goo. It was oozing from every crevice. Within a day the engine was down to the block. The lower timing chain sprocket was cracked which could have been the reason for the engine running rough by being out of time. I cleaned up the engine as best I could and replaced alot of components.
Task list:
Clean the interior
Build new door interiors
Drain and Pull Apart the rear axle, replace seals, inspect and put back together
Inspect tire rubbing and size of spacers I can use
Cut back the body mount and bend the pinch welds
Replace power steering fluid
Replace and seal the air box think about snorkel options
Prep, bondo and paint the truck
To date I have replaced the following items with either new or rebuilt components (mostly new):
˟ ˟ ˟ - New head gasket kit that includes all gaskets that needed to be removed like (exhaust manifold, oil pump, water pump, timing cover, etc)
˟ ˟ ˟ - New Water Pump
˟ ˟ ˟ - New Oil Pump
˟ ˟ ˟ - New Sensors (oil pressure, water temp, etc)
˟ ˟ ˟ - New PVC Valve
˟ ˟ ˟ - New Timing chain and sprockets
˟ ˟ ˟ - New Timing chain guides and tensioners
˟ ˟ ˟ - New Fuel Filter
˟ ˟ ˟ - New Battery
˟ ˟ ˟ - New Spark Plugs
˟ ˟ ˟ - New Spark Plug Wires
˟ ˟ ˟ - New Distributor, cap and rotor
˟ ˟ ˟ - New Axle rebuilt kit including bearings
BTW, my truck kinda resembles the truck from Back to the Future!!
Perfect match for my 07'
More info and wheeling pics to come...
Last edited by csuviper; 09-17-2012 at 08:08 AM.

 07-26-2011, 06:47 AM
#5
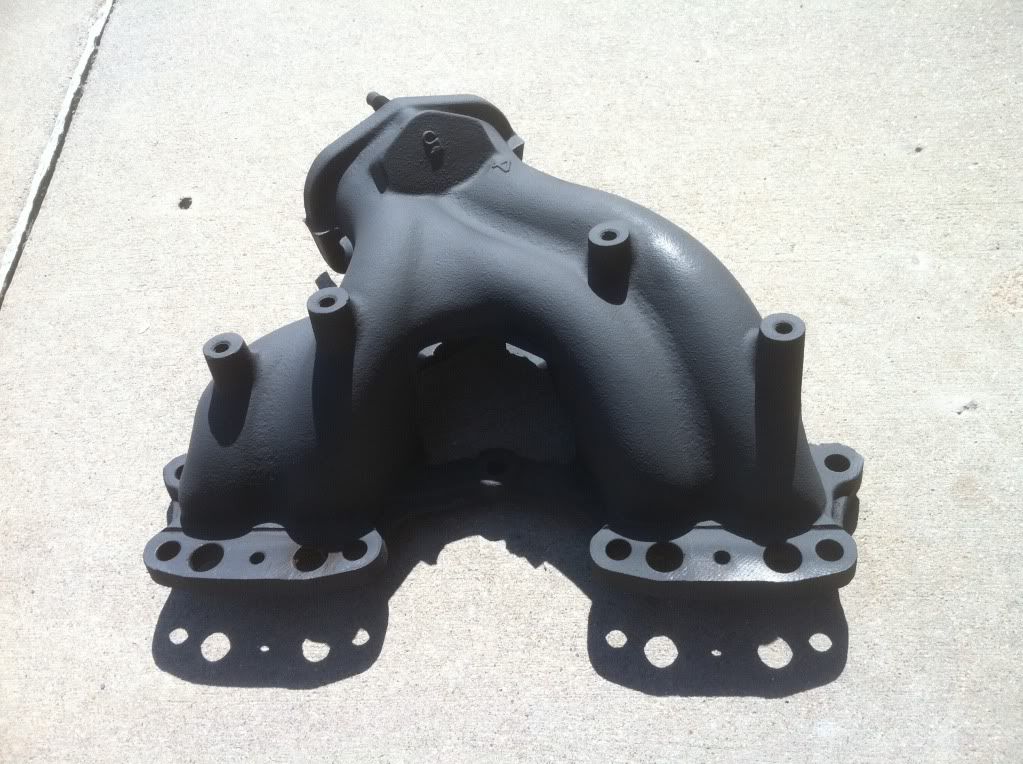
I took the day off yesterday and worked on the truck a little. Had to replace the exhaust manifold because it was cracked.
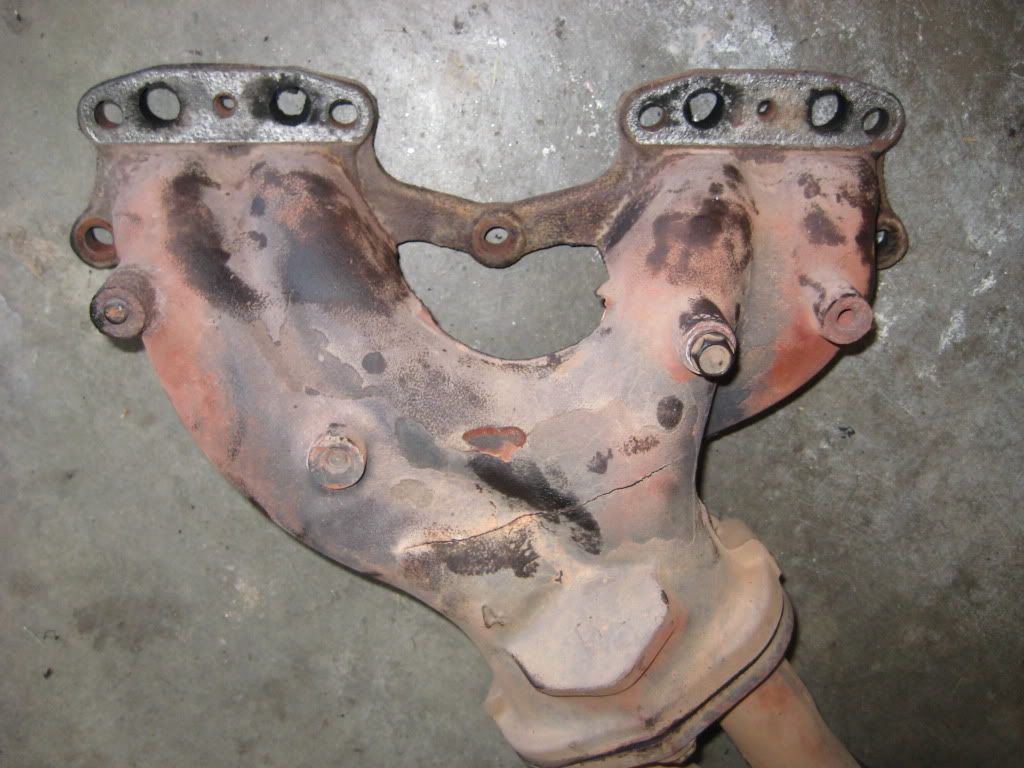
I was able to get a used exhaust manifold at the yota yard for cheep. Accidentally got the wrong one the first time so back to the yota yard. While I was there I picked up a filter housing, door lock accessory piece, and some door handle parts.
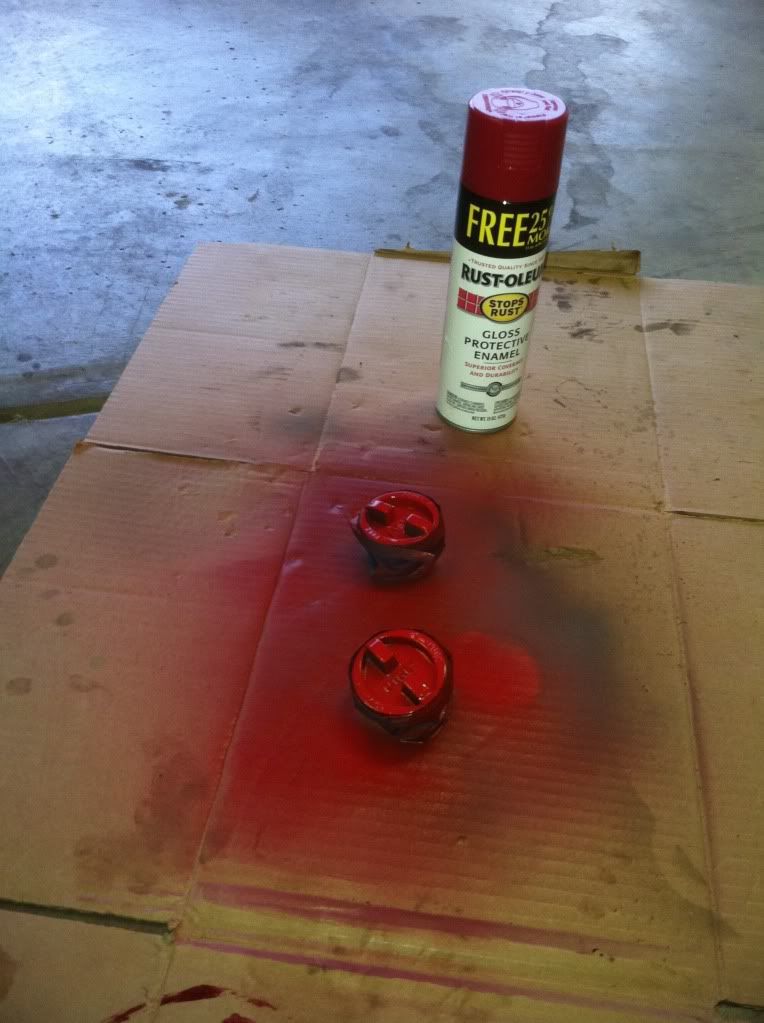
Then I cleaned, painted and installed the exhaust manifold.
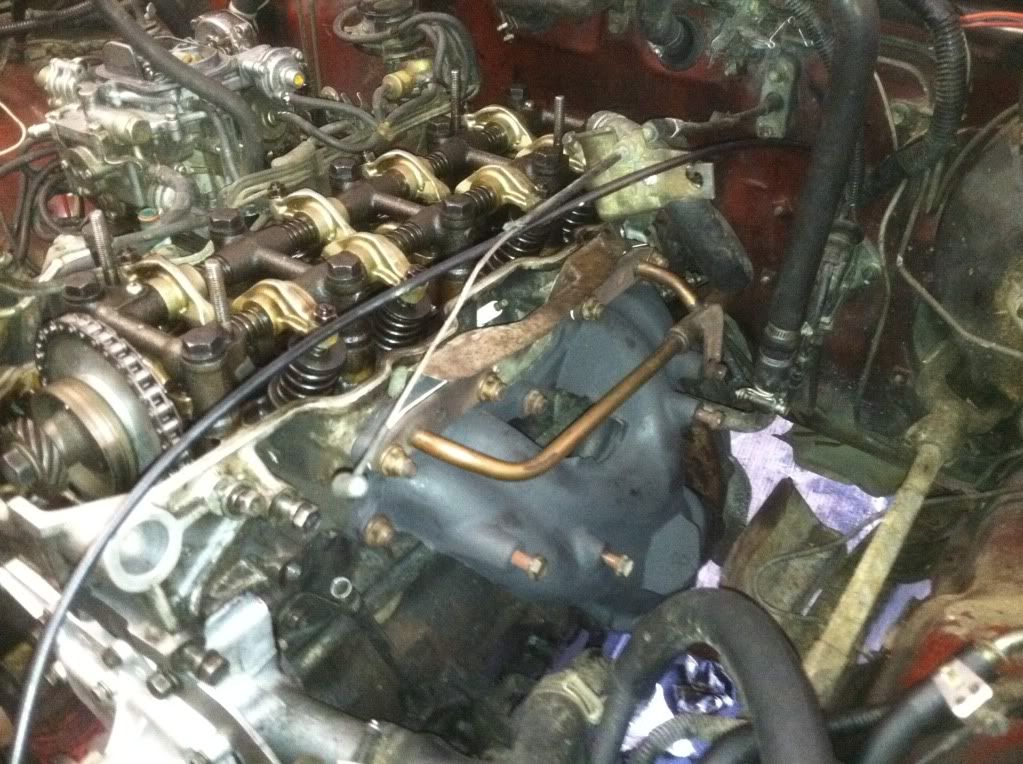
I was able to get a used exhaust manifold at the yota yard for cheep. Accidentally got the wrong one the first time so back to the yota yard. While I was there I picked up a filter housing, door lock accessory piece, and some door handle parts.
Then I cleaned, painted and installed the exhaust manifold.
Last edited by csuviper; 07-26-2011 at 06:49 AM.
07-26-2011, 11:09 AM
#6
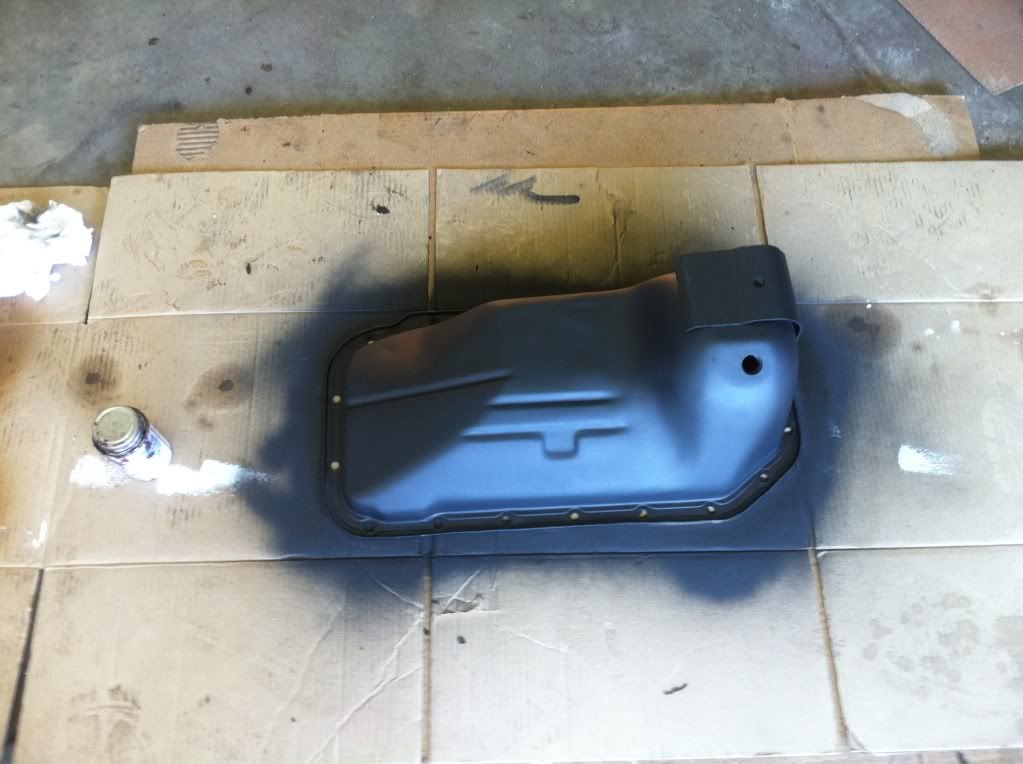
I was asked a question about oil pan removal and install so I thought I would post the procedure and hints.
The removal and install is really easy. There are 15 bolts and 3 nuts to remove and it comes right off. Have to kinda finagle it around the oil strainer and pick-up tube to take it off. Don't worry though, you wont hurt it. The gasket is typically a cork so if some gasket sealer was used then you may have to pry the pan to get it off and spend some time scrapping the remaining gasket off.
Before you go to put it back on make sure that all of the bolt holes are level. If the bolts were cranked too hard then then there may be divots around the hole. Just use a hammer and something on the back side to beat them flush. New gasket with some gasket sealer and your good to go.
Remember not to torque the bolts down to hard. This will create the divots and potentially cause a leak. Only torque them down to 9 ft-lbs. This will be enough to hold the pan on. There is no high pressure in this area so don't over tighten.
Here is a pic as the pan was being removed:
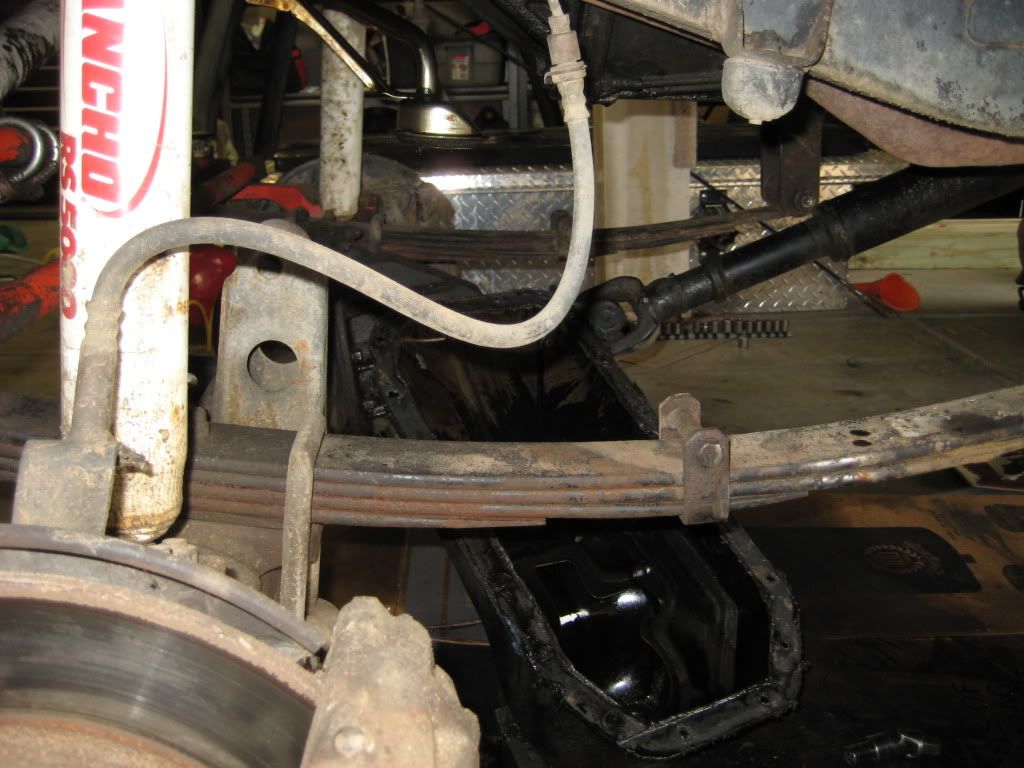
Oil strainer:
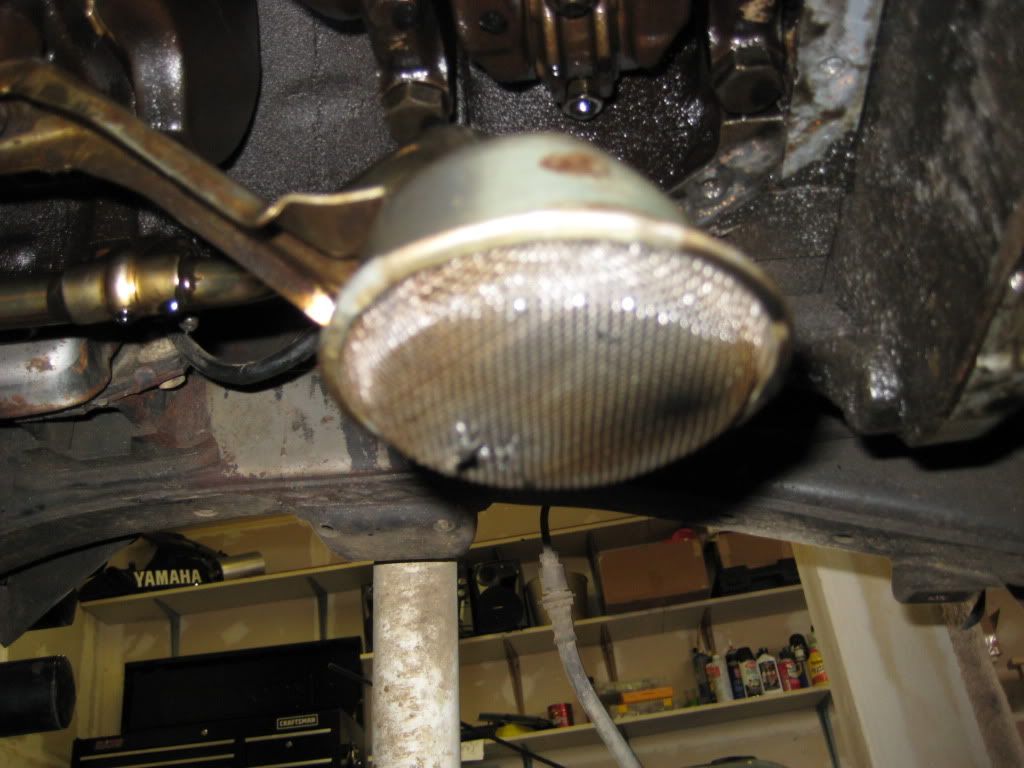
Look how dirty the pan was and how much of a mess the gasket was. Was a real pain to get off. I finally resorted to a grinder with a wirewheel to remove the gasket and also to remove the paint on the outside.
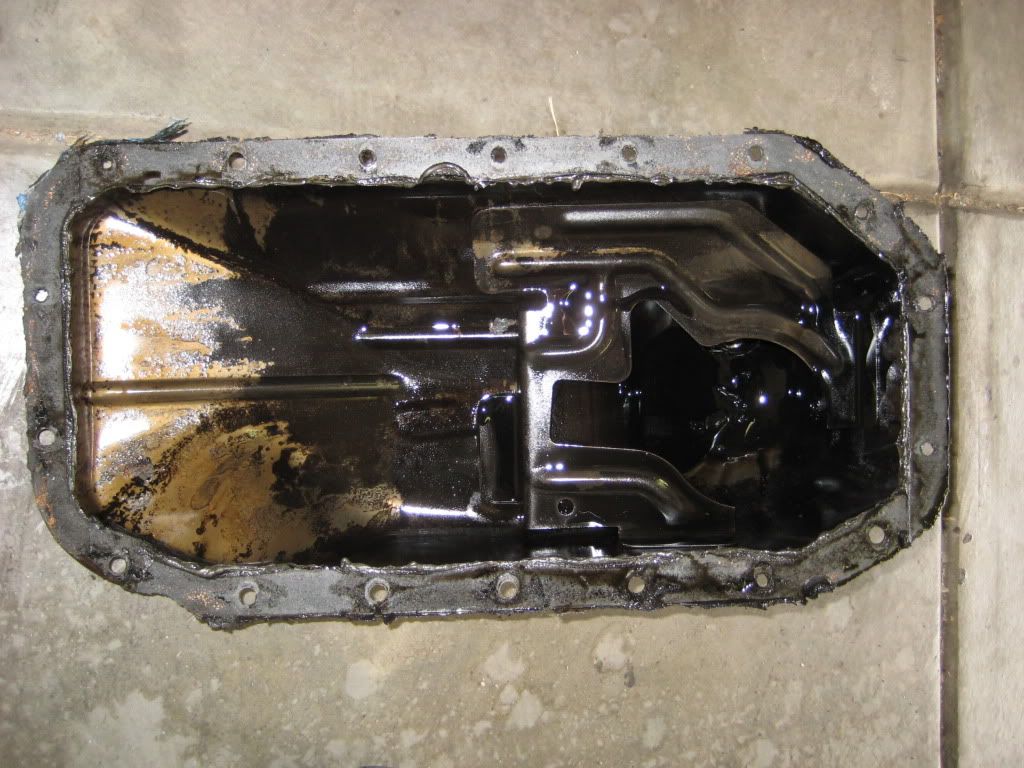
The removal and install is really easy. There are 15 bolts and 3 nuts to remove and it comes right off. Have to kinda finagle it around the oil strainer and pick-up tube to take it off. Don't worry though, you wont hurt it. The gasket is typically a cork so if some gasket sealer was used then you may have to pry the pan to get it off and spend some time scrapping the remaining gasket off.
Before you go to put it back on make sure that all of the bolt holes are level. If the bolts were cranked too hard then then there may be divots around the hole. Just use a hammer and something on the back side to beat them flush. New gasket with some gasket sealer and your good to go.
Remember not to torque the bolts down to hard. This will create the divots and potentially cause a leak. Only torque them down to 9 ft-lbs. This will be enough to hold the pan on. There is no high pressure in this area so don't over tighten.
Here is a pic as the pan was being removed:
Oil strainer:
Look how dirty the pan was and how much of a mess the gasket was. Was a real pain to get off. I finally resorted to a grinder with a wirewheel to remove the gasket and also to remove the paint on the outside.
Trending Topics
07-26-2011, 08:00 PM
#9
07-27-2011, 08:53 AM
#10
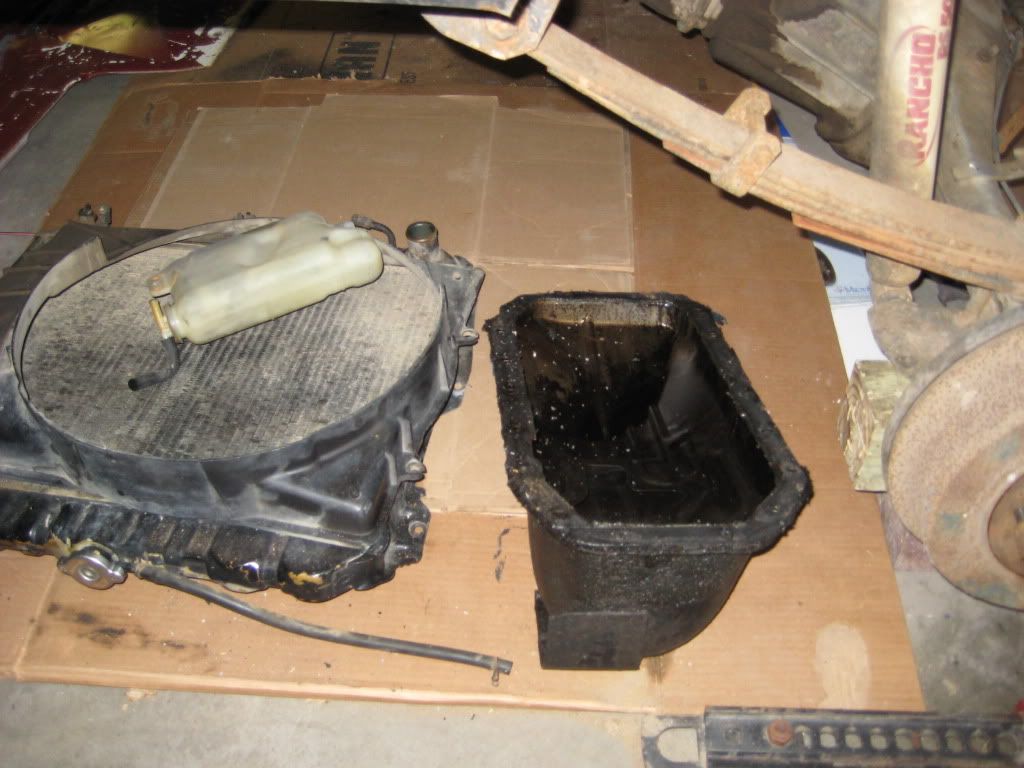
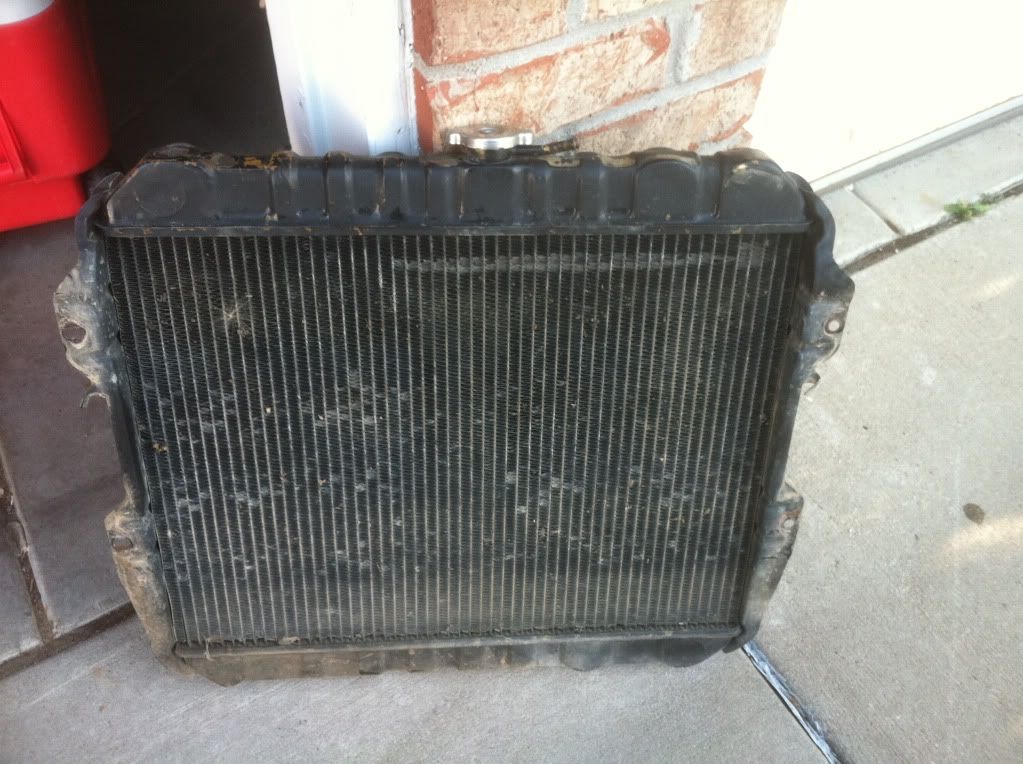
What should I do to clean/restore the radiator?
Take it some where to have it soldered and dipped, get a new one (same or larger?), get a used one (same or larger?) or just clean the one I have the best I can???
Take it some where to have it soldered and dipped, get a new one (same or larger?), get a used one (same or larger?) or just clean the one I have the best I can???
07-28-2011, 07:36 PM
#12
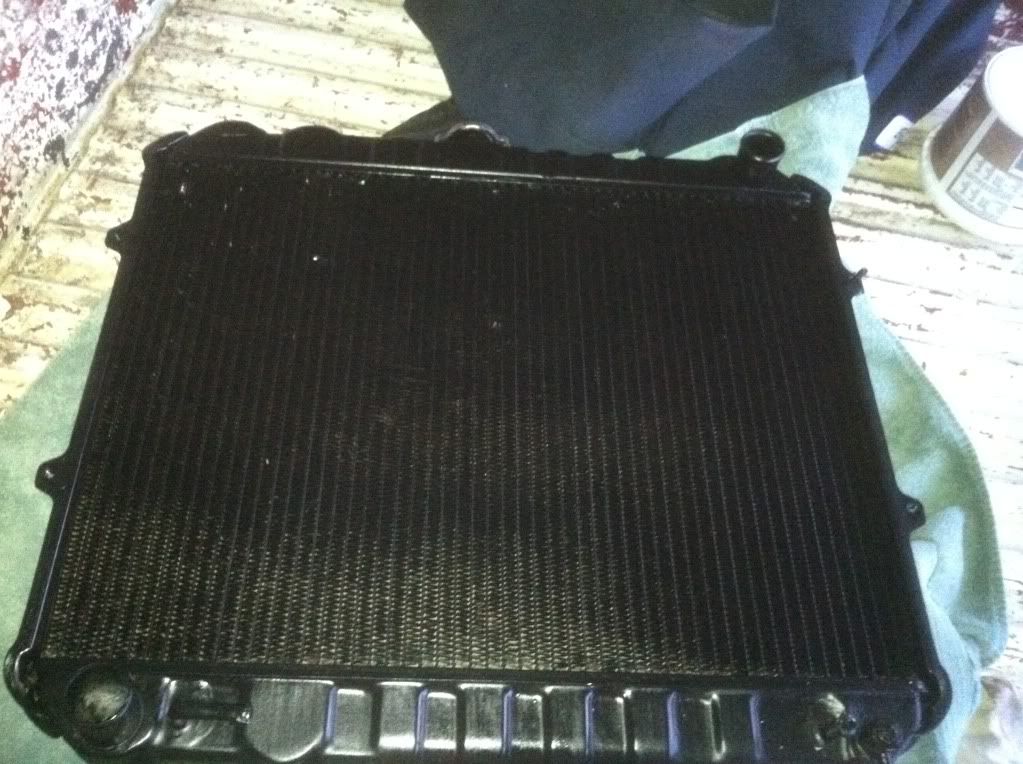
Called a couple shops and it looks like its about $65 for clean, repair and paint. Will probably go that route. They told me they will pressure/flow check it first for free to make sure that it is not all clogged up.
The previous owner of the truck used that radiator fix-a-leak crap that i saw all gummed up throughout the engine. If its clogged I will have no choice but to go used or new.
The previous owner of the truck used that radiator fix-a-leak crap that i saw all gummed up throughout the engine. If its clogged I will have no choice but to go used or new.
07-28-2011, 07:48 PM
#13
HELP!!!
I am going to need some help with the vacuum lines on my truck soon. The diagrams that I have are very poor and I am not sure which setup I have. I believe there are three different setups; standard, high altitude, and California emissions. Not sure which I have.
If there is anyone in Colorado that can come by in the next couple weekend to help out, I would greatly appreciate it.
A helpful diagram or pictures would be great too.
08-02-2011, 06:25 AM
#14
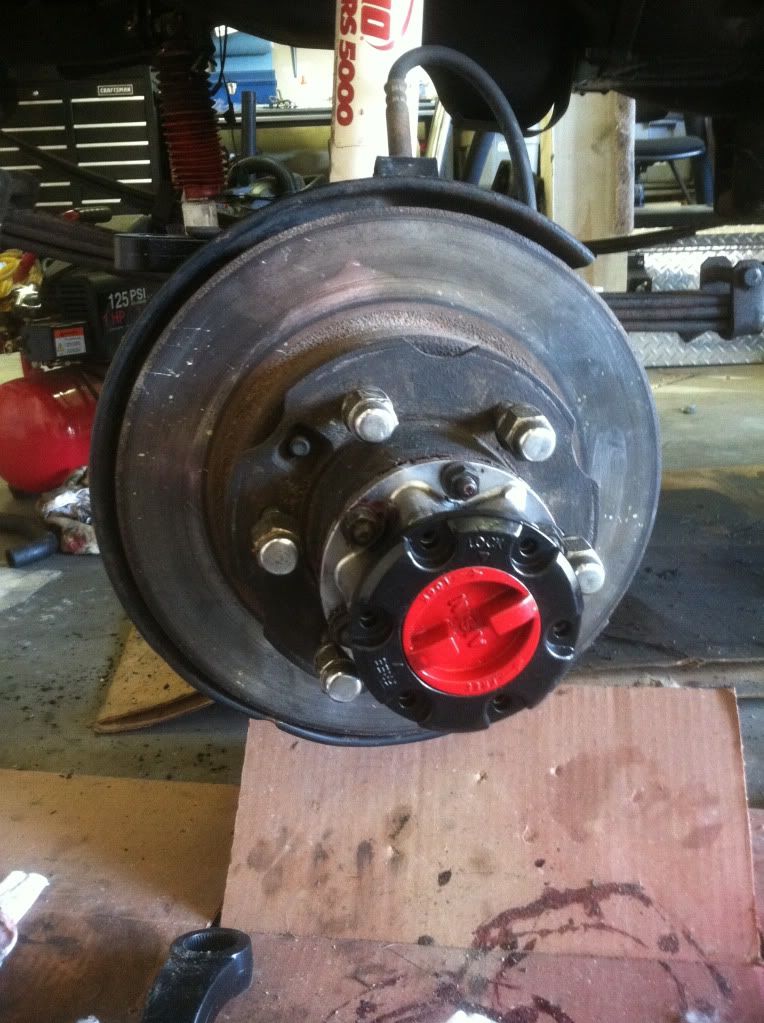
Hub Completed, except for one stupid bolt that decided to break. Not sure how I am going to get it out. I have had bad luck with using the reverse thread bolt extractors.
Also got the power steering pump installed.
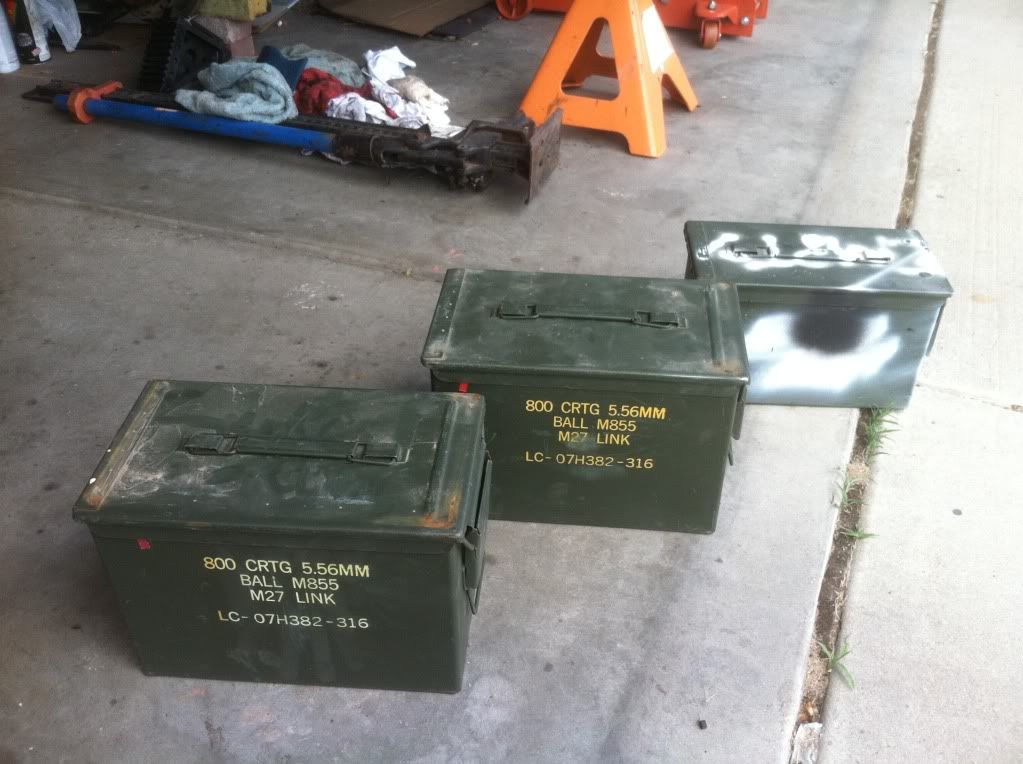
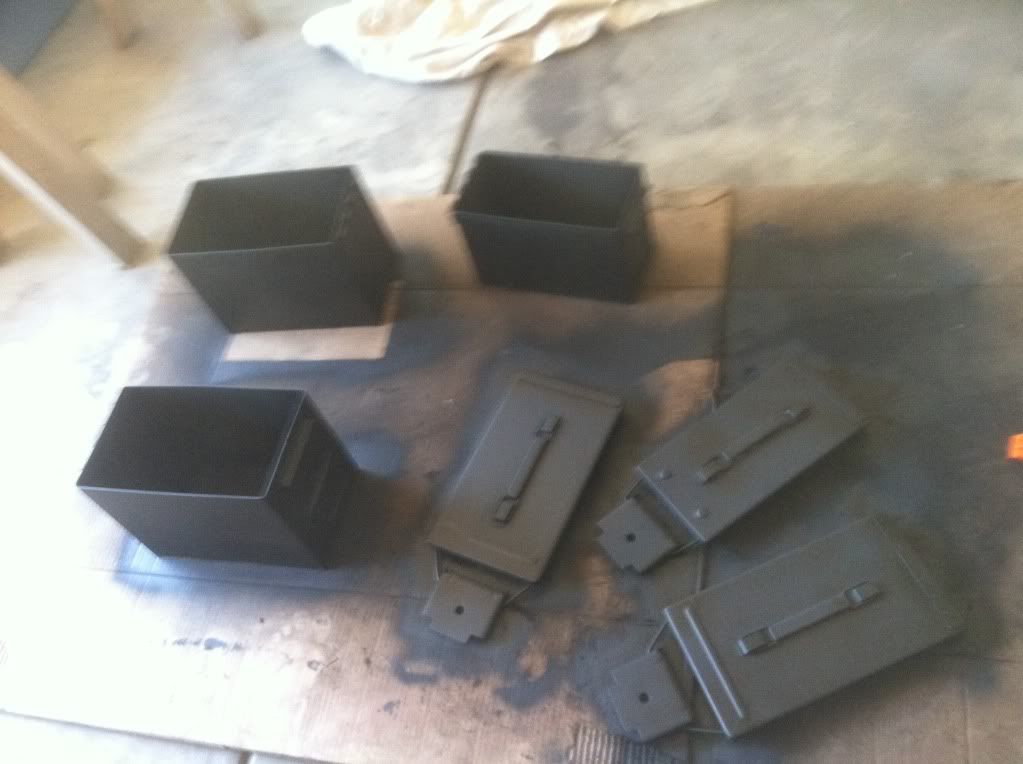
Side project in the works as well. Need to figure out where and how im going to mount. Thinking two in the 07 and one in the 84 for now.
Also got the power steering pump installed.
Side project in the works as well. Need to figure out where and how im going to mount. Thinking two in the 07 and one in the 84 for now.
 08-17-2011, 06:14 AM
#16
Well getting ready to add the fluids. I bought enough for two full fill ups on the diff gear oil, engine oil and coolant. My plan is to run it for about a week (test run, couple trips to work, etc) and put some seafoam cleaner in the fuel and oil for the last couple days. I will then change out all the fluids again and check for any problems. I will change out the tranny and rear axle gear oil as time permits. The brakes will get new fluid as well since I had to disconnect and drain the lines.
Is there anything else that I should do?
Getting close:

Had to drill out the diff drain plug and beat it off (kinda left that for last). But cleaned and flushed and filled her up.
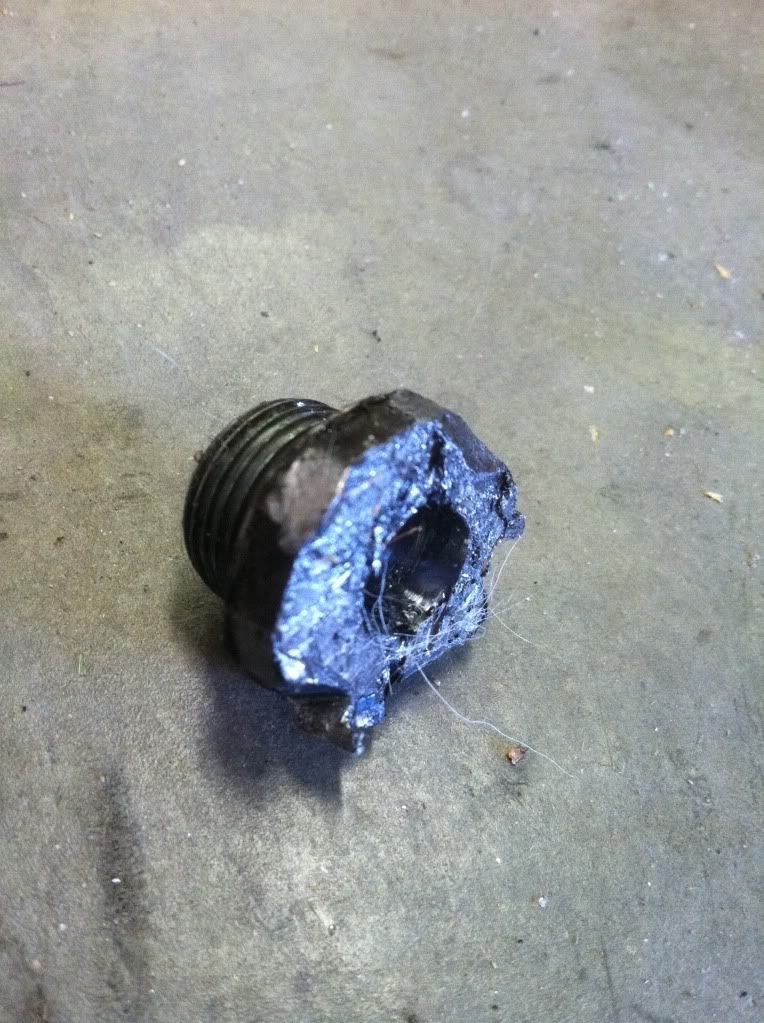
Used a bolt removal tool to get the broken bolt out of the hub. What was weird about the whole thing is I used a spare matching bolt and the second one broke. I was only trying to get to the recomended torque of only 9ft-lbs. I decided not to torque the 3rd bolt to that torque again. The only thing that I can think of is that there is a burr that is slicing the screw, or ironically two bolts that were week in the same spot.
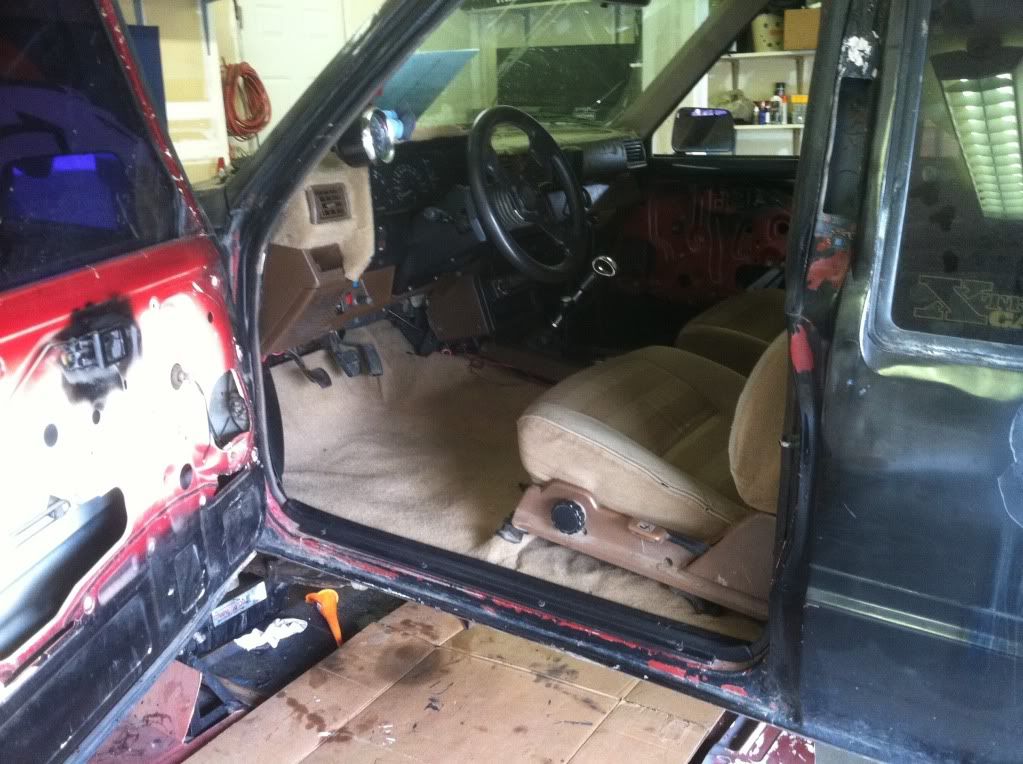
Finally this weekend I cleaned out the interior to get it ready. I painted a couple of the plastic trim pieces black (still have a few to go). I need to paint the rocker and the door. Still debating on the material for the door panel but that's another discussion.
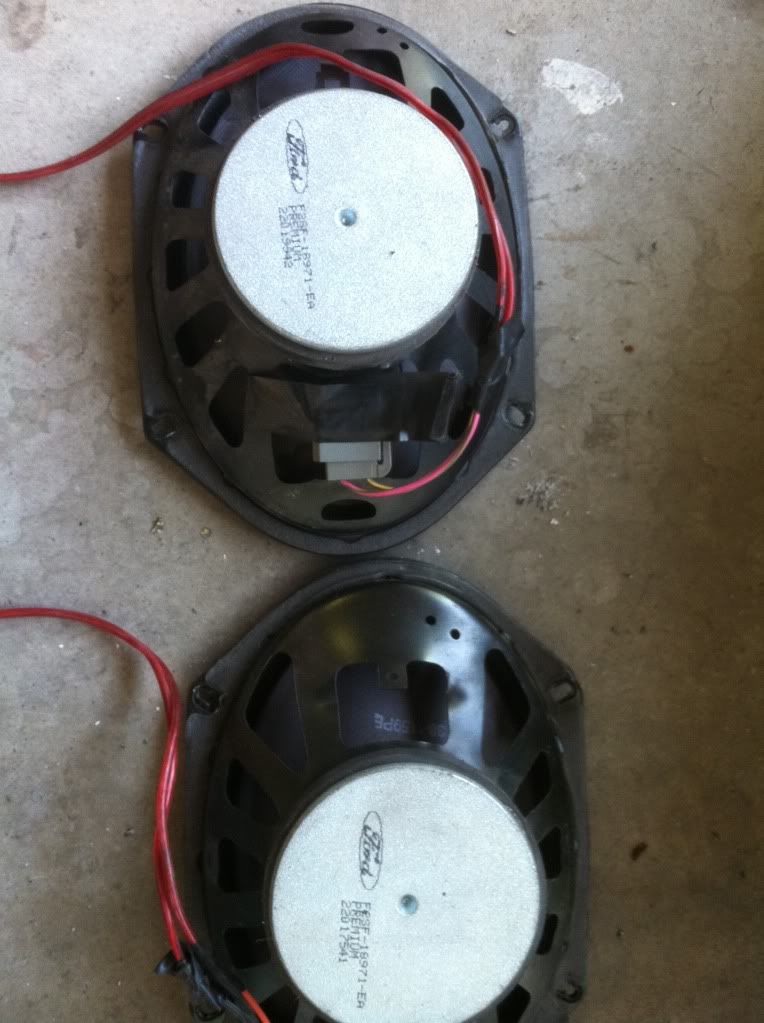
Found some stupid ford speakers in the back. Decided that those had to go.
Is there anything else that I should do?
Getting close:
Had to drill out the diff drain plug and beat it off (kinda left that for last). But cleaned and flushed and filled her up.
Used a bolt removal tool to get the broken bolt out of the hub. What was weird about the whole thing is I used a spare matching bolt and the second one broke. I was only trying to get to the recomended torque of only 9ft-lbs. I decided not to torque the 3rd bolt to that torque again. The only thing that I can think of is that there is a burr that is slicing the screw, or ironically two bolts that were week in the same spot.
Finally this weekend I cleaned out the interior to get it ready. I painted a couple of the plastic trim pieces black (still have a few to go). I need to paint the rocker and the door. Still debating on the material for the door panel but that's another discussion.
Found some stupid ford speakers in the back. Decided that those had to go.
Last edited by csuviper; 08-17-2011 at 06:16 AM.
08-17-2011, 07:36 PM
#19
I cant wait to get it up to the mountains. My first ride will be an easy test and fun weekend on the camp dick/middle st. vrain trail. Planning on camping up there with a few friends (guys weekend) probably first weekend in September.


