Build for a buddy. 2wd SAS 84/1st gen truck

 04-08-2014, 06:25 PM
#83
Have you decided what your doing as far as front spring mounts/spring hanger? If you used a spring hanger you could tack welded it in place for mock up until you had the cab, engine trans all reinstalled, and weight back on it, then if you had to you could always go back and move the spring hanger to adjust for the correct shackle angle if it wasn't to your liking.
I'm sure you guys have already factored all that in, I'm just trying to get my post count up.....lmao!
Keep up the good work, we need some more pics!
04-08-2014, 08:22 PM
#84
The middle seems like that would be the best place, like you guys said, they're stock length lift springs, not extended length like TG and AllPro.
Have you decided what your doing as far as front spring mounts/spring hanger? If you used a spring hanger you could tack welded it in place for mock up until you had the cab, engine trans all reinstalled, and weight back on it, then if you had to you could always go back and move the spring hanger to adjust for the correct shackle angle if it wasn't to your liking.
I'm sure you guys have already factored all that in, I'm just trying to get my post count up.....lmao!
Keep up the good work, we need some more pics!
That's a great idea on the front hanger. I'm still not certain what I am going to do with it yet. I am going to try and make either a hanger or factory mounts. Good thing is that we are not really in a hurry. So maybe I'll try to set the front up firs and then install the tubes. Kornhuskerwizard and I were talking today and he suggested to do the same thing.
04-08-2014, 10:13 PM
#85
Super Moderator
Staff
iTrader: (1)
Join Date: Aug 2008
Location: Anderson Missouri
Posts: 11,788
Likes: 0
Received 21 Likes
on
19 Posts
These trucks sit high in stock form in my opinion and I have been asked if I had lift kits on mine in the past. I personally don't like the idea of having to jump up into a truck so would suggest going with the factory setting. I have never done a SAS or anything like you are doing so really have no idea of how to go about it.
I like seeing lifted trucks but to use one everyday is something I have no desire to do. They do have a tube right thru the middle of the frame and I could be wrong, but when someone does a SAS, they no longer go thru the frame? Maybe one reason for hi-steer? This is something I have no idea about.
I like seeing lifted trucks but to use one everyday is something I have no desire to do. They do have a tube right thru the middle of the frame and I could be wrong, but when someone does a SAS, they no longer go thru the frame? Maybe one reason for hi-steer? This is something I have no idea about.
04-09-2014, 04:48 AM
#86
These trucks sit high in stock form in my opinion and I have been asked if I had lift kits on mine in the past. I personally don't like the idea of having to jump up into a truck so would suggest going with the factory setting. I have never done a SAS or anything like you are doing so really have no idea of how to go about it.
I like seeing lifted trucks but to use one everyday is something I have no desire to do. They do have a tube right thru the middle of the frame and I could be wrong, but when someone does a SAS, they no longer go thru the frame? Maybe one reason for hi-steer? This is something I have no idea about.
I like seeing lifted trucks but to use one everyday is something I have no desire to do. They do have a tube right thru the middle of the frame and I could be wrong, but when someone does a SAS, they no longer go thru the frame? Maybe one reason for hi-steer? This is something I have no idea about.
I hear you on the lifted truck thing. It especially stinks when you have to load kiddos into it every day. I can remember all the trucks I had and lifted, and how much of a pain it was when I actually had to load them with something. But for some reason, the look over the function gets me every time, and I end up lifting them anyhow. haha
Typically on an SAS the tube goes through the frame to replicate the stock tube location. But I have found that the difference comes when deciding what springs to use.
And I think that you are right Terry and center them up in the mount to retain the factory location since our springs are factory length.


 04-09-2014, 05:55 PM
#88
Registered User
Hey they even marked them left and right!! My allpros werent marked. Tubes look a little different too.I also like how they kinda have crosshairs on the jigs to find center of the hole for drilling your pilot.
04-10-2014, 05:05 AM
#90
Update 4-10-14
Well guys, as a result of some good advice from Terry, Kornhuskerwizard, and rattlewagon. I have decided to make the front hanger first before I drill the tubes and jigs. I have decided to make a hanger instead of just the perches. I want to go with something that is low profile.
Like this pic I pulled off the net.
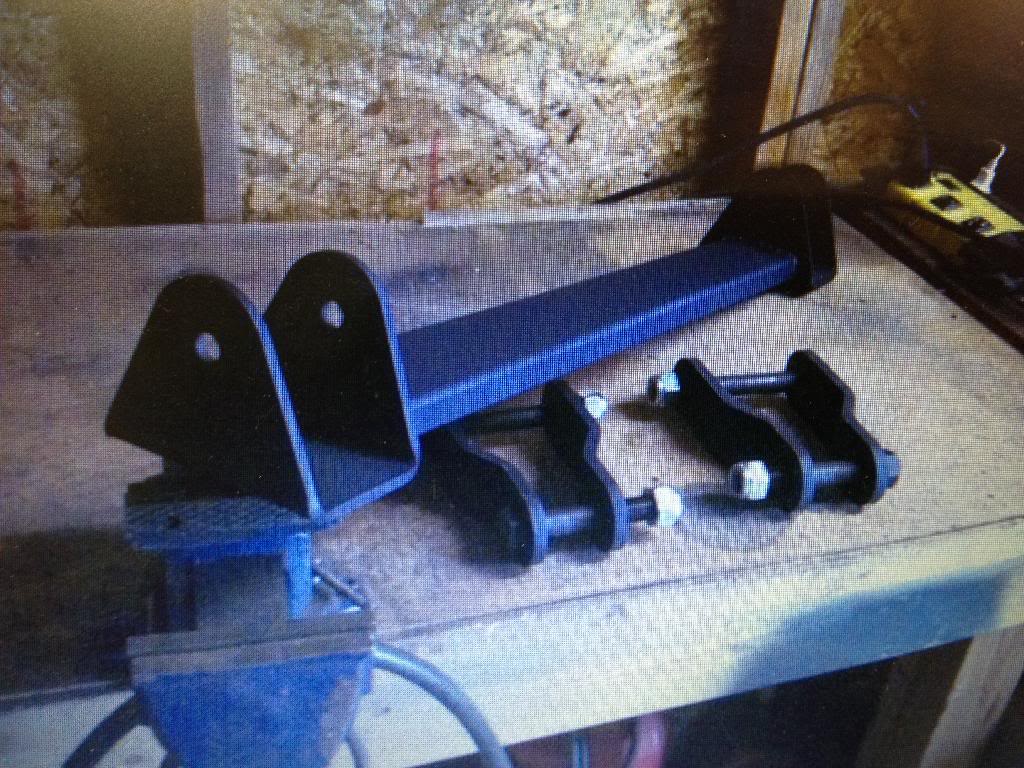
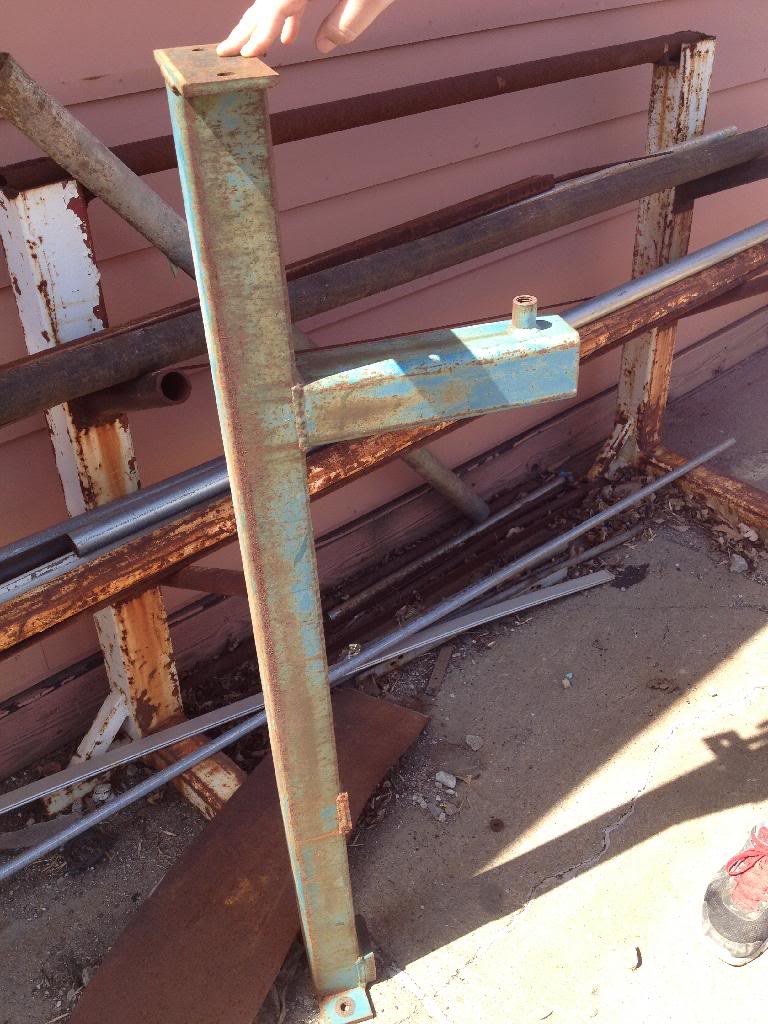
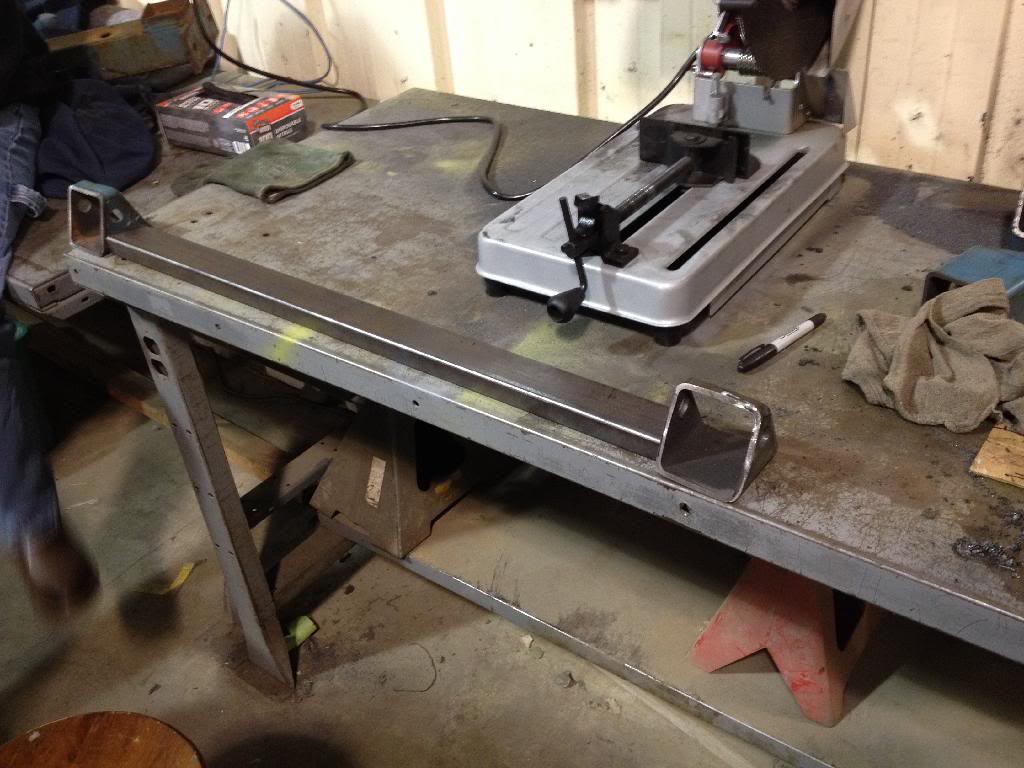
We are going to start making it out of this 3x3 tubing that we have here.
I will report back later with our progress.
Like this pic I pulled off the net.

We are going to start making it out of this 3x3 tubing that we have here.

I will report back later with our progress.
04-10-2014, 11:50 AM
#93
Update 4-10-14 #2
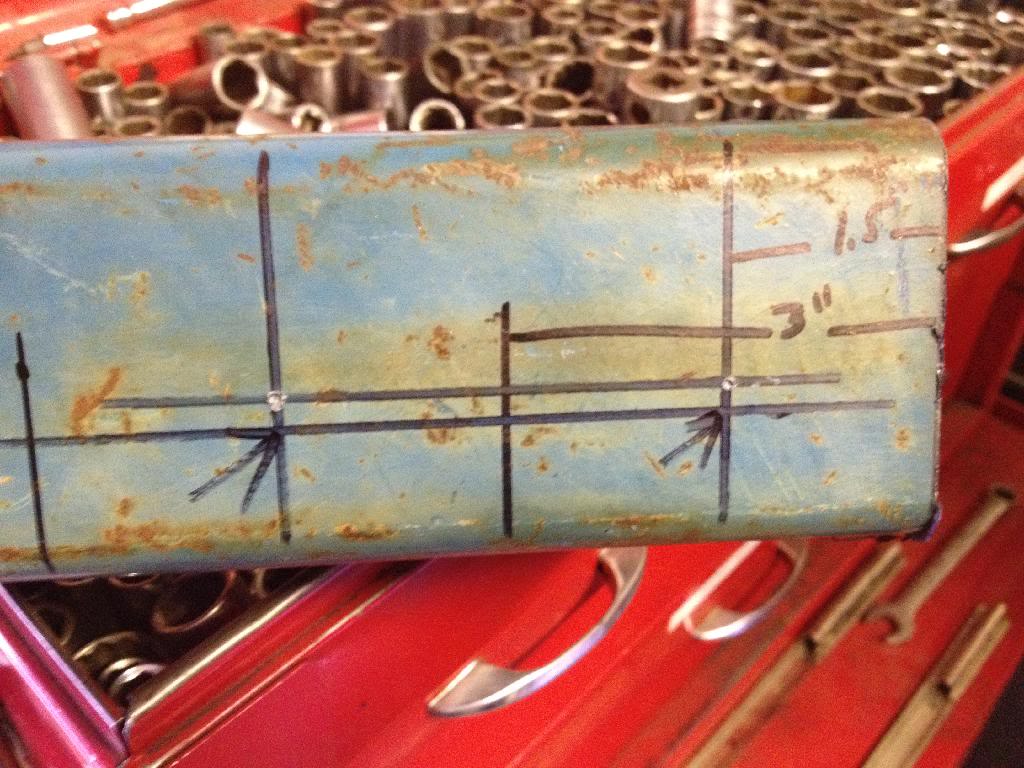
So started making the front spring hanger bracket. I Told the kids how and where to take the measurements and let them have at it.
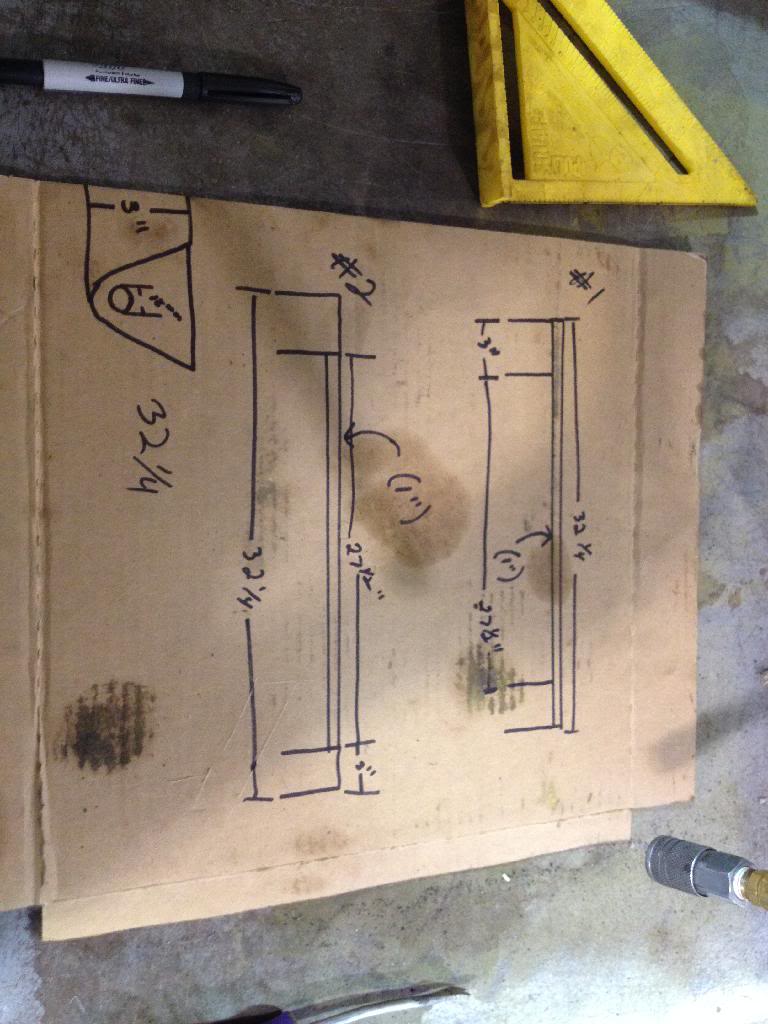
Trying to figure out which design we are going to go with the #1 or the #2. I feel as though for the lowest amount of height, from the hanger, we need to do the #2. Let me know what you guys think
Taking measurements
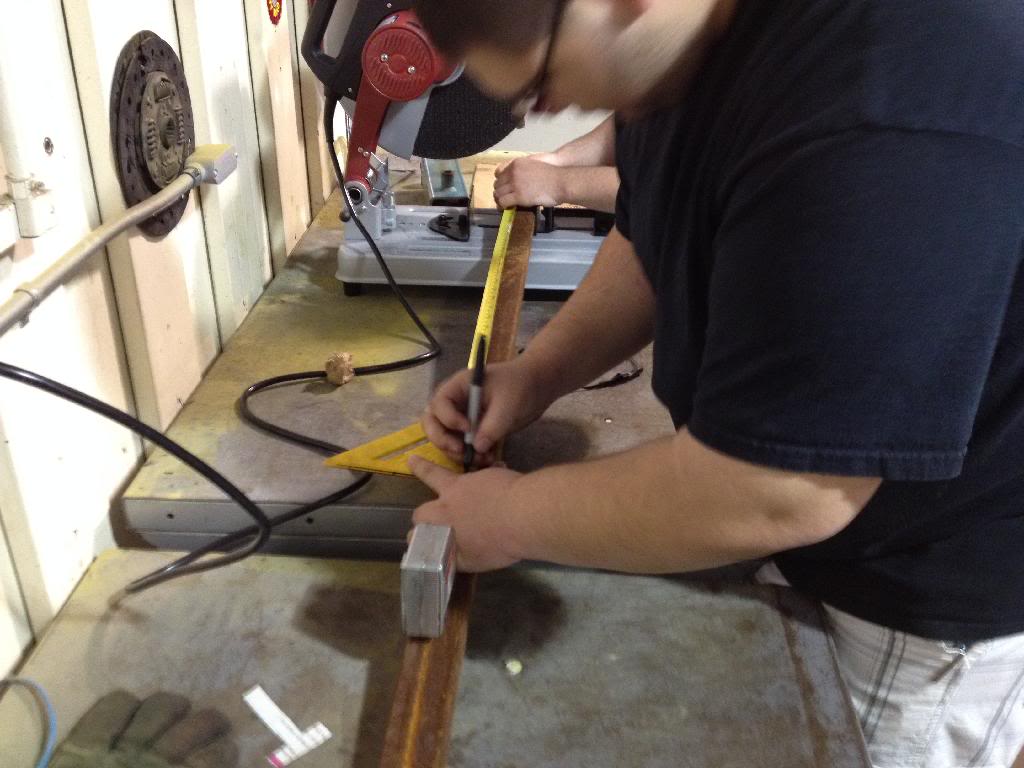
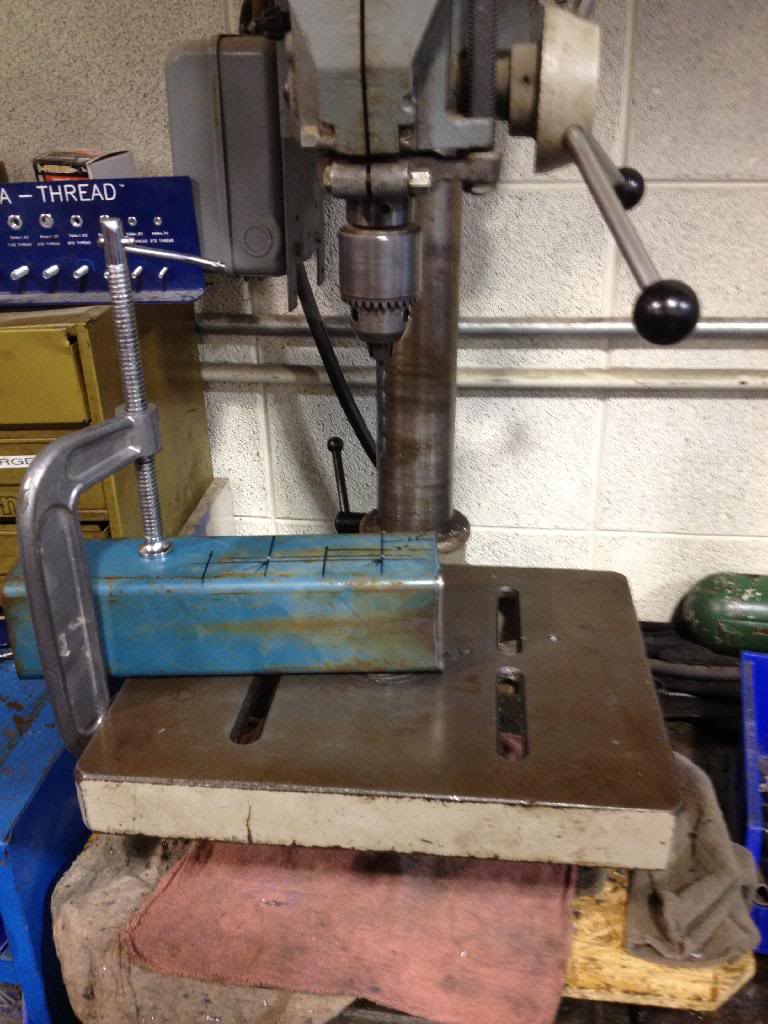
Making various measurements and getting some initial drilling done.
Getting ready to drill
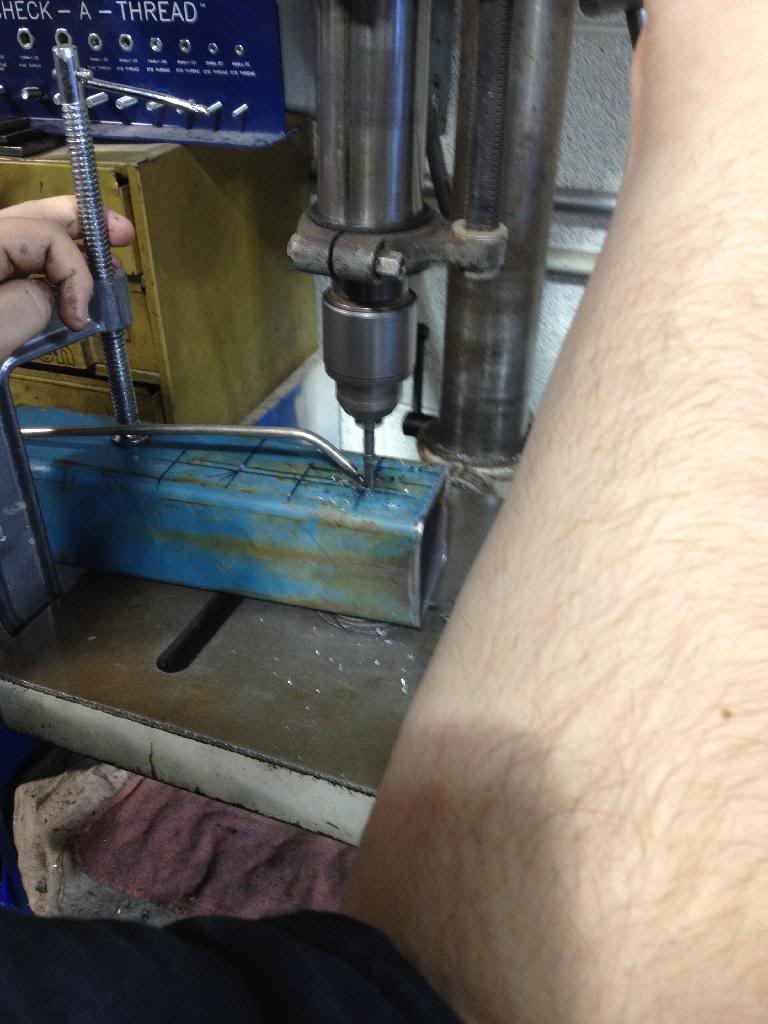
Snapped a pic mid drill.
The kids are pretty excited about making their own parts and brackets for the build. I think that they are realizing how valuable the knowledge is that they are getting from doing things like this.
Hopefully by tomorrow we can have a mocked up front spring hanger.

Trying to figure out which design we are going to go with the #1 or the #2. I feel as though for the lowest amount of height, from the hanger, we need to do the #2. Let me know what you guys think
Taking measurements

Making various measurements and getting some initial drilling done.

Getting ready to drill

Snapped a pic mid drill.

The kids are pretty excited about making their own parts and brackets for the build. I think that they are realizing how valuable the knowledge is that they are getting from doing things like this.
Hopefully by tomorrow we can have a mocked up front spring hanger.
04-14-2014, 10:28 AM
#98
Update 4-14-14
Well the kids have the front spring hanger about 80% done. They were able to finalize the 18mm holes and cut out the actual hanger ends in a rough form.
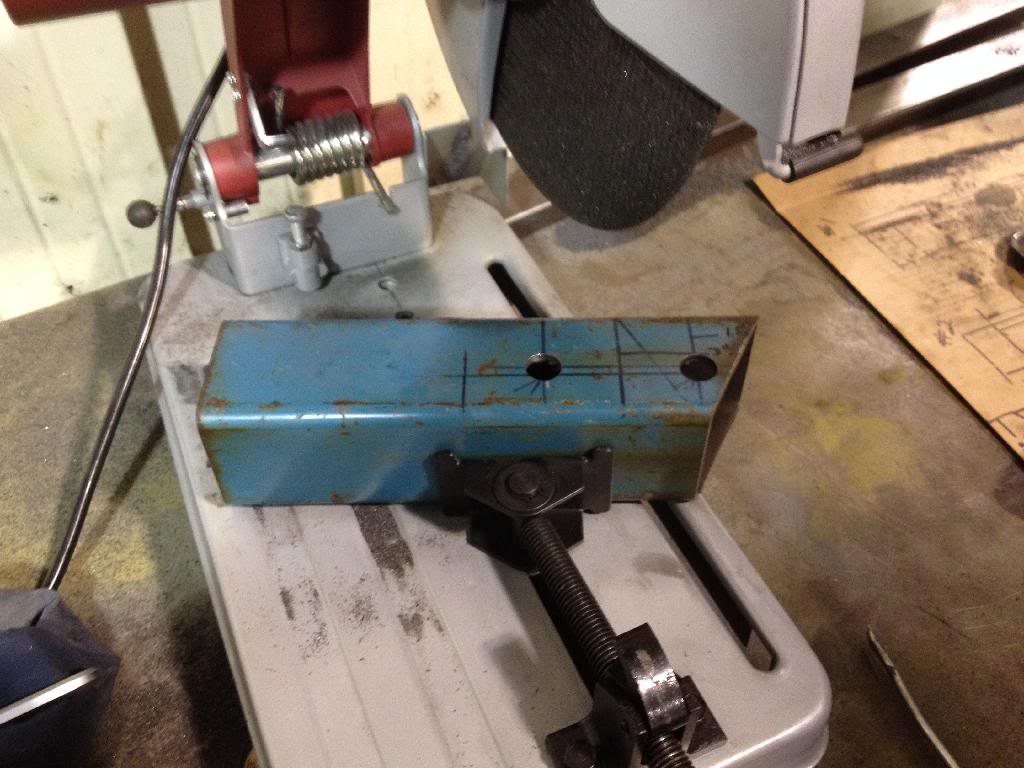

They need some fine tuning but came out really well so far.
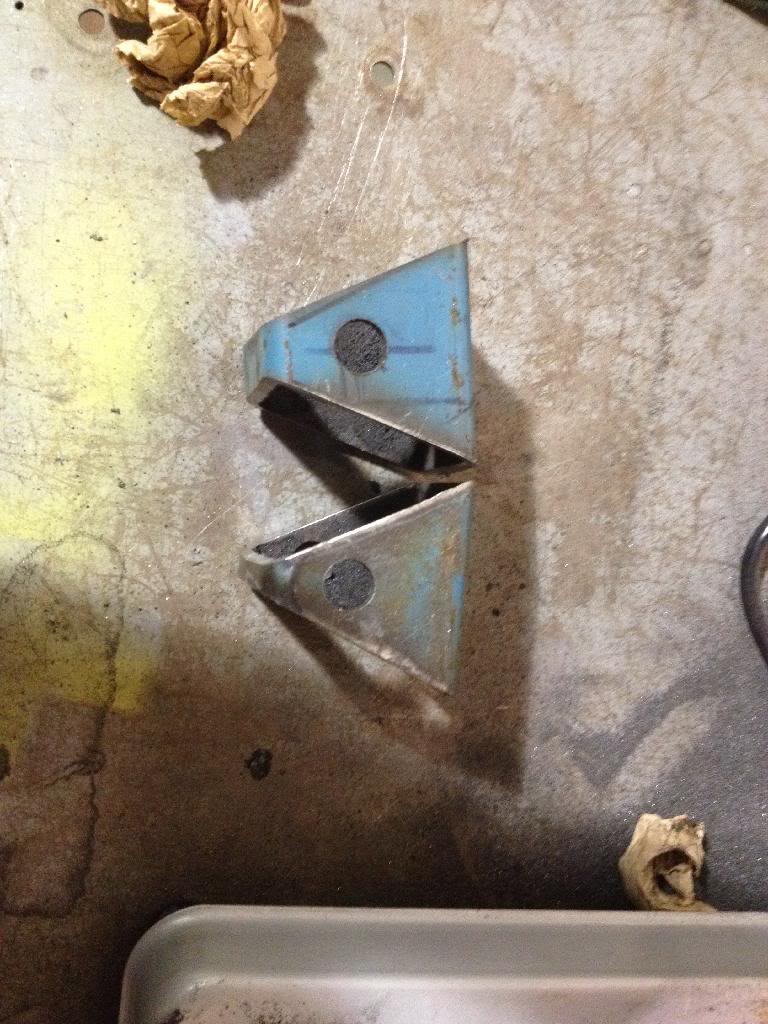
We are still not sure which route to take as far as the orientation of the front hanger pieces. If we make it like the pic below, where the ends sit on the straight bar, it will raise the front another 1'' more than it would have with just springs.

If we decide to make it like the pic below, it will retain the factory height plus whatever the 2" springs will give to it.
What do you guys think?? Any and all advice is welcomed!!


They need some fine tuning but came out really well so far.

We are still not sure which route to take as far as the orientation of the front hanger pieces. If we make it like the pic below, where the ends sit on the straight bar, it will raise the front another 1'' more than it would have with just springs.

If we decide to make it like the pic below, it will retain the factory height plus whatever the 2" springs will give to it.

What do you guys think?? Any and all advice is welcomed!!
 04-14-2014, 08:07 PM
#100
If you decided to go with hi-steer you might need that extra inch of clearance for your tie rod and drag link, I believe you need at least 3" of lift. Also to me it looks like the hanger would be stronger, you'd be able to weld more of an area than in the bottom pic. Your students are making some good progress!
Last edited by rustED; 04-14-2014 at 08:11 PM.


