Bugzman's 1985 Pickup Build-Up Thread
 02-16-2011, 02:31 PM
#41
Registered User
Thread Starter
Man i love your build! I have been following it since you started and have done many similar things to my truck also on a college student budget. I plan to do the 63" chevy springs soon too and just finished building a rear bumper that is nearly identical to yours. Thanks for the great thread. It looks like you got some new u bolts? Is that necessary for this swap? Also, what did you use for the new front mounts? How far did you move the front mount? Once again, awesome thread man
as for the front spring hangers, I made my own

just some 1/4 inch steel made with an interior gap of 3"

I read that you need to move them about 11" forward (eye to eye) but when I got everything set up, to get my shackle angle right i went up to 12". I would suggest just get your back set up the way you like it. then see were your axle is under the truck. and measure every thing before you take it all apart so you can put it back into the right place.
Do you have a build thread? Id like to check your rig out. and dont be afraid to ask more, Im more then willing to help out other people as nuts as I am.
 02-17-2011, 02:44 PM
#42
Registered User
iTrader: (2)
Join Date: Oct 2007
Location: colorado
Posts: 1,308
Likes: 0
Received 0 Likes
on
0 Posts
great build I like the look of being stock the hidden goodies...
what did you have to do to swap the busings? and could the new bushings be run with out the sleeve to use a larger 18mm bolt?
what did you have to do to swap the busings? and could the new bushings be run with out the sleeve to use a larger 18mm bolt?
02-17-2011, 03:24 PM
#43
Registered User

Join Date: Sep 2010
Posts: 25
Likes: 0
Received 0 Likes
on
0 Posts
Man Im having trouble finding time to build. I'll start a build thread soon. I already have all sorts of pictures lol. Thanks for the help man, this will definitely come in handy when I do the swap. What are you going to do about your shock mounts? Keep up the good work brother!
02-17-2011, 03:27 PM
#44
Registered User
Thread Starter
what did you have to do to swap the busings? and could the new bushings be run with out the sleeve to use a larger 18mm bolt?
I dont know if this is common but the part Number that i read to get for the springs didnt fit. as for the bolts. I used the stock chevy ones with the sleeves on the springs, on the chevy shackle i ran without the sleeve and the stock yota shackle fit great inside.
p.s. I got part number 3-2128, which is suppost to fit in almost all 63" chevys, but I guess not mine
02-25-2011, 04:44 PM
#46
Registered User
Thread Starter
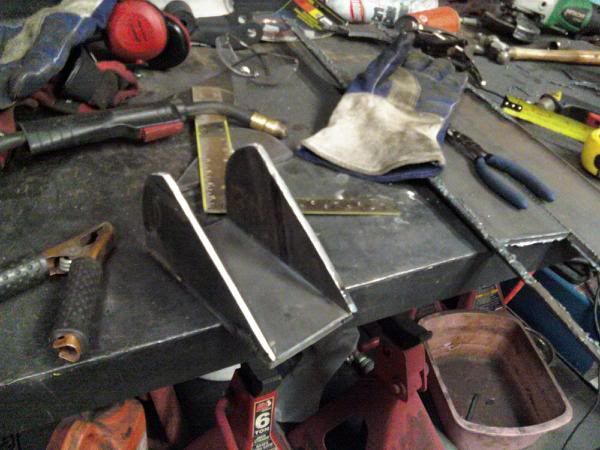
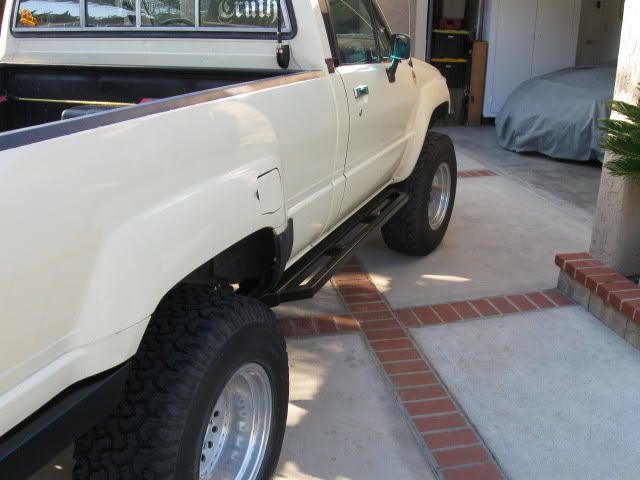
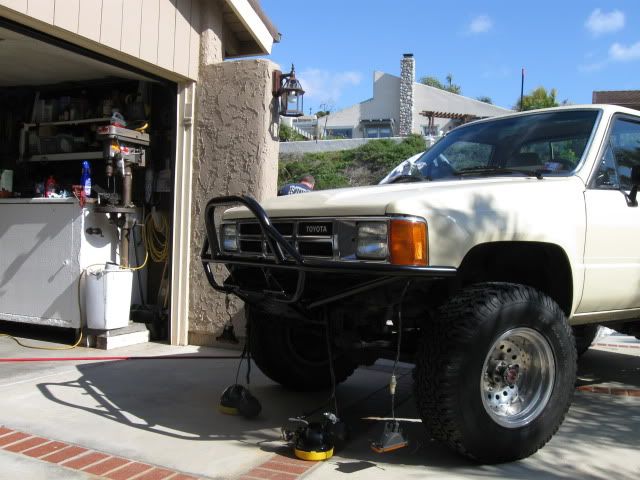
Got the sliders installed!
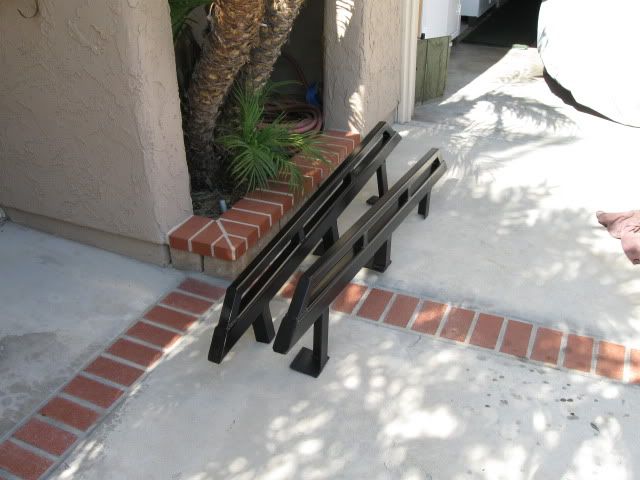
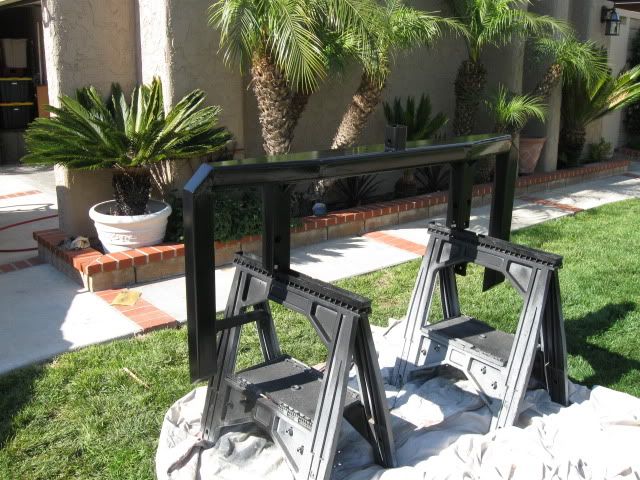
also got a chance to paint everything, both bumpers and the sliders. just enough to get one clean picture of the truck before i take it out and use it.
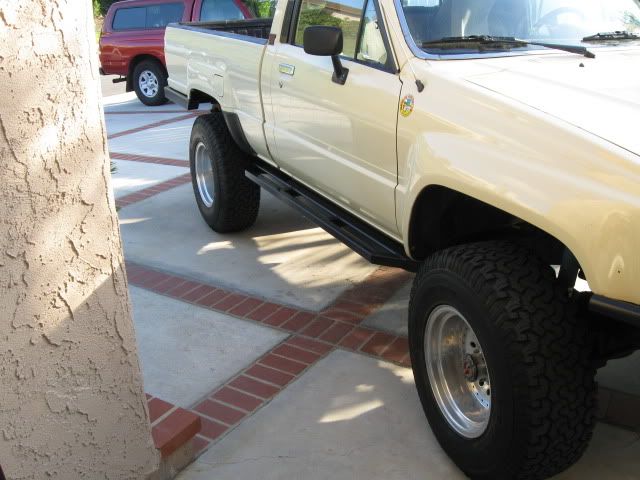
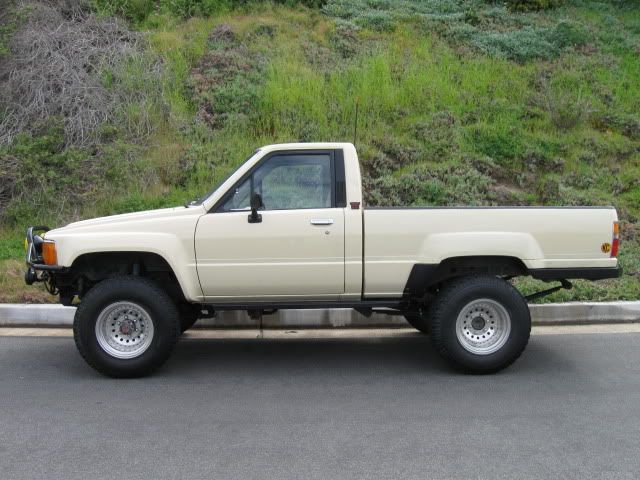
even though it doesnt look like it in the pictures. the weather here in southern California is getting cold, the weekend looks like some good snow fall in the area ( down to 1000 feet), making a run up to Santiago peak (local mountain with summit at 5600ft) to see how she likes the snow.
and hers the pretty shot after a wash and new paints .
also got a chance to paint everything, both bumpers and the sliders. just enough to get one clean picture of the truck before i take it out and use it.
even though it doesnt look like it in the pictures. the weather here in southern California is getting cold, the weekend looks like some good snow fall in the area ( down to 1000 feet), making a run up to Santiago peak (local mountain with summit at 5600ft) to see how she likes the snow.
and hers the pretty shot after a wash and new paints .
02-25-2011, 06:54 PM
#48
Registered User
Join Date: Sep 2010
Posts: 25
Likes: 0
Received 0 Likes
on
0 Posts
Lovin the sliders man, I just got my bumper finished and painted this week too. 63" chevy's are goin in Sunday. You welding or bolting those sliders on? What size square tubing did you use for those? Have fun this weekend, I'm jealous lol
02-26-2011, 02:49 PM
#49
Registered User
Thread Starter
Lovin the sliders man, I just got my bumper finished and painted this week too. 63" chevy's are goin in Sunday. You welding or bolting those sliders on? What size square tubing did you use for those? Have fun this weekend, I'm jealous lol
03-01-2011, 04:14 PM
#51
Registered User
Join Date: Sep 2010
Posts: 25
Likes: 0
Received 0 Likes
on
0 Posts
How'd those chevy springs flex this weekend? I grabbed a set from the local pull a part this weekend and took the overload spring off and painted them and the hangers today. Hopefully I'll get a chance to throw them on this weekend.
 03-02-2011, 09:32 AM
#53
Registered User
Thread Starter
How'd those chevy springs flex this weekend? I grabbed a set from the local pull a part this weekend and took the overload spring off and painted them and the hangers today. Hopefully I'll get a chance to throw them on this weekend.
03-09-2011, 12:42 AM
#54
Registered User
Join Date: Sep 2010
Posts: 25
Likes: 0
Received 0 Likes
on
0 Posts
What'd you do for bumpstops? Chevy's are going in this weekend, just installed a BJ spacer today. Thinking about just welding some 2x3 to u bolt flip kit plate to get my bumpstops set up right.
 gives me an idea about my rears that have blocks added...
03-09-2011, 06:20 AM
gives me an idea about my rears that have blocks added...
03-09-2011, 06:20 AM
#56
Registered User
iTrader: (2)
Join Date: Dec 2009
Location: Pleasanton, CA - SF Bay Area
Posts: 2,159
Likes: 0
Received 7 Likes
on
5 Posts
Great build - LOVE your truck, and glad the Chevy's worked out so well!
hgill here (works with me) had the swap done recently by a shop in San Jose and it looks great. Just was curious...the shop (who's done tons of these he said) mounted the new hangers NOT CENTERED on the frame - they were about a half inch toward the outer part of the frame - is this normal? Creates a wider track? Does it matter? How did you line yours up (I know the spacing from OEM to new hanger holes) - did you use a technique to ensure your new hangers were lined up, in line with the frame?
hgill here (works with me) had the swap done recently by a shop in San Jose and it looks great. Just was curious...the shop (who's done tons of these he said) mounted the new hangers NOT CENTERED on the frame - they were about a half inch toward the outer part of the frame - is this normal? Creates a wider track? Does it matter? How did you line yours up (I know the spacing from OEM to new hanger holes) - did you use a technique to ensure your new hangers were lined up, in line with the frame?
03-09-2011, 10:24 AM
#57
Registered User
Thread Starter
hgill here (works with me) had the swap done recently by a shop in San Jose and it looks great. Just was curious...the shop (who's done tons of these he said) mounted the new hangers NOT CENTERED on the frame - they were about a half inch toward the outer part of the frame - is this normal? Creates a wider track? Does it matter? How did you line yours up (I know the spacing from OEM to new hanger holes) - did you use a technique to ensure your new hangers were lined up, in line with the frame?
I know that some vehicles mount there leafs with a slight "toe" to them with the back being slightly wider on narrower then the front. this is to stop the axel from finding play in the springs and causing vibration.
As long as your leafs arnt being twisted funny. you should be ok.
03-09-2011, 10:43 AM
#58
Registered User
Thread Starter
Shocks and Bump-stops.
for my bumpstops I reused the stock ones, and welded a 1/4 plate to the bottom on it then to the spring plate.
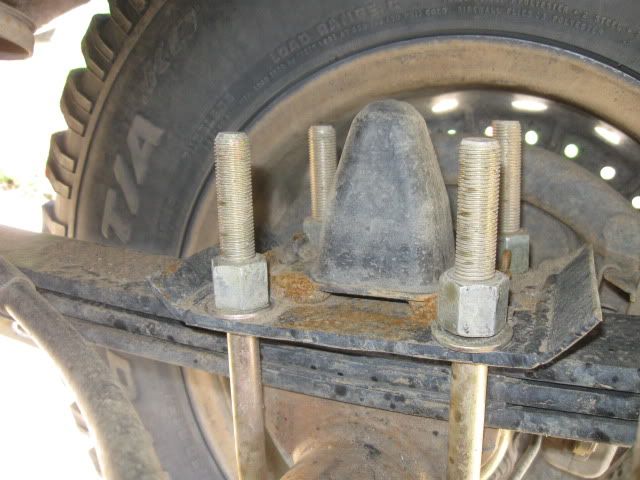
I have about 4 inches of up travel.

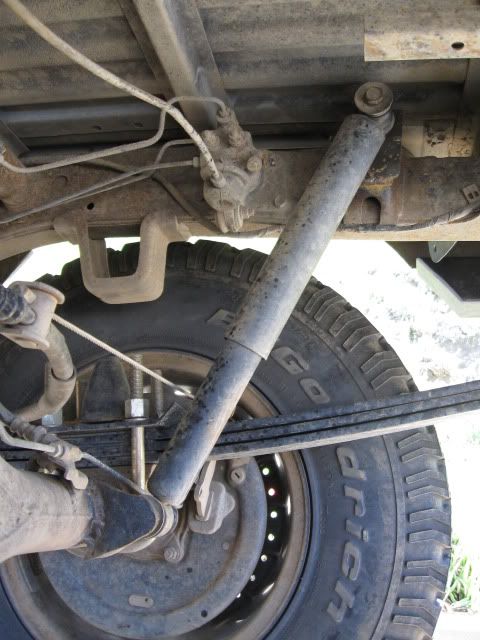
As for the shocks, I used the stock style shocks that came with the truck when I bought it. they are 10inch travel. I cut off the mounts from the old spring perch and from the upper mounts and welded them to some plate and relocked them to get better up and down travel.
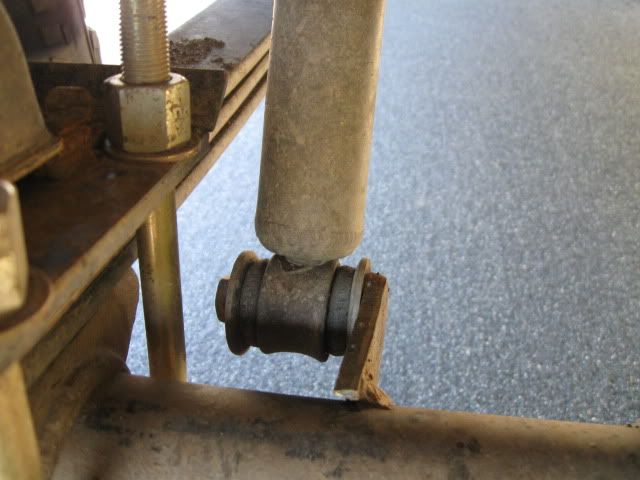
Lower mount
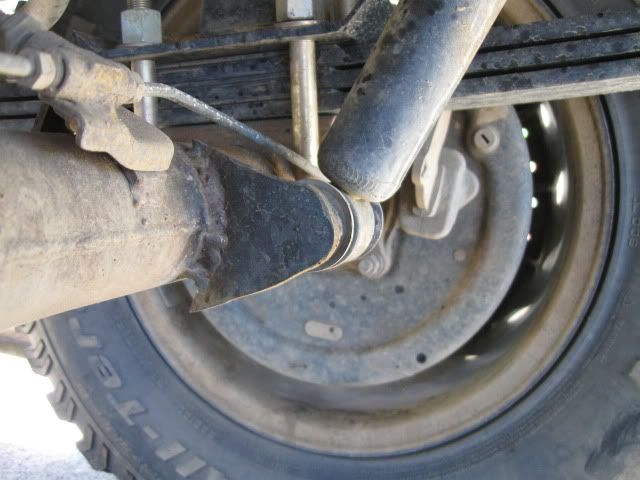
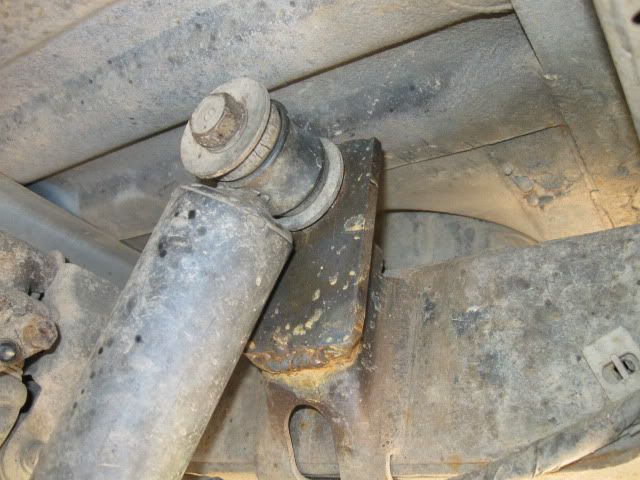
Upper mount
I didnt get any pictures from my snow adventure because I left the SD card in my computer. but ill try and find a place around here to flex it out. or maybe ill just speed up my designs for an RTI Ramp.
I have about 4 inches of up travel.
As for the shocks, I used the stock style shocks that came with the truck when I bought it. they are 10inch travel. I cut off the mounts from the old spring perch and from the upper mounts and welded them to some plate and relocked them to get better up and down travel.
Lower mount
Upper mount
I didnt get any pictures from my snow adventure because I left the SD card in my computer. but ill try and find a place around here to flex it out. or maybe ill just speed up my designs for an RTI Ramp.
Last edited by Bugzman; 03-09-2011 at 10:46 AM.


