Boomtacoma's 85 Ext Cab Build up

 07-28-2012, 03:55 PM
#62
Registered User
Join Date: Jul 2012
Location: Mansfield, Ohio
Posts: 136
Likes: 0
Received 0 Likes
on
0 Posts
I'm loving this build. You have some really great mods on there. Plus, the fact that you are doing all the work yourself. Sweet. I bet that saves a lot of money. If you ever travel through the middle of Ohio I have some things on my truck that need your expertise  .
.
.
 08-13-2012, 05:37 AM
#66
Registered User
Join Date: Aug 2012
Posts: 22
Likes: 0
Received 0 Likes
on
0 Posts
This is one of the best builds I have been looking for. I am actually going to do a pretty similar build with my 84 pickup...that is whenever i get some money to actually start the build..
10-03-2012, 10:58 AM
#67
Registered User
Thread Starter
Thanks guys.
Finally got my duals completly assembled. Just gotta get that heavy bitch installed. I cycled through all of the multiple gear combinations. Seems and feels good. Low/low is going to be a beast.


Good quality parts. Hopefully they work for a long time.
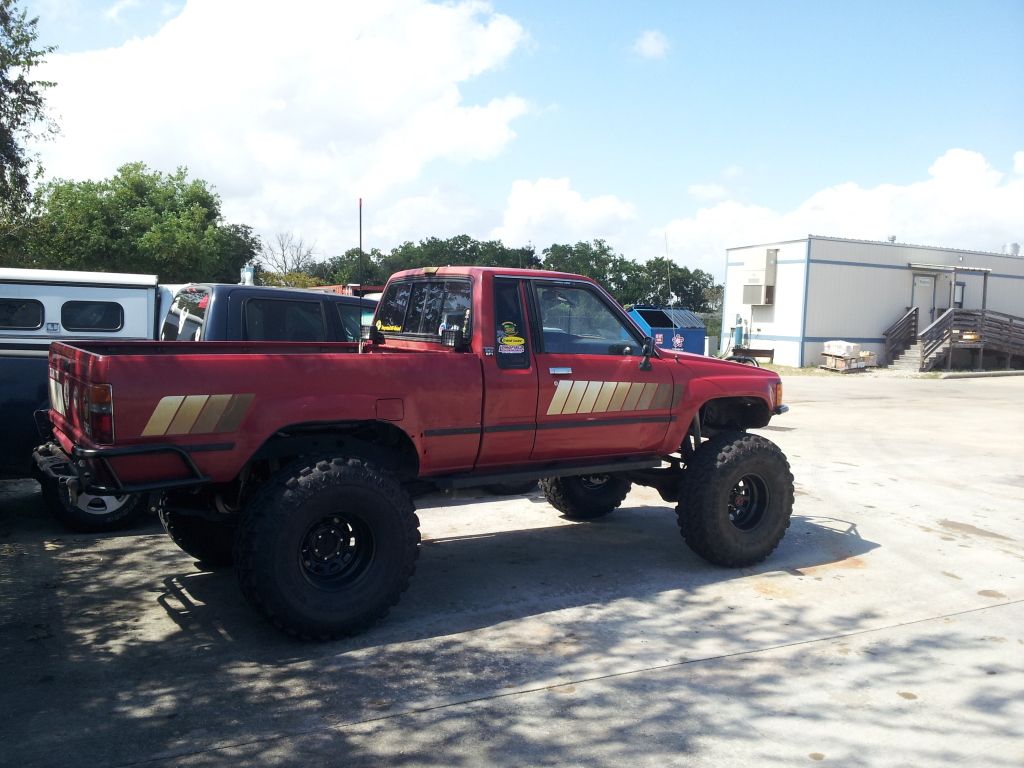
Pulled the truck out to test the rear discs and to get a quick wash job.

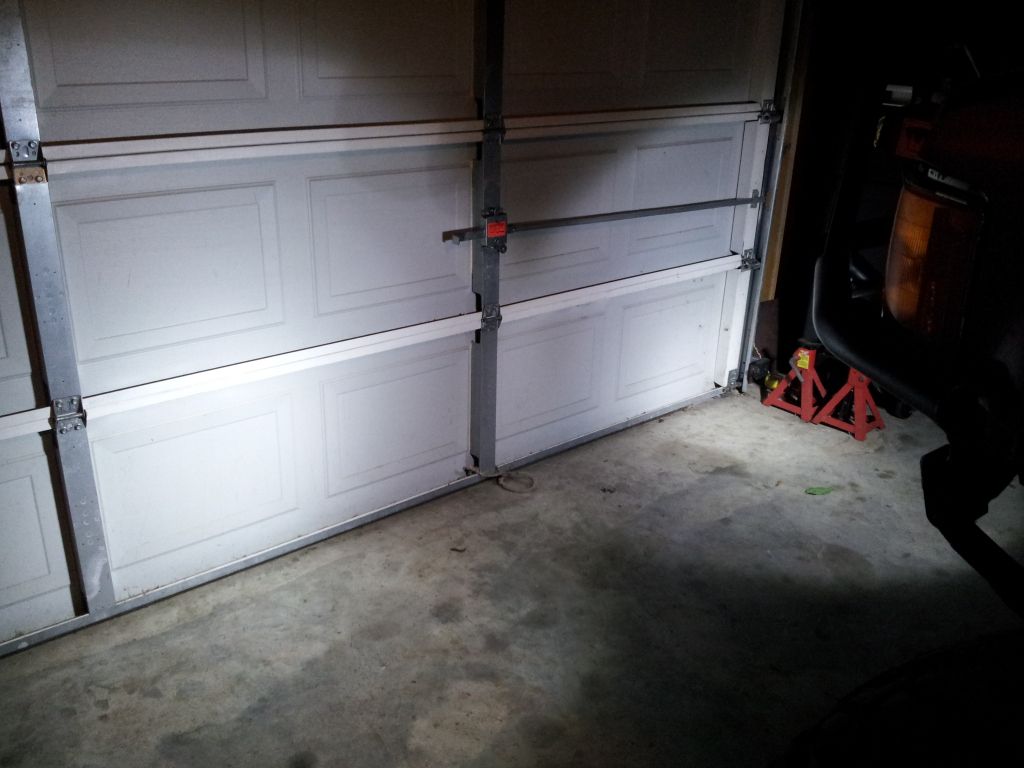
Changed out the lights on the fron to som 6 inch LED bars which have a substantially greater output than the others that were on there.

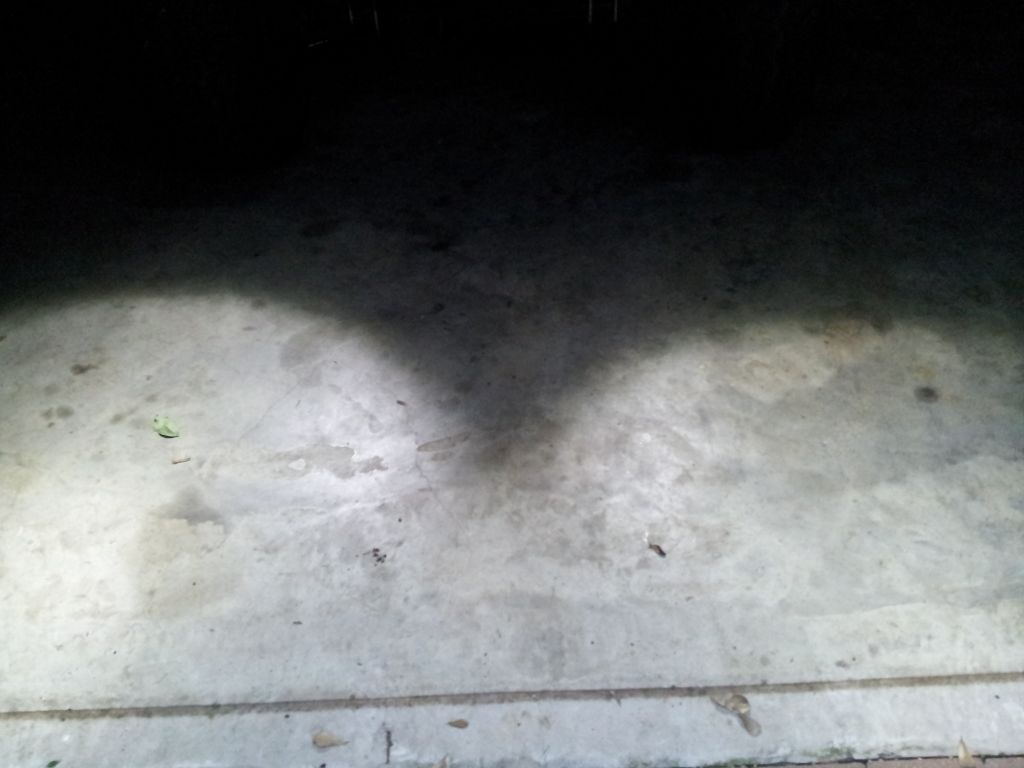
Night Shots
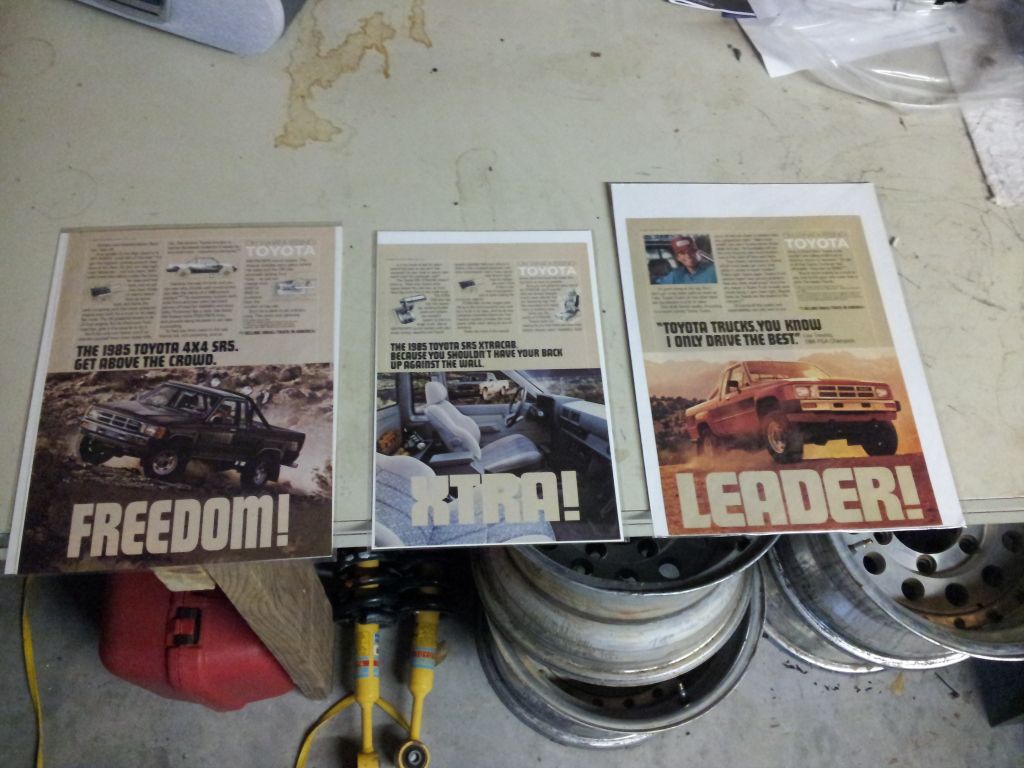
Added some Circa 1985 decor to the garage walls
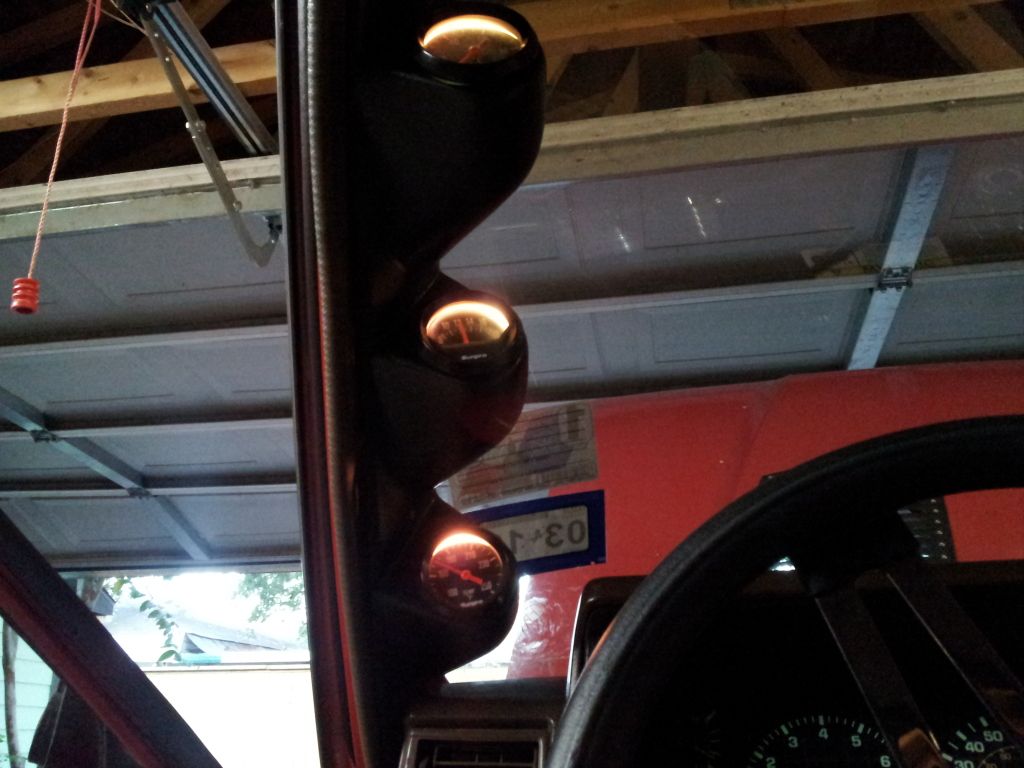
I added a 3 gauge A pillar pod for a litte bit more reliability in the oil pressure, coolant temp and voltage readings. I need a couple of fittings to Tee the OEM sender in with the mechanical Oil Pressure fitting to have some redundancy.
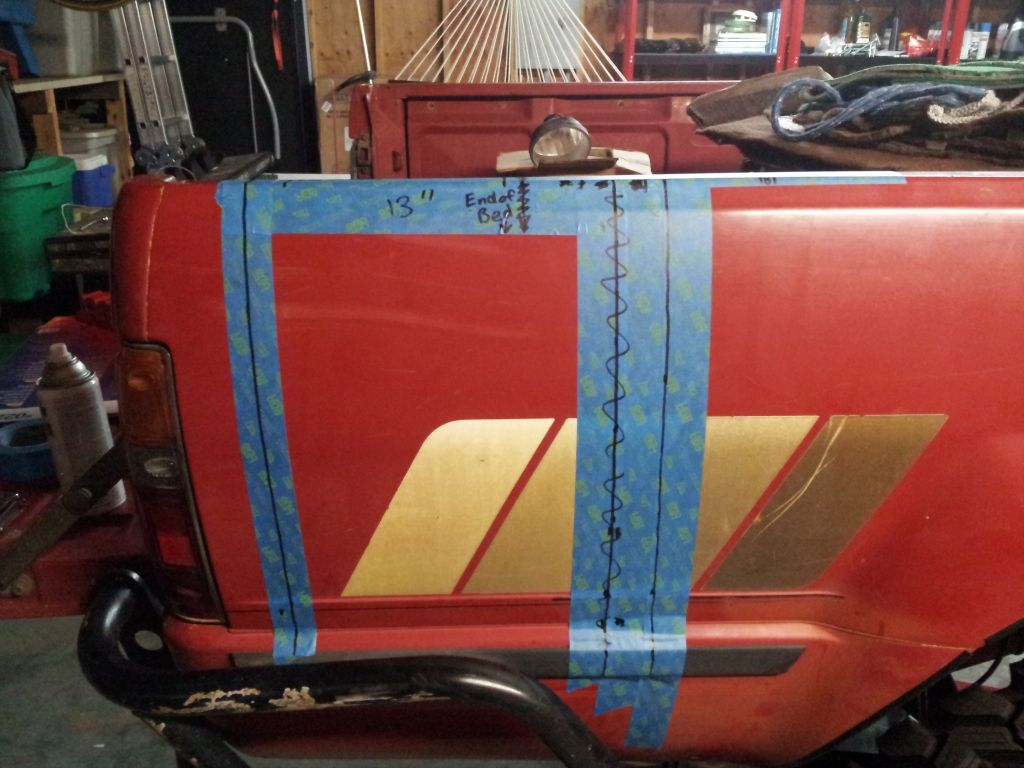
Also started taping off the bed for my 13.5 in bob that will be starting soon.
I still need to get the duals, Hydro assist and bob completed.
Started putting together a 3RZ parts list too That should be fun but down the road a little. My little 22REC runs pretty good as of right now.
Finally got my duals completly assembled. Just gotta get that heavy bitch installed. I cycled through all of the multiple gear combinations. Seems and feels good. Low/low is going to be a beast.
Good quality parts. Hopefully they work for a long time.
Pulled the truck out to test the rear discs and to get a quick wash job.
Changed out the lights on the fron to som 6 inch LED bars which have a substantially greater output than the others that were on there.
Night Shots
Added some Circa 1985 decor to the garage walls
I added a 3 gauge A pillar pod for a litte bit more reliability in the oil pressure, coolant temp and voltage readings. I need a couple of fittings to Tee the OEM sender in with the mechanical Oil Pressure fitting to have some redundancy.
Also started taping off the bed for my 13.5 in bob that will be starting soon.
I still need to get the duals, Hydro assist and bob completed.
Started putting together a 3RZ parts list too
That should be fun but down the road a little. My little 22REC runs pretty good as of right now.
10-03-2012, 11:05 AM
#68
Registered User
Thread Starter
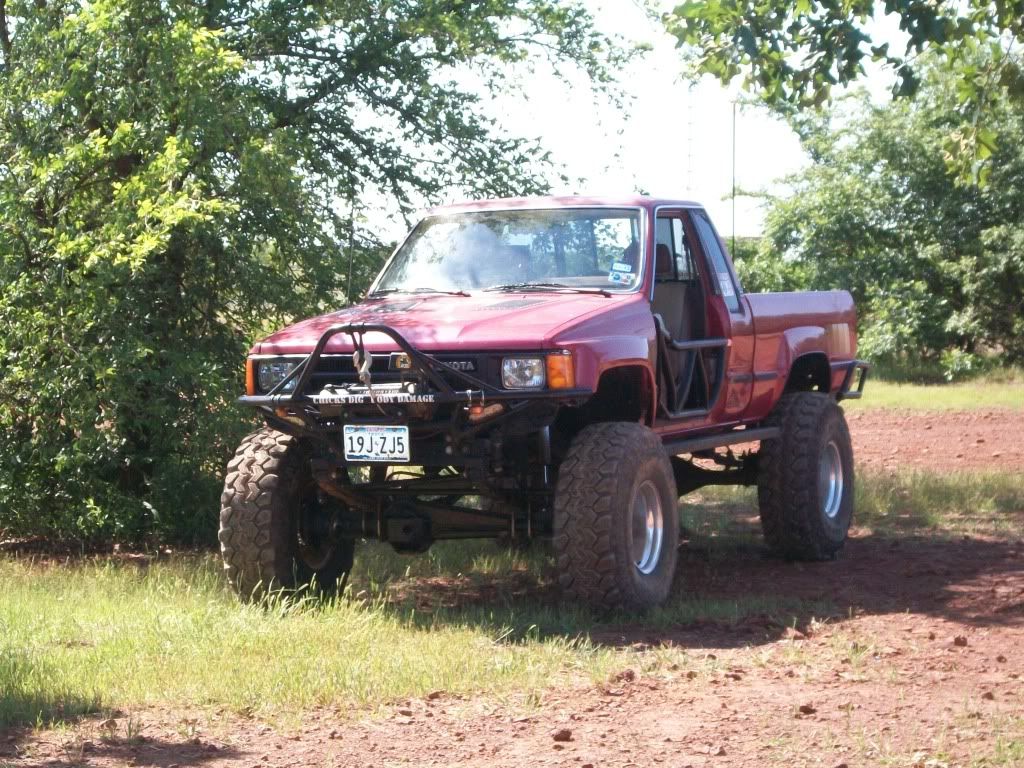
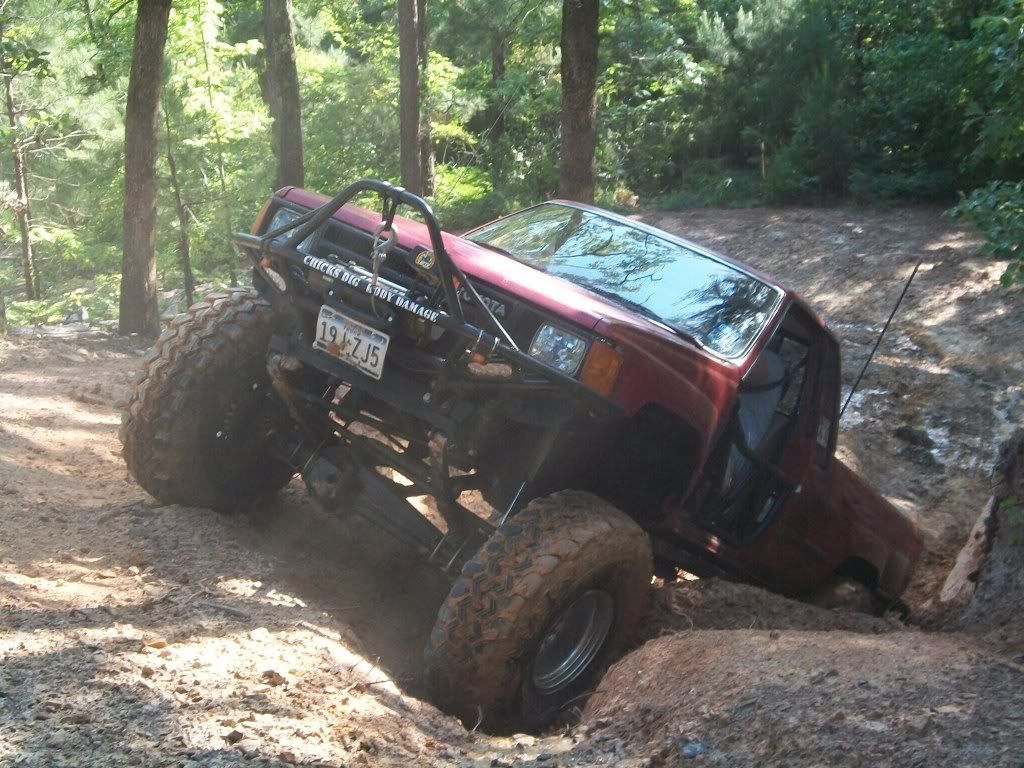
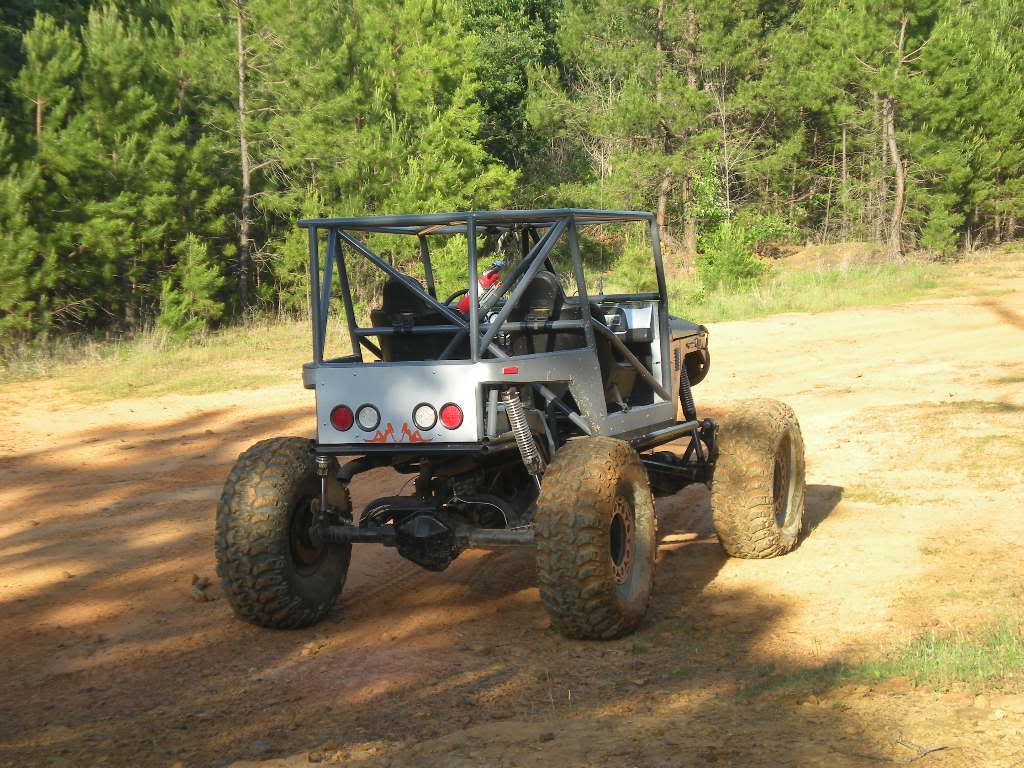
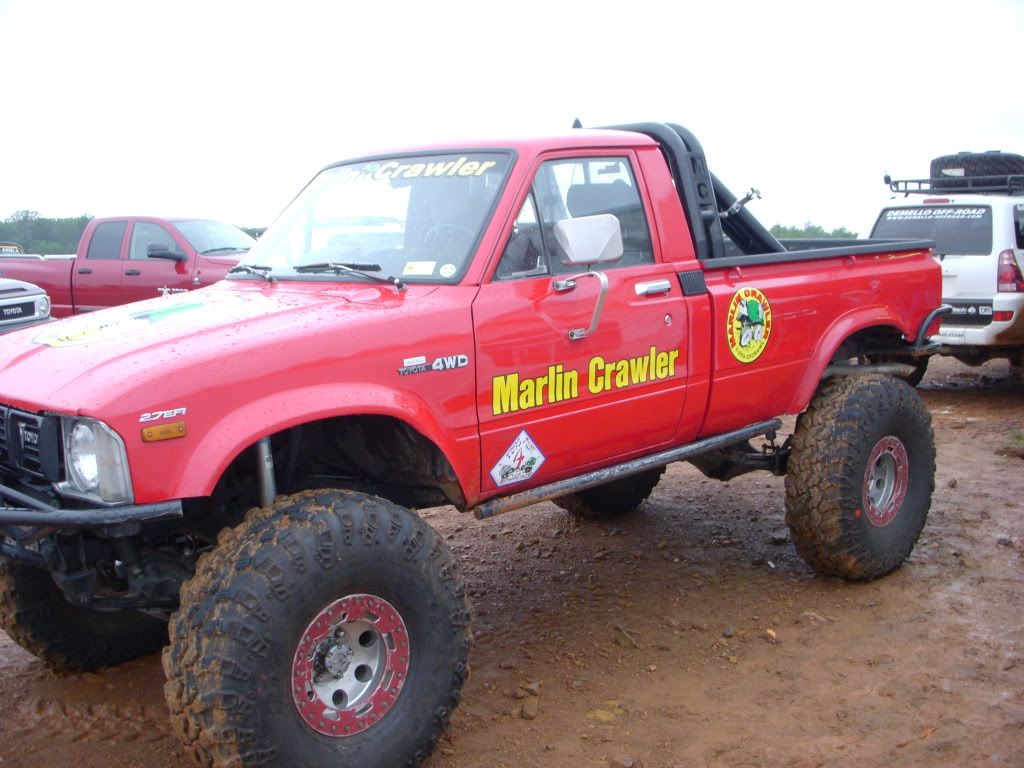
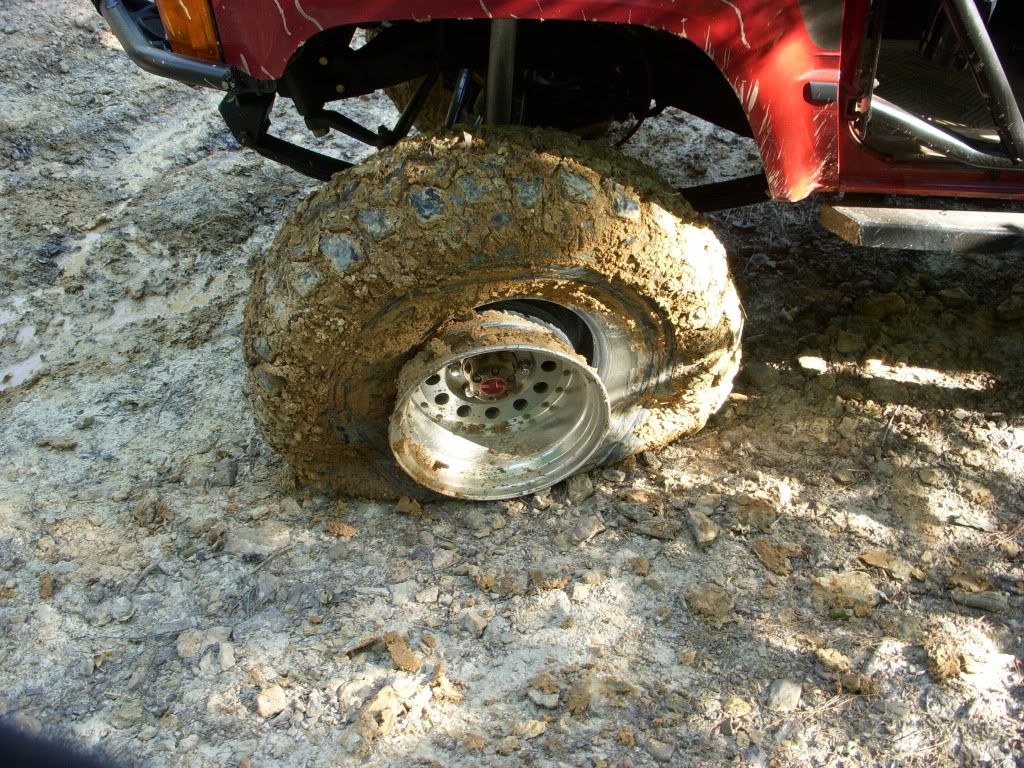
I have some pics from The Texas Lonestar Jamboree in April that i didnt post up.

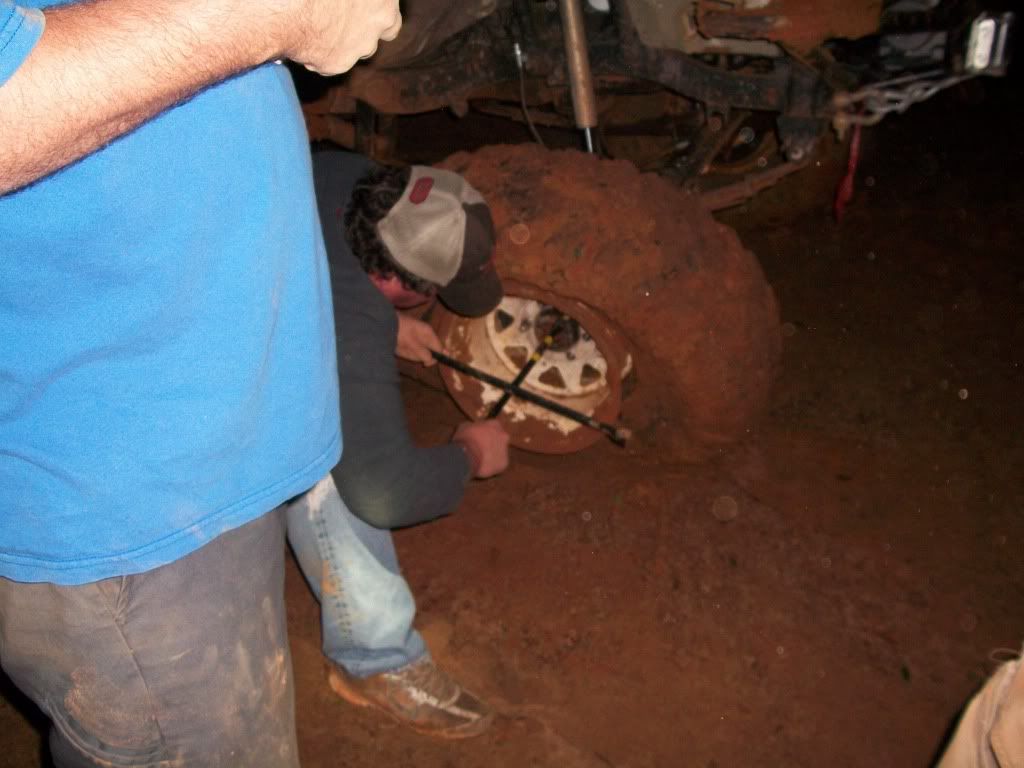
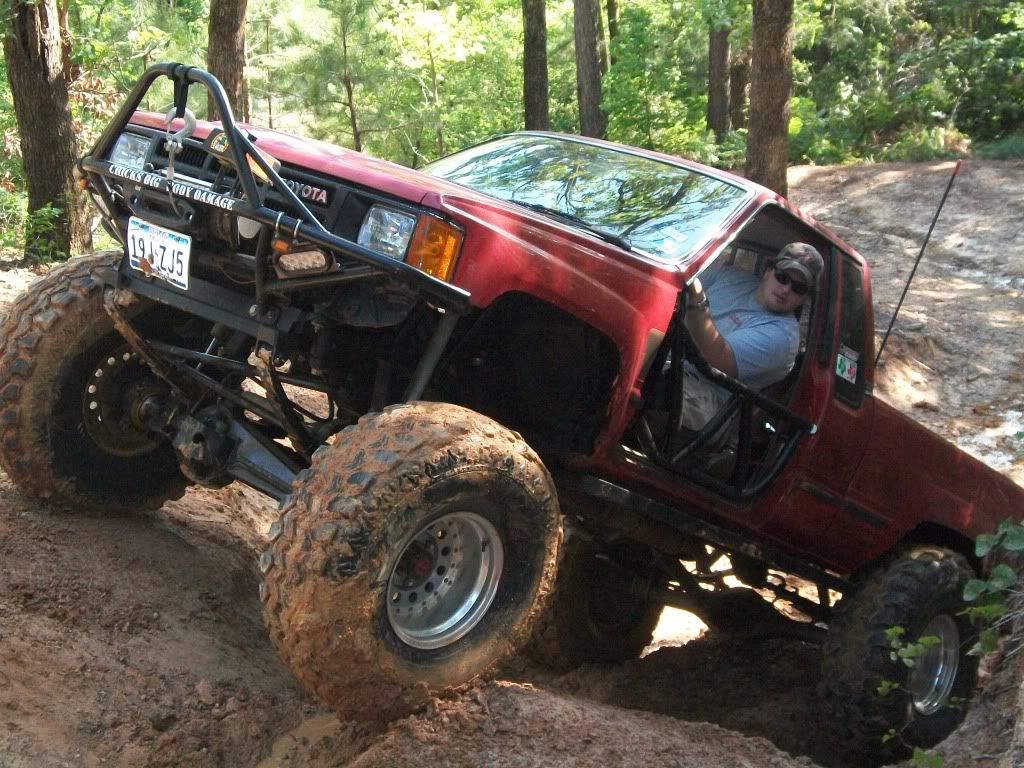
Blew a bead
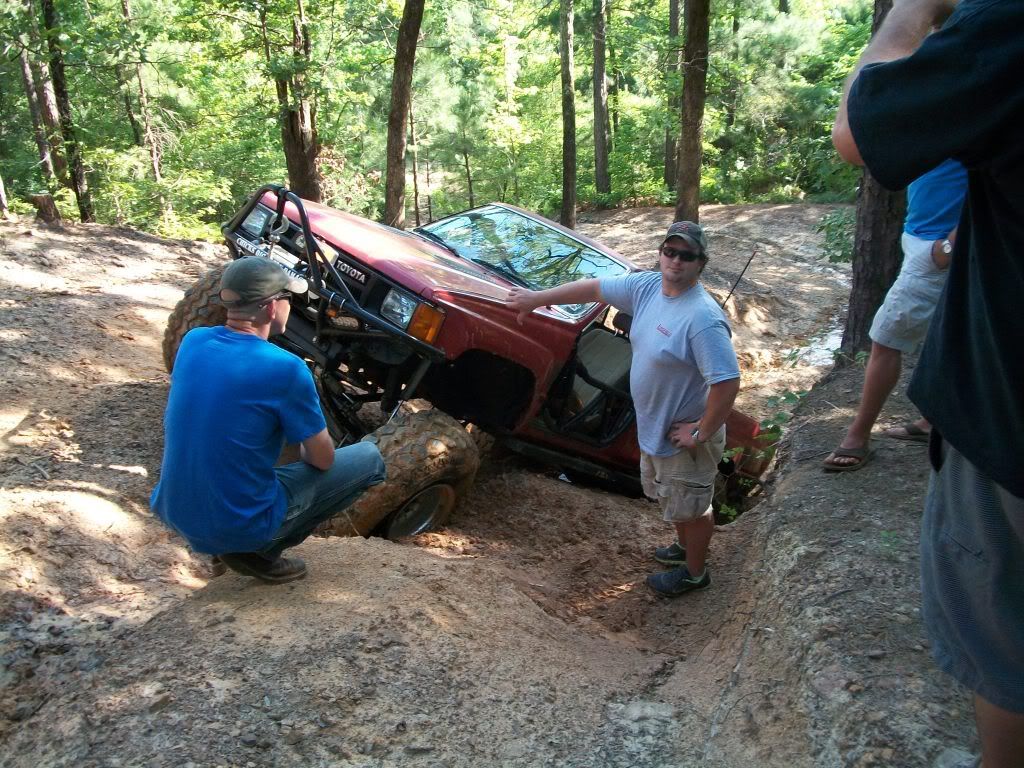
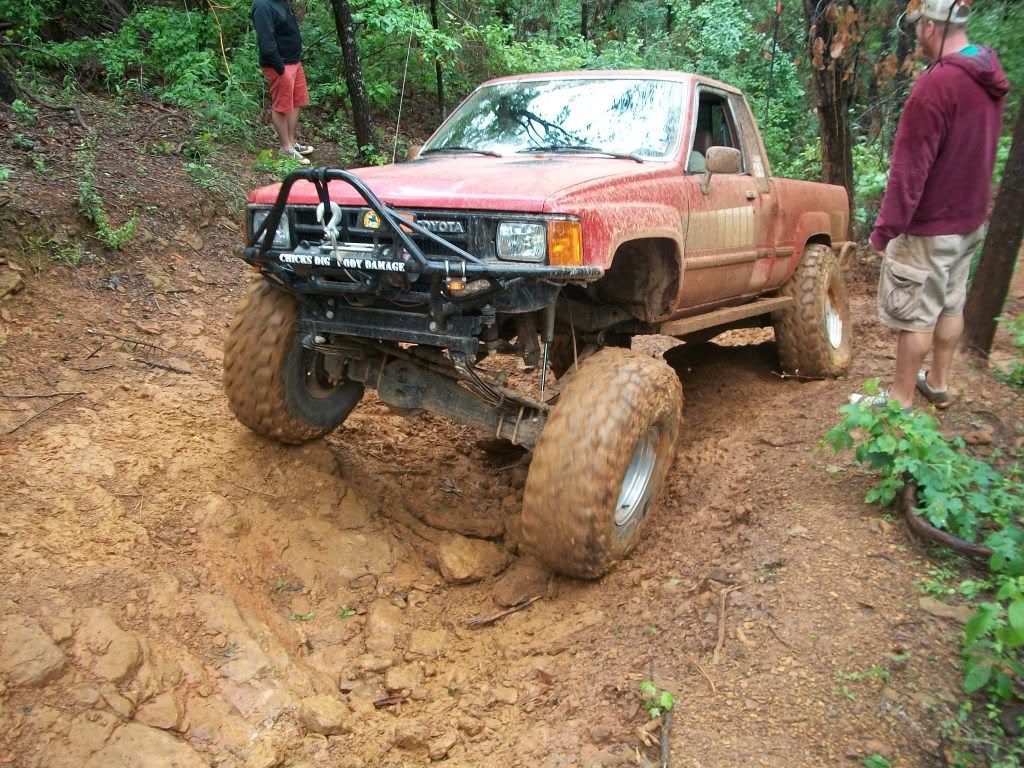
Twister

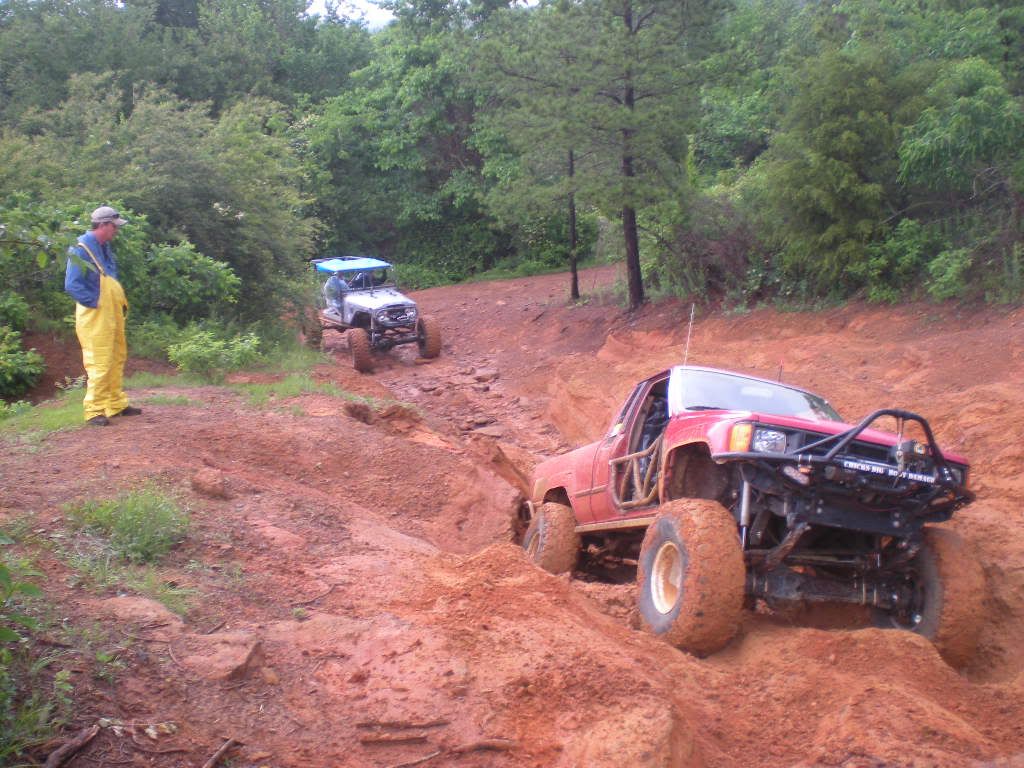
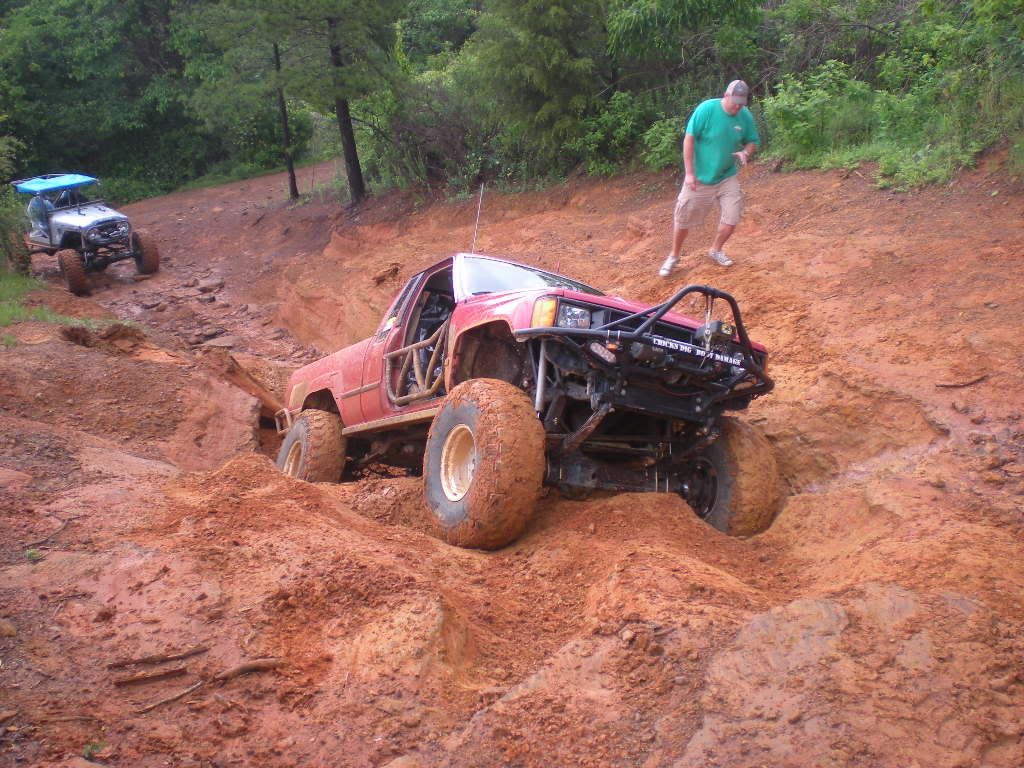
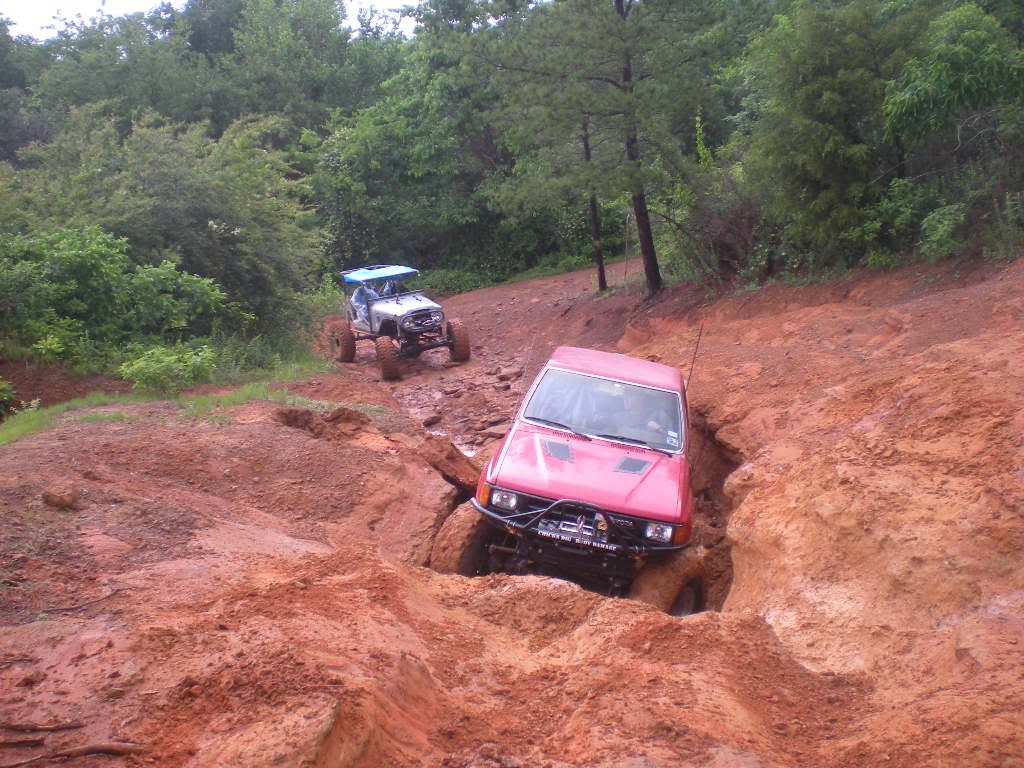
My buddys FJ40 buggy
Marlin was there
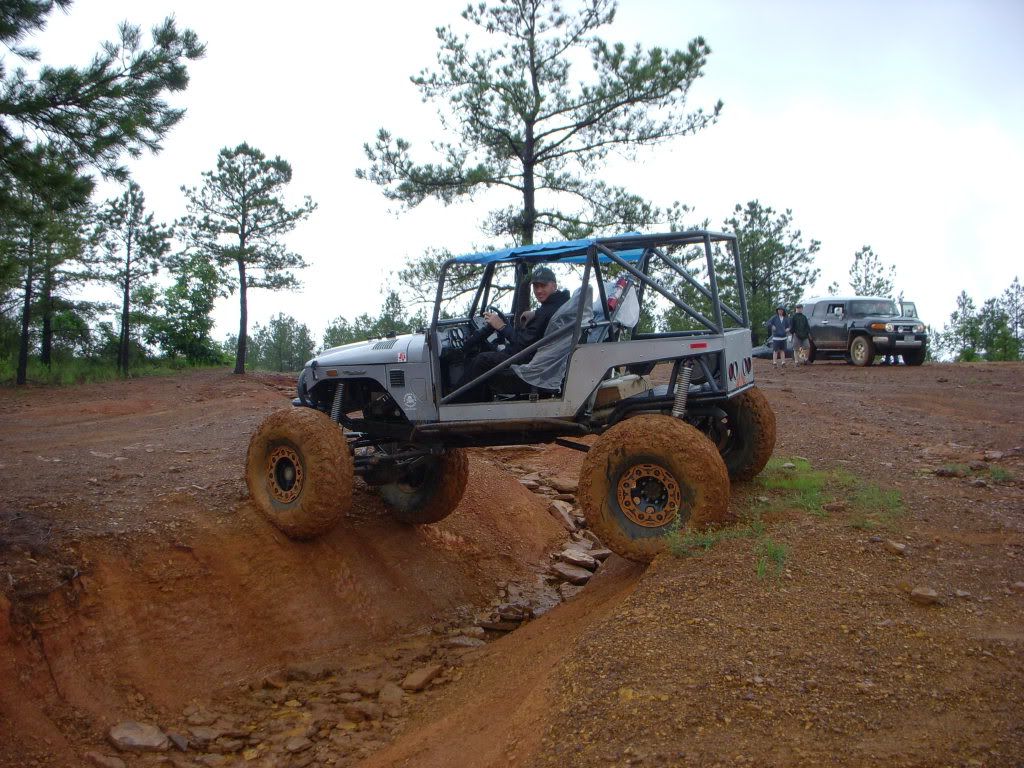
Alex on Twister
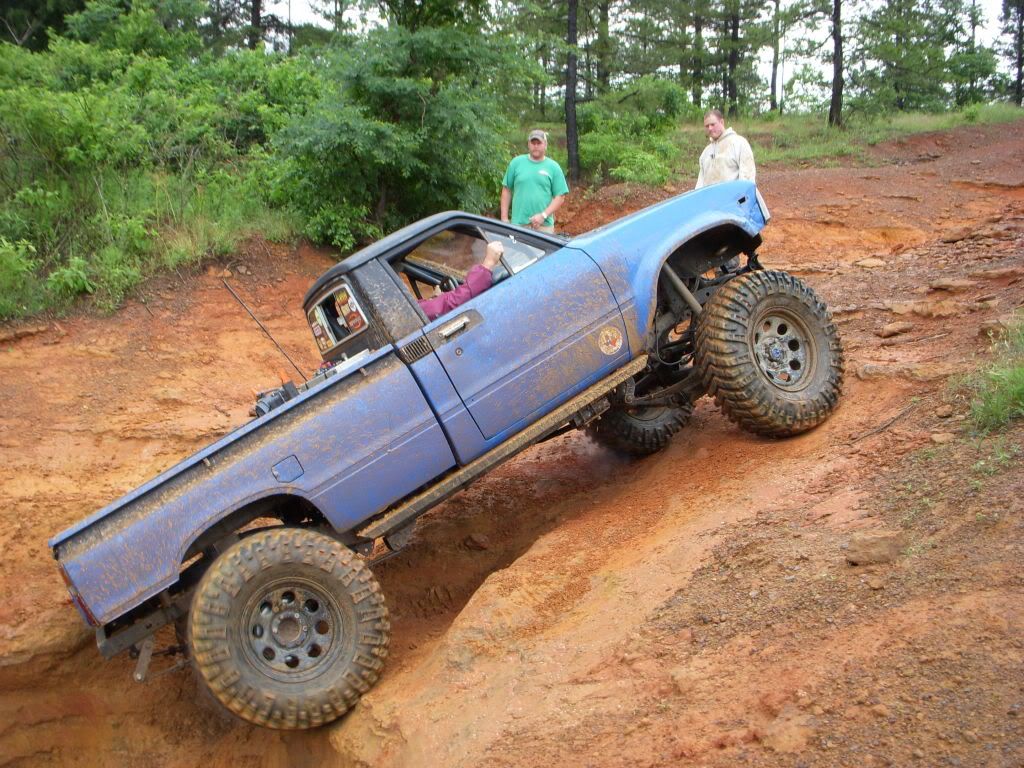
Brandon sideways in his F Toy
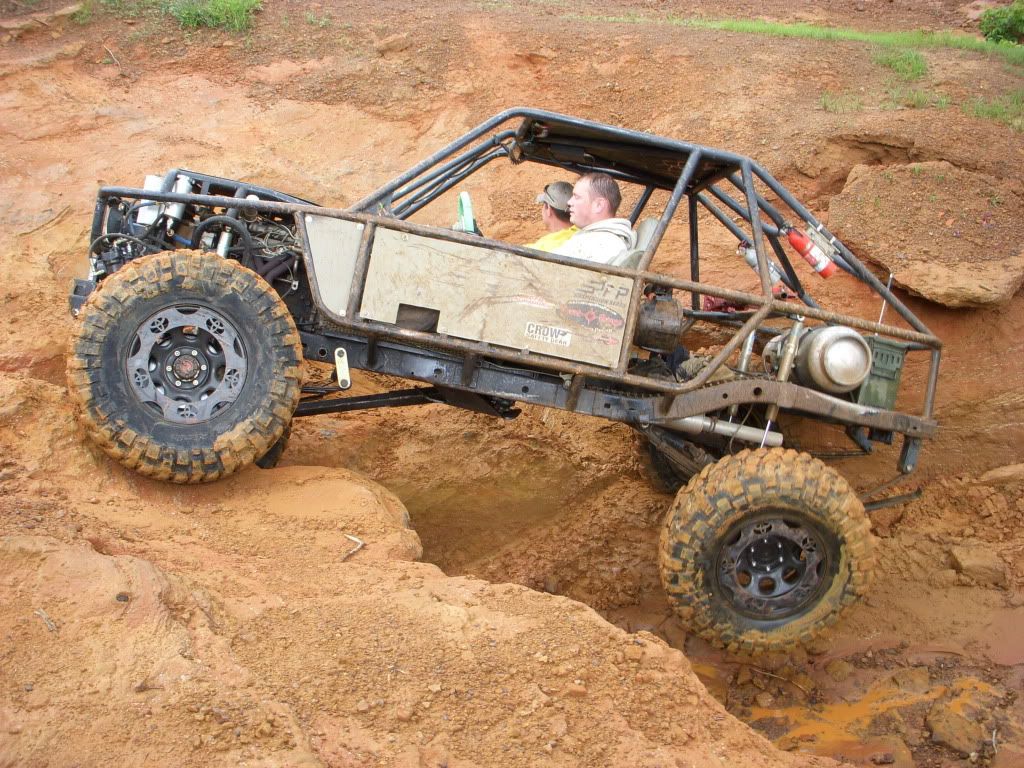
Bead again
Brians awesome FJ crusier supercharged LTed
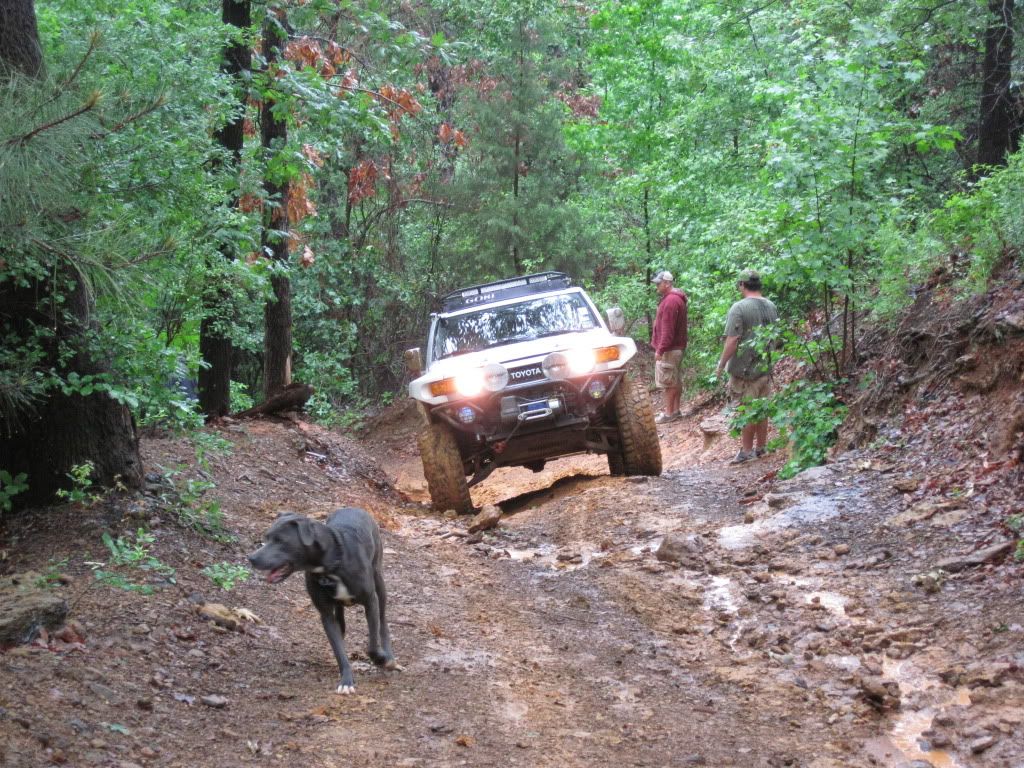
Tims awesome 82
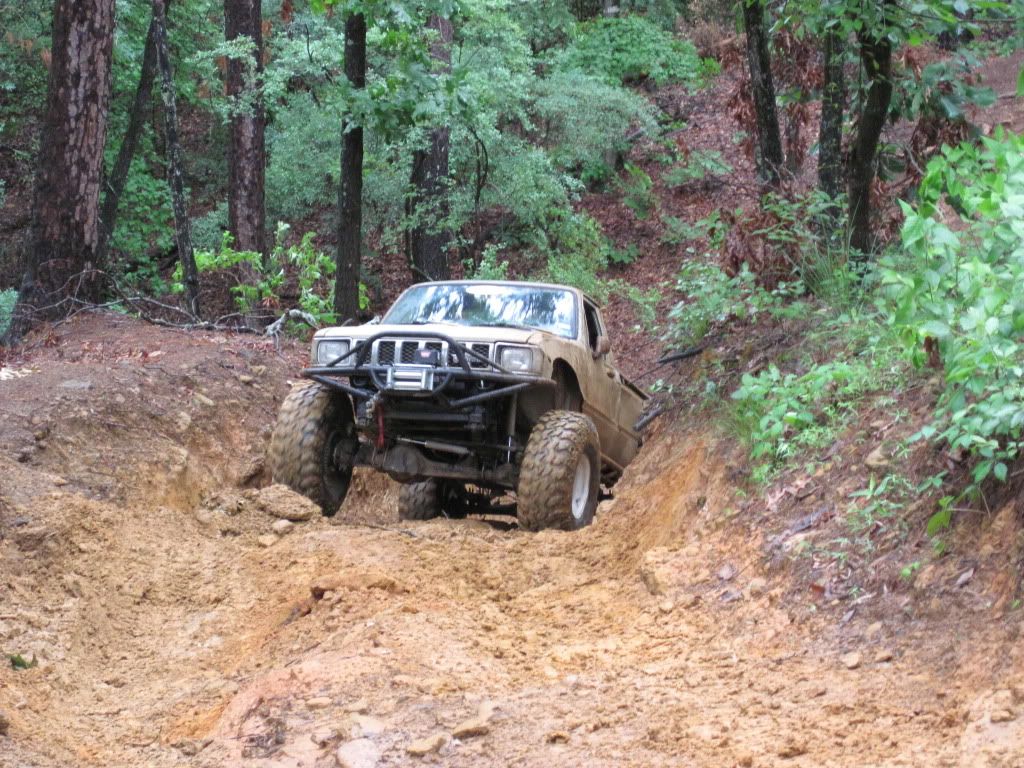
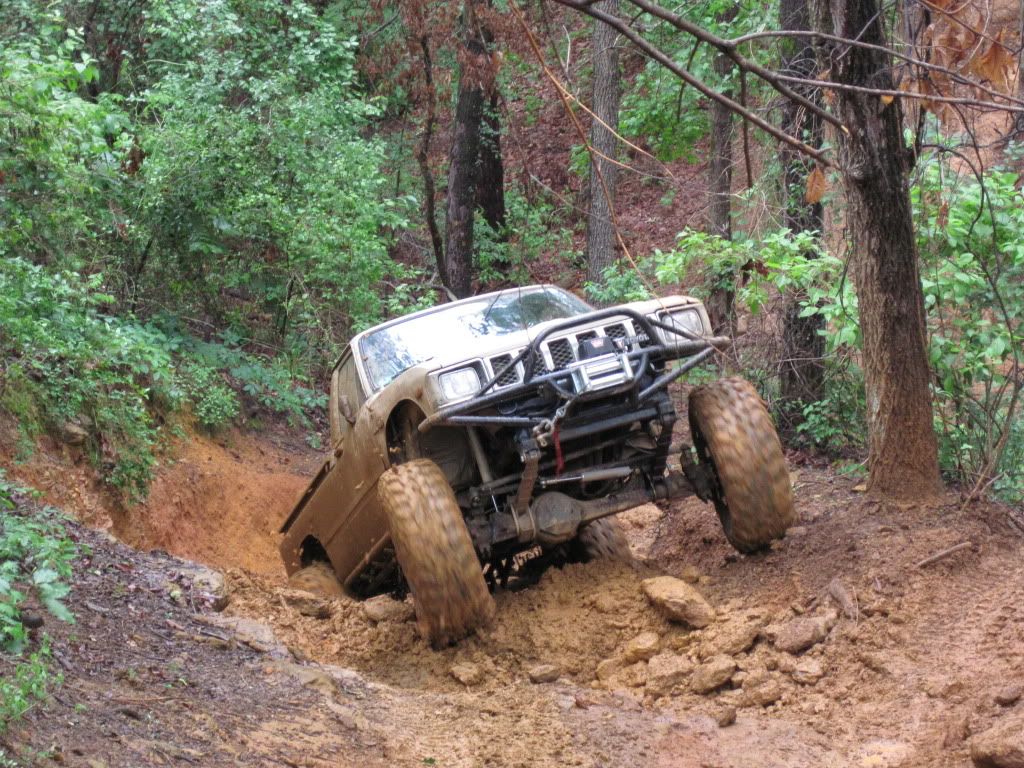
Alex getting some air
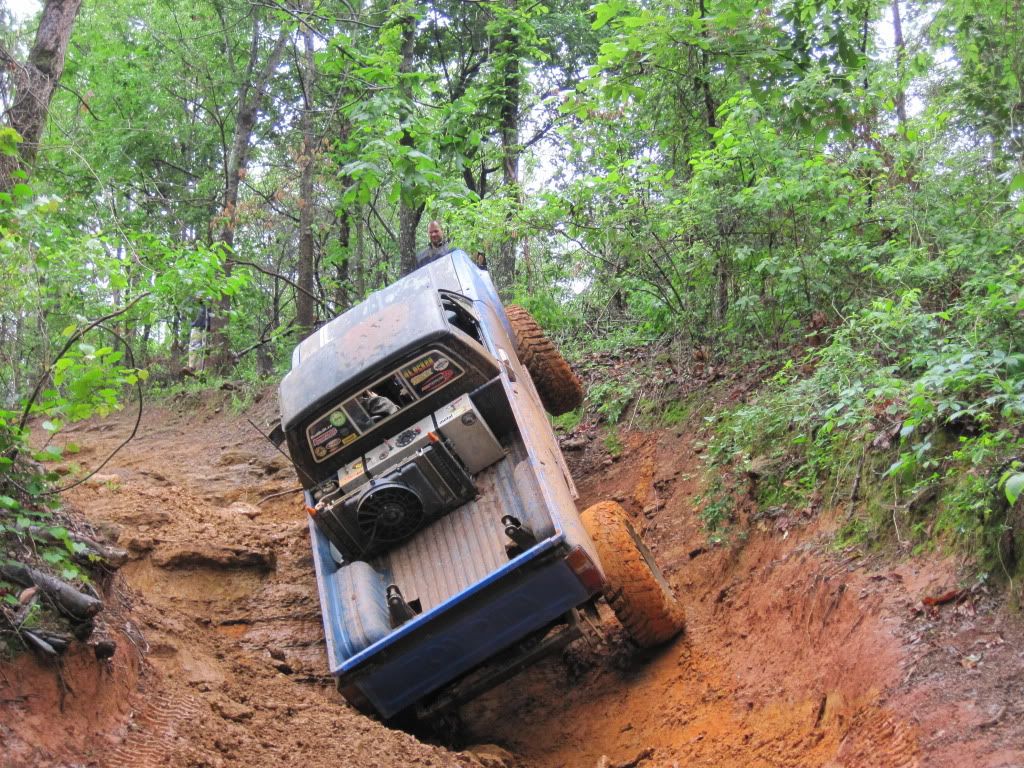
It was a good time as usual.
Next trip Nov 17th. Cant wait!
Blew a bead
Twister
My buddys FJ40 buggy
Marlin was there
Alex on Twister
Brandon sideways in his F Toy
Bead again
Brians awesome FJ crusier supercharged LTed
Tims awesome 82
Alex getting some air
It was a good time as usual.
Next trip Nov 17th. Cant wait!
Last edited by Boomtacoma01; 10-03-2012 at 11:06 AM.
 10-24-2012, 05:31 AM
#72
Registered User
Thread Starter
Marlin Crawler Short Throw Shifter on the way along with a PSC 22re performance steering pump kit and 1.5" x 6 assist cylinder
Last edited by Boomtacoma01; 11-09-2012 at 11:13 AM.
 11-09-2012, 11:12 AM
#74
Registered User
Thread Starter
Got my short throw shifter in.

Got it installed
My rough measurements show about a 1.5 in reduction in throw. From 5.5 to right at 4. The shifter reduced a lot of the slop in the gear pattern and neutral positions. There is one difference I can see from the other installed pics. On my R151 the breather needs to go to the rear and the Marlin lettering goes to the front. Other than that the install went easy.
11-12-2012, 11:07 AM
#77
Registered User
Thread Starter
I really like the rear disc conversion. It definately stops a lot better now. I just need to figure out my parking brake dilema. Im either going to use a line lock or TC mounted pinion brake or both to fix that issue.
Last edited by Boomtacoma01; 01-05-2013 at 07:41 AM.
11-12-2012, 02:26 PM
#78
Registered User

Join Date: May 2012
Location: Las Vegas, NV
Posts: 7
Likes: 0
Received 0 Likes
on
0 Posts
Cool, Thanks for the reply! It is too bad there hasn't been more progress on the integrated e-brake inside the rear disc like the FJs and 03 up 4runners have. Golden State Motorsports seems close to having it ready...
 11-29-2012, 10:13 AM
#80
Registered User
Thread Starter
Added some killer green carpet on my dash to cover up all the cracks.

Started another layer of rustloeum sound deadener on the pass side.

Fixed my sticky hand throttle

Added a blingy TEQ oil fill cap

New pump is in. Steering cooler is mocked up. Reservoir is placed where it should fit. I had to cut off one of the mounting points for the stock airbox to make it work. Steering box is off. Old steering stabilizer is removed. The mess is made. Got some royal purple max steer on the way from amazon. Just need to pick up my other box in conroe. I need to figure out the low pressure feed line to the pump. Its tight. Other than that i have to finish it up if i wanna wheel.
Pics


I figured out a better mounting idea last night with a piece of 1x1 angle iron that will be mounted to the drivers side shock hoop. This added about 2 inches of clearance that was definitely needed. It will be temporarily mounted with a couple of hose clamps and welded on later. I need to take the edges off of the new bracket and throw some paint on it before install. I am waiting on 2 -10 90's to show up so i can start routing hoses.
I also ripped out all the non working AC bull˟˟˟˟ since it was in the way. I have one hose left that is being a real bitch to get off at the compressor. I am capping off all of the connections under the hood for when I want to tackle the AC re-install if that ever happens.
I started combining/untangling all the random wires and ran them the correct way away from heat sources/moving parts. I added some dielectric grease to every plug around the ignitor, main harness and other engine components.
I got the ram mounts welded to the Ballistic 1.25" tie rod clamp so that can be mocked up as well.
Got the new steering belt on. I went with one that was an inch shorter than the stock length.


Started another layer of rustloeum sound deadener on the pass side.
Fixed my sticky hand throttle
Added a blingy TEQ oil fill cap
New pump is in. Steering cooler is mocked up. Reservoir is placed where it should fit. I had to cut off one of the mounting points for the stock airbox to make it work. Steering box is off. Old steering stabilizer is removed. The mess is made. Got some royal purple max steer on the way from amazon. Just need to pick up my other box in conroe. I need to figure out the low pressure feed line to the pump. Its tight. Other than that i have to finish it up if i wanna wheel.
Pics
I figured out a better mounting idea last night with a piece of 1x1 angle iron that will be mounted to the drivers side shock hoop. This added about 2 inches of clearance that was definitely needed. It will be temporarily mounted with a couple of hose clamps and welded on later. I need to take the edges off of the new bracket and throw some paint on it before install. I am waiting on 2 -10 90's to show up so i can start routing hoses.
I also ripped out all the non working AC bull˟˟˟˟ since it was in the way. I have one hose left that is being a real bitch to get off at the compressor. I am capping off all of the connections under the hood for when I want to tackle the AC re-install if that ever happens.
I started combining/untangling all the random wires and ran them the correct way away from heat sources/moving parts. I added some dielectric grease to every plug around the ignitor, main harness and other engine components.
I got the ram mounts welded to the Ballistic 1.25" tie rod clamp so that can be mocked up as well.
Got the new steering belt on. I went with one that was an inch shorter than the stock length.
Last edited by Boomtacoma01; 11-29-2012 at 10:17 AM.


