1984 Find and Build Up


 12-26-2013, 05:27 PM
#45

Sick shots! That is so badass.
06-26-2014, 06:56 PM
#46
Registered User
Thread Starter
Join Date: Oct 2009
Location: Houston, TX
Posts: 76
Likes: 0
Received 0 Likes
on
0 Posts
Update
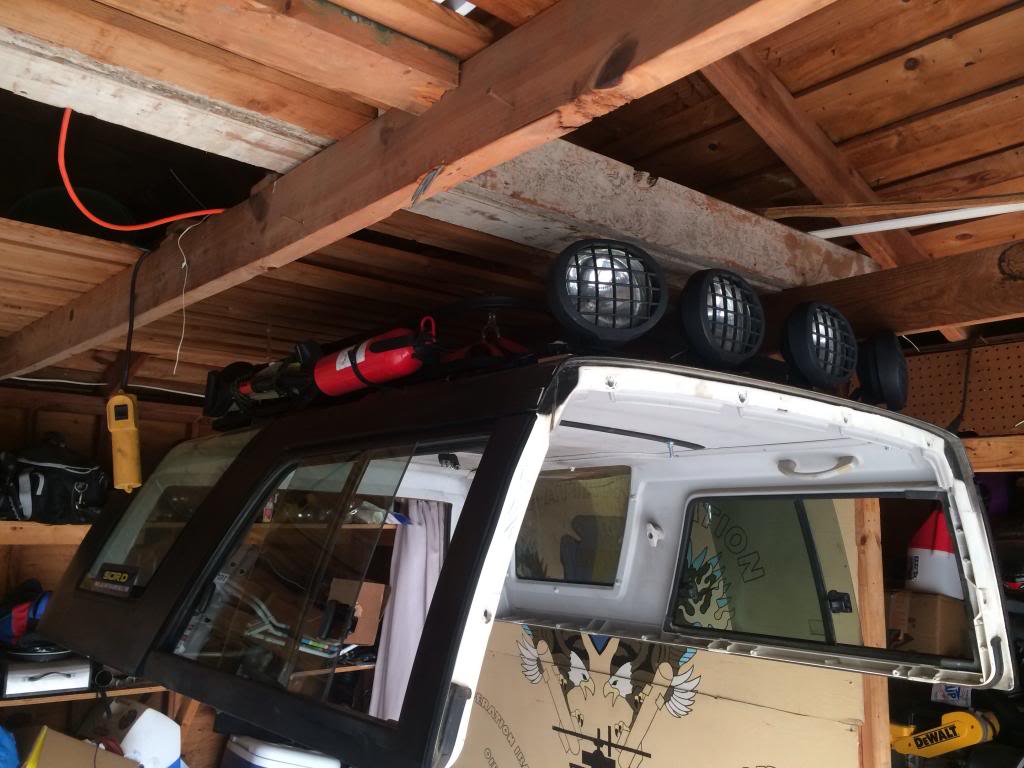
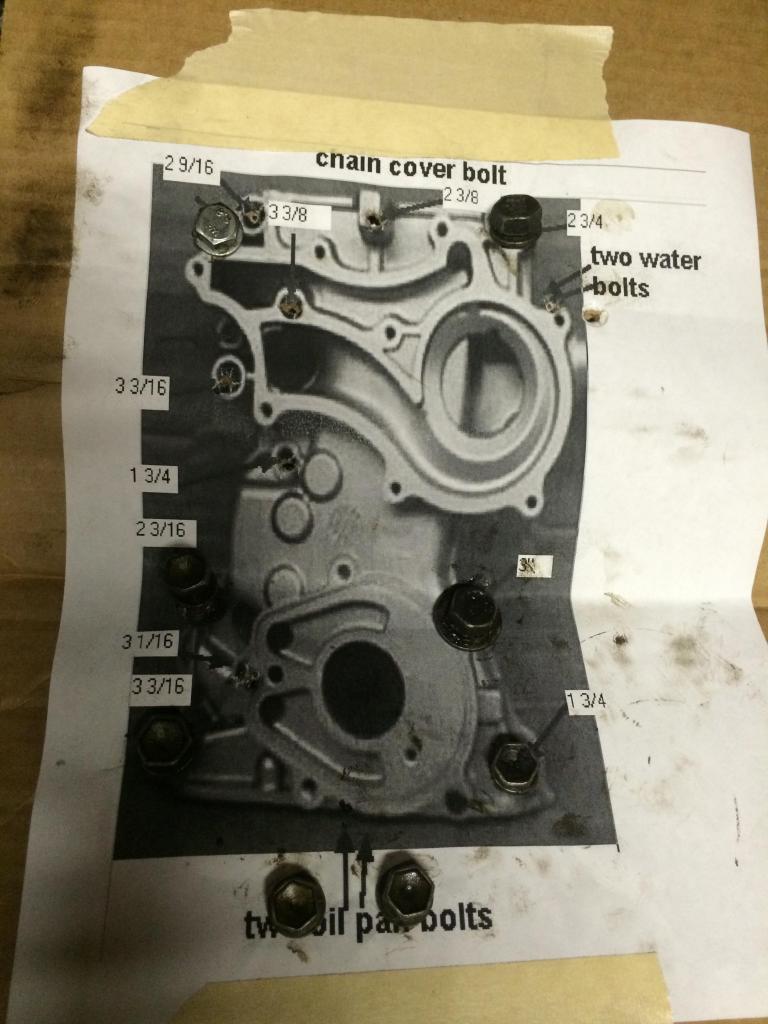
Quick update. Been driving it around and getting some thumbs up from lots of people. I was getting some oil on the driveway, so I changed the oil pan gasket. While I dropped the pan, found timing chain guides in it. Now I'm tearing part the motor for a chain. Taking time to clean and paint while I'm this far into it. From reading posts, I made a cardboard template to help with screw locations.
06-26-2014, 07:28 PM
#47
Quick update. Been driving it around and getting some thumbs up from lots of people. I was getting some oil on the driveway, so I changed the oil pan gasket. While I dropped the pan, found timing chain guides in it. Now I'm tearing part the motor for a chain. Taking time to clean and paint while I'm this far into it. From reading posts, I made a cardboard template to help with screw locations.
Are you going to remove the head while you are in there?
Now would be a good time to change the water pump and oil pump if you have the money.
06-27-2014, 04:58 AM
#49
Registered User
Thread Starter
Join Date: Oct 2009
Location: Houston, TX
Posts: 76
Likes: 0
Received 0 Likes
on
0 Posts
I left the head on as outlined in a few of the threads I read. Timing cover was on there good, but eventually wiggled off after some rubber mallet persuasion. Ill make sure to use black permatex in many places upon reassebly to prevent leaks.
New parts are: Water pump, oil pump, and a full chain kit. I went with the old style plastic guides. I figured they last 100,000 miles anyway, and this motor has over 200,000 already. Ill be doing a full rebuild in the next couple of years, so I'll wait till then to do a dual chain upgrade.
All the bracketry for the AC, power steering, alternator, etc were covered in 30 years of road grime, so I soaked them in a bucket of kerosene. A good brushing clenaed them up. Ill wash with simple green next to remove all oil residue before a coat of high temp black paint. I am gonna clean the SH$# out of the timing cover also and hit with a high temp grey paint. The new pumps should help with the look. Stuffed some rags into the oil pan to prevent debris from getting in there while I remove old gasket material.
A 2 day project has turned into a week, because a good friend once told me, "never work on a dirty part and always clean someting if you have it off the car." The cleaninig is taking longer than the repair.
After this, a valve adjustment, and new fuel pressure regulator for the Webber....Should scoot along nicely.
Trying to get her going for the 4th of July weekend. The kids love to cruise around in it! Perfect platform to watch the local parade from.

Thread
Thread Starter
Forum
Replies
Last Post
jasonty
Pre 84 Trucks (Build-Up Section)
41
12-23-2018 01:00 PM
sojourner567
86-95 Trucks & 4Runners
2
07-16-2015 08:52 PM


