1984' 1uz 5speed 4Runner fiberglass build up
 11-18-2015, 05:01 AM
#21
Registered User
Thread Starter

Join Date: Jul 2015
Posts: 48
Likes: 0
Received 0 Likes
on
0 Posts
Well been slow going but a couple rain days have opened up some work time!
Got the doors bonded, and the tailgate!
Got the shop cleaned and reorganized.

Got the doors bonded, and the tailgate!
Got the shop cleaned and reorganized.

Last edited by 1uzRunner; 11-18-2015 at 05:21 AM.
 11-18-2015, 05:03 AM
#22
Registered User
Thread Starter
Join Date: Jul 2015
Posts: 48
Likes: 0
Received 0 Likes
on
0 Posts


Doors and tailgate ready for trim and paint!
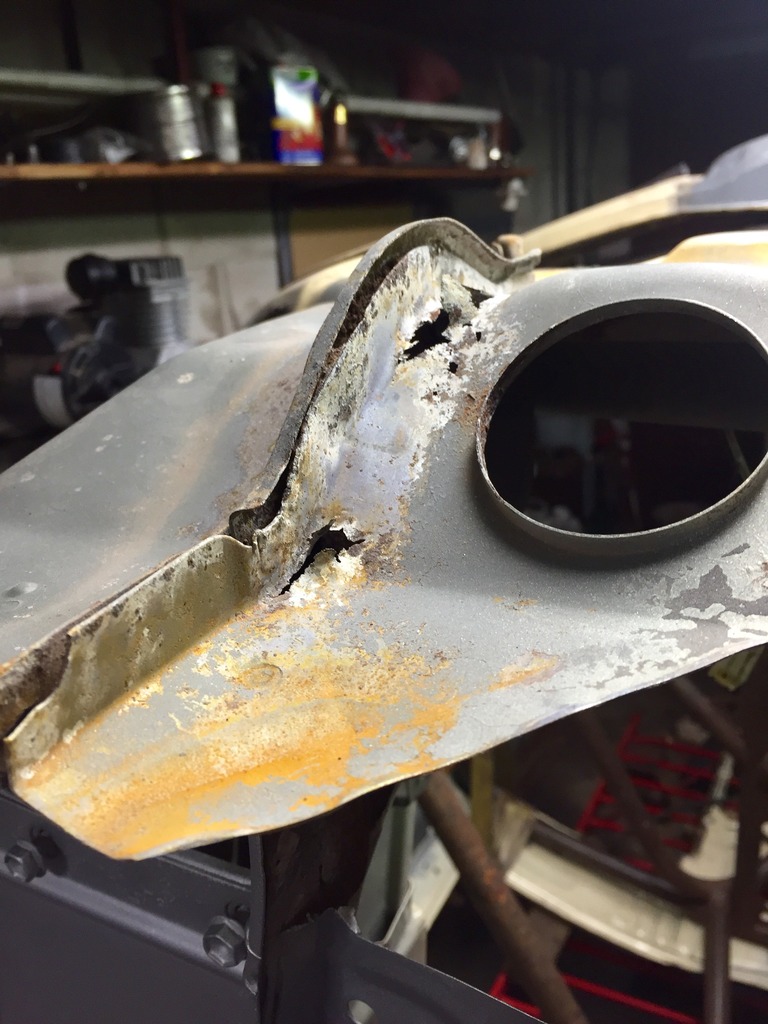
Had some help with the windshield, .030 welding wire works great for cutting it out! Thanks Deann and Aaron! Lots of rust repair in the windshield frame.


Also, got all the wiring out of the truck, stripped the insulation from the firewall so it may be repaired. Lot worse shape than I had thought!!


Last edited by 1uzRunner; 11-18-2015 at 05:21 AM.
11-23-2015, 07:13 PM
#25
Registered User
Thread Starter
Join Date: Jul 2015
Posts: 48
Likes: 0
Received 0 Likes
on
0 Posts
Thinkin I shoulda bagged this stuff!
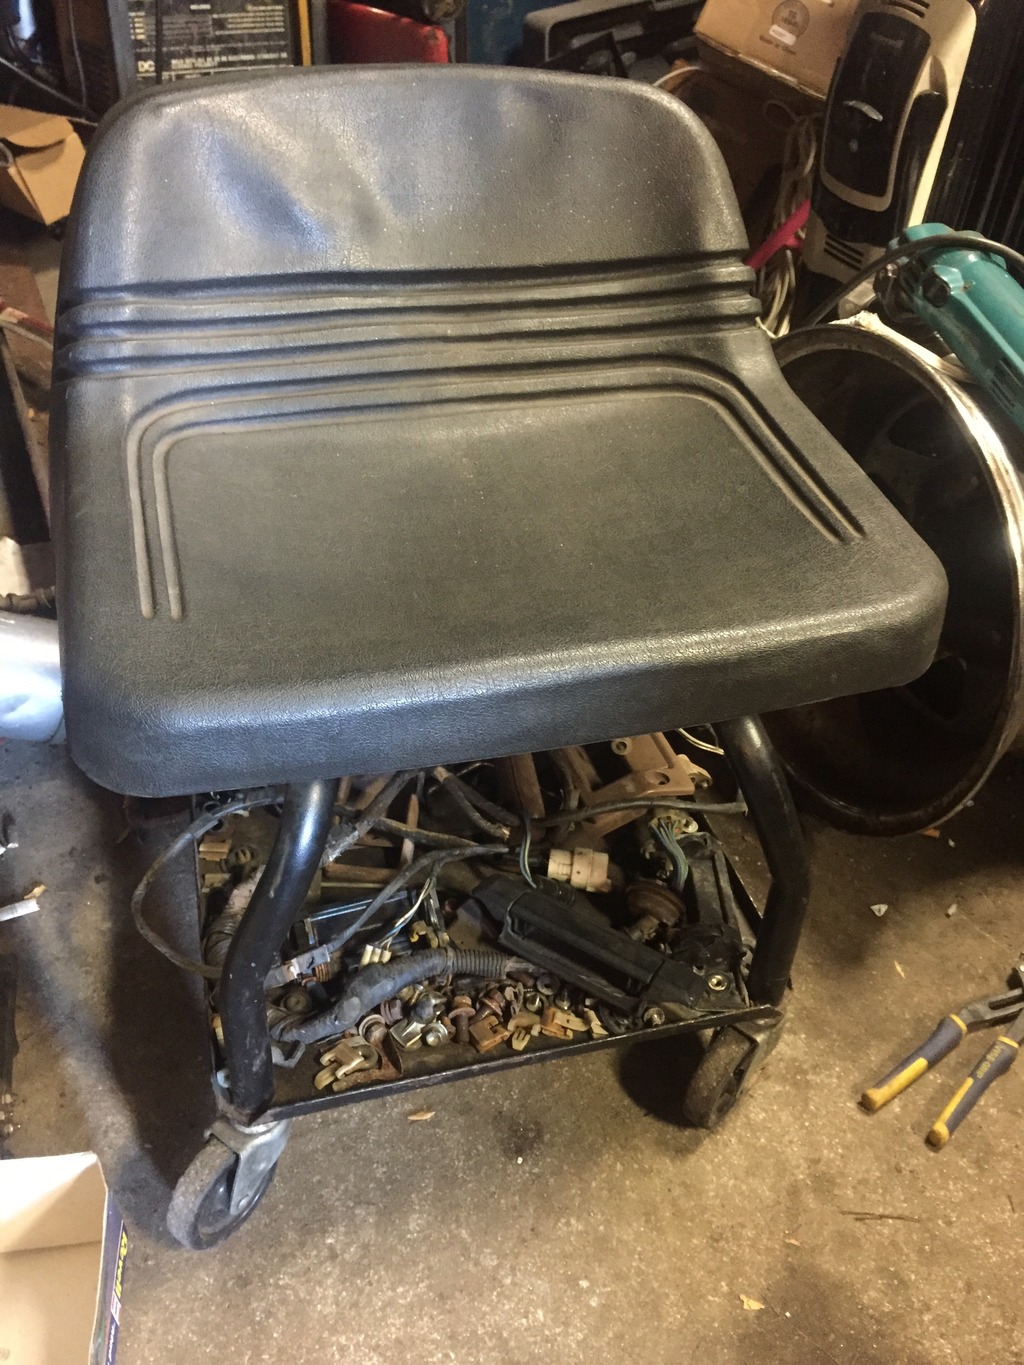
The wheelhouses are a little wider so I will be starting that next. I have the steel, just need the time.
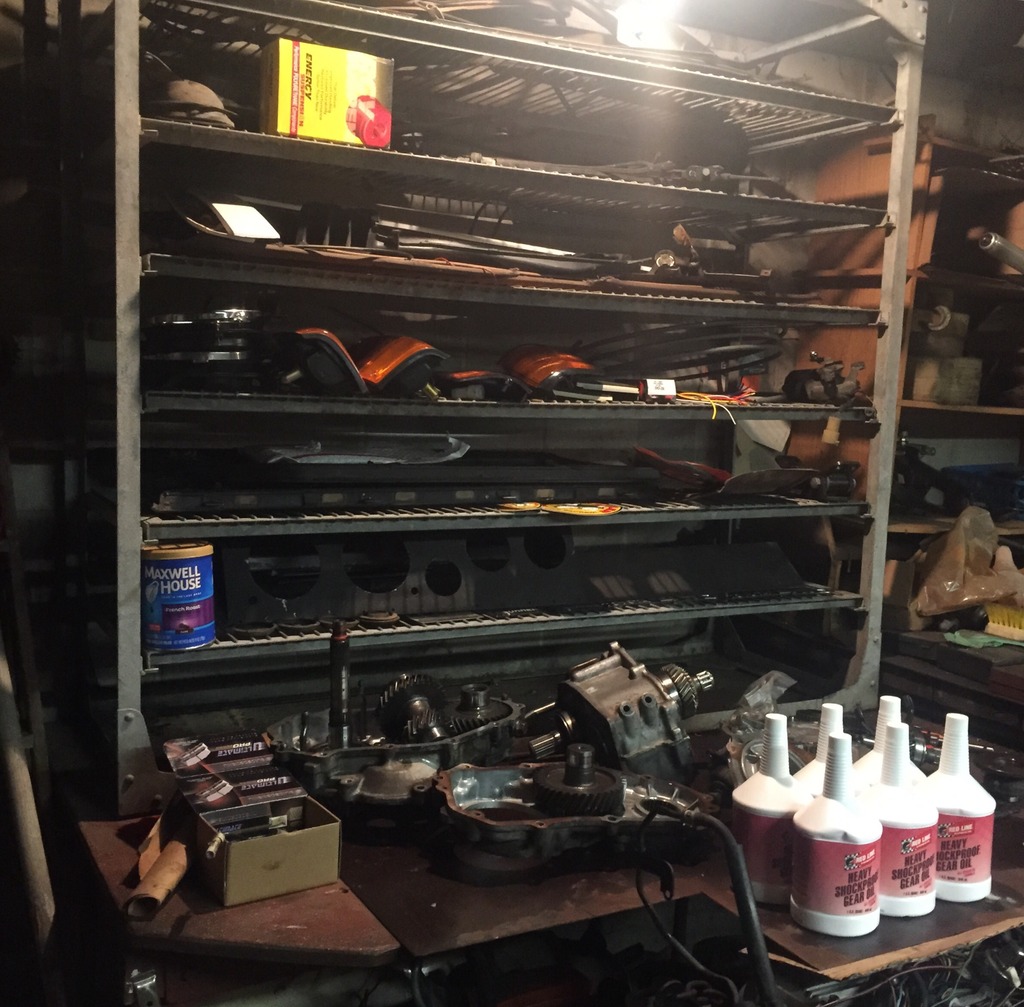
Then my body mounts and 6 quarts of redline shockproof gear oil showed up!!
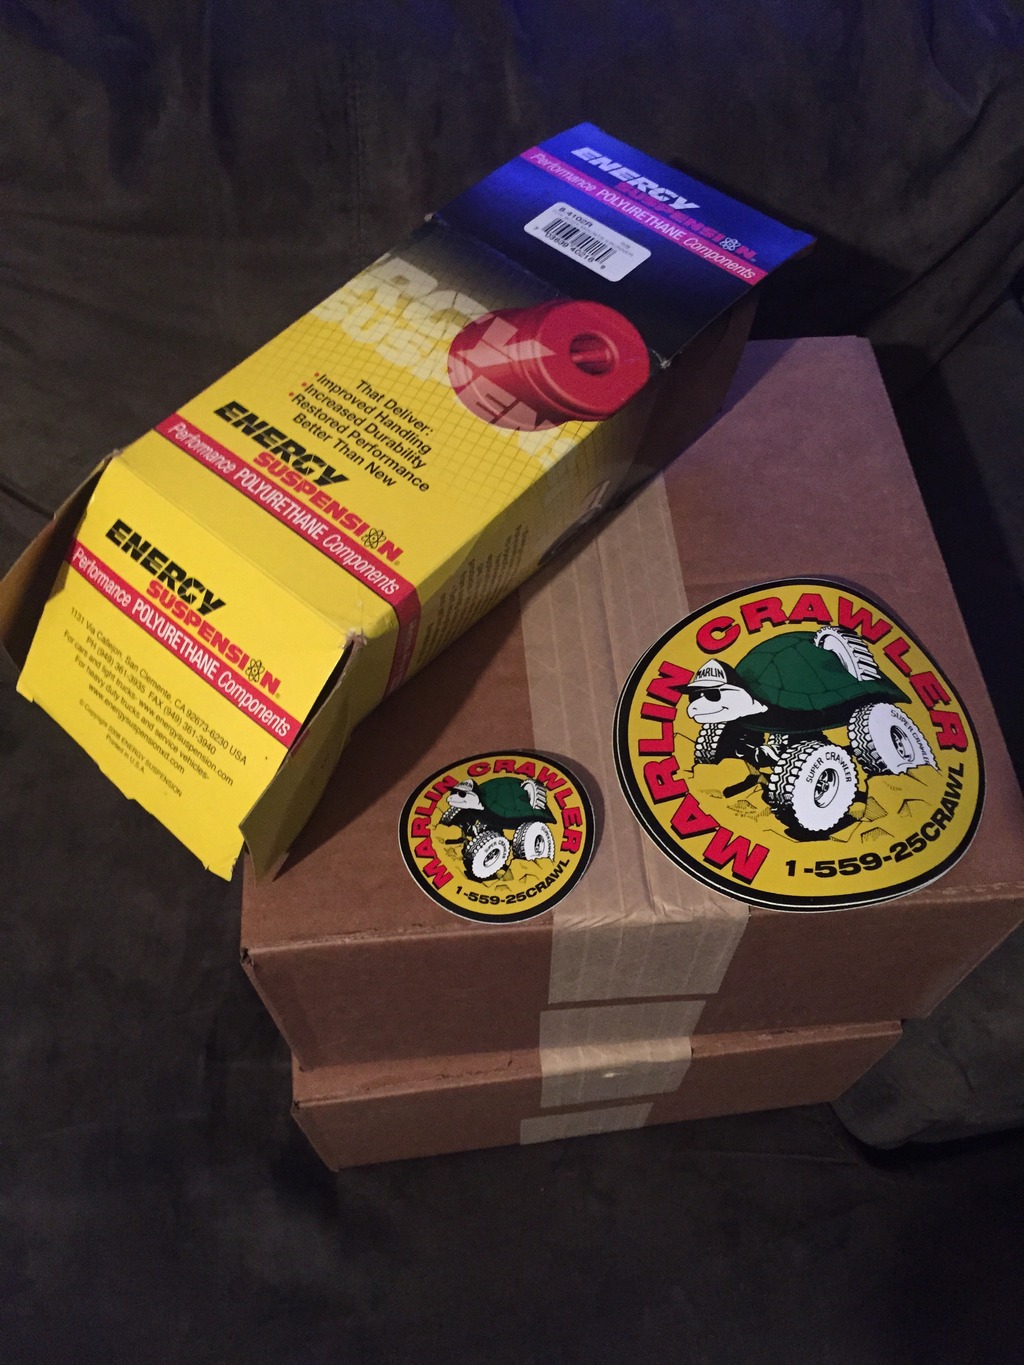
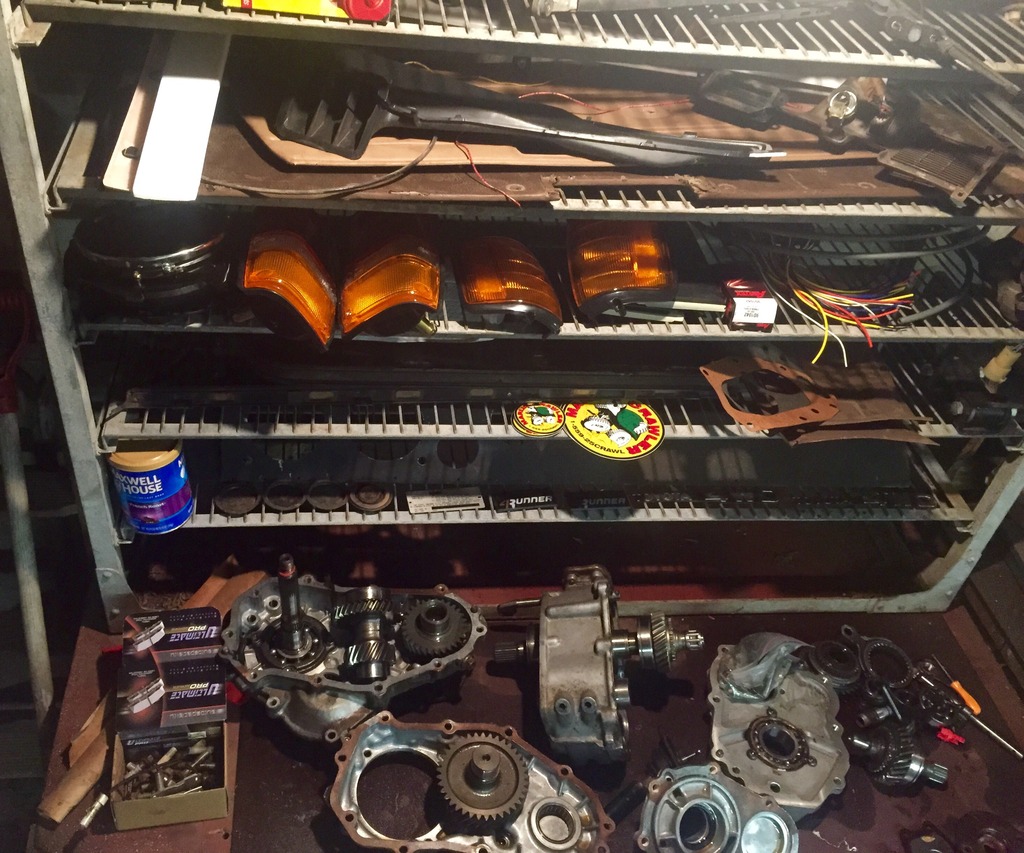
Behold the wall of Toyota parts forming in my shop!
New: Headlight buckets, front marker lights, turn signals, tail lights, door locks, and body mounts. Also new 23 spline marlin input and gasket kit.

The wheelhouses are a little wider so I will be starting that next. I have the steel, just need the time.


Then my body mounts and 6 quarts of redline shockproof gear oil showed up!!

Behold the wall of Toyota parts forming in my shop!
New: Headlight buckets, front marker lights, turn signals, tail lights, door locks, and body mounts. Also new 23 spline marlin input and gasket kit.


 12-12-2015, 05:56 AM
#33
Registered User
Thread Starter
Join Date: Jul 2015
Posts: 48
Likes: 0
Received 0 Likes
on
0 Posts
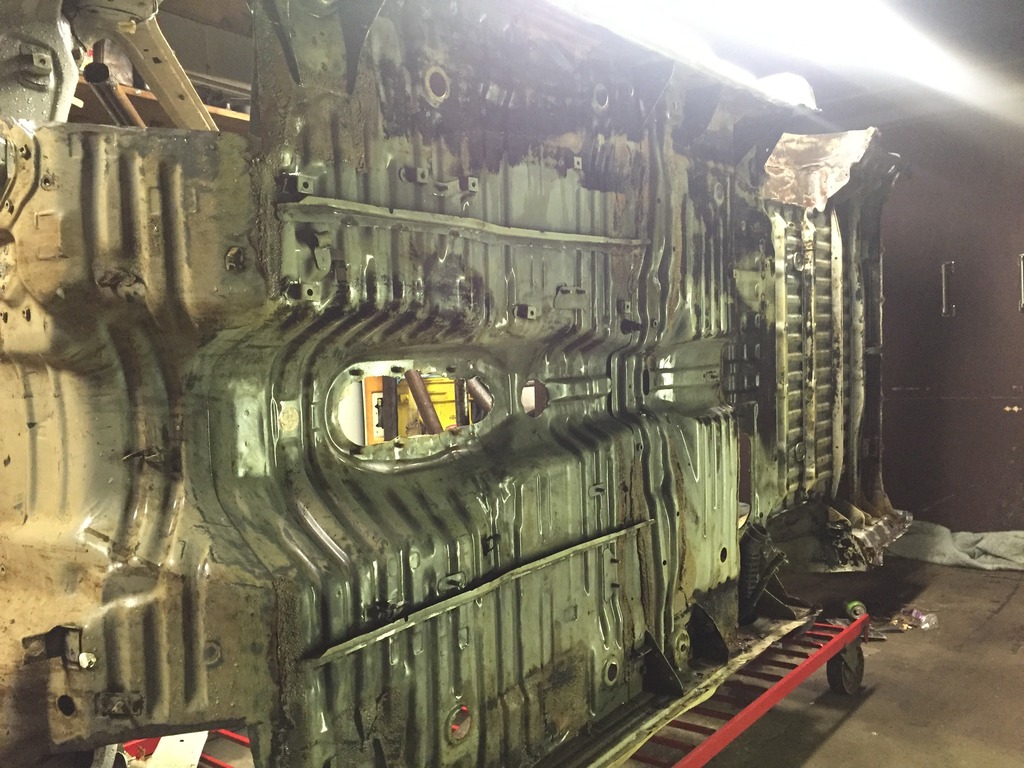
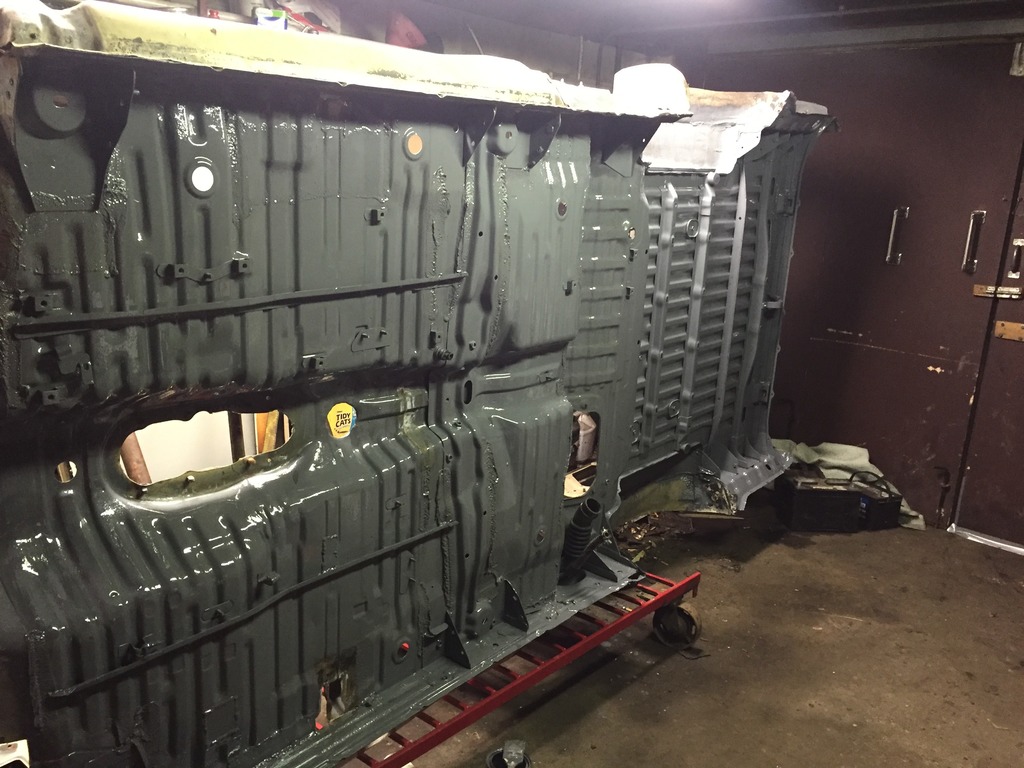
So, body is off and flipped on its side. The sandblaster I have is gravity fed so it had to be flipped. Hooked the pressure washer up to the 40 gallon water heater and blasted everything again after the sand blast! Then everything was treated with rust kill, and rinsed again! After a few hours in the shop drying, Por-15 was applied to the entire bottom of the body. Two coats, an entire quart!
When I was welding the patch panels in, my co2/argon ran out so I left an area around the needed repairs uncoated for future repair.
Off to go get bottles filled, and pick up more supplies! Sould be a great weekend to get more done!!
Here are a few pics of recent work done.
Body being pressure washed:
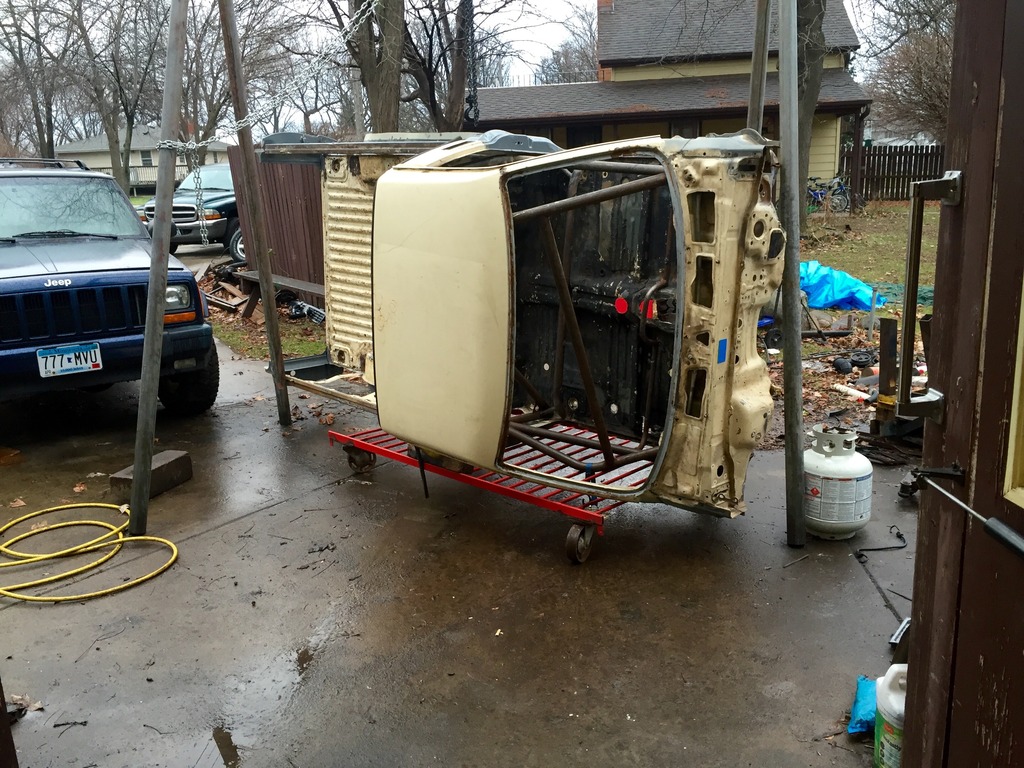
Here it the body all blasted and drying:
Make sure to give yourself plenty of time for applying por-15, I started at 8:30 and didn't finish the second coat till after midnight!
When I was welding the patch panels in, my co2/argon ran out so I left an area around the needed repairs uncoated for future repair.
Off to go get bottles filled, and pick up more supplies! Sould be a great weekend to get more done!!
Here are a few pics of recent work done.
Body being pressure washed:

Here it the body all blasted and drying:

Make sure to give yourself plenty of time for applying por-15, I started at 8:30 and didn't finish the second coat till after midnight!
 12-12-2015, 06:03 AM
#34
Registered User
Thread Starter
Join Date: Jul 2015
Posts: 48
Likes: 0
Received 0 Likes
on
0 Posts
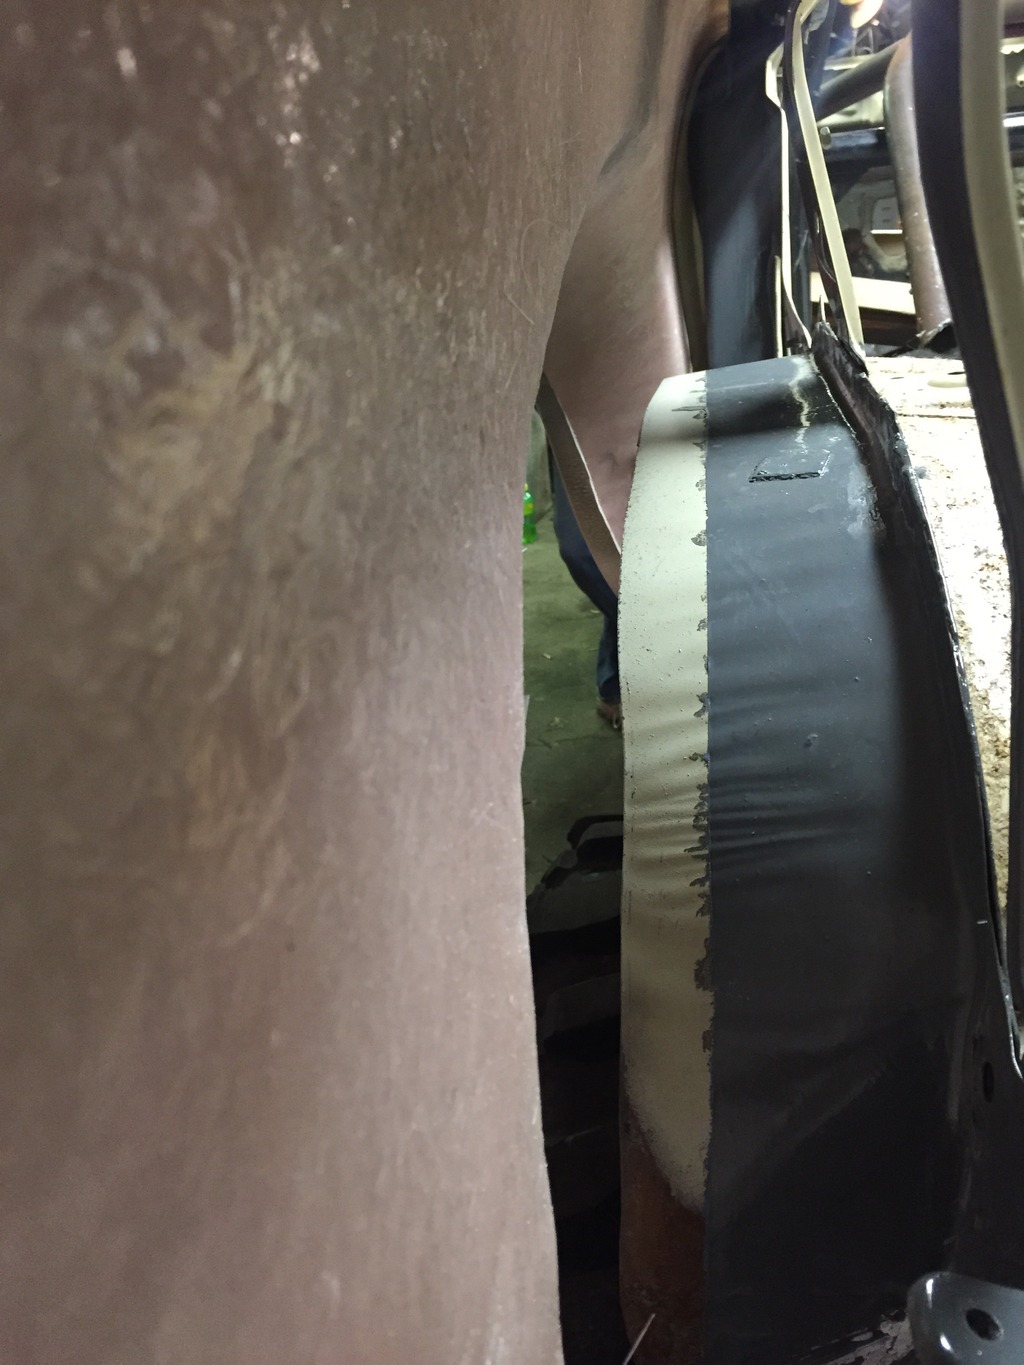
Welding kick panels and starting on pressure washing and blasting the frame today. Thinking of going with grey for the frame as well with the por-15.
Last few years I been digin light colored parts for under the truck. Not only can you see better when working on it, but its also easier to clean when it gets muddy!
Last few years I been digin light colored parts for under the truck. Not only can you see better when working on it, but its also easier to clean when it gets muddy!


 12-14-2015, 09:42 PM
#38
Registered User
Thread Starter
Join Date: Jul 2015
Posts: 48
Likes: 0
Received 0 Likes
on
0 Posts
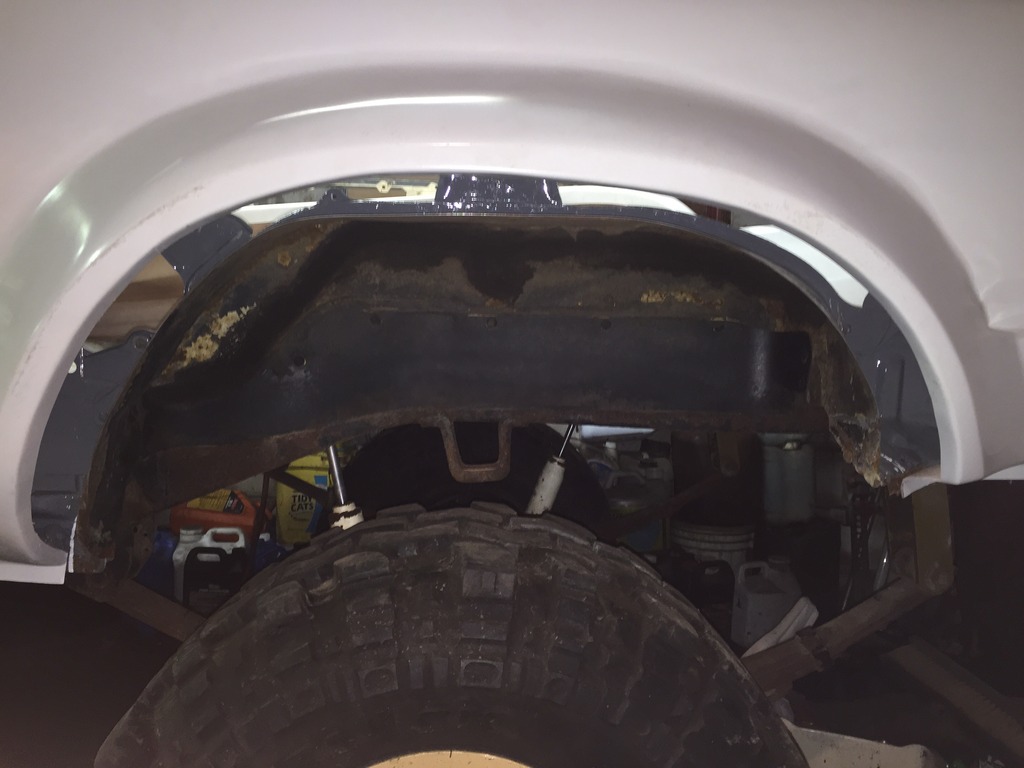
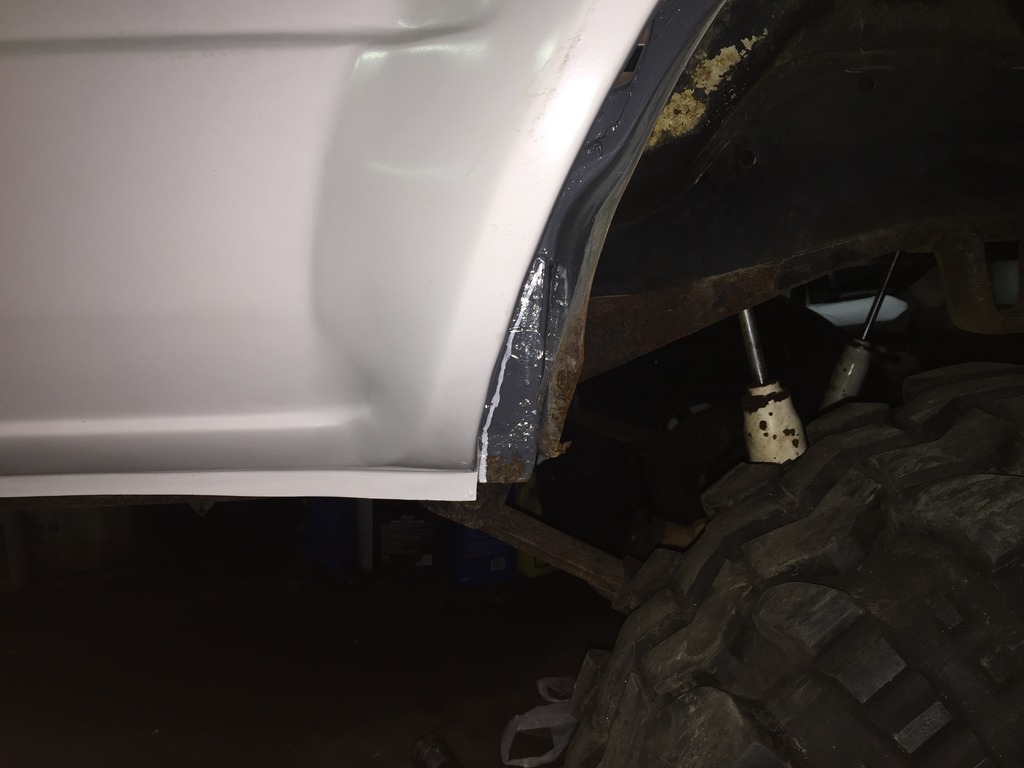
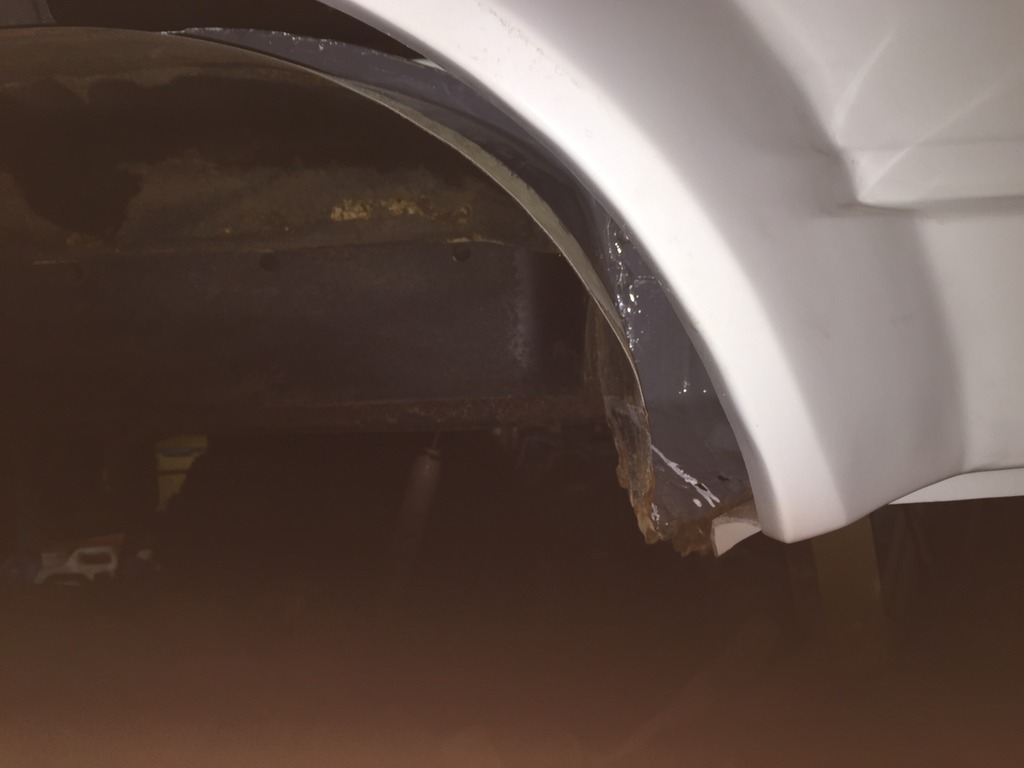
Things been taking too long so I just dove in after work, here's the pics.
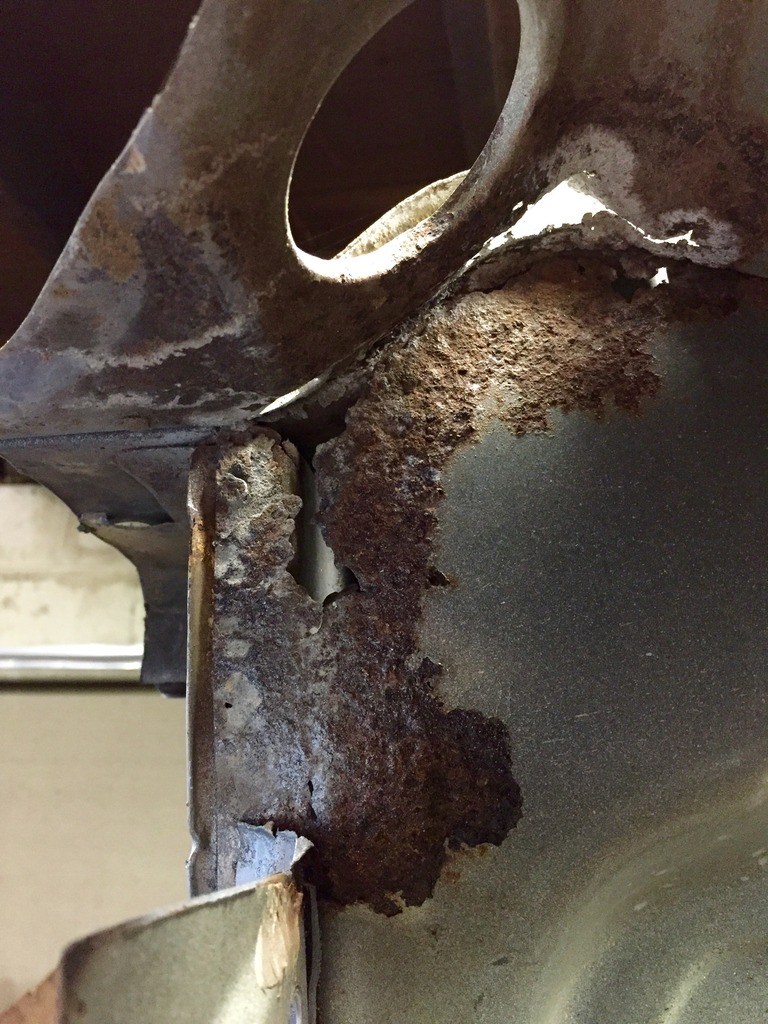
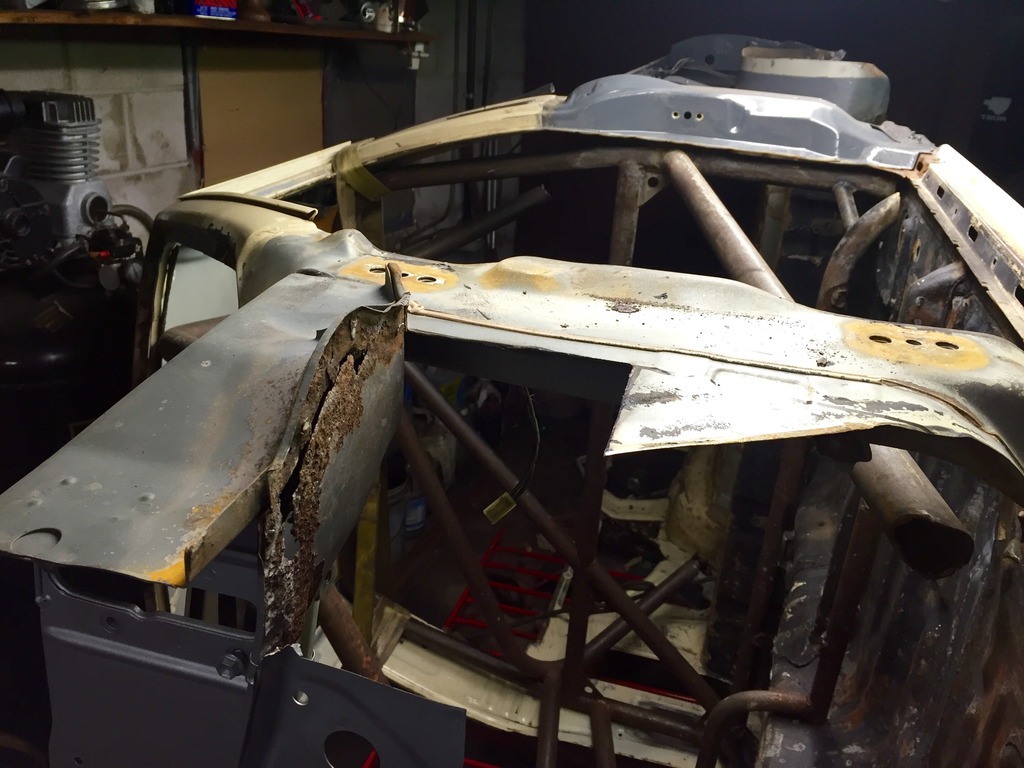
Here is the carnage so far...

Used the metal from the original door skins...
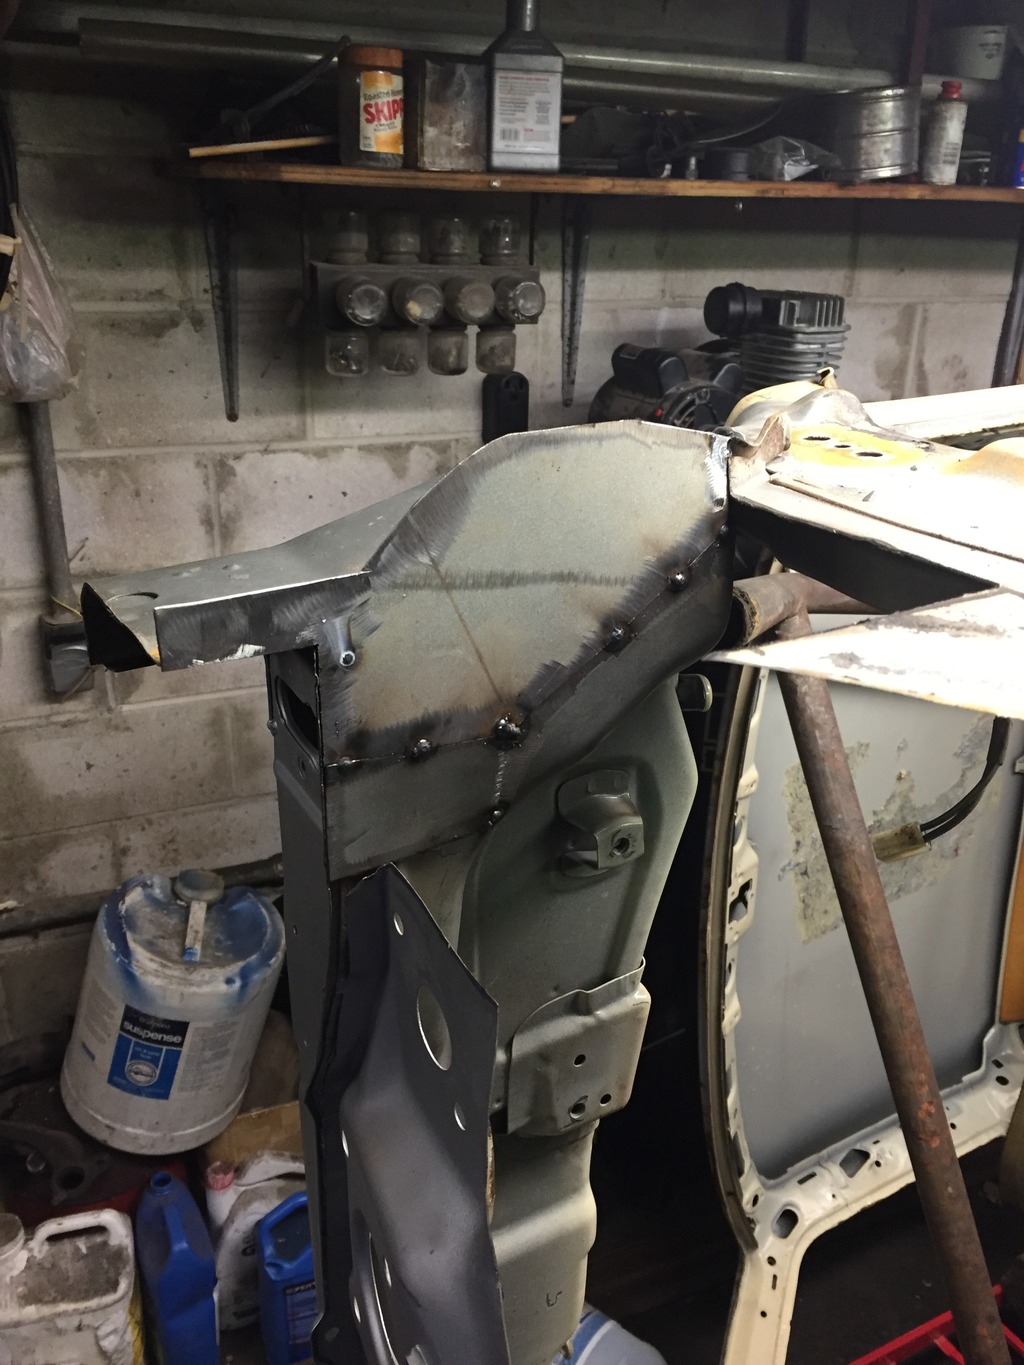
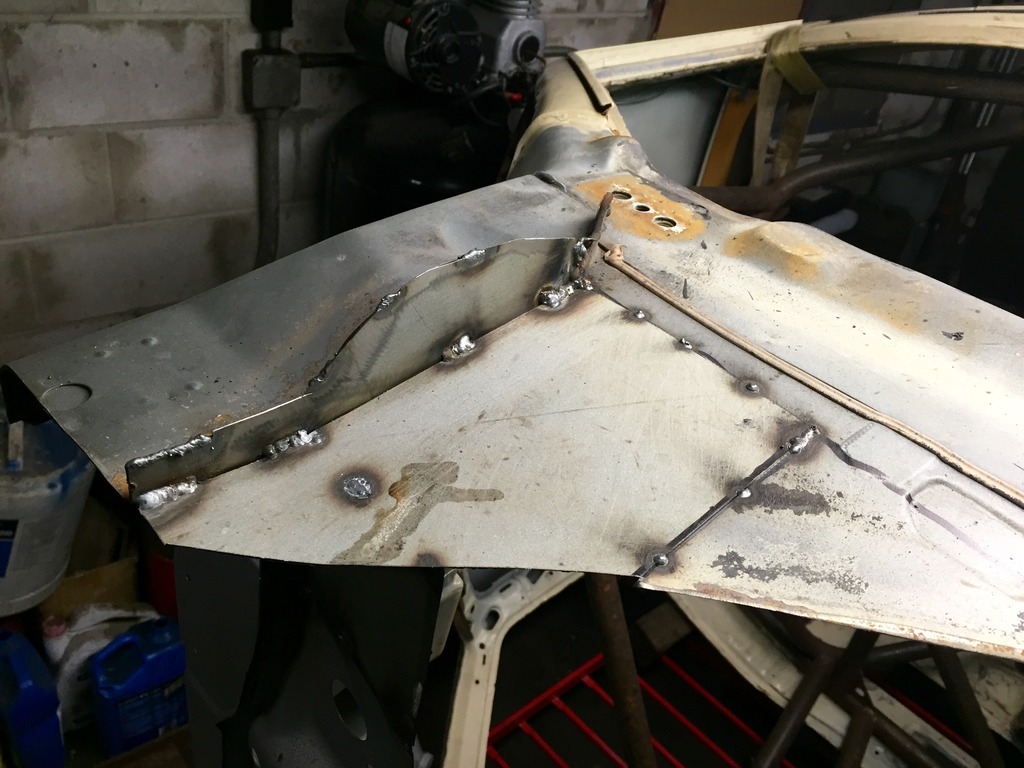
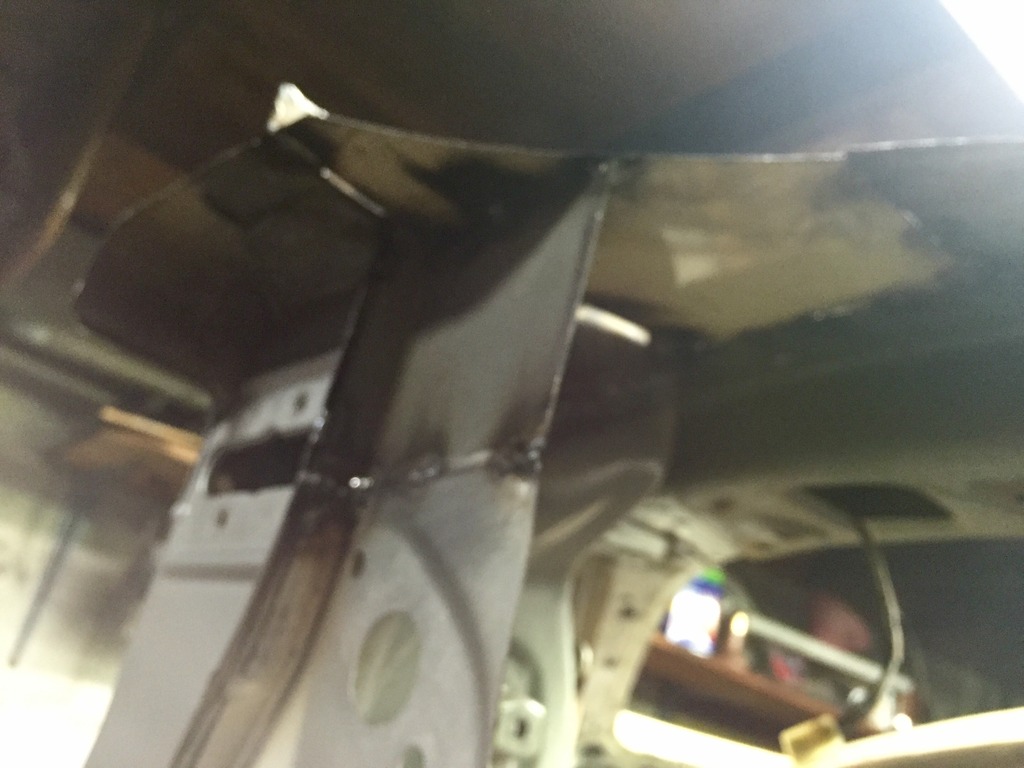
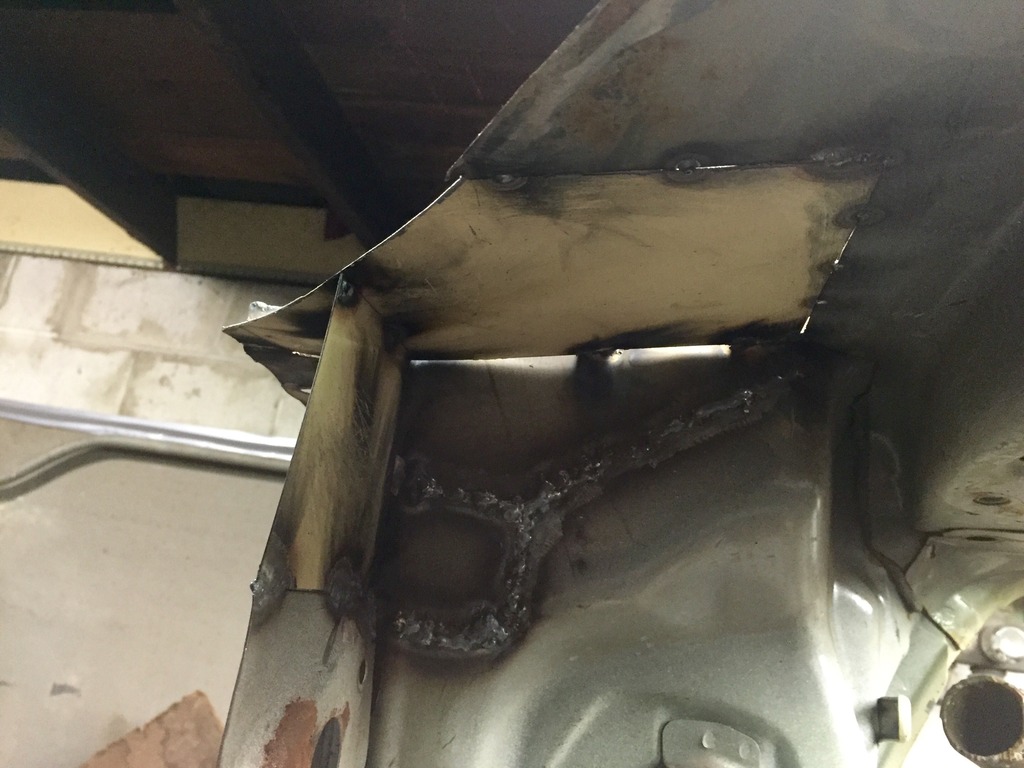
Yeah I know, welds look like ˟˟˟˟, that ˟˟˟˟s thin yo!


Here is the carnage so far...

Used the metal from the original door skins...


Yeah I know, welds look like ˟˟˟˟, that ˟˟˟˟s thin yo!
12-15-2015, 03:31 AM
#40
Registered User
Thread Starter
Join Date: Jul 2015
Posts: 48
Likes: 0
Received 0 Likes
on
0 Posts
The welder has .030 wire and I had to run it on 120v input at the lowest setting or it would just burn through. On 120v it runs 20v, 220v runs 23.5v. Not sure what the minimum amperage is but the open circuit voltage is lower on 120v as well.


