Dropzone's 1981 Trekker Build-Up Thread

 09-11-2007, 07:53 PM
#42
Registered User
Join Date: Dec 2006
Location: Boise, ID
Posts: 611
Likes: 0
Received 0 Likes
on
0 Posts
i really like the new rubber. thanks for the pictures of the latches...so they seem secure, huh? do they rattle much? seems like there are better ways to engineer a latch system, but if it works, why reinvent the wheel? cant wait to see what's next!
09-12-2007, 08:47 PM
#44

Thanks, looks like you are starting on yours too...Hope the carb rebuild worked out...
Last edited by dropzone; 01-31-2011 at 12:54 PM.
09-25-2007, 02:16 PM
#45
1.5" Spacers on
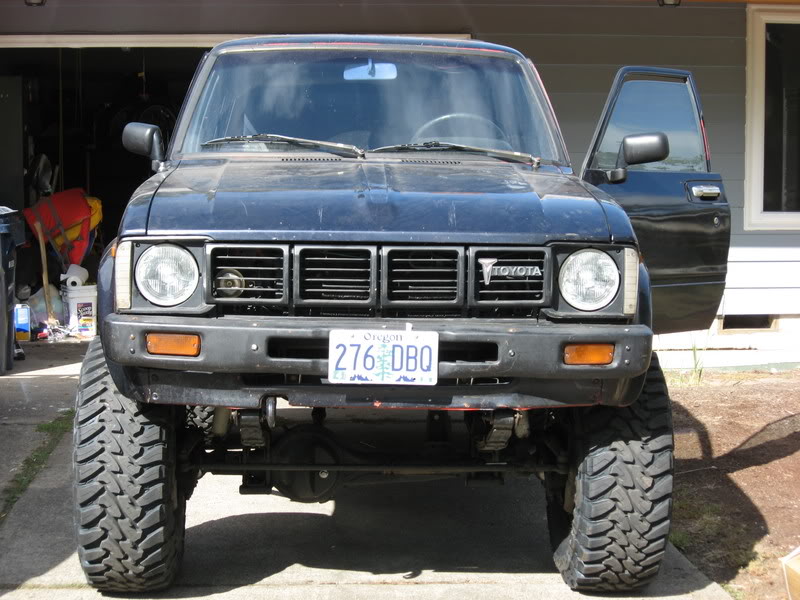
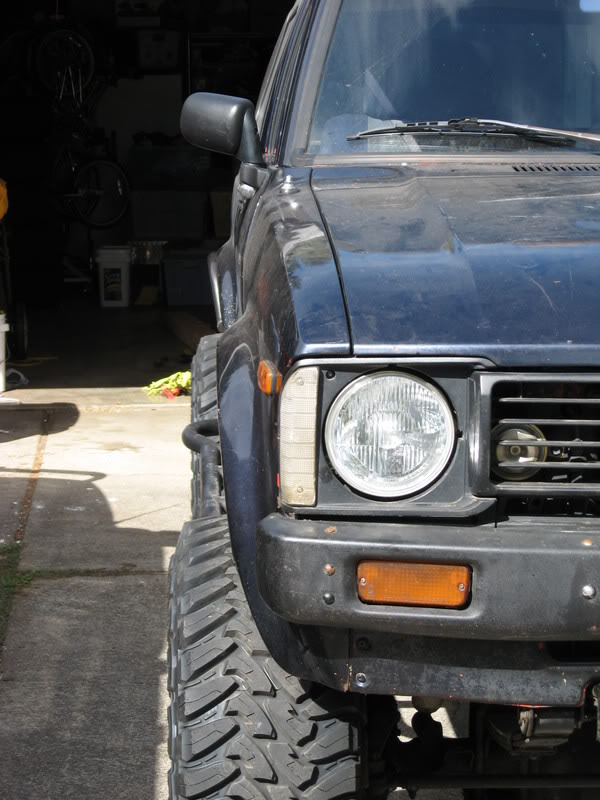
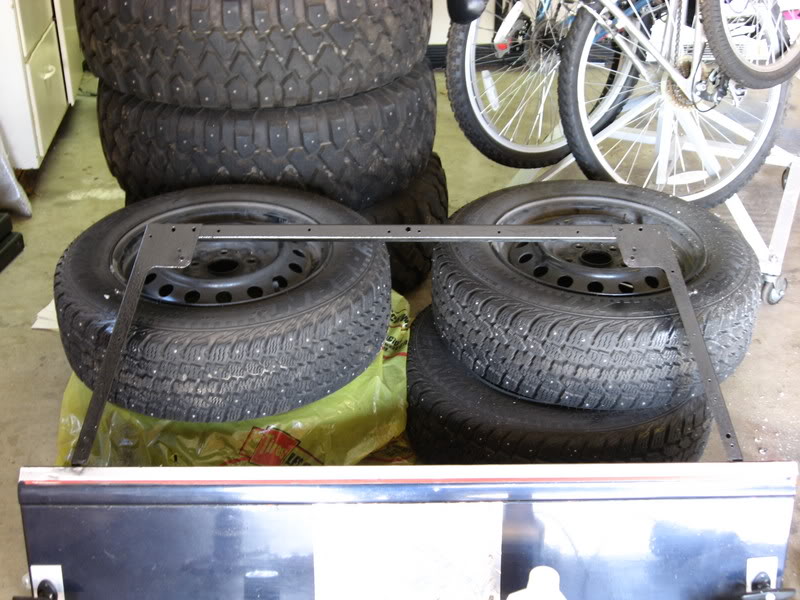
I am still looking for a V-6 Rear End to throw on this thing, but in the mean time picked up a set of 1.5" spacers, I was going to need them for the front anyway. I know that a ton of people have put them on, but here are some pictures.. Put them on all four wheels, stability seems a lot better when cornering. I am just going to have to put on some mud flaps soon to keep the law happy.
Before spacers:

After 1.5" spacers:
Now the tires are fairly even with the sliders but stick out a ways:
soon to keep the law happy.Before spacers:
After 1.5" spacers:
Now the tires are fairly even with the sliders but stick out a ways:
09-26-2007, 02:37 PM
#48
Registered User

Join Date: Sep 2007
Location: oregon city
Posts: 1
Likes: 0
Received 0 Likes
on
0 Posts
rob-
i see you are the one that ended up with one of my old trekkers. call me at 503-799-0666 and i can tell you all about it. i bet the kid you bought it from beat the crap out of it.
i see you are the one that ended up with one of my old trekkers. call me at 503-799-0666 and i can tell you all about it. i bet the kid you bought it from beat the crap out of it.
11-13-2007, 07:56 PM
#49
A little update. Trekker is getting kicked out of the garage again. Something about my wife wanting the space so she can use it to stain some trim for the house oh well gotta give a little sometimes...
So I have gone through a couple of pieces of plexiglass on the back hatch and lexan is way too much. Got a piece of 16 guage or so aluminum from a friend of mine and got to thinking that it might work to use as a frame for the back window which has been a constant pain as far as leaking. Am hoping that what I came up with will help solve it.
Took the frame off and tried to clean it up:
ground off all the old crap and painted it with some rustoleum though I do have a spot that needs to be welded:
Used the cracked back window as a template:
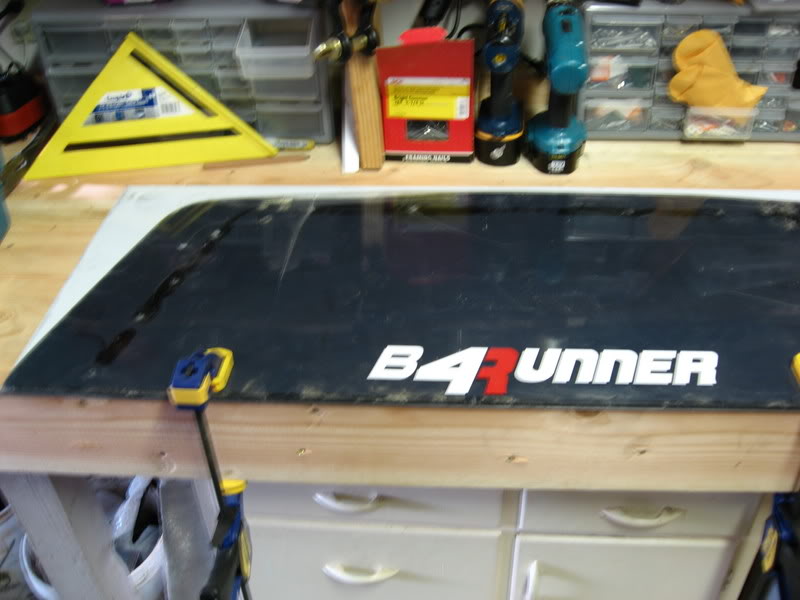
What I ended up with:
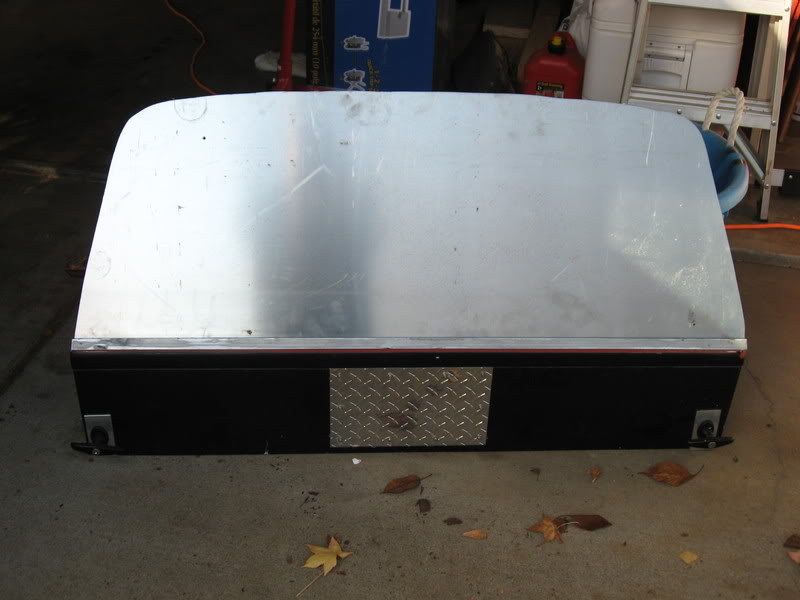
I did leave enough aluminum that I can make the opening bigger which is mine plan. The plexi I have seems to be kind of old, kept cracking even when trying to cut it. I ran out of time tonight for paint so I did rough it up with a wire wheel in preparation for paint sometime soon....
Eventually I would like to come up with a way to totally redo the rear hatch, maybe even do some kind of ambulance door type arrangement that would get the lip of the rear down to the cargo floor level. Trekkers came with about a 4-6" lip that makes getting stuff in and out a pain...
oh well gotta give a little sometimes...So I have gone through a couple of pieces of plexiglass on the back hatch and lexan is way too much. Got a piece of 16 guage or so aluminum from a friend of mine and got to thinking that it might work to use as a frame for the back window which has been a constant pain as far as leaking. Am hoping that what I came up with will help solve it.
Took the frame off and tried to clean it up:
ground off all the old crap and painted it with some rustoleum though I do have a spot that needs to be welded:
Used the cracked back window as a template:
What I ended up with:
I did leave enough aluminum that I can make the opening bigger which is mine plan. The plexi I have seems to be kind of old, kept cracking even when trying to cut it. I ran out of time tonight for paint so I did rough it up with a wire wheel in preparation for paint sometime soon....
Eventually I would like to come up with a way to totally redo the rear hatch, maybe even do some kind of ambulance door type arrangement that would get the lip of the rear down to the cargo floor level. Trekkers came with about a 4-6" lip that makes getting stuff in and out a pain...
11-13-2007, 07:59 PM
#50
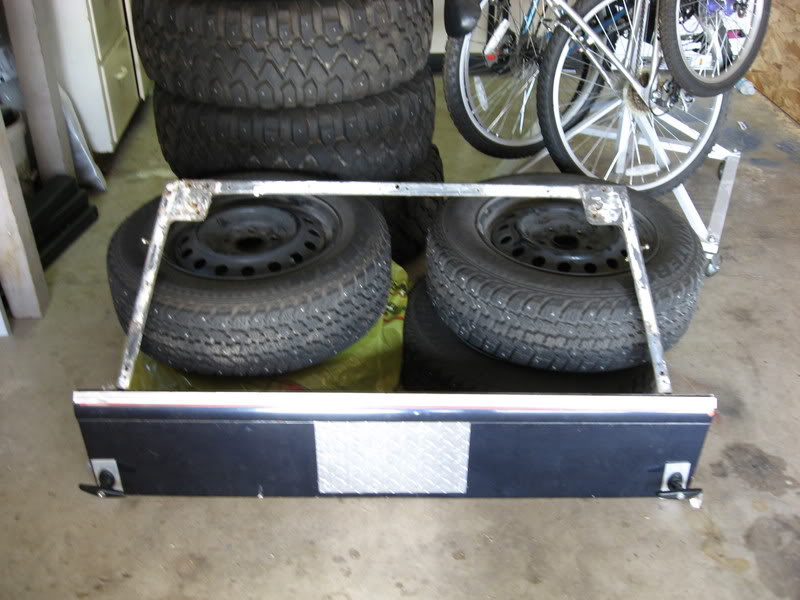
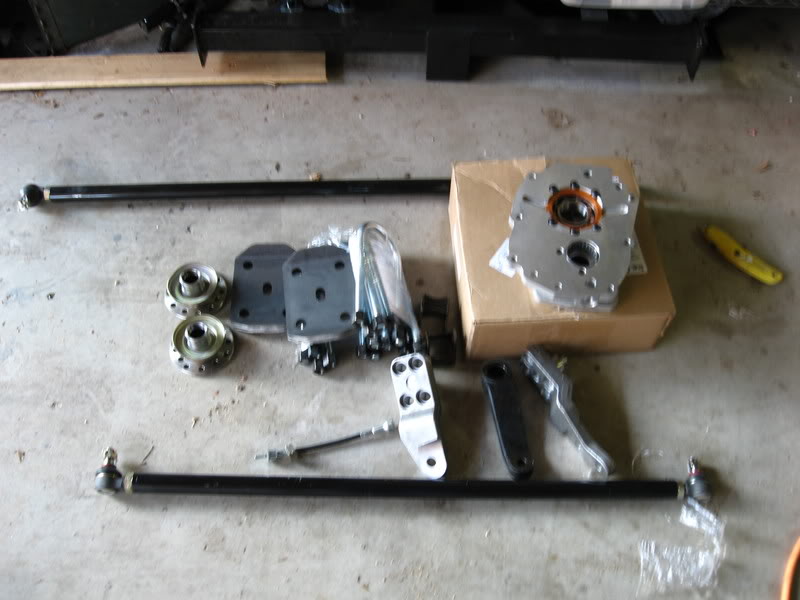
Forgot, the UPS guy dropped off some stuff from Trail Gear today:
front spring mount, shackles and winch mount:
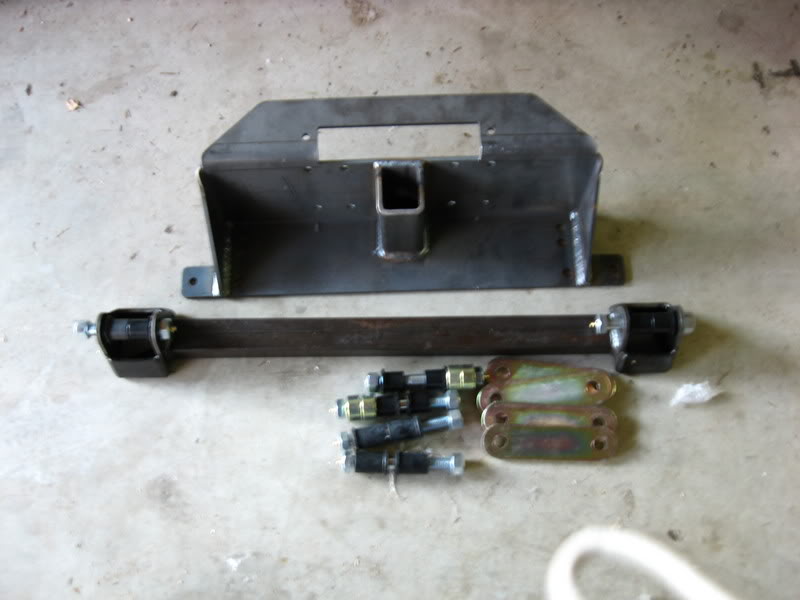
Hi Steer, u bolt flip kits, rear shock mounts and my favorite--dual case adapter. Hope to have all this stuff mounted over the next few weeks...
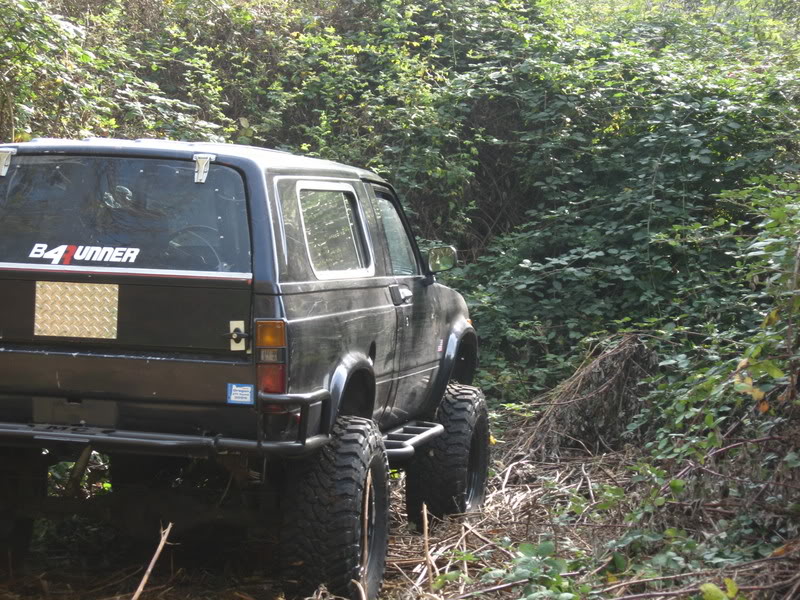
Forgot, got it out on the trail a few days ago but ran out of room...amazing how fast blackberries grow...
front spring mount, shackles and winch mount:
Hi Steer, u bolt flip kits, rear shock mounts and my favorite--dual case adapter. Hope to have all this stuff mounted over the next few weeks...
Forgot, got it out on the trail a few days ago but ran out of room...amazing how fast blackberries grow...
Last edited by dropzone; 11-13-2007 at 08:05 PM.
11-22-2007, 10:36 PM
#52
Thanks, I just wanna get it all together and get wheeling more often.
Ganoid (another member) has offered to help me put together the dual cases, having his knowledge will be a big help...
Looks like the aluminum on the rear hatch may only be on for another week or so. Found an ad on craigslist for smoked plexiglass, ...$20..met the lady and went ahead and bought it.. turns out to be this stuff, Makrolon http://www.makrolon.com still had the protective sheet on one side. A little scuffed around the edges but more than enough (need 50x18.75")
sounds like it is very similar to lexan, but made by bayer. same thing that they make some CD's out of , used for headlights and even some roofing...thought for the money it would be worth a shot...
12-04-2007, 03:45 PM
#53
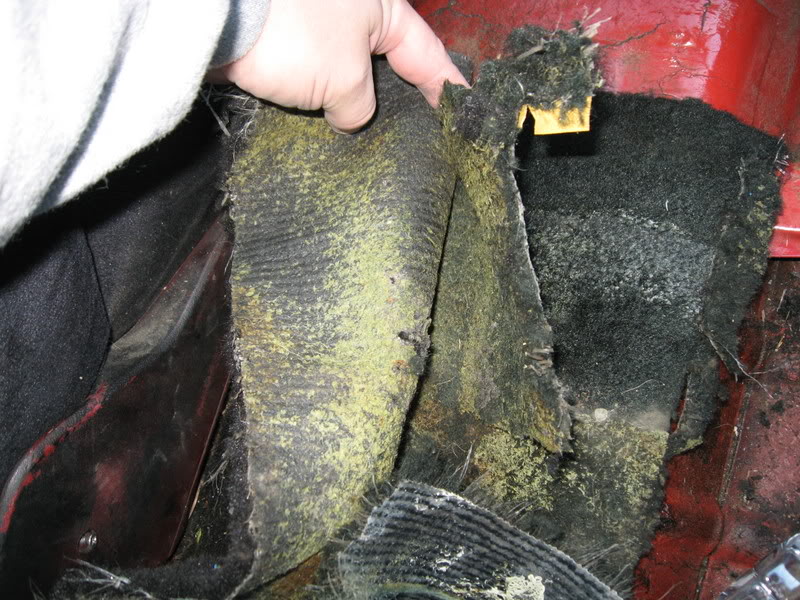
found a ton of water=wet carpet
We had a ton of rain monday, about 5 inches, so checked out the Trekker today to find about 2.5" of water in the back...so I knew a bunch had made it up to the front, carpeting was totally soaked...figured that I wanted to rip it out sometime anyway so started cutting away...
Wondered why my carpeting was so nice and plush, found one layer on top of some indoor/outdoor carpeting...yipppeeee 
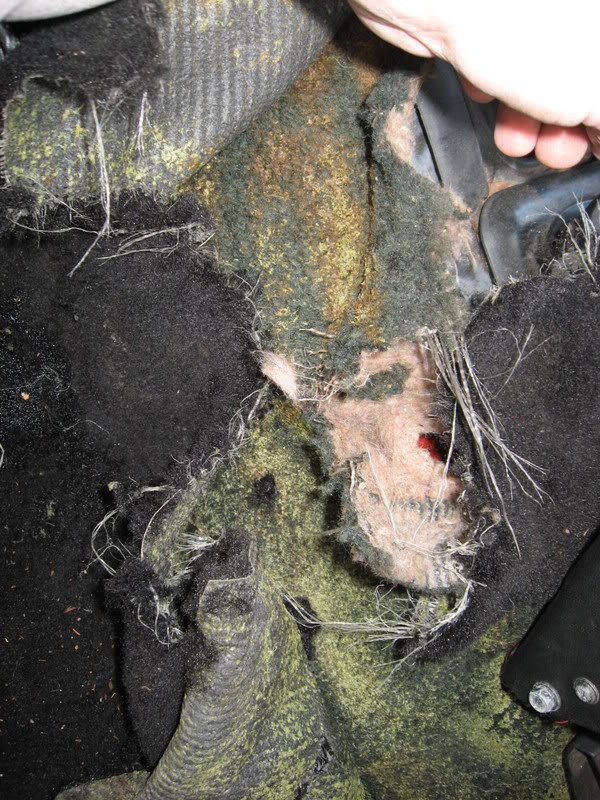
Got the double layers ripped out from the front passenger side and was happy to see a nice basically rust free floor:
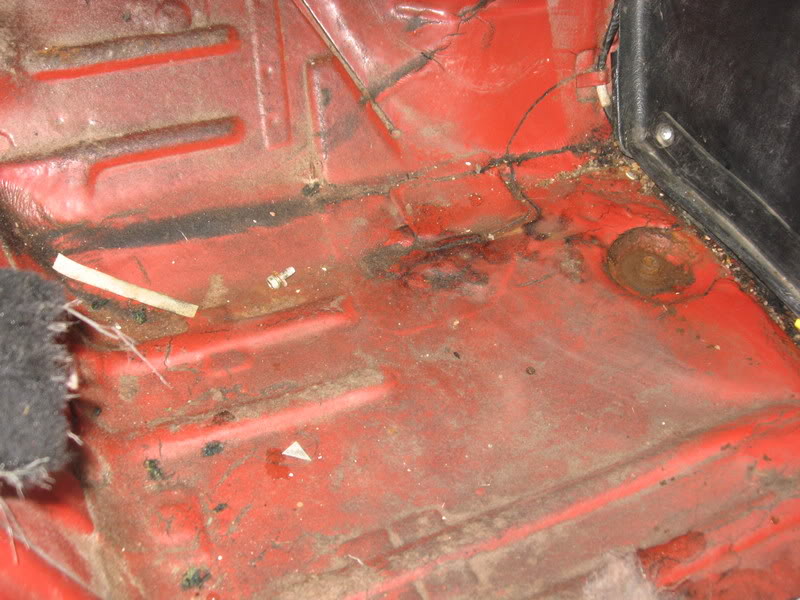
Go to the back and found a rusted through spot about 1.5 x3 which should be pretty easy to fix. The metal at the joint with the fiberglass bed is in great shape
Was happy to see the floor in as good as shape as it was as these trucks have a tendency to have swiss cheese floors at times...Won't be able to rip out the driver's sides for a few days...
 Slacker (aka: Corey) has found a supplier for new rear hatch seals so I hope to be getting one of those soon to help fix my leaky rear hatch...
Wondered why my carpeting was so nice and plush, found one layer on top of some indoor/outdoor carpeting...yipppeeee
Got the double layers ripped out from the front passenger side and was happy to see a nice basically rust free floor:
Go to the back and found a rusted through spot about 1.5 x3 which should be pretty easy to fix. The metal at the joint with the fiberglass bed is in great shape
Was happy to see the floor in as good as shape as it was as these trucks have a tendency to have swiss cheese floors at times...Won't be able to rip out the driver's sides for a few days...
Slacker (aka: Corey) has found a supplier for new rear hatch seals so I hope to be getting one of those soon to help fix my leaky rear hatch...
 12-10-2007, 03:31 PM
#55
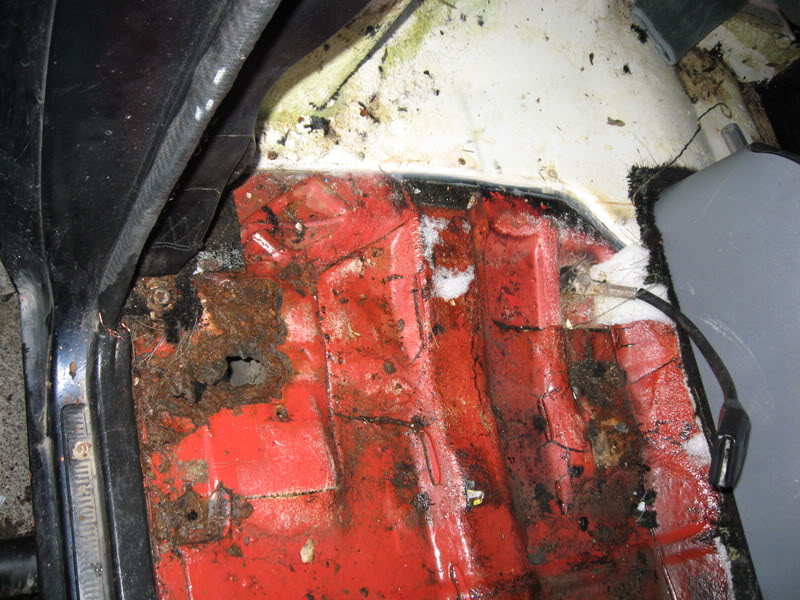
driver's side floor....bad shape
thanks, but got the driver's side carpeting out today, worse shape than the passenger side guess this is what happens from a leaky windshield for who knows how long...get to mess with the body mount
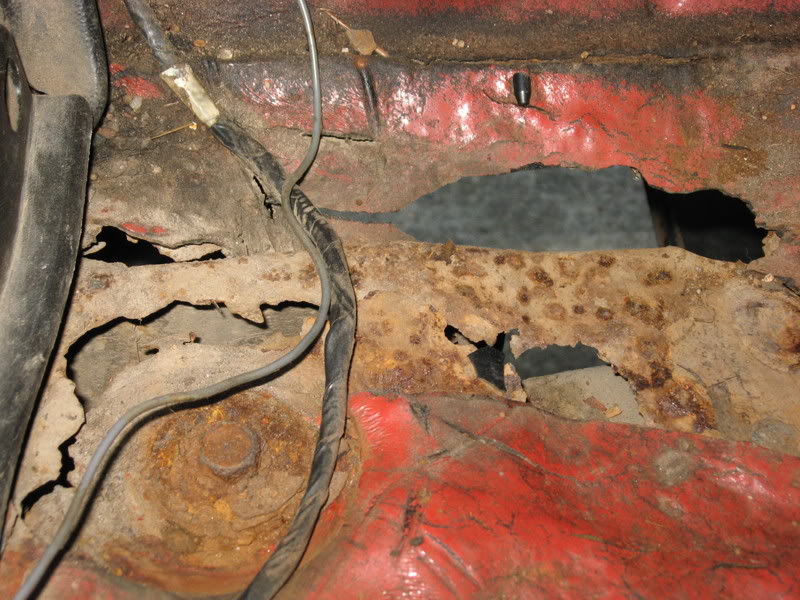
Driver's side rear of the cab, a lot worse than the rear passenger side:
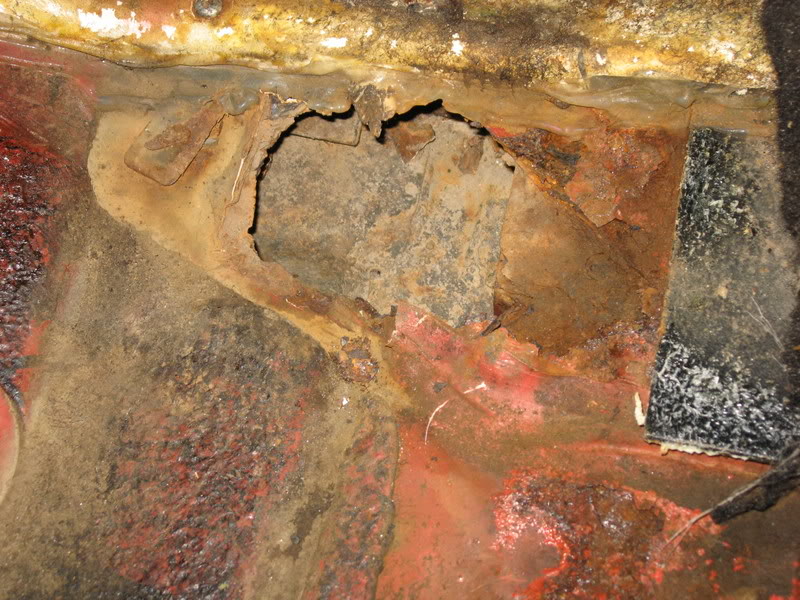
Found three layers of carpeting in one spot this time,
Hope to have this stuff repaired the same time a buddy of mine helps be with the front suspension welding etc...
guess this is what happens from a leaky windshield for who knows how long...get to mess with the body mountDriver's side rear of the cab, a lot worse than the rear passenger side:
Found three layers of carpeting in one spot this time,
Hope to have this stuff repaired the same time a buddy of mine helps be with the front suspension welding etc...
12-10-2007, 03:40 PM
#56
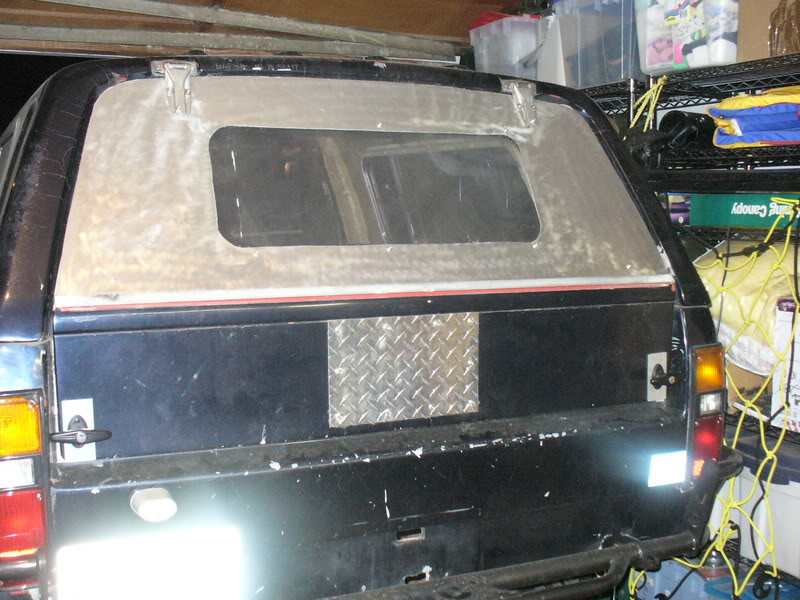
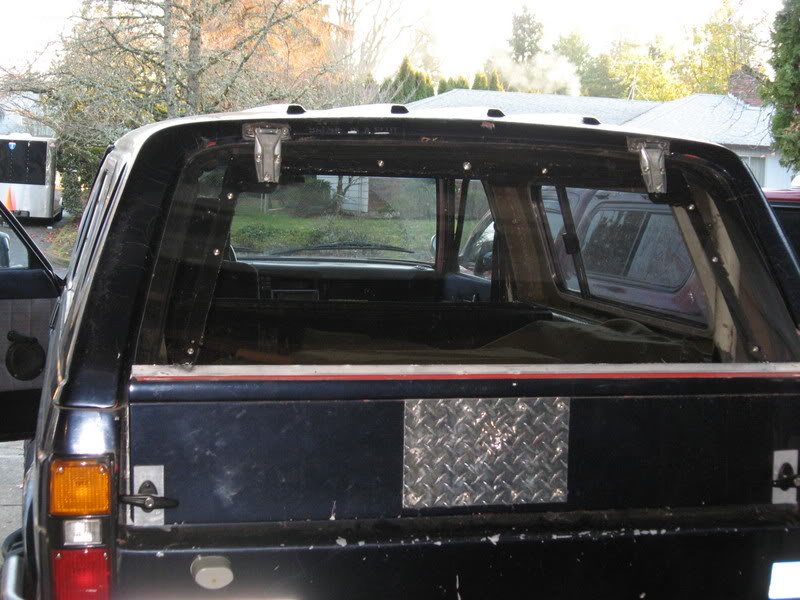
Oh yeah, got rid of the temporary aluminum rear window deal went from this:

To this using some stuff:
http://www.makrolon.com very similar to Lexan..
Here is what I did with a scrap, it flexes pretty dang good so I think I won't be doing my rear window for a long time...just need to see how Corey 's (slacker) rear seal material works out...

No way you get ever do that with plexiglass
To this using some stuff:
http://www.makrolon.com very similar to Lexan..
Here is what I did with a scrap, it flexes pretty dang good so I think I won't be doing my rear window for a long time...just need to see how Corey 's (slacker) rear seal material works out...
No way you get ever do that with plexiglass
12-21-2007, 08:39 PM
#58
Guess I will see if I still have the scrap and try the heat gun on it or sneak into the oven this weekend to see what happens..


