When you click on links to various merchants on this site and make a purchase, this can result in this site earning a commission. Affiliate programs and affiliations include, but are not limited to, the eBay Partner Network.
Ok so here is another build thread of a first gen pickup.... I bout this truck a couple years ago and it has served me well. I recently decided to put some work into it. Some of these posts are copy/paste from another forum I regular, but they will get you up to speed with a lil history and a few pics.....
Last edited by ambitious1; 03-28-2013 at 08:53 PM.
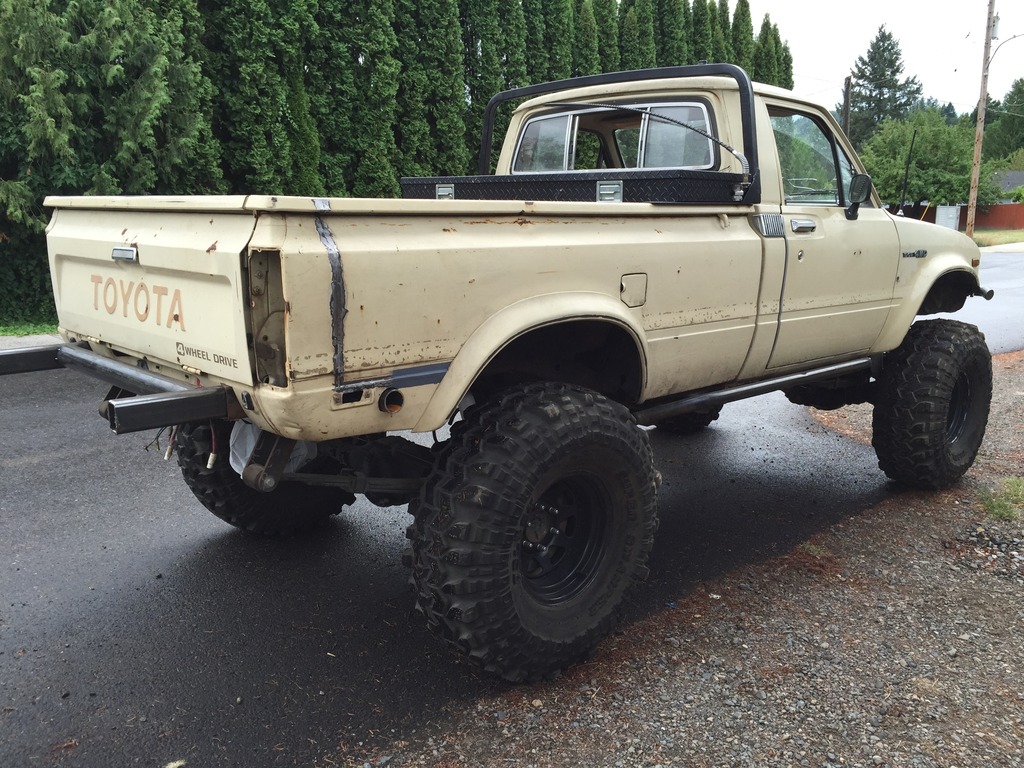
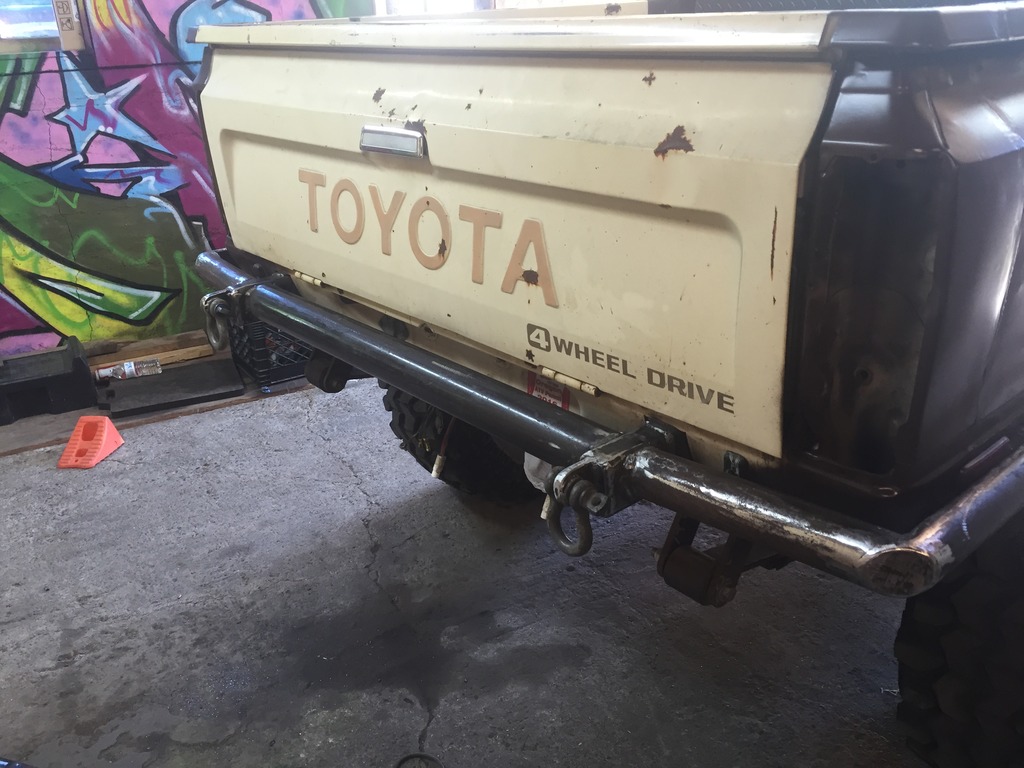
Here it is. After looking for a while for the right deal to come along, I found one and feel it was fair enough.
1983 long bed, unmolested, not abused, very straight, I'm the 3rd owner, 201,000 miles, 5 spd, 22r, 100% stock (besides NWOR front springs), runs like a top, been towed for a good portion of its life (allegedly), came with a canopy, and I like it!
My plans are....
Clean it real good/repaint some things like the bumpers/grill and stuff. Eventually maybe paint the whole thing the same color, but shiny!
Tri-Y Header/2.25 exhaust (gonna keep this one quiet, I'm tired of the droney roar...)
38 Outlaw weber (maybe, the thing runs so damn good I don't really wanna mess with it!?)
3" lift
Different Wheels
32-34" tires
Different mirrors
Add powa steering
Hi-steer (at some point)
Maybe bob the bed, although the long bed is pretty nice! Just hauled some couches... With the tail gate closed! And I like motorcycles as well so we'll see....
Lemme know what you think! Input and knowledge is welcome and appreciated.
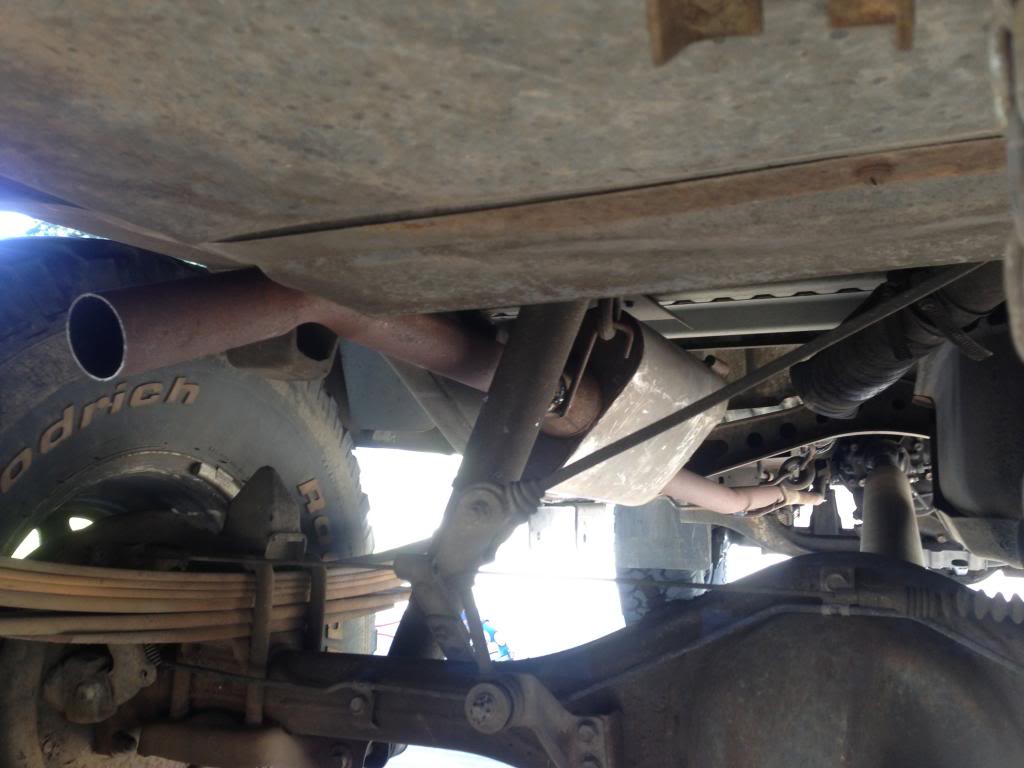
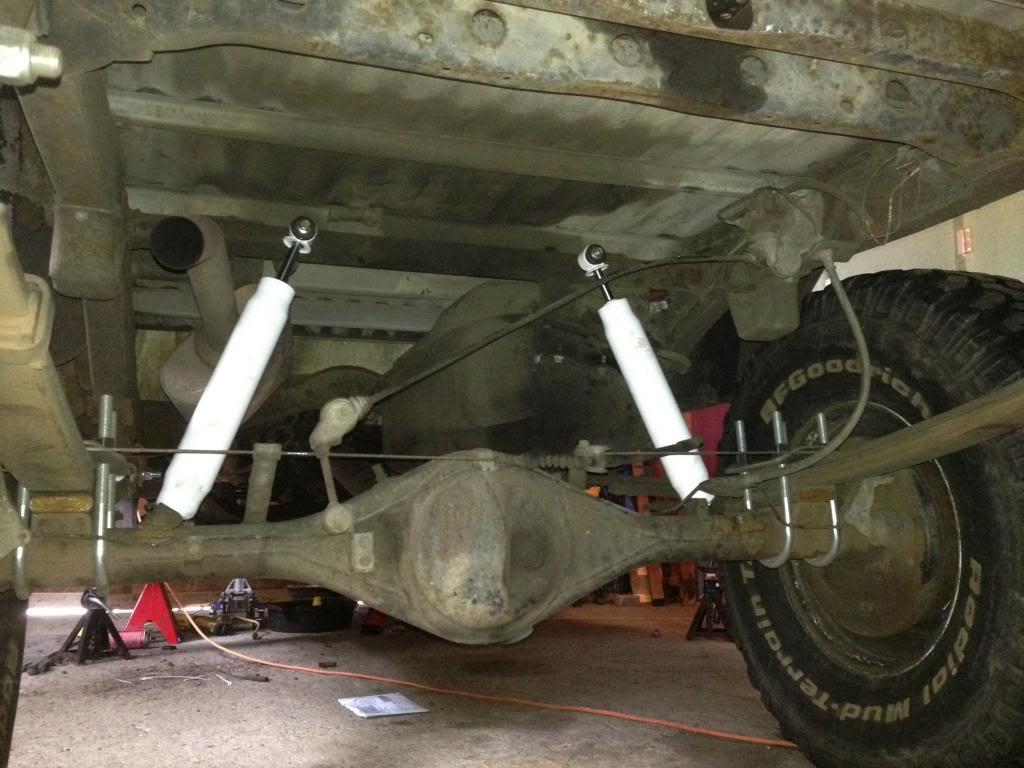
Today I installed the chevy 63" springs on the rear, l also re-did the exhaust last night. For the exhaust I used 2" pipe and put a knock-off flow master on... Backwards haha....... It fit better that way.....
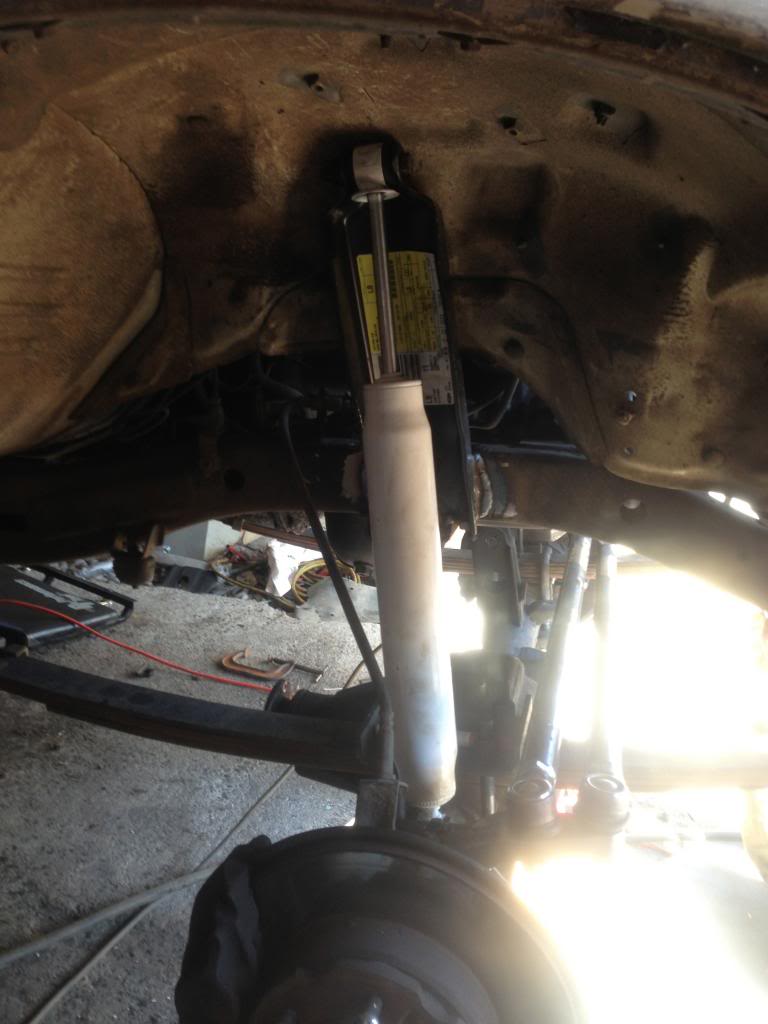
Need longer shocks, these are the ones that were already on the truck, they have about 9" travel. I have some 14" travel shocks that I thought I was gonna use but they are too long for what I've got going on. I think when its all sorted out I will end up with some 12" shocks....
Blah blah blah, pics.....
this is the exhaust last night...
And this is the 63's today.....
Last edited by ambitious1; 03-28-2013 at 08:51 PM.
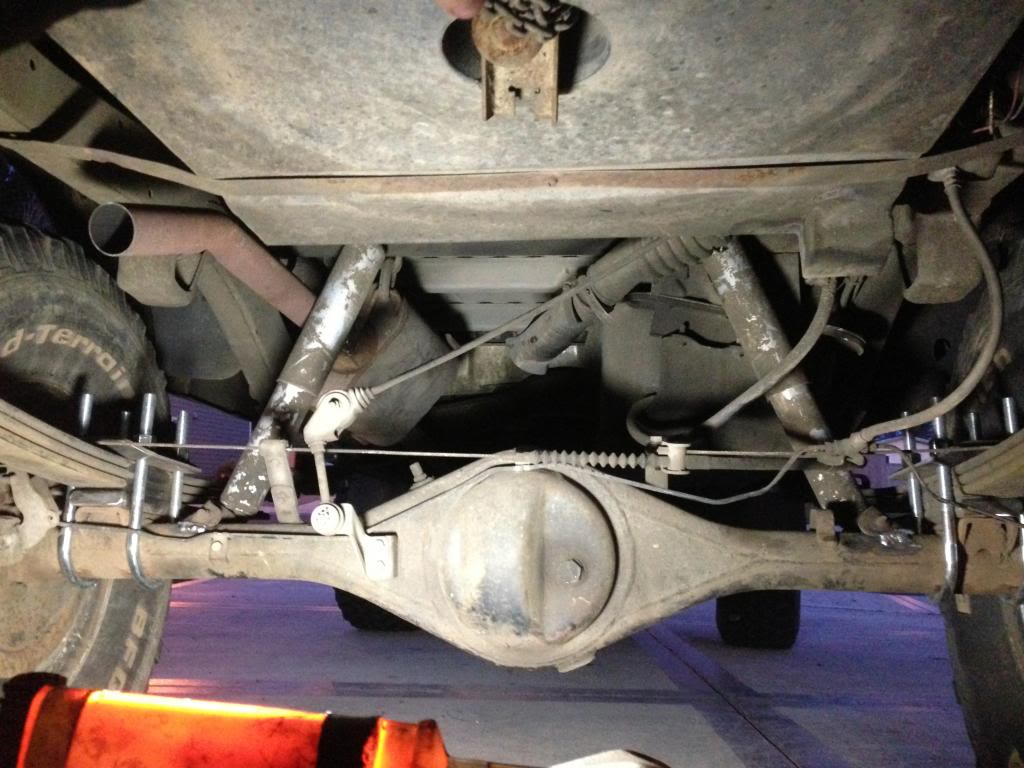
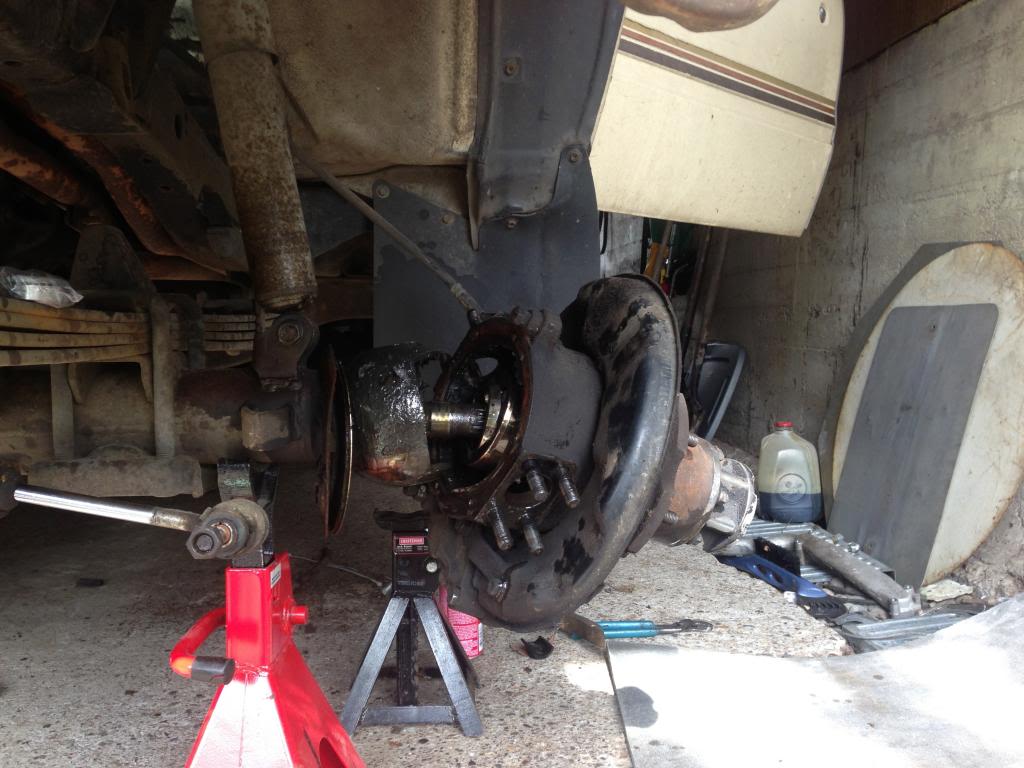
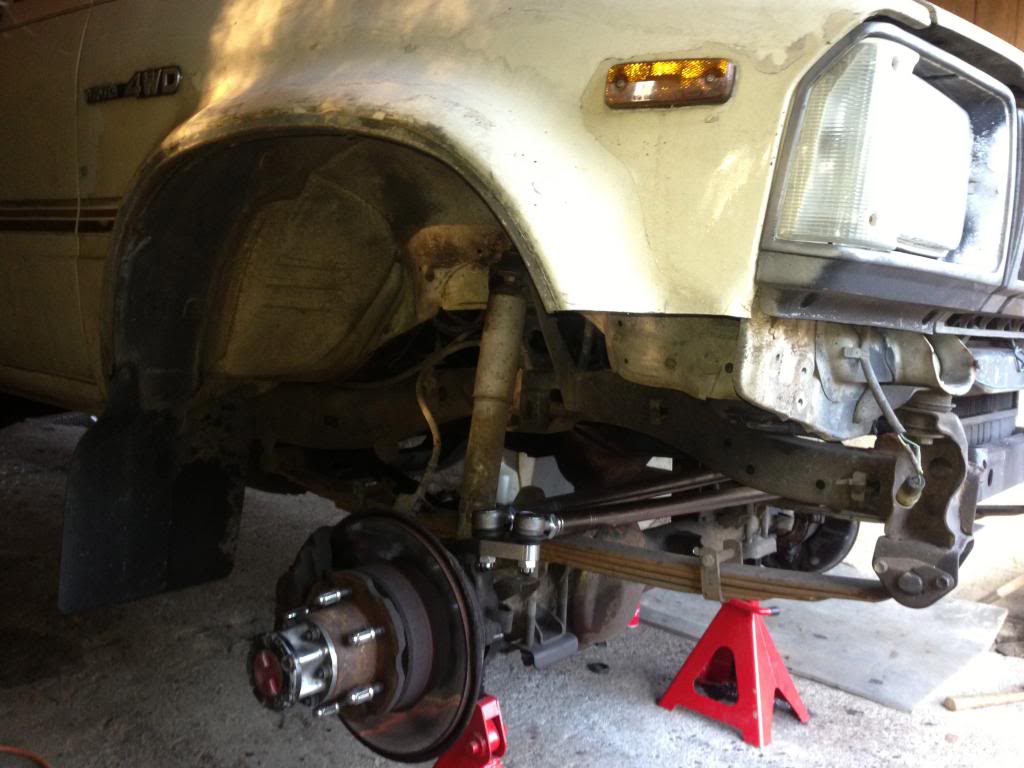
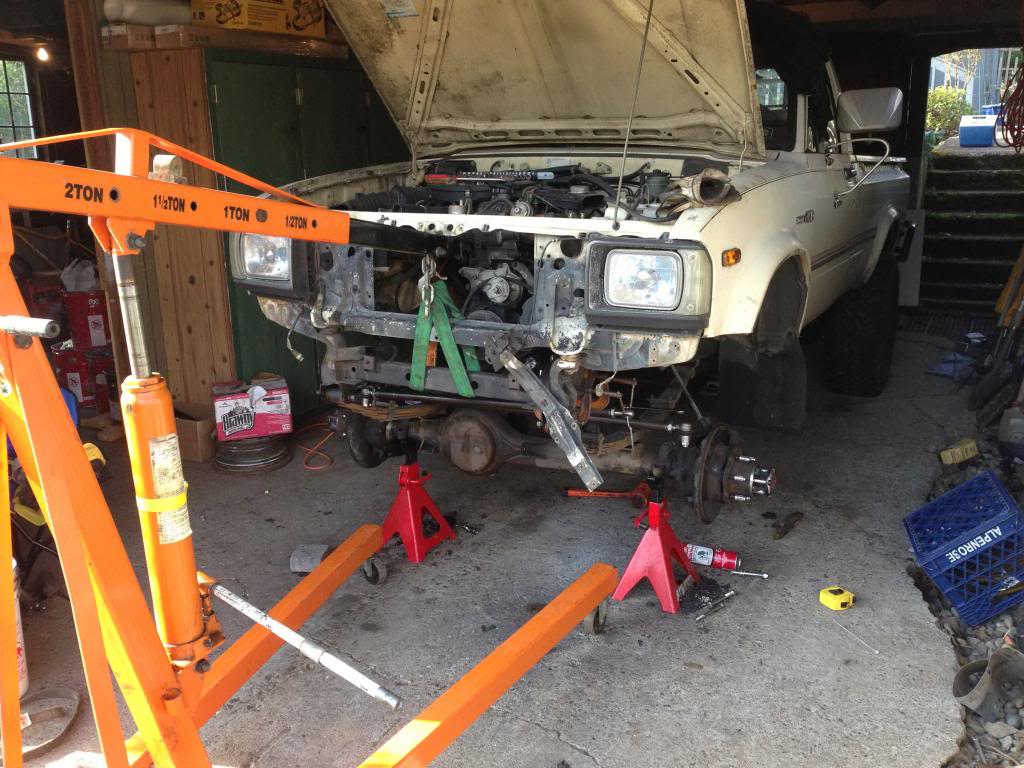
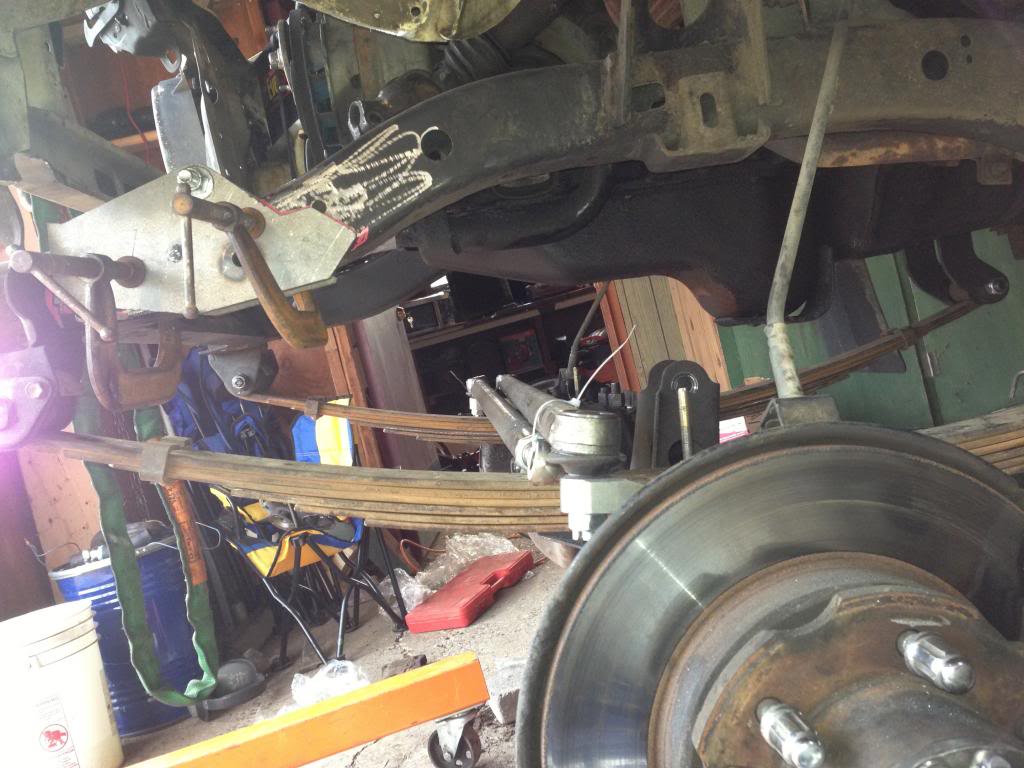
Started the hi-steer install, was intending to get it done today, but that apparently wasn't part of the plan. Ran into a couple unexpecteds but nothing too major. Had a trunion bearing that was T.U. so i pulled a knuckle and replaced just the bearing, I am going to rebuild/reseal the the knuckles completely when I install the gears/locker so the goal today was to just get in and get out as fast as I could.....
Here is the whole knuckle pulled off the housing.
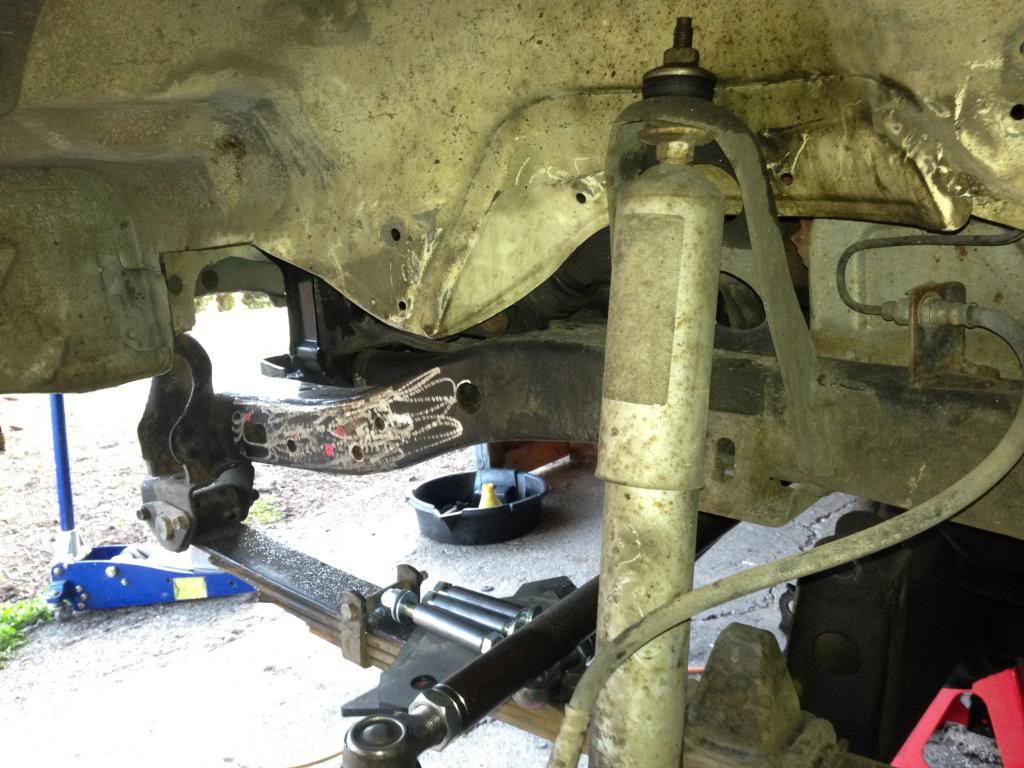
So after I fixed that and got the hi-steer arms all bolted up, I bolted the tie rod up to the arms, it was then I realized I wasn't going to have this thing on the road today, there just isn't enough clearance between the tie rod and the oil pan. So I will install the RUF before She goes down the road again.
Pick of the clearance issue.
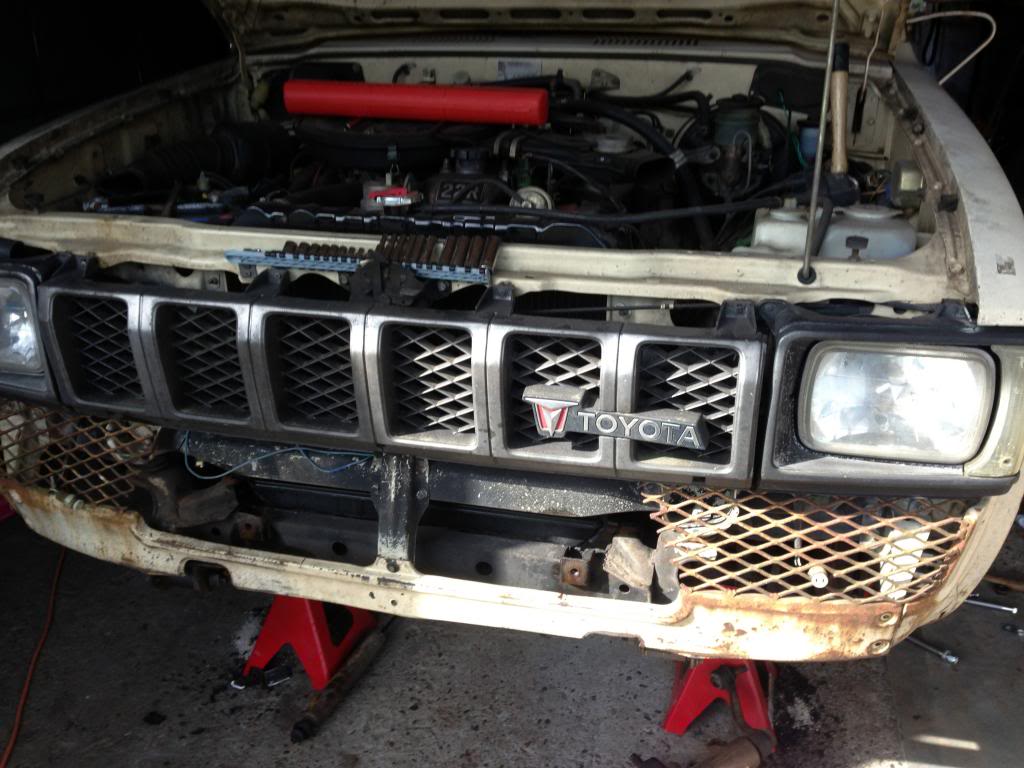
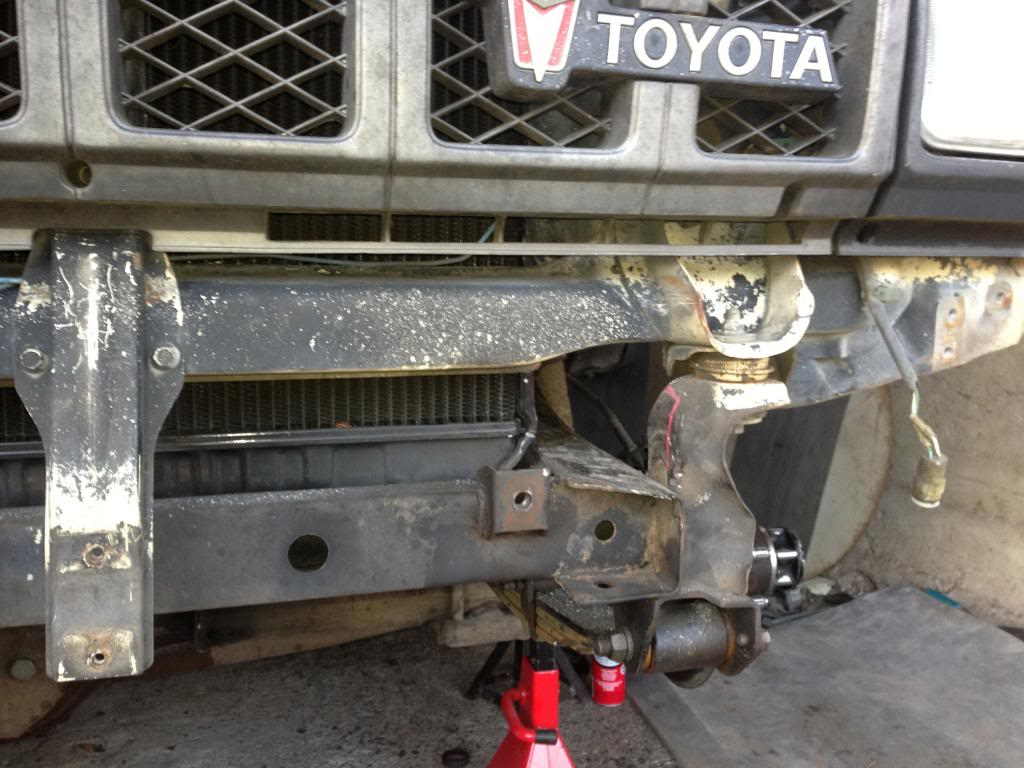
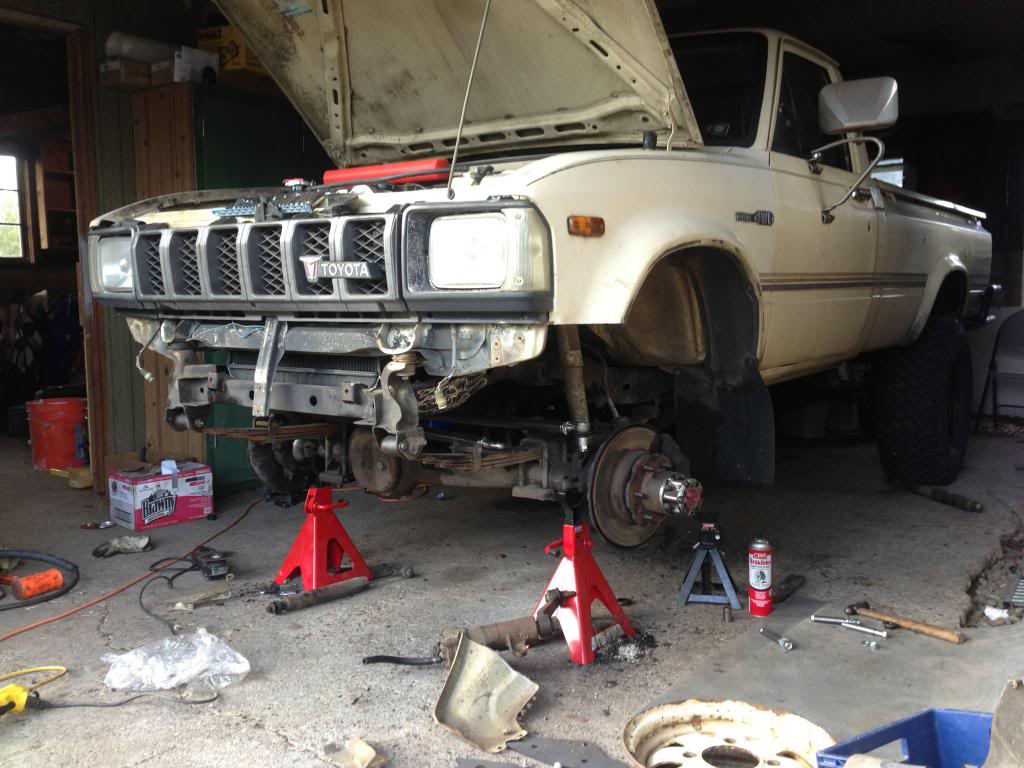
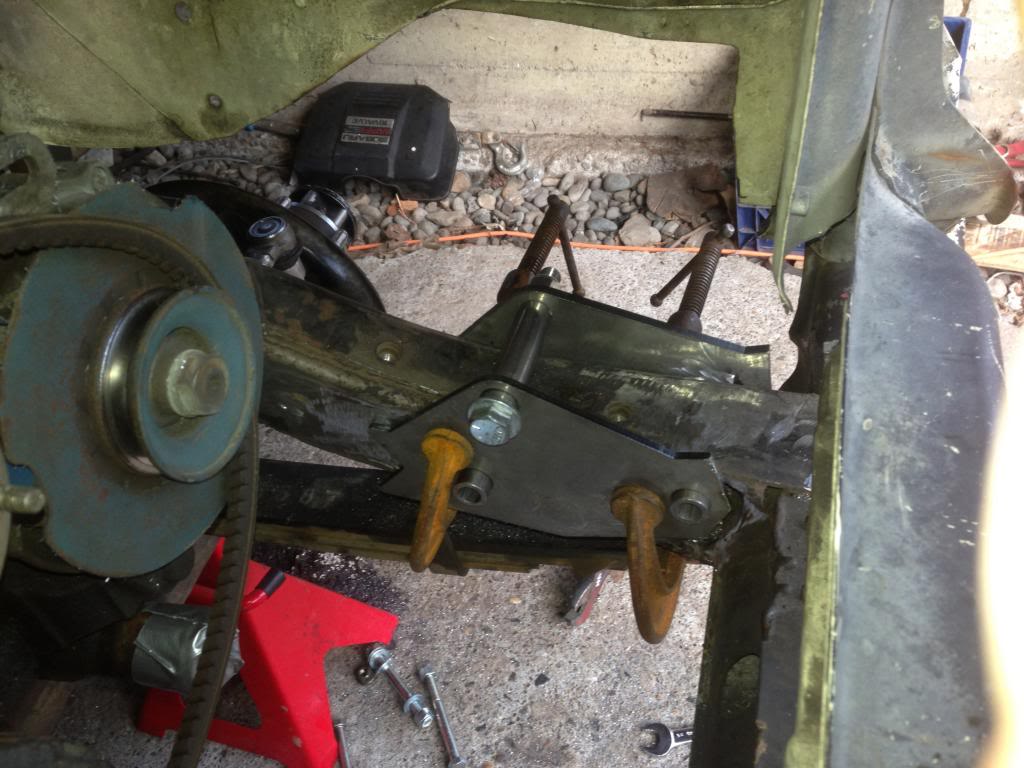
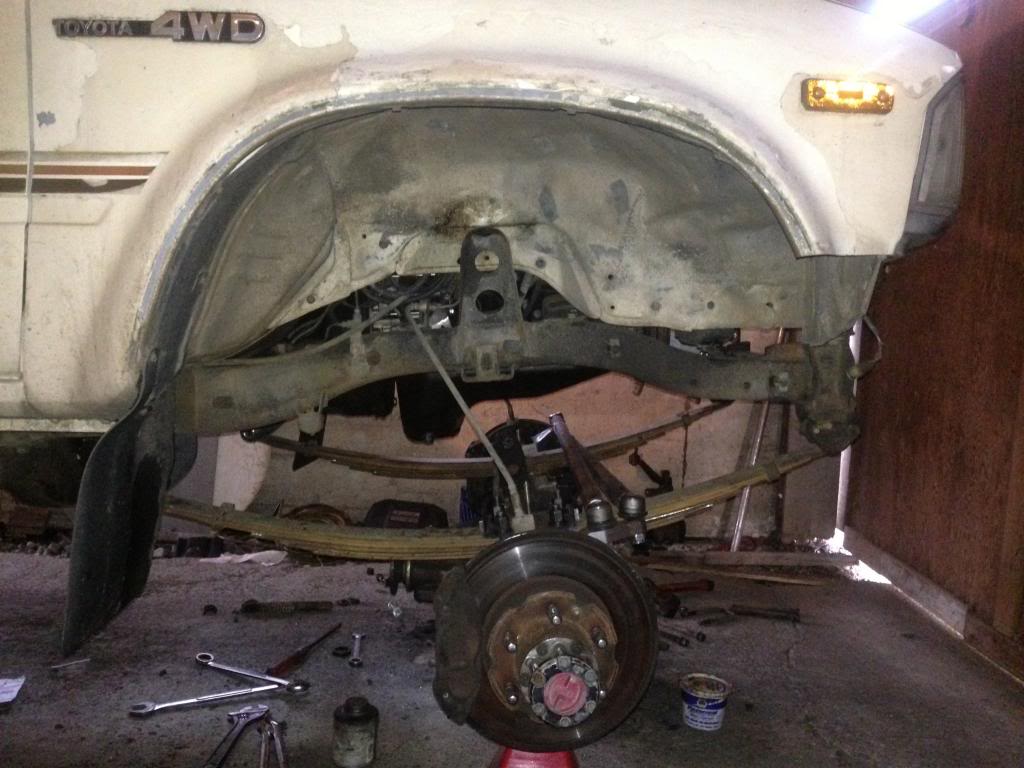
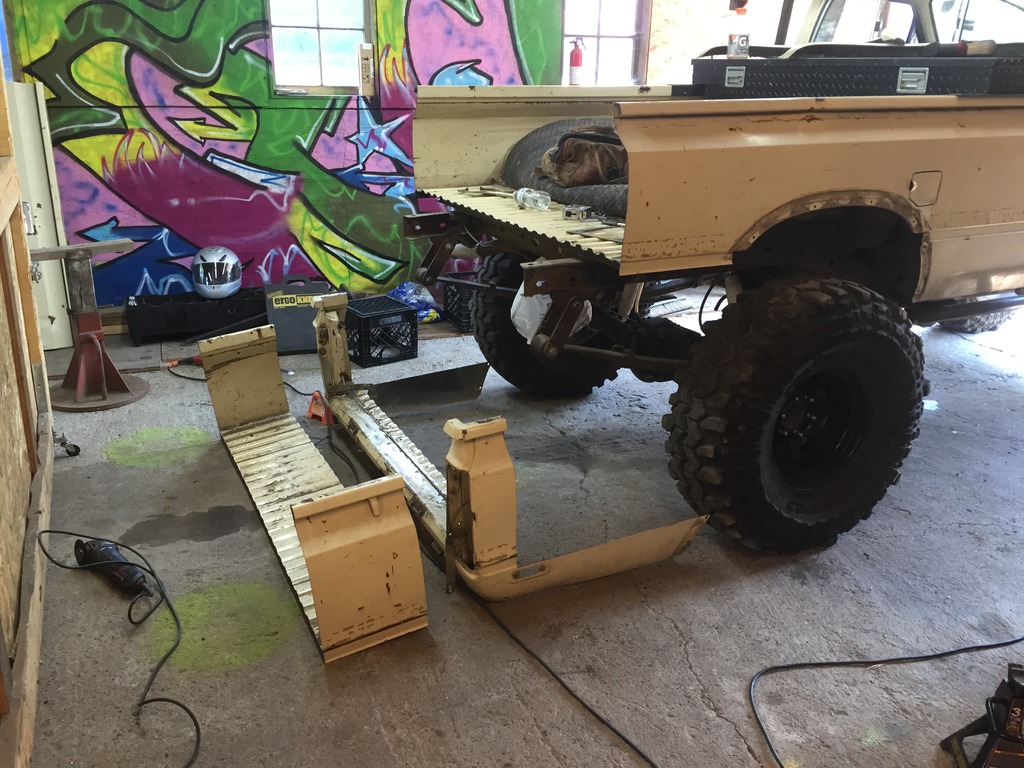
Whatever, that doesn't prevent me from mounting the box. I'm told to mount it as far forward as possible, after some trimming, trimming, removal of the from bumper, cleaning of the frame after removing a couple brackets, and some more trimming of the core support and bumper mount. I have enough room to mount the IFS box. I had a cutoff wheel in my hand too, so I decided to go ahead and cut cut cut some sheet metal too..... It's a start, I'm sure there will be a lil more before I'm done, but she's looking better!!!!
This is where I ended today. I plan on actually mounting the box tomorrow. I will need to get a flat pitman arm, and another FJ80 TRE before I actually hook up the steering. I also need to mount the ps pump/res, this truck is manual.... And new bumper mounts too.... And the RUF/u-bolt flip, which means shock mounts etc, I have all of that junk here, just the time thing.....
I bought two 10" shocks and two 12" shocks the other day for $25 each BRAND NEW! There is a 4x4 shop closing and selling there junk cheap til its gone. Score......
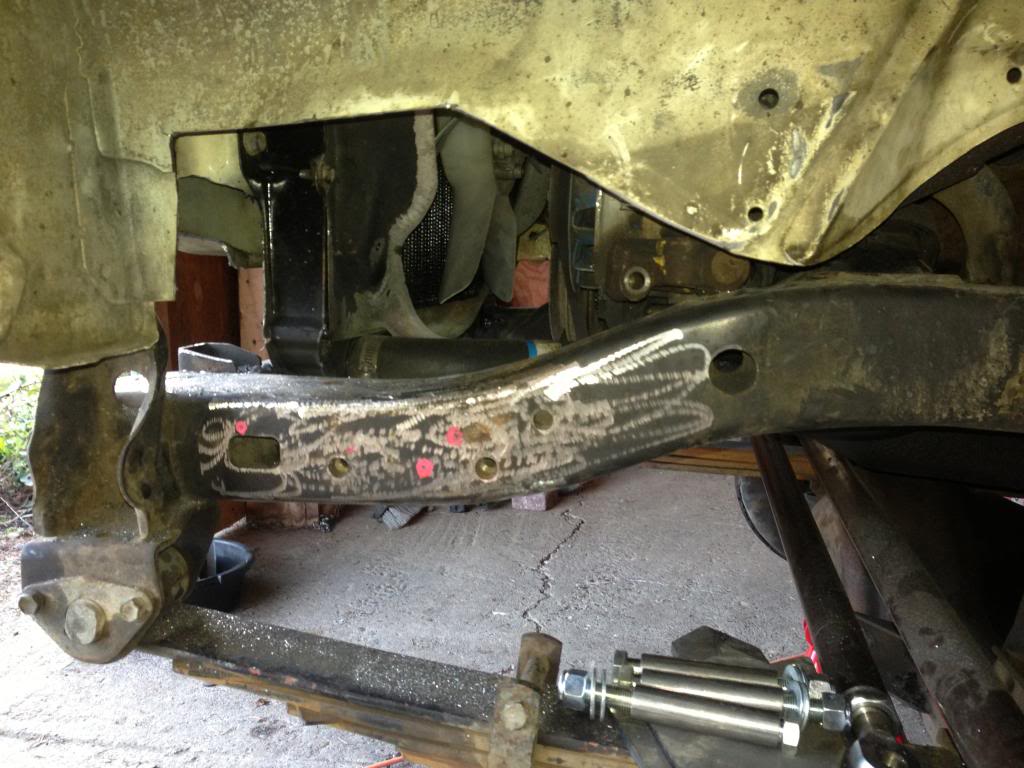
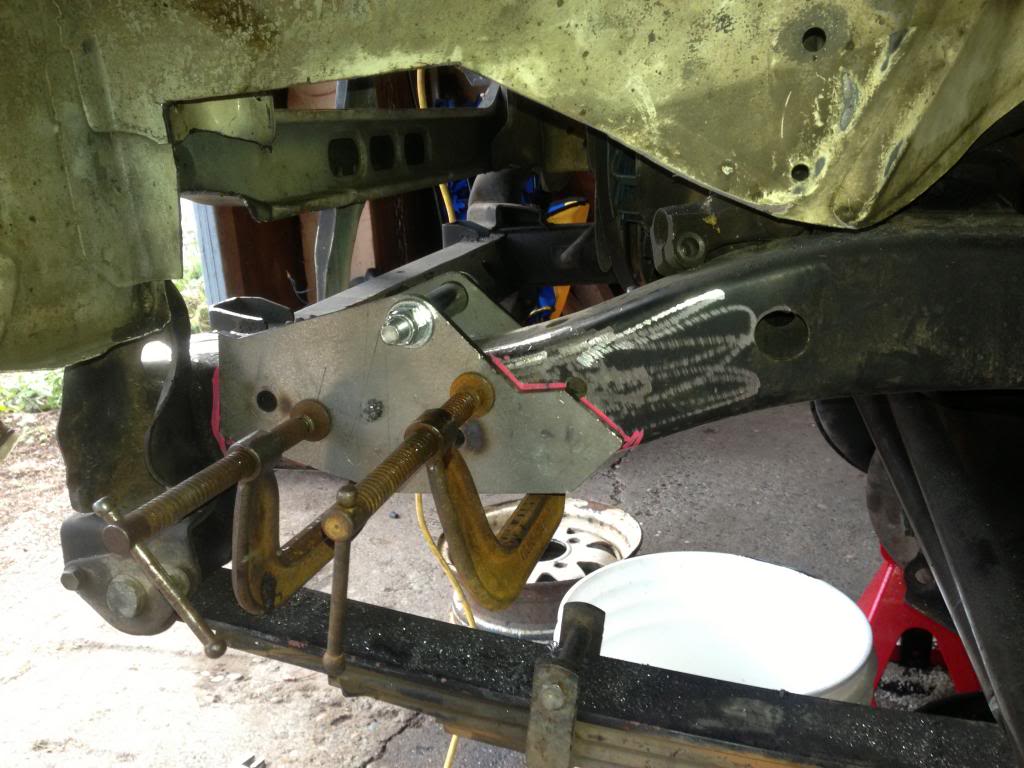
Had a chance to do a lil more this eve... It was a lil more involved than I thought to get the box-mount ready to go. I had to remove a small amount of frame material to get the plates closer to parallel... Will be welded and going to reassembly mode on friday is the hope....
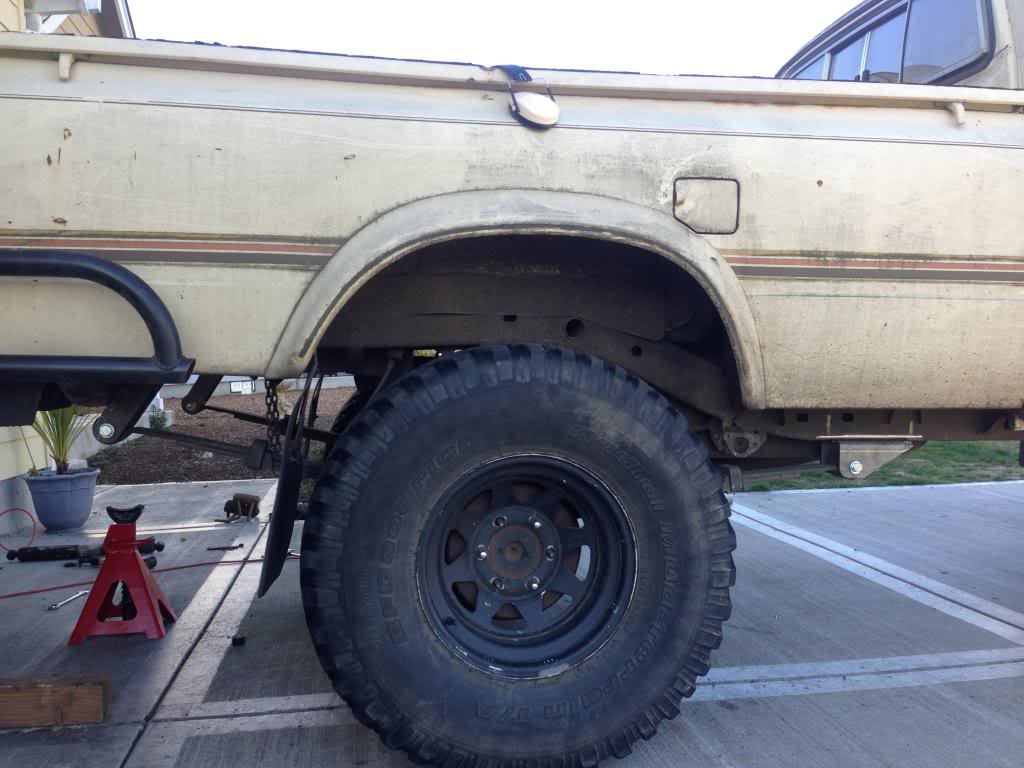
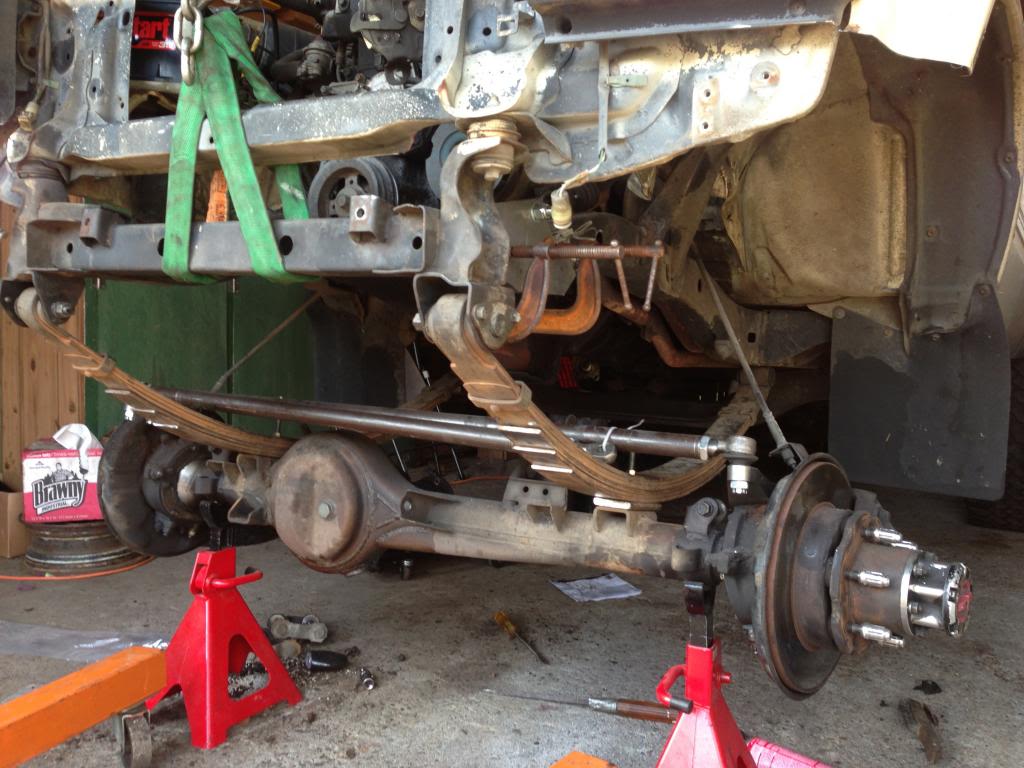
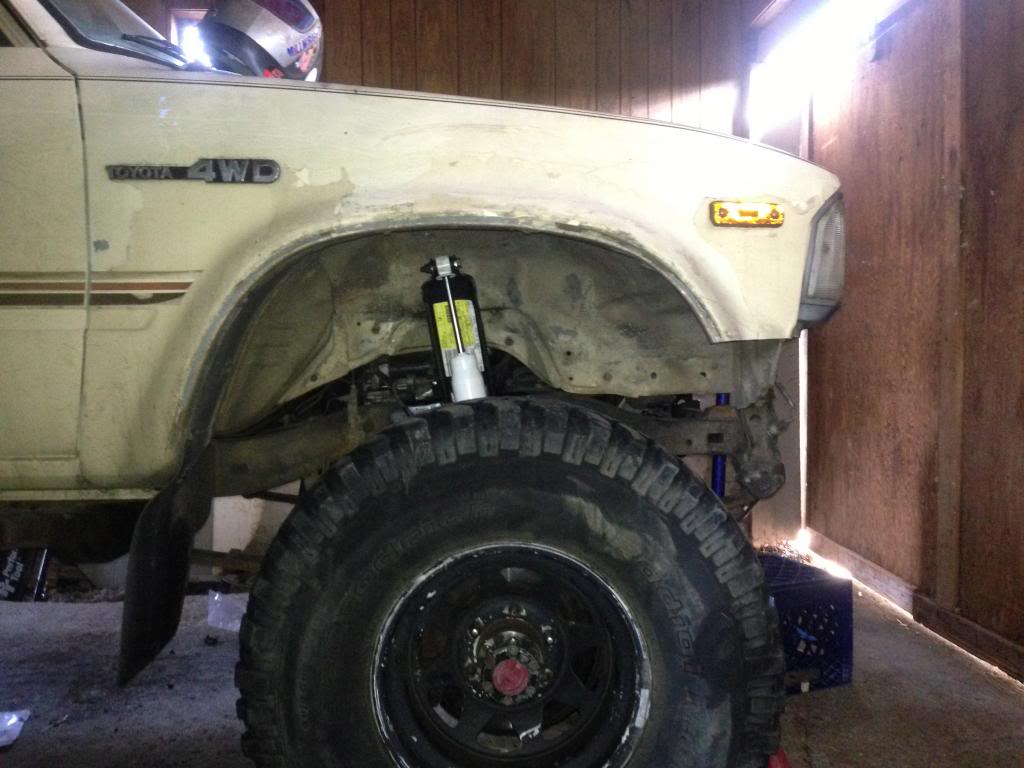
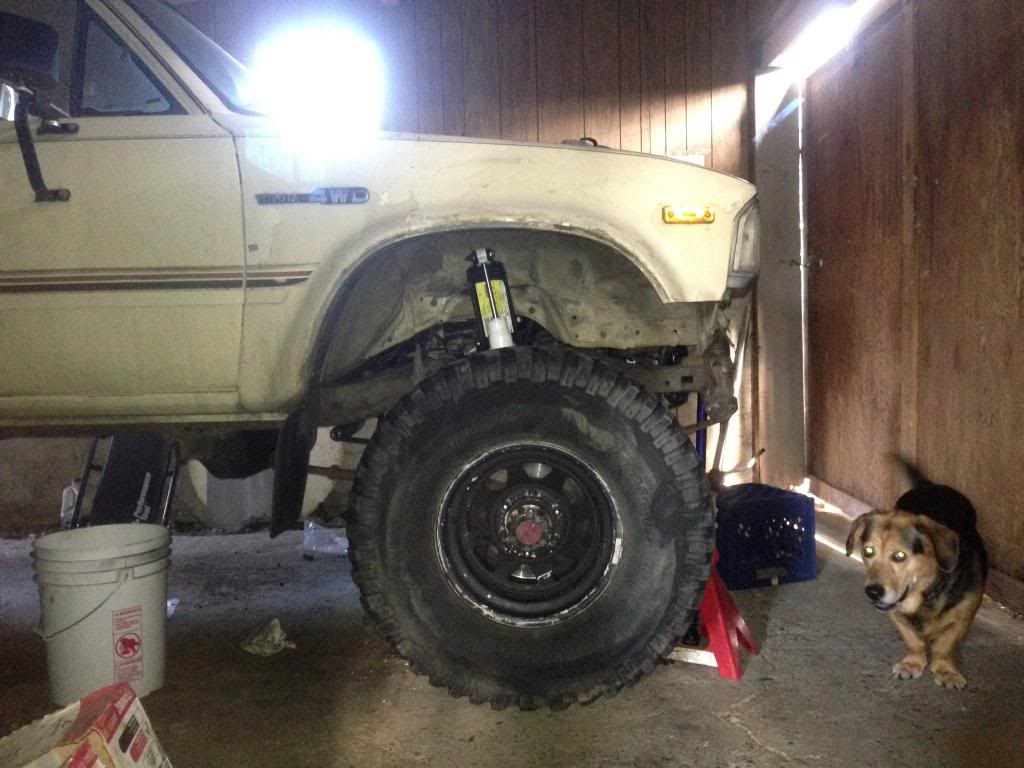
Hoisted the truck up to remove/replace the springs that were in there....
This moved the axle forward ~2" and looks like I gained another 3.75" lift.... Was looking for the axle movement, wasn't looking for the lift. I am gonna take a leaf or 2 out tomorrow and try to bring the front down a couple inches, I liked where it sat before, I only wanted it maybe 1-2" highter than it was when I bought it, the goal here is low lift, lots of flex......
Oh yeah, and I need brake lines......
Last edited by ambitious1; 03-28-2013 at 09:05 PM.
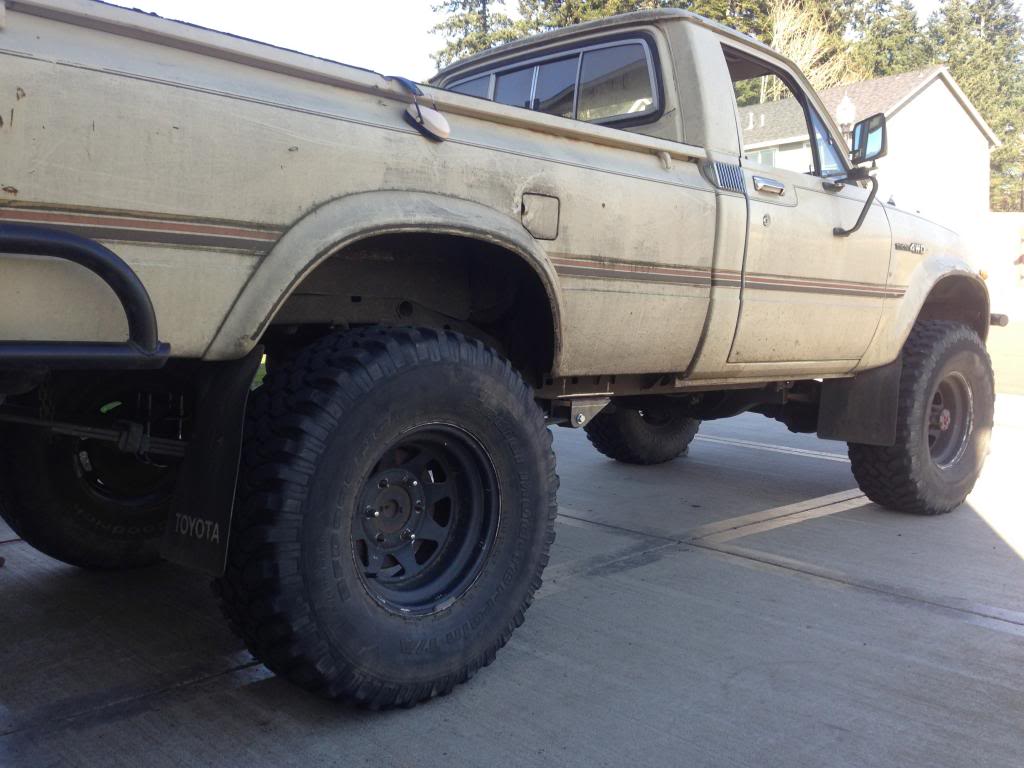
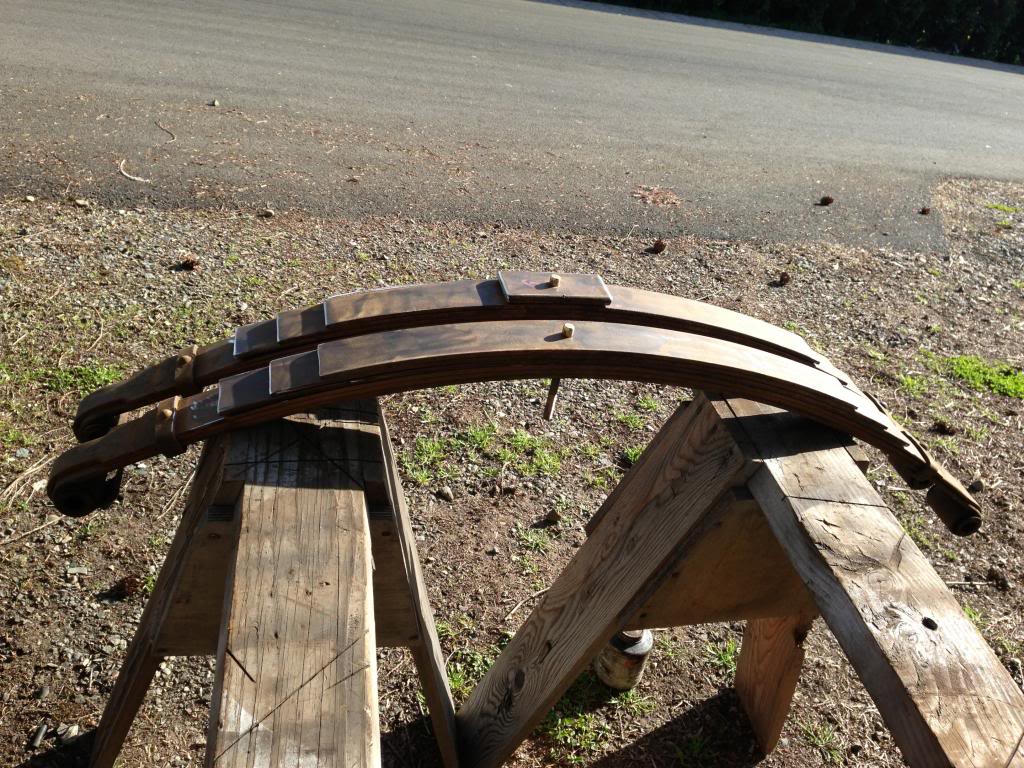
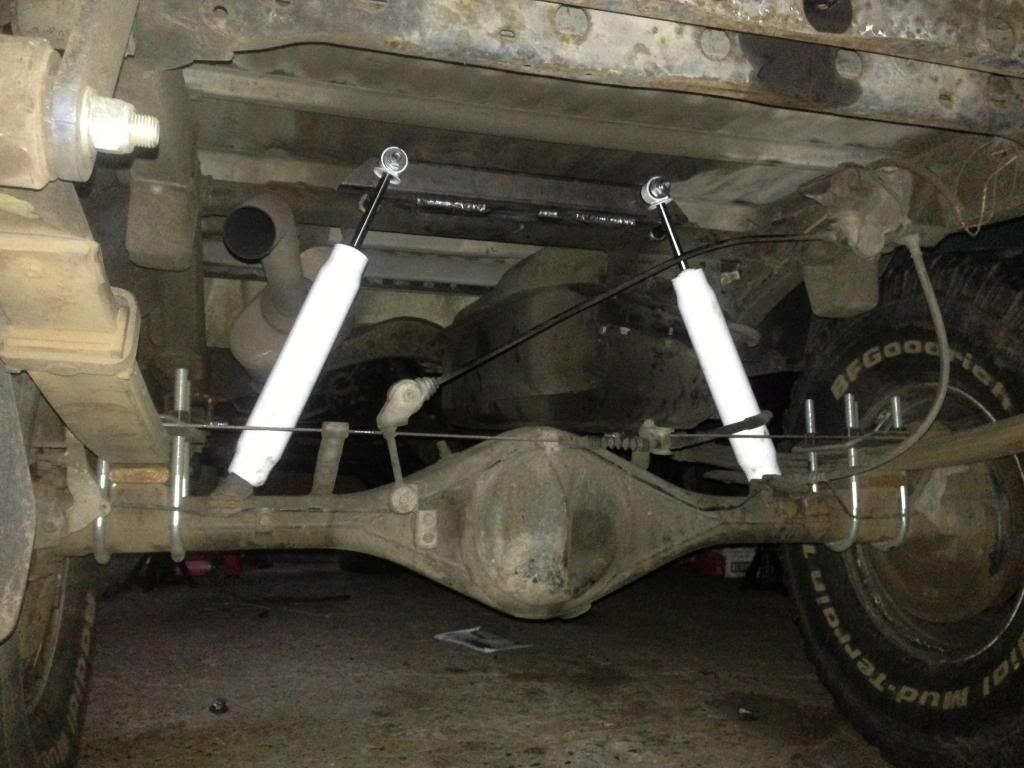
Took the 3 cut leaves out of the RUF packs today and replaced them with a single add-a-leaf, I think it is a NWOR leaf. It was made specifically for toyota rear springs I can tell you that for sure. The center pin hole is offset so it stacks in like it was meant to be there. That brought my additional lift down from 3.75" to 2.25", I like the way it sits now. Looks level, we'll see how it settles after a few miles are put on. Also put in the front shock mounts, F250 uppers. 12" travel shocks. The way its set up gives me 5" uptravel and 7" downtravel give or take.... Welded out the steering box mount too.... Need brake lines, install the PS pump/res/lines/ifs box, need a flat pitman arm and 1 FJ80 TRE.... Then it's drivable.... Wont be trail ready, but will be road worthy...
Pics......
Last edited by ambitious1; 03-29-2013 at 08:53 PM.
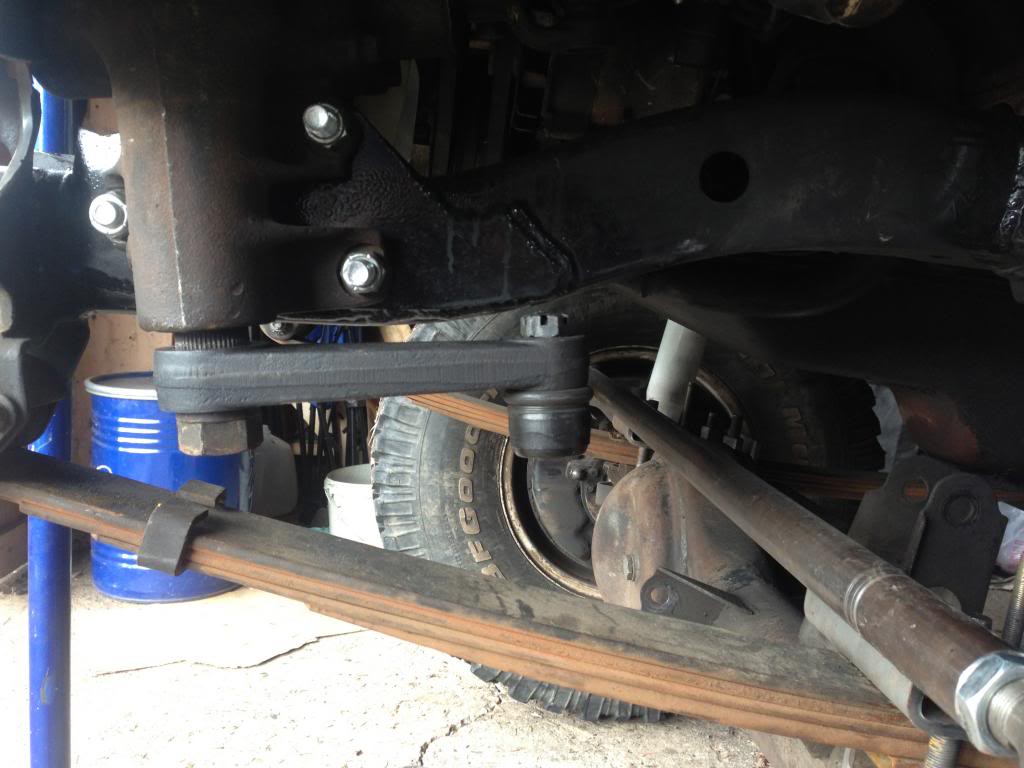
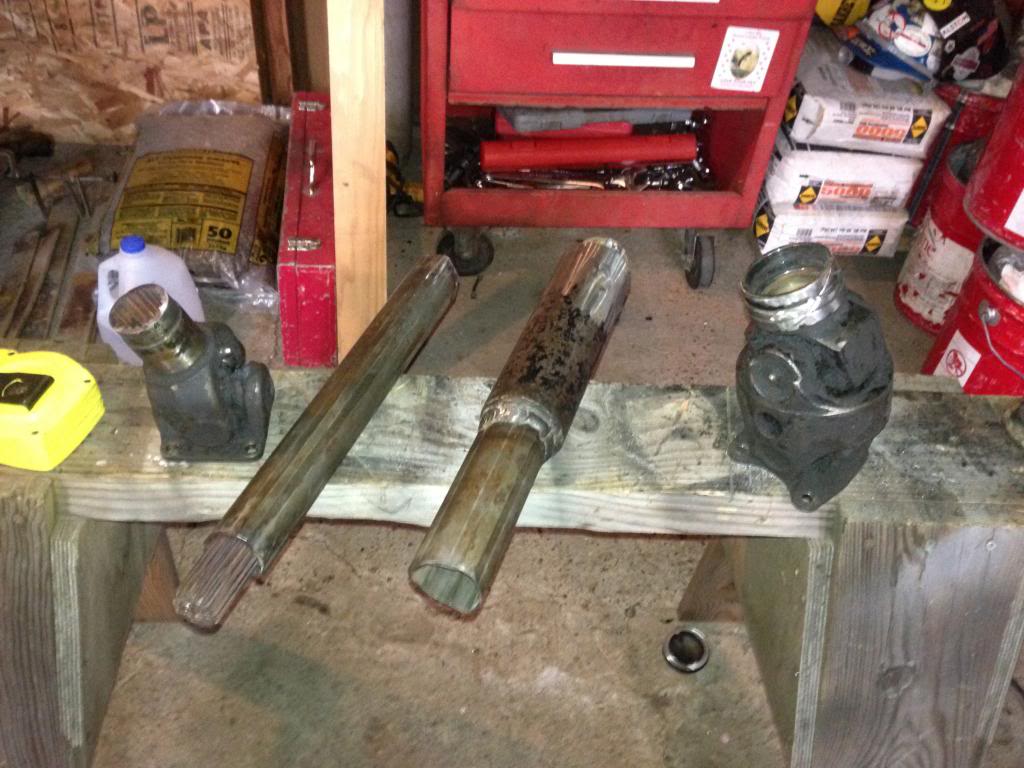
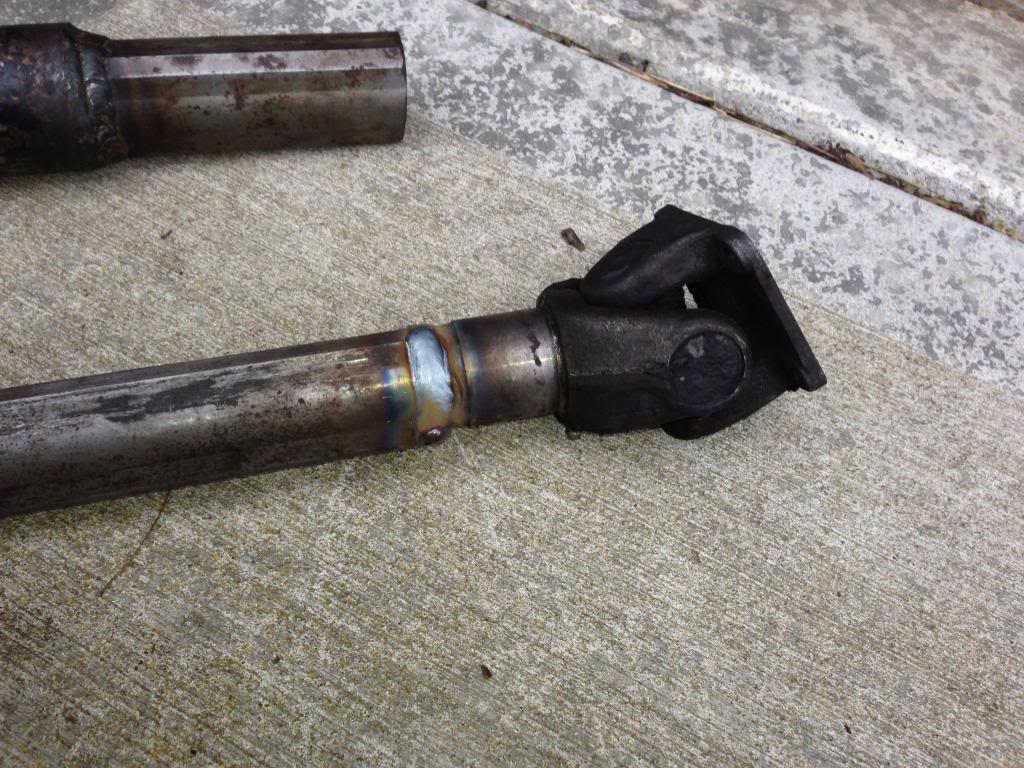
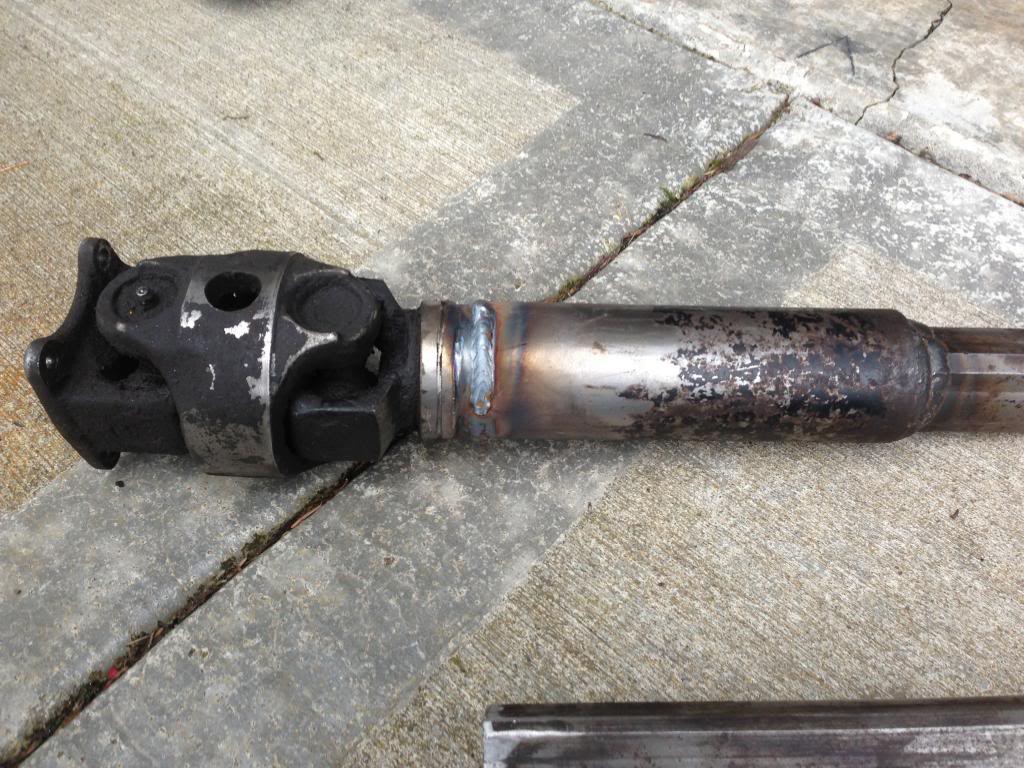
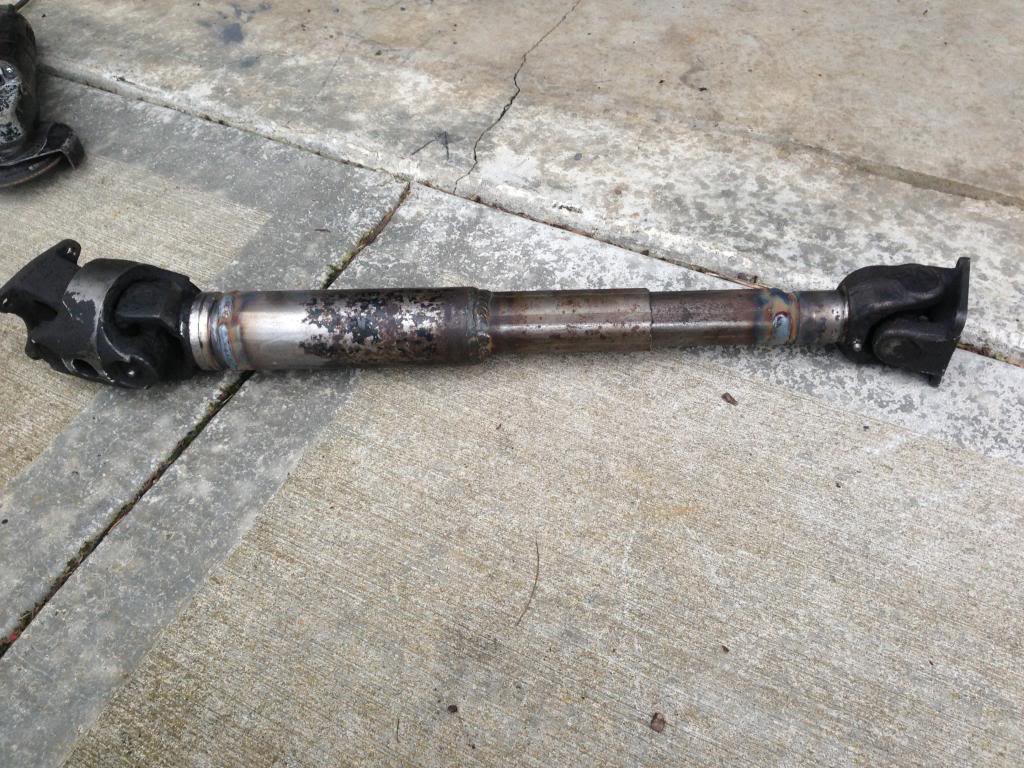
Today I installed the flat pitman and built my front driveline. The driveline has just over a foot of slip in it now and is probably the perfect length for duals. Since i am not ready yet for the duals though, I am going to cut a couple inches off the slip sections so it will work for me with just one case, maybe I'll change my mind and just get 4.7 gears and only run a single case... Thoughts???
Anyway, pics.......
Pitman arm worked out perfect.....
Pile of cut up and trimmed/fit driveline parts prepped for weld....
Damn, I haven't been to this thread in LONG time�.
I still have this truck and it's awesome. 5.29's, f/r lockers, diff armor, front hanger, pushed axle forward another 1"+, rotated duals, 4.7 rear case, tucked drivetrain, triple sticks, and other little crap. Truck runs fantastic and always impresses me anytime I take it off road�
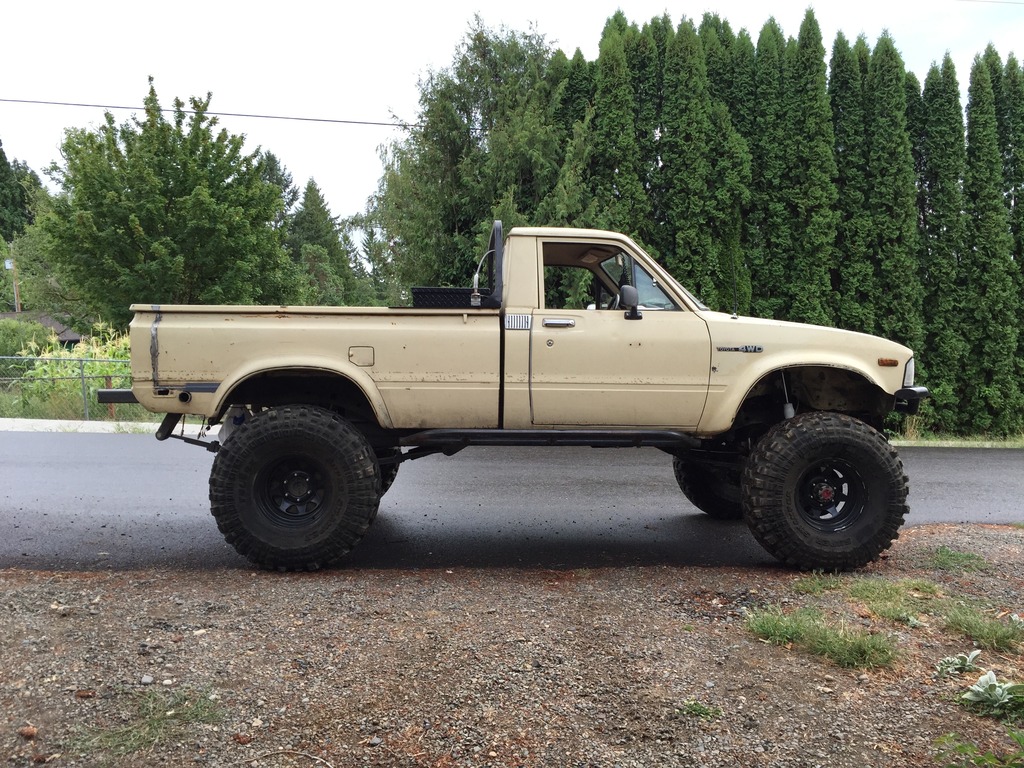
Made some progress over the last couple days. Swapped the bent ruf packs for some 4" pro-comp rears I picked on the cheap. I think the truck is too tall now and I'll probably change it up again real soon. They ride nice tho.
Then I dropped the rear bumper and bobbed 11.5" out of the bed. I really have been anti-bob for the entire time I've had this truck, but it seems to be the natural progression.
I'm in the middle of building a rear bumper right now, its gonna turn out pretty slick I'd say. I drove the 2x4 rec tube into the frame 14" before I started building off of them. I am definitely over building the rear bumper, and it is not going to be removable, at all. It will tie into the frame through the rol pan and the lower quarters. I'm gonna have to make a bolt on receiver hitch tho, so I can still tow my lil trailer haha……
Here's where I'm at for the last 2 days….
Last edited by ambitious1; 08-17-2015 at 07:23 PM.
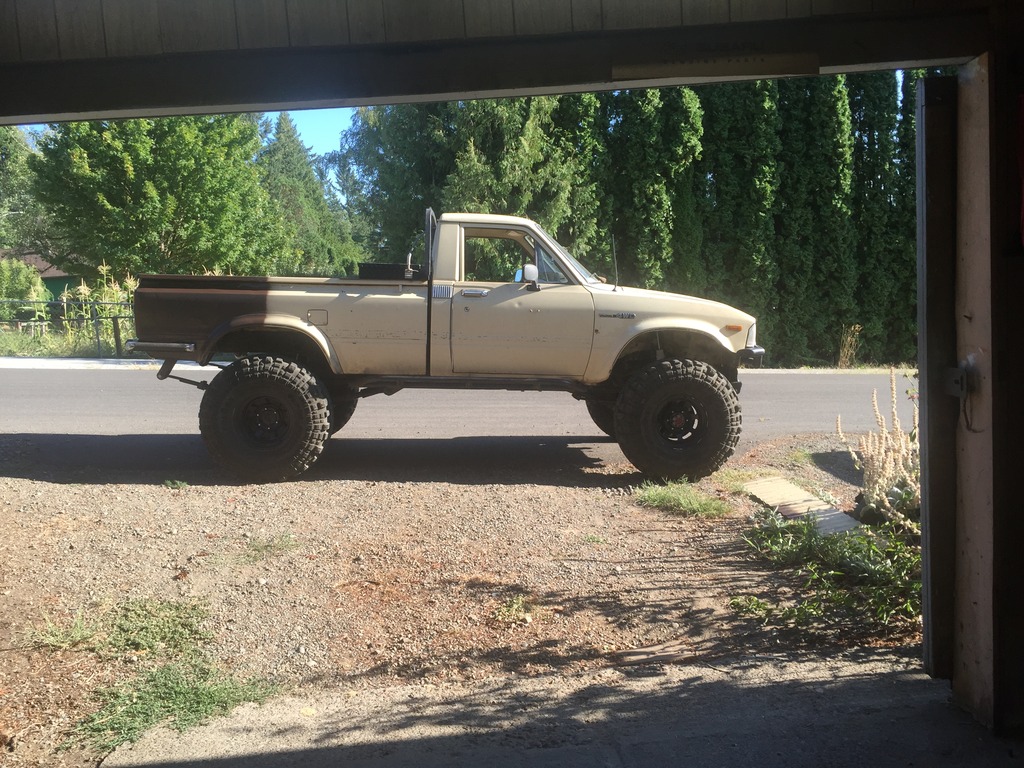
Finished the bumper, and redid the front springs, again. Am gonna pull them out one more time and add one more leaf. I like the height, but they're a lil too soft I think, its all trial and error. Next is paint, was gonna paint it all "satin espresso" but its a lil too dark. gonna end up somewhere between the original color and the dark brown.
Mine is a 1983 Hilux/Truck 4WD with a rebuilt factory 22R (stock, stock Aisin carburetor, bored .020" over, 239,071 miles on OD, 5500+ miles on the rebuild. Makes about 105 bhp @ 4800 and 135-140 lb-ft at 2800...
I run 91 octane 10% EtOH gasoline with AmsOil Signature Series 5W-30 (high oil consumption) and drive easy most of the time.
 03-28-2013, 08:48 PM