When you click on links to various merchants on this site and make a purchase, this can result in this site earning a commission. Affiliate programs and affiliations include, but are not limited to, the eBay Partner Network.
My long term plan with the Chinook is to eventually swap the camper portion onto a newer longbed, or possibly swap it onto a 4wd. That won't happen for awhile and I have a trip planned late this summer that I'd like to take the Chinook on.
Swapping the cab is probably too labor intensive for my schedule and finding a rust free cab might take awhile. This is the route I would rather take but I doubt I could get it finished in time for the trip.
My only other option at this point is to repair the damage the best I can. Has anyone tackled a job like this?
Everything is relative, but that is really not that bad (to me), mine had been repaired in 1997 and the replacement metal was worse than yours. I had to rebuild the complete floor, half the rockers (other half I bought), mounts, lower firewall etc.. A very intimidating job to me but once I got in it, it isn't very complicated. I used 22 gau (like the original thickness, a bit thicker would be easier to weld like 18 or 16 gau) and went to work and it is going very well, not super pretty, but it's solid. It's no harder than just cutting, making a template, cut a clean piece of metal, and weld it in. If you don't have access to a welder you can use pop rivets, aroud here at the safety inspection if you weld a spot on the floor it doesn't pass, but if you rivet it it's fine..(don't know why).
Kawa's build thread was a great inspiration but if you want to feel better about your floors, look at my build thread, I should update it tonight or tomorrow too my floor is almost complete.
1974 chinook shell with an 1981 toyota sr5 5 speed manuel
Wow Rusker good job getting in there and making it beautiful form the inside, out. Thats one of the nicest looking chinooks I've seen from the outside.
I have a chinook I am trying to sell because it's just too much work for me. Doesn't need much but I just don't know what I am doing... Thought it'd be easier that I had imagined.
Heres a link to it if you or if you know anyone who would like an easy project:
if its just for one camping trip u could pop rivet the floor and fiber glass it.... if your planning on keeping the truck and want to fix fix it it doesnt look too bad compared to some ive seen online..its crazy how nice things look from the outside when your dealing with old vehicles..
I have 2 77 Toyota campers(one is a Chinook). They both have a problem with water getting through the fender and hood but it was really bad with the Chinook and we had to rivet new medal into the floor pans like you did. Selling the Chinook in Lawrence KS soon- 105k runs great! Will post pics soon.
I have 2 77 Toyota campers(one is a Chinook). They both have a problem with water getting through the fender and hood but it was really bad with the Chinook and we had to rivet new medal into the floor pans like you did. Selling the Chinook in Lawrence KS soon- 105k runs great! Will post pics soon.
A common area for water to enter the cab in inside of the rain tray area. Debris can collect in that area and eventually it can rust. Mine had a few pins holes that allowed water to enter the cab.
I noticed you logged on today and found this thread.
What a cool camper! I always loved the Chinooks.
Do you have any updates?
UPDATE!
This project was put on the back burner for a while, but I've just about got it back up and running.
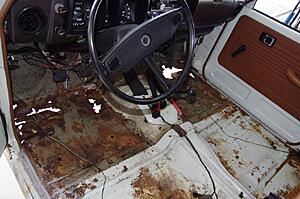
The cab had rust that I needed to take care of, but as you can imagine the more I looked around I discovered more rust that needed to be removed. I decided to hold off on these repairs until I found a donor cab, or a parts truck that had good metal I could use. After a year or so I picked up a 78 longbed that was converted to a flatbed for a landscaping company. The cab wasn't in perfect condition but the metal/panels I needed were in much better shape. It also was converted to a 22R, and a 5 speed transmission so I may upgrade the 20R/4spd in the future. I've added a few things to the 20R so we'll see how much of a difference it will have made. The great thing is buying an almost complete truck gives me A LOT of spare parts.
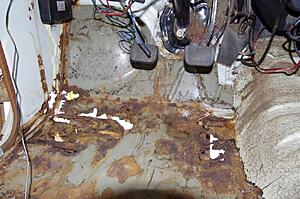
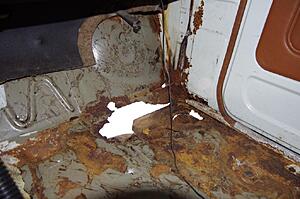
Example (corner of the pass. engine bay):
Example of repair (Cut, Fit, Weld, Prime, Repeat):
Long story short, I started on the left side of the engine bay, and worked my way to the right side. Cutting out rust, and replacing it with good metal. I've also upgraded my welder, and decided to go back and redo all the temporary patches I did when I first started on this project.
As for protecting the welded areas I'm just using off the shelf primer, and paint (yes, I know spray paint sucks) because I'd eventually like to pull this engine and give the engine bay/cab a proper respray. For now I just wanted to give the engine bay some kind of protection and repaint it a color that is close to the original white. The previous owners spray painted everything in the engine bay gloss black. Along with a layer of grime, and oil, it was a nightmare to work on anything.
The plan all along was to remove the emissions equipment, and replace the original carb. Decided on the Weber.
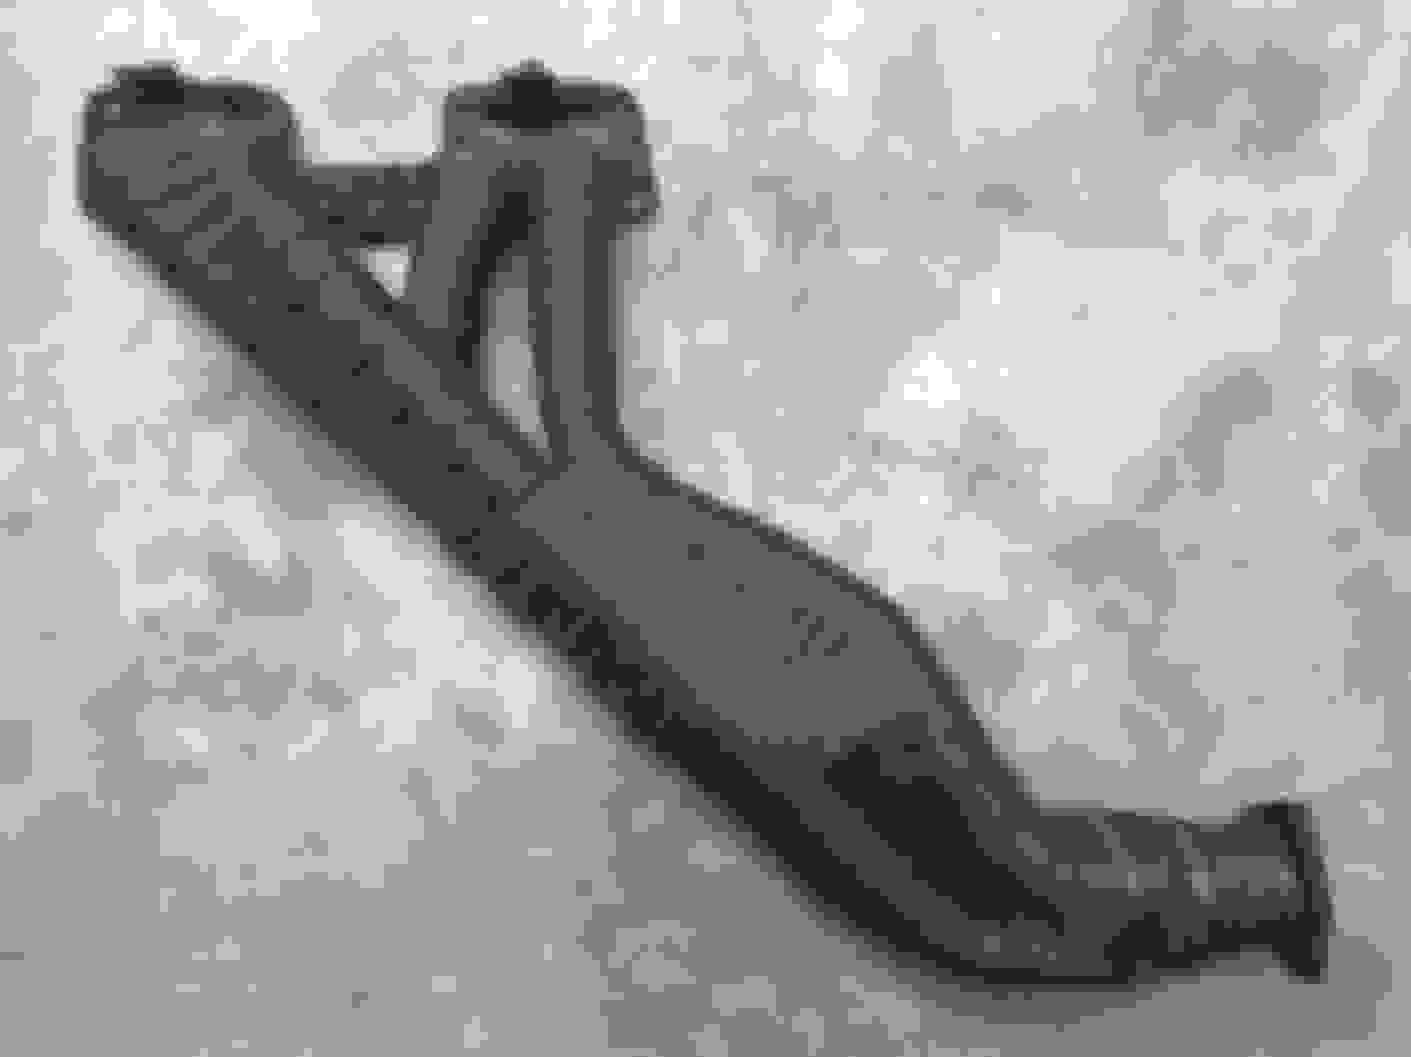
I also decided to pickup a new header. I doubt it will add any HP, but it sure looks a lot cooler compared to the OEM exhaust manifold. I also decided to wrap it to try and keep the temps down in the engine bay. Time will tell if this will be enough to not heatsoak everything, but I can always add some kind of heat shield.


 03-23-2014, 06:55 PM


 Along with a layer of grime, and oil, it was a nightmare to work on anything.