Mojave_Moze's 1987 4Runner Build-Up Thread!
 04-17-2010, 12:12 PM
#1
Registered User
Thread Starter
Join Date: Mar 2010
Location: Mojave Desert, California
Posts: 413
Likes: 0
Received 0 Likes
on
0 Posts
Mojave_Moze's 1987 4Runner Build-Up Thread!
Ok, so I've had this truck since about 2002 and its been a constant project really. It underwent one big project already, back in High School, however that was before I had a digital camera so all I have are a few prints from that build, once I get a scanner, I'll post them up
The first build was pretty much just interior dress-up, new paint, new tires, seats, and bumpers. Since then the only thing that has changed is the top has been removed and left off for good, and its had 3 or 4 different sets of tires and rims.
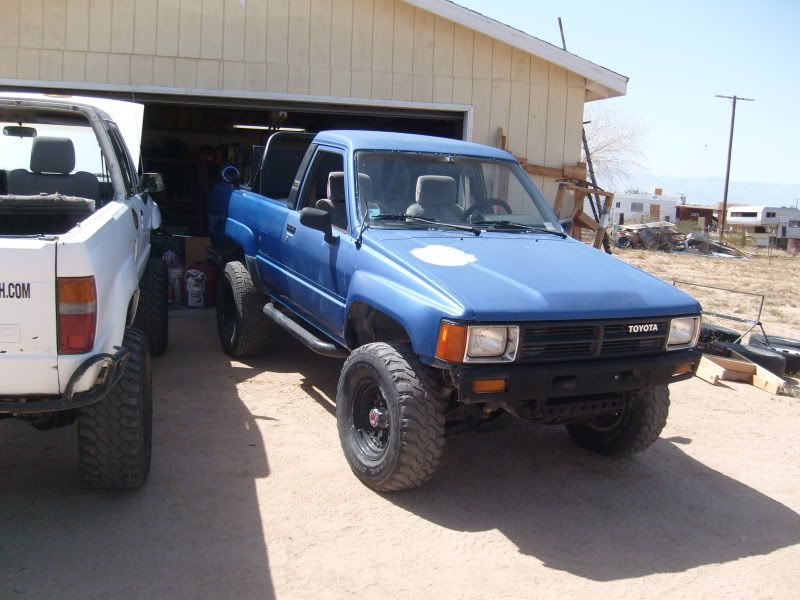
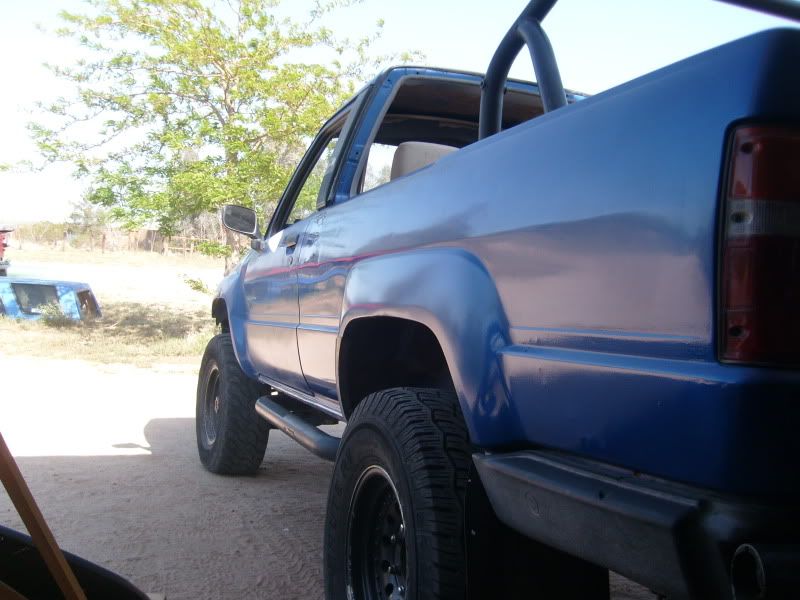
As the 4runner sits now, its on 31's, no top, the paint is faded pretty bad, nearly all ball joints and bushings are bad. it has no carpet in the cargo area, 2 inch aluminum blocks in the rear, and I removed the rear seats and the sway-bar, and have been slowly taking out other un-neccessary parts. However the 22re is running great!
Rather than spending the money to just keep it on the road, and stock, I have thus decided to tackle the massive project of turning it into the rig I've always wanted it to be!
Major upgardes will be Blazeland long travel, a 3.4 swap, a full cage and complete custom interior
Since I'm not planning on doing anything to the suspension until I have Everything I need for the Lt kit (and the rear suspension as well) And it'll be a while until I have all the parts needed for the build, I decided to start on the smaller but also much needed mods: Such as paint restoration and gear allocation
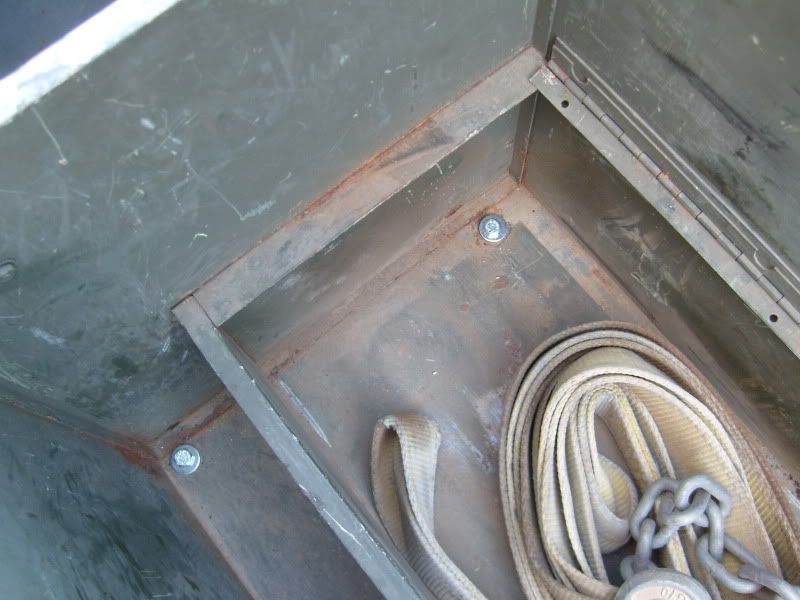
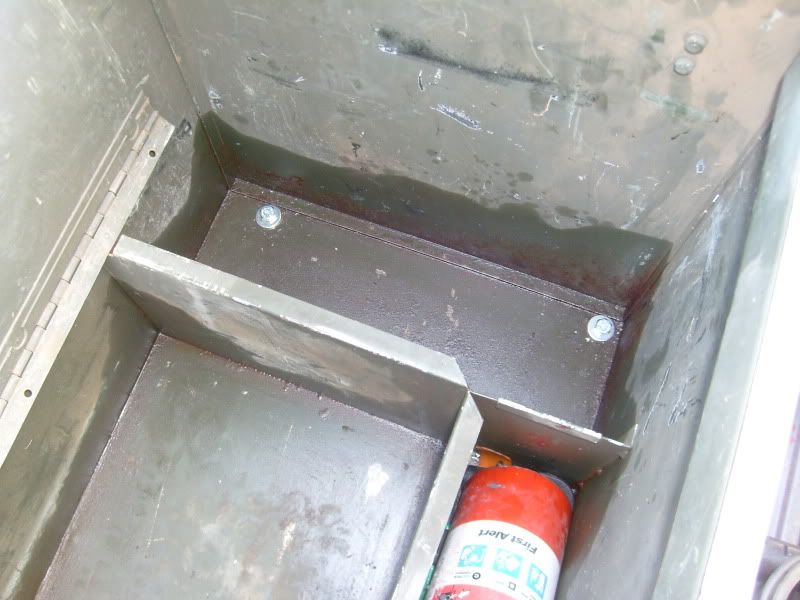
I managed to find a pretty beefy tool box that wasn't vehicle specific but managed to fit nice and snug in the rear cargo area, it also sits flush with the bed rails:

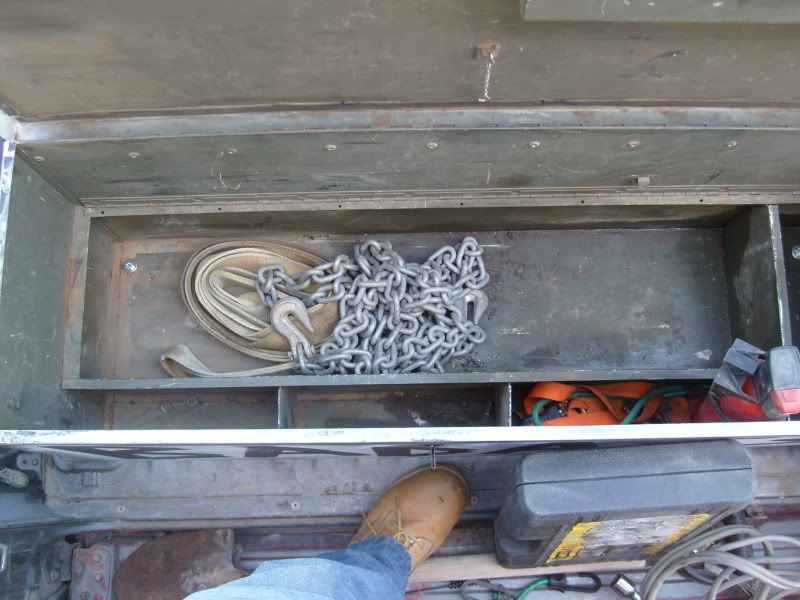
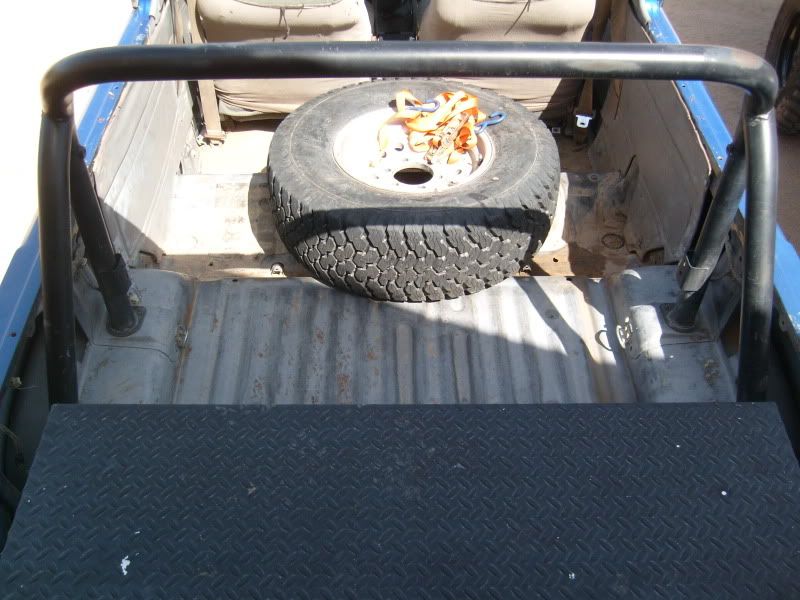
It also gave me a lot of room for future mods but getting rid of trail gear clutter:
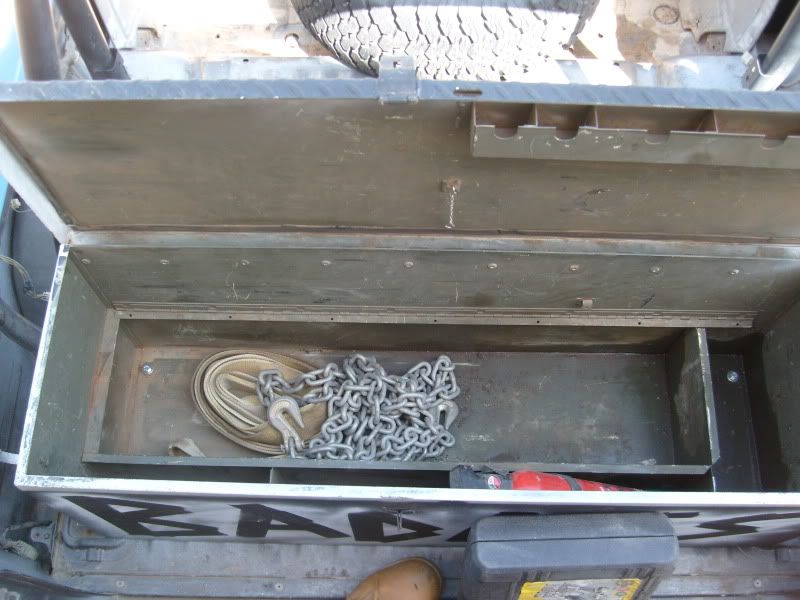
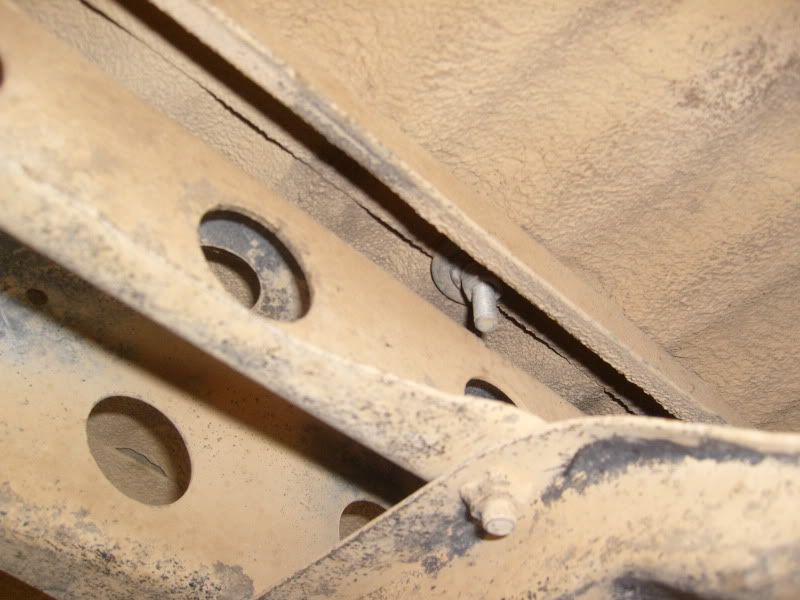
The tool box weighed about 100lbs empty, so I didn't skimp on mounting hardware: 6, 1/2inch bolts complete with washers and lock washers.
With the heavy box securely bolted down, it was time for a custom paint job as a finishing touch! (Moderators: I apologize in advance!)
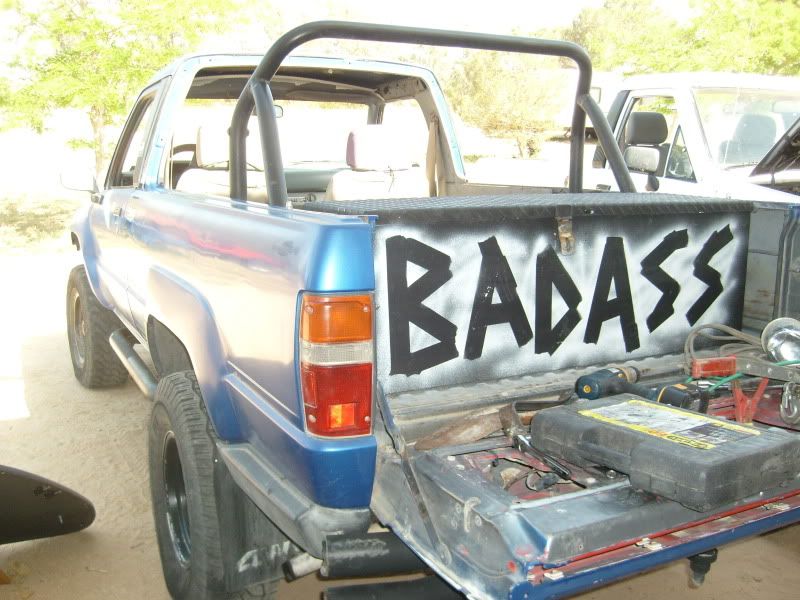
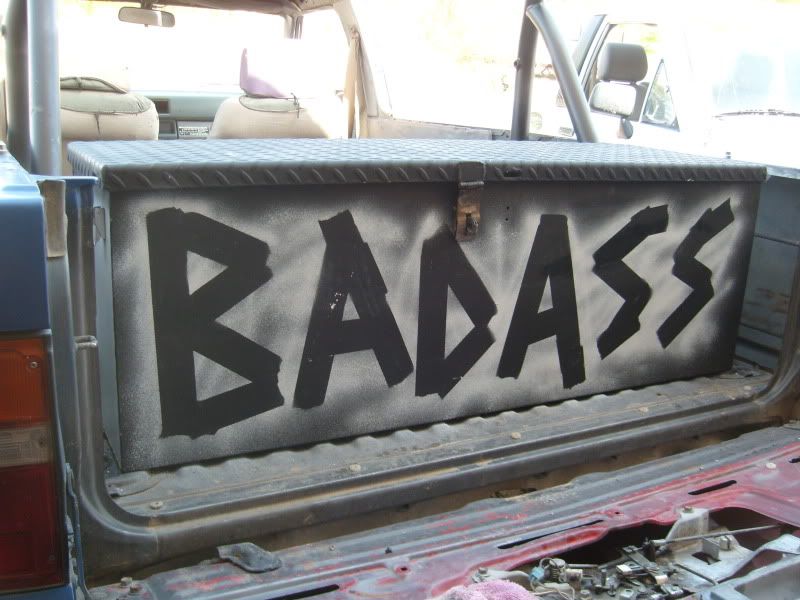
I originally used camo duct-tape, but it started coming off so I re-stuck it and went over it all with flat white krylon, removed the tape, and Poofo!
The first build was pretty much just interior dress-up, new paint, new tires, seats, and bumpers. Since then the only thing that has changed is the top has been removed and left off for good, and its had 3 or 4 different sets of tires and rims.
As the 4runner sits now, its on 31's, no top, the paint is faded pretty bad, nearly all ball joints and bushings are bad. it has no carpet in the cargo area, 2 inch aluminum blocks in the rear, and I removed the rear seats and the sway-bar, and have been slowly taking out other un-neccessary parts. However the 22re is running great!
Rather than spending the money to just keep it on the road, and stock, I have thus decided to tackle the massive project of turning it into the rig I've always wanted it to be!
Major upgardes will be Blazeland long travel, a 3.4 swap, a full cage and complete custom interior
Since I'm not planning on doing anything to the suspension until I have Everything I need for the Lt kit (and the rear suspension as well) And it'll be a while until I have all the parts needed for the build, I decided to start on the smaller but also much needed mods: Such as paint restoration and gear allocation
I managed to find a pretty beefy tool box that wasn't vehicle specific but managed to fit nice and snug in the rear cargo area, it also sits flush with the bed rails:
It also gave me a lot of room for future mods but getting rid of trail gear clutter:
The tool box weighed about 100lbs empty, so I didn't skimp on mounting hardware: 6, 1/2inch bolts complete with washers and lock washers.
With the heavy box securely bolted down, it was time for a custom paint job as a finishing touch! (Moderators: I apologize in advance!)
I originally used camo duct-tape, but it started coming off so I re-stuck it and went over it all with flat white krylon, removed the tape, and Poofo!
 04-17-2010, 12:21 PM
#2
Registered User
Thread Starter
Join Date: Mar 2010
Location: Mojave Desert, California
Posts: 413
Likes: 0
Received 0 Likes
on
0 Posts
The next small project I'm working on, again while waiting for parts, is paint restoration. To help save my arms a little, I went out and bought the Power-ball for paint, as well as turtle wax rubbing compound and polishing compound.
I start out with a couple applications of the rubbing compound: Not sure if you'll be able to see the difference in the pics but its definately a big difference in person:
These pics only show the rubbing compound outcome, later tonight or tomorrow I'm gonna finish going over the whole truck with the rubbing compound and hopefully get the rear panels finished with the polish compound.
04-17-2010, 09:23 PM
#3
Registered User
Thread Starter
Join Date: Mar 2010
Location: Mojave Desert, California
Posts: 413
Likes: 0
Received 0 Likes
on
0 Posts
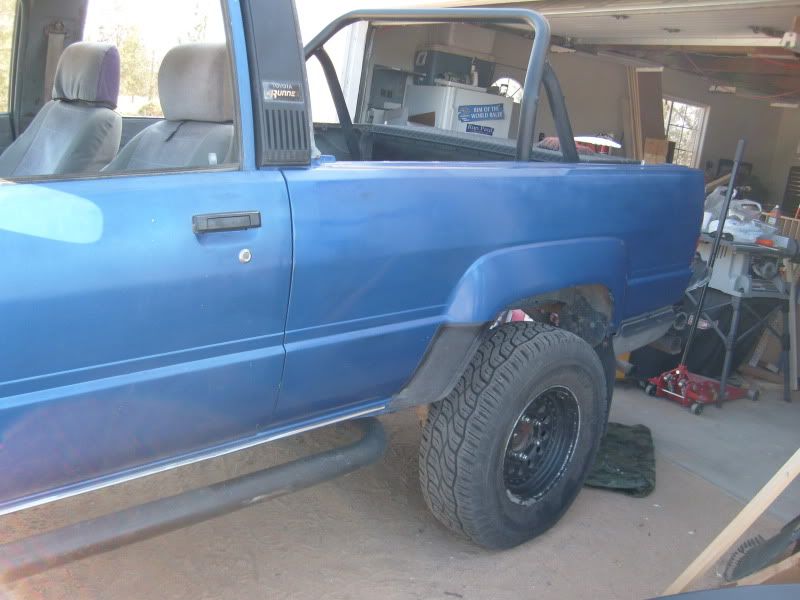
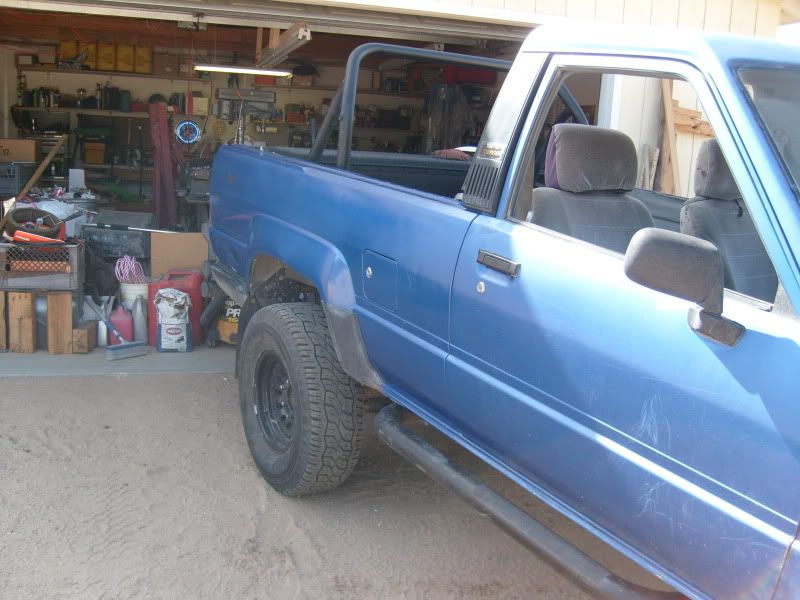
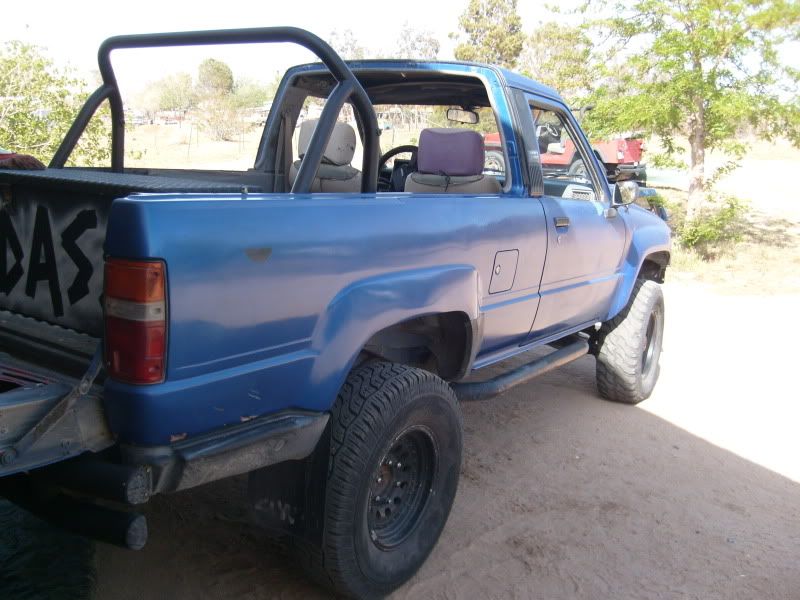
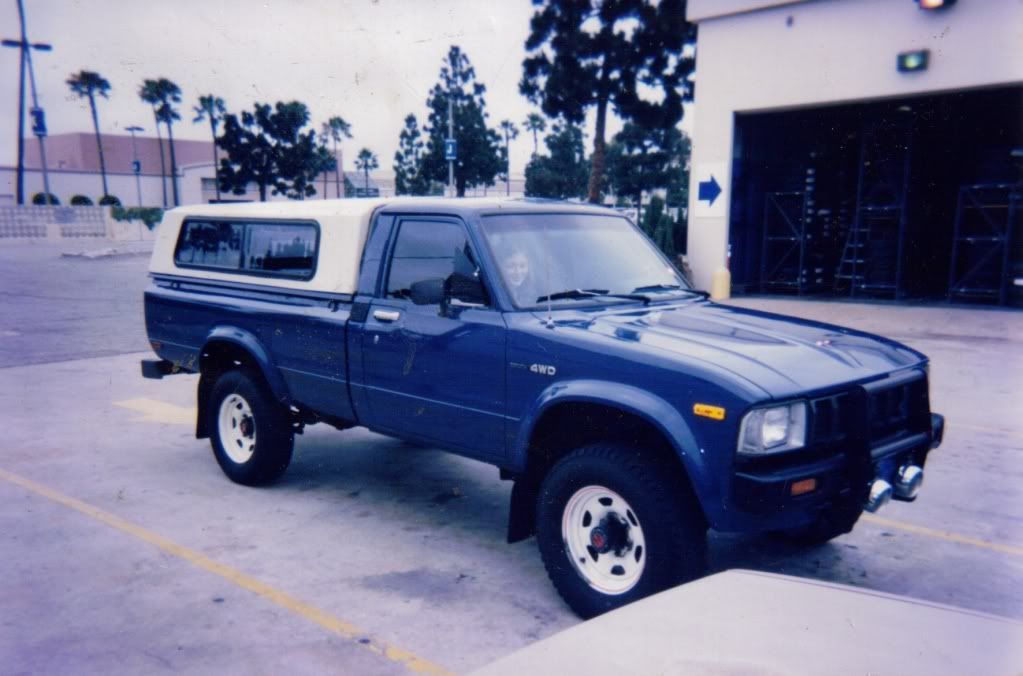
To give a quick example of what this truck looked like fresh out of the paint booth originally:
and, another angle:
and, another angle:
Last edited by Mojave_Moze; 04-17-2010 at 09:55 PM.
04-20-2010, 10:09 PM
#4
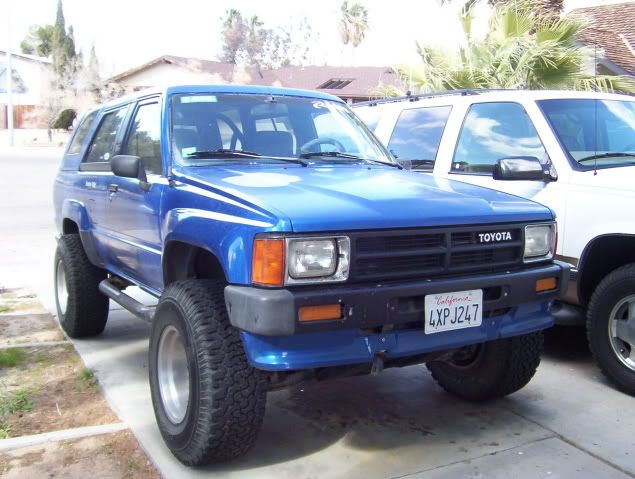
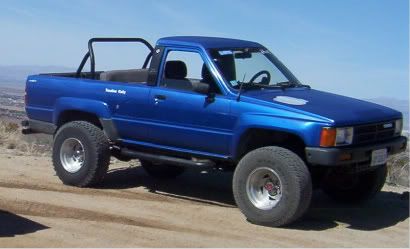
Like that color. I had a 83 w/EFI that had that Flat-Cobalt Blue and another 86 shorty 4x4, 4'' lift and 33's with the same flat purplish blue. Yours is more of a straight metallic blue, eh? Dang, pretty nice and simple man. Like it.
It almost looks lifted here....just shocks, eh? Mine is sagging a bit in the rear, ......well, as soon as I put any weight in it, you know?
I love my truck, and it's time to BUILD HER UP A LIL, as I can afford it(Having a bit of a family crisis at the moment, soooo).
Here's mine.....without the top and with, see what you think on the rear end....
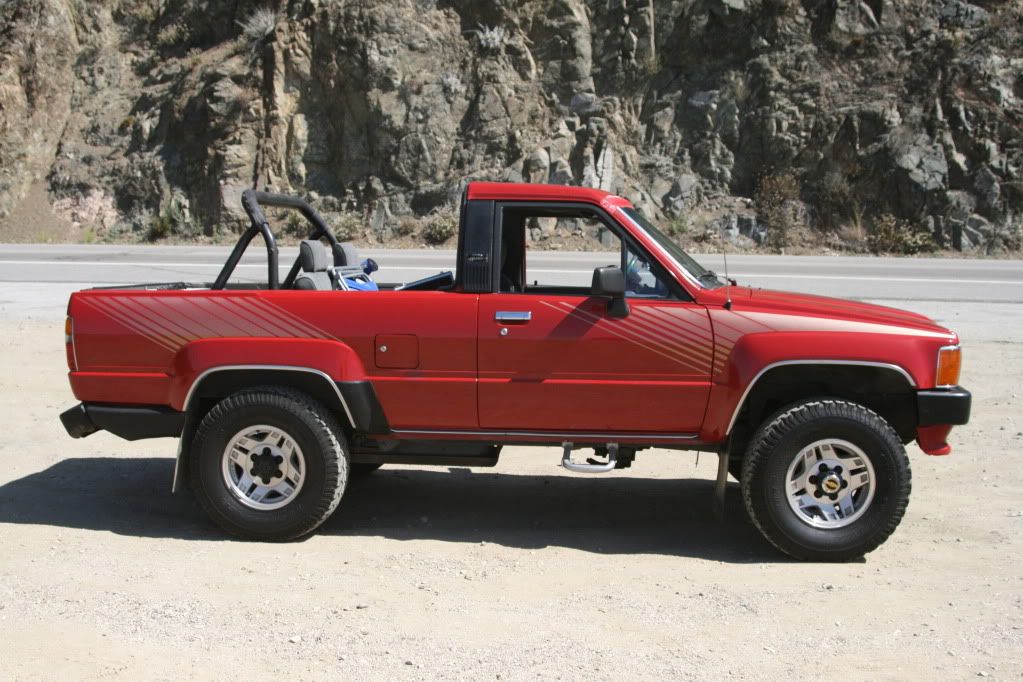
Right after taking out tons of weight, but still, you can see it's not 'SPRINGING BACK' LOL

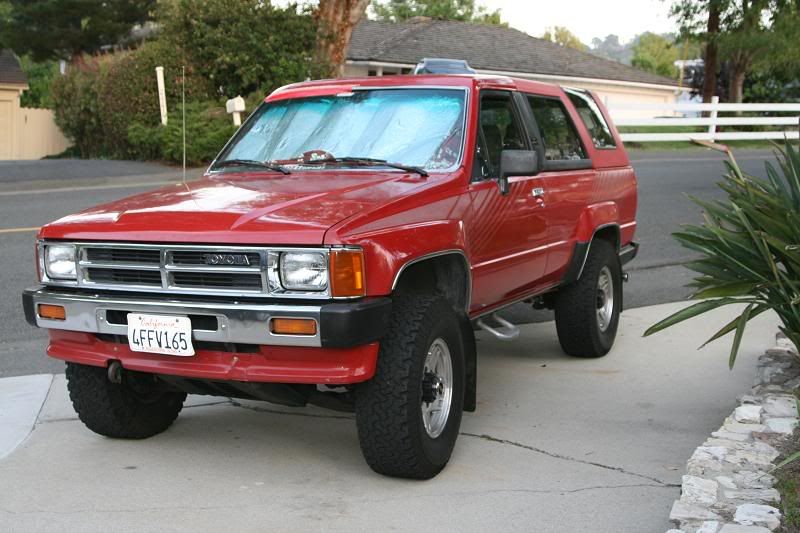
my last one.....
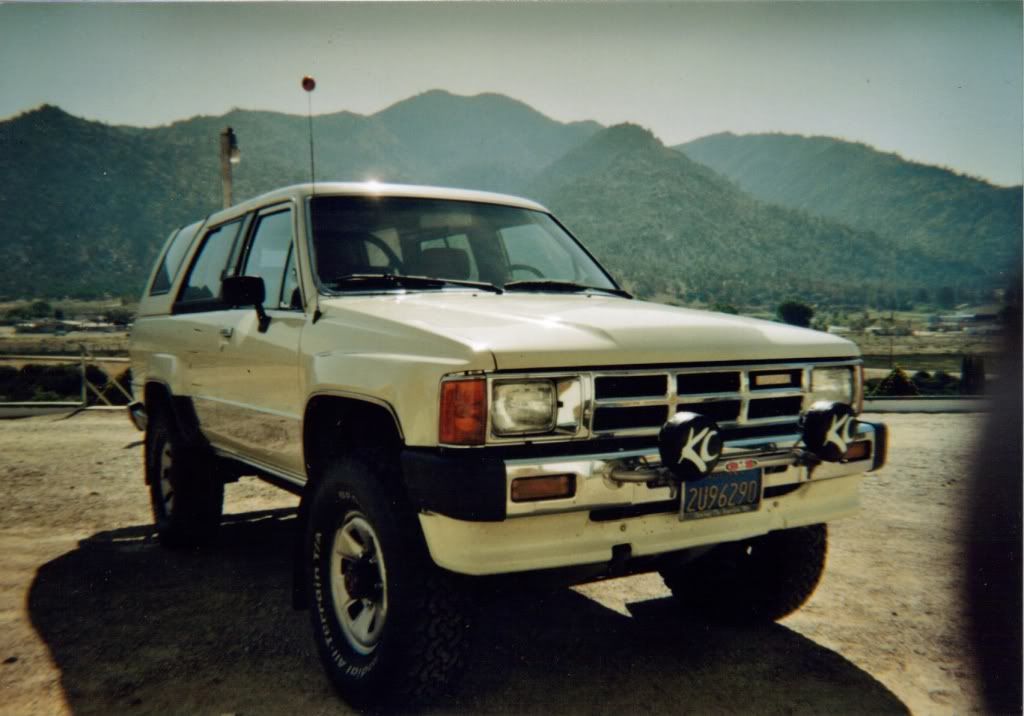
And, the blue one I was telling you about......
I'll get some more pics of the new one on level ground, ...can't see it properly in these.
It almost looks lifted here....just shocks, eh? Mine is sagging a bit in the rear, ......well, as soon as I put any weight in it, you know?
I love my truck, and it's time to BUILD HER UP A LIL, as I can afford it(Having a bit of a family crisis at the moment, soooo).
Here's mine.....without the top and with, see what you think on the rear end....
Right after taking out tons of weight, but still, you can see it's not 'SPRINGING BACK' LOL
my last one.....
And, the blue one I was telling you about......
I'll get some more pics of the new one on level ground, ...can't see it properly in these.
04-20-2010, 10:24 PM
#5
Registered User
Hey Moze, put up a pic of where you pulled behind Cam while he was backing up. Just to give you an idea, Cam's truck is a 90 Bronco 2, dovetailed, narrowed nose, lifted, locked, 35's exo-cage rear, internal cab cage, massive truck, under the knife right now receiving full widths. It was a little tap, but the tap made the fender and hood one. And right after the rubbing compound too, lmao.
04-21-2010, 07:32 PM
#6
Registered User
Thread Starter
Join Date: Mar 2010
Location: Mojave Desert, California
Posts: 413
Likes: 0
Received 0 Likes
on
0 Posts
Mine used to look like your red 4runner in the rear too. When I got it, the thing still had factory springs that were just worn out. And yes, its got a 2" block lift in the rear, plus I replaced the tired springs. Since then however, the new(er) springs are already getting worn out again. The Zuk coils I'm getting (14" springs with 125lbs per inch capacity) Will not only eliminate the blocks, but still give me an additional inch or two of lift, I'll also be adding 5inch greaseable shackles from Trail Gear so that the truck can clear 33's easily.
For now I'm gonna be running 32's until I tackle the drivetrain upgrade.
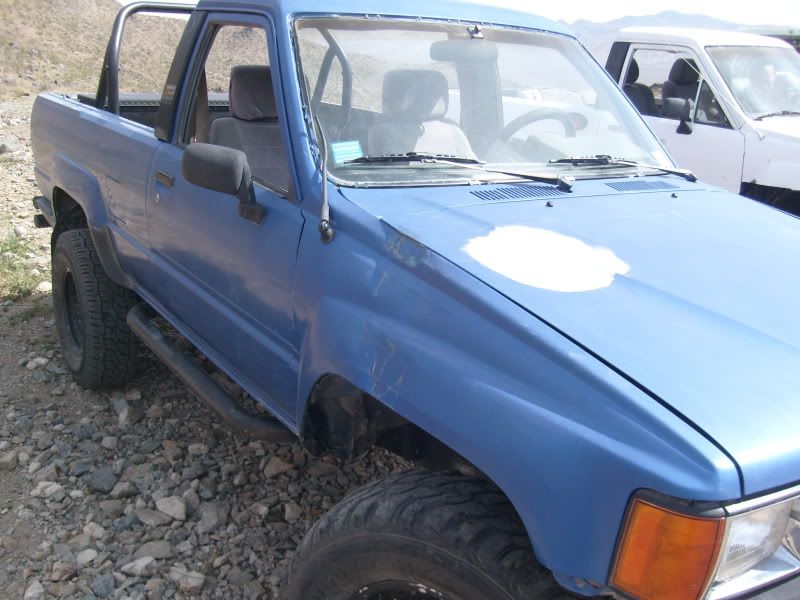
And just for sean, heres a pic of my recently K.I.A. fender:
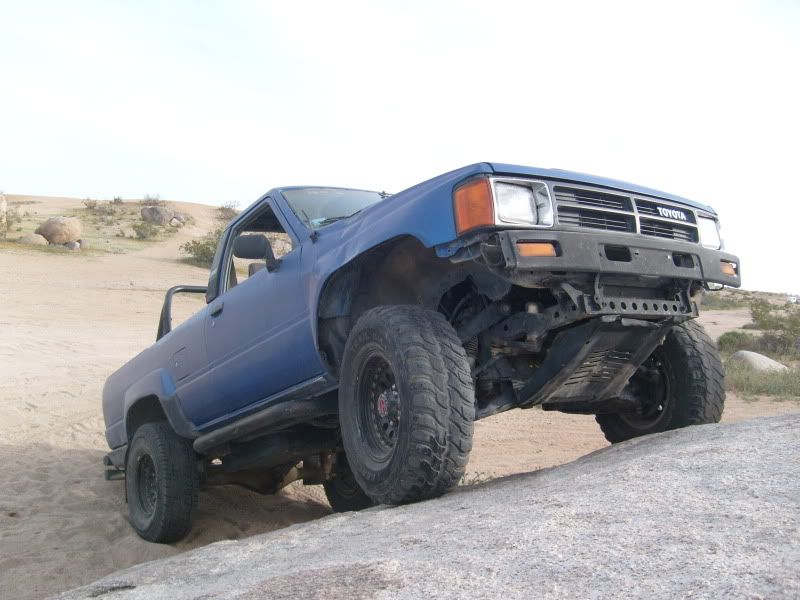
aaaand, random action shot: those stock control arms are not long for this world, LOL
For now I'm gonna be running 32's until I tackle the drivetrain upgrade.
And just for sean, heres a pic of my recently K.I.A. fender:
aaaand, random action shot: those stock control arms are not long for this world, LOL
Last edited by Mojave_Moze; 04-21-2010 at 07:36 PM.
Trending Topics
04-21-2010, 08:16 PM
#8
Registered User
Thread Starter
Join Date: Mar 2010
Location: Mojave Desert, California
Posts: 413
Likes: 0
Received 0 Likes
on
0 Posts
Thanks man! I'm currently trying to sell a bunch of junk I have just laying around (including a motorcycle) to help fund the build, so hopefully we won't have to wait till the end of summer for parts! lol
04-22-2010, 04:40 AM
#9
Registered User
I hear you there, I spent most of my original budget on my engine & now my build is slowing down. I am hoping to be able to buy some suspension parts this summer. In the mean time I have tons of little things I can work on that don't cost alot.
04-23-2010, 01:17 PM
#10
So, what exactly are you doing to the rear? I'm really tired of punishing my kidneys, lol....plus, I'm sure it'll eventually do damage. What springs could I get and blocks to bring her up? Or, coils are better for this?? Really haven't messed with it. My buddy gave me his Rancho 5000's when he totaled his truck, not sure how great they are on life expectancy, but anyway....my leaf's are almost flat, lol. So, what is a good way to do the front and back without spending 1200 on a Superlift or something? I'd like to be able to pull my oil pan without dropping things, too, lol.
Thanks, looking forward to your progress, man!
Thanks, looking forward to your progress, man!
04-24-2010, 02:02 AM
#11
Registered User
Thread Starter
Join Date: Mar 2010
Location: Mojave Desert, California
Posts: 413
Likes: 0
Received 0 Likes
on
0 Posts
Look up Zuk coils in the search bar here on yotatech, or just go to www.gearinstalls.com, the links to the zuk coil installs are at the bottom of the page. Thats the option I'm going with, 14" coils and 5inch shackles. In doing so it'll eliminate my current 2" blocks in the rear AND take my stock leafs off the overloads.
Also, I may have found a buyer for a bunch of airsoft stuff so I'll be able to get most of the major parts needed in a little more than a month...
Also, I may have found a buyer for a bunch of airsoft stuff so I'll be able to get most of the major parts needed in a little more than a month...
04-25-2010, 07:17 PM
#12
Registered User

Still thinking 3.4, huh? It's a bit more work than I had to put in on my Runner. You'll have to move motor mounts on the frame, maybe relocate trans crossmember to run an R150 trans...I'll help you with the lifting and bolting, but you don't want my wiring skills to touch that project.
04-25-2010, 07:31 PM
#13
Registered User
Thread Starter
Join Date: Mar 2010
Location: Mojave Desert, California
Posts: 413
Likes: 0
Received 0 Likes
on
0 Posts
Heck, your skills are probably better than mine, although I AM good at stereo and speaker wiring, but thats a different story.
And I suppose the fact that when I actually do the engine swap, I'm gonna go the extra mile and do a custom dash with all autometer gages, isn't gonna help my wiring nightmare any...
On a side note, I've ordered the rear coils for my truck, soon as we figure out a payment option...they'll be on the way. Then all I gotta do is get longer shocks and then we'll get started on that project pretty soon with any luck.
04-27-2010, 02:46 PM
#14
Registered User
Thread Starter
Join Date: Mar 2010
Location: Mojave Desert, California
Posts: 413
Likes: 0
Received 0 Likes
on
0 Posts
The coils are on the way! (14", 125lbs per inch rating) They'll get here next weekend and if I can get the rear shocks in time, we should be installing everything for the rear suspension in a couple weeks, I decided not to add 5" shackles until I get the coils in and see how it all sits, flexes, and rides.
05-02-2010, 01:17 PM
#15
Registered User
Have you thought of one of these before you spend all that money on a motor swap...
http://www.tornadofuel-saver.com/?gc...FZRe2god8hzn_A
http://www.tornadofuel-saver.com/?gc...FZRe2god8hzn_A
05-02-2010, 02:45 PM
#16
Registered User
Or maybe one of these.
http://cgi.ebay.com/ebaymotors/REAL-...Q5fAccessories
http://cgi.ebay.com/ebaymotors/REAL-...Q5fAccessories


