EpcoFabrication's 1999 4Runner Build-Up Thread
 01-12-2010, 06:32 PM
#1
Registered User
Thread Starter
Join Date: Jan 2010
Location: Renton WA
Posts: 95
Likes: 0
Received 0 Likes
on
0 Posts
EpcoFabrication's 1999 4Runner Build-Up Thread
Just found this site and have been amazed at the amount of information here.. Thanks for having a very good Toyota forum..
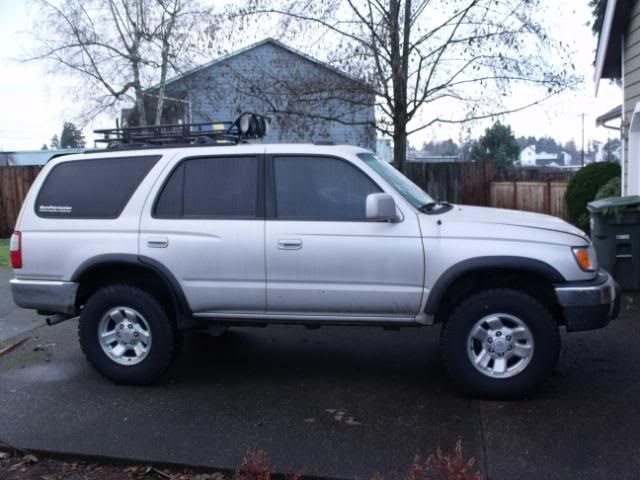
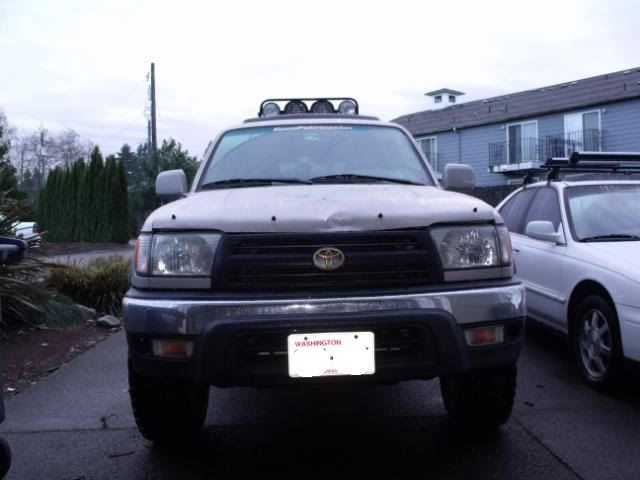
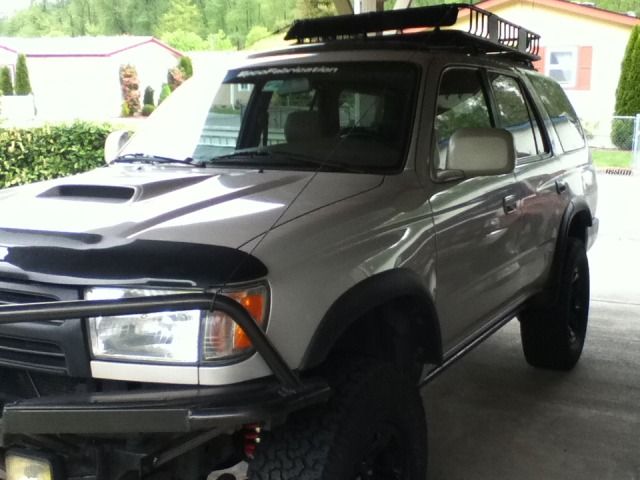
Here is my 4runner,
Bought it in 07 with 102,000k
Mods:
-Silencer removal: went to Specialty Metals and asked for 2.5 ID 2.75 OD DOM and they cut me a piece for $4.50. My local muffler shops were worthless.
-Turn signal moved to corner lights, used a pair of Honda corner light sockets and used two 18W 12 volt outdoor lamp wedge bulbs to keep it from blinking so fast.
-Custom front bumper
-BFG A/T KO's 265/75R16
-1999 Sport hood with scoop installed
-Custom roof rack with integrated light bar
To come
-Square Sliders
-Rear carrier bumper
-Rear storage organizer
-Suspension lift of some sort, Leaning towards a Total Chaos kit
-Paint the rims black
 01-21-2010, 05:00 PM
#2
Registered User
Thread Starter
Join Date: Jan 2010
Location: Renton WA
Posts: 95
Likes: 0
Received 0 Likes
on
0 Posts
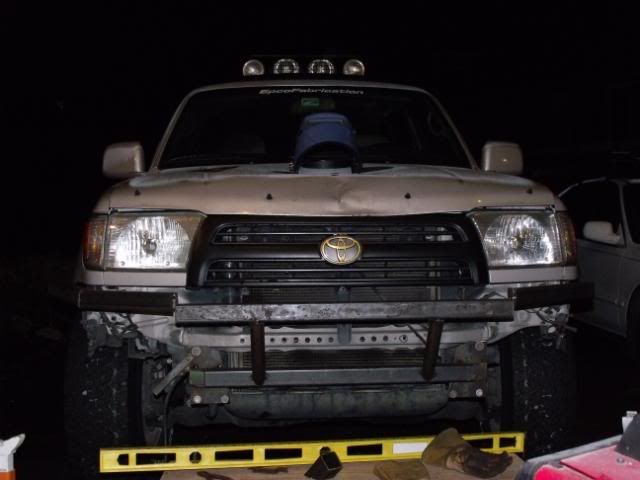
Front bumper build..
After the wife hit a deer it was time for the new bumper. Here is the photos of the front bumper build.. Decided to keep it bolt on and incorporate a winch mount and tube frame.
Side view
Front
Mount
Lower support
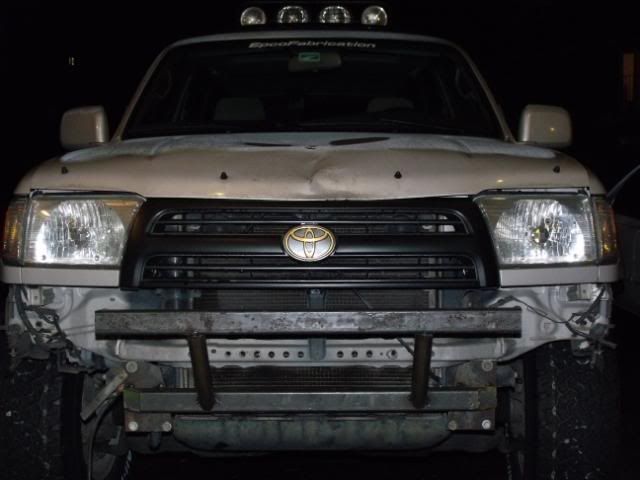
Finished without the tube grille guard
Grille guard
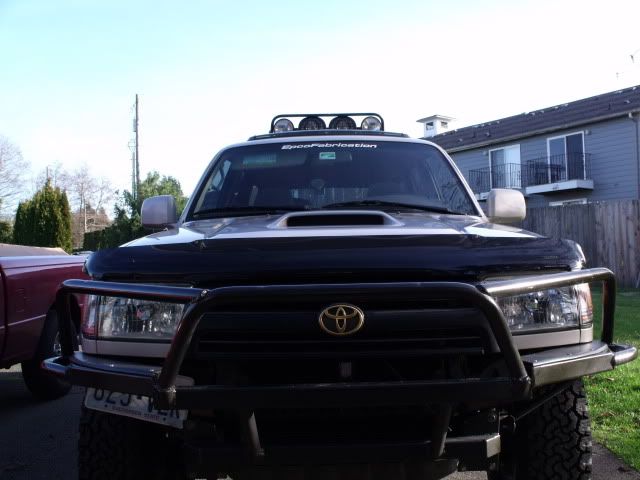

Need to finish the plating work..
Side view
Front
Mount
Lower support
Finished without the tube grille guard
Grille guard
Need to finish the plating work..
01-29-2010, 09:47 AM
#4
Registered User
 01-29-2010, 05:55 PM
#5
Registered User
Thread Starter
Join Date: Jan 2010
Location: Renton WA
Posts: 95
Likes: 0
Received 0 Likes
on
0 Posts
Thanks guys, I've started on my sliders last week but ran out of tube and Argon but next week is payday so we'll see how much I have left over.. I'm debating to plate the bumper in diamond plate and paint it black or just go with .120 sheeting..
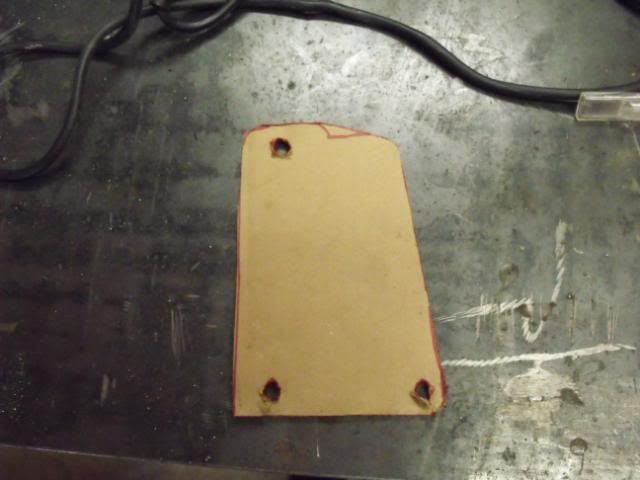
Cody, I use the the top plastic off of the stock bumper to use as temp plates on the sides of the bumper..
Cody, I use the the top plastic off of the stock bumper to use as temp plates on the sides of the bumper..
03-18-2010, 04:43 PM
#6
Registered User
Thread Starter
Join Date: Jan 2010
Location: Renton WA
Posts: 95
Likes: 0
Received 0 Likes
on
0 Posts
Started working on a trailer hitch tire/jerry can holder this week. I took some of my ideas from Tiregate's hitch gate, but mine will swing out to the driver side and be able to hold two jerry cans and be closer to the body lines then the hitch gate


Trending Topics
 07-31-2010, 05:20 PM
#11
Registered User
Thread Starter
Join Date: Jan 2010
Location: Renton WA
Posts: 95
Likes: 0
Received 0 Likes
on
0 Posts
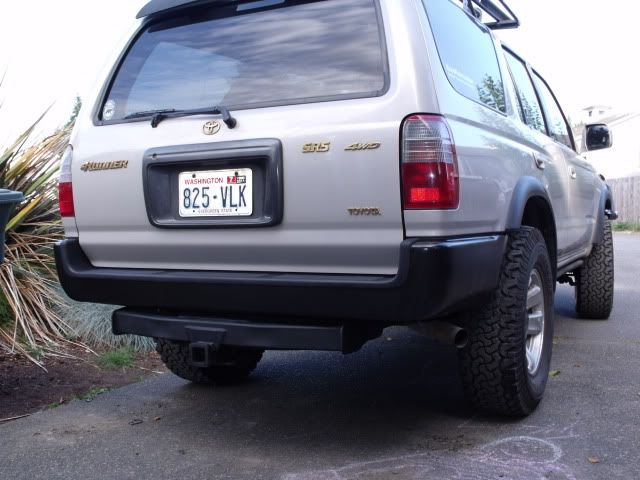
No more chrome on me. Removed and cleaned the rear of the runner and painted the rear bumper.
Last edited by Epcofabrication; 07-31-2010 at 05:21 PM.
01-01-2011, 08:54 PM
#12
Registered User
Thread Starter
Join Date: Jan 2010
Location: Renton WA
Posts: 95
Likes: 0
Received 0 Likes
on
0 Posts
Installed a new transmission cooler on to day.
Napa part number ATP17509
Only needed a brass 90 degree and a line to line connector, uses the stock lines with the new line that came with the kit.
Napa part number ATP17509
Only needed a brass 90 degree and a line to line connector, uses the stock lines with the new line that came with the kit.
03-29-2012, 10:47 AM
#14
Registered User
Thread Starter
Join Date: Jan 2010
Location: Renton WA
Posts: 95
Likes: 0
Received 0 Likes
on
0 Posts
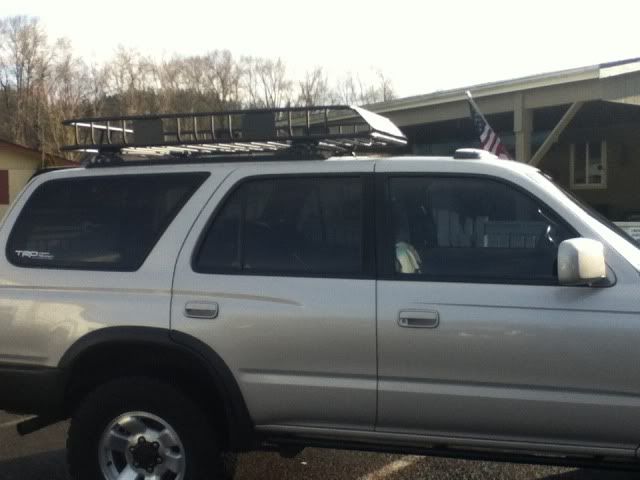
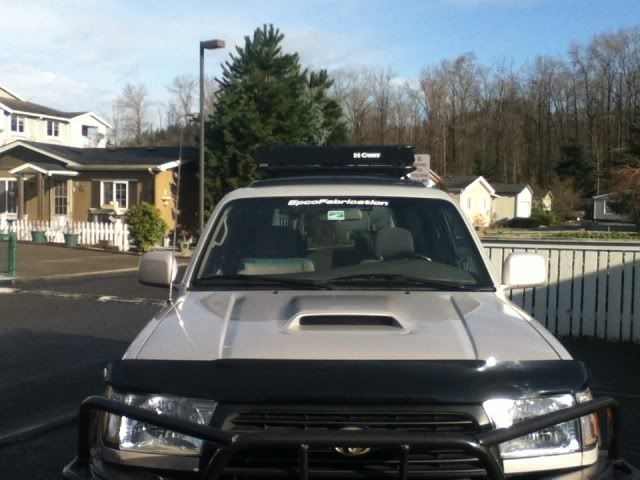
New roof rack
I've been in the market for a new roof rack system since I sold off the one I made a few years back. I've looked at the mega warrior for Yakima and Thule and couldn't pull the trigger on a $400 system and another $100 for the attachments to fit my 99 4runner.
I just purchased a Curt roof rack system and extension from amazon.com and had it out of the box and together in about an hour. it was very well manufactured and 95% of the holes matched up perfectly. The other 5% needed a little force but the bolts did go in and every thing lined up properly.
The mounting system is somewhat universal and can be used on round and square tubes.
I did need to reverse the forward cross bar to add the extra support for the front of the rack.
It measures 62"x37"x4" with extension installed and 41.5"x37"x4" with out
Overall for around $210 for the rack and extension I felt it was a good buy and would recommend it.
Here are the amazon.com links
Rack: http://www.amazon.com/Curt-18115-Roo...2952248&sr=8-3
Extension: http://www.amazon.com/Curt-18117-Mou...gy_auto_text_b
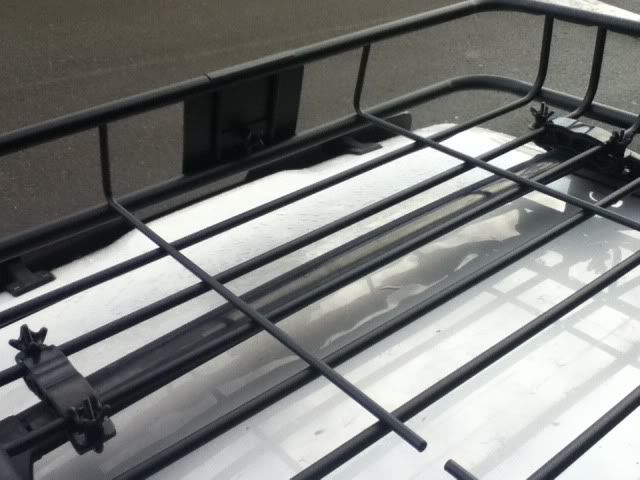
Side view
Front view
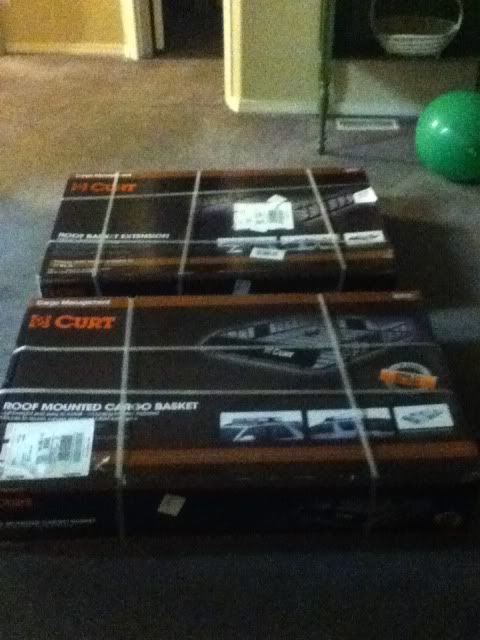
Packaging
Mounts
__________________
I just purchased a Curt roof rack system and extension from amazon.com and had it out of the box and together in about an hour. it was very well manufactured and 95% of the holes matched up perfectly. The other 5% needed a little force but the bolts did go in and every thing lined up properly.
The mounting system is somewhat universal and can be used on round and square tubes.
I did need to reverse the forward cross bar to add the extra support for the front of the rack.
It measures 62"x37"x4" with extension installed and 41.5"x37"x4" with out
Overall for around $210 for the rack and extension I felt it was a good buy and would recommend it.
Here are the amazon.com links
Rack: http://www.amazon.com/Curt-18115-Roo...2952248&sr=8-3
Extension: http://www.amazon.com/Curt-18117-Mou...gy_auto_text_b
Side view
Front view
Packaging
Mounts
__________________
03-29-2012, 11:04 AM
#15
Registered User
Thread Starter
Join Date: Jan 2010
Location: Renton WA
Posts: 95
Likes: 0
Received 0 Likes
on
0 Posts
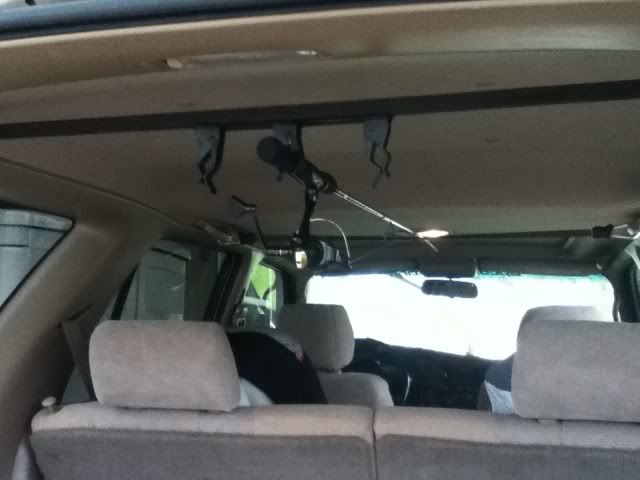
Fishing pole holder
I saw this idea in my buddy's 4runner and made one for myself. It is just a 40" piece of 3/4"x3/4" fir, some bent aluminum and an old wall broom holder that I cut to make shorter. I think it turned out pretty good. I might use a second bungee cord across the handles to keep the tip more secure.
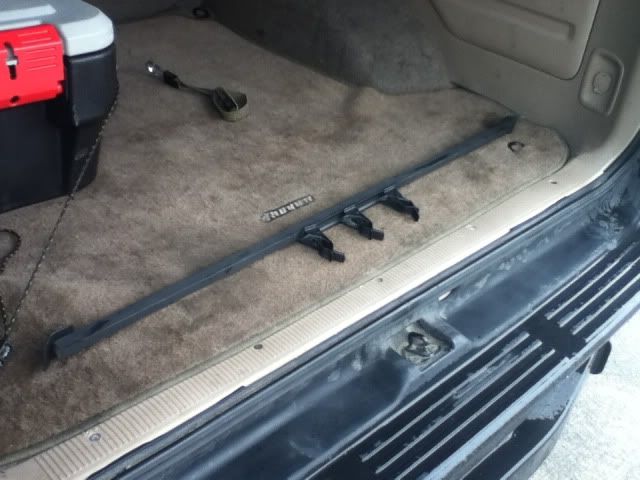
Installed
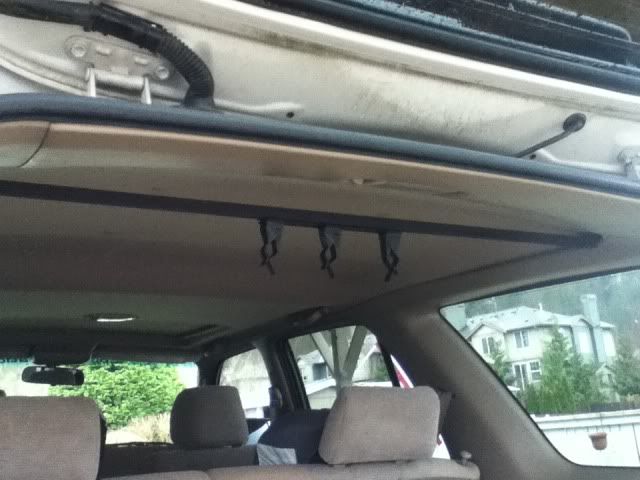
Set up for three poles
Installed
Set up for three poles
04-22-2012, 12:15 PM
#17
Registered User
Thread Starter
Join Date: Jan 2010
Location: Renton WA
Posts: 95
Likes: 0
Received 0 Likes
on
0 Posts
Just received my lift for the Runner in the mail on Thursday. Thanks for the great deal on the brake lines, WheelersOffroad for the rear 906, the nitro sports and the swaybar bushings and Toytec for the coil-overs. Hope to install them this upcoming weekend. 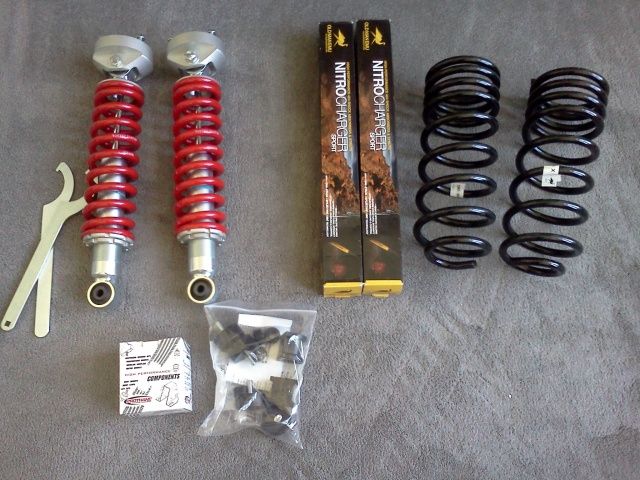
Last edited by rworegon; 08-18-2014 at 04:35 PM.
04-22-2012, 12:16 PM
#18
Registered User
Thread Starter
Join Date: Jan 2010
Location: Renton WA
Posts: 95
Likes: 0
Received 0 Likes
on
0 Posts
04-22-2012, 10:49 PM
#19
Registered User
Thread Starter
Join Date: Jan 2010
Location: Renton WA
Posts: 95
Likes: 0
Received 0 Likes
on
0 Posts
More Black
Last weekend rotated the tires and decided to paint them gloss black and remove the gold badges. I kept the Toyota symbol in the rear but painted it black as well.
04-29-2012, 09:00 AM
#20
Registered User
Thread Starter
Join Date: Jan 2010
Location: Renton WA
Posts: 95
Likes: 0
Received 0 Likes
on
0 Posts
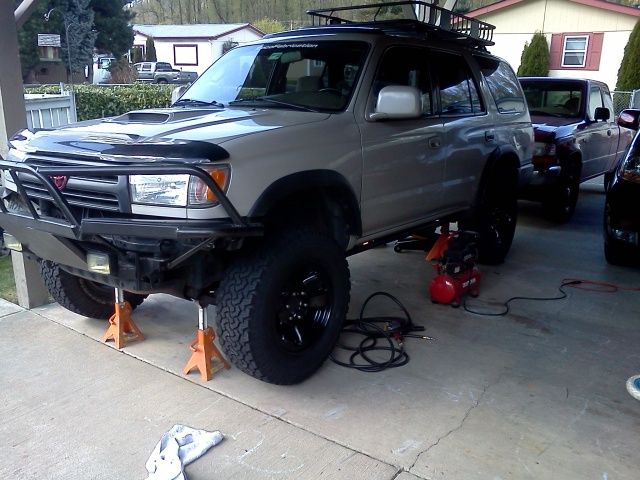
Lift installed
I was able to delicate a Saturday to the 4runner and got the suspension installed.
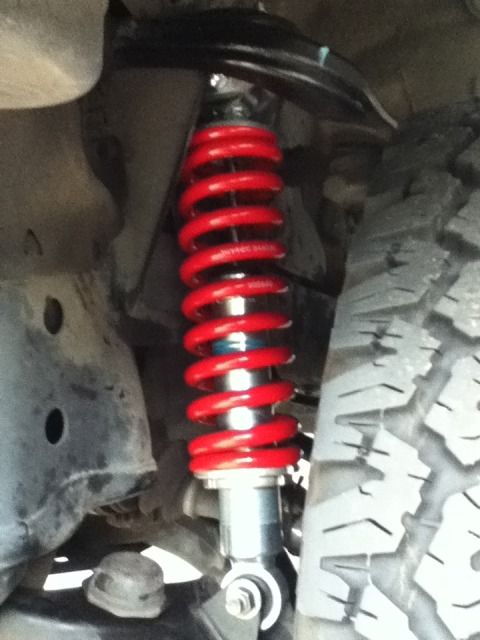
The front coils were installed in about an hour and a half
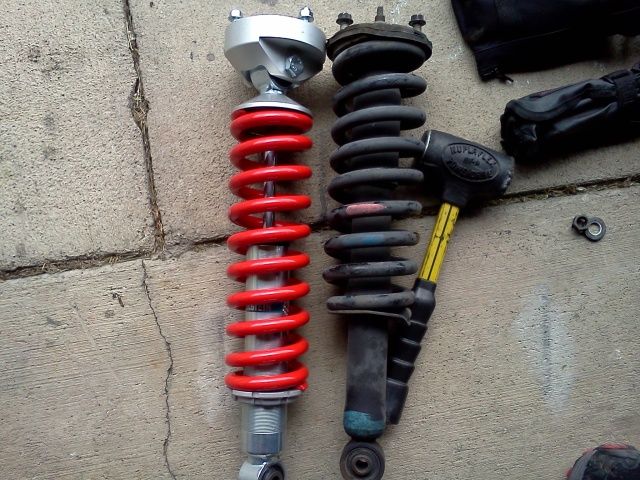
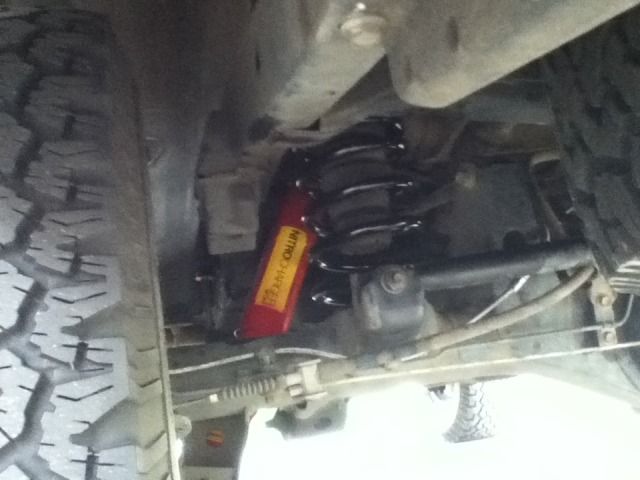
but the rear took me the better part of 6 hours. I had trouble getting the upper shock nuts off I ended up destroying the driver side stock shock but got it out and passengers side came out easier.
I'm not a fan of the OME yellow so I painted the shocks to match the front coils.
After driving it around. There is a huge difference in the ride. It's a 100% better than the worn out stock suspension. The ome Nitro sport shocks are not to stiff or soft.
I'm really impressed with the handling now after the lift was installed.
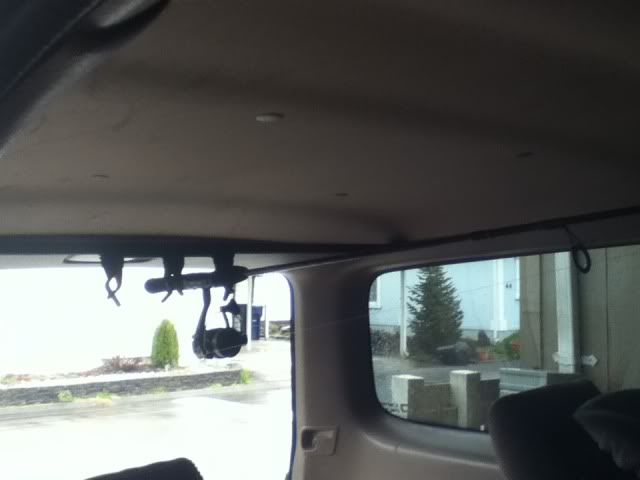
While I was on a roll I made some limb raisers and installed them at the same time.
The front coils were installed in about an hour and a half
but the rear took me the better part of 6 hours. I had trouble getting the upper shock nuts off I ended up destroying the driver side stock shock but got it out and passengers side came out easier.
I'm not a fan of the OME yellow so I painted the shocks to match the front coils.
After driving it around. There is a huge difference in the ride. It's a 100% better than the worn out stock suspension. The ome Nitro sport shocks are not to stiff or soft.
I'm really impressed with the handling now after the lift was installed.
While I was on a roll I made some limb raisers and installed them at the same time.

Thread
Thread Starter
Forum
Replies
Last Post
RedRunner_87
95.5-2004 Tacomas & 96-2002 4Runners (Build-Up Section)
84
06-01-2021 01:51 PM
crashburnoveride
86-95 Trucks & 4Runners
1
07-10-2015 06:39 AM


