1989 LSX/SAS Pickup
 03-21-2016, 06:34 PM
#1
Registered User
Thread Starter
Join Date: Nov 2008
Posts: 20
Likes: 0
Received 0 Likes
on
0 Posts
1989 LSX/SAS Pickup
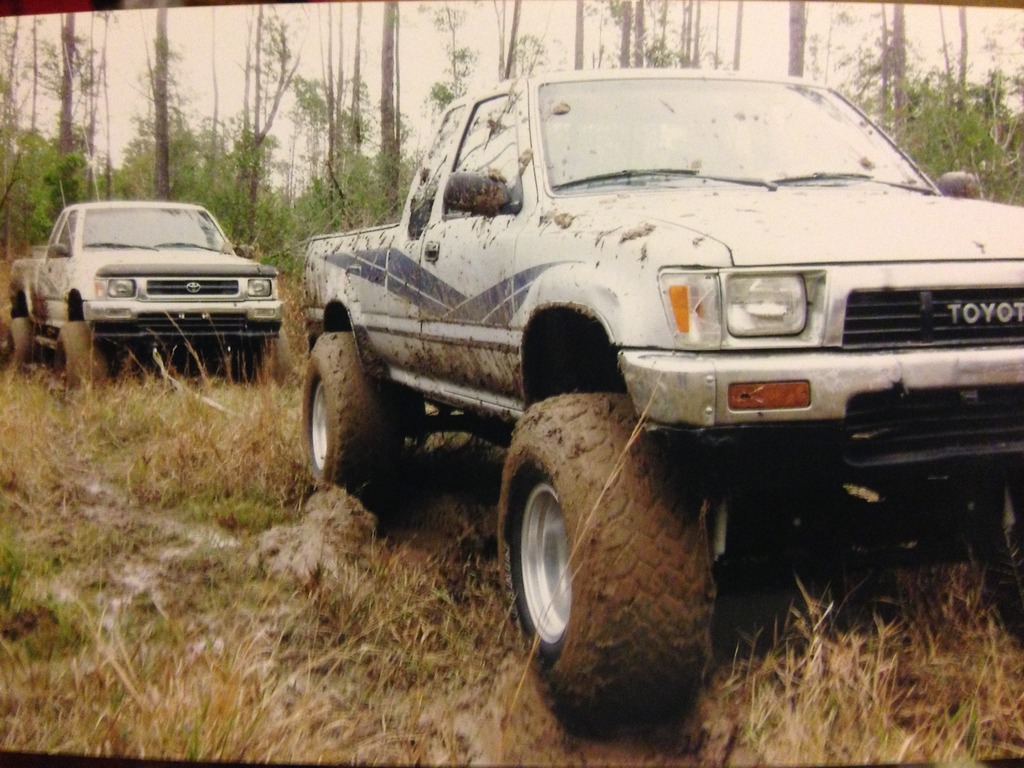
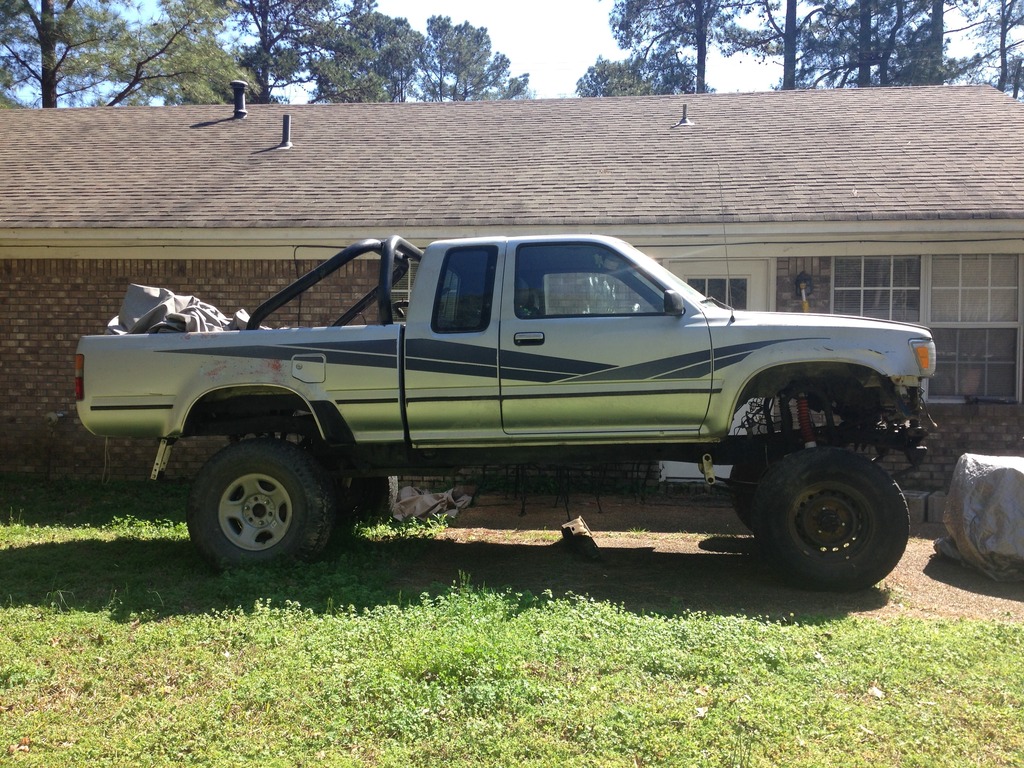
I've had this truck for a little over 8 years now. I got it in stock form from one of my best friends in high school. The truck has been through several stages, but unfortunately has been sitting for the past few years while I've been in school. Now I have it here in Oxford and time to get it finished. I have a 6.0 lq4 and an iron block 5.3 (haven't decided which to use yet) the harness and computer came out of a wrecked 2000 z71 Silverado donor I bought for $800. Transmission is a 4l60e out of the donor and the t-case is an np208. I'll be using HPtuners.
The goal for this truck is a clean swap on 35-37s that is comfortable enough to take a girl to the lake in. (These Ole Miss girls don't think my deuce is as romantic as I do) I'd like to try and retain a/c, but am just trying to get it under its own power again at this point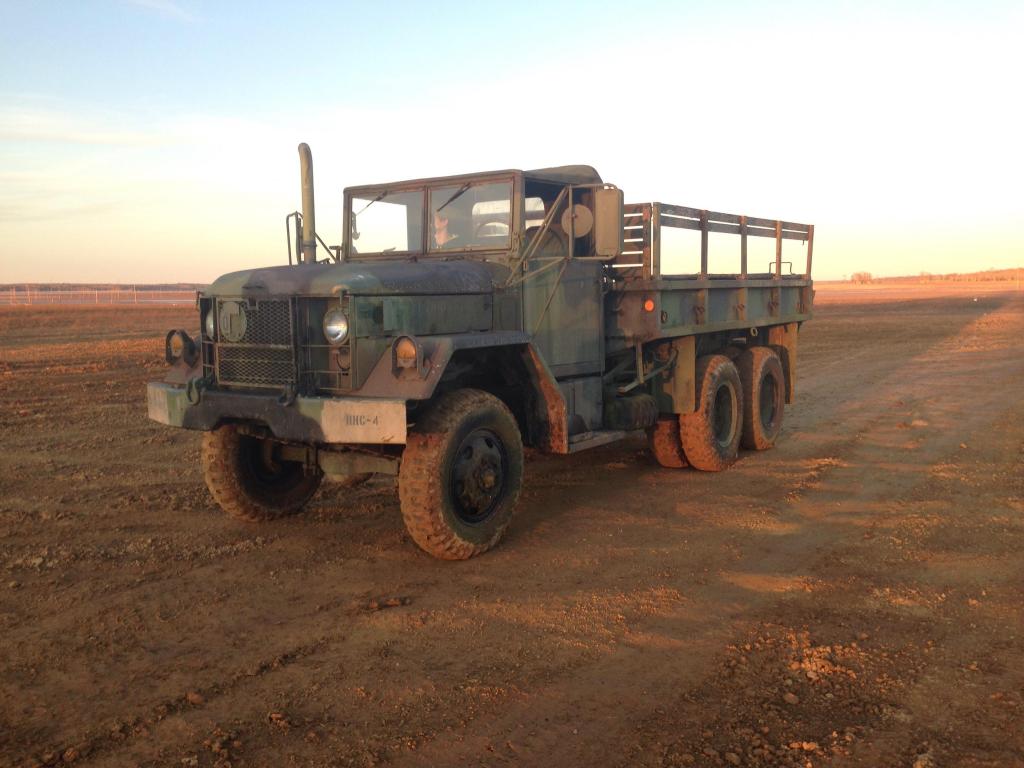
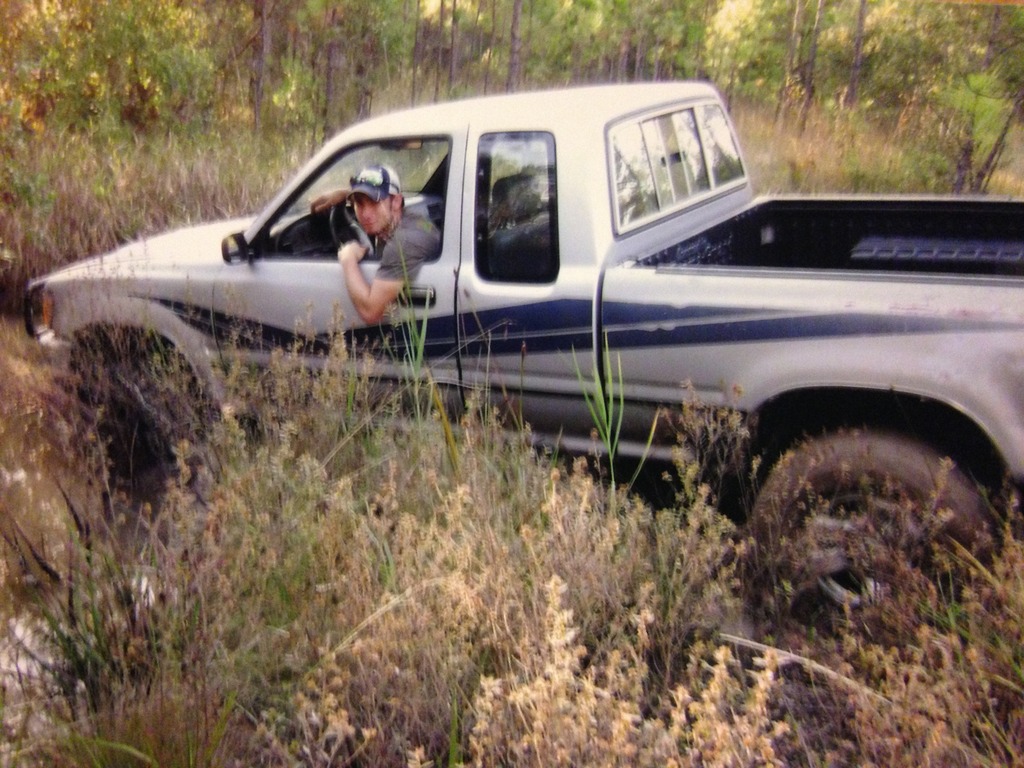
Here's a stock pic
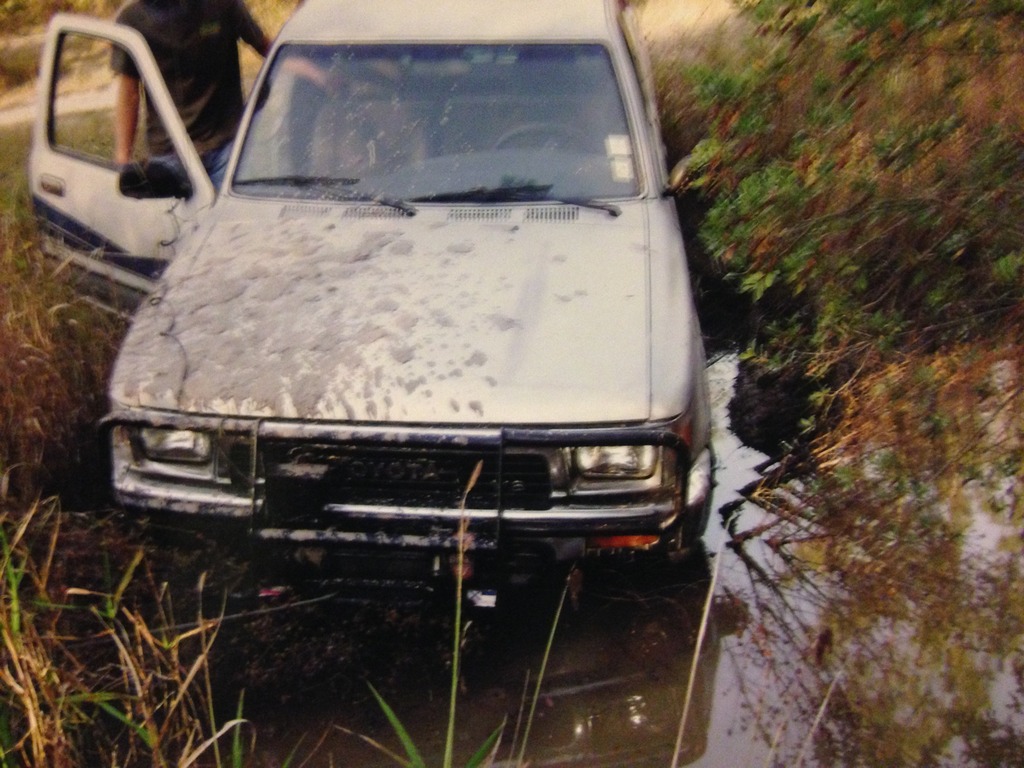
the Ramsey8000 died that day. Think I'm going to rebuild it. Idk
Shortly after that I got a 5" rough country kit and some 35" pro-comp mts. I rode it like this for a bit and had a lot of fun.

My best friend Bryce owned the Whit truck. Someone semi local owns it now. Couldnt say who.
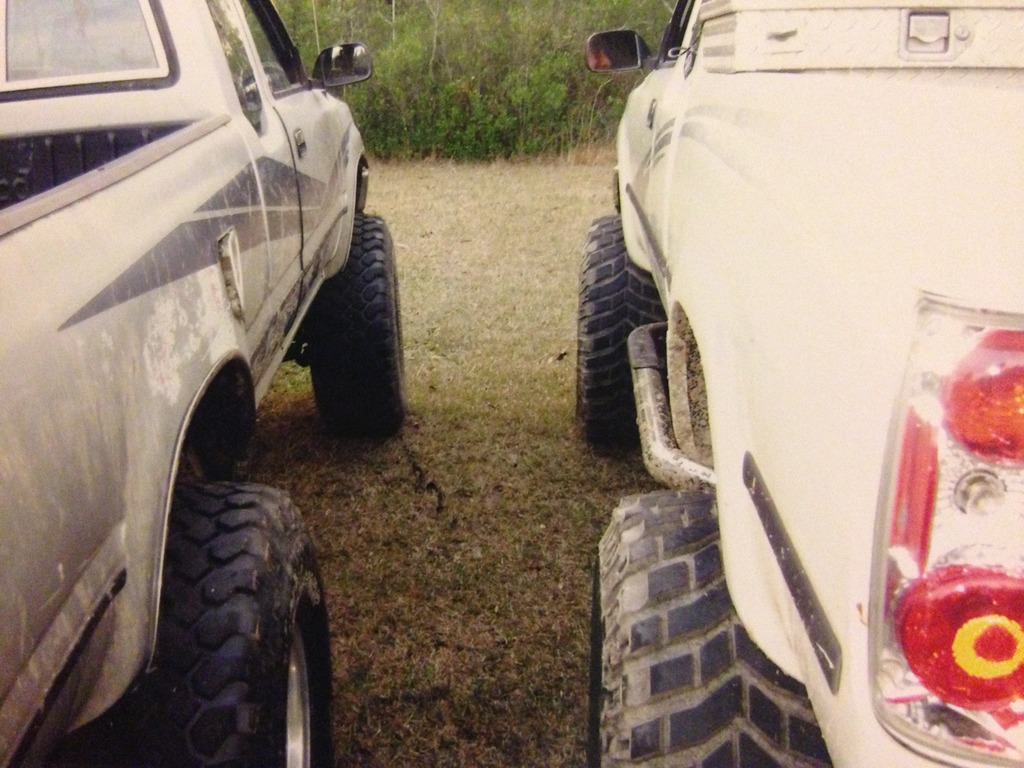
After a few months with this setup I got a screamin deal on a set of 39.5 boggers. A friend offered to buy my 35's and as soon as he gave me the money see swapped them out. In came a 3" body lift to fit the 39.5s.
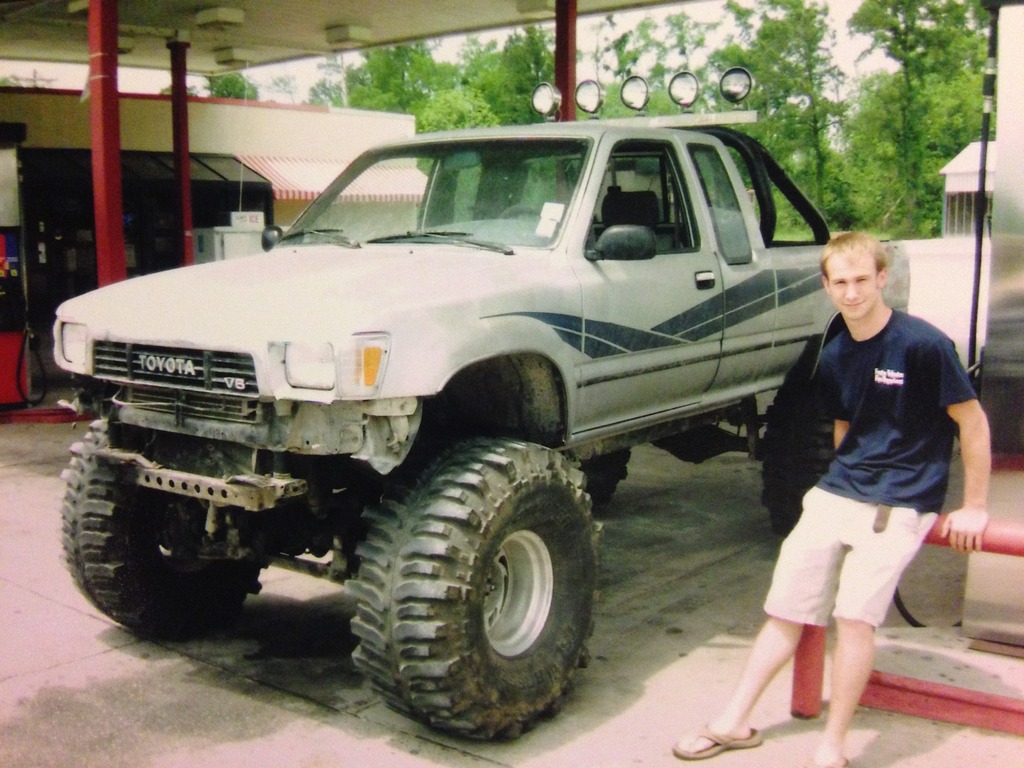
I soon realized that the cranked torsion bars weren't going to cut it. Next up was a solid axle swap.
The goal for this truck is a clean swap on 35-37s that is comfortable enough to take a girl to the lake in. (These Ole Miss girls don't think my deuce is as romantic as I do) I'd like to try and retain a/c, but am just trying to get it under its own power again at this point

Here's a stock pic

the Ramsey8000 died that day. Think I'm going to rebuild it. Idk

Shortly after that I got a 5" rough country kit and some 35" pro-comp mts. I rode it like this for a bit and had a lot of fun.


My best friend Bryce owned the Whit truck. Someone semi local owns it now. Couldnt say who.

After a few months with this setup I got a screamin deal on a set of 39.5 boggers. A friend offered to buy my 35's and as soon as he gave me the money see swapped them out. In came a 3" body lift to fit the 39.5s.

I soon realized that the cranked torsion bars weren't going to cut it. Next up was a solid axle swap.
 03-21-2016, 07:02 PM
#2
Registered User
Thread Starter
Join Date: Nov 2008
Posts: 20
Likes: 0
Received 0 Likes
on
0 Posts
So in the shop she went. Pulled out the torch and got to cutting.
A budy of mine had an 84 model parts truck and traded me the front axle, springs (I think they're 3"), and steering for a new Honda foreman rear axle. I couldn't argue with that. Got it in and new high steer installed. Stainless brake lines, new rotors, bearings, and seals. Lockouts need new guts, impatient me f'd them up taking them apart. Springs were already broken anyways, but I've lost the internals since then. Been so long hey might be in the hubs for all I know lol
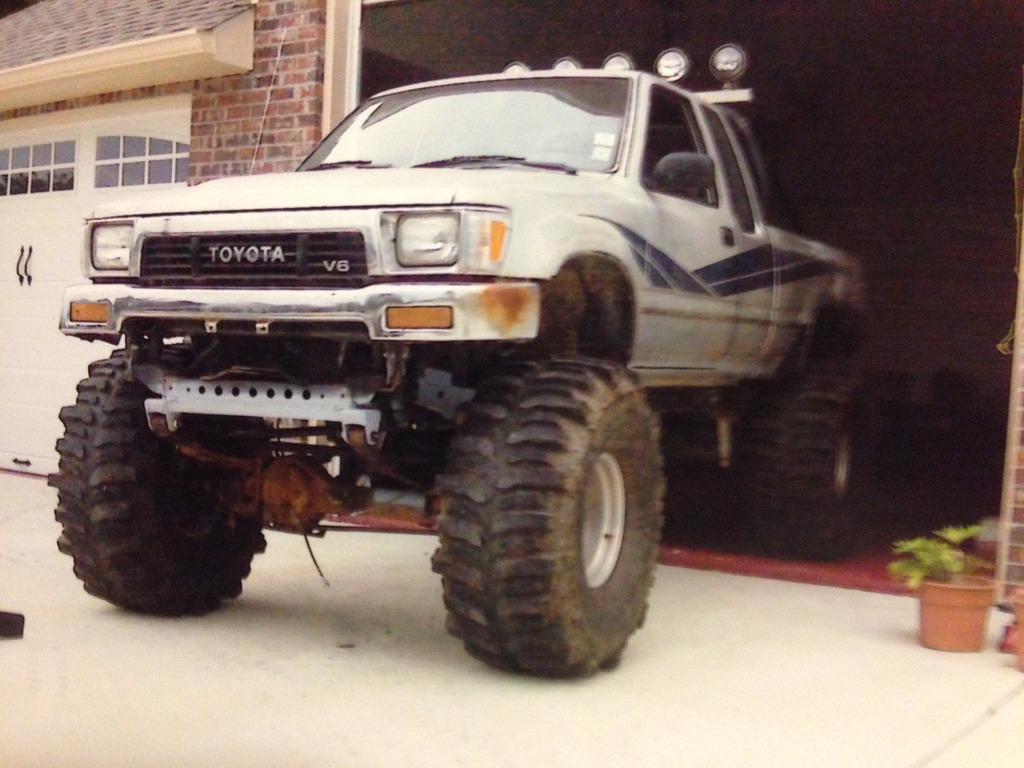
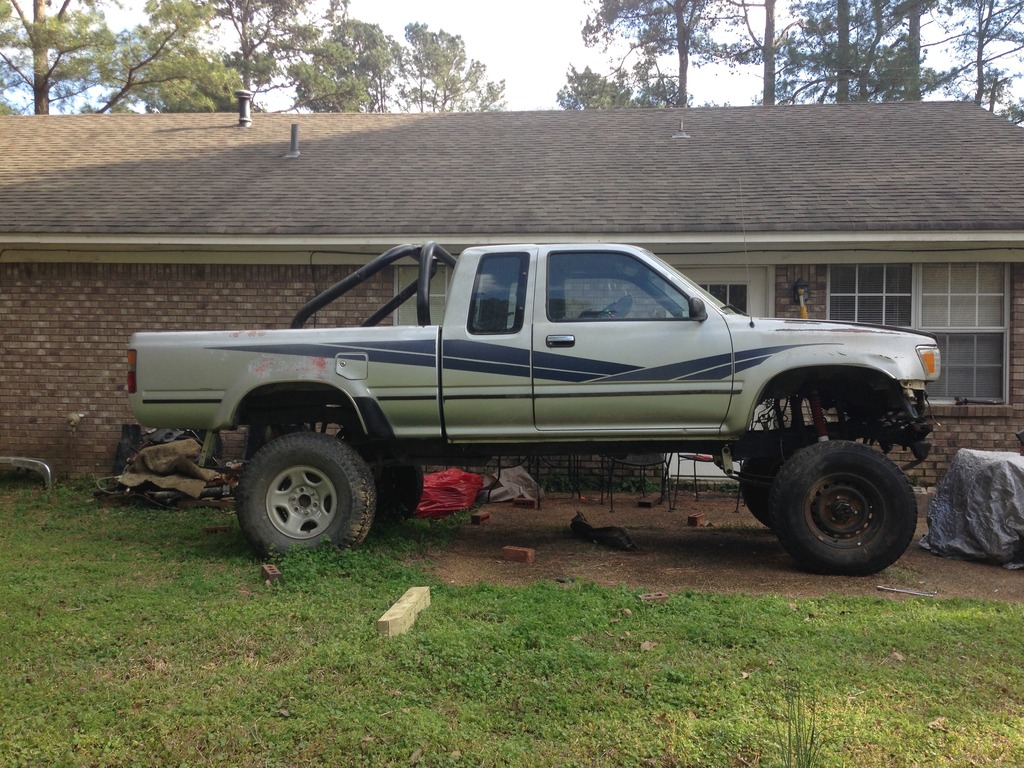
A several months later I spun a bearing in the 3slow and back in the shop she went. I pulled the 3vze to make room for a 355 sbc/700r4np208 combo. Sold that setup before I ever got it running. Got into street cars/drag racing. Sold my Camaro after I got in some trouble in junior college and started collecting parts to do my lsx swap. This has been 4 years ago, now I finally have it at my house and time/parts/money to work on it. This is how it sits today.
Just pulled engine to move engine mounts. They were only tacked in. The body lift is going to get cut down from 3" to either 2" or 1.75". The smallest I can get away with.
Plans are to reinforce the frame with a from the front most body mount of the cab forward. I'll remove the shock hoops to do this. If I have clearance I'd like to make a brace over the intake manifold from shock hoop to shock hoop.

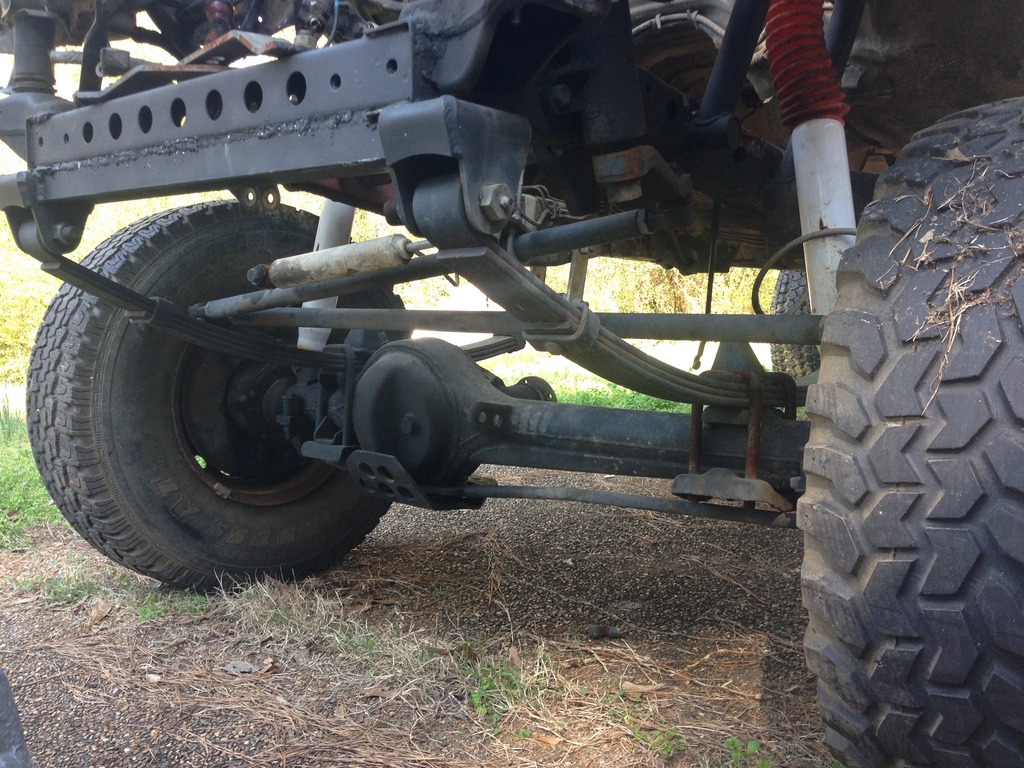
Here's the front axle and high steer. It came with that nifty little skid plate. I somehow managed to find the matching one for the rear axle. I don't know if I'll keep them once I do the u-bolt flip kits.

A budy of mine had an 84 model parts truck and traded me the front axle, springs (I think they're 3"), and steering for a new Honda foreman rear axle. I couldn't argue with that. Got it in and new high steer installed. Stainless brake lines, new rotors, bearings, and seals. Lockouts need new guts, impatient me f'd them up taking them apart. Springs were already broken anyways, but I've lost the internals since then. Been so long hey might be in the hubs for all I know lol

A several months later I spun a bearing in the 3slow and back in the shop she went. I pulled the 3vze to make room for a 355 sbc/700r4np208 combo. Sold that setup before I ever got it running. Got into street cars/drag racing. Sold my Camaro after I got in some trouble in junior college and started collecting parts to do my lsx swap. This has been 4 years ago, now I finally have it at my house and time/parts/money to work on it. This is how it sits today.

Just pulled engine to move engine mounts. They were only tacked in. The body lift is going to get cut down from 3" to either 2" or 1.75". The smallest I can get away with.

Plans are to reinforce the frame with a from the front most body mount of the cab forward. I'll remove the shock hoops to do this. If I have clearance I'd like to make a brace over the intake manifold from shock hoop to shock hoop.

Here's the front axle and high steer. It came with that nifty little skid plate. I somehow managed to find the matching one for the rear axle. I don't know if I'll keep them once I do the u-bolt flip kits.
 03-21-2016, 07:23 PM
#3
Registered User
Thread Starter
Join Date: Nov 2008
Posts: 20
Likes: 0
Received 0 Likes
on
0 Posts
The rear suspension is getting a rework. Getting rid of those death trap shackles and going with 63" Chevys from the donor Silverado with maybe an add a leaf. We'll see how it sits w/o first. I like the kit from sky manufacturing.

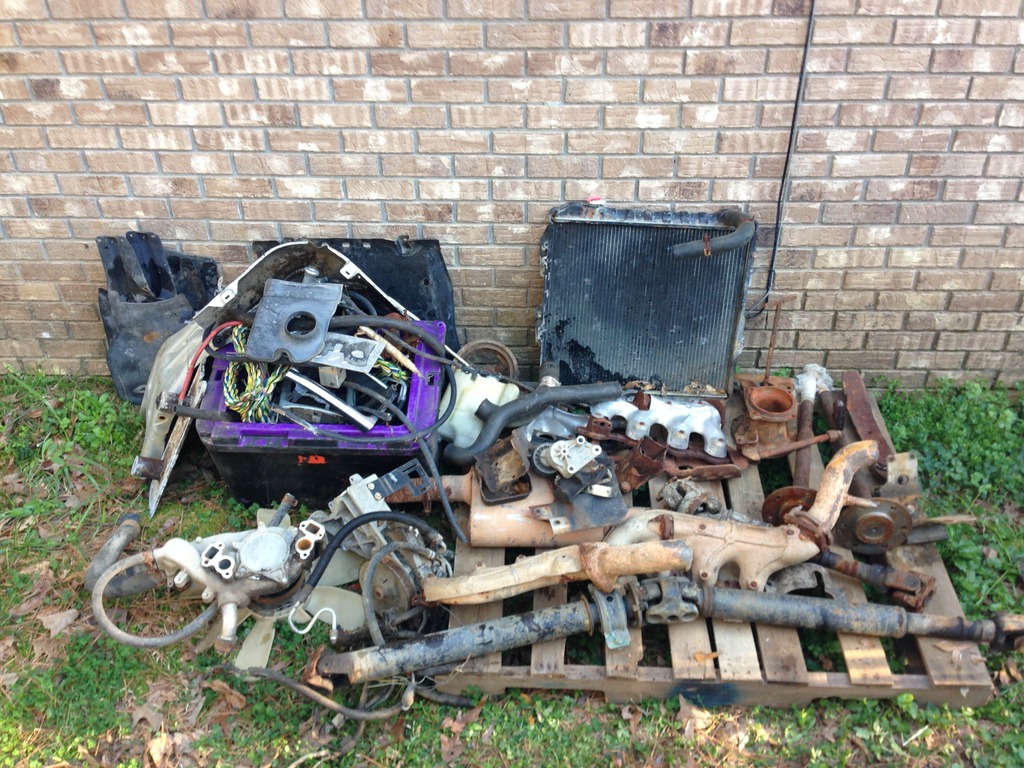
Here's about half the crap I have accumulated for this thing. I bought a set of front and rear chromoly axles and birfields. The rears are for pre 1989 models and are too narrow for my axle. If anyone wants the, I'll make a killer deal.
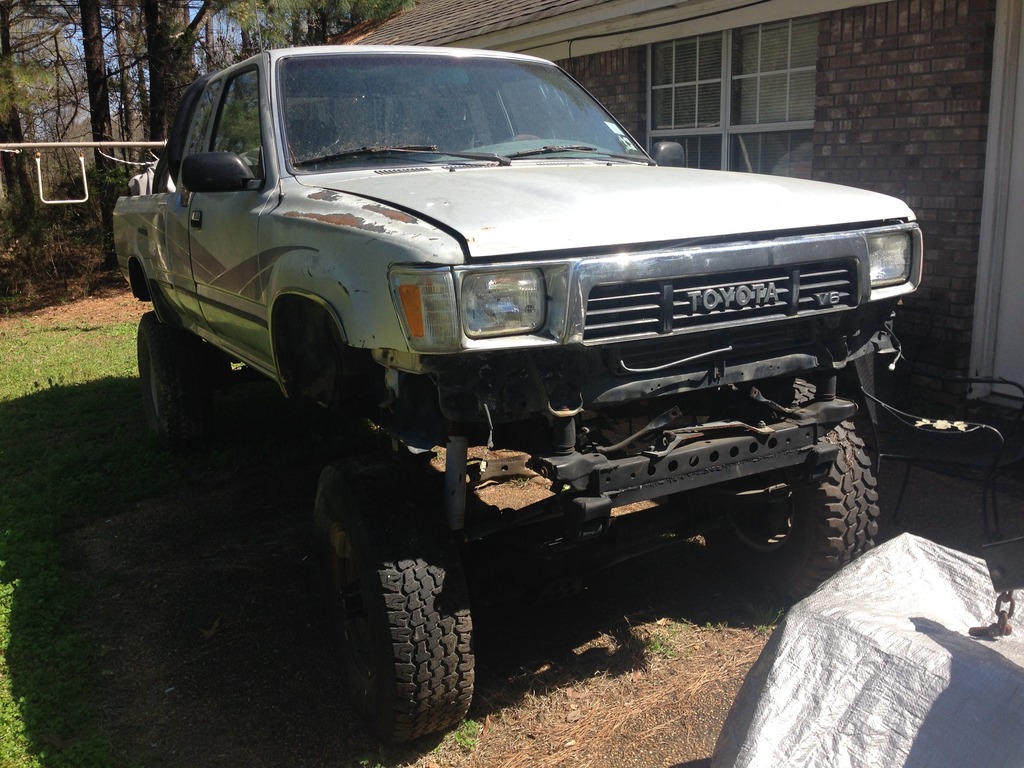
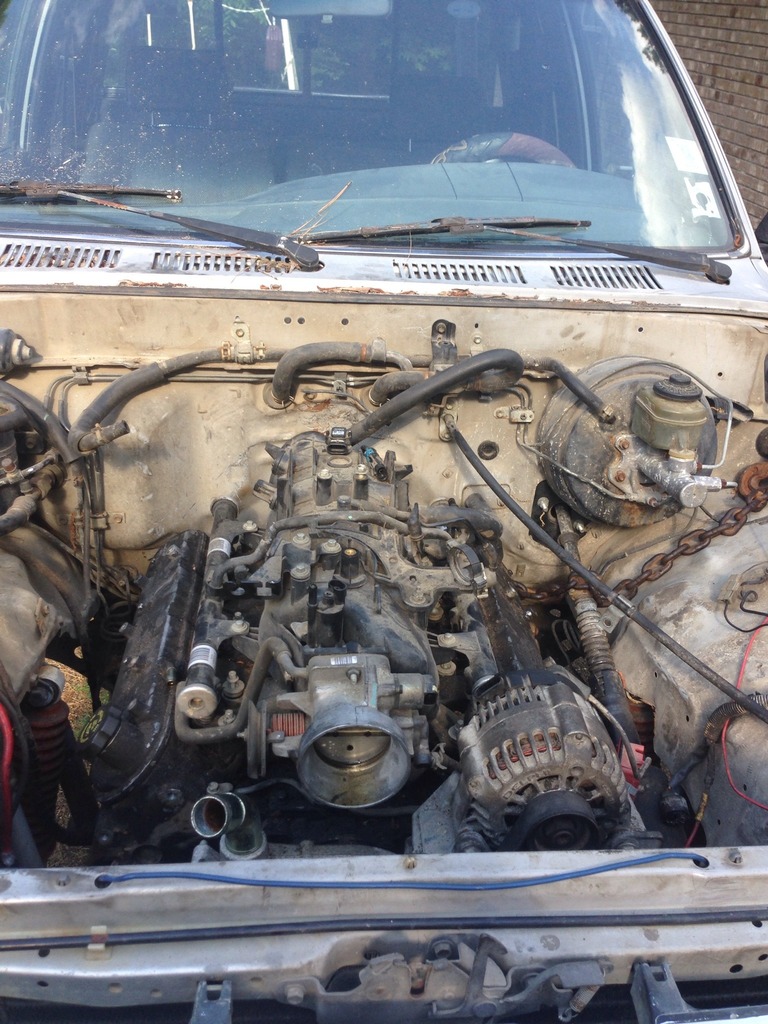
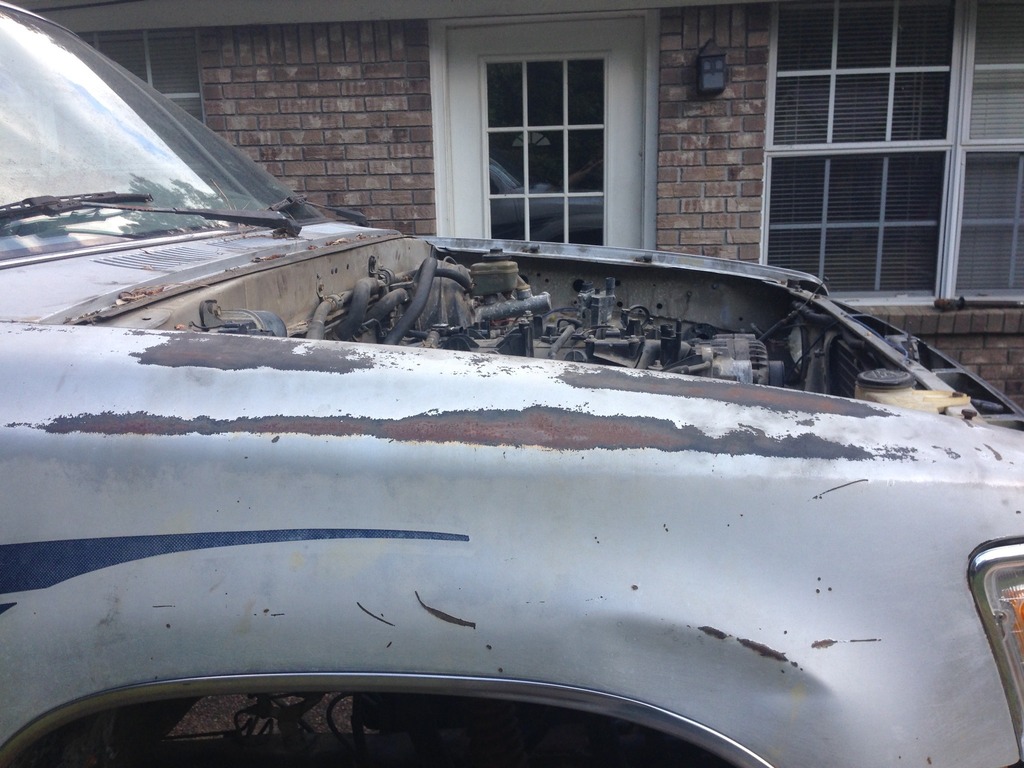
And here's the engine compartment. Oh so ugly right now.
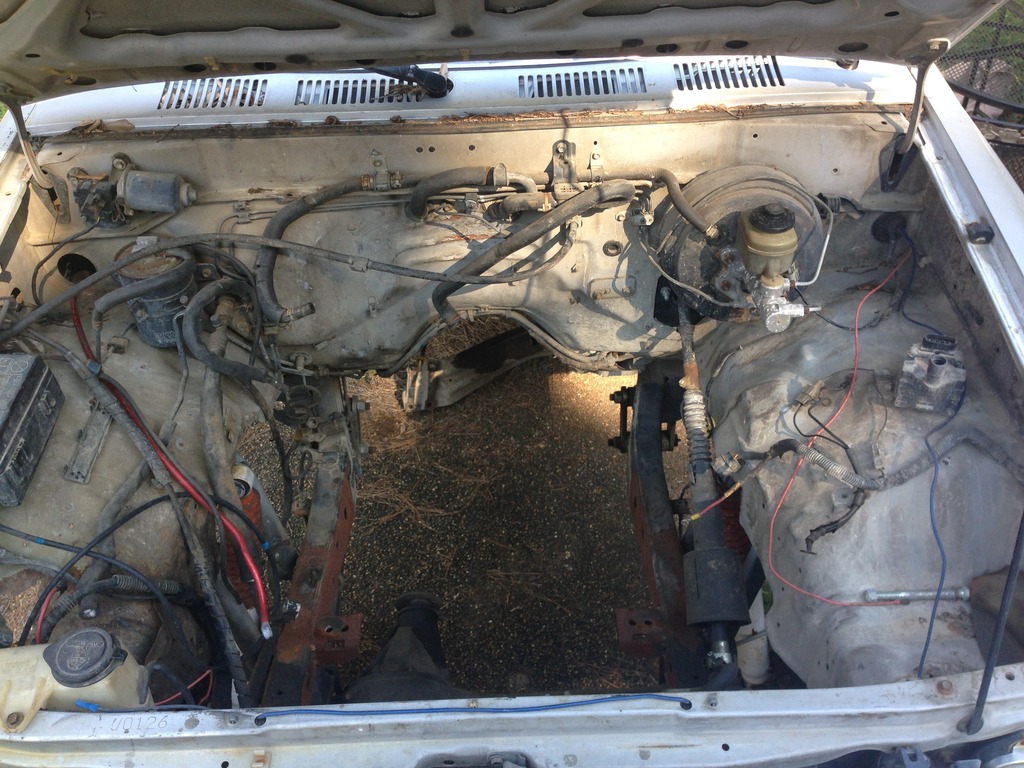
I'm in the process of cutting apart the stock harness and rep inning the connectors. I have to find out which wires and where in the dash to connect the tach, oil pressure, check engine light, a/c, battery voltage etc.
One concern of mine was power to the lights and radio. I disconnected the 3 ECU plugs and the 2 plugs in the harness behind the PCM and removed the engine harness. All of the lights, blinkers, flashers, door buzzer, interior lights, and radio work correctly. I forgot to try the a/c blower fan and windshield wipers when I had the jump box hooked up.
Will the gauge wires I'm looking for be located in one of the harness plugs or ECU plugs???

Here's about half the crap I have accumulated for this thing. I bought a set of front and rear chromoly axles and birfields. The rears are for pre 1989 models and are too narrow for my axle. If anyone wants the, I'll make a killer deal.

And here's the engine compartment. Oh so ugly right now.

I'm in the process of cutting apart the stock harness and rep inning the connectors. I have to find out which wires and where in the dash to connect the tach, oil pressure, check engine light, a/c, battery voltage etc.
One concern of mine was power to the lights and radio. I disconnected the 3 ECU plugs and the 2 plugs in the harness behind the PCM and removed the engine harness. All of the lights, blinkers, flashers, door buzzer, interior lights, and radio work correctly. I forgot to try the a/c blower fan and windshield wipers when I had the jump box hooked up.
Will the gauge wires I'm looking for be located in one of the harness plugs or ECU plugs???
Last edited by rooster18; 03-21-2016 at 07:25 PM.
03-23-2016, 04:57 PM
#4
Registered User
Thread Starter
Join Date: Nov 2008
Posts: 20
Likes: 0
Received 0 Likes
on
0 Posts
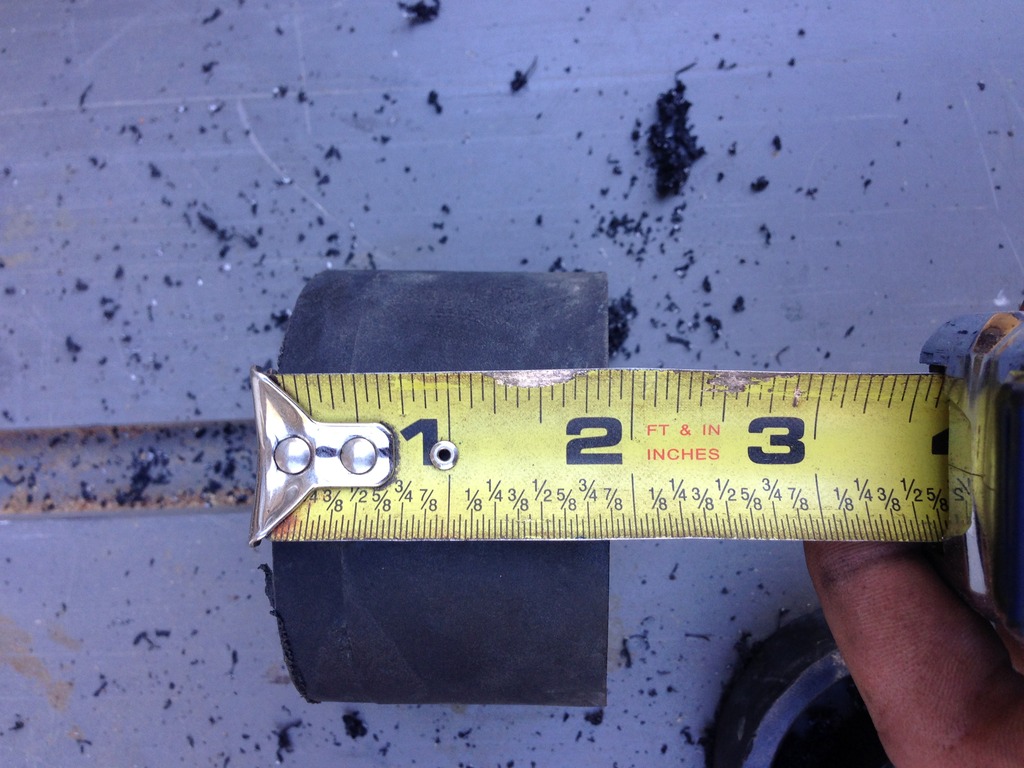
Cut the body lift down to 1 7/8"
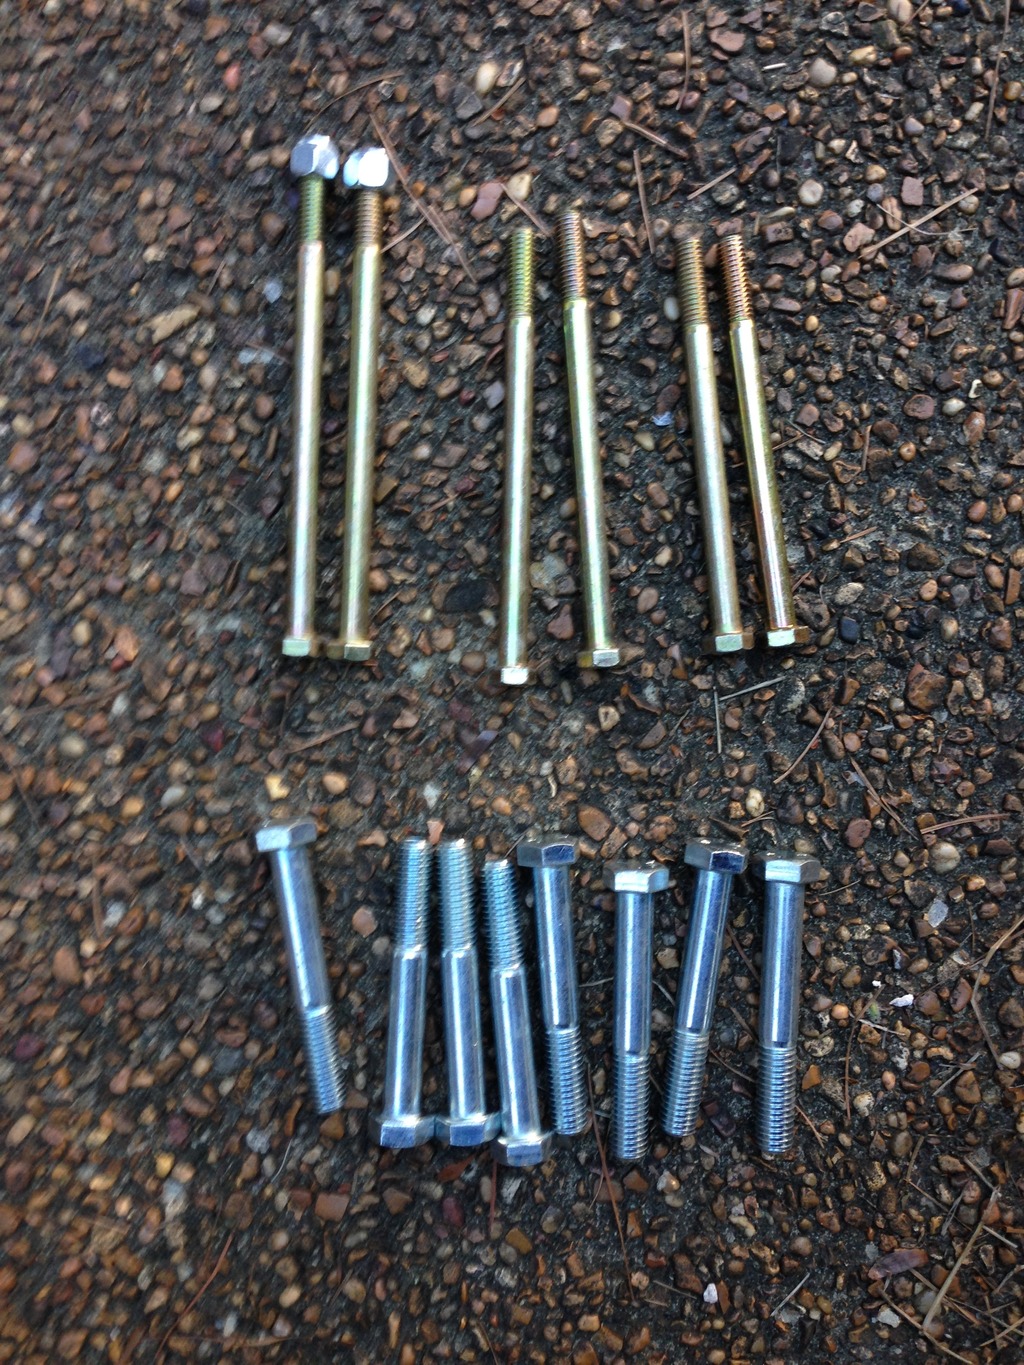
Got grade 8 hardware for the cab
Everything tightened back down. If I can come down anymore once I get the drivetrain in I will.
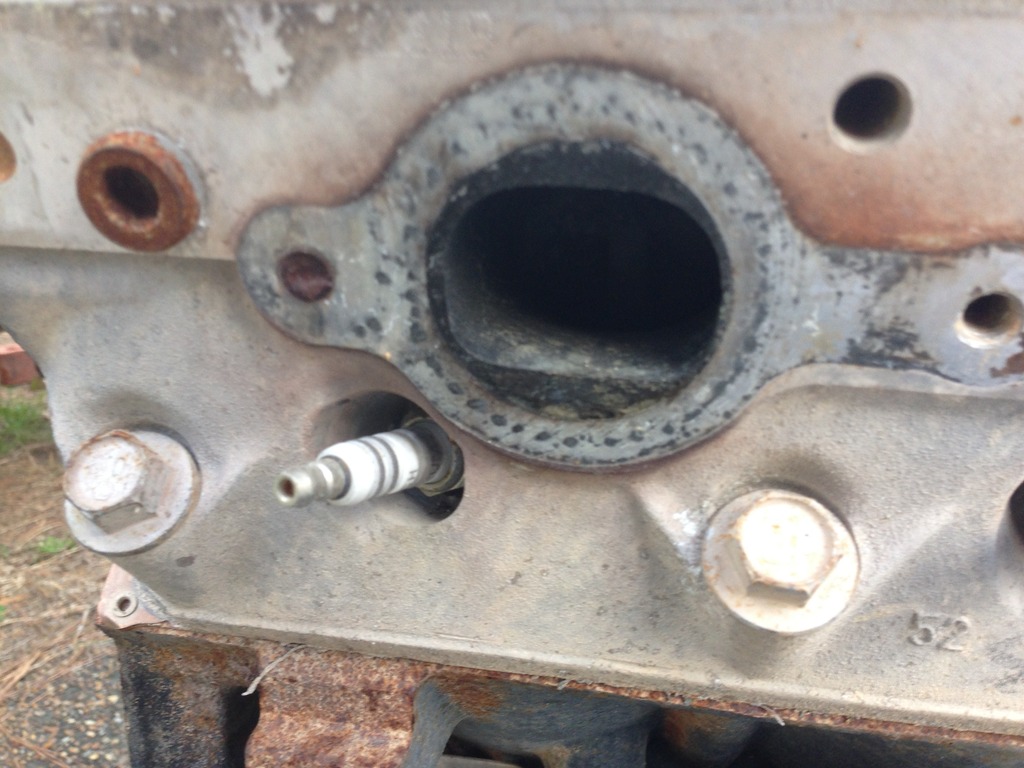
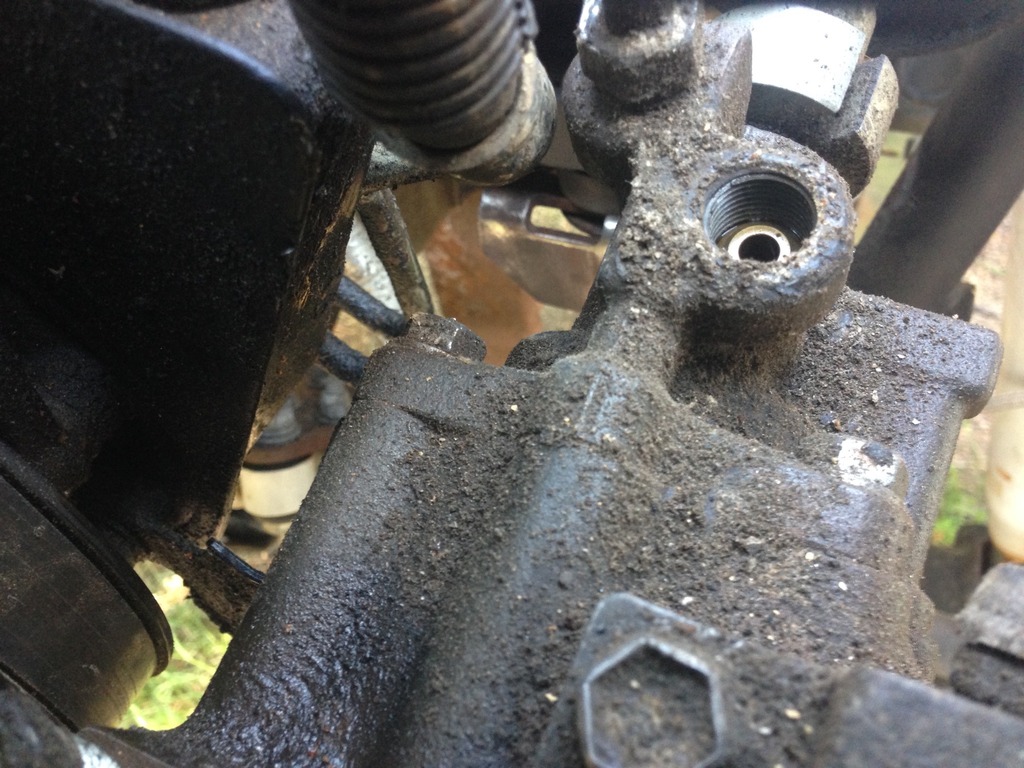
These two broken manifold bolts ca,e out pretty easy with some vice grips
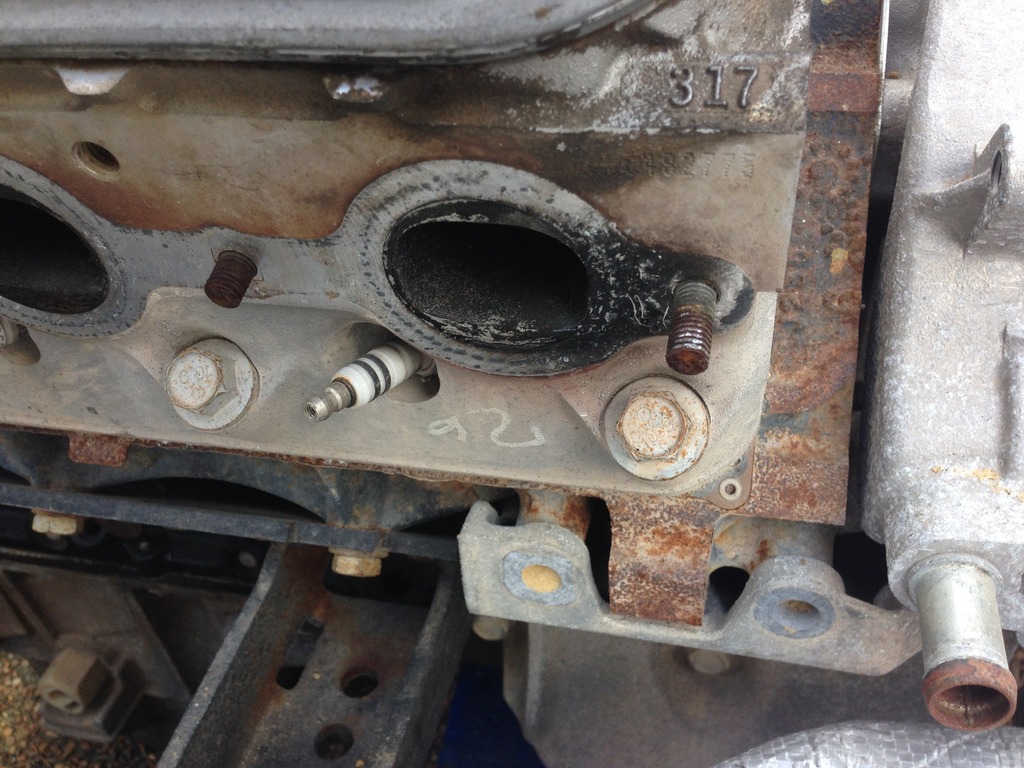
This one not so much. Broke an easy out off inside the bolt, now my drill bit goes every which direction but right. Guess it's off with the head and a trip to the machine shop this is before pic. Too mad to take after pic

Got grade 8 hardware for the cab

Everything tightened back down. If I can come down anymore once I get the drivetrain in I will.

These two broken manifold bolts ca,e out pretty easy with some vice grips

This one not so much. Broke an easy out off inside the bolt, now my drill bit goes every which direction but right. Guess it's off with the head and a trip to the machine shop
this is before pic. Too mad to take after pic
Last edited by rooster18; 03-23-2016 at 05:01 PM.
04-08-2016, 07:50 AM
#6
Registered User

Join Date: Apr 2016
Posts: 25
Likes: 0
Received 0 Likes
on
0 Posts
How's your clearance? I just started fitting the 5.3 into my 85 runner. Motor is sitting with a 2x3 between the block and stock frame mount on each side, so it's low enough to clear the hood without any body lift, but the passenger valve cover is butted up against the firewall bubble (hvac?) and the drivers side has the steering res almost touching the steering box. With this placement, I've only got about 1.5" between the front of the fan pulley to where the front of the rad would sit in stock location, so can't fit a 2" thick rad in at all, let alone get a puller fan behind it.
I've seen a few pictures of other guys builds and they seem to have enough room for a 2" thick rad plus a 2-3" thick puller fan in the stock location, but no one ever talks about where they're mounting stuff.
I've seen a few pictures of other guys builds and they seem to have enough room for a 2" thick rad plus a 2-3" thick puller fan in the stock location, but no one ever talks about where they're mounting stuff.
05-16-2016, 09:59 PM
#7
Registered User
Thread Starter
Join Date: Nov 2008
Posts: 20
Likes: 0
Received 0 Likes
on
0 Posts
I know the pain. I've searched and searched and come up with a few vague descriptions. I just moved the mounts forward a bit over the weekend to get more adjustability out of my mounts. I ditched the ac compressor in the stock location. With it there my passenger side mount had zero adjustment. I was also butted up against the hump in the pass side firewall. The reservoir is close to the box, maybe .5" like you said, can't remember off the top of my head.
I like where it is sitting now, still have to tuck it back. Truck manifolds wouldn't fit. I've got a set from my camaro I'm thinking/hoping will work.
Also swapped the truck oil pan for an f-body pan today. Much more clearance! Looking at the improved racing fbody oil pan baffle to put in it. That won't come until it's driving though.
I'll try and get some pics tomorrow if the sun is still up. I haven't tested intake/hood clearance yet so I'm a little anxious.
ADD UPDATE: I did some swapping with the 6.0, so the 5.3 is now in the truck.
Last edited by rooster18; 05-16-2016 at 10:05 PM.
Trending Topics
05-16-2016, 10:11 PM
#8
Registered User
Join Date: Apr 2016
Posts: 25
Likes: 0
Received 0 Likes
on
0 Posts
I know the pain. I've searched and searched and come up with a few vague descriptions. I just moved the mounts forward a bit over the weekend to get more adjustability out of my mounts. I ditched the ac compressor in the stock location. With it there my passenger side mount had zero adjustment. I was also butted up against the hump in the pass side firewall. The reservoir is close to the box, maybe .5" like you said, can't remember off the top of my head.
I like where it is sitting now, still have to tuck it back. Truck manifolds wouldn't fit. I've got a set from my camaro I'm thinking/hoping will work.
I'll try and get some pics tomorrow if the sun is still up. I haven't tested intake/hood clearance yet so I'm a little anxious.
ADD UPDATE: I did some swapping with the 6.0, so the 5.3 is now in the truck.
I've got about 2" clearance from the stock rad to the water pump pulley. Not enough room for any puller fan I know of. Not sure what i'm going to do about that yet.
I used the same headers I've used for two other builds. I cut off the flange as the flange ring was right into the frame. I'll either notch the frame for clearance, or just extend the original header and tuck it in real tight. Should all fit, but I'll have to re-locate the brake and fuel lines, as they'd be way too hot.
Headers:
And my build, if you're interested in following along.
https://www.yotatech.com/forums/f198...thread-294446/ -not updating this thread as often as I should.
Long short, motor is fitted. Using the GM PDC so the motor is already wired up. Just need to tie the lights and stuff into the GM PDC. 9.5 front axle flipped driver drop, cut and spun, and pointed. Rear 9.5 got hybridized with some mini tubes, centered. 5.29's and lockers installed. 300m shafts up front with the six shooters. Axles are ready for oil. Chopped one rear fender out and rebuilt for 4-5" more clearance to fit the 40's.
I just pulled the frame back out to clean up the engine, replace all the seals, swap to an NP243 case (cause didn't feel like building a linkage for a 241 when I'll probably end up doing a 205 later). Waiting on a walbro inline 255lph pump, and my trans fittings should be in tomorrow, so I should probably have it running by the end of the week.
05-17-2016, 07:43 PM
#9
Registered User
Thread Starter
Join Date: Nov 2008
Posts: 20
Likes: 0
Received 0 Likes
on
0 Posts
Took some pics today. I'll check out those headers. I used a set of flowtecs for a 1st gen camaro when I was doing the conventional small block chevy and they fit perfect. $130 from advanced auto.
I'll also have to relocate my brake lines I think. Picking up a fuel cell this week, already have a Waldron 255 inline ready and waiting. Ordering hp tuners this week as well, and if the pocket isn't hurting too bad the ideal 63" chevy spring swap kit from ruff stuff.
Engine is slightly crooked right now. Engine mounts haven't been adjusted yet. I still have to go back with it about an inch +
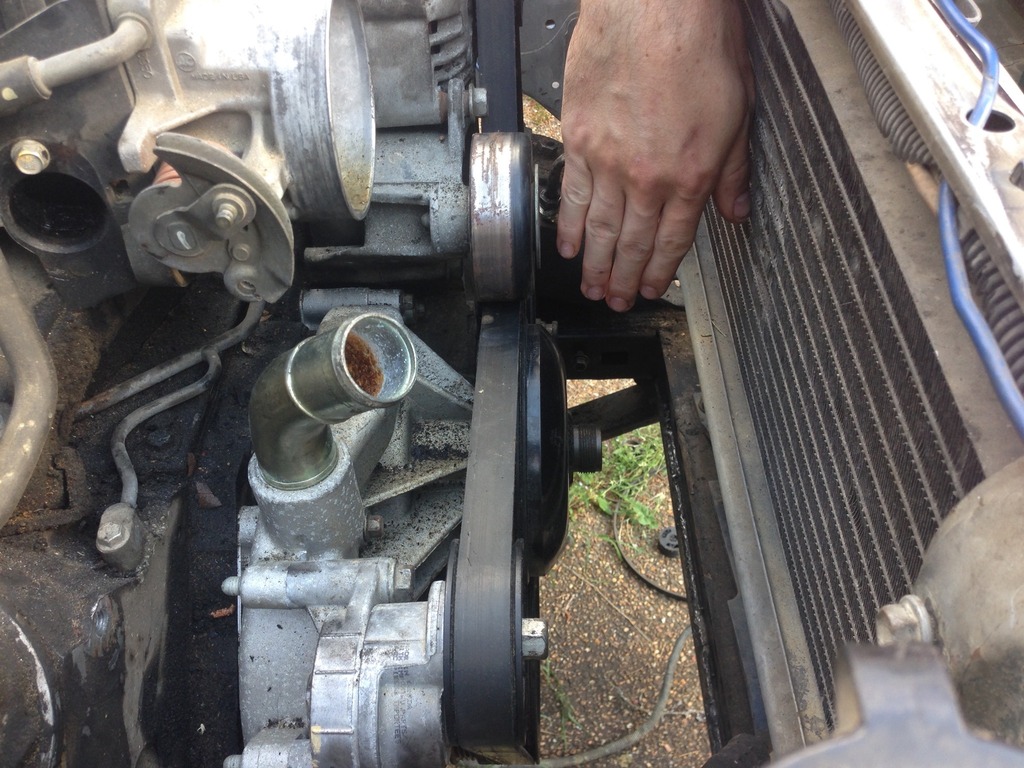
Clearance for ps pump and steering box. Should increase slightly when engine moves back
I think hood clearance is good
I'll also have to relocate my brake lines I think. Picking up a fuel cell this week, already have a Waldron 255 inline ready and waiting. Ordering hp tuners this week as well, and if the pocket isn't hurting too bad the ideal 63" chevy spring swap kit from ruff stuff.
Engine is slightly crooked right now. Engine mounts haven't been adjusted yet. I still have to go back with it about an inch +


Clearance for ps pump and steering box. Should increase slightly when engine moves back

I think hood clearance is good
 05-17-2016, 08:20 PM
#10
Registered User
Join Date: Apr 2016
Posts: 25
Likes: 0
Received 0 Likes
on
0 Posts
Took some pics today. I'll check out those headers. I used a set of flowtecs for a 1st gen camaro when I was doing the conventional small block chevy and they fit perfect. $130 from advanced auto.
I'll also have to relocate my brake lines I think. Picking up a fuel cell this week, already have a Waldron 255 inline ready and waiting. Ordering hp tuners this week as well, and if the pocket isn't hurting too bad the ideal 63" chevy spring swap kit from ruff stuff.
Engine is slightly crooked right now. Engine mounts haven't been adjusted yet. I still have to go back with it about an inch +


Clearance for ps pump and steering box. Should increase slightly when engine moves back

I think hood clearance is good

I'll also have to relocate my brake lines I think. Picking up a fuel cell this week, already have a Waldron 255 inline ready and waiting. Ordering hp tuners this week as well, and if the pocket isn't hurting too bad the ideal 63" chevy spring swap kit from ruff stuff.
Engine is slightly crooked right now. Engine mounts haven't been adjusted yet. I still have to go back with it about an inch +
Clearance for ps pump and steering box. Should increase slightly when engine moves back
I think hood clearance is good
Daaamn. I was all confused about how you go the motor so low and far back, but I guess I missed your body lift. No such luck for me. One hockey puck lift for me, so it's REAL ˟˟˟˟˟˟˟ tight.
05-18-2016, 10:59 PM
#11
Registered User
Thread Starter
Join Date: Nov 2008
Posts: 20
Likes: 0
Received 0 Likes
on
0 Posts
Sold a bunch of parts from the donor truck today, so I'll be giving ruff stuff a call tomorrow.
 05-19-2016, 07:33 AM
#13
Registered User
Join Date: Apr 2016
Posts: 25
Likes: 0
Received 0 Likes
on
0 Posts
Yeah, initially 3". Now cut down to 1 7/8". Wouldn't mind coming down another inch, but I'm gonna finish it out like it is. Maybe it can come down more later. Hope to have the harness done early next week. Sisters HS graduation this weekend so I'll be away for a couple days.
Sold a bunch of parts from the donor truck today, so I'll be giving ruff stuff a call tomorrow.
Sold a bunch of parts from the donor truck today, so I'll be giving ruff stuff a call tomorrow.
 )
06-07-2016, 03:45 PM
)
06-07-2016, 03:45 PM
#15
Registered User
Thread Starter
Join Date: Nov 2008
Posts: 20
Likes: 0
Received 0 Likes
on
0 Posts
Stabbed the transmission last night. Slowly but surely working on the wiring harness. Hopefully getting the correct tcase adapter next week for 4l60e to np208. 3 exh manifold bolts are broken off in the heads, so that will have to be addressed. I'm leaving at the end of this month for a job that's supposed to last a little over a year so my time with the truck is drawing to an end for now :'( Right when I got rolling on it I'm being jerked away. Seems like I'll never finish this dang thing. Hope to have all but driveshafts and exhaust finished before I leave.
Oh, and I got my ideal 63" Chevy swap kit in from ruff stuff with 6" shackles and gusseted Shock mounts. Great quality kit. It will also be in before I leave.
Oh, and I got my ideal 63" Chevy swap kit in from ruff stuff with 6" shackles and gusseted Shock mounts. Great quality kit. It will also be in before I leave.
06-14-2016, 09:42 PM
#16
Registered User
Thread Starter
Join Date: Nov 2008
Posts: 20
Likes: 0
Received 0 Likes
on
0 Posts
Got to work some more at 4 this afternoon. Finished mockup on the 63" Chevy swap today. 3rd gen rear hanger location is impossible to find on the net. Searched and searched.
Started out at 4" eye to eye of factory rear hanger, this put my rear 6" shackle at too high of an angle. Can't remember the angle. Second attempt I had to measure from rear of frame to rear of ruff stuff spring hanger. At 6.5" from rear of frame to hanger (not the eye) it had my angle at 33 degrees. Too flat for my liking. Third attempt I was 4.25" from rear of frame to hanger, and this had my angle at 57 degrees. I am liking the look of it there, I believe it will settle some after driving.
Was shooting for 45 degrees, but time got away from me and I was beat so decided to call it. If I need to adjust it later I will, but going to give it a try where it is. I'll try and get some pics tomorrow if I get home early enough.

Thread
Thread Starter
Forum
Replies
Last Post
Old Red 94
86-95 Trucks & 4Runners
2
01-03-2016 06:19 AM


