Another 1UZ swap in an 87 SR5.
 04-20-2014, 12:03 PM
#1

Another 1UZ swap in an 87 SR5.
I am going to include every part bought and every mod done with measurements! I will take pics of all the parts that I have gathered tomorrow! Lets start with a parts list.
First;
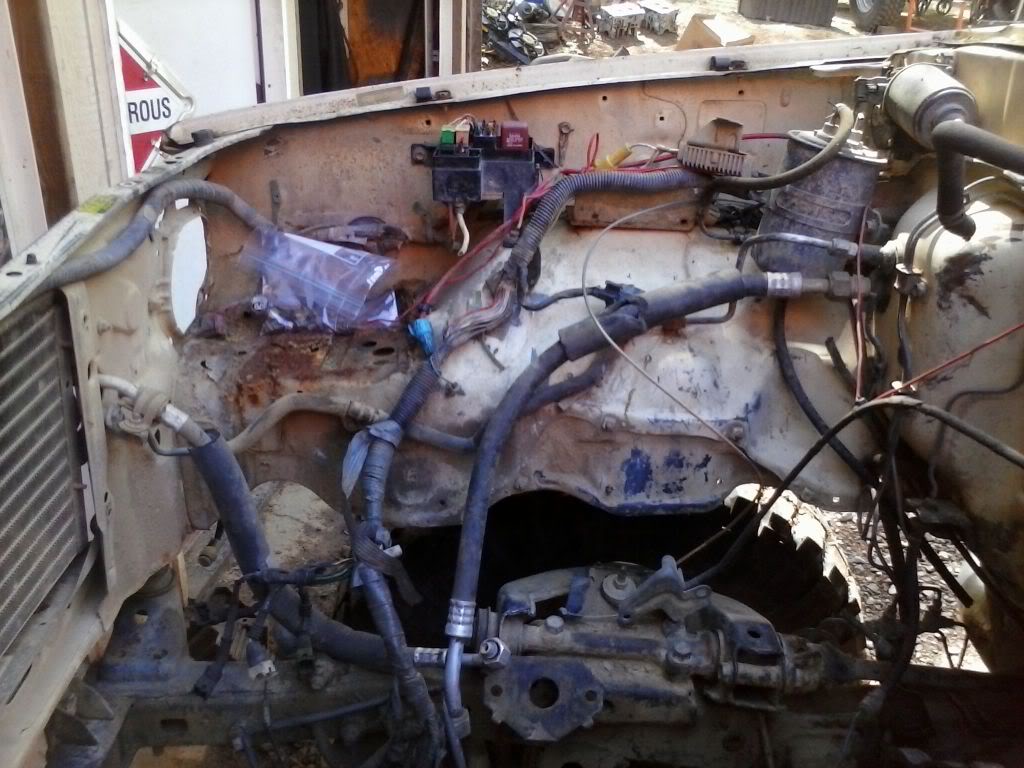
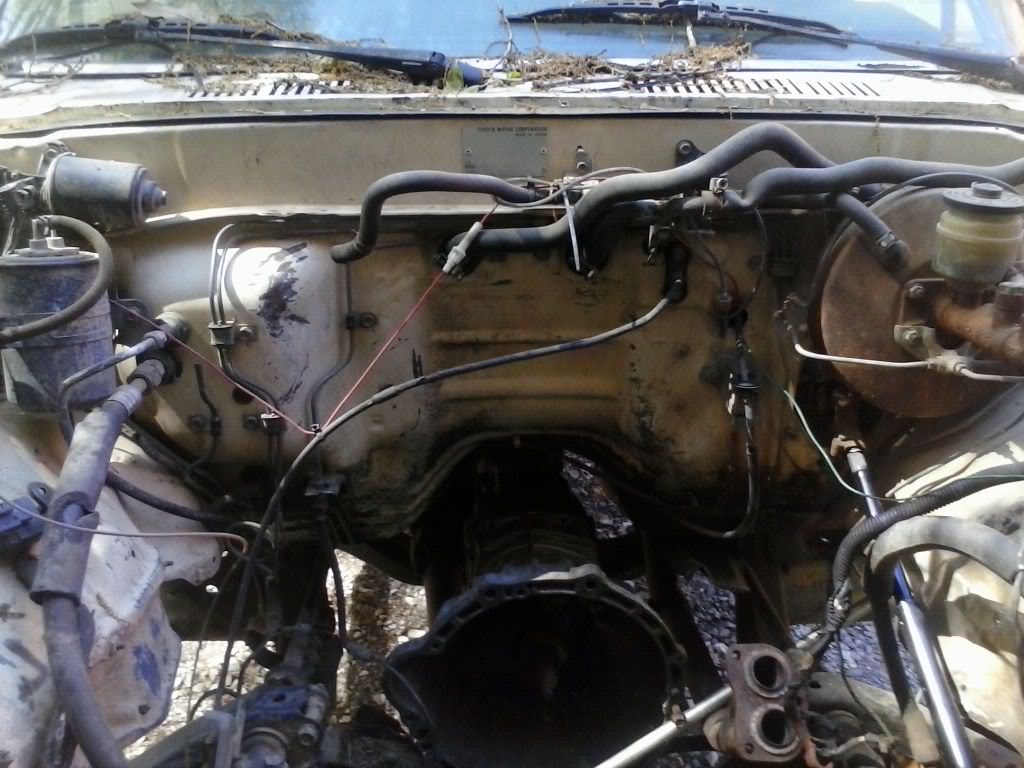
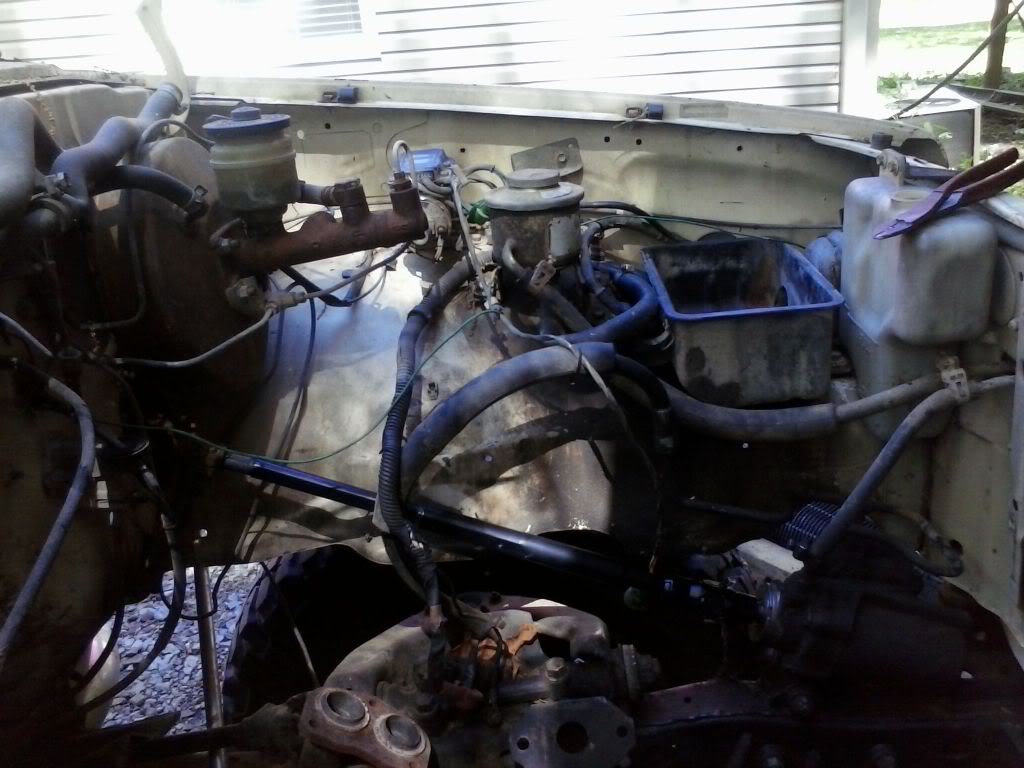
The truck is an 1987 SR5 4x4, 5-speed. Already had a blown motor.
The swap kit, easy,
http://1uzfeswapkit.com/Wxx-Series-t...-0000-0019.htm
The engine mounts are;
http://www.ruffstuffspecialties.com/...g/XMEMKIT.html
Have also made some motor plates.
The headers are;
http://www.ebay.com/itm/M2-Performan...d518bb&vxp=mtr
These will have to be modified to fit;
The collectors I will be using instead of the flanges are;
http://www.summitracing.com/parts/sum-694250/overview/
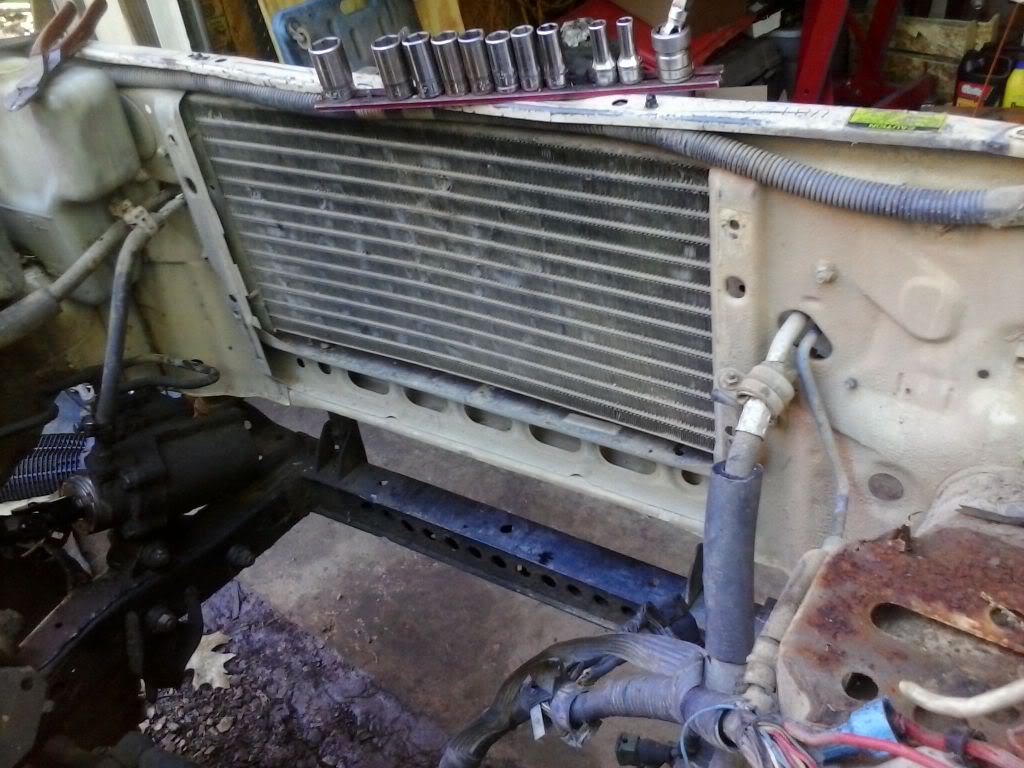
The radiator is;
http://www.summitracing.com/parts/gri-1-25202-xs/overview/
The oil filter relocation is;
http://www.ebay.com/itm/Lexus-LS400-Remote-Oil-Filter-adapter-and-Oil-Cooler-SC400-1uzfe-2uzfe-3uzfe-/331182076683?fits=Model%3ALS400&hash=item4d1bfd730 b:g:IZ8AAOxy7nNTVECx&vxp=mtrand
http://www.summitracing.com/parts/so...4-12/overview/
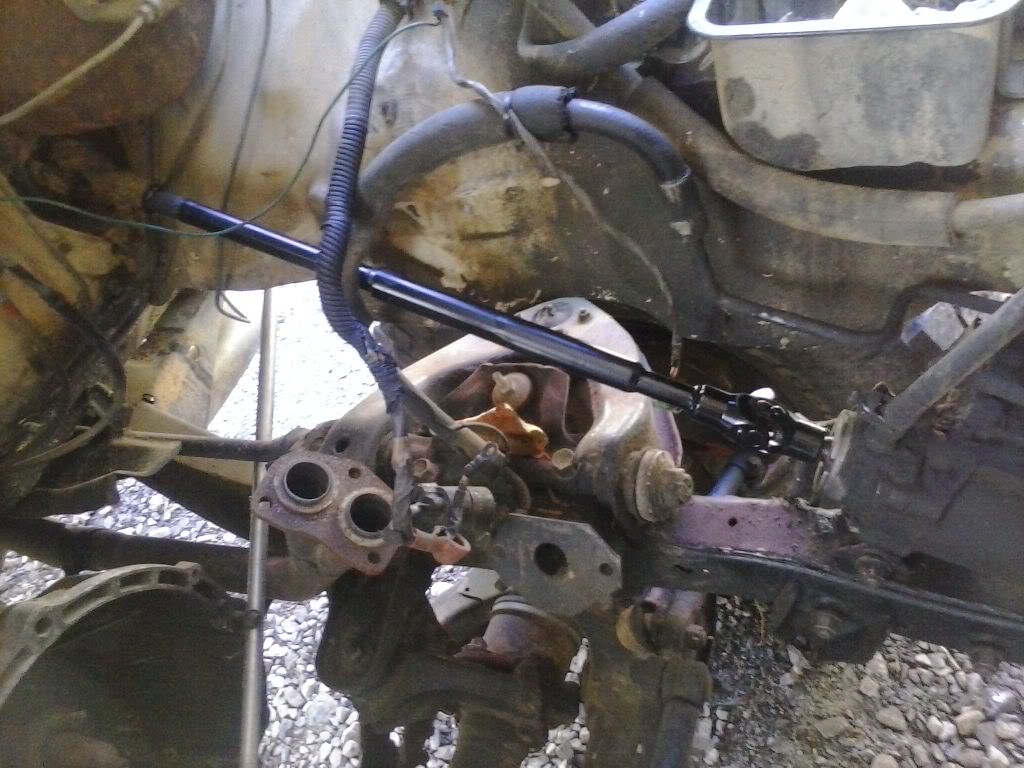
Steering U-Joint to remove rag joint and open up room for headers;
http://www.woodwardsteering.com/ Part number UA-108.
Clutch is a stock unit from O'reillys for a 93 4runner.
Panel for use for the new circuit!
http://www.waytekwire.com/item/46077...EL-WITH-COVER/
[/URL]
Air filter housing;
http://www.riverraider.com/store/Universal-Air-Box
Fuel pump will be a Walbro 255 in tank!
Now for the plans;
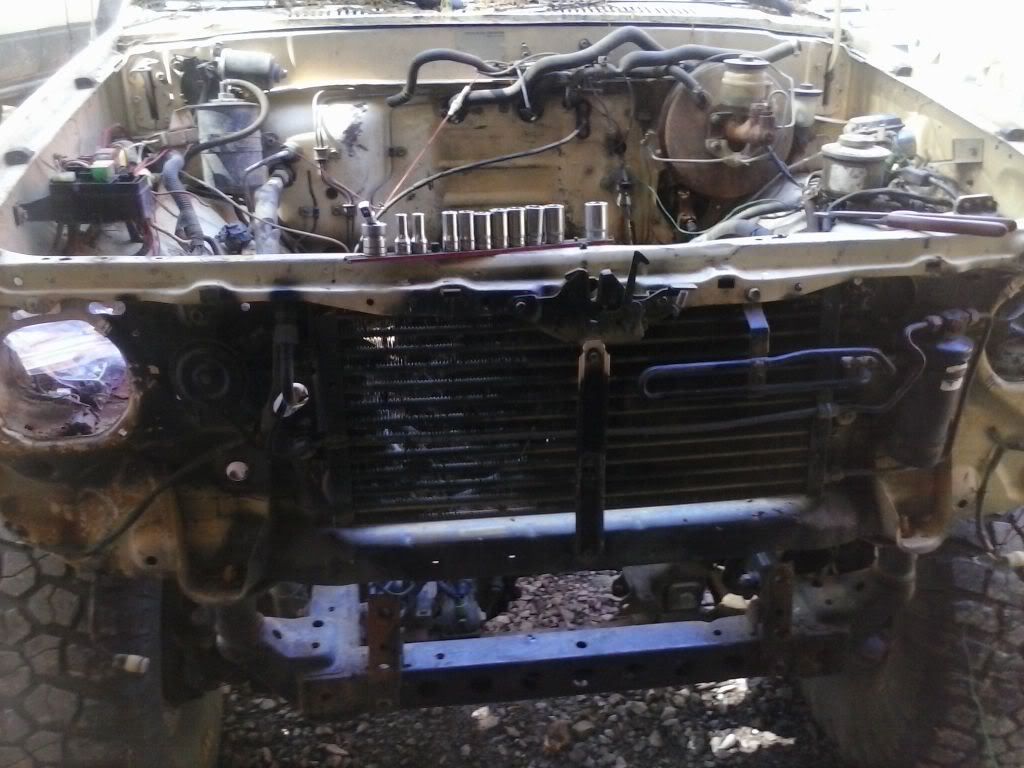
The truck has a 4" Rough Country lift kit and a 2" body lift. Body lift will be removed. 35"x 12.5r15 BFG KM2's on black steel 15x8. I will be rotating the upper intake to allow the use of a Snorkel. Also I will be cutting the front out of the grill not only to allow the ease of install but also to allow me to move the radiator as far forward as I can. I will probably have to modify the steering damper location and the oil pan to get it low enough with body lift removed!
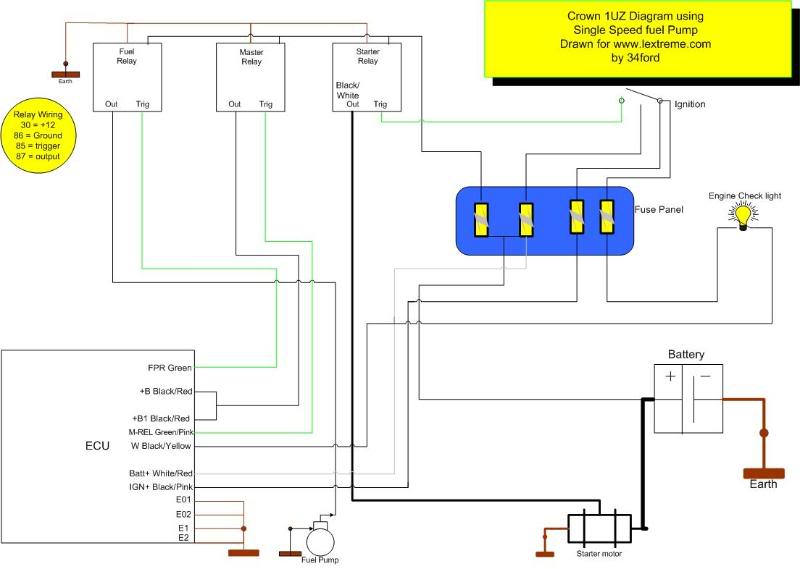
The exhaust will be self made 2.5" Y-pipe to 3" single and the exit will through the side of the bed. I will be using the following wiring schematic with maybe a few enhancements.
More to follow with pics tomorrow!
First;
The truck is an 1987 SR5 4x4, 5-speed. Already had a blown motor.
The swap kit, easy,
http://1uzfeswapkit.com/Wxx-Series-t...-0000-0019.htm
The engine mounts are;
http://www.ruffstuffspecialties.com/...g/XMEMKIT.html
Have also made some motor plates.
The headers are;
http://www.ebay.com/itm/M2-Performan...d518bb&vxp=mtr
These will have to be modified to fit;
The collectors I will be using instead of the flanges are;
http://www.summitracing.com/parts/sum-694250/overview/
The radiator is;
http://www.summitracing.com/parts/gri-1-25202-xs/overview/
The oil filter relocation is;
http://www.ebay.com/itm/Lexus-LS400-Remote-Oil-Filter-adapter-and-Oil-Cooler-SC400-1uzfe-2uzfe-3uzfe-/331182076683?fits=Model%3ALS400&hash=item4d1bfd730 b:g:IZ8AAOxy7nNTVECx&vxp=mtrand
http://www.summitracing.com/parts/so...4-12/overview/
Steering U-Joint to remove rag joint and open up room for headers;
http://www.woodwardsteering.com/ Part number UA-108.
Clutch is a stock unit from O'reillys for a 93 4runner.
Panel for use for the new circuit!
http://www.waytekwire.com/item/46077...EL-WITH-COVER/
[/URL]
Air filter housing;
http://www.riverraider.com/store/Universal-Air-Box
Fuel pump will be a Walbro 255 in tank!
Now for the plans;
The truck has a 4" Rough Country lift kit and a 2" body lift. Body lift will be removed. 35"x 12.5r15 BFG KM2's on black steel 15x8. I will be rotating the upper intake to allow the use of a Snorkel. Also I will be cutting the front out of the grill not only to allow the ease of install but also to allow me to move the radiator as far forward as I can. I will probably have to modify the steering damper location and the oil pan to get it low enough with body lift removed!
The exhaust will be self made 2.5" Y-pipe to 3" single and the exit will through the side of the bed. I will be using the following wiring schematic with maybe a few enhancements.
More to follow with pics tomorrow!
Last edited by 87-SR5; 11-29-2015 at 10:47 AM. Reason: radiator change.
 04-22-2014, 05:54 AM
#6
I have done a little studying.
The problem I have found with these swaps is the threads on them are all different and many people have different ways of doing it. That's why with this one I will log every step including wiring and part numbers. So that it can help others. Thanks Rusted, I am going to use the FJ cruiser sandstorm paint and replace the stickers too. I haven't seem too many trucks with this colour and sticker arrangement but that may just be me. I still want to keep it close to original on the paint although it will see rough use!
Last edited by 87-SR5; 04-22-2014 at 06:01 AM. Reason: forgot
04-29-2014, 02:03 PM
#7
I start tomorrow!!
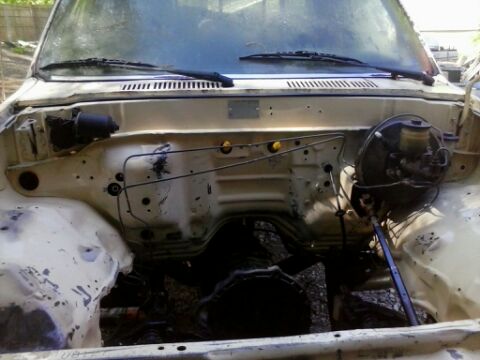
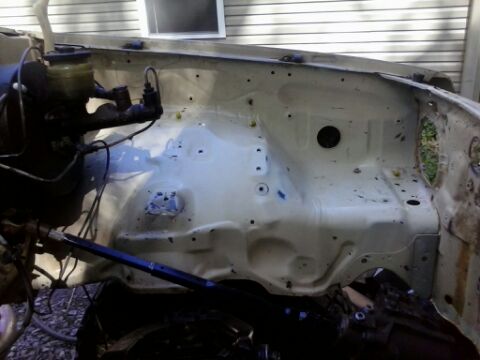
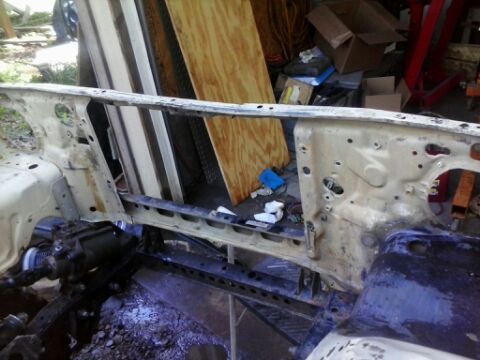
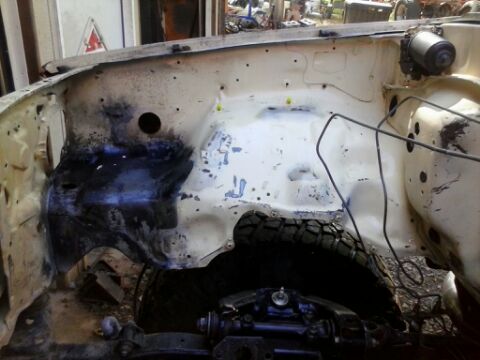
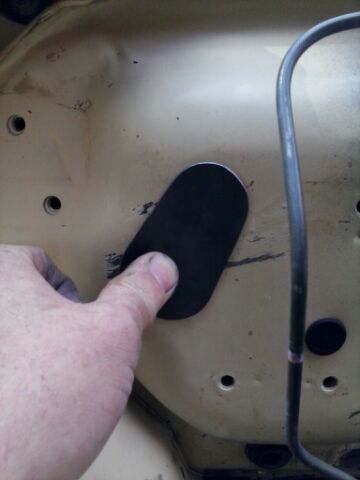
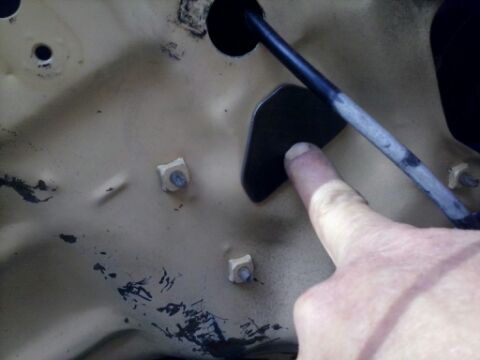
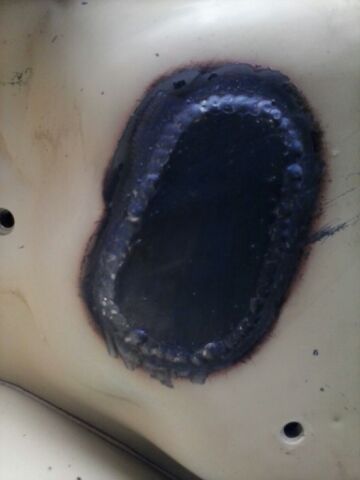
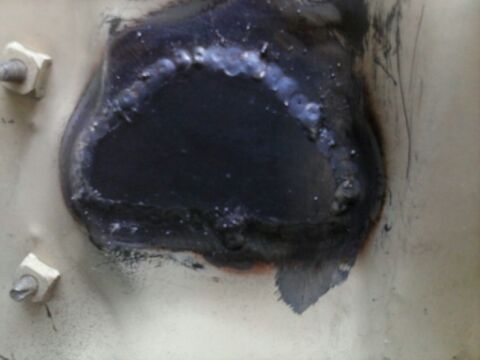
I am excited. First I will be cleaning and sorting out the truck. I will also be cutting out the front core support for easy access and modification for the bigger radiator!
Trending Topics


 04-30-2014, 04:49 PM
#15
Than-you.
I hate when people put other makes of motors in. I can't wait to post the pics after she was cleaned. Next it's time to mod and paint the engine bay. Then make the engine mounts.